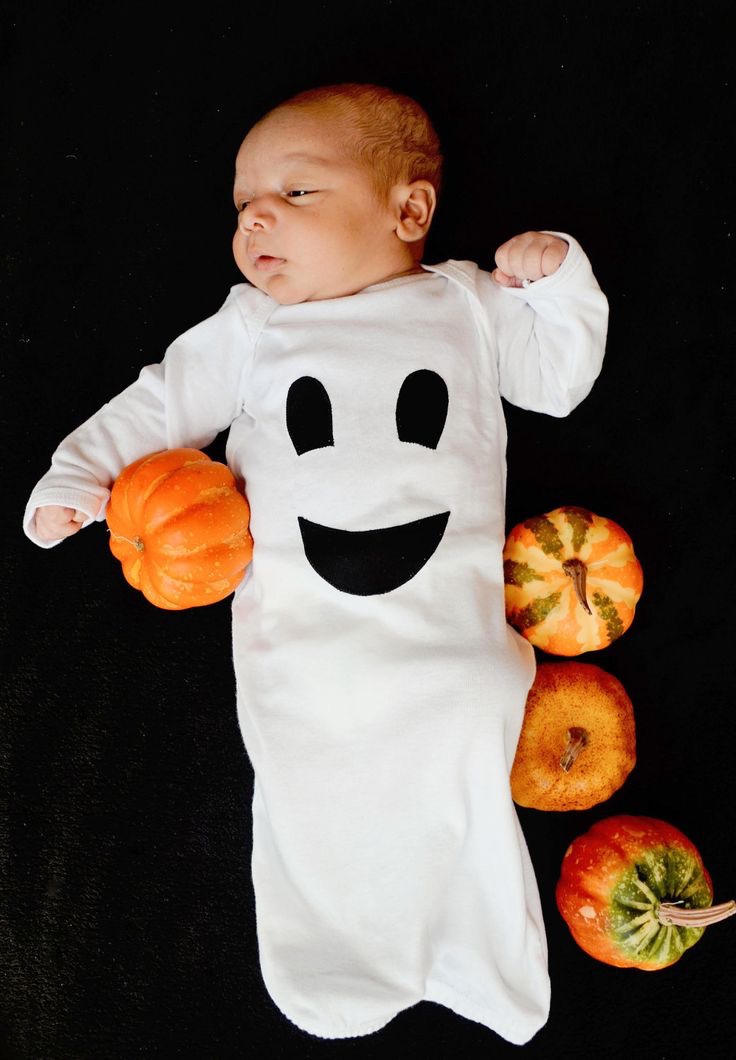
Dear Mom…

Dear Mom, 

Now that I am a mom, I want to thank you for all you’ve done.  Before I had kids I had a totally different perspective of my parents, life, and children.  I never thought “oh you’re baby is so cute.” What I thought was thanks for posting a million pictures of your baby online I don’t care about. 

My mom was just my mom, someone I took for granted.  I expected her to help me in everything I need anytime. 

Now that I have two children (a toddler and infant!), my whole perspective of the world has changed. It’s something you can’t describe to someone who does not have children. Just like you can’t describe how it feels to have a sibling to a single child, or what it’s like to have a chronic disease to a healthy person. Becoming a mom is forever changing in every way. 
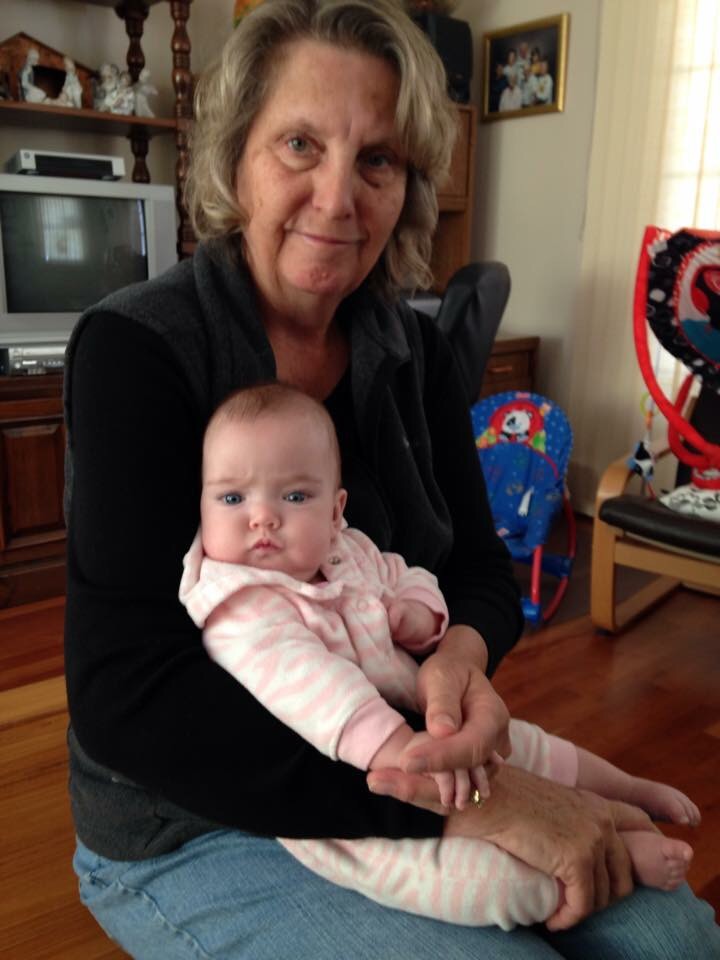

So, on this Mother’s Day, mom, I want to thank you for dealing with the long pregnancy (of twins), the nausea, cravings, mood swings, weight gain, stretch marks, turning dads hair grey when he heard about twins, and whatever else may have happened (the list is never ending).

I want to thank you for the long sleepless nights of feeding screaming babies and protecting us from killing ourselves and each other. I want to thank you for giving up most of your free time (who am I kidding, all of your time) to us.  I want to thank you for giving up your full time job to care for us and help us grow.  

Oh my goodness, let’s not even talk about the toddler tantrums and meltdowns! I’m not sure how you did it with a boy and twin girls! I guess that’s why you don’t remember most of it! Thank you for changing poopy and pee diapers with a wrestling monkey (or whatever we were), because it sure is hard sometimes. 
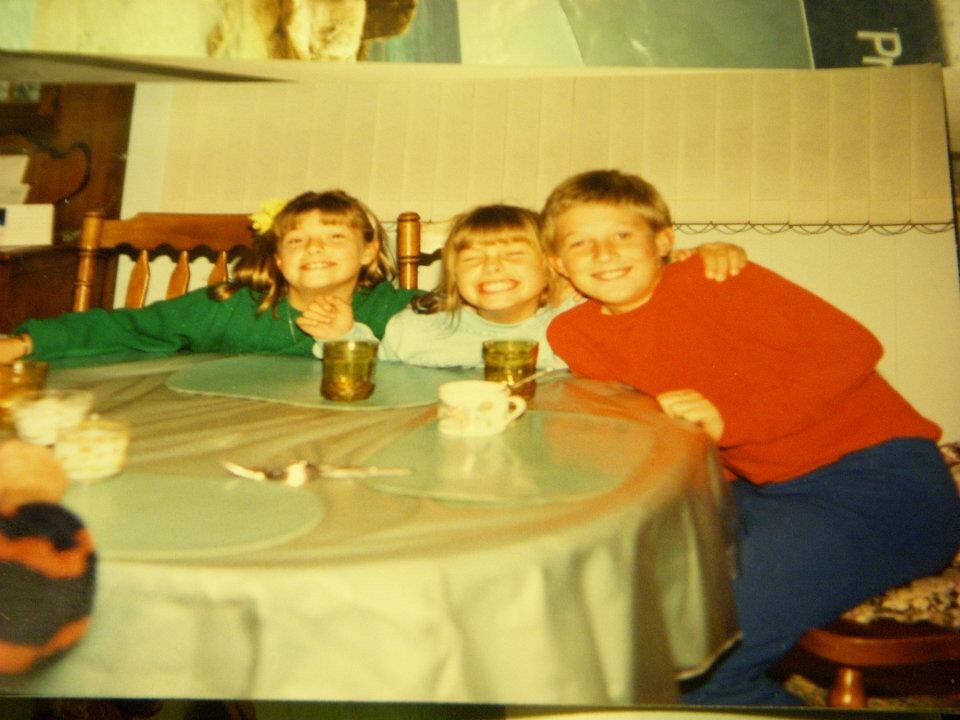

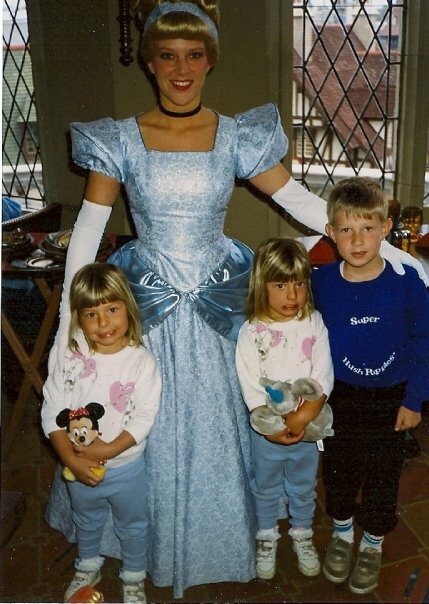
I want to thank you for all the great experiences you provided to us.  All the wonderful vacations, day trips, toys, and playtime you provided have made me and my sister and brother who we are (which by the way is awesome). 

The list goes on and on, and would take forever to write it all out.  

 Now that I’m a mom I understand what it’s like to wake up every hour to make sure my baby is still breathing. I know what it’s like to yearn for a nap and sleep but then toss and turn worrying if the baby is okay without you. Or finally get free time and just wonder how the kids are or have nothing left to talk about but how the baby babbled or crawled (at one time I would have completely rolled my eyes at this). I know what it’s like to want your child to have everything but also know you need to limit and teach them about the world. I know the struggle of balancing work and caring for kids, trying to keep friendships alive, having date nights and trying to talk about something besides the kids. 

Thank you for holding my hand, drying my tears, spending all your hard earned money to take me on trips and experiences to help me grow. Thank you for rocking me to bed, reading me countless books, and never giving up on me. 

Again, the list goes on and on and will continue to grow as the children and I grow. 

I also apologize for all those times we hide in the clothing racks while we were shopping. The teenage years in general and the lack of appreciation I have given you before having my own children. 


I am very blessed and lucky to have a mom (also dad- but it’s not Father’s Day yet) who are willing to help whenever needed. Besides the amazing mom support you provide, we always joke about the services of mom and dad including but not limited to: babysitting, laundry, yard work, food shopping, dog sitting, painting, bed and breakfast and many other jobs now that you are retired. 

So on this Mother’s Day I say thank you for all you have done and continue to do for all our families. Love you mom! 

FollowFacebookpinterestrssyoutube
ShareFacebookpinterest

Harry Potter Mobile & Shower!

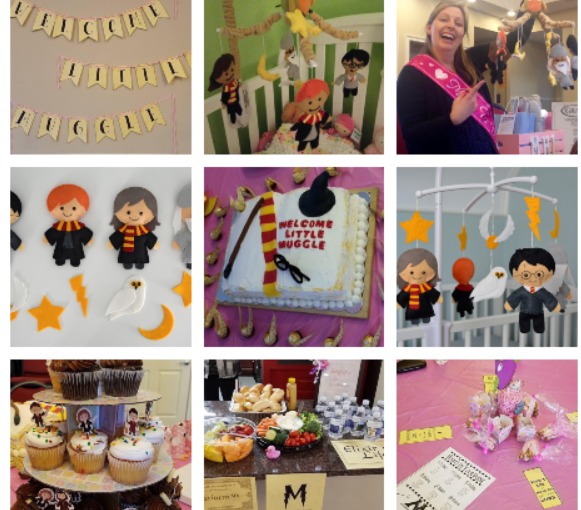
My twin sister loves Harry Potter, and what better way to celebrate the coming of her daughter Madison, then to throw a Harry Potter Baby Shower!  I give all the credit to our mother who was able to organize and decorate while I was dealing with my two young children.

I was able to make a special harry potter mobile for her though!
No photo description available.

I used a mobile hanger that I previously had for my daughter which was an outdoor one- so the owl worked out perfectly! I used felt material and sewed mostly by hand to put the pieces together. I also stuffed the pieces with filling and used black puffy paint and marker for the faces and glasses!

No photo description available.

I got the template from a fantastic website- and you can ask her for the template but it cannot be for selling the items- just for your personal use.  FREE TEMPLATE SITE HERE

I used string from my crocheting to hand the harry potter items.


Here are some more photographs of the awesome Harry Potter shower!

No photo description available.Our talented Aunt Joey G. made this special cake for the shower!

No photo description available.

Cupcake toppers!

No photo description available.

This cute sign is easily made by printing out or using black marker!

No photo description available.

Easy print out ideas!

No photo description available.More easy to print signs (I don’t remember the site we printed them from- but if you look up the signs I’m sure you can find it).
 

There were harry potter balloons and other decorations as well! Hope you enjoyed this post and it gave you some ideas!


FollowFacebookpinterestrssyoutube
ShareFacebookpinterest

DIY Superhero Cape!

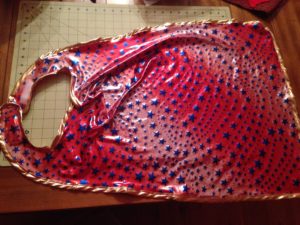
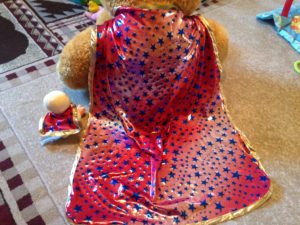
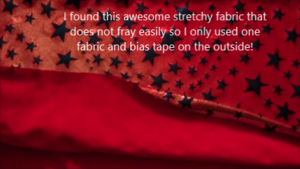
Superhero cape time!  You can make an easy superhero cape in less than 15 minutes!  My daughter needed to be distracted in a fun way while I needed to care for her baby brother, so we pretend to be superheros who fetch diapers, plastic bags, and bottles for baby brother!  Also, her dolly had to have a super cape too! So I went to the fabric store and found the perfect superhero fabric!  The fabric has a great design and also is very stretchy and does not fray easily.  I also bought double sided bias tape in gold for the outside.  Her dolly also needed a superhero cape so I designed a small one for dolly.

As usual, there is a written and youtube tutorial for this cape.  I only used one side of material but you can easily do two fabrics (this is outlined below). Enjoy!


What you need:
1) Fabric (one or 2 different cuts 1/2 yard each)
2) Velcro or your preferred method to connect
around neck
3) Optional: Bias tape and/or monogram


You can decide on the best size by either knowing your childs height and how wide you would like it, or you can always look at their clothes! I do outline the length and design in my video and written tutorial.

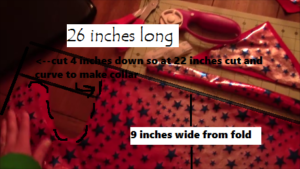
  1. I made the cape for my 2.5year old but it ended up being very big, big enough my German Shepard dog could wear it!  The sizes I use could most likely fit up to a 4t.  Fold 1/2 yard of fabric in half.  Measure long way 26inches long (this was a bit big for my 2.5yr old but still worked) and cut straight across. If you are using two fabrics (one for front and one for back), repeat this whole cutting process.
  2. Then measure about 4 inches down from the 26inch top and cut in and up for the connecting part of the cape (mine was a bit big for my 2.5 year old but she will grow into it!)
  3.   If you are using two fabrics take both sides and cut and then face each other and sew all the way around except leave a 3 inch opening (as with all other projects with two fabrics).  Then pull the fabric through the hole and sew hole shut (make sure you push out corners).
  4. Next, I took the bias tape and sewed all the way around (pinning it first).
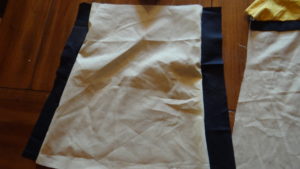
  5. Lastly, I ironed on the Velcro sections with the softer side facing on side downwards (that way if its too big at one point it is not rough on the skin). You can also use snaps or any other closing you would like.
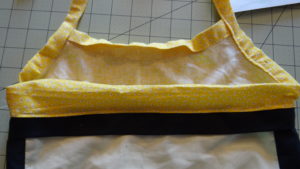
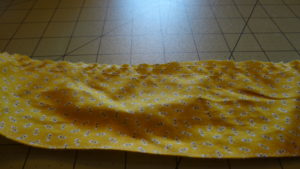
  6. And that is it!  Pretty easy just eyeball the size or you can measure your little one!  Enjoy!
FollowFacebookpinterestrssyoutube
ShareFacebookpinterest

Easy Easter crafts for toddlers 

My almost two and a half year old isn’t ready for a lot of the crafts you see on blog posts. 

So I decided to create some easy crafts for toddlers who don’t have the dexterity quite yet to use scissors or exercise caution with sparkles. 

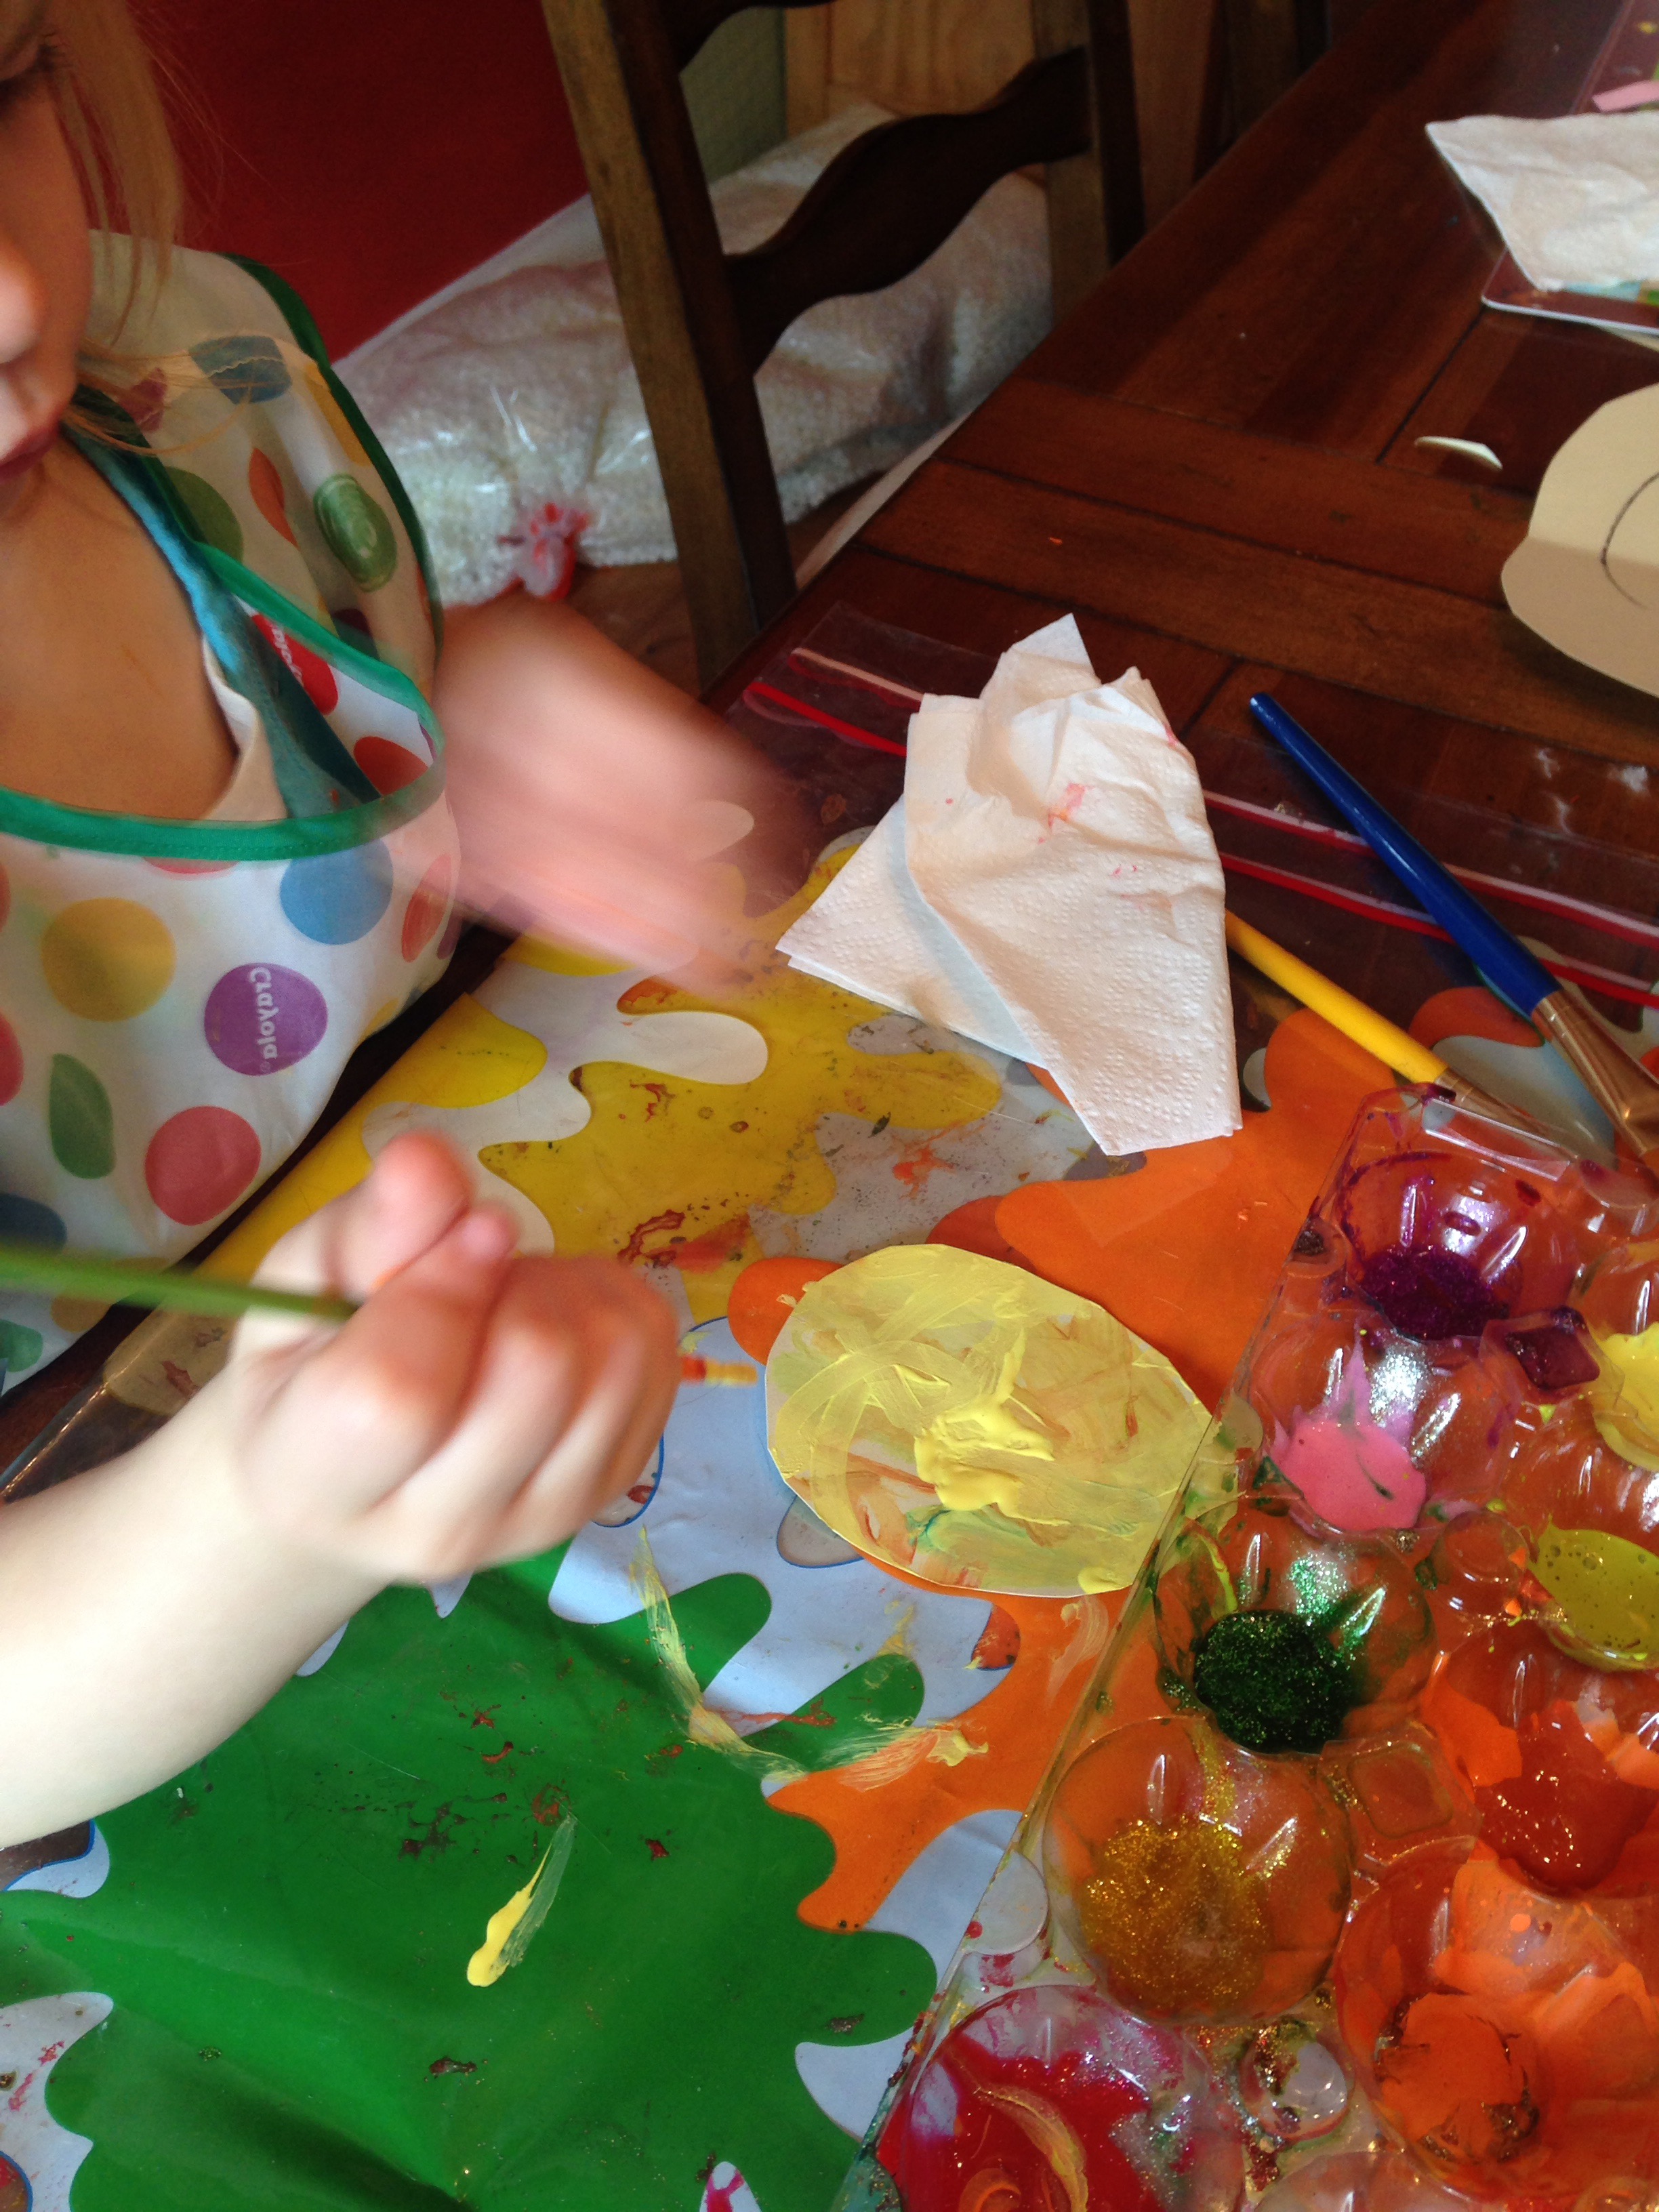
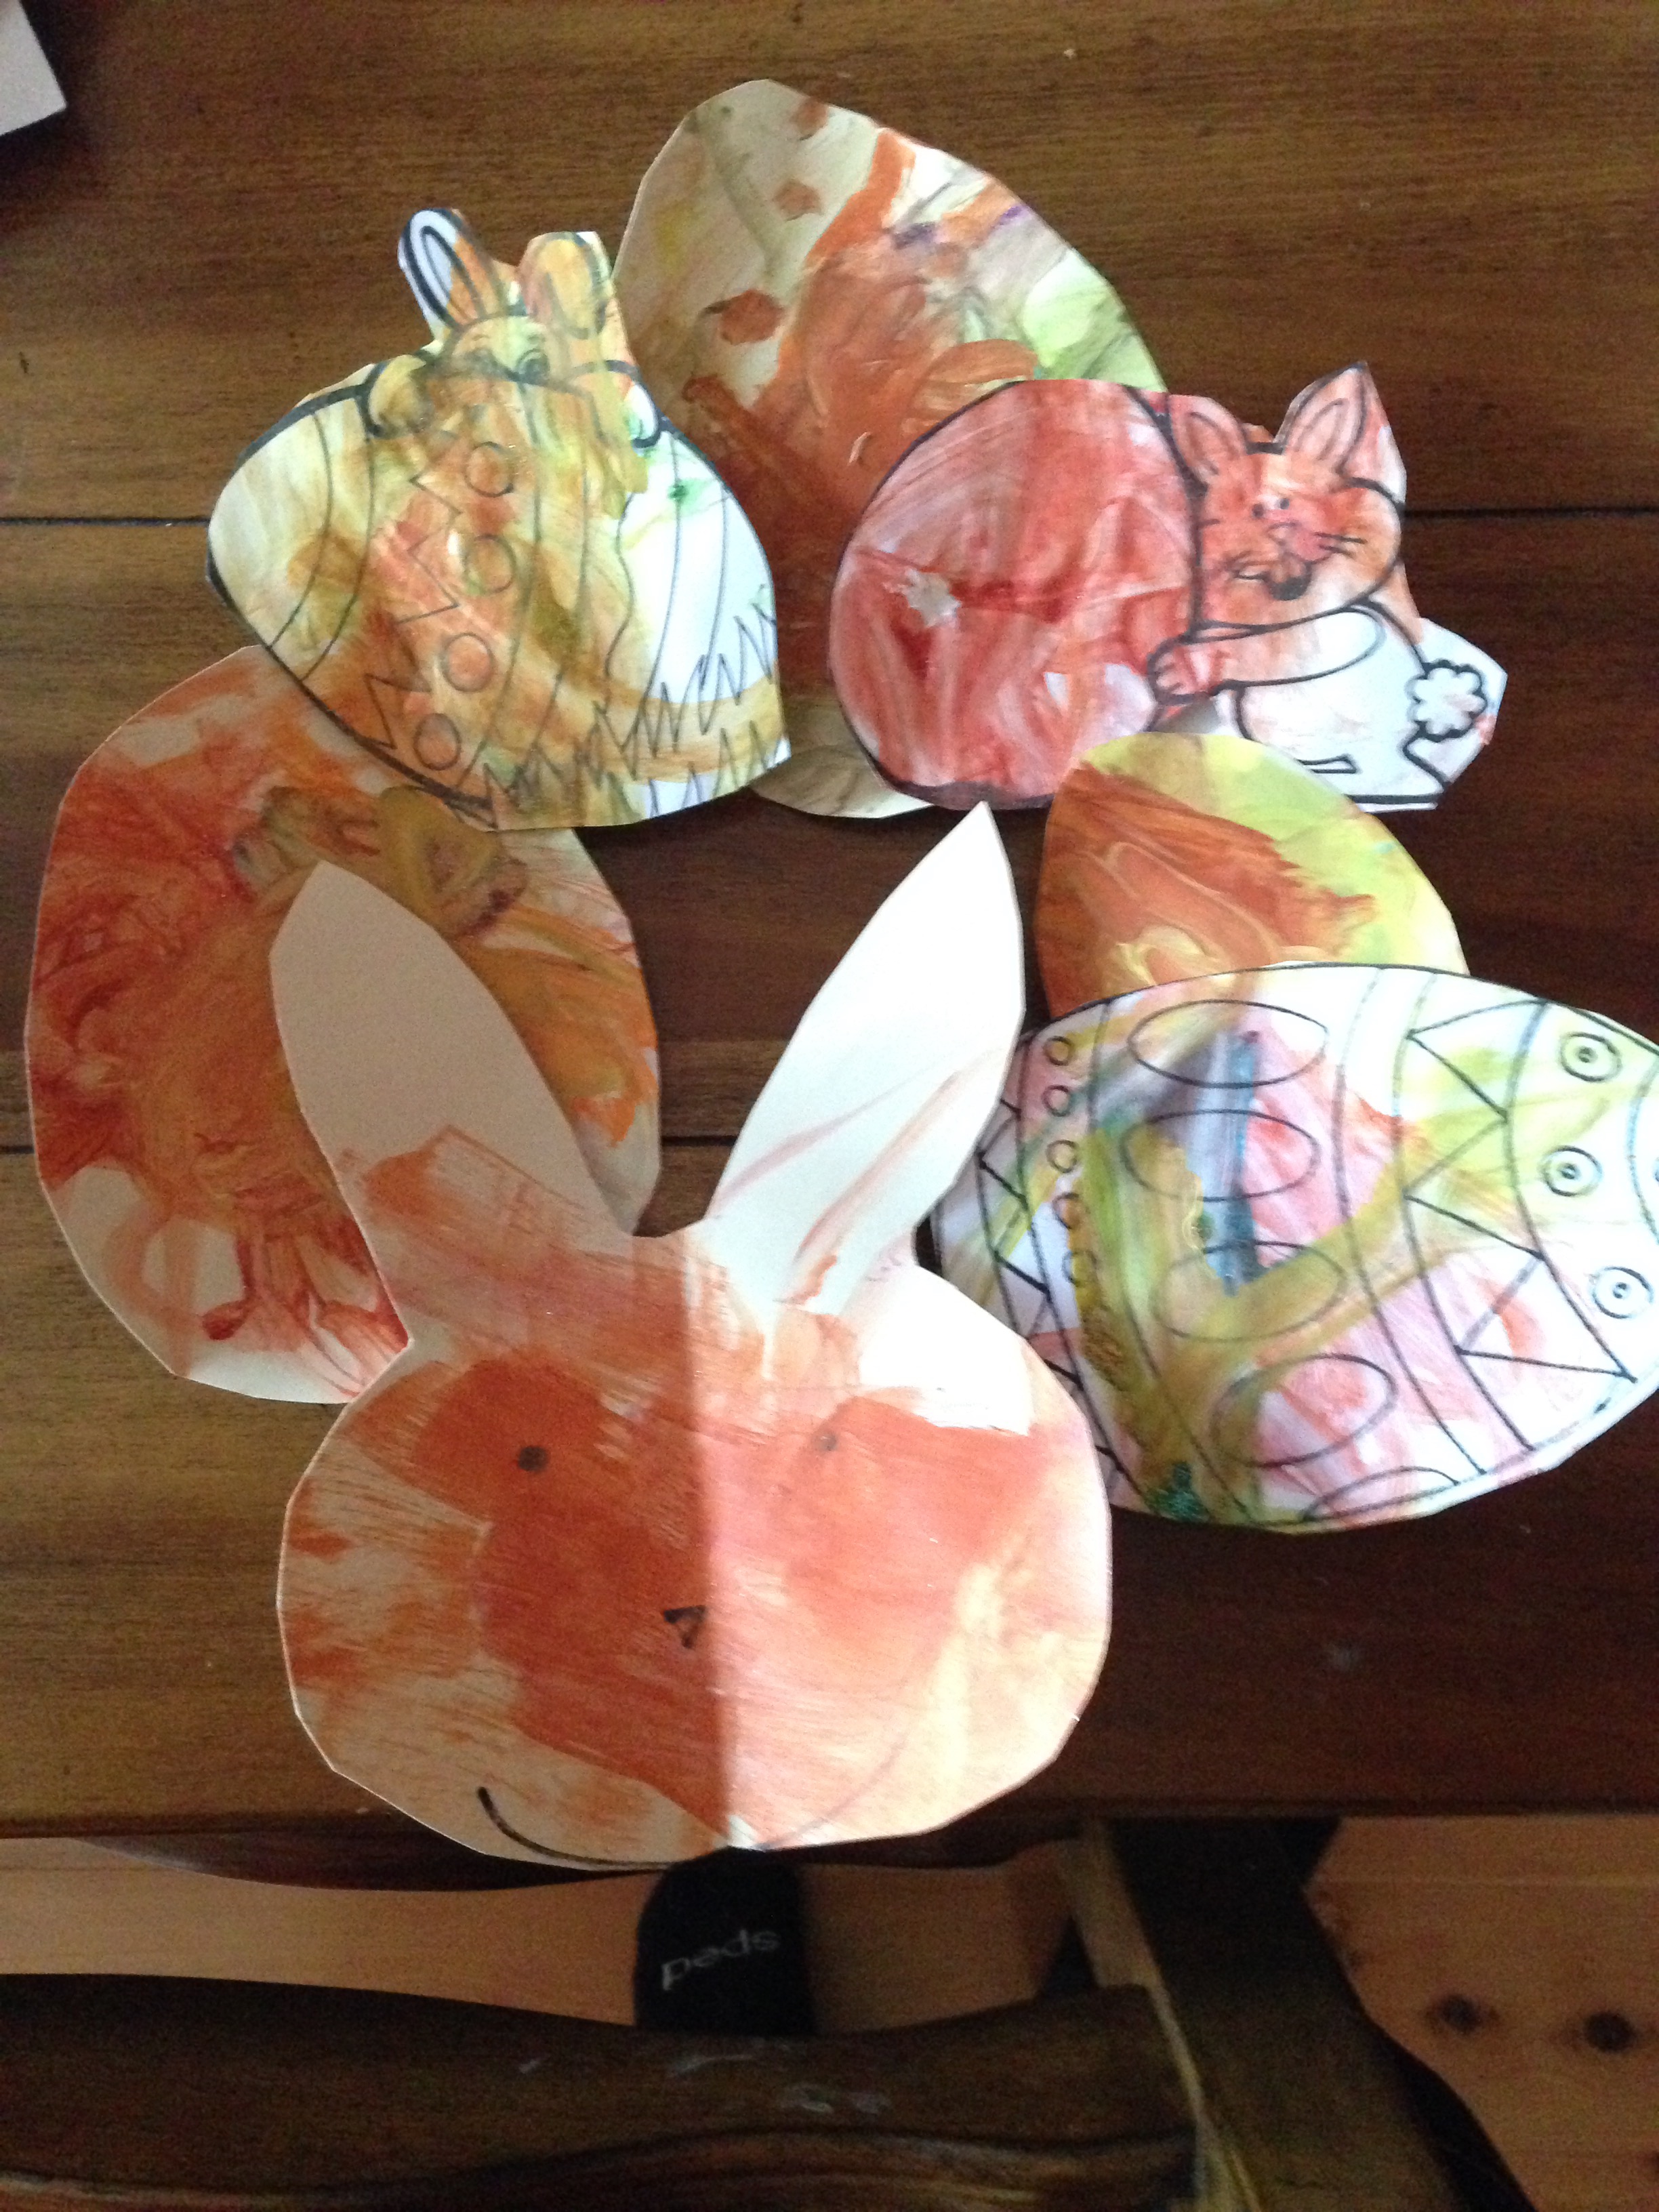
So let’s start really simple with painting. For each holiday we have been painting an object related to the holiday and punching a hole in it and hanging it on door knobs or suction cups or using tape and sticking on doors. 

But for this holiday we painted eggs and bunnies using the washable sparkle paint, put in an old plastic egg carton. Then we took them all and made a paper wreath out of it to hang by cutting out the middle of a paper plate and gluing the pictures, Easy peasy! 

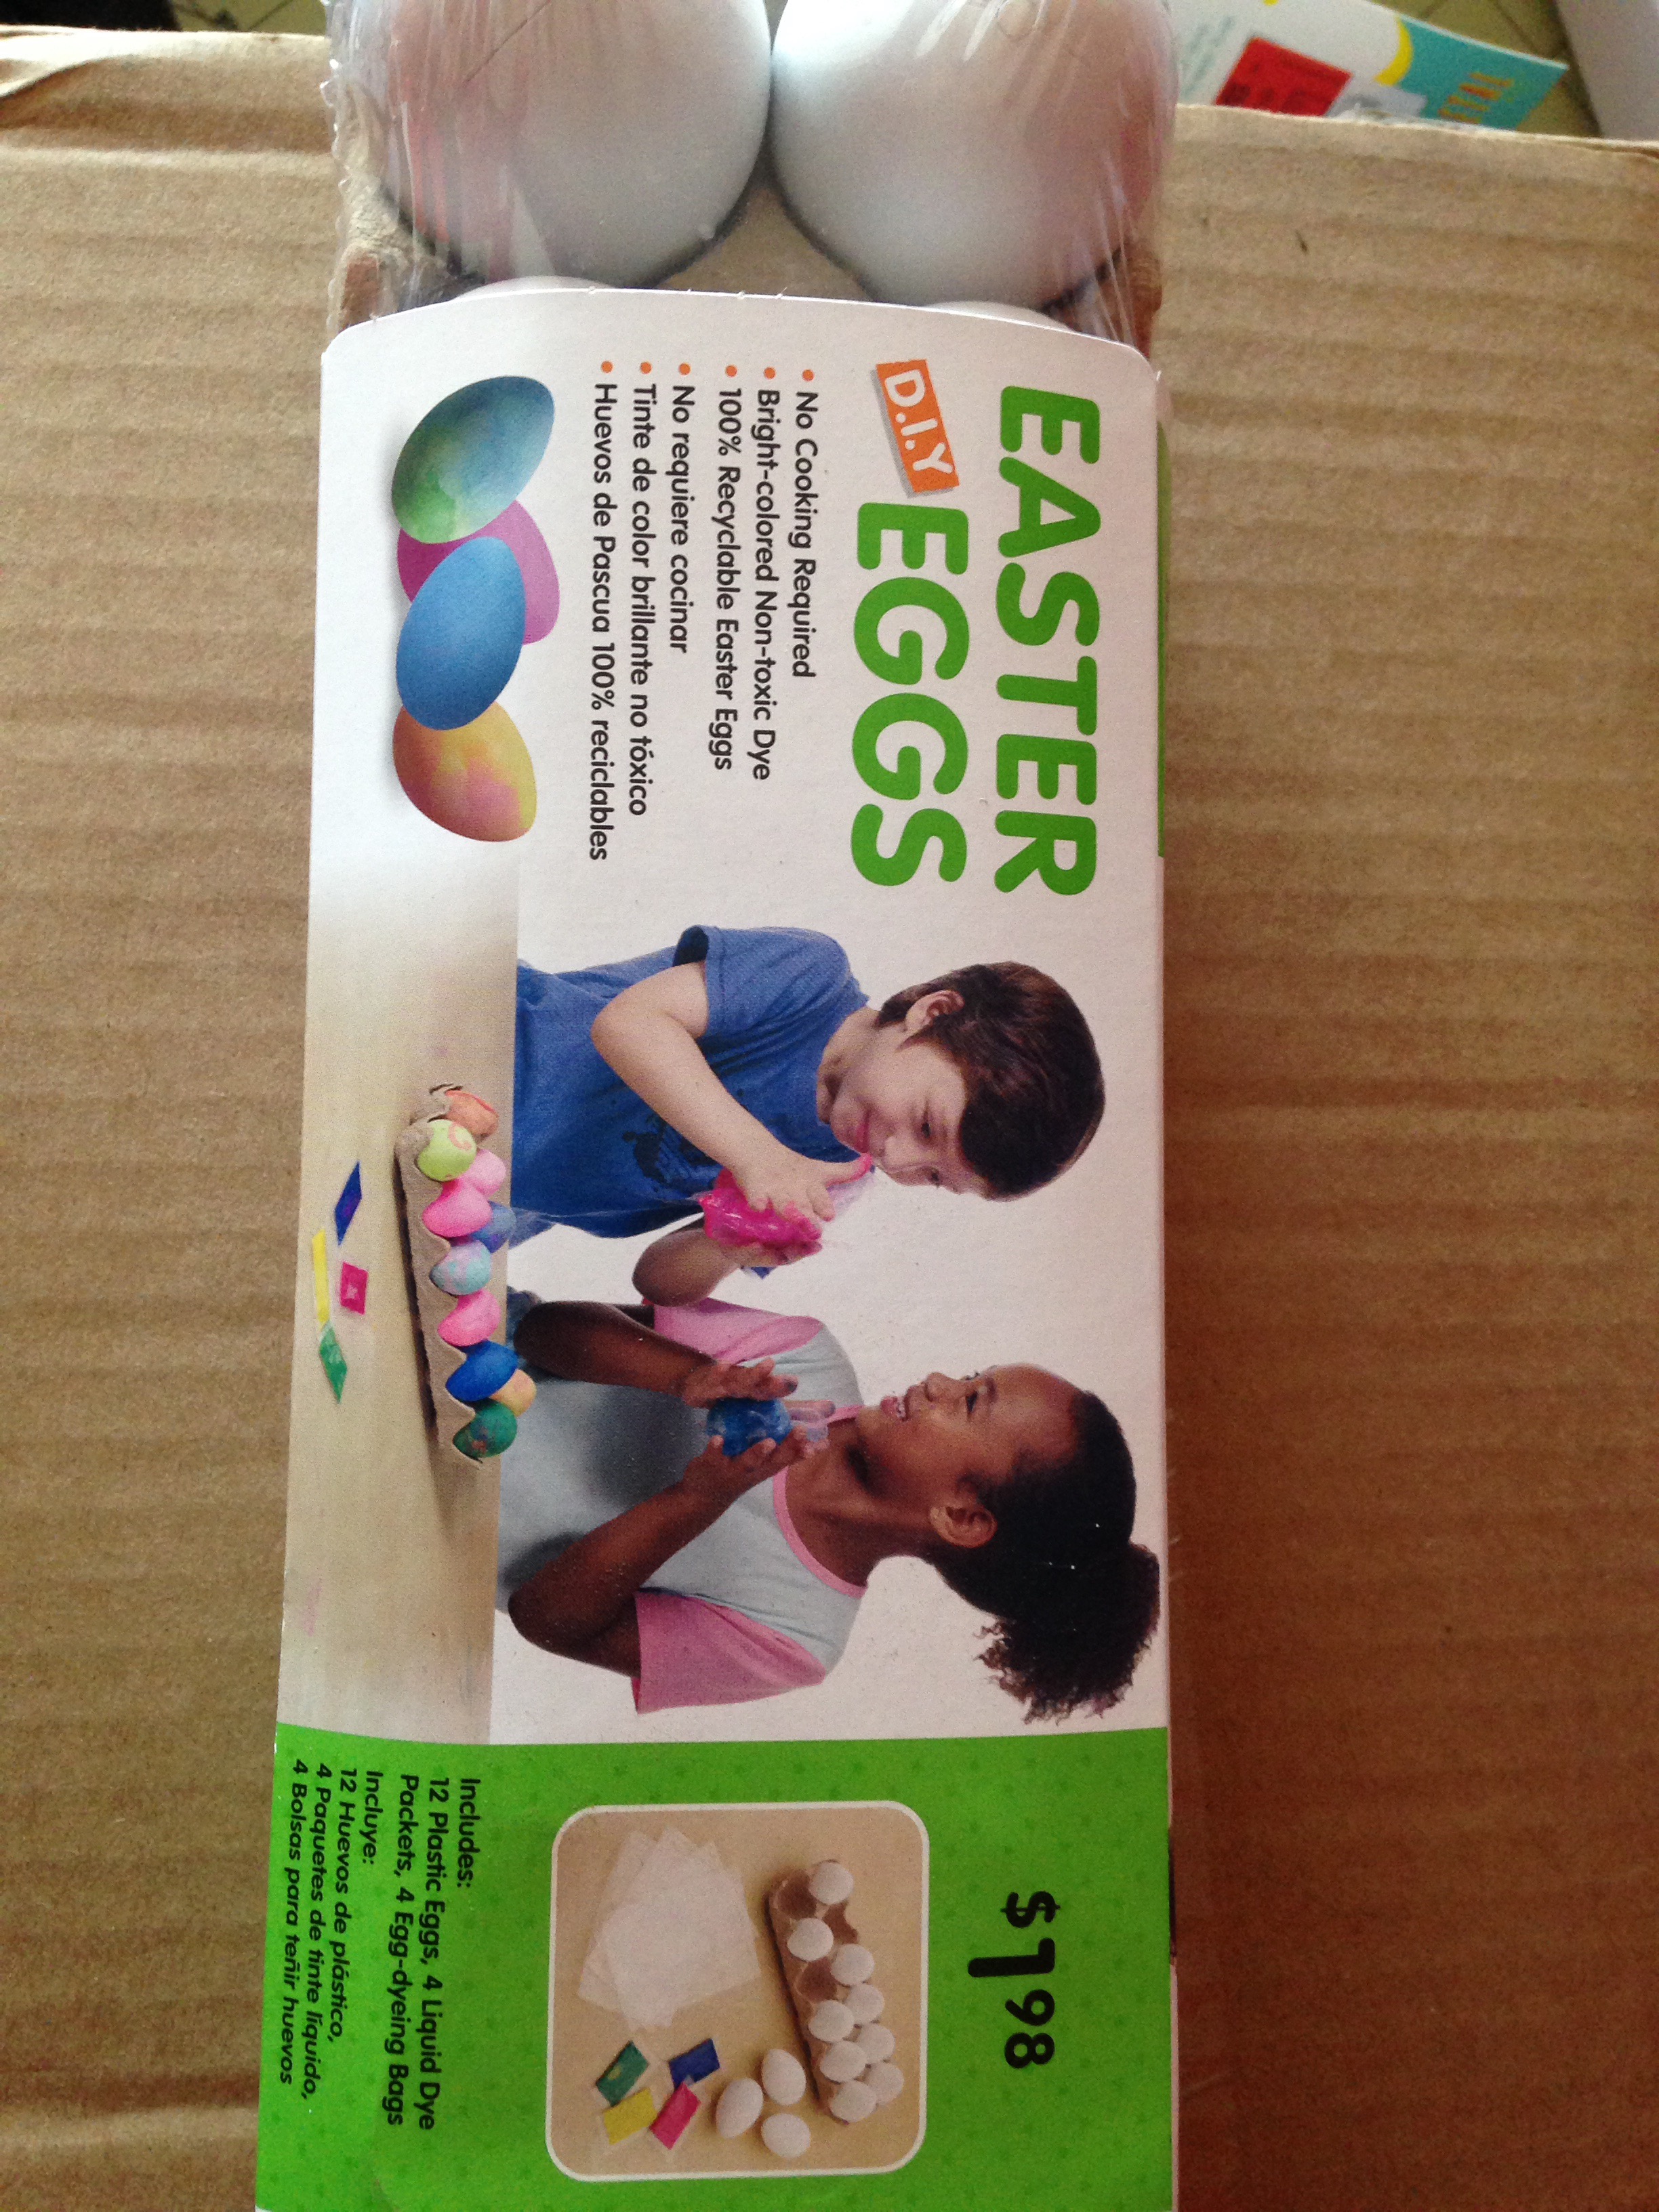
Another easy project is buying this under two dollar cardboard egg kit! I got mine at Walmart but I’m sure there are lots of different ones at craft stores. Now you can paint them yourself or they come with a dye kit. 


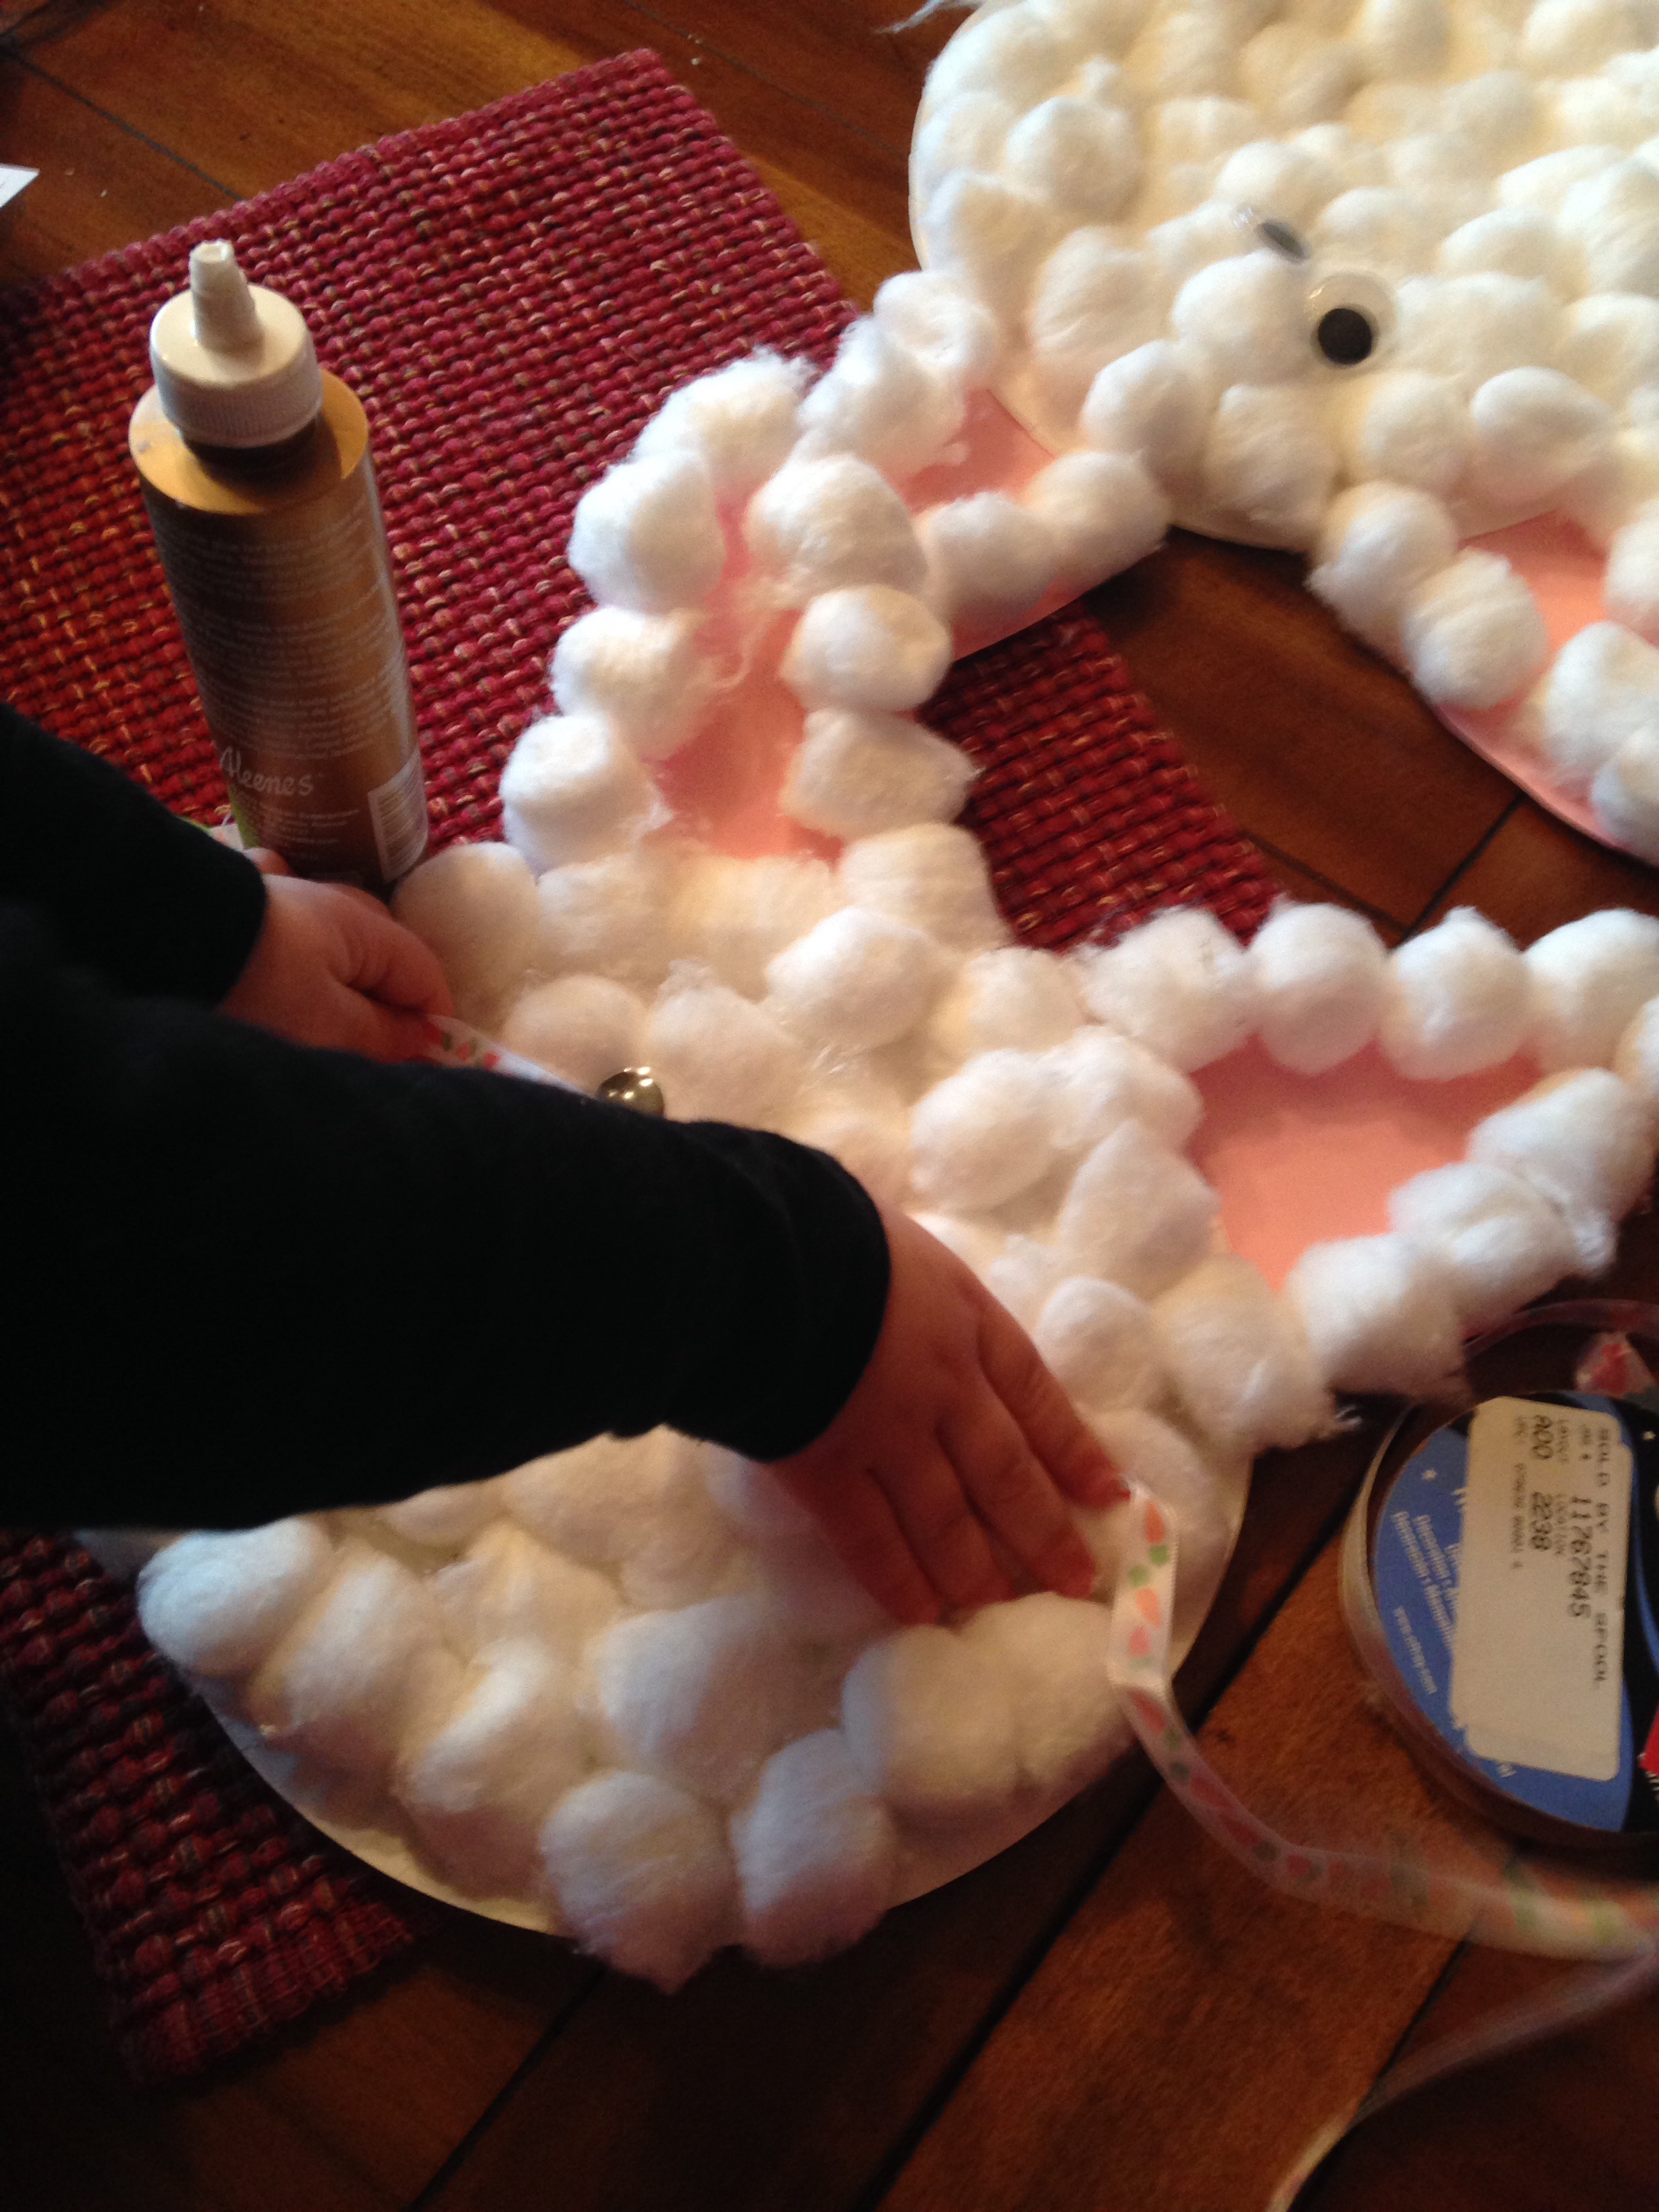
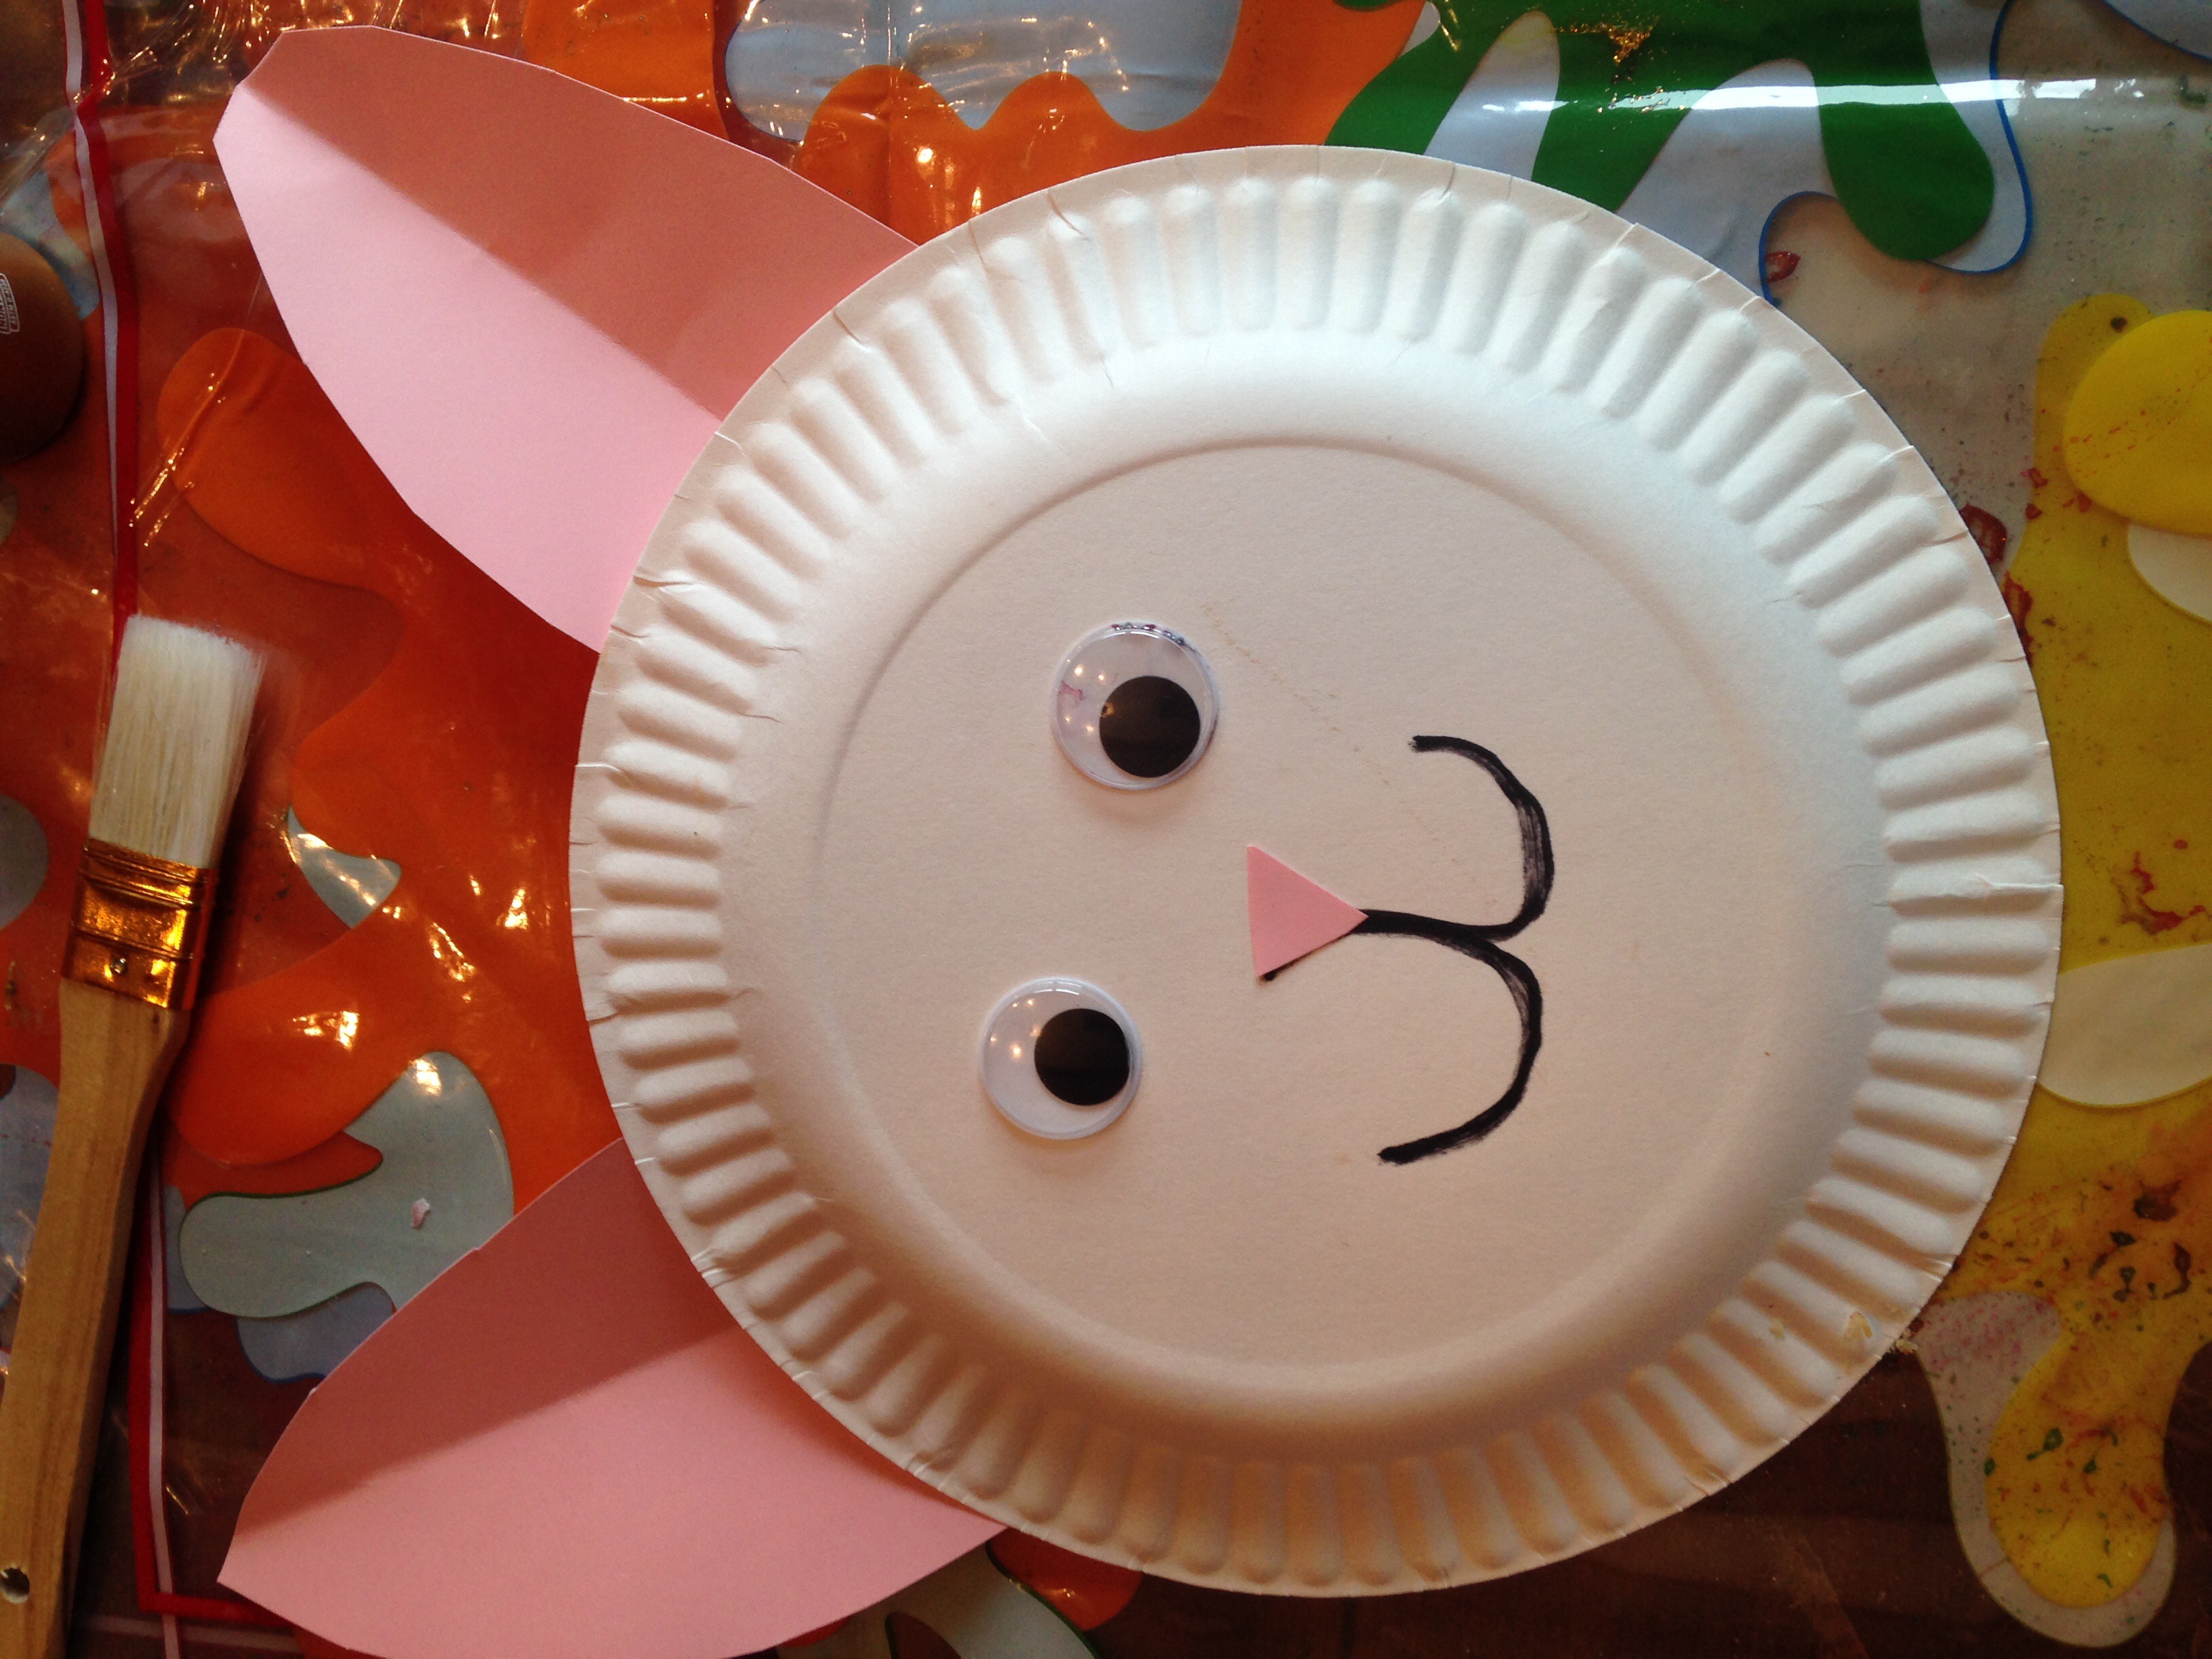
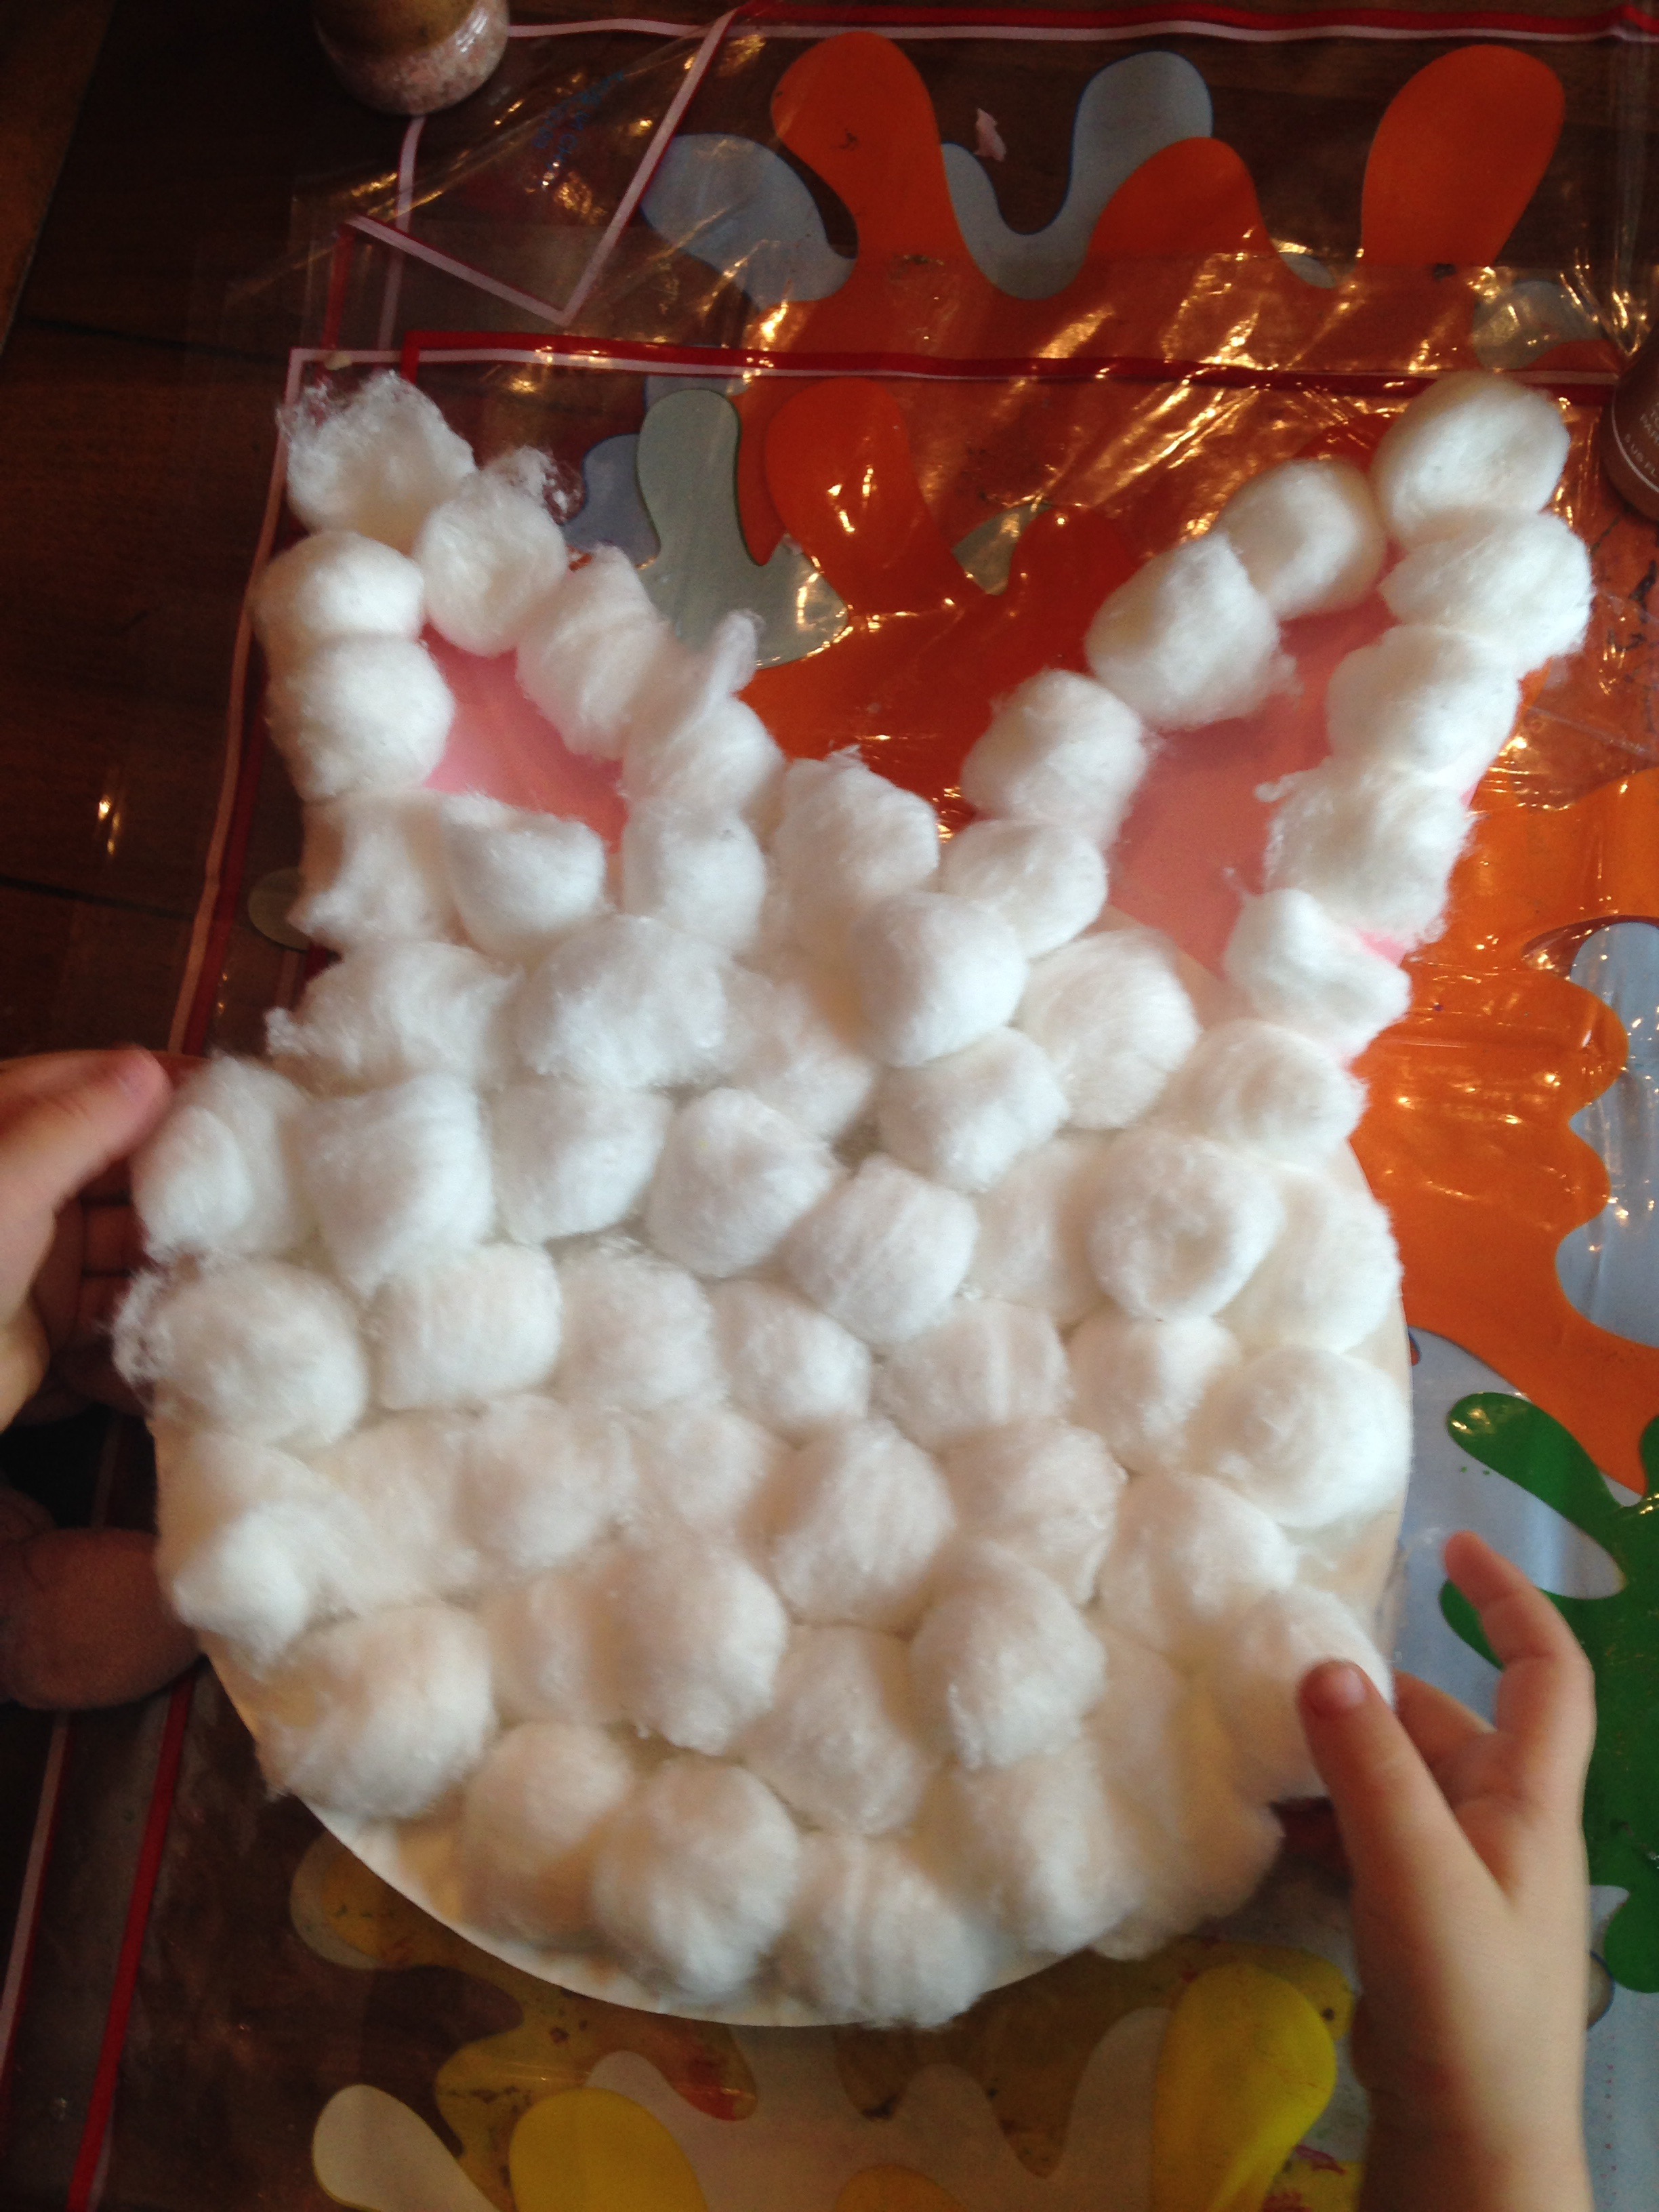
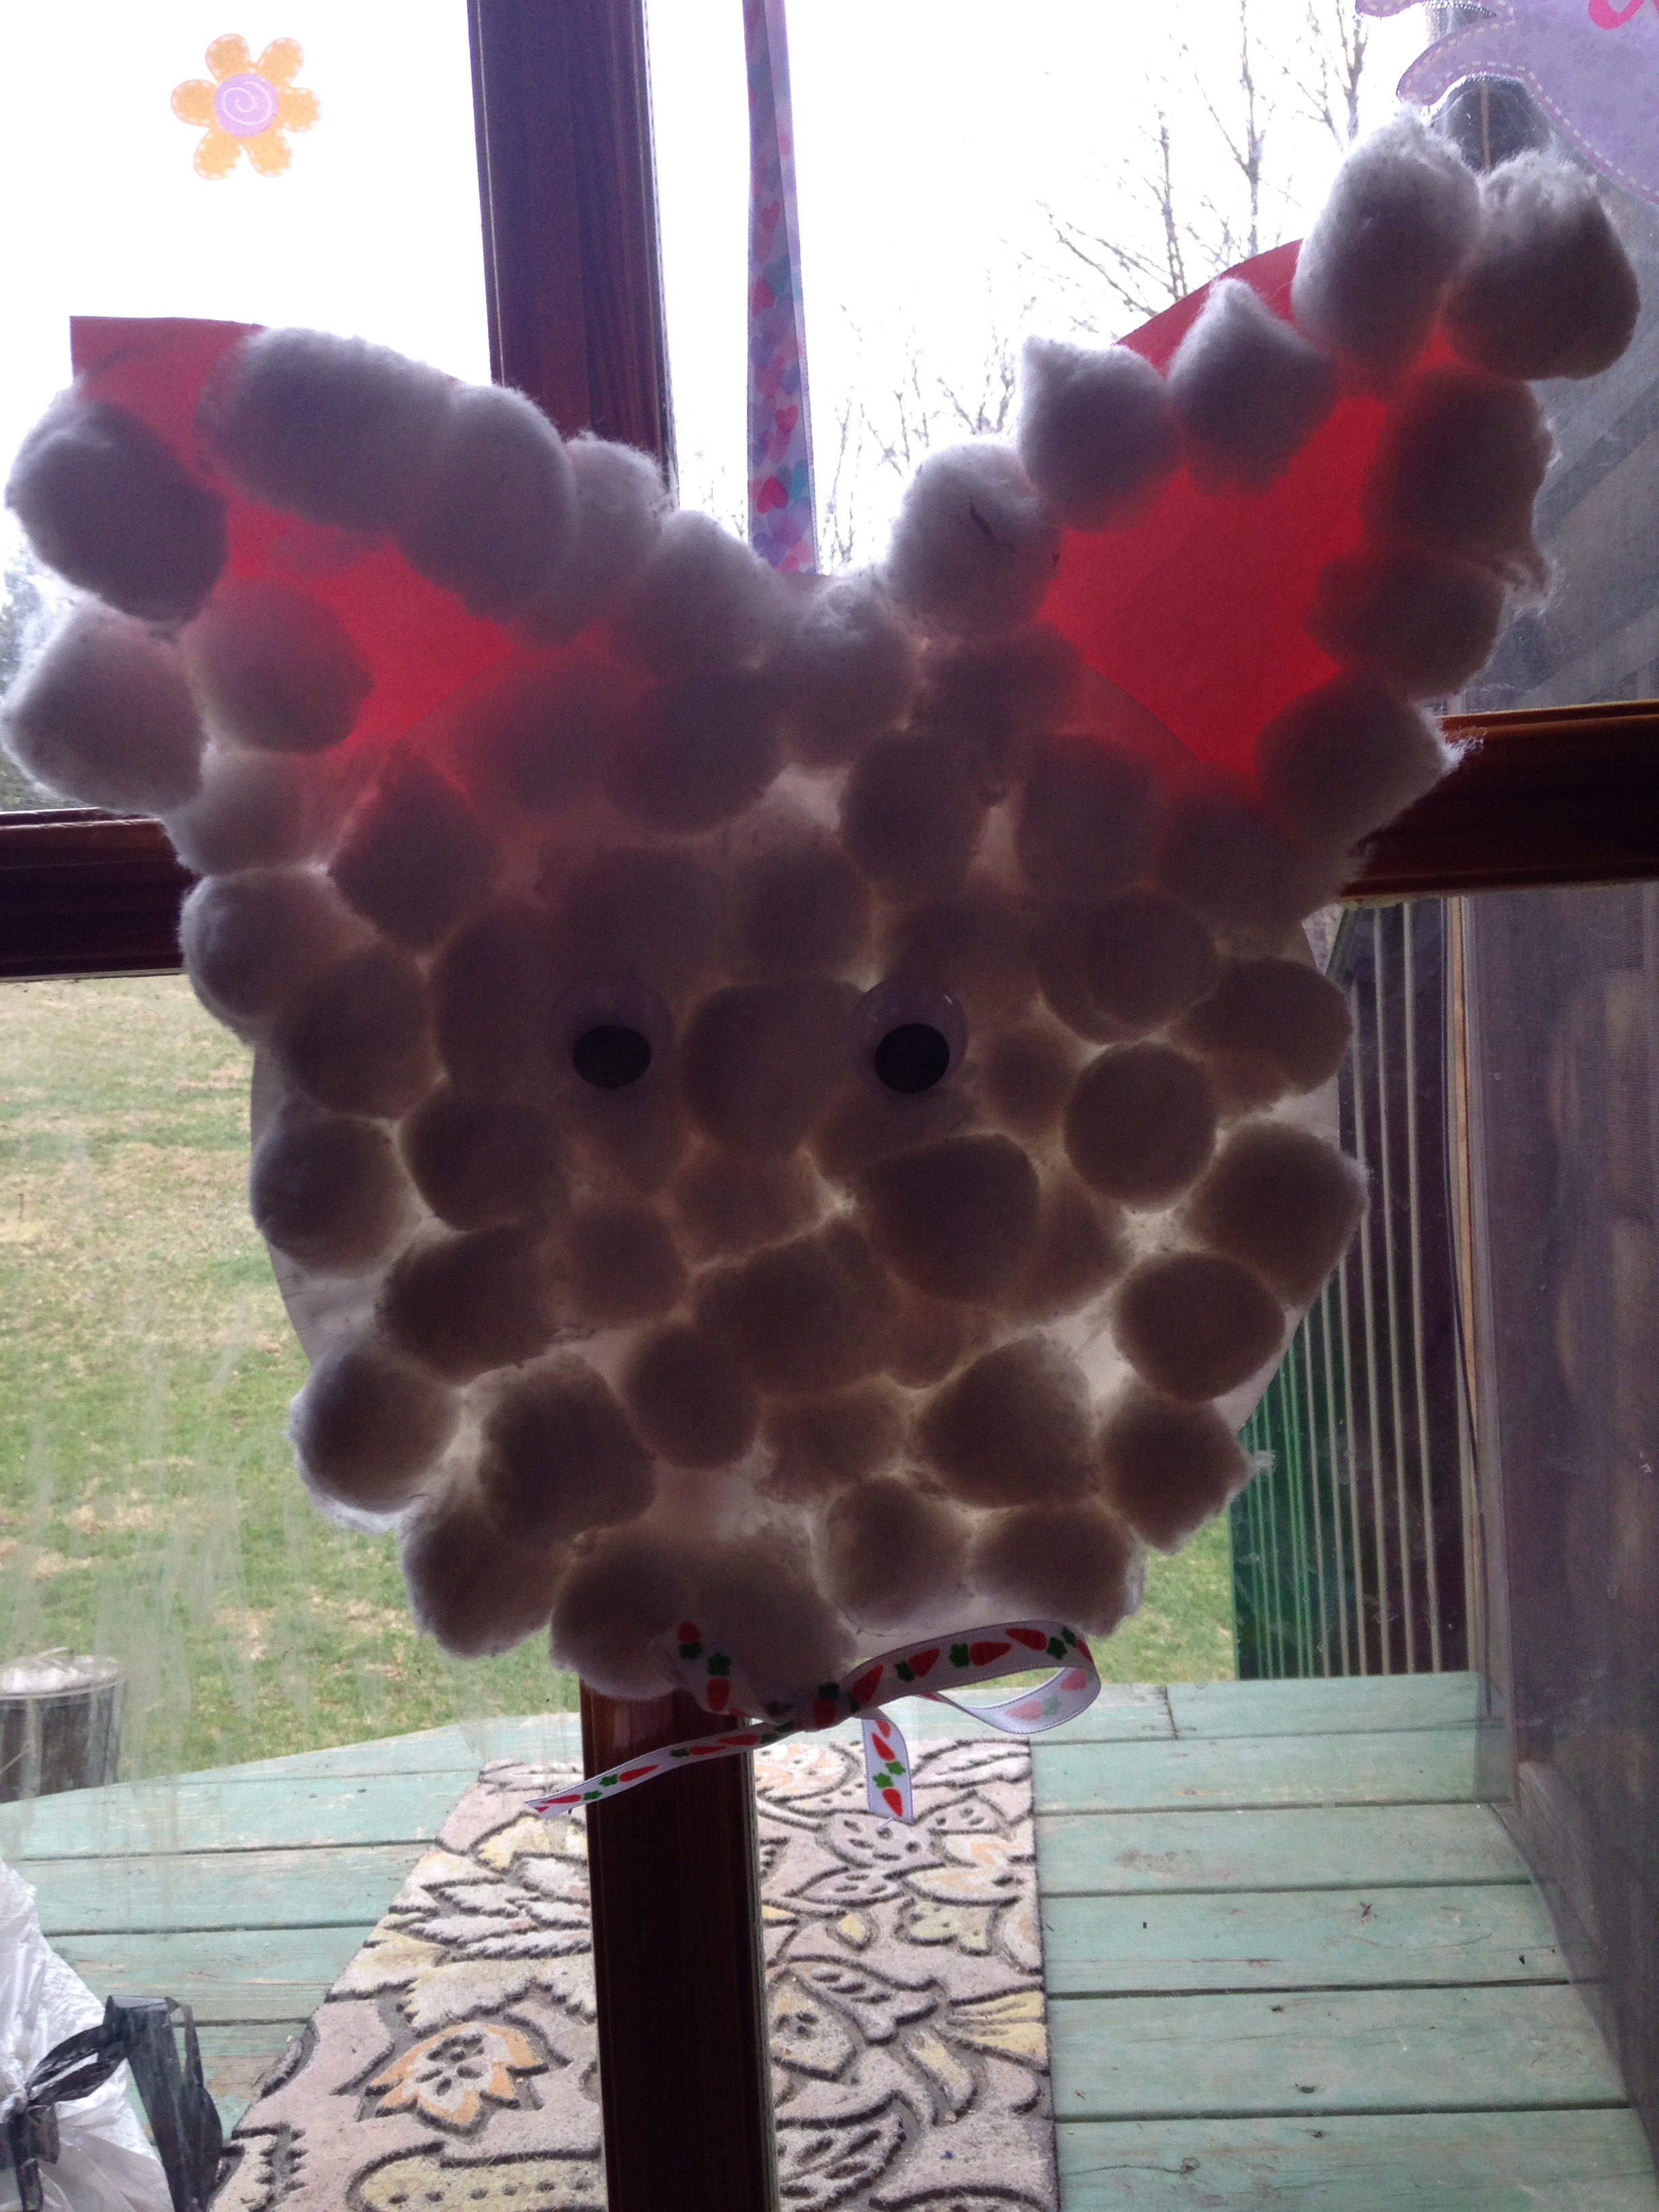
Next is the cotton ball Easter bunny! Sure, I had to help with the glue and the eyes a bit but she loved sticking on the cotton balls everywhere and placing the face! You can go more detailed with an old child as well. We used a carrot Easter ribbon we had and then a loop ribbon on the back to hang it on the door.  This also makes an easy gift to a grandparent or family member. 


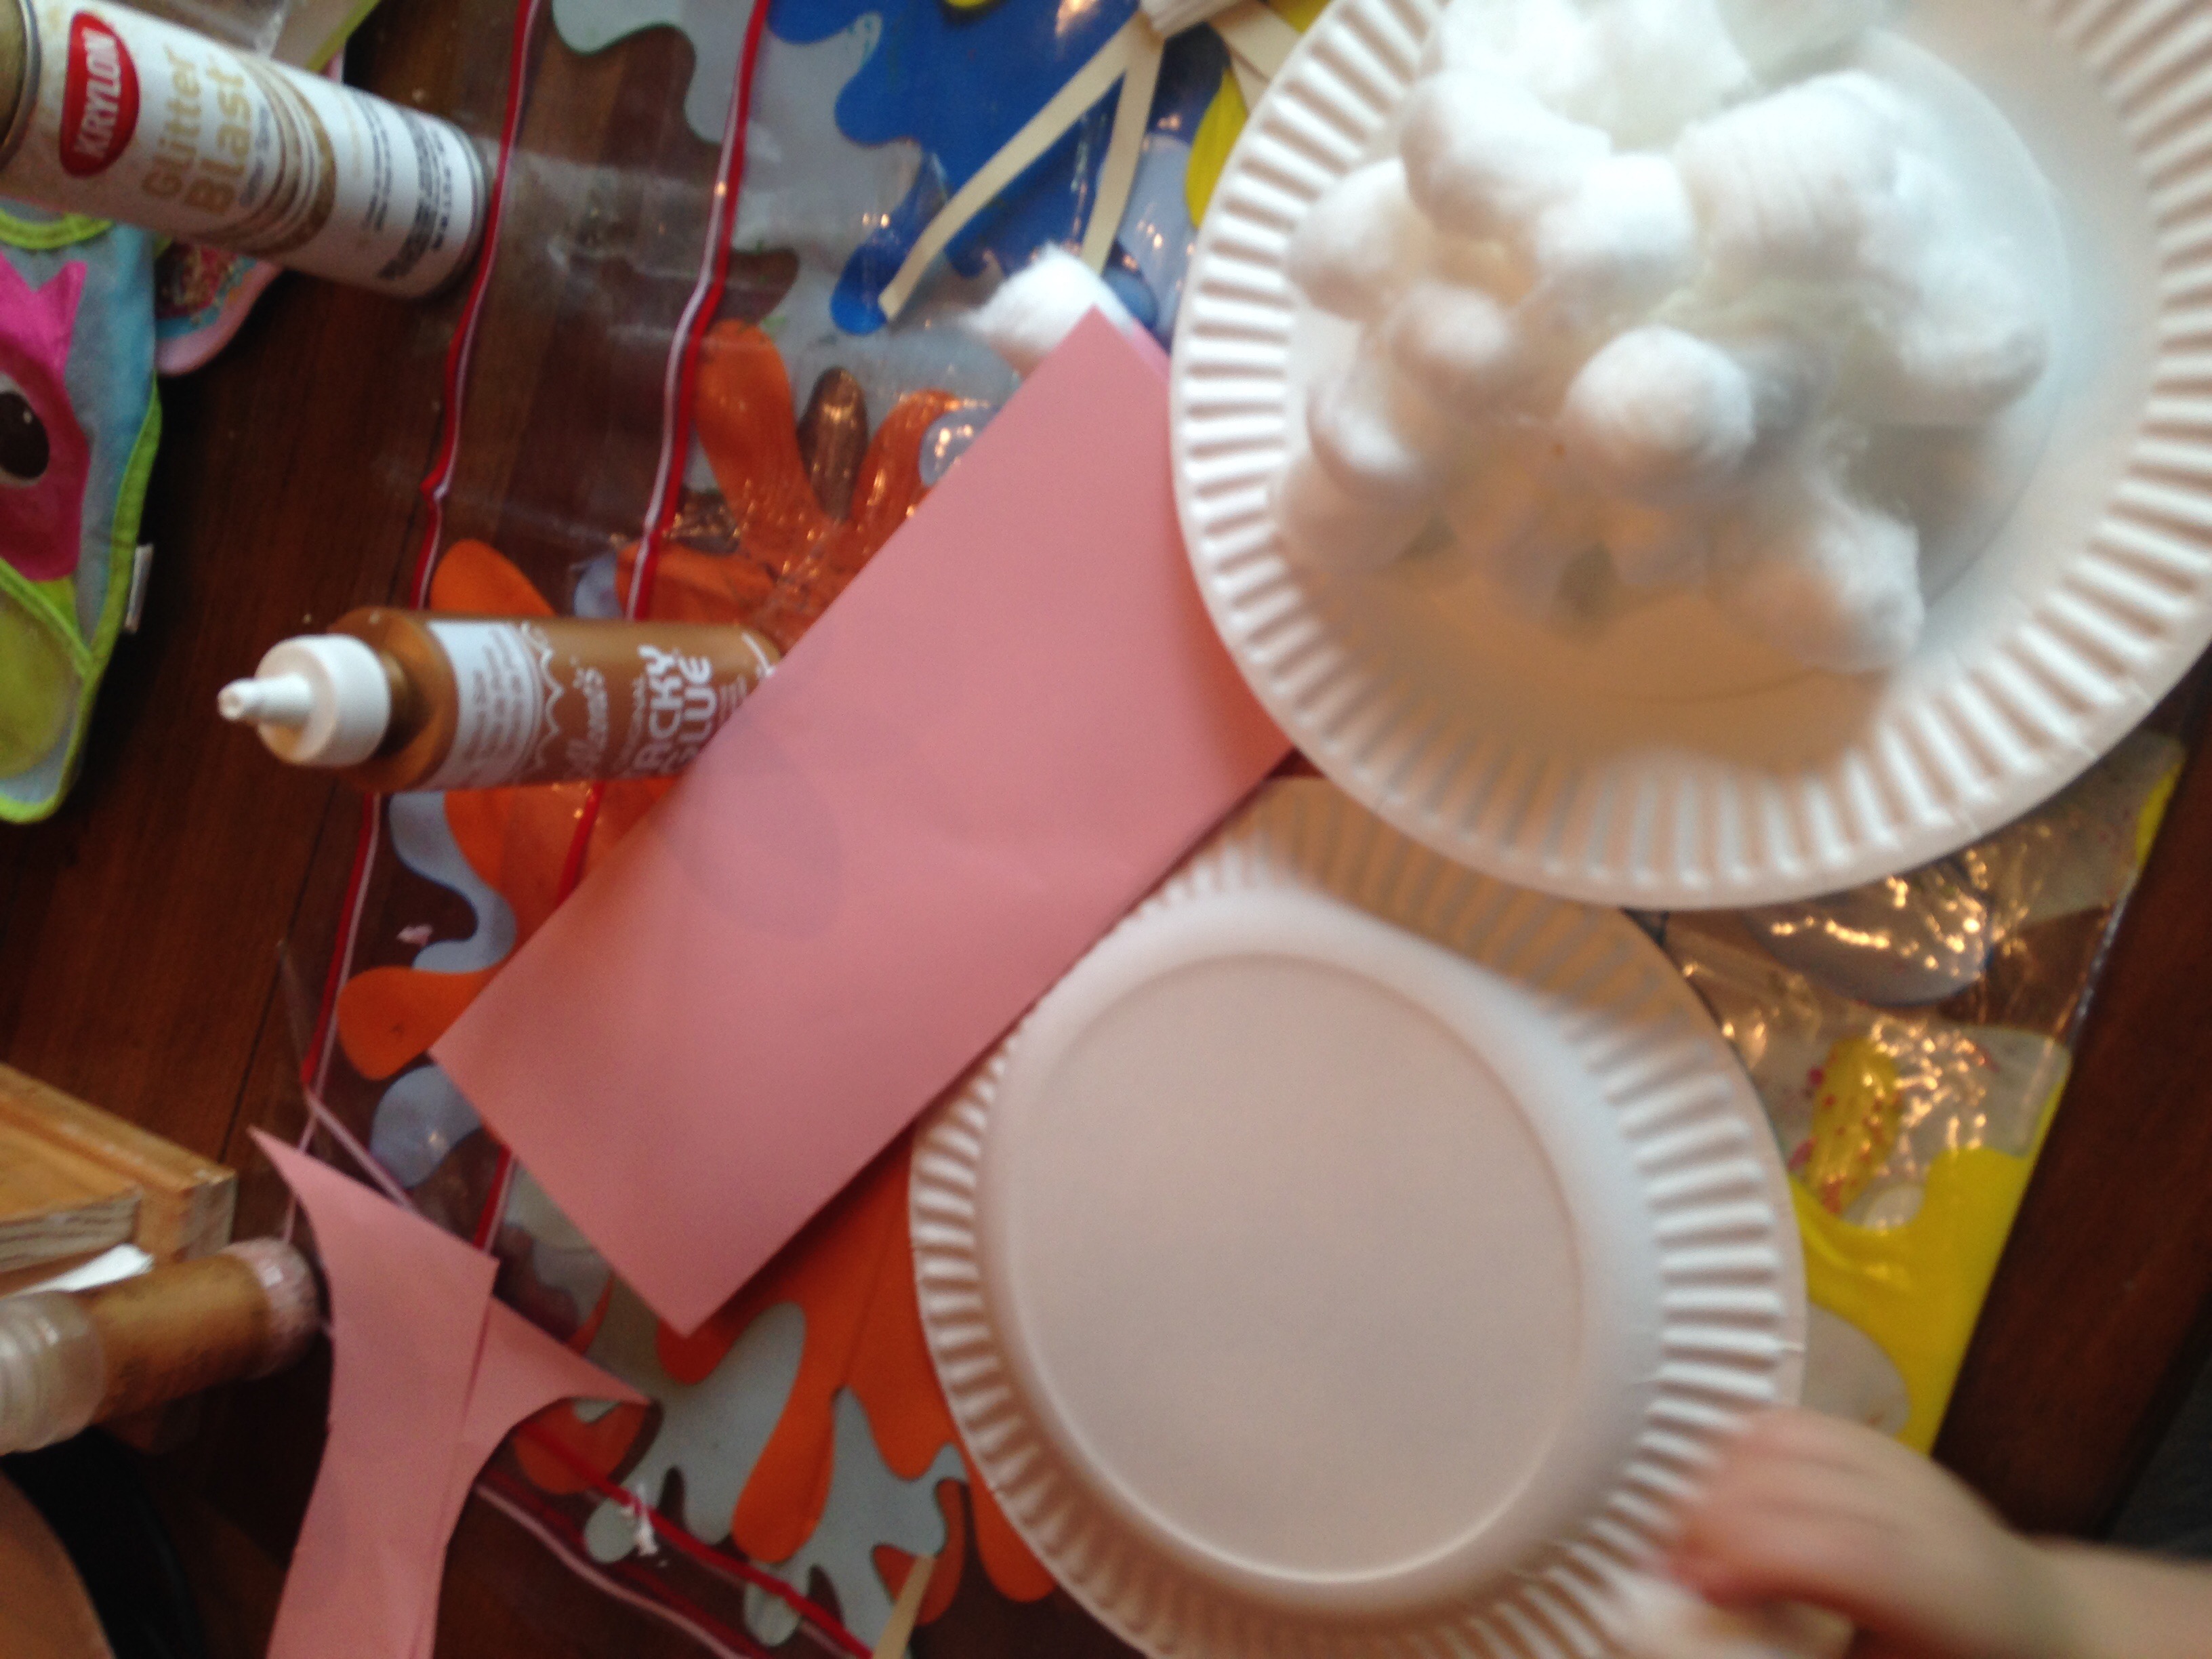
What you need is a paper plate, cotton balls, glue or glue stick, ribbon, pink construction paper, scissors, googly eyes, and any other decoratons(nose whisker mouth). 


And get creative! It’s a cheap project too! 


Glue the pink ears on and then use cotton balls to line them! 

FollowFacebookpinterestrssyoutube
ShareFacebookpinterest

Way Better Than Store Play Dough!

I’m sure you have seen the advertisements and blogs about making your own play dough, I sure have.  I always think, “That cannot be good play dough and how long does it even last?”  Well, one day I decided to make it for myself.  Actually, my 2 1/2 year old and I made it.

First things first, let me give you some advice:

  1. It is messy to make (especially with a toddler)
  2. Use an old pan (it can be hard to get the dye out!) and an older wooden spoon if possible
  3. It is totally worth it!  The play dough is awesome.  Much smoother, easier to work with, and does not dry out as easily.  I was very impressed.
  4. The play dough will last longer if you keep it in the fridge and can last 6+ months. You can leave it out in an air tight container as well, but it will not last as long.


Okay, lets get to it!

What you will need:

  • 1 Cup of all purpose flour
  • 1/2 cup of salt
  • 2 teaspoons of cream of tartar
  • 1 cup water
  • Food coloring (or natural or any dyes you would like to use)
  • 2 tablespoons of any cooking oil (even coconut oil works!) I used canola

Warning** Once you start the process it goes quickly so I suggest you read the directions once or twice and have everything ready before you start**


  1. Combine the flour, cream of tartar, salt to a saucepan and mix (the heat is off)
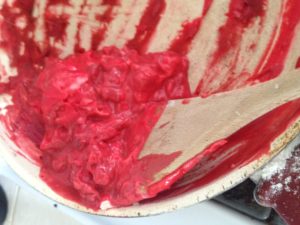
  2. Add the water, oil, and food coloring
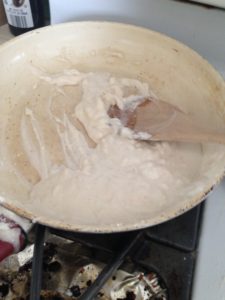
  3. Turn the heat on low to medium and stir away (a wooden spoon seems to work best) (it may get stained!)
  4. Stir it until it gets thicker like play dough or like sugar cookies
  5. Then turn the heat off and let it cool a couple minutes
  6. Knead it a little and it should roll easily into a ball.  Store in the fridge for it to last 6+ months in an airtight container or ziplock bag.  You can leave it out in an air tight container but it will last longest if its in the fridge.
  7. Okay enjoy!
  8. The quality of the play dough was much better than store brand and easier to roll.  I love it, and so does Cece!!

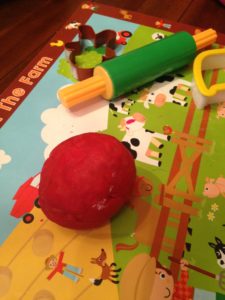
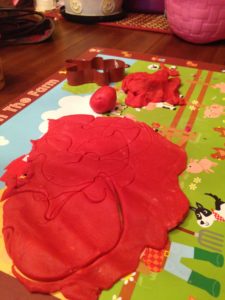
Cece enjoys using a rolling pin and cookie cutters to make shapes!

FollowFacebookpinterestrssyoutube
ShareFacebookpinterest

DIY Bandana Drool Bib

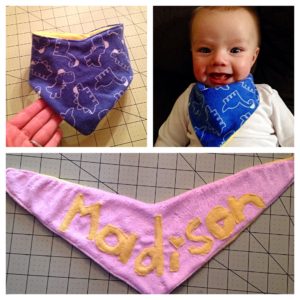
Once the drool starts it doesn’t stop!  I saw an adorable bandana drool bib in a store and thought, I could easily make that!  And you can too!  It is a simple 5 to 10 minute project that makes a great gift and a fantastic accent and cute and functional accessory for your little one.


As always, there is a youtube tutorial and the written steps on here!  Hope you enjoy!


This is for size 6months to 12months.

What you will need:
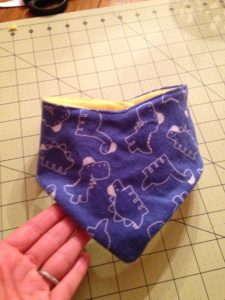
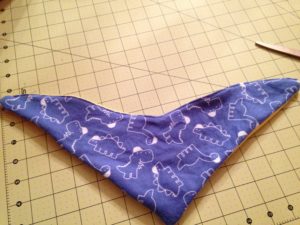
1) Two Fabrics (one side needs to be absorbent). I used a cute flannel fabric and then a yellow fleece material for the back.
2) Velcro or snaps to hold it shut

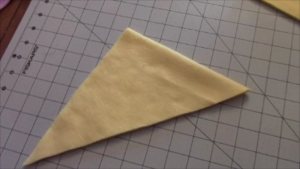
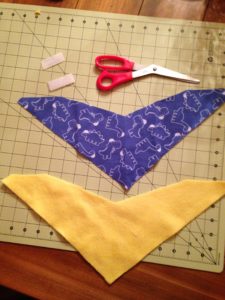
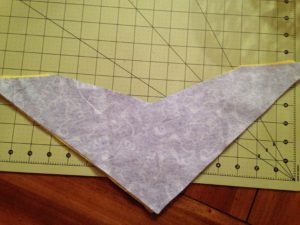
  1.  Fold your fabric in half. Cut out two triangles, one with each fabric (you can use my measurements or compare to your bib size for your little one) .  I used the measurements of  9in long and 7 1/2in on the fold.
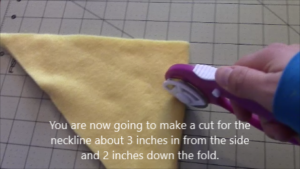
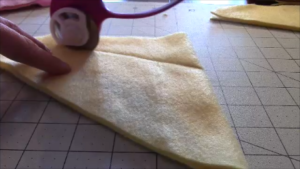
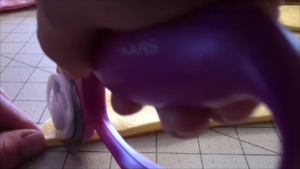
  2. Next, you are going to make a cut for the neckline about 3 inches in from the side
    and 2 inches down the fold.
  3. Cut the little triangle off the very end, abut half an inch, this is where the velcro will connect.
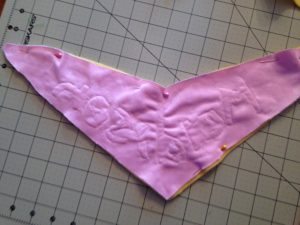
  4. Take pattern side facing pattern side and sew all the way around leaving a small
    opening around 2 inches (this is where you will pull it right side out)
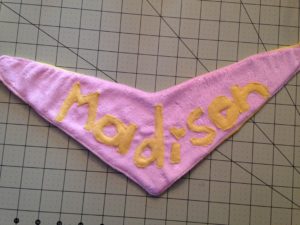
  5. Now pull it right side out and hand sew the hole shut and VOILA! drool bib
    complete!
  6. Iron press it!  You can also go around the whole outside and sew it if you like for the design look!
  7. Next you want to attach either your velcro or snaps.  I have iron on velcro I used.

Hope you enjoyed this tutorial, if you have questions just post! Thanks


FollowFacebookpinterestrssyoutube
ShareFacebookpinterest

Breast is best? 

I’m sure you’ve all seen, heard, and been drilled that breast is best. Breast is best. Breast is best. 
So what about moms who can’t or choose not to breastfeed? What type of message does this send?  


This letters for the new mom, the mom struggling to breastfeed, the mom who chooses not to, or is unable to breastfeed, and to the moms who are strictly breastfeeding. 
Dear Mom or mom to be, 

Congrats! You will soon or have a little cutie pie! You may have noticed the ads, commercials, and educational information that says breast is best and tells you how fabulous your baby will grow up to be if they are breastfed. Or maybe you heard you will lose weight and still have big boobs?  
Or maybe you have hit reality. To the mom struggling with breastfeeding, I’ve been there. I know what it’s like to feel the intense pressure To breastfeed and are unable to produce enough milk damnit. stop looking at all the forums giving advice or the moms asking what to do with their abundant amount of breastmilk overflowing from the their faucets, it will only make you feel worse. 

Yes you can try supplements, you can pump before and after and all night and day and still not be able to make enough milk, but there’s no shame in giving formula, that’s what it’s made for, feeding a baby! Maybe you work and can’t pump, or have a sick baby, or whatever reason or not you are having difficulty, stop feeling like a failure.
I’ve been there, twice! Two preemies with poor underdeveloped latching skills in the nicu. Or maybe you were sick  or developed mastitis or one of the many fun side effects of breastfeeeding you weren’t told about. I’ve been there. 
Maybe it’s gotten to the point you’ve developed anxiety or depression and are no longer enjoying the precious moments with your beautiful baby. You just don’t understand why none of the supplements medications gallons of water pumping and all the other tricks aren’t working. They said it would be easy? All my friends are having no problems, why can’t I just do it? There must be something wrong with me.
Maybe you see all these photos of moms breastfeeding or posts about milk overproduction and you feel like strangling someone. I’ve been there. 
 Maybe you’re afraid of the looks you get in public feeding your baby a bottle. Maybe you change the topic when someone talks about feeding your baby. 
On the other hand, maybe breastfeeding came easy. Maybe you don’t understand why everyone complains about breastfeeding? Maybe you scoff at formula feeding moms and just don’t get it. Maybe you enjoy every moment of breastfeeding and having the freedom to whip them out wherever and whenever you want.  

To mom who feels like a breastfeeding failure and cry over not being able to feed your baby, YOU ARE FEEDING your baby. A happy mom makes  a happy baby. Whatever you feed your baby, breastmilk, formula or both, you should be proud. Proud you are a mom, proud you are doing your best, proud you are making the best choice for you and your baby, proud to be you!
When you look back at this short period in your life you want to be proud and happy, not miserable. Do what’s best for you there is no shame in any choice.
To the mom to be, don’t be afraid do your best with whatever choice you choose and if it doesn’t work there’s always help or another choice, don’t feel stuck in a corner. You’ll do great and be proud. 

To the happy breastfeeding moms, I hope this article helps you understand it’s not easy for everyone and be understanding.
Finally, to the struggling moms who feel like failures, you are amazing, stop killing your self and be happy. Looking back after my first I can’t believe I put myself in such a tail spin over breastfeeding, I wasted time worrying instead of enjoying. The public and healthcare puts far too much pressure on a new mom and sends the wrong message. Enjoy the free time your using for pumping googling and crying instead for snuggling with baby and reading books

You are an awesome! 

Mom no matter how you feed your baby, formula or breast, keep Up the good work and smile!  Your baby will grow up to be smart and happy because you are happy and you spend time with your little one. 

FollowFacebookpinterestrssyoutube
ShareFacebookpinterest

Summer Bee Dress

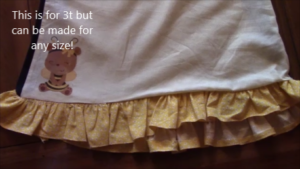
Cecelia’s Summer Bee Dress

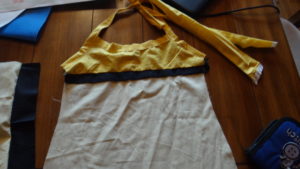
This lovely summer spaghetti strap dress was suppose to be made in time for my sister in laws baby shower in June.  However, I was unable to finish it due to my water breaking early and being hospitalized.  I finally finished it and love how it turned out!  I free handed the design and sizing.  I meant for it to end up as a 2t size, but as you can see it’s a bit big!  This works out great since its winter and not summertime!  She can wear it this upcoming summer.  I can’t wait for the warm spring and summer to come!  Bulbs and flowers emerging and gardening time, but let’s get back on track.

As always there is a youtube tutorial and this written one.  I do not have a pattern as a freehanded it and designed the pattern myself as I went.  I used one of my Cece’s dresses to size it and make part of the pattern to guess the sizing.

Unfortunately, a lot of the video tutorial was accidentally videotaped over with my baby boys arrival home (sorry more important anyways!).  So I videotaped again trying to explain the best I could.  If you have questions please let me know!  More great videos to come soon!

What you need:

  • Chose of fabric colors and types (I chose three colors
  • 1/4 inch elastic (for gathering of the top of back of the dress)
  • Bias tape (or you can make your own like I did)
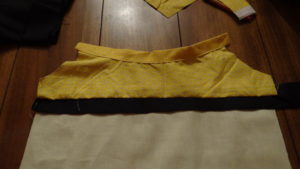
  1.  First you want to cut out your fabric pieces.  I looked at another dress I have for my little one and based the main front and back piece by measuring and estimating the sizing.  Then I cut the bottom piece I needed which ended up being about 40inches long and 4 inches wide (for the ruffle on the bottom). I ended up added another color (black) on the two sides of the dress.  Then I also cut out fabric to make bias tape (here is a good tutorial on making bias tape if you’ve never made it before..BIAS TAPE TUTORIAL. )
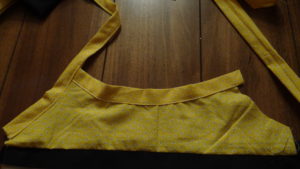
  2. Take your strap (black piece) and sew it to the top piece and bottom piece.  Pattern piece to pattern piece (facing each other) sew the bottom to the strap
    then the top.
  3. I made my own bias tape by cutting and ironing the fabric.  Then you proceed to use it to line the top of the dress (sew it on!). Then sew up the armholes and long to tie…estimate how long you want the straps to be to tie behind the neck (longer the better!)
  4.  
  5. Take the back side and sew two black (or whatever color you choose) by sewing
    facing pattern sides together
  6. I decided to add a small piece of fabric above the black strap to make it higher .  If you want, sew and connect.  Then place from and back piece facing each other and sew to connect from and back.
  7. Add elastic to back piece if you want it ruched and tighter.
  8. The last part is the bottom ruffled part.
  9. Hem the bottom first about 1/8inch
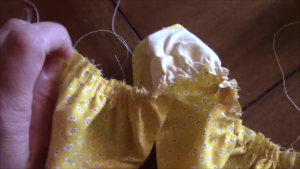
  10. To gather your fabric put your machine on the longest thread setting make two
    straight lines (Do not reverse!). Roughly 1/4 and 1/8 inch away from the top.
    Leave long threads on the ends.
  11. Next you knot the bottom of the back side of the threads so you can gather, just the two in the back (not the front).
  12. Pull the bottom threads from the other end and slide the cloth along the threads toward your knot making small folds. When your cloth has been
    gathered the way you want it, knot the ends securely with each other.
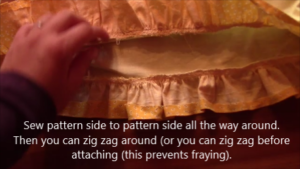
  13. Sew pattern side to pattern side all the way around.  Then you can zig zag around (or you can zig zag before attaching (this prevents fraying).
  14. Then you are finished! Great Job!  Have fun! Post your pics!
FollowFacebookpinterestrssyoutube
ShareFacebookpinterest

Homemade Paint!

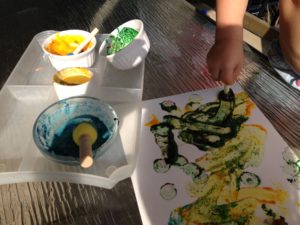
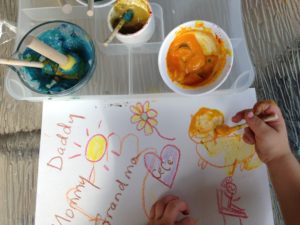
Looking for an easy homemade nontoxic paint for your little one to be creative?  Well, look no further!  We experimented with several types of homemade paint and below are our favorite recipes!


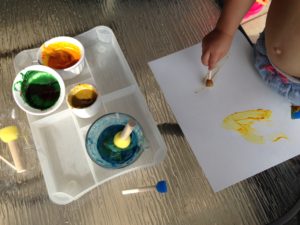
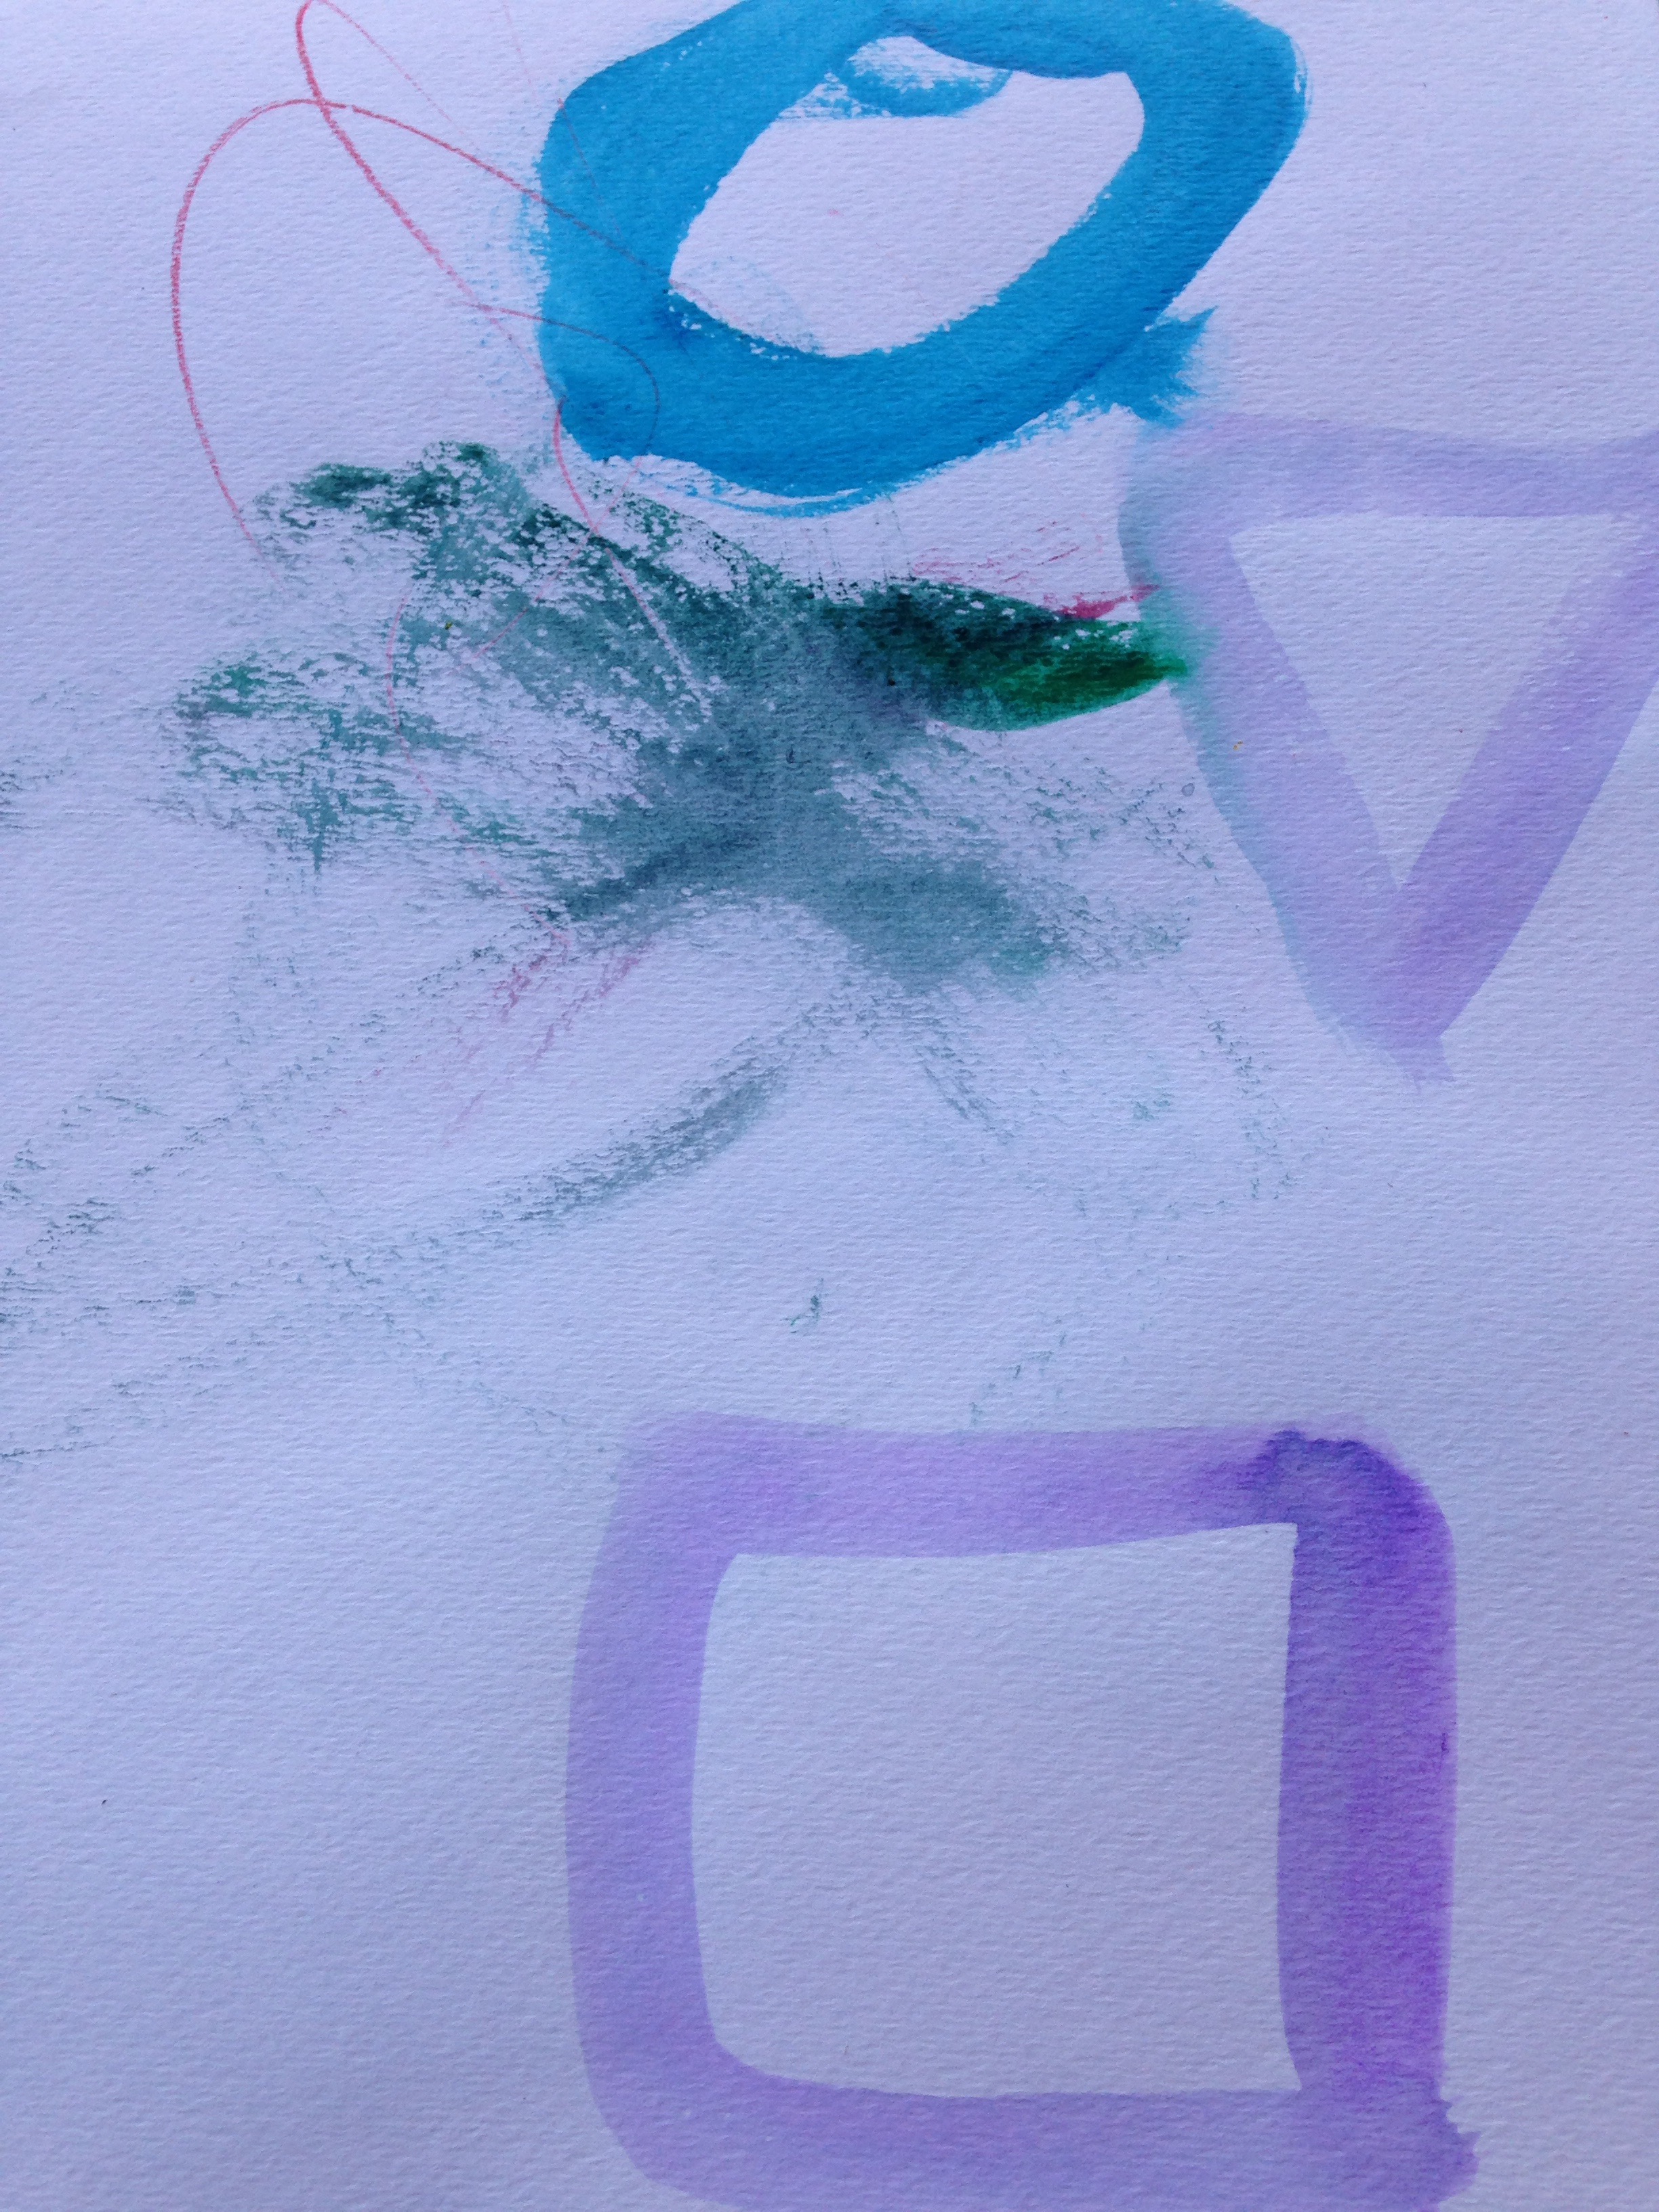
Kids of all ages love painting!  You can have your little one finger paint, use brushes, sponges, or even potatoes!

So we started off making completely edible finger paint with only a couple ingredients!

img_5388

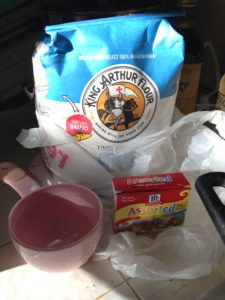
Here is what you will need: (this makes enough for about 4-5 different colors depending on how much you want for each)…

img_5362

  • 1 cup water
  • 1/2 cup of flour
  • extra water to thin out
  • food coloring, watercolors, or natural colors such as beet, carrot, tumeric

Instructions:

img_5363

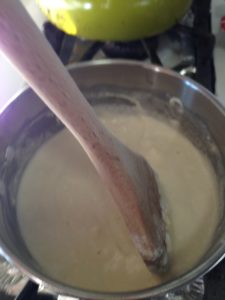
  1. Place pot over medium heat and pour flour and water into pot and continuously stir the ingredients until it becomes a thick paste.
  2. Take the pot away from the heat when it no longer sticks to the sides
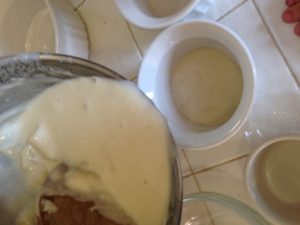
  3. Add cold water to the blob until it reaches the consistency you like and place the amount you desire into separate bowls to color.
  4. Add food coloring, watercolors, natural colorants such as beet or carrot juice, turmeric spice
  5. img_5364
  6. These can be enjoyed right away or stored in the fridge!!

img_5390img_5391

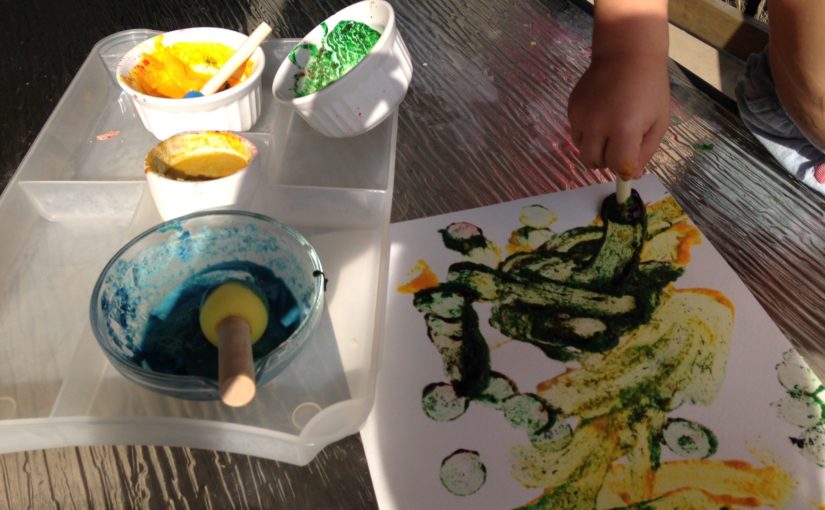
This paint works well for fingerpainting or sponge painting.  You can also use brushes but as you see in the photo, the colors come out thinner and lighter than traditional paint.  The color dries on without fading. We used the paint several days in a row.


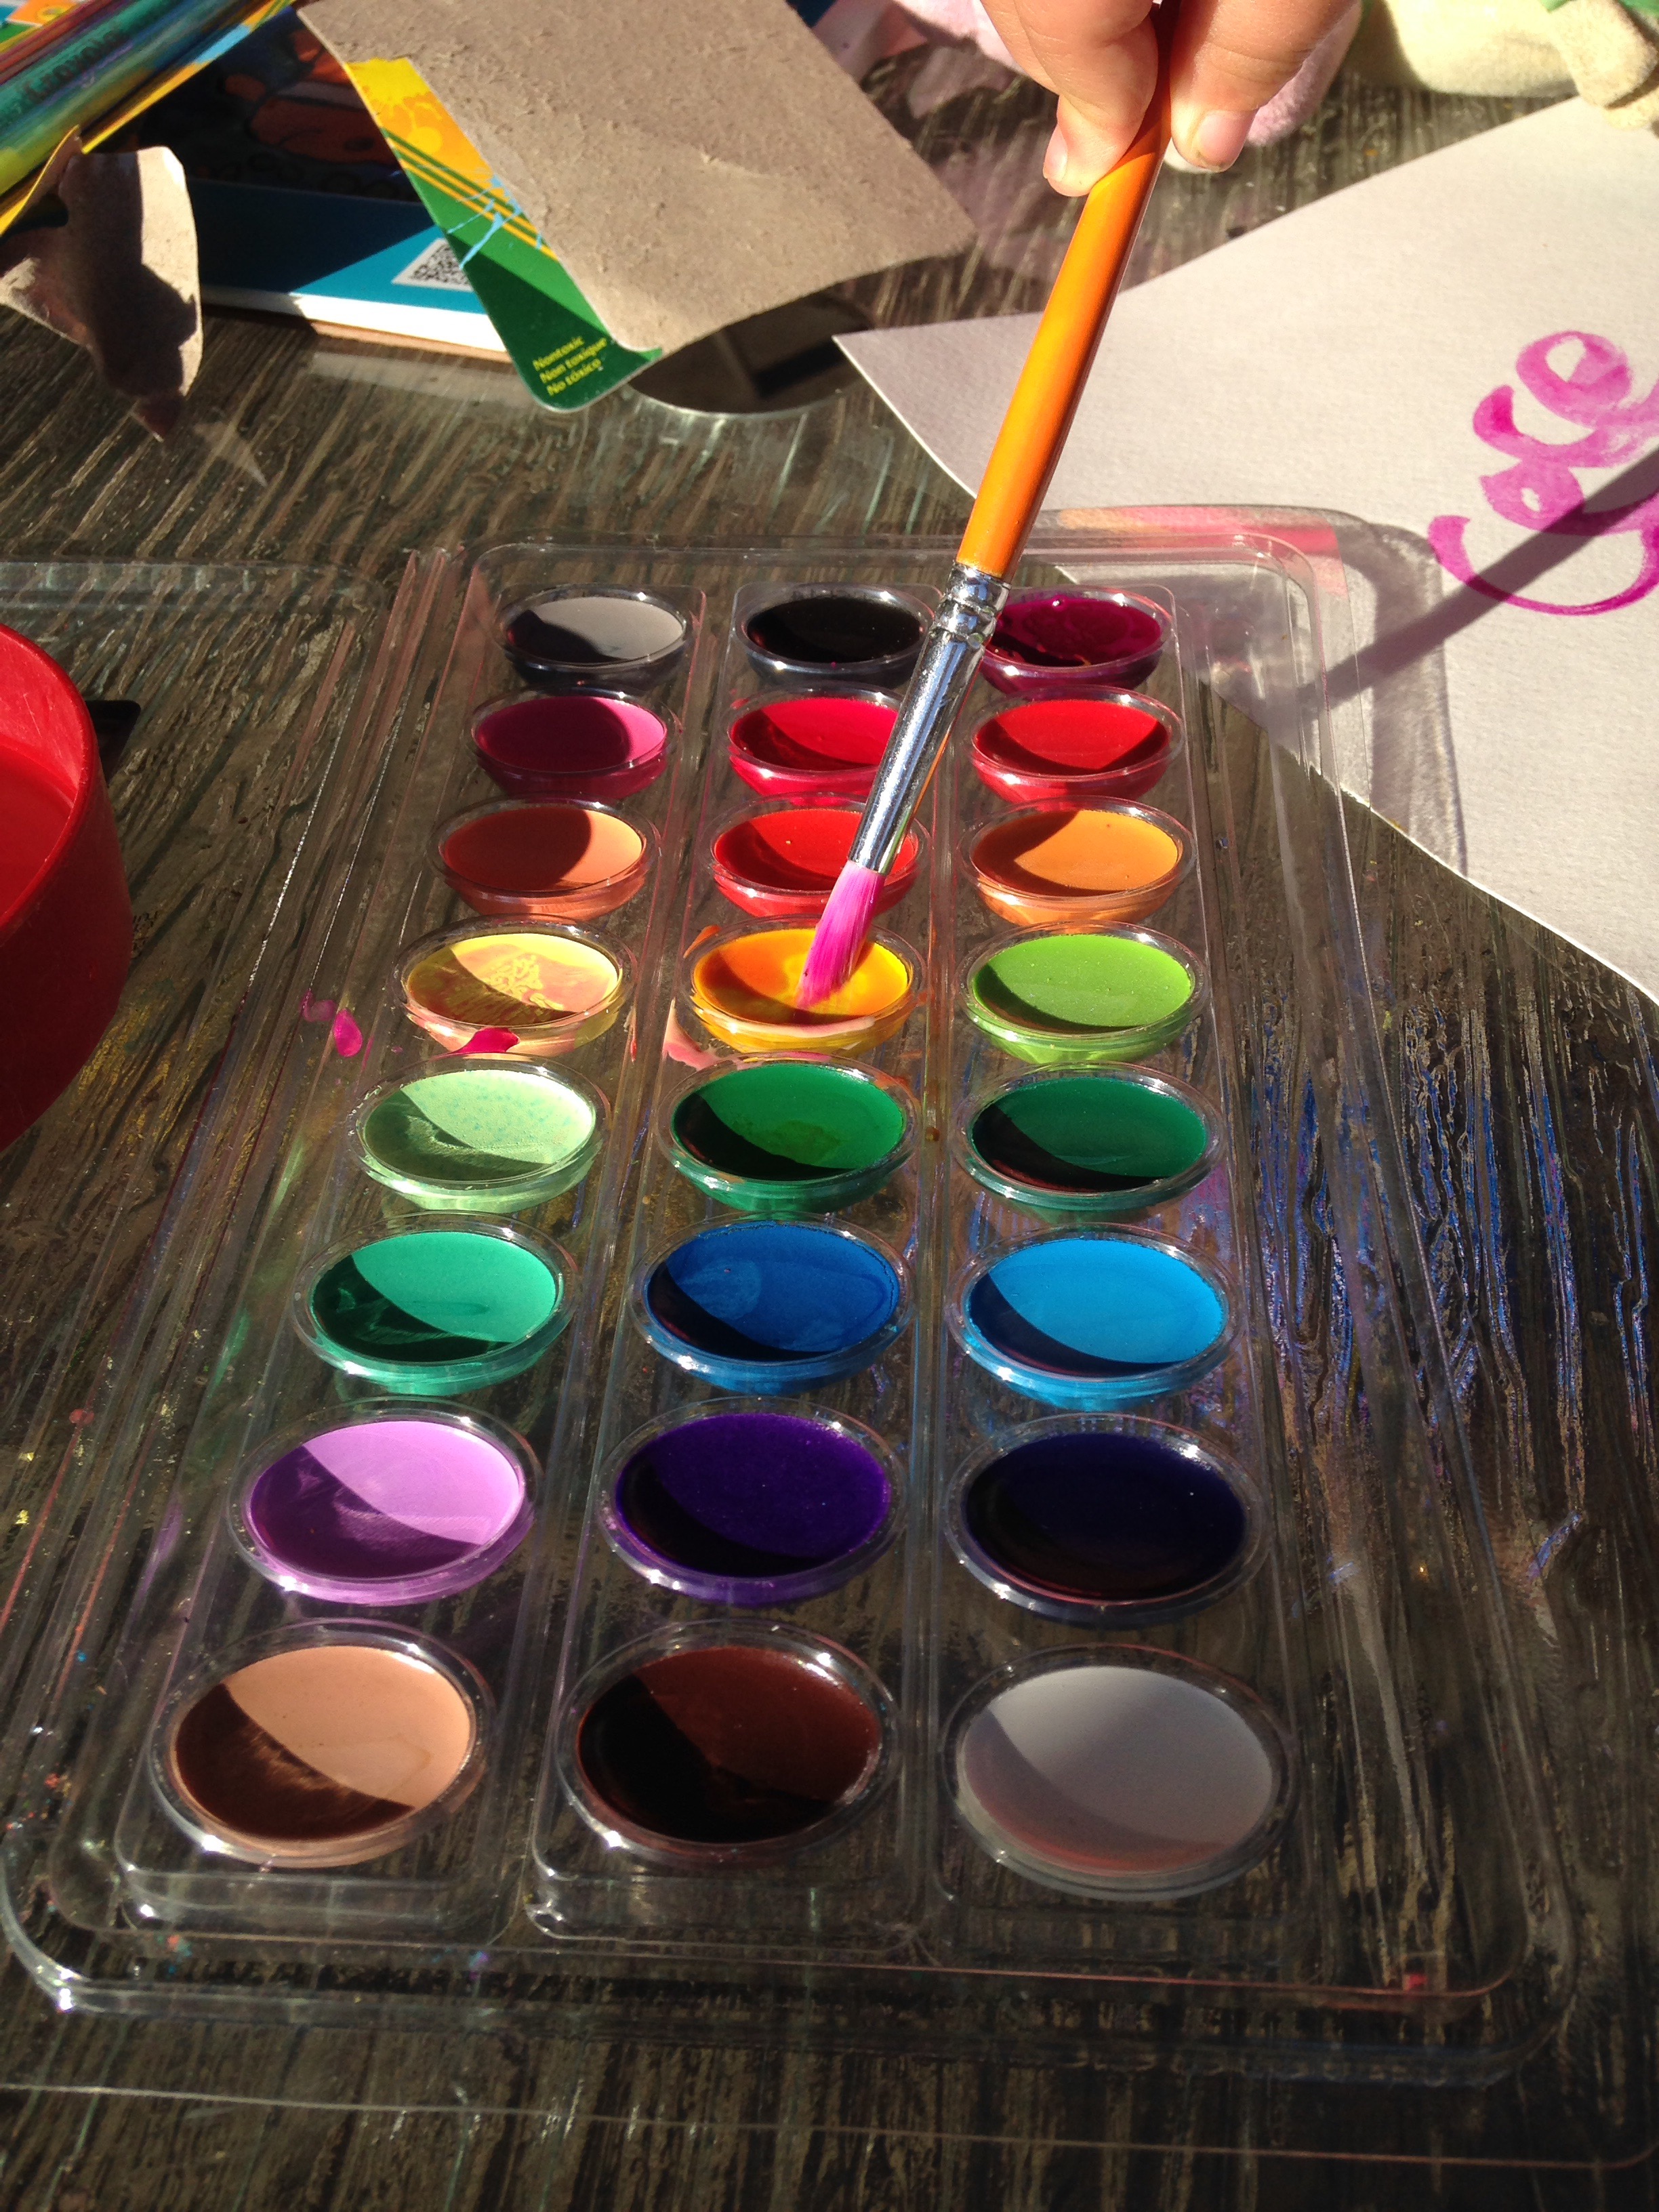
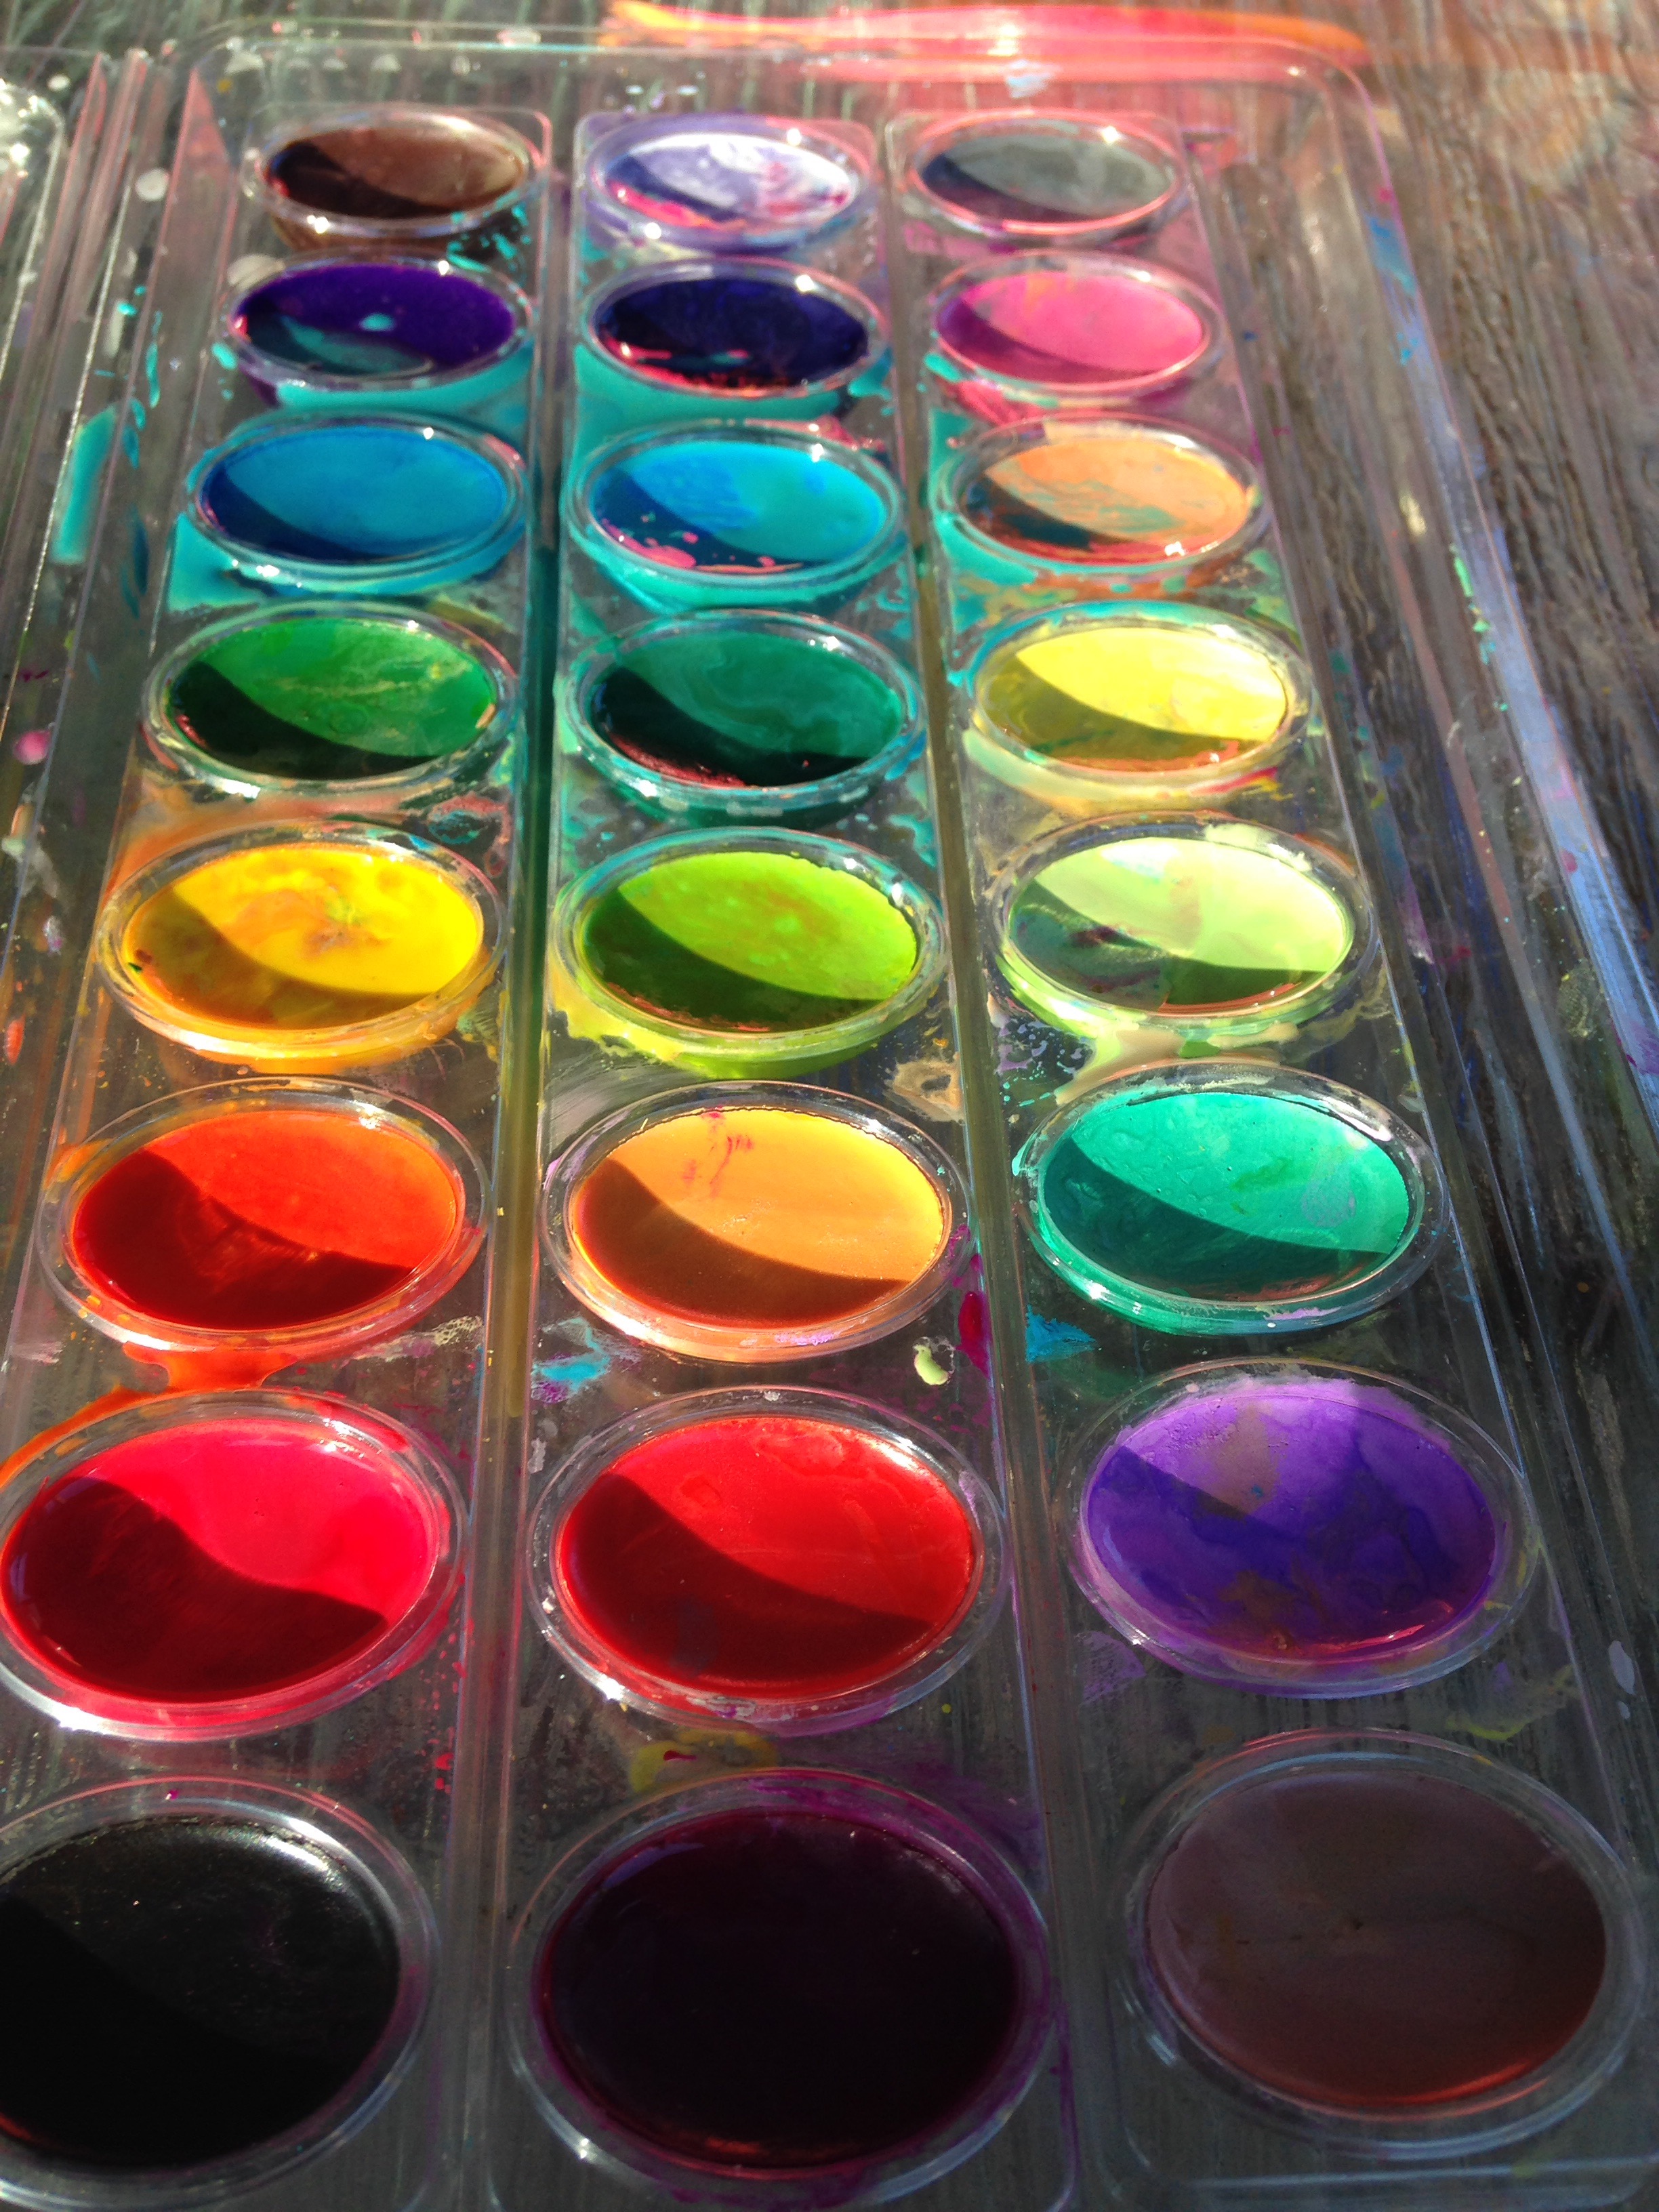
And who doesn’t love watercolors?  The problem with watercolors is that the colors can mix and you only get very small amounts of each color.  However, this can all change with homemade watercolor paints!

photo by factorydirectcraft
tbsp. baking soda
2 tsp. white vinegar
1/2 tsp. light corn syrup
2 tsp. corn starch
food colors*
containers for storing paints*
something to stir with (toothpicks)

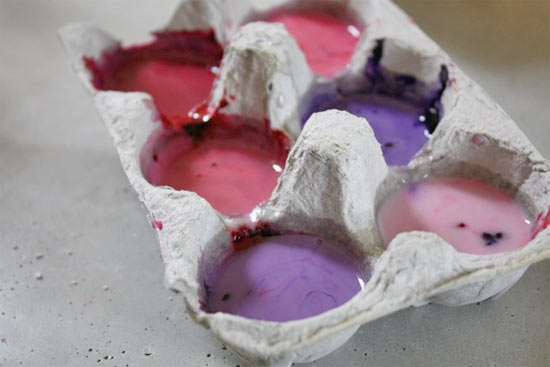
photo from happyhooligans

You can use a muffin pain, disposable cups, egg cartons, or any other container that you aren’t going to use for a couple days.

Instructions:

1)Mix baking soda & vinegar in a cup with a spout.  I used my Pyrex measuring glass.  Let the kids watch as it fizzes

2) Add in light corn syrup and stir.

3) Stir in the corn starch until well combined.  (If it gets too thick, add a little more vinegar.)

4)Pour into your paint containers- not too full, you need room for the food colors.

5)Add the food colors and stir until you reached your desired color!

6) Now if you want them to harden into hockey pucks you have to let them sit almost two days!  If you plan on using it right away that’s fine too!


Sponges and potatoes!! 


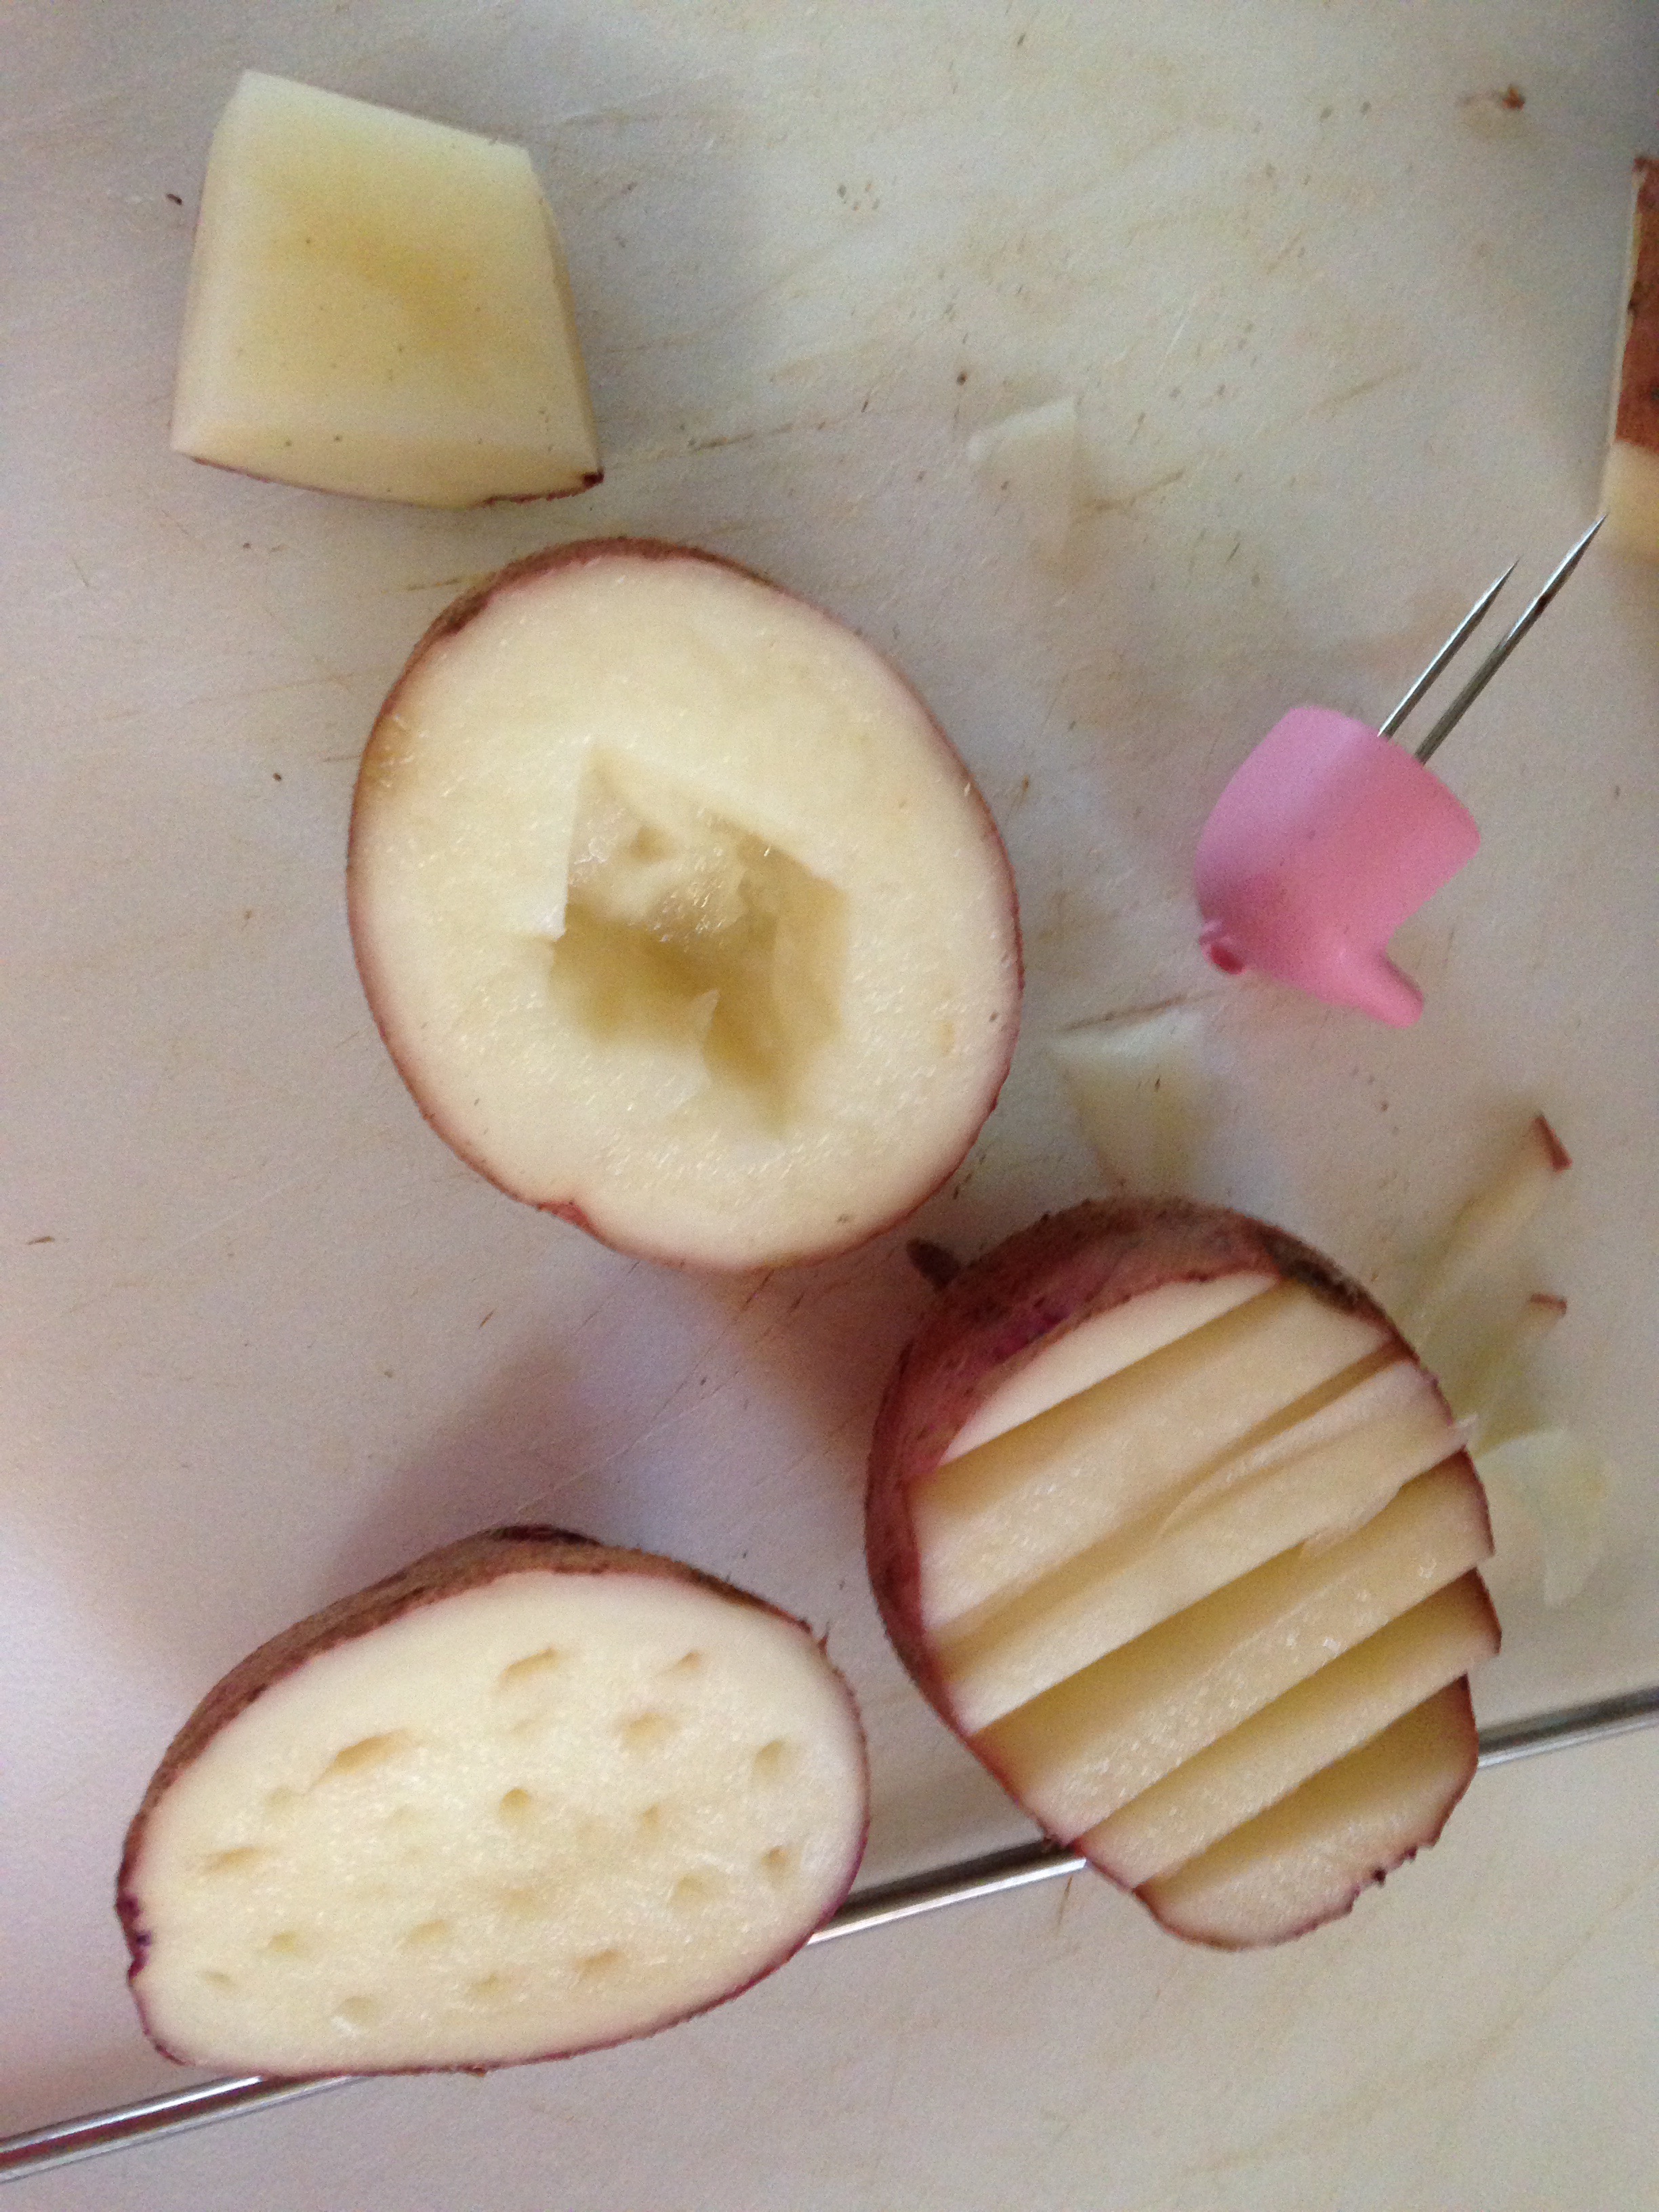
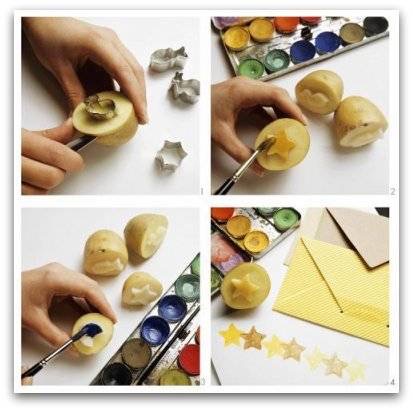
You can cut out designs in potatoes or out of sponges and dip into paint and press just like a stamp! I remember doing this as a child! 


You can also use cookie cutters and paint the potato. This picture was taken from Fun stuff
Dollar store sponges are great to cut out designs for painting! 

Enjoy! 

FollowFacebookpinterestrssyoutube
ShareFacebookpinterest

10 DIY Baby Costumes under 10 dollars! 

Since you generally don’t take a baby trick or treating, you don’t want an expensive costume. You also want a costume they won’t immediately pull off or scream because it’s uncomfortable. 

So here are 10 costumes you can make for under 10 dollars! 

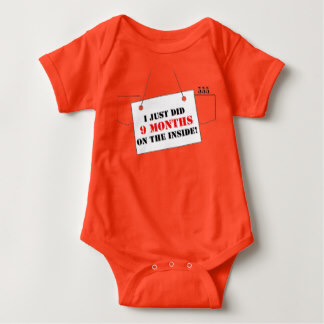
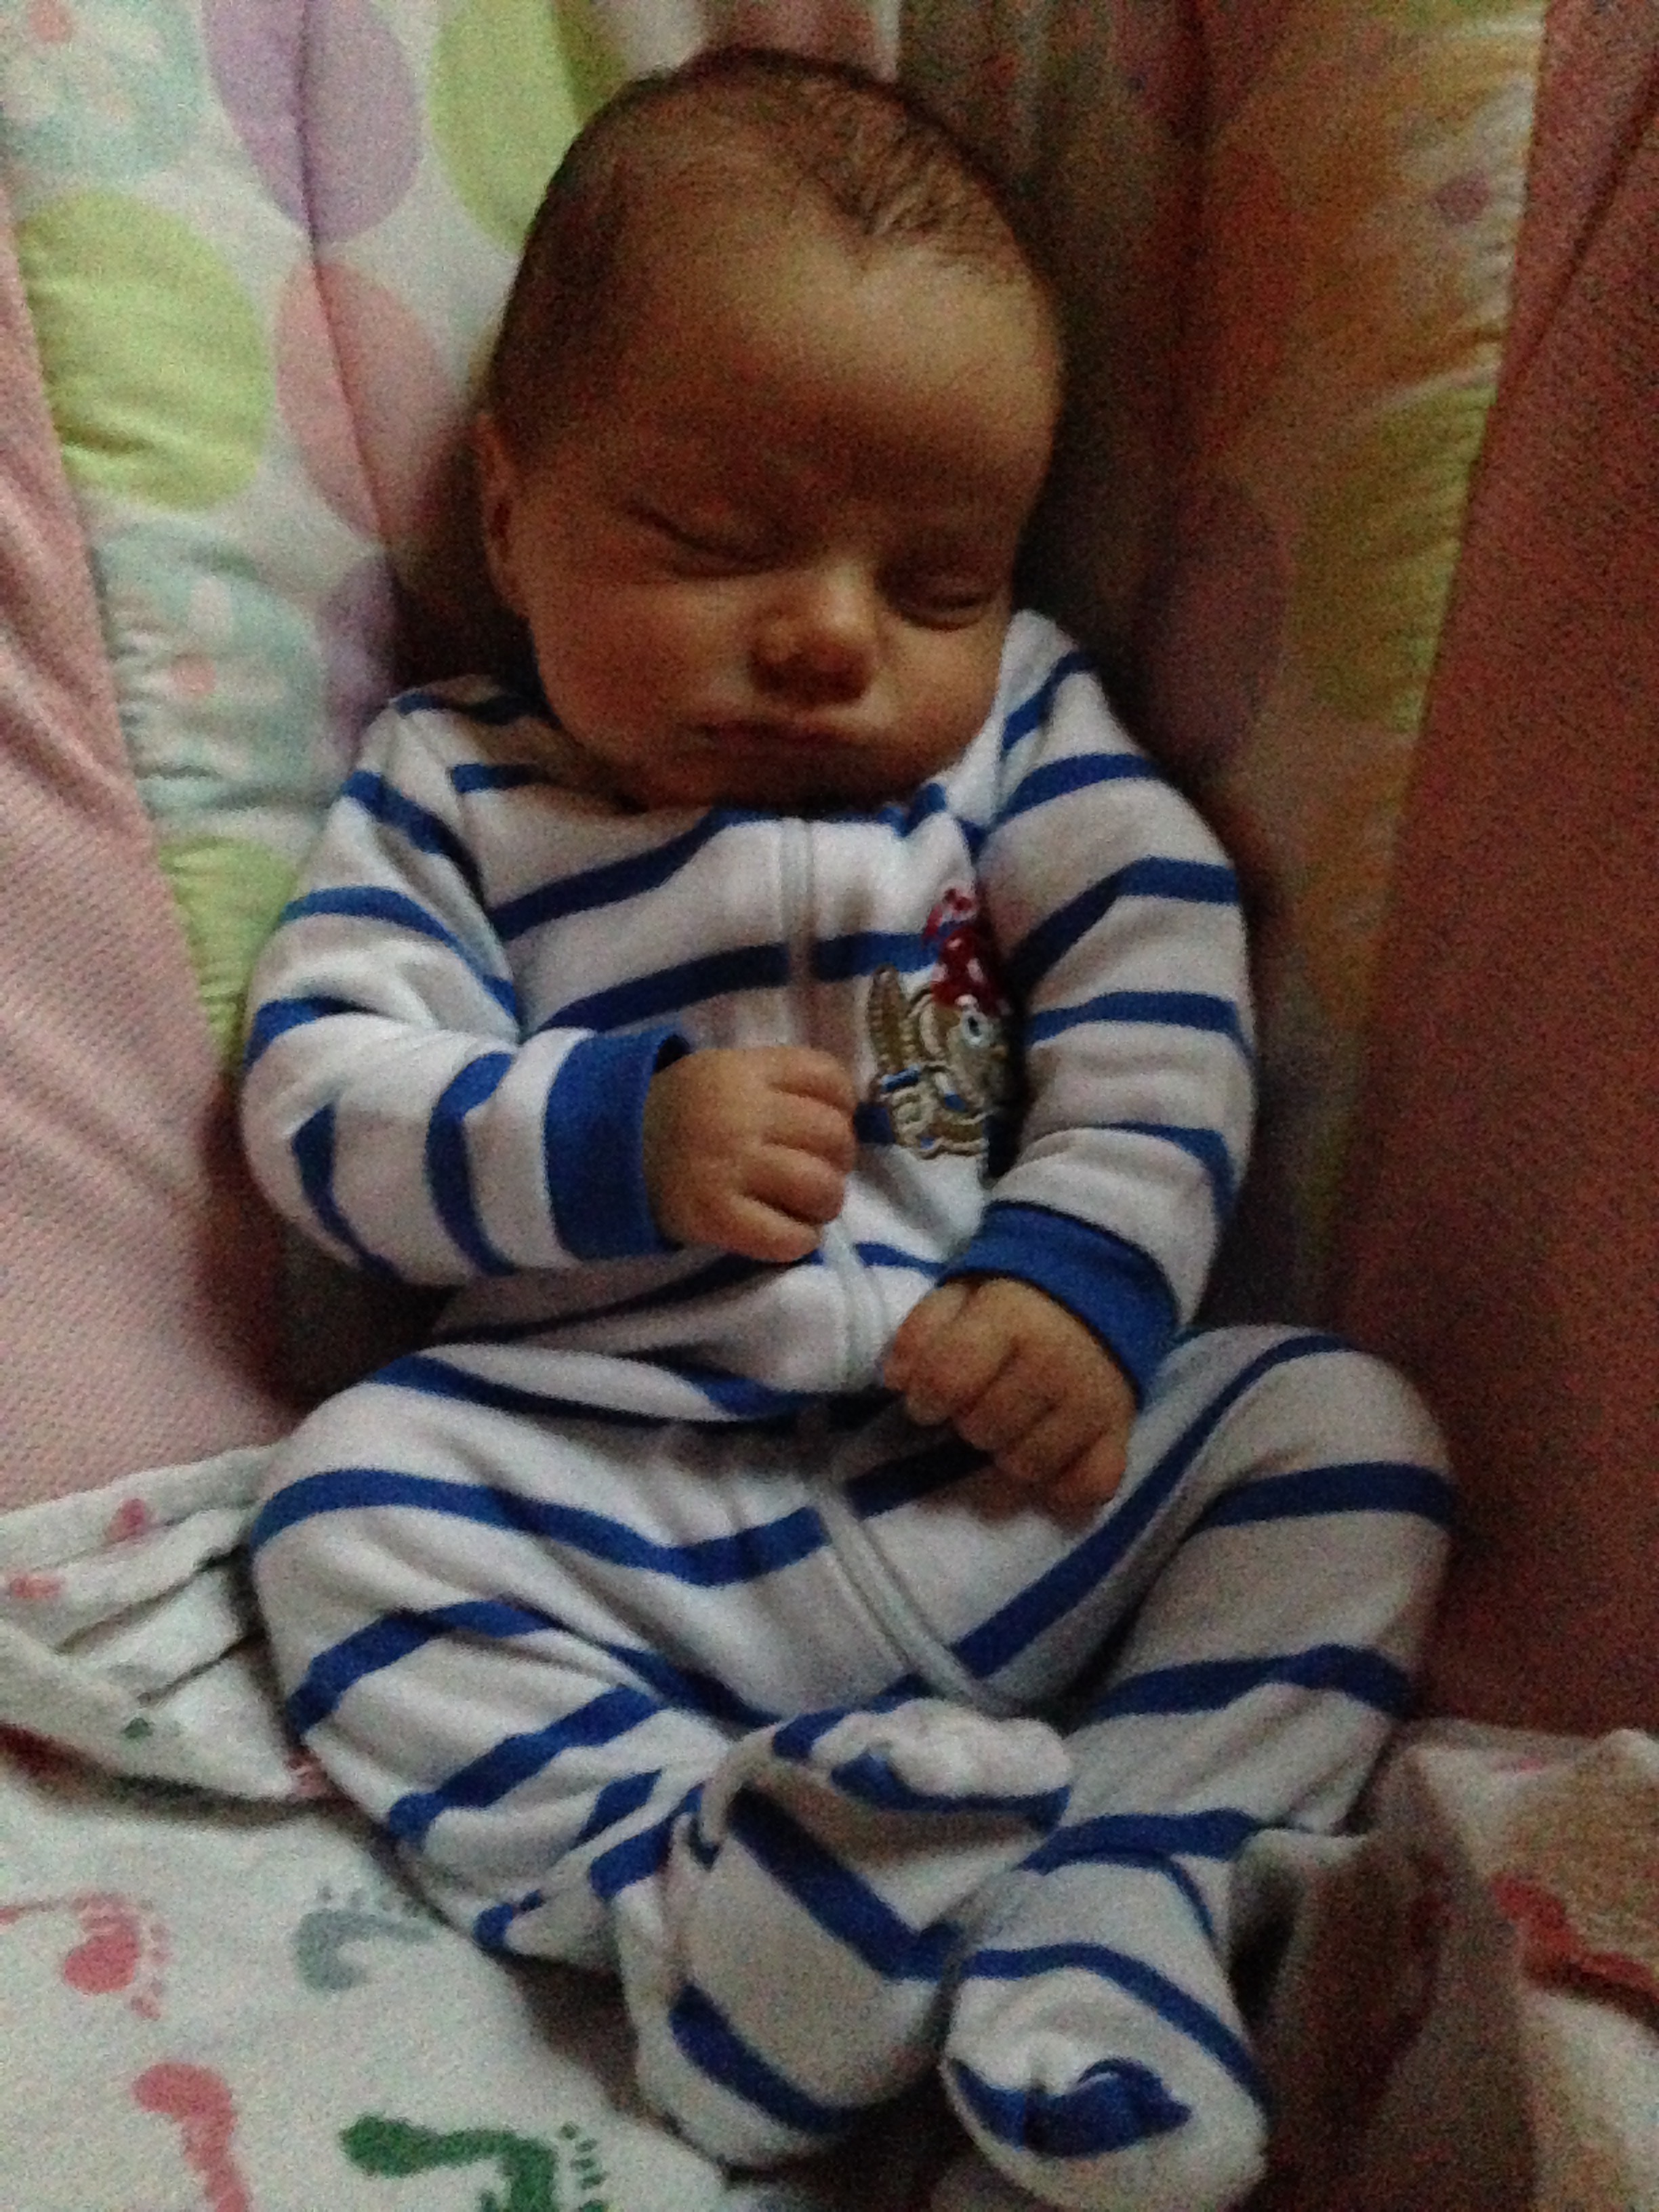
1. For your newborn! Prisoner. Make yourself with a sharpie or sticker. Use a black hat. 


You can also use a striped outfit if you have it and a black hat.

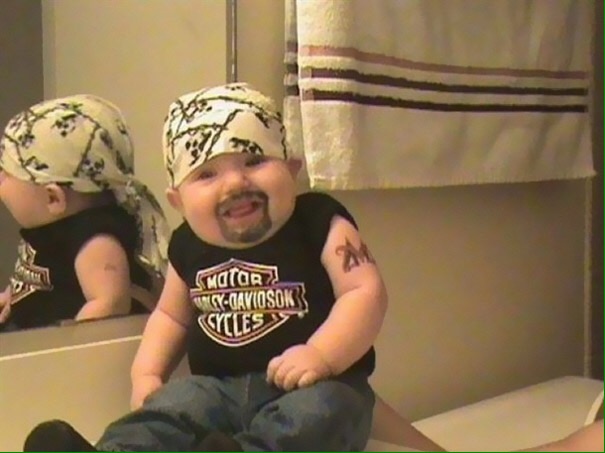
2. Biker baby! 


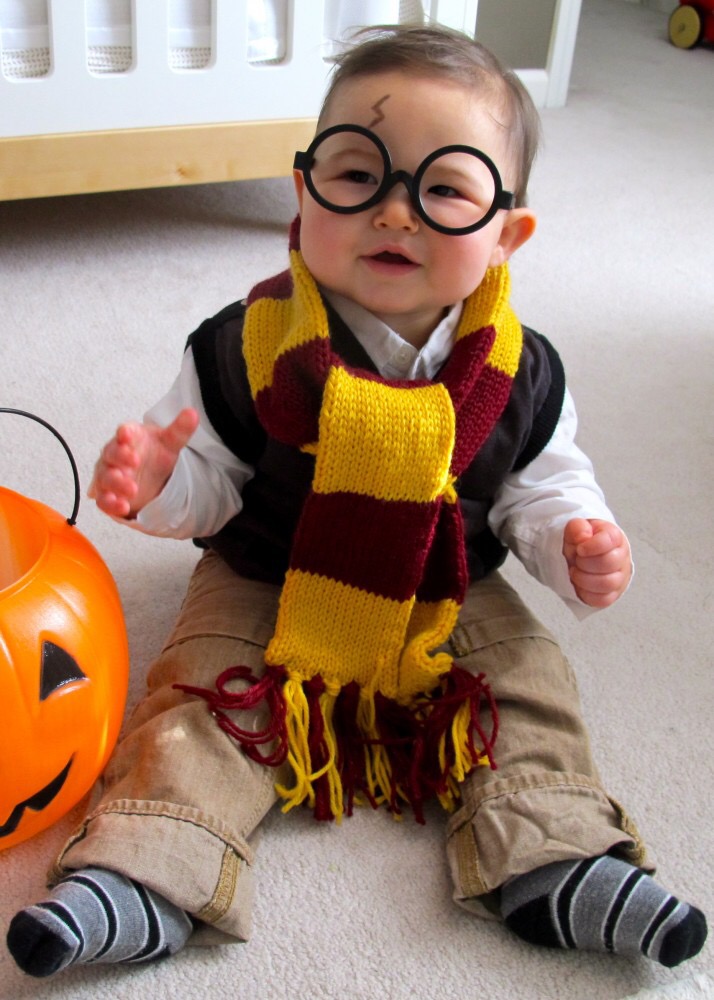
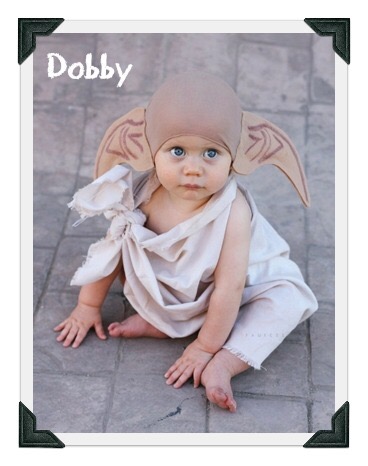
3. Harry Potter!! 

Picture from tumblr 

Just use felt and draw ears on! 

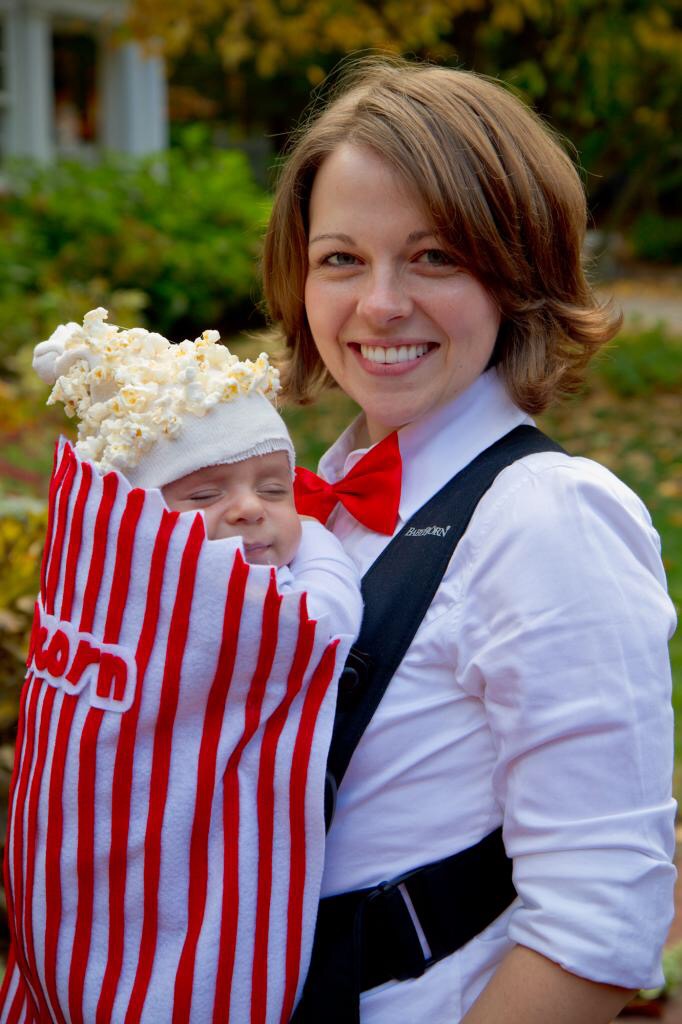
4.Popcorn baby holder- how cute! Just buy some felt and glue or sew it together! 

Photo is from this placeisnowahome 
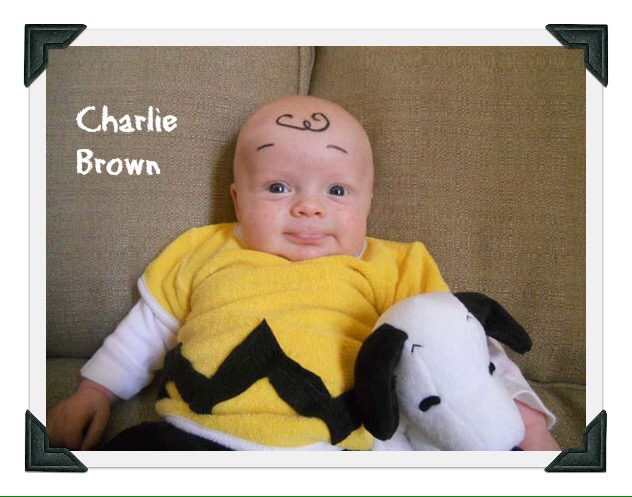
5. Here’s and idea- Charlie Brown!!! Although I don’t think I’d draw on my baby’s head, still a cute idea. You can use a hat to draw on

Picture from the meta picture

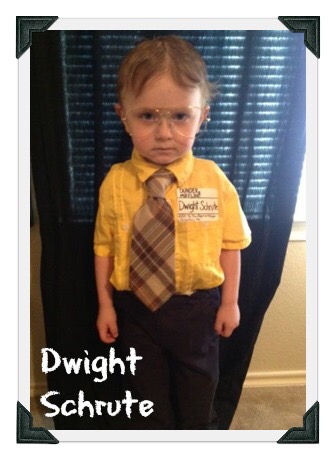
6. I had to include this one since I love Dwightschrute from the office 

 Picture from meta picture 

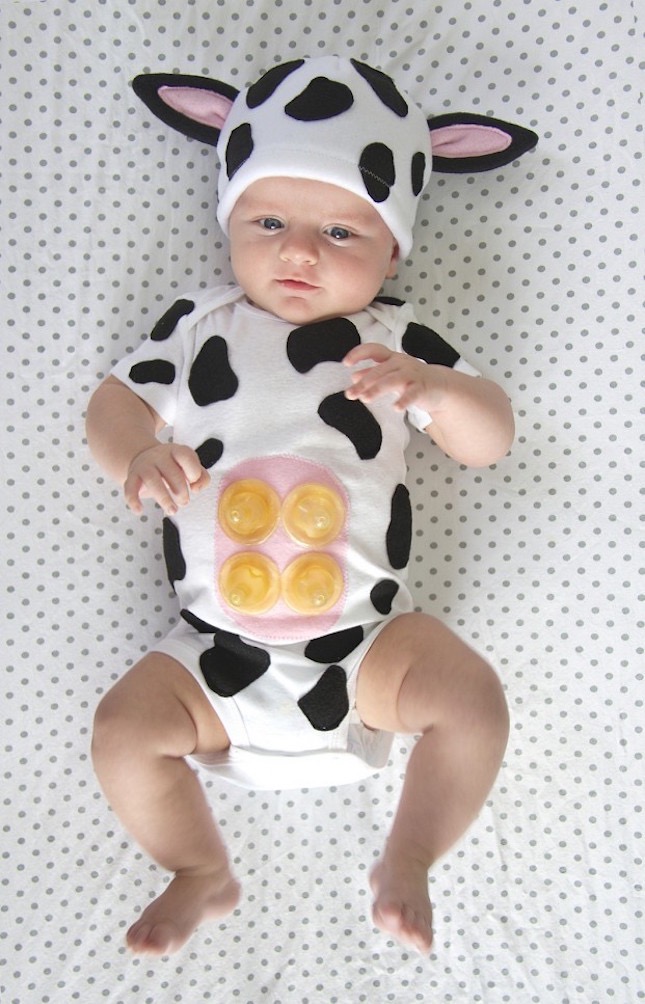
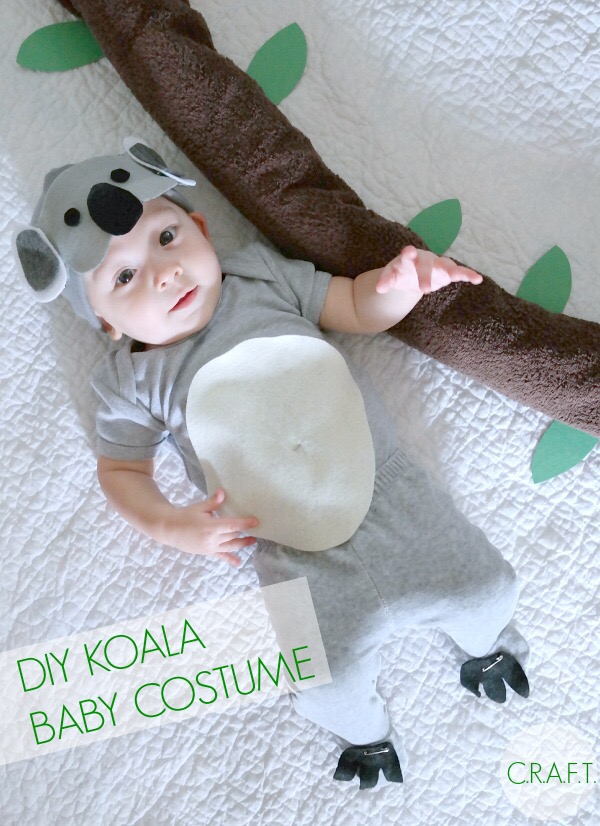
7. Animals! Animals! Animals! 

You only need a white onesie, some disposable nipples and felt! Moooo! 

From really awesome costumes. Again, you need felt and some glue or sewing 

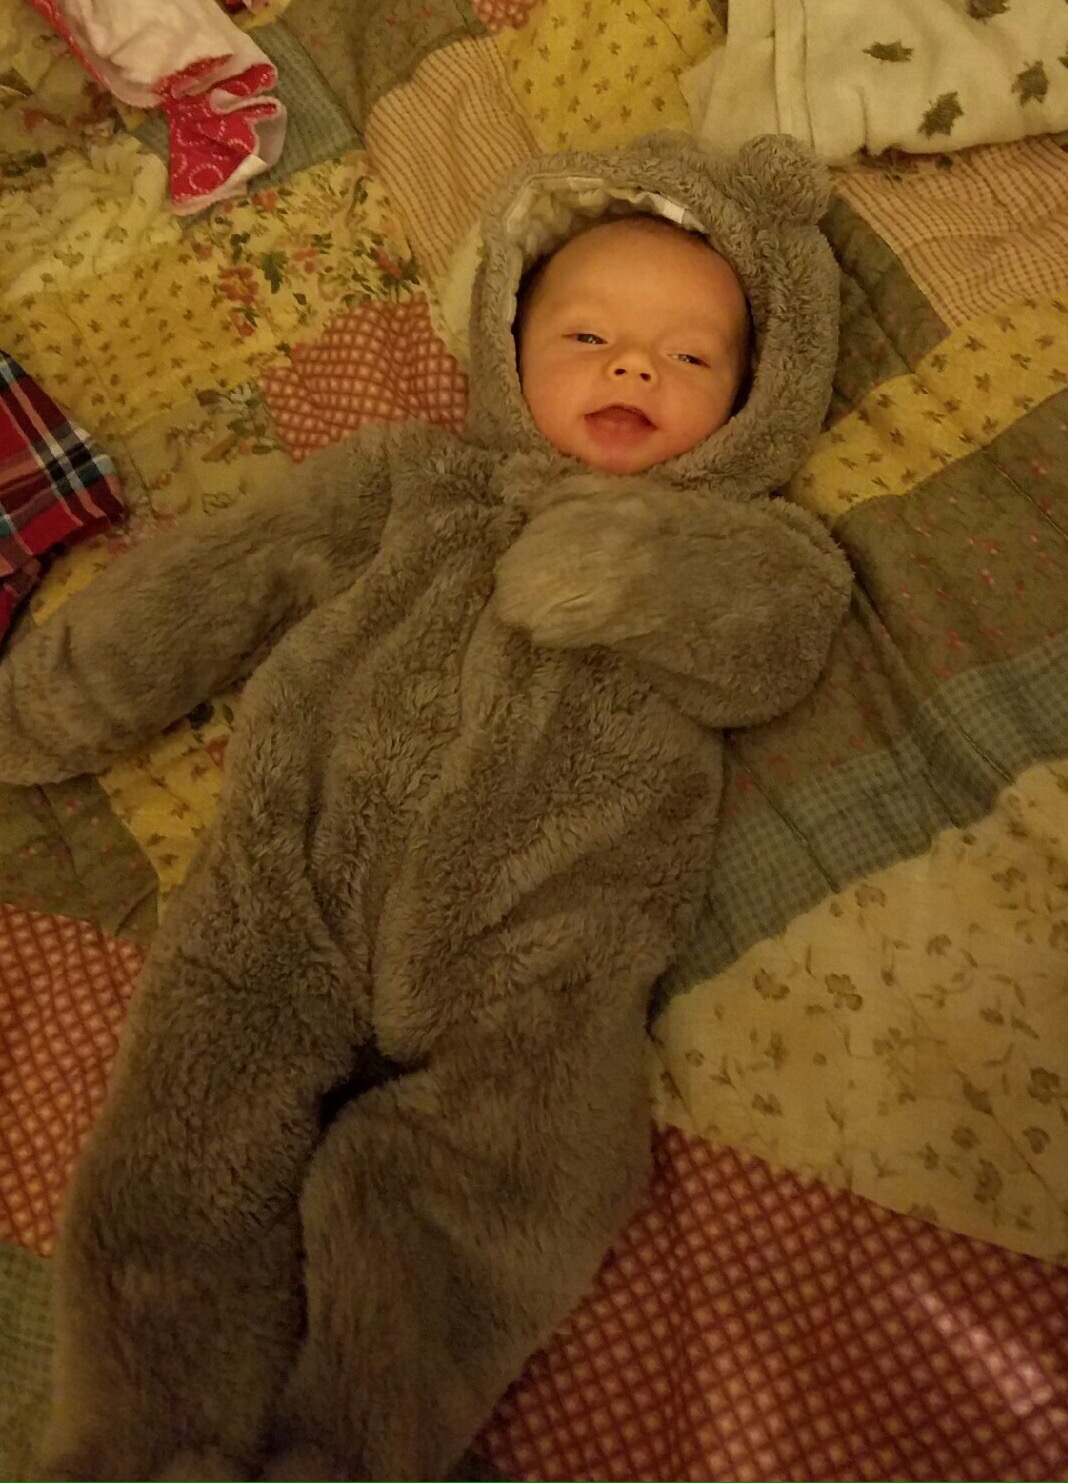
You can also take advantage of any winter animal outfit you were given! Such as the bear….

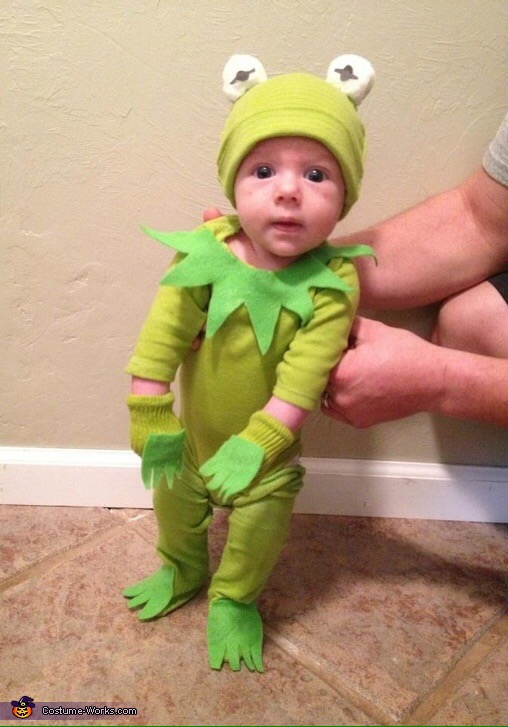
Again, green outfit and some felt. You need a green hat and either fake eyes or make your own! 

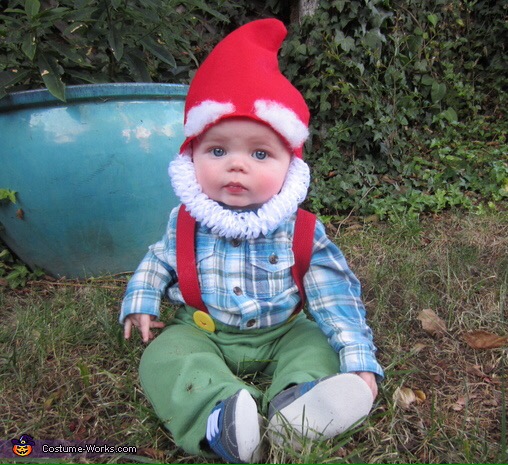
8. Garden nome

Costume-works

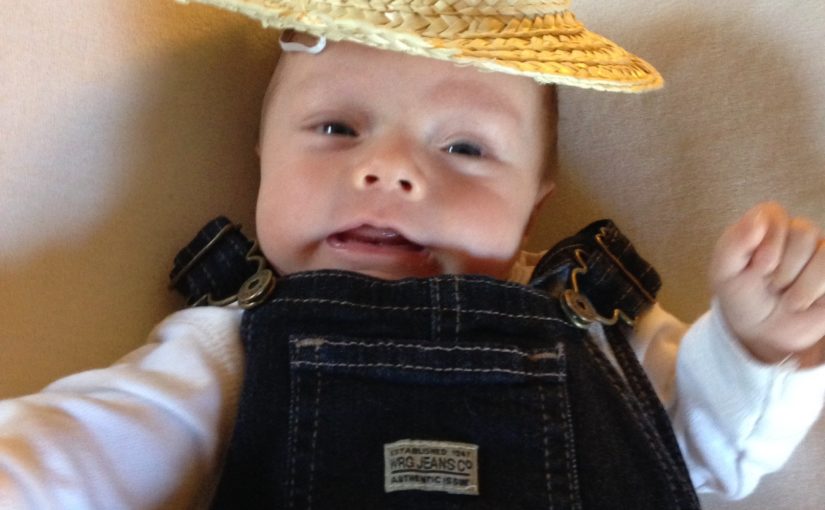
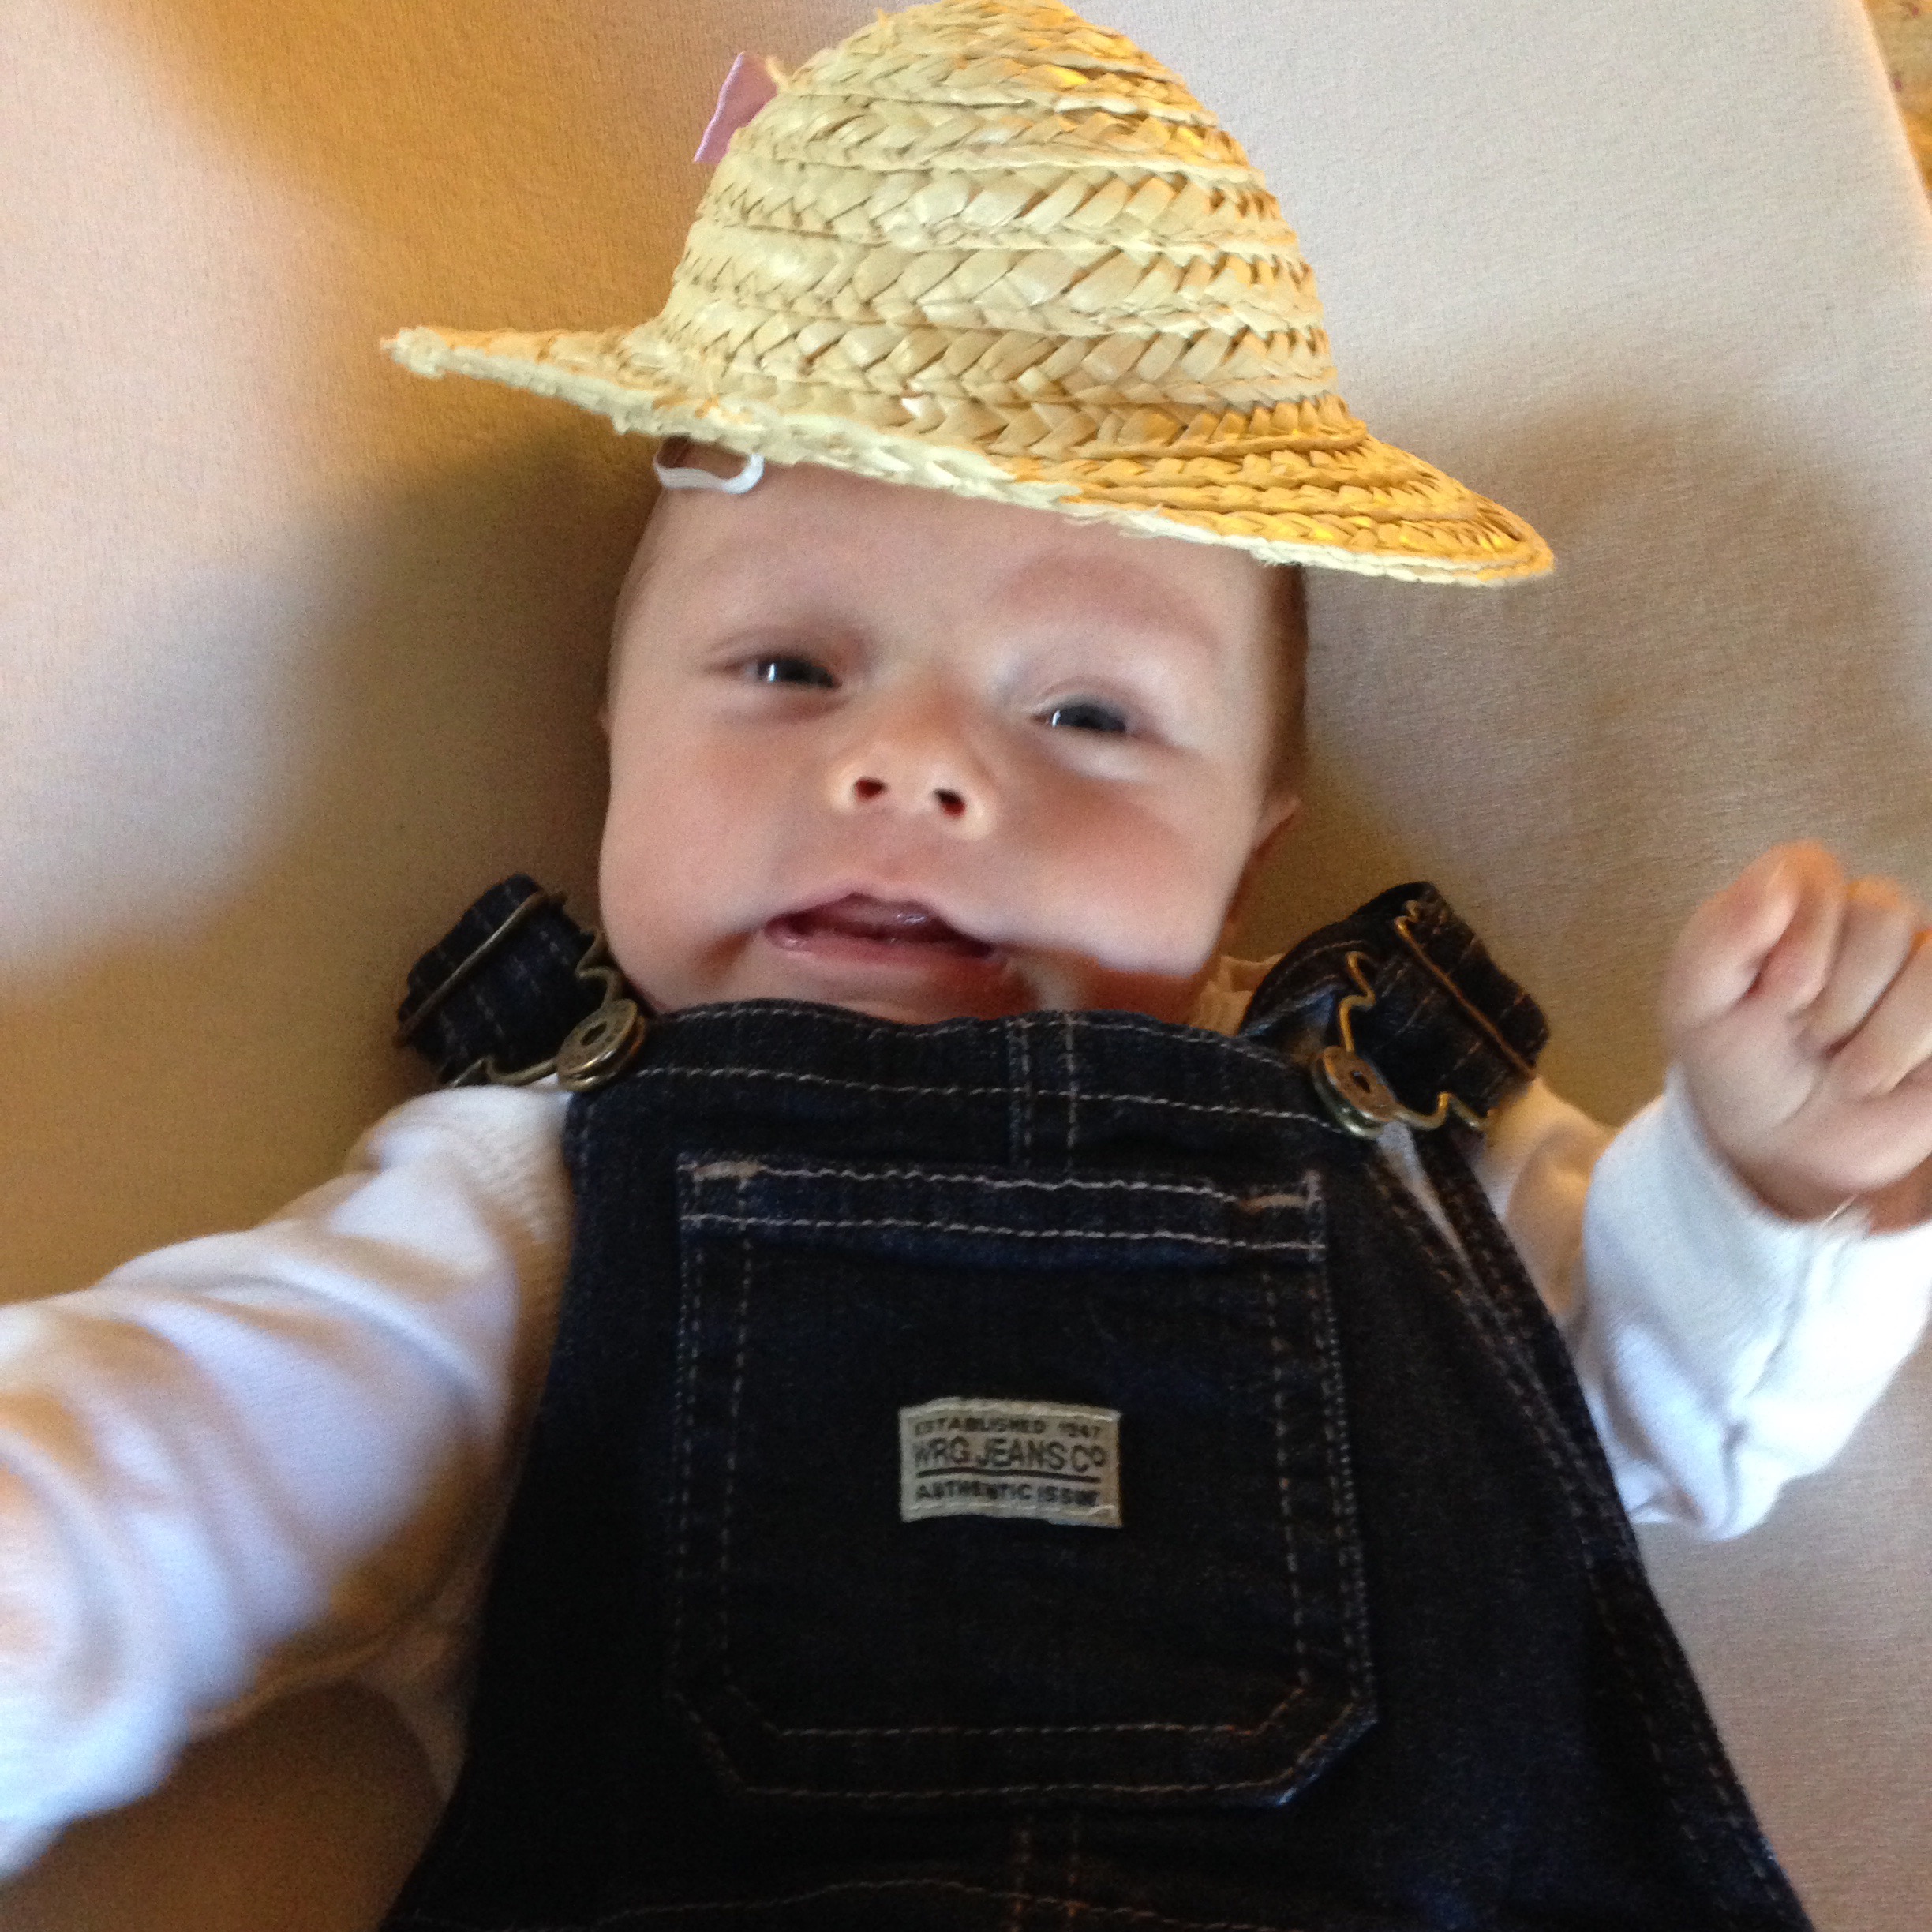
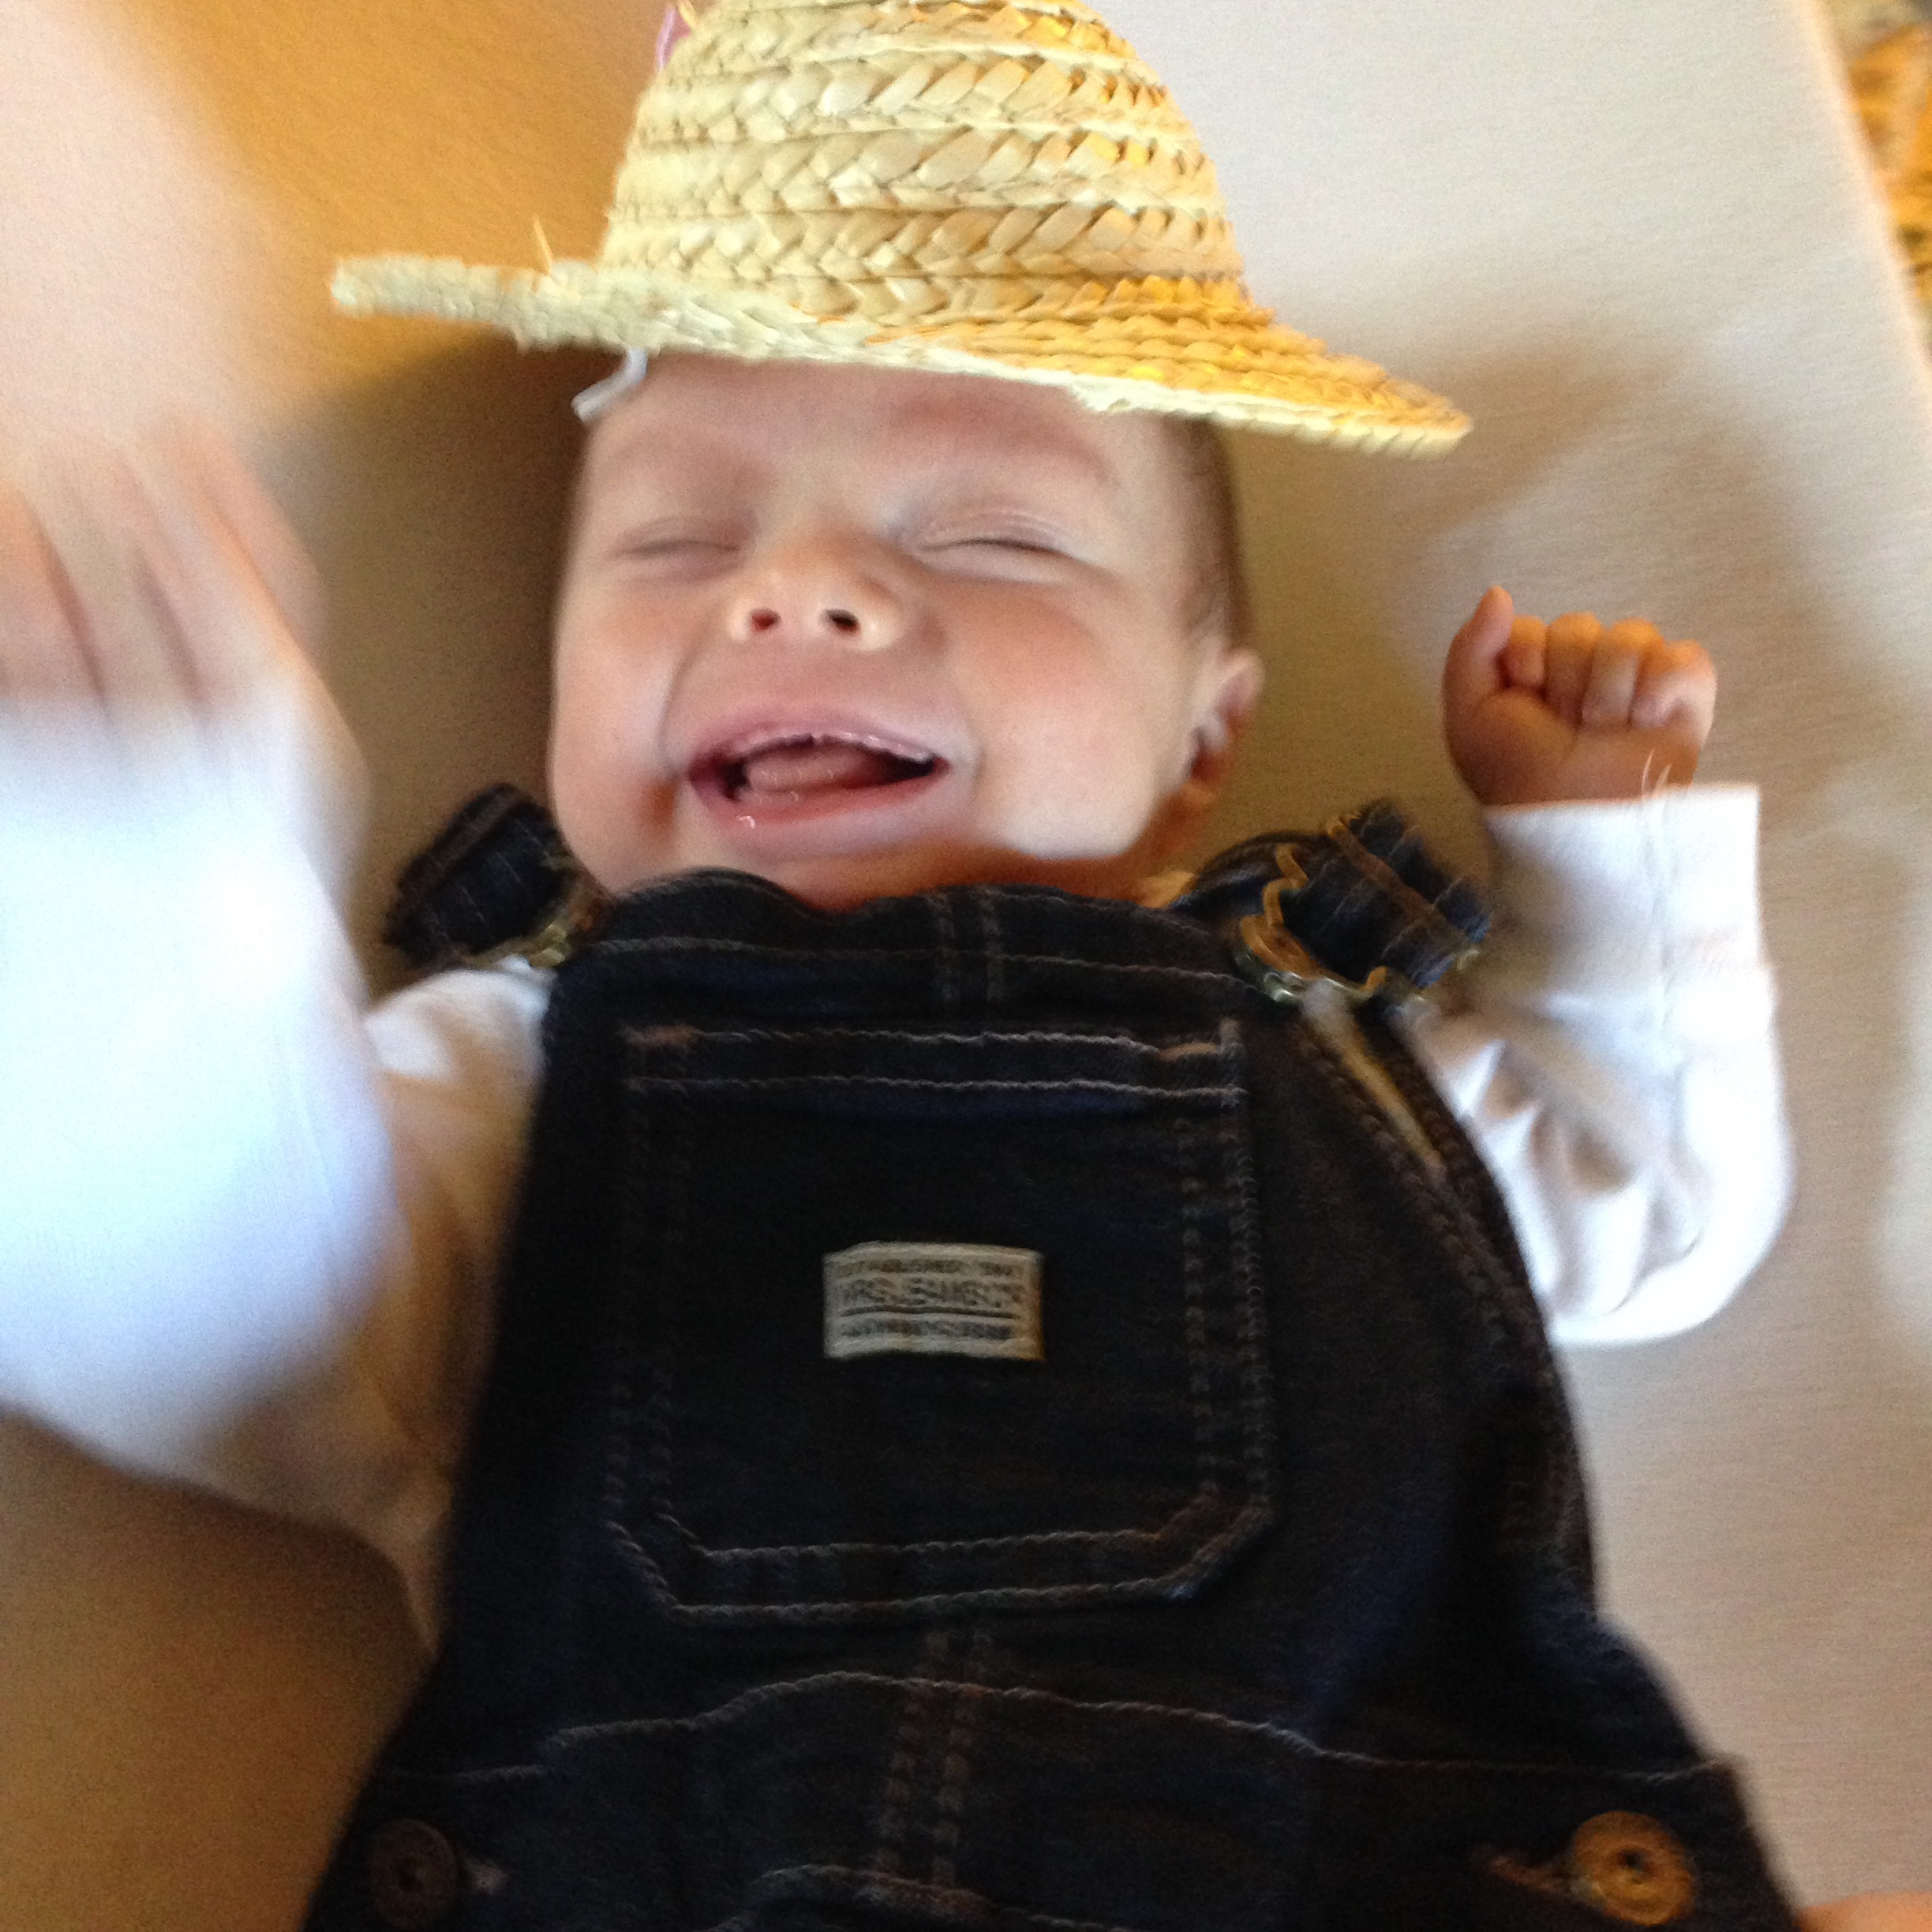
9. Farmer! Overalls and a straw hat! I had a toy hat I used! 


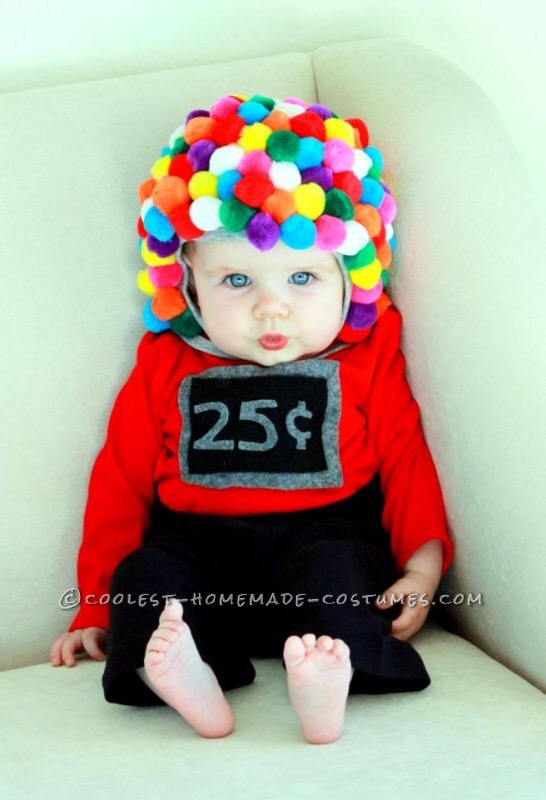
10. Gum ball machine! All you need is a hat and glue or hot glue on colored cotton balls! You need the red shirt and black pants. 

This one is cute too so I put it in…ghost! You need a white nightgown and felt 

Whats you little one going to be?

FollowFacebookpinterestrssyoutube
ShareFacebookpinterest