DIY Felt Height Chart

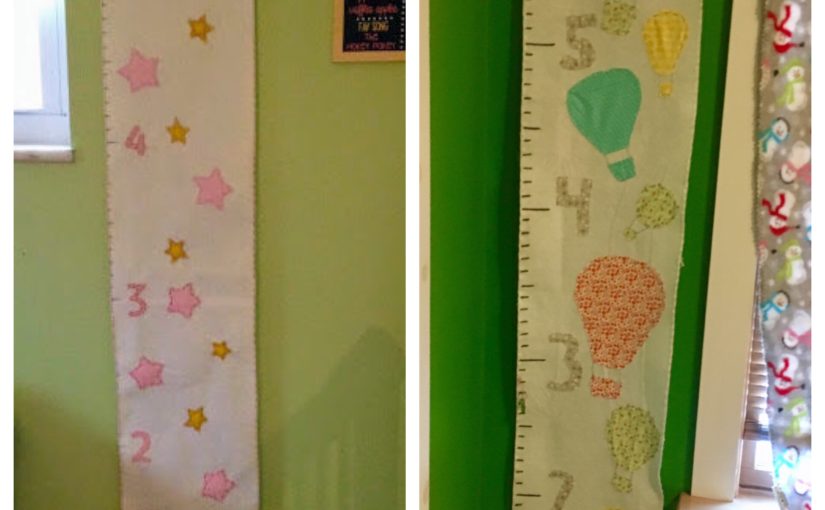
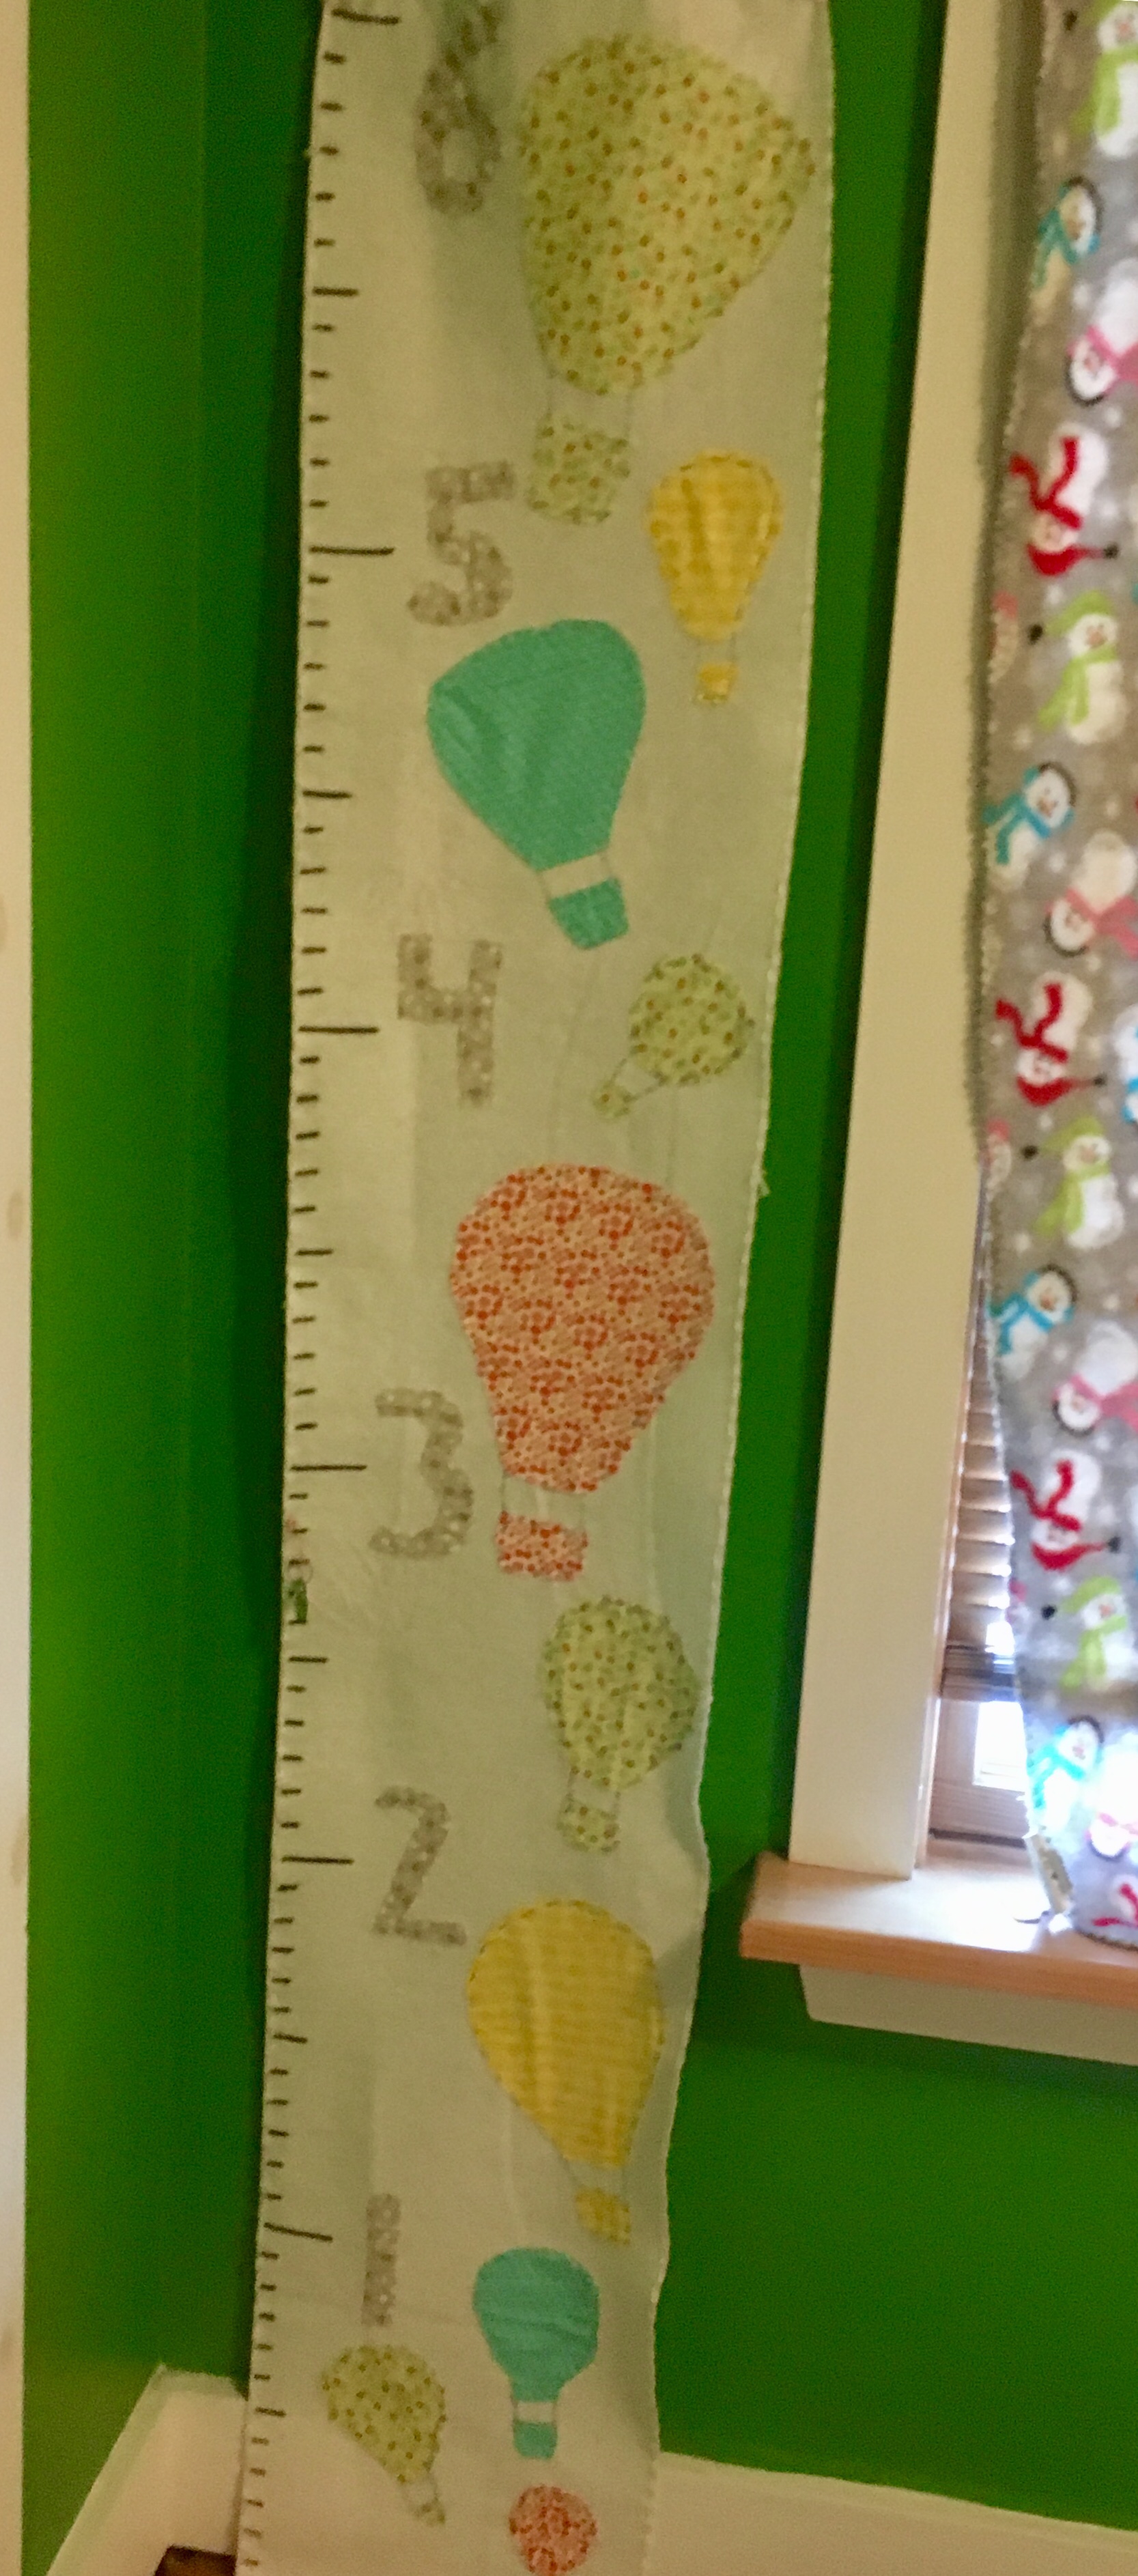
Years ago I made my sister a felt hot balloon height chart for her baby shower and I’ve meant to make my own baby (more of a toddler now) a height chart. So, I headed out to the local craft store.

83.JPG

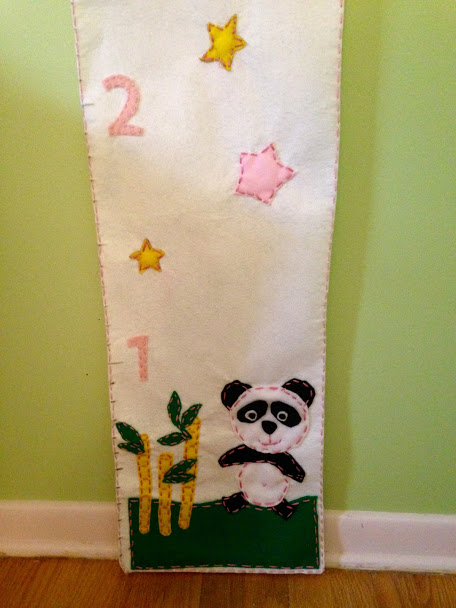
I knew I wanted to make a height chart with her favorite things, a panda and a moon. Her first birthday was twinkle twinkle theme, so stars would be perfect.

For this project I used:

  • 1 yard white felt
  • Pink Embroidery Floss
  • Sewing needle
  • Black Fabric marker
  • assorted sheets of felt in different colors
  • Hot glue gun
  • Measuring tape
  • ruler

First, I cut the yard of white felt into 2 pieces. Next, I lined them up so they were about 6 feet high back to back and hot glued them together.

82.JPG

I cut out the star shapes using a cookie cutter. I traced the stars onto the white and yellow felt and then cut them out. You could also print a star out to trace, or free hand it. I drew the moon, panda, and bamboo freehand and cut out the felt pieces. If you are making different shapes and animals, just do the same. Trace or freehand and cut them out!
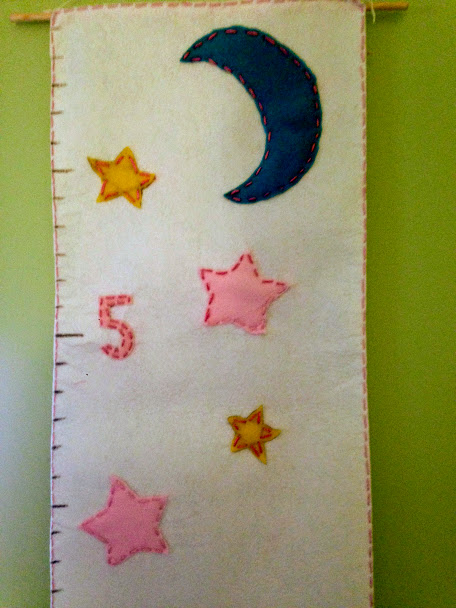
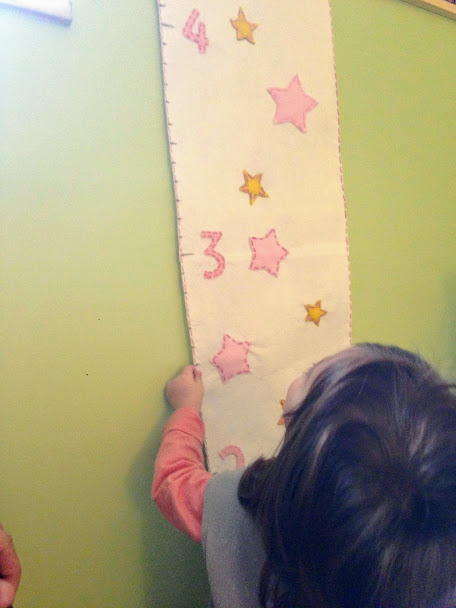
84.JPGNext, I used a measuring tape and ruler to draw the lines for each inch. I made each foot line a bit longer, and the 1/2 foot a little longer too. For the numbers, I decided to use stencils. Again, you could free hand or trace. I used the stencils on the pink felt fabric 85squares and cut them out.
I used embroidery floss since I was doing this all by hand. If you have a sewing machine you would approach this differently, and it certainly wouldn’t take as long. I decided to work on it while I was watching television in the evening or when my girl was napping.

I simply put the embroidery floss through the needle and did a double knot. I brought the floss through the back first, and looped it in and out of the the numbers, along the outside. I did this for each number. I placed the moon next, and did the same thing, when finished I cut the floss and knotted it off (make sure you do this on the back of the felt so you don’t see the knots). I did this for all of the shapes and animals on the height chart.

The scene with the panda on the bottom of the height chart took more time due to the detailed sewing. I had to hot glue the eyes because the layers made it too thick to get through. I sewed an x on his belly button.  I had a lot of extra thread and wanted to do a border, so I sewed the border all the way around. This is definitely a keepsake.
86.JPGThis can be used for many different designs. You could sew on your child’s name, different animals, shapes, and so on.
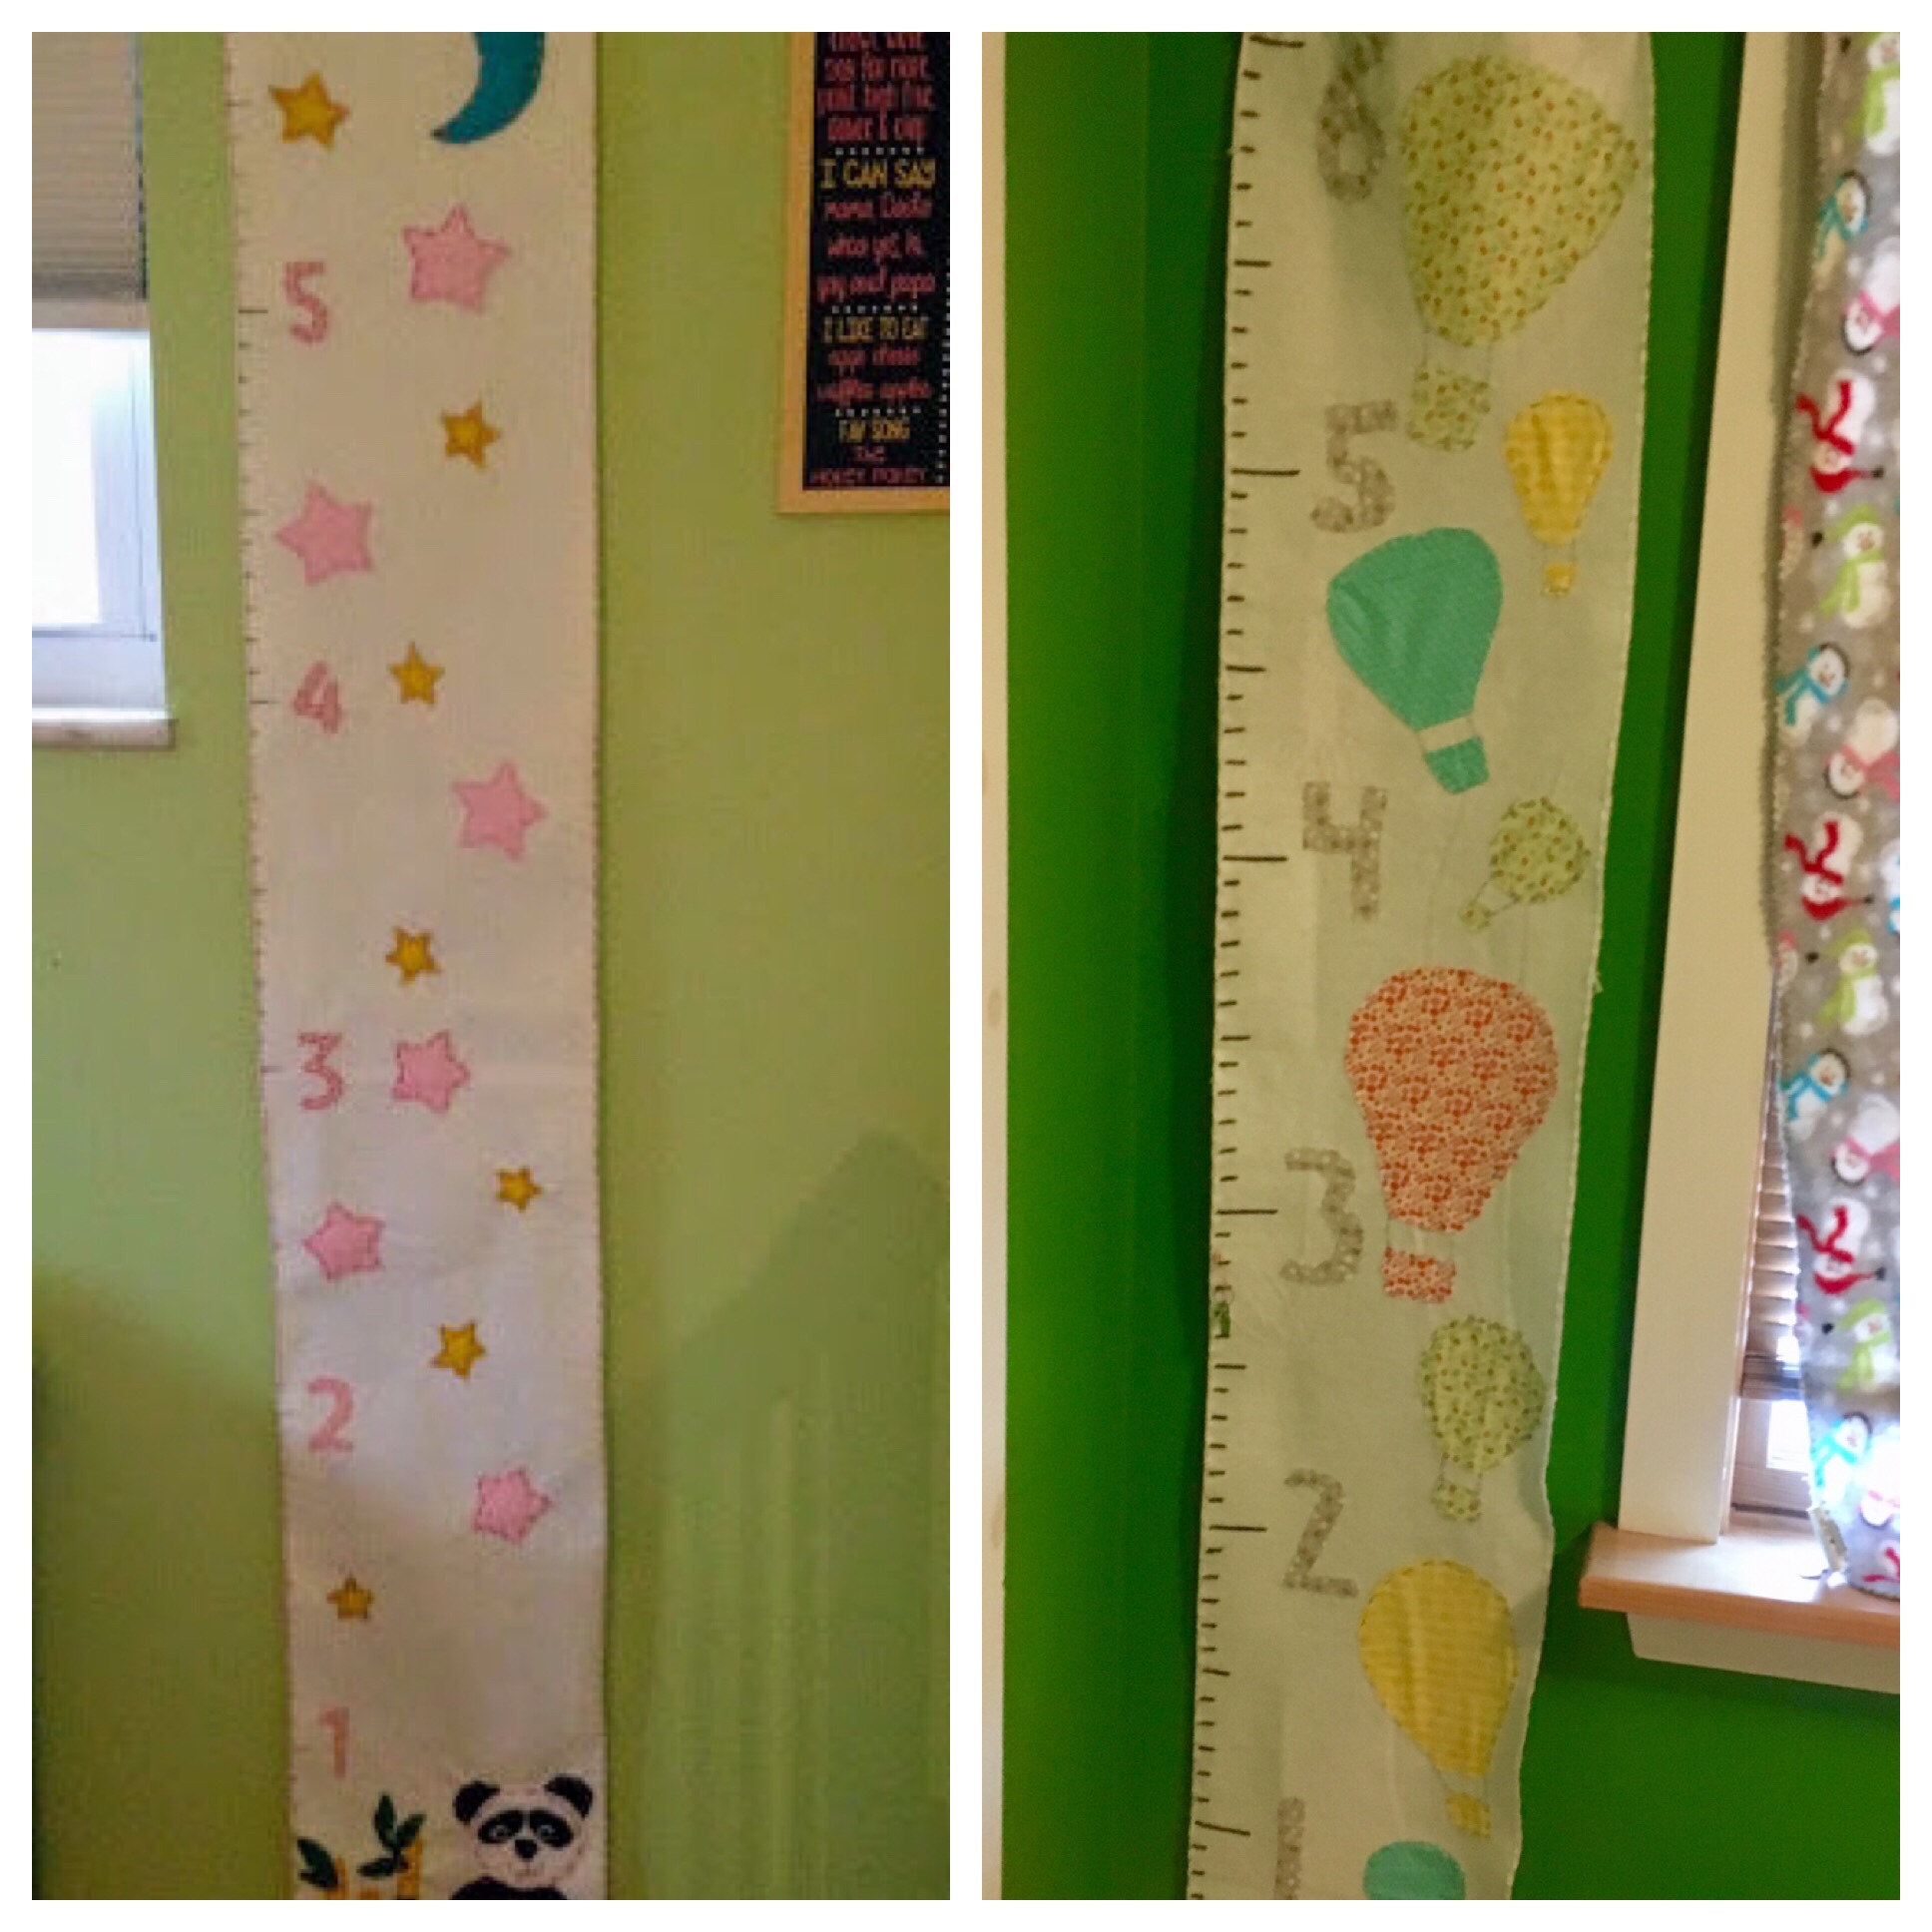
Here is a pic of the hot air balloon height chart I made for my sister:


As for recording their height, you can write the date and age for each child right on the chart, or you could use tags like these 86.JPGwith safety pins. This will allow you to use this again, or use for more than one child.

This is a great gift for a baby shower, birthday, or to make your own child.

FollowFacebookpinterestrssyoutube
ShareFacebookpinterest

Easy Valentine Scavenger Hunt!

There are many different types of scavenger hunts for holidays.  This one is a simple Valentine’s Day heart hunt that has many variations!


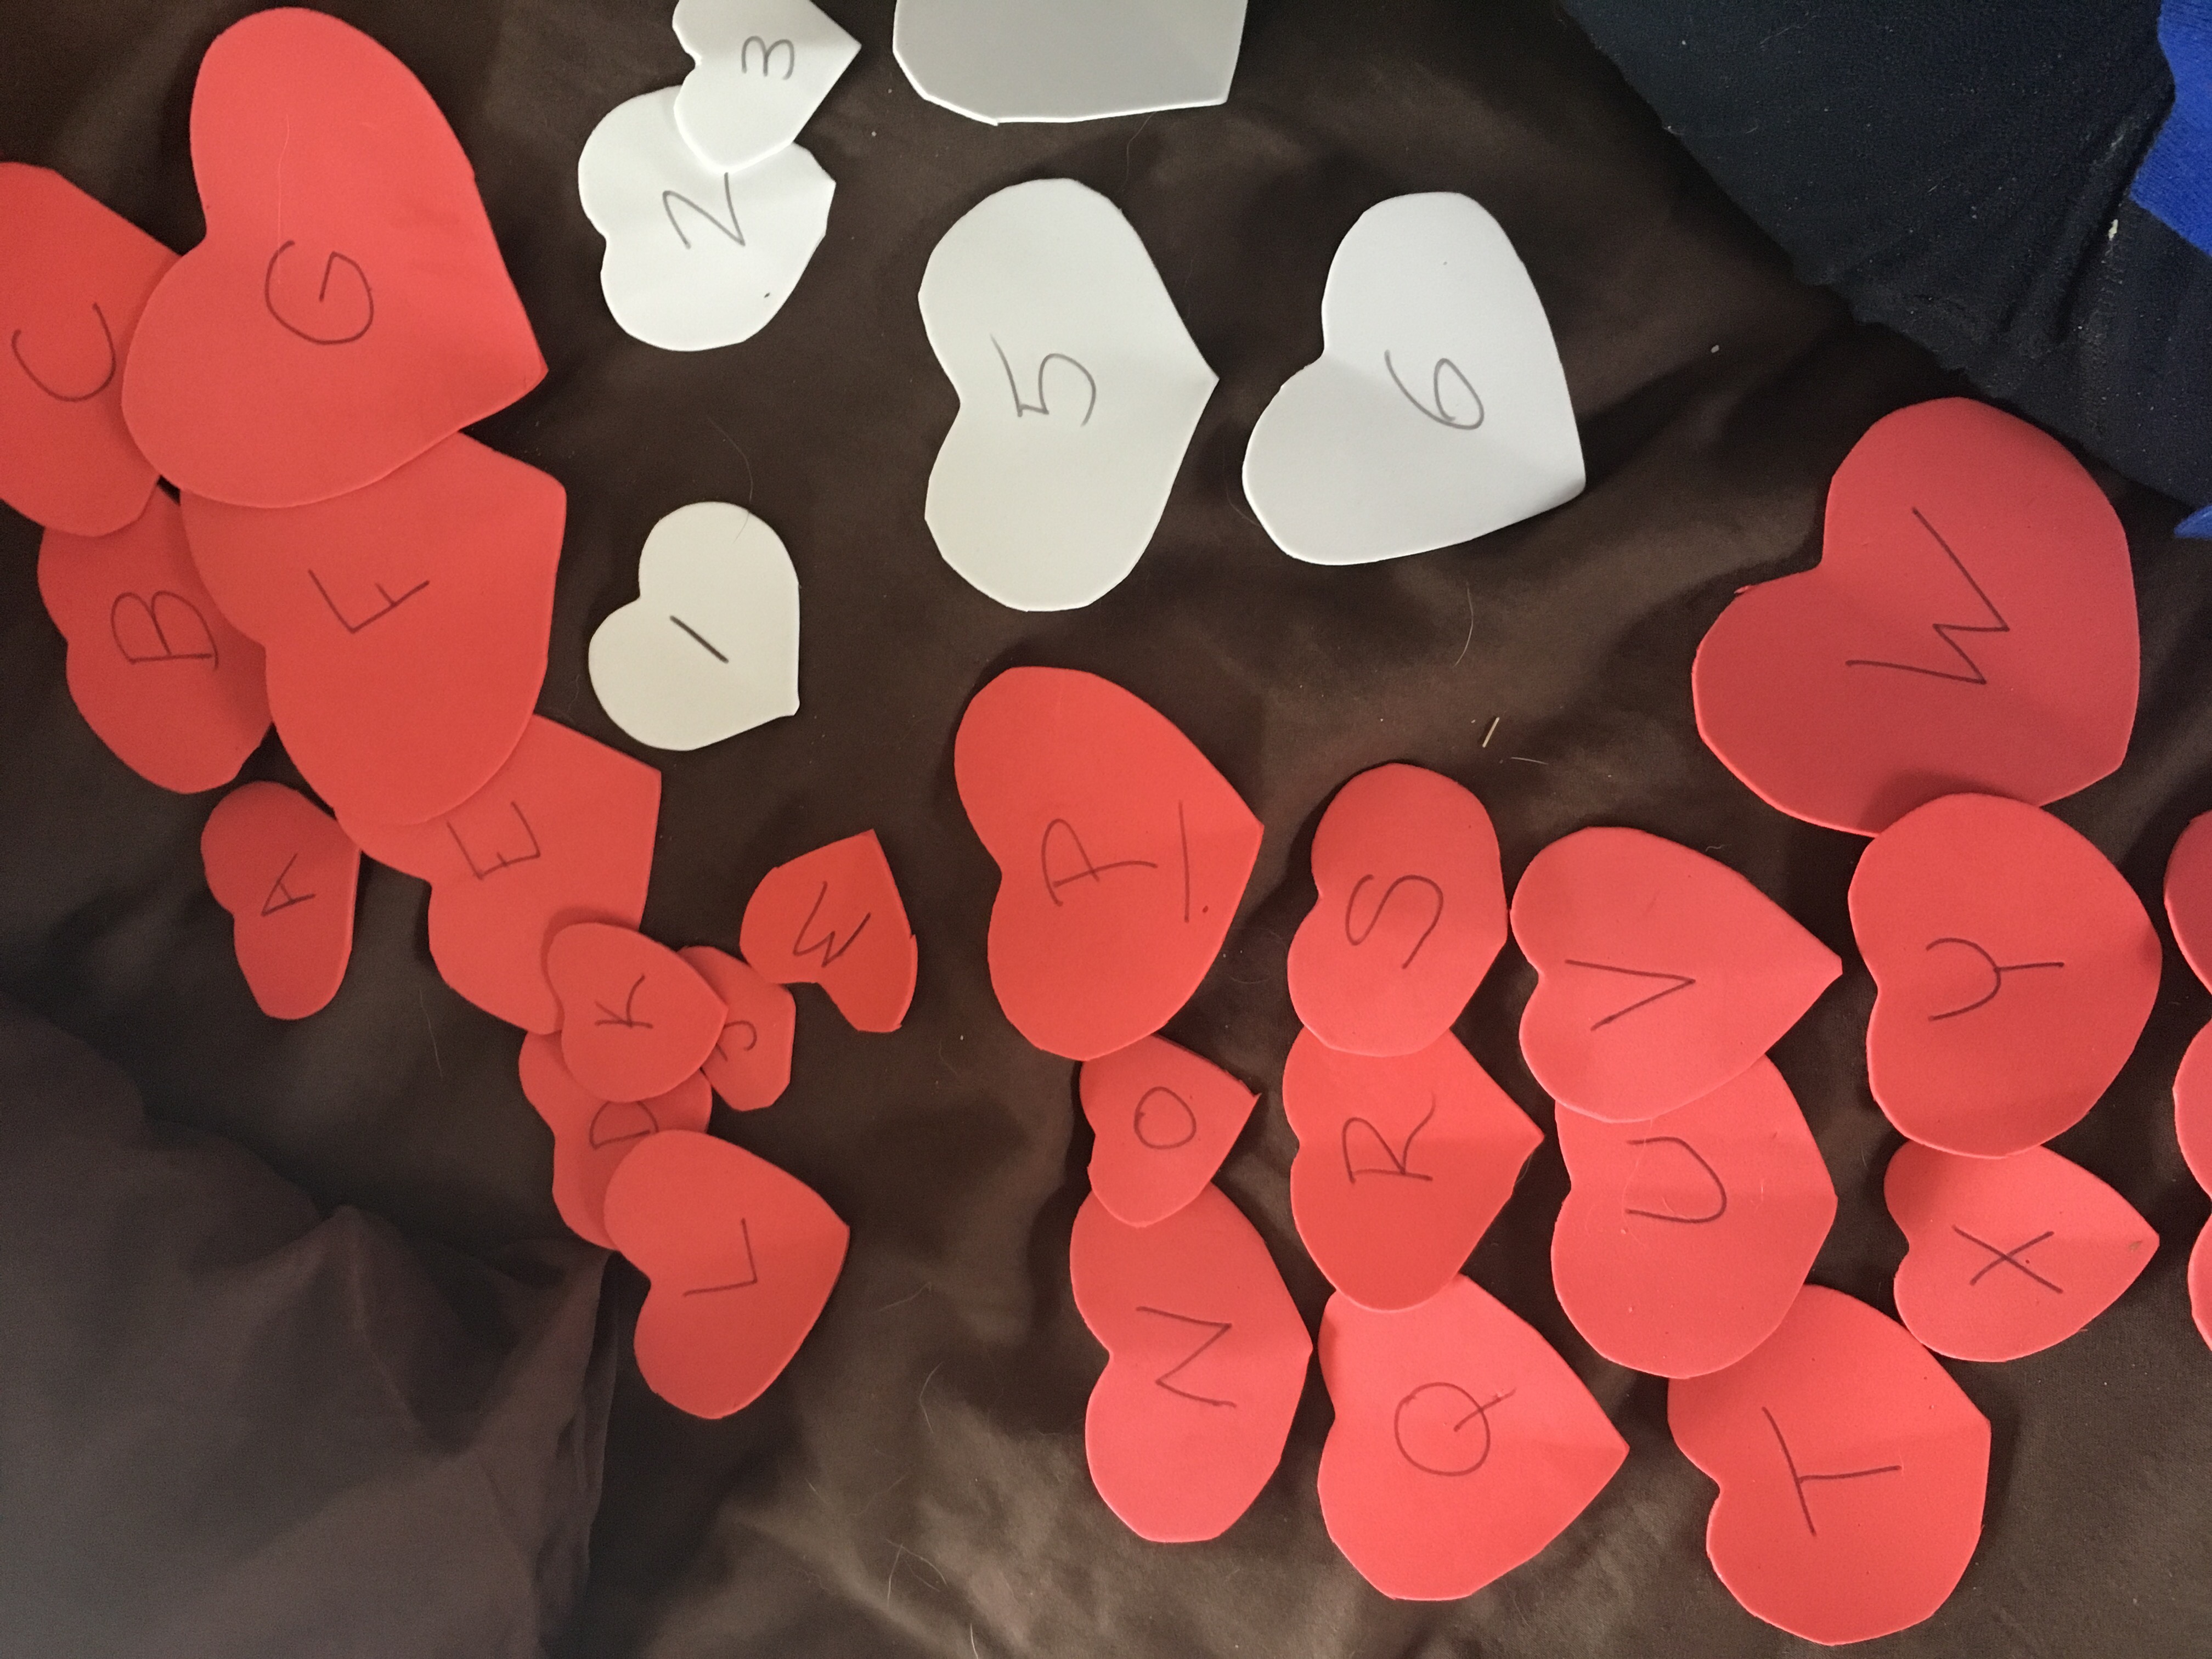
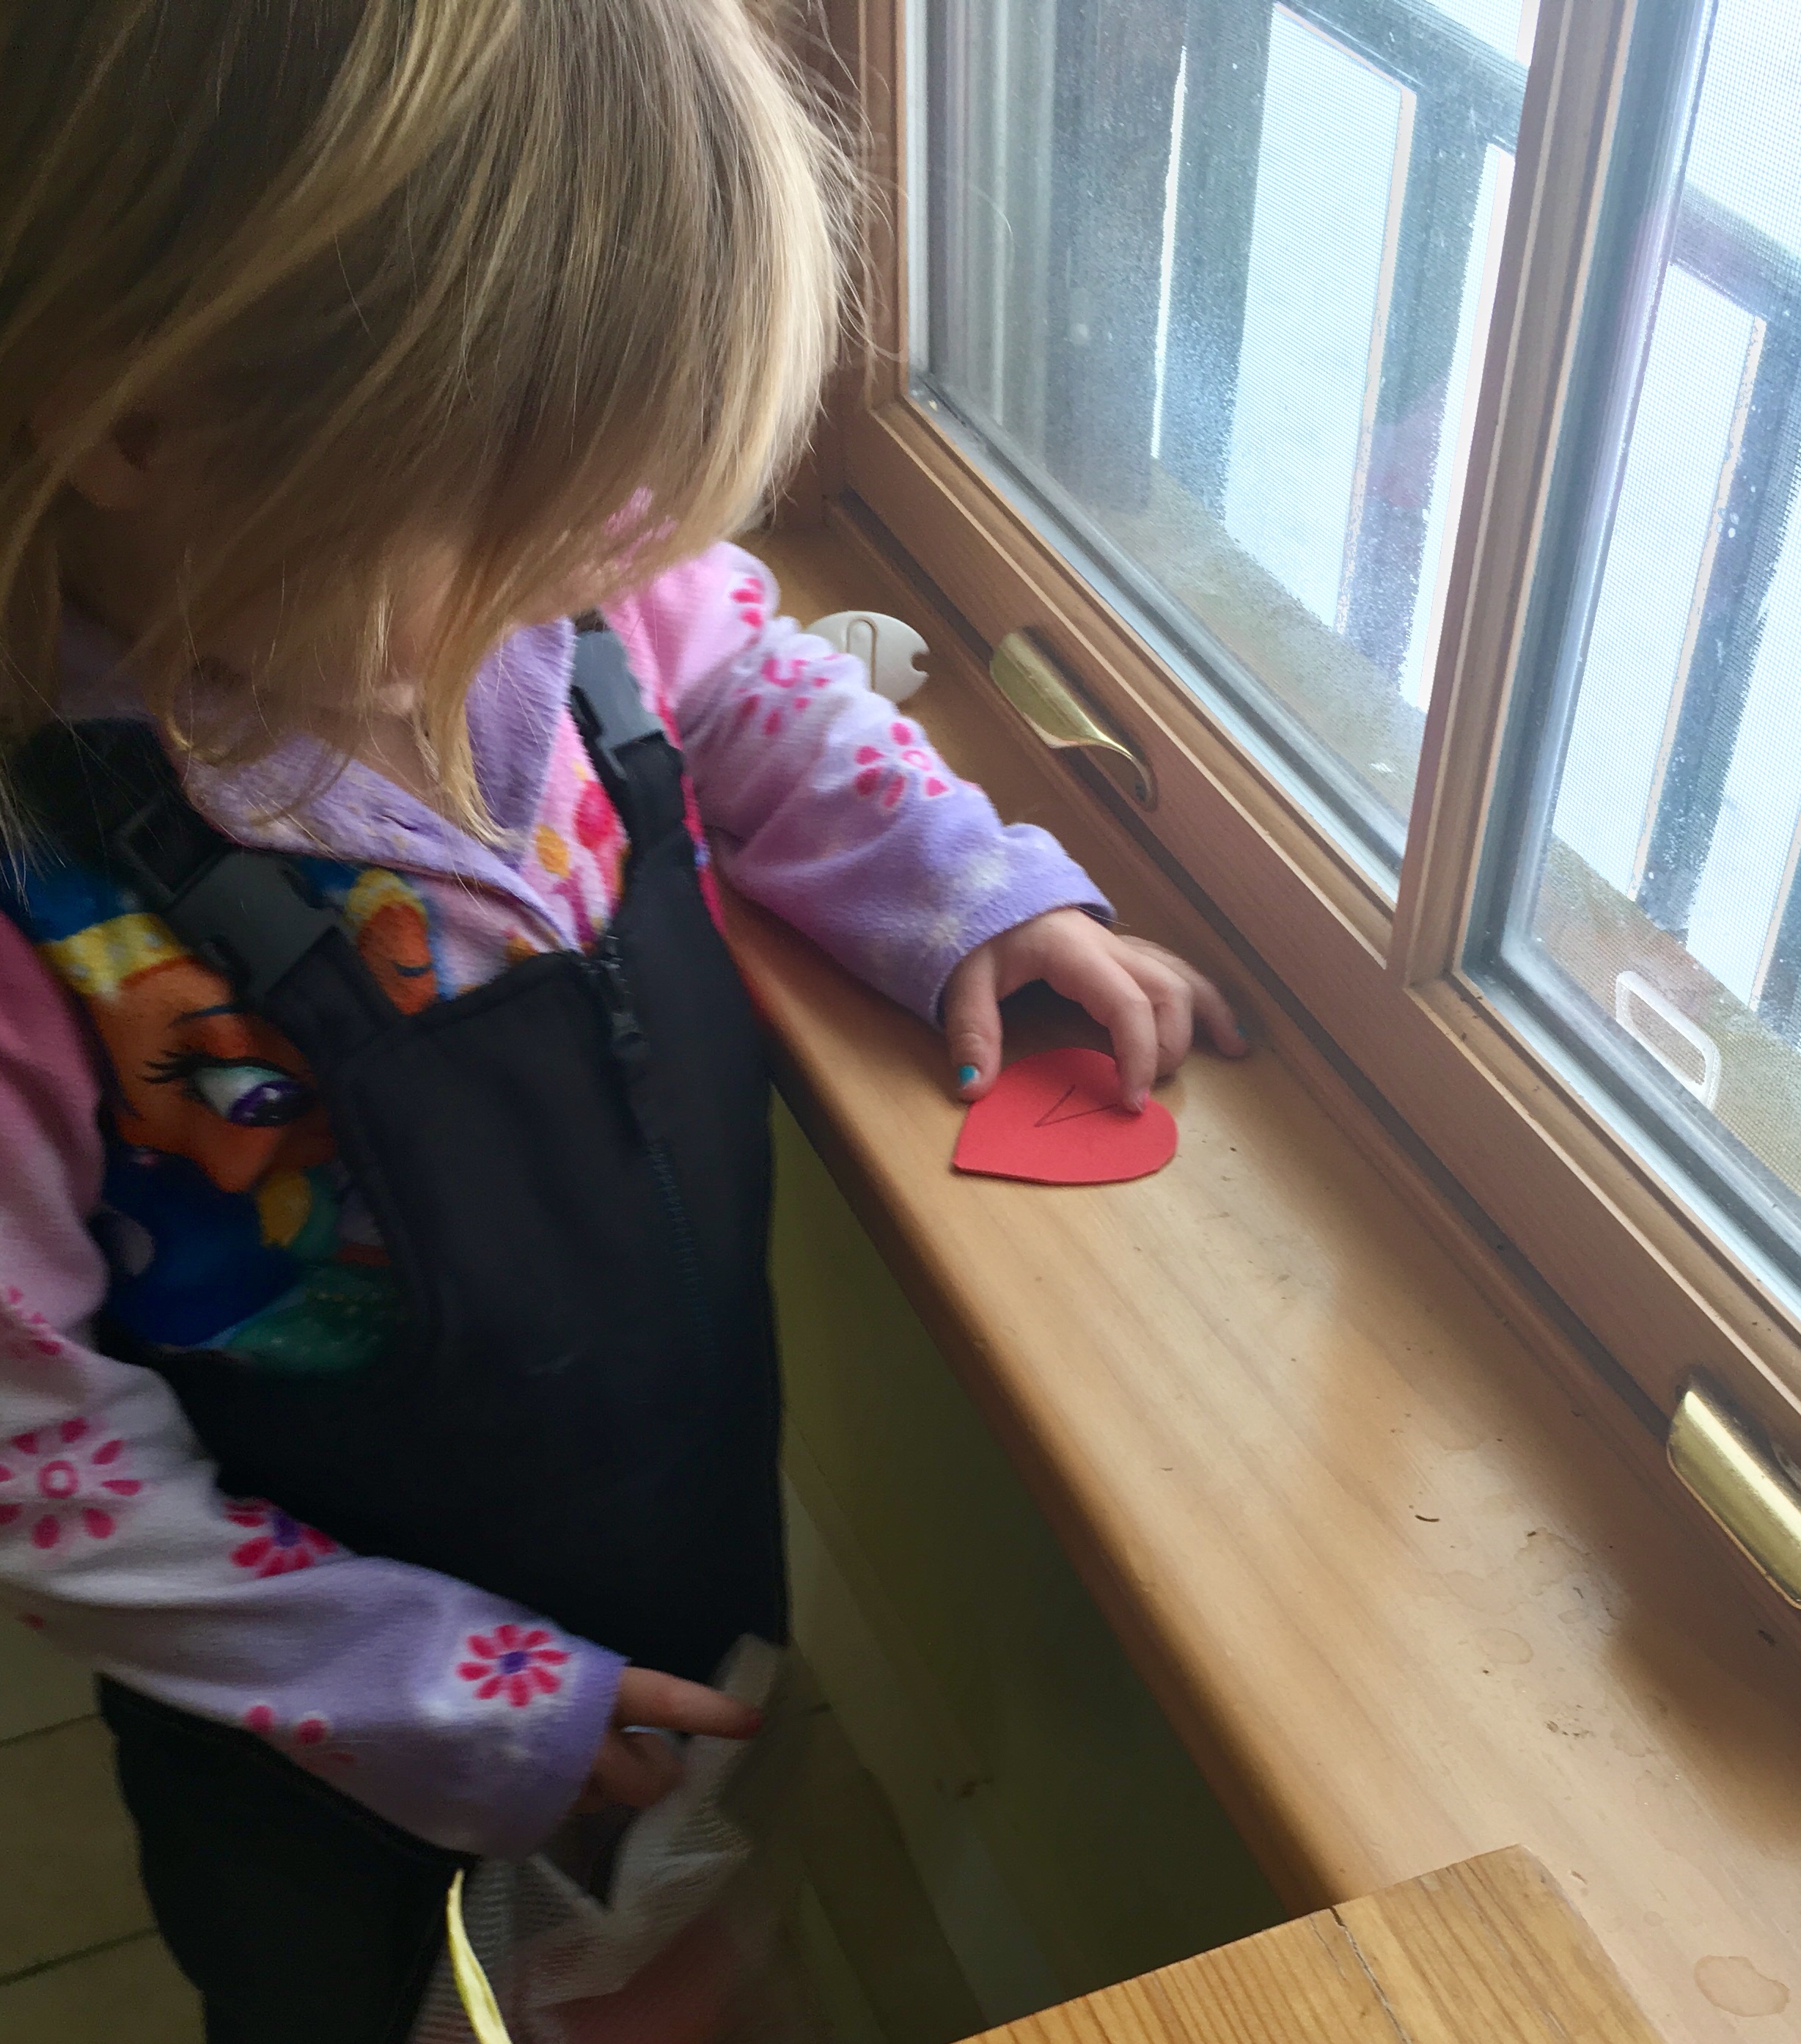
So cut out hearts (I used the foam material so it won’t rip), and hide them around the house! You can use paper but it may get torn and won’t last as long!

hearts.jpg

There are a couple ways to make it more complicated for older toddlers:

  1. Number them and have them line the hearts up
  2. Tell them to find certain colors and sort them
  3. Line the hearts up by size
  4. Alphabetize the hearts
  5. You can have one child hide the hearts for another
  6. Have the child decorate a bucket or paper bag to hold the hearts!  Or the child can even decorate the hearts once they are found and give them out as valentines!


Have fun and enjoy Valentine’s Day!


FollowFacebookpinterestrssyoutube
ShareFacebookpinterest

Valentine’s Heart Suncatcher (SO EASY)!

I’ve had contact paper sitting around for quite a while and decided it was time to use it! I had a snow (ice) day today and wanted a fun valentine’s craft for my toddler.

You will need:

-tissue paper in different colors

-contact paper

-tape

-glitter

-construction paper

I used pink construction paper to cut out the heart. I simply folded the paper in half and cut out the heart shape.

1       2

Next, I cut out a smaller heart from the middle of the heart. This made a nice border.

1

I cut out contact paper and put the heart on top of it. To get the contact paper to stay still and smooth, I put tape on the edges to keep it down.

1   2

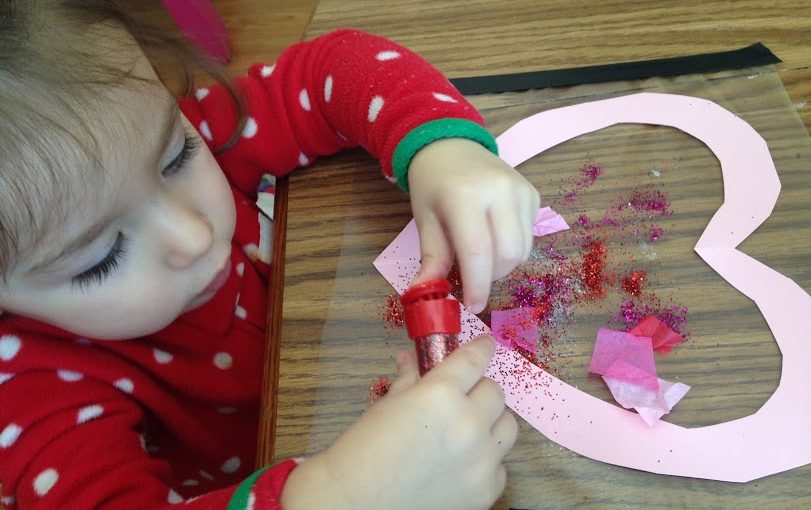
Here comes the fun part! Decorate! The heart is on the sticky contact paper, so anything will stick to it. My little girl used glitter and cut up pieces of tissue paper.

1.jpg

I underestimated how much she would love using glitter!

2.jpg

If she had a choice she would’ve just used glitter…all of it!

3.jpg

She LOVED this activity, so much that we made a few suncatchers! They make great presents for family 🙂

1.jpg


When your child is done decorating (or they’ve used all of the glitter), put another sheet of contact paper (sticky side down) on top of the heart. Cut out the extra contact paper around your heart.

Then you are done! Hang it in a window that gets sunlight! You can hole punch and put a string on it or use contact paper to put it on the window. We will definitely make this again as she loved it soooo much! It’s a great craft idea for any age!

Since tomorrow is Valentine’s day and it’s currently snowing outside, the sky is cloudy. I couldn’t get a great picture of the finished product, but will post the pictures anyways. Keep in mind that the glitter is colored and will shine brightly when the sun is out but today it is cloudy!

1   2

FollowFacebookpinterestrssyoutube
ShareFacebookpinterest

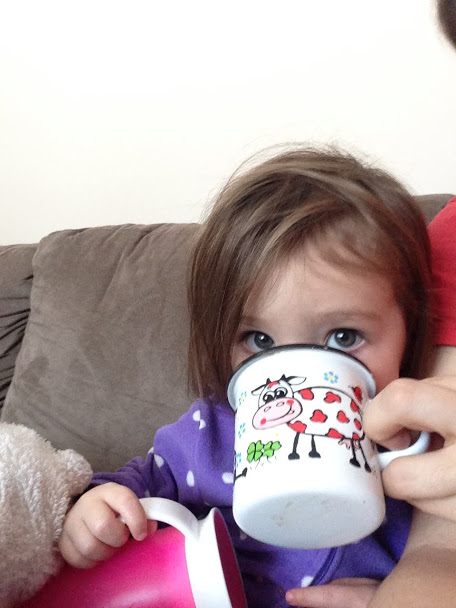
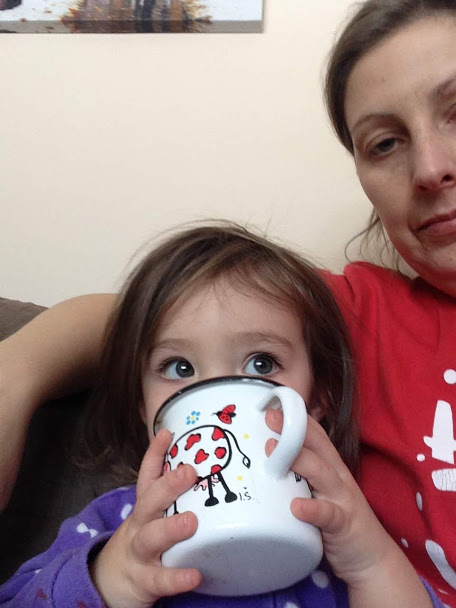
Homemade Hot Chocolate, Told by a Toddler

86

Mmmmm…this is the best hot chocolate I’ve ever had! It definitely doesn’t taste like that stuff from a packet!

Mommy used these ingredients:

  • 2 cups of whole milk
  • 4 oz ( almost 1 cup of bittersweet chocolate chips)
  • optional: 2 tbsp. of sugar

Mommy made it from scratch and here is what she did:

First, she put 2 cups of whole milk in a saucepan and heated it up on medium on the stove.

She didn’t let it boil, she waited until the little bubbles showed up around the outer circle of the milk in the pan.

While this was going on she poured the bittersweet chocolate chips, 1 cup into a  bowl and microwaved it in 30 second intervals (oh I know a fancy word). She mixed it in between each time until it was all melted.

Next she turned off the stove when the little bubbles formed around the outside of the milk and mixed in the chocolate with a whisk.

Yumm….

85

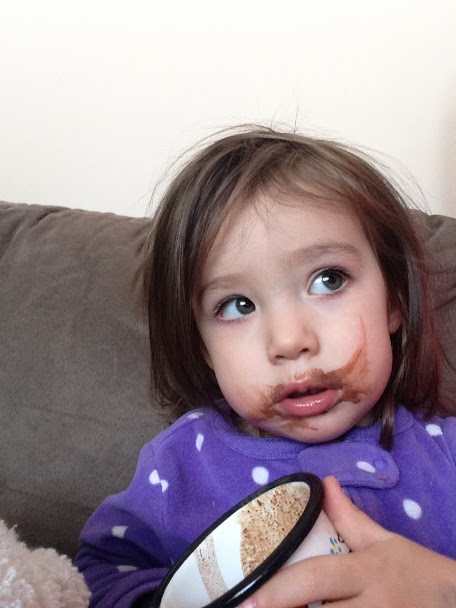
This is so good and chocolatey. Very rich and thick! More! More I say! How about some whipped cream or marshmallows? Pleasssse?

84

When we were done I wanted more but mommy put the rest in a large mug in the refrigerator for tomorrow.

83

I can’t wait!


FollowFacebookpinterestrssyoutube
ShareFacebookpinterest