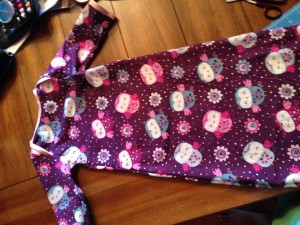
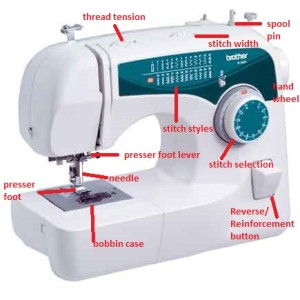
Ever love that oh so cute baby sleepers with the elastic on the bottom? I sure do, in fact I miss them now that my little one is getting older! However, I have many showers to go to and it is a great gift! The slip on sleeper with the elastic on the bottom is great for babies because you can easily change the babies diaper without fussing with all the buttons, snaps, or zippers. It also keeps the baby warm and comfortable; not to mention how cute he or she will look!
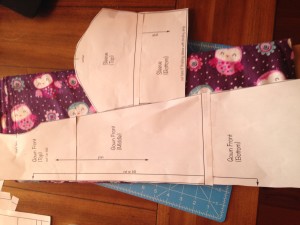
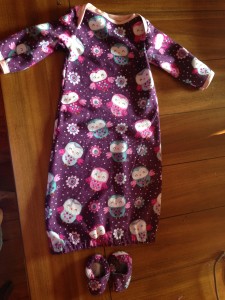 First off, you need the pattern. For this one, I used a neighboring sewing blog’s pattern since there are so many out there:
So print your pattern making sure you unclick the fit to page (you want it letter size).
What you need:
*Fabric of chose
*Thread
*Elastic 1/4inch or
1/8inch
*Optional: bias tape (can
also make or just hem)
Below is the link to the Youtube video tutorial. Below that is written instructions with pictures…enjoy!
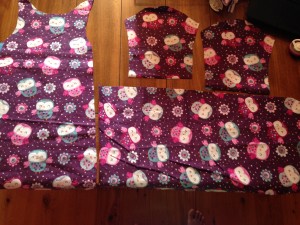
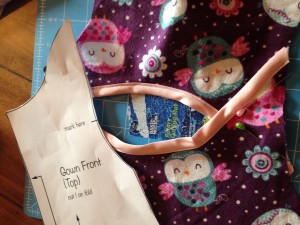
- Print your pattern. Cut your fabric as instructed on pattern
You should now have one front and one
back piece, and two sleeves.
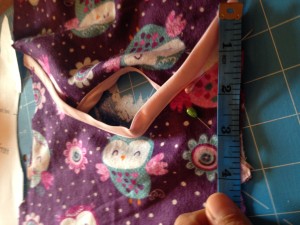
2. Next, you use your bias tape. If you don’t have bias tape you can hem the ends instead or you can make your own bias tape. Here is directions to make your own bias tape
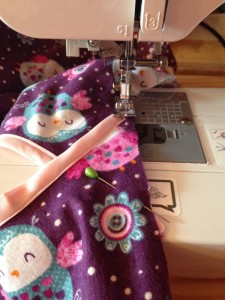
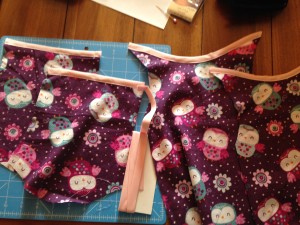 3. Fold your bias tape on the ends of the sleeves, pin on
and sew straight on both sleeves. Do this also to the neckline of the front and back piece.
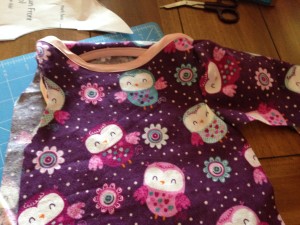
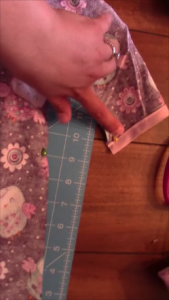
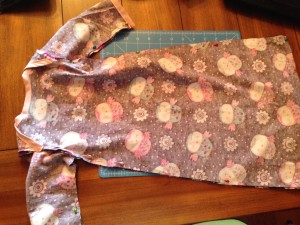
4. Next, You want to overlap your front and back gown pieces by either looking at the mark you made from the pattern or you can measure 4 inches of overlap from the top down. So you want to pin and sew the overlapping sides (the 4 inches)
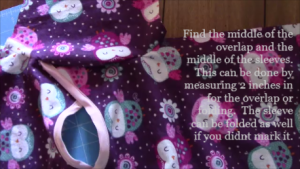
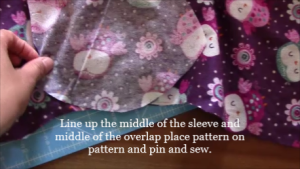
5. Find the middle of the overlap and the middle of the sleeves. This can be done by measuring 2 inches in for the overlap or folding. The sleeve can be folded as well if you didn’t mark it. Line up the middle of the sleeve and middle of the overlap place pattern on pattern and pin and sew.
You have to bunch it and pin it for it to stay.
6. Turn your sleeper inside out and pin from the bias tape bottom all the way down to the bottom of the sleep. Then sew!
Almost there!
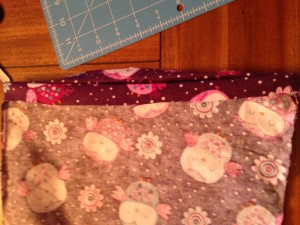
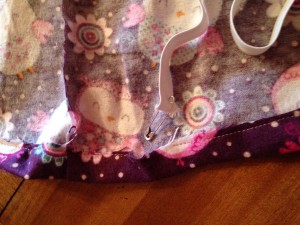
7. Turn inside out and make elastic casing by folding up the bottom 1/4 inch for 1/8elastic or 1/2inch for 1/4elastic. Iron or pin the area to make it easier to
sew. Don’t forget to leave a 1-2 inch opening to put the elastic through!
Remember to back stitch!
8. To get your elastic through use a safety pin on the end and put in the opening
and pull through by bunching the fabric and then pulling the safety pin.
9. Choose the tightness you need for your little one on the bottom and then sew your two pieces of elastic together. Then sew the opening closed!
That’s it! Congrats you have finished! Great job. Any suggestions questions please let me know. Look for the next post to be the matching slippers!
FollowShare
