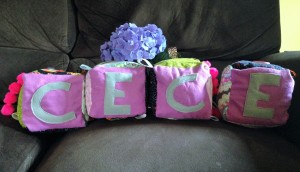
I’ve been looking for a toy that offers a variety of sensory activities through textures, sounds, and touch.
After making these squares, which by the way are FABULOUS for pictures, my little one couldn’t stop playing with all the ribbons, buttons, and laughing at the fabric and textures while sitting in her car seat. What a great toy not only for entertainment, but for learning and increasing intelligence! Not to mention it makes an amazing gift!
Here is the Youtube tutorial:
If you would also like to follow the written then here goes:
What you will need: FABRIC, buttons, ribbons, polyfil, optional bells or rattle
- fabric: There are six sides to each square. You can chose your colors and textures. You will need six squares for each letter you are making. In this case, I used four letters for four blocks and six different pattern pieces with all different textures and patterns. This is the fun part! You can of course color coordinate for a boy or girl; however, I chose to do fun patterns that I knew my little one would love to look at, catch her attention, and also advance her imagination.
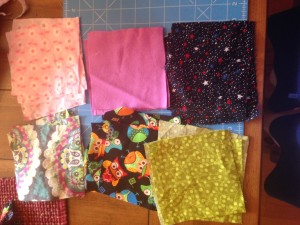
- So there are six sides to the blocks so I picked those fabrics and chose my size for the blocks to be 6×6 and cut out four of each fabric I wanted to use. This is also great if you have extra scrap pieces you want to use up.
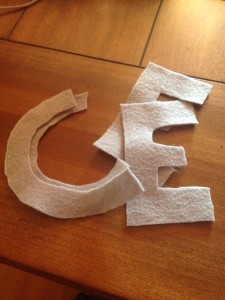
- Next, you want to cut out your letters. I did this free hand. I used extra felt I had sitting around! Once completed, sew them on the fabric you would like for each block.
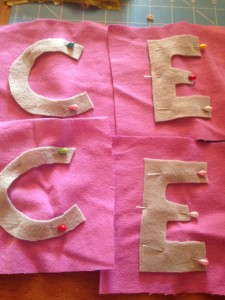
- Now you want to setup your pieces to
make your block. Put the letter in the
center and surround it as shown with your
other fabrics. You may want to have the same pattern
for each block or different spots for each
fabric square 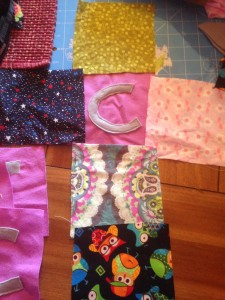
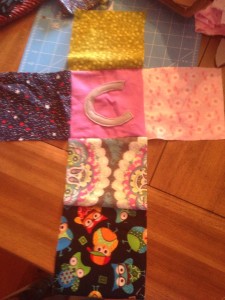
- Start sewing pattern pieces facing
each other. Take top piece and put pattern facing inside on the letter and sew the top edge, then continue until they are all sew together as shown below. Do this for all your blocks. 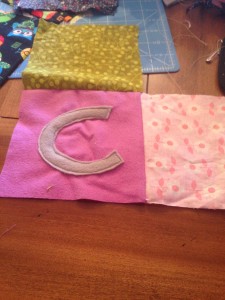
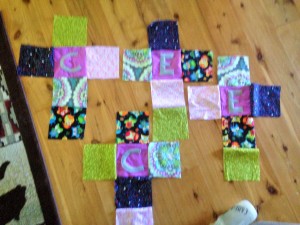
- If you want to add ribbons, buttons, or
any other accessories this is the time to get
those together! So now you want to decide where to sew them. You can choose different spots on each block or the same! - Sew the ribbons on facing towards the inside of the block. If you do the opposite they will be on the inside instead of the out!
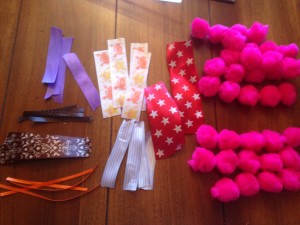
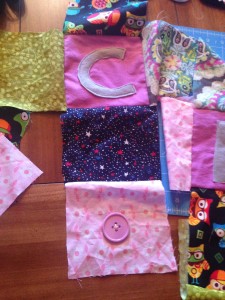
- Start by sewing right sides together of two
blocks. Take the top square and fold down and to the left. You will line up the left side of the top block to the top side of the left block. Then sew. Continue this around using the letter piece as the bottom part of the block. The pattern of the fabric should end up in the inside of the block. 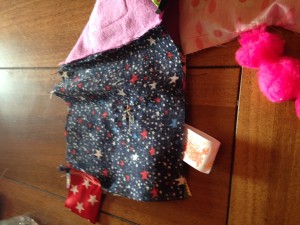
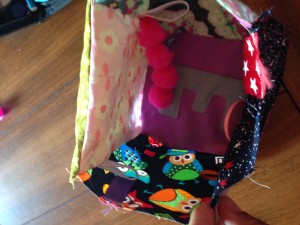
- Continue around until you have all sides except one sewn together.
- For the last square, Sew each side around but for one side leave a 2-3 inch opening so you can pull the right side out. Don’t forget to back stitch well!
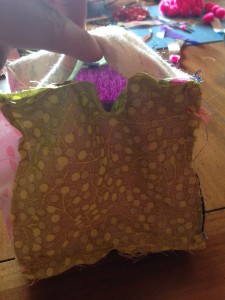
- Okay! Almost there! So now you want to turn your block right side out. So reach in there and pull the fabric through. Then use a pencil, pen, crochet needle or what not to poke out the corners and make them shapely.
- Next, grab your stuffing, in this case polyfil, and start filling.
- You can put a bell or rattle in the inside of the block!
To do this I put it in a small ziplock bag that is sealed with some air so that it has room to rattle around instead of being stuck in the polyfil. I actually have been saving the twist off tops of the food pouches and used them in a bag to make some noise! So if you are going to do this try and put this in the center of the block then stuff around it. 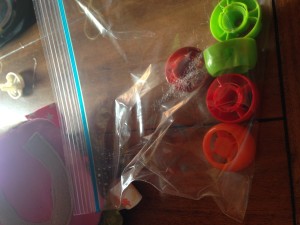
- Lastly, close up that hole! You can do a whip stitch or invisible stitch or even use your machine.
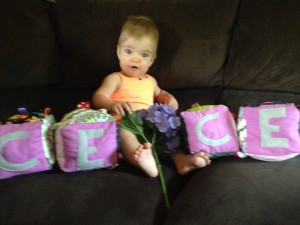
- Ta-Da you are done! Great job….take some pictures and share!
Follow
Share
