You may be thinking, “Did she spell prom wrong?” No, not that type of fun prom. I’m talking about the preterm premature rupture of the membranes type (PPROM). The not fun, not good, and potentially fatal for your baby type.
What is PPROM? Essentially, pprom occurs when your water breaks before 37 weeks gestation. Generally, your water breaks and you will go into labor within 48hours. If your water breaks before 37 weeks you will have gushes of clear or light yellow fluid with a sweet or no scent. You need to immediately call your ob doctor and/or go to the emergency/labor delivery room. Your fluid will be tested to see if it is in fact amniotic fluid. If so, you most likely will be admitted to your perinatal floor until delivery.
What are the complications of your water breaking early? Besides premature labor and delivery, there is a very high risk for infection for baby and mom. Prolapse or compression of the umbilical cord and placenta abruption are also possible complications.
Why does PROM or PPROM occur?
In most cases, the cause of PROM is unknown. Some causes or risk factors may be: Infections of the uterus, cervix, or vagina, Too much stretching of the amniotic sac (this may happen if there is too much fluid, or more than one baby putting pressure on the membranes), Smoking, if you have had surgery or biopsies of the cervix, if you were pregnant before and had a PROM or PPROM
Or, like me, there is no known cause.
What happens next? It is essential that you receive a set of two steriod shots to mature your baby’s lungs. These take at least 24 hours to take full affect. However, most women give birth before then. Anywhere from 75-90% of women give birth within one week of their water breaking. You will also be on bedrest and be given antibiotics intravenously and pills. Ultrasounds will be done weekly to measure fluid which can vary greatly from day to day. If you start having contractions your doctors may give you magnesium sulfate through your IV to try and stop them.
My Story:
So I wake up around 2am and noticed a puddle in my bed. Very unusual since I have had no leaking problems. Then I proceeded to get up and go to the toilet. Of course I was concerned; however, I thought maybe I just peed my pants for some reason. I heard that happens with pregnant women. Nope. I walked around and each time I stood up a gush of fluid came out. I had no cramping or pain anywhere and ended up going back to sleep after my husband sleepily mumbled to call the Dr in the morning. I was tired, so I agreed.
Having a medical background, I figured this could be my water that broke so in the morning I packed a small backpack of basic supplies and clothes as well as a bag for my 22 month old daughter who I was going to hand off to my parents at the hospital entrance. My ob doctor of course informed me to go to the triage department in the hospital for labor/delivery. Luckily, my husband was able to meet me there and I had support. The Dr tested the fluid and informed me I would have to stay until delivery which was likely within 48 hours. I received an IV, fluids, ultrasound (my fluid level was 4 at admission) and a steroid shot. At first, this was all very overwhelming.
So, I expected my baby boy to be born within 48 hours at the gestational age of 30 weeks. However, days past, then a week, then two weeks. The antibiotics were finished, the iv was removed, and I was informed if I make it to 34 weeks I will be induced.
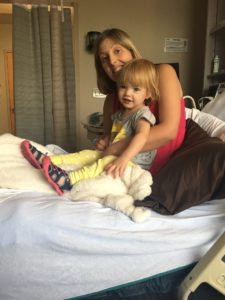
The first few days I was mostly in bed except using the bathroom. The baby’s heart rate was listened to four times a day with a nonstress test every morning. I had weekly ultrasounds for just fluid measurement. After a couple days, I was allowed to take wheelchair rides outside to get some sunshine! I am lucky to have great family and friends who kept me entertained, took me on rides, brought food and entertainment for me. I sorely missed my daughter, but luckily she was able to visit daily and got into the routine.
 Today I am 33 weeks and 2 days. I am set to be induced at 34 weeks since after then the risk of infection is very high and would cause the baby and mom to possibly be very sick.
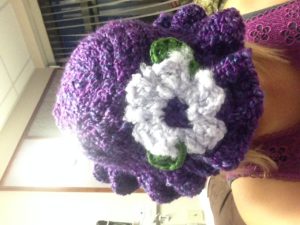
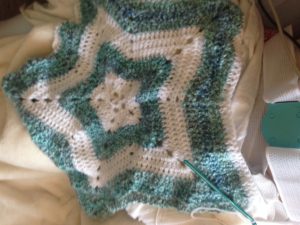
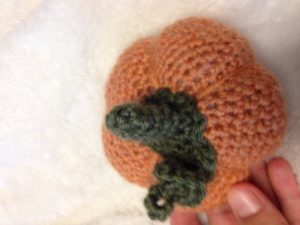
So the biggest help was keeping busy. I crocheted away, hot air balloons for a mobile, baby hats, gifts, butterflies, blankets, hearts, and other creations. If you have little to no experience, well use YOUTUBE! That is what I did! I have crocheted in the past; however, I decided to try many other new projects and simply watched videos on youtube to make the creations! Also, make your room friendly, put up pictures, wear your own pjs and clothes, and get comfy.
Another activity is adult coloring! I was given several books and colored pencils. Word puzzels, reading, tv, computer games, whatever you need to do to keep busy! The staff was very friendly and answered any questions.
So far that is my experience with PPROM (no, not the fancy get a nice dress and dance type), but I thought I would share in case anyone else is going through it! There are also support groups out there on facebook, babycenter, and many other places if you need to reach out and join. Word of caution: googling it too much will cause anxiety and you may find all negative things instead of positive!
 I was induced at 11pm August 31st and gave birth at 924am to our son Kodiak! So glad I went with a vbac!
P.S. this is why I haven’t posted any new projects lately! It may be a little while yet! But keep tuned!
Disclamer: This is not medical advice and is only an experience by one person that is shared on this blog and is not meant to be used in any medical way.
Follow
Share

