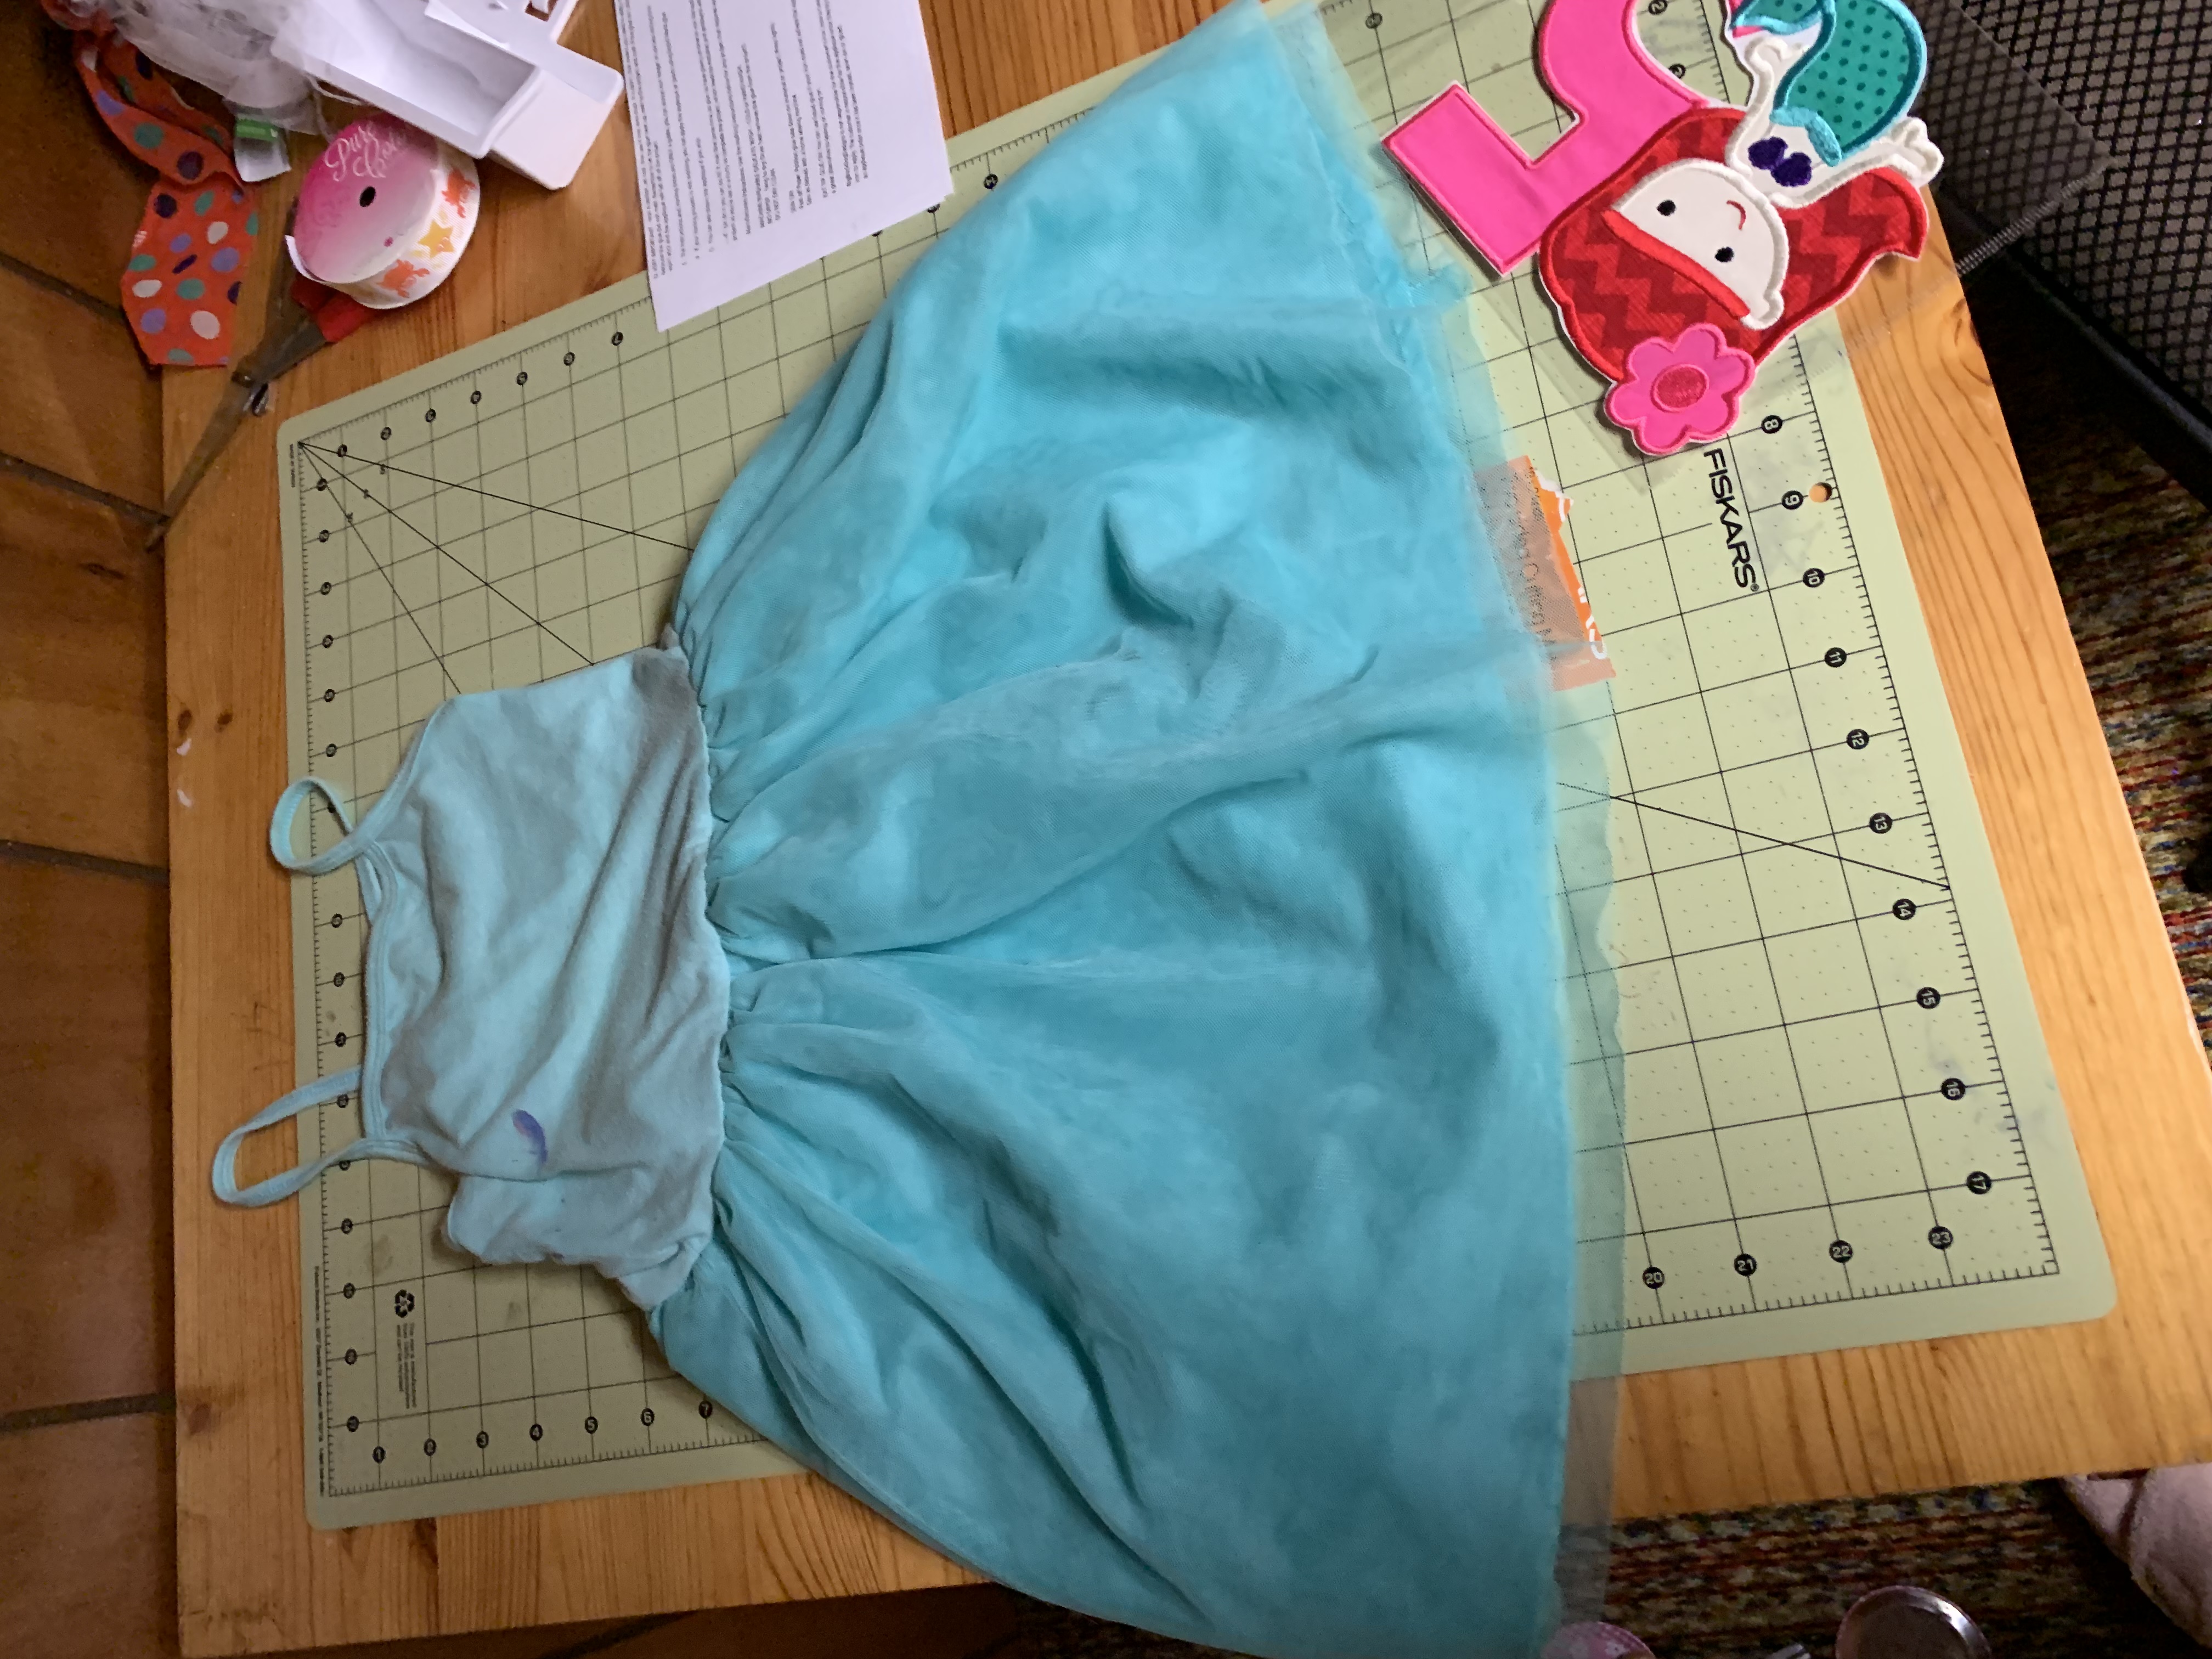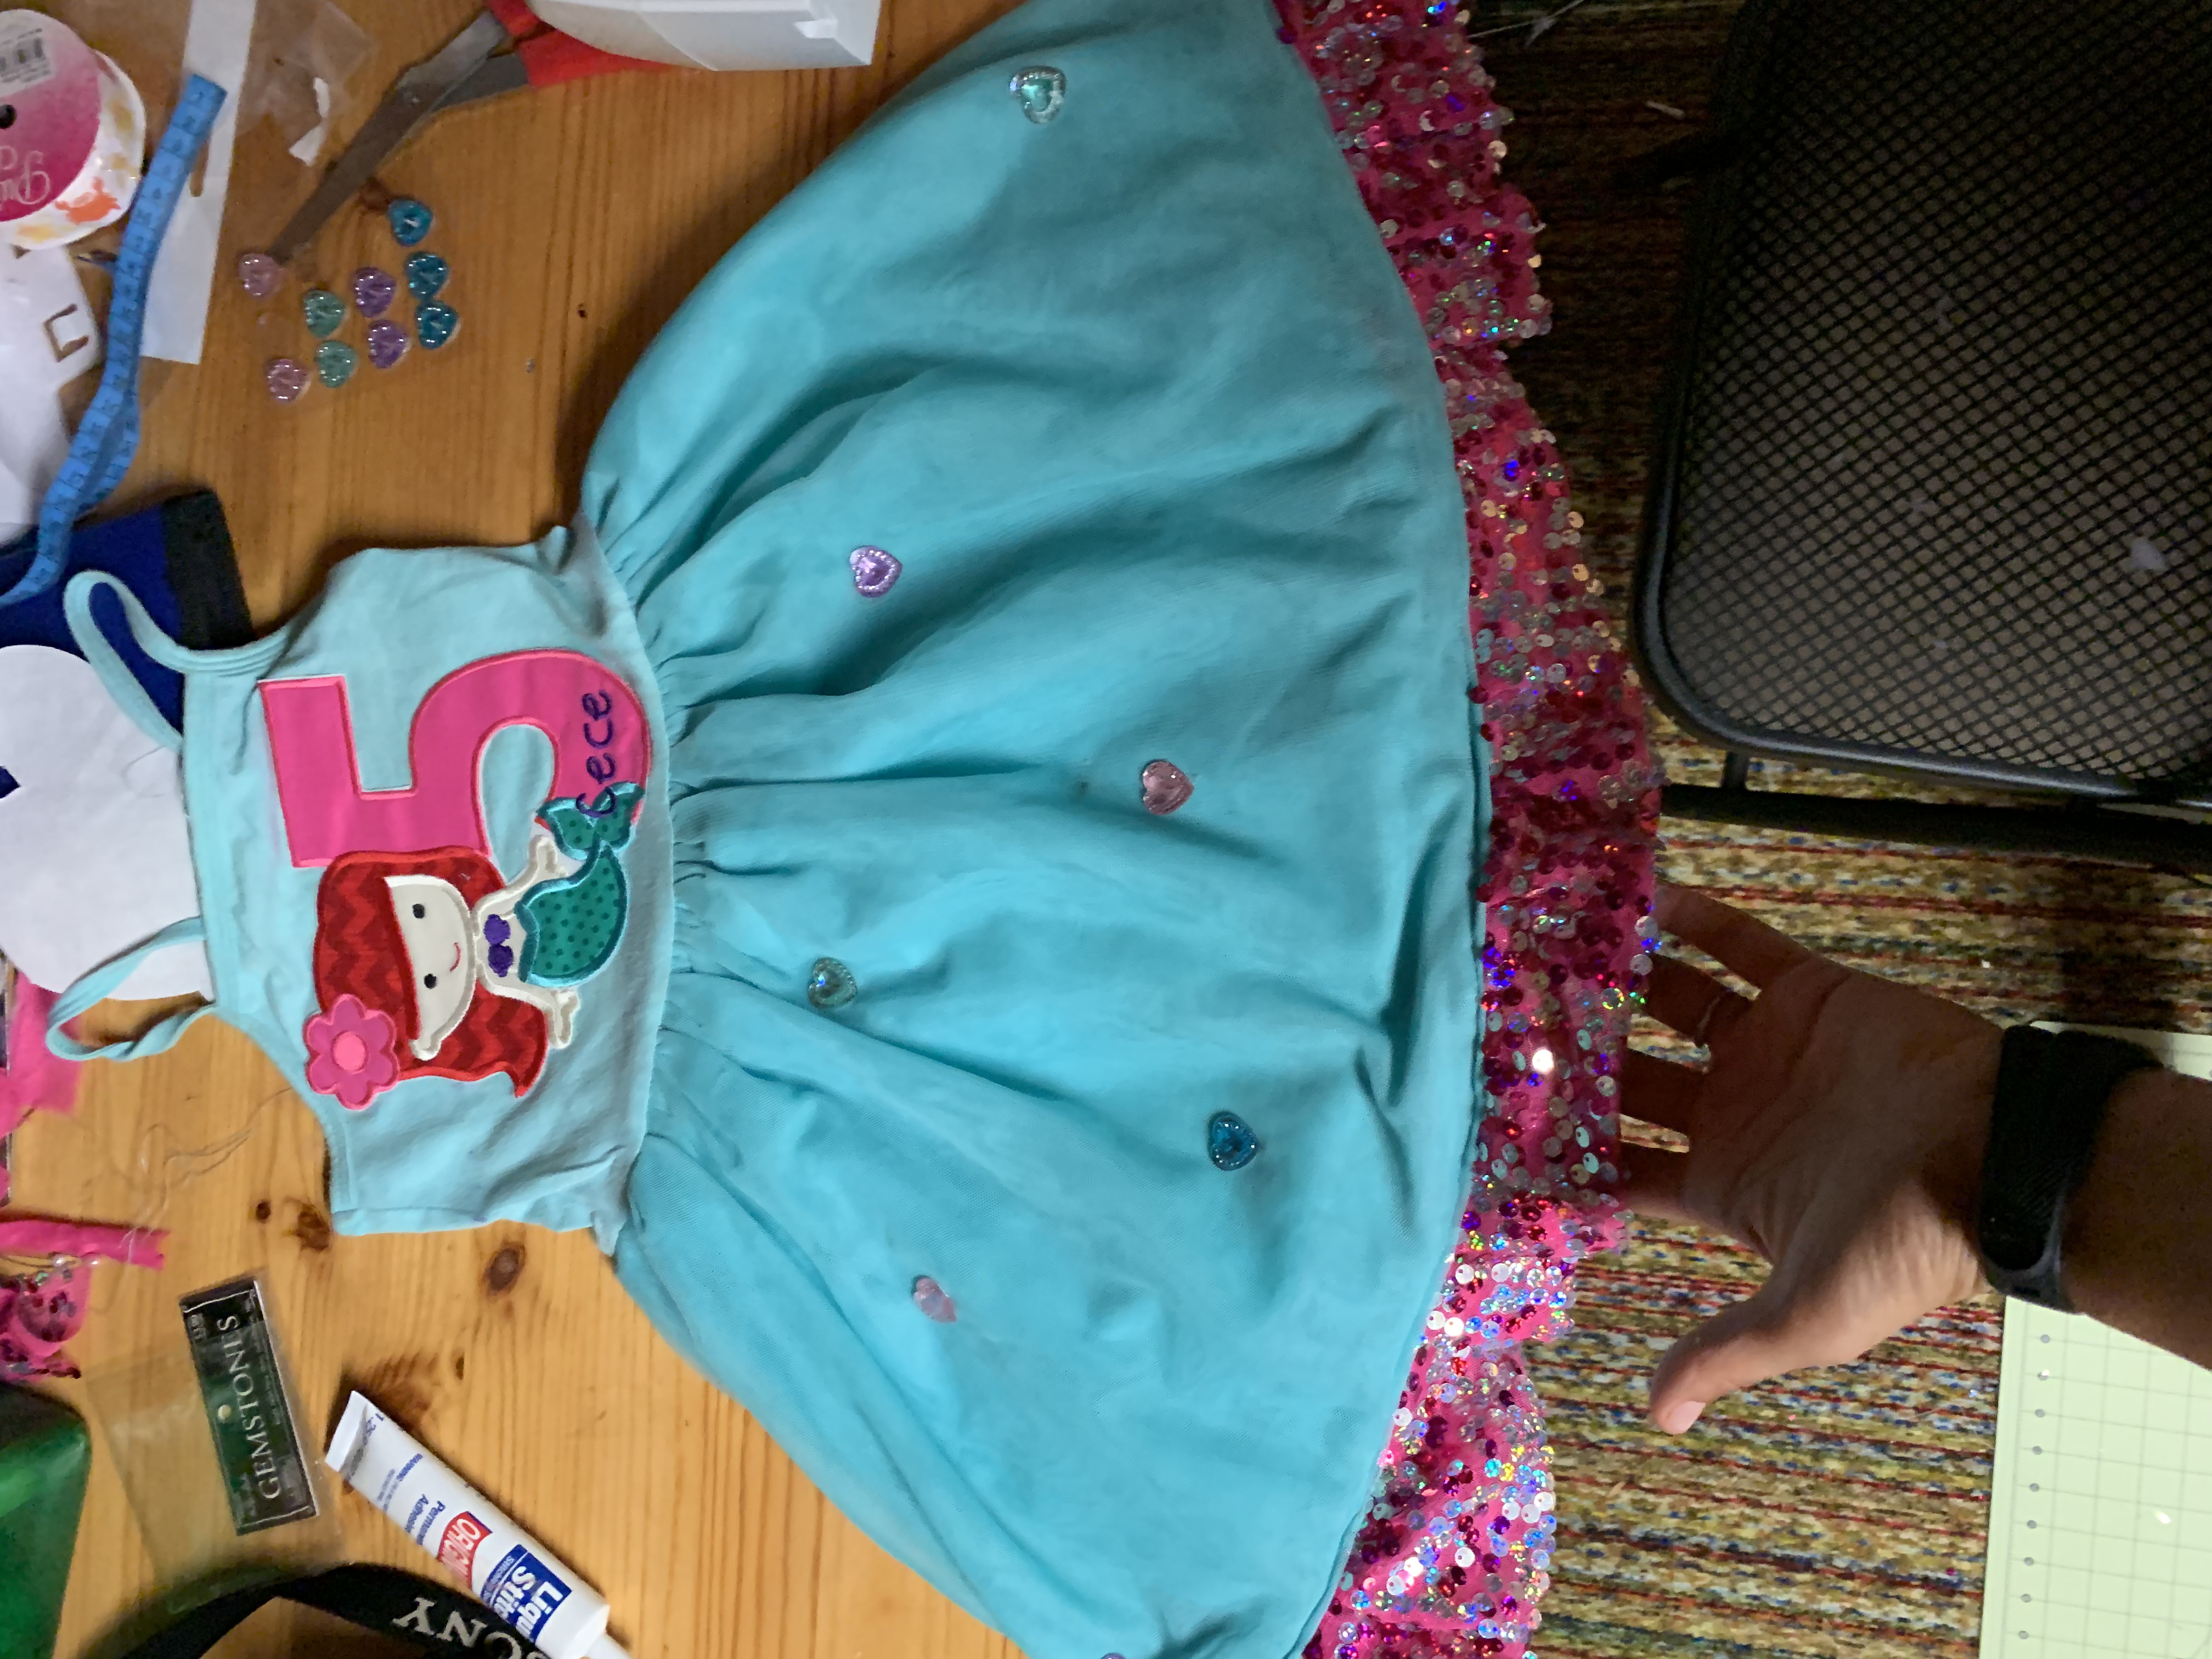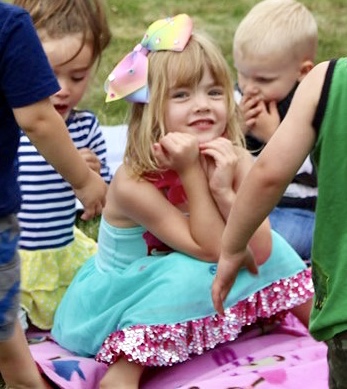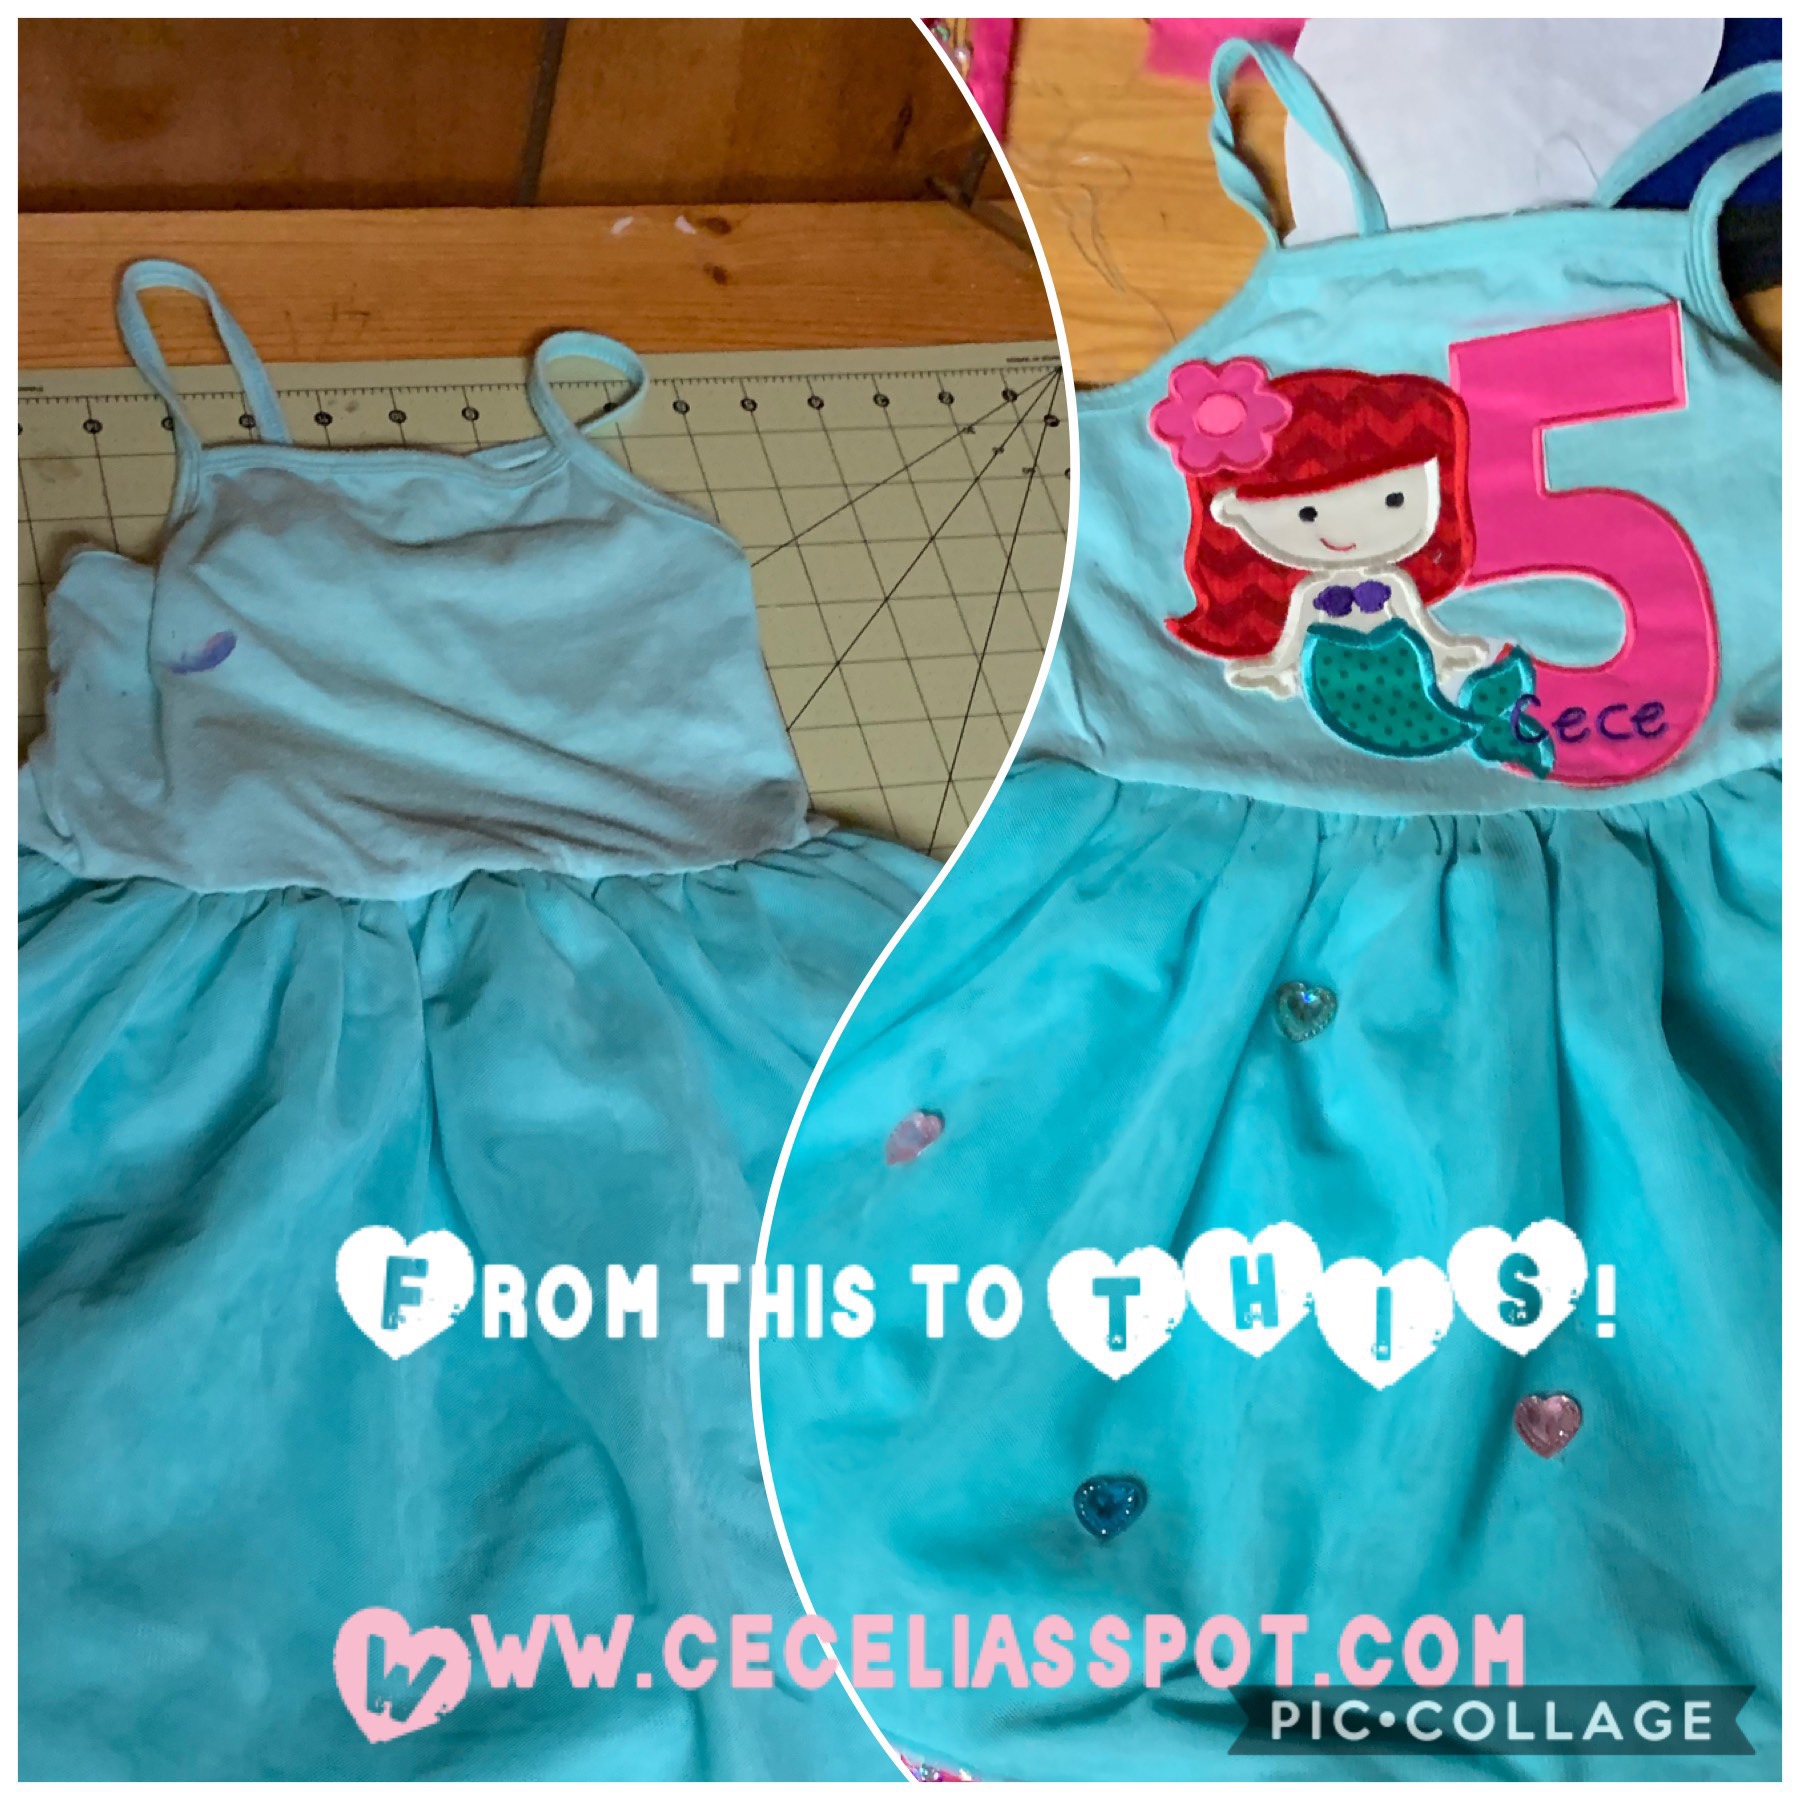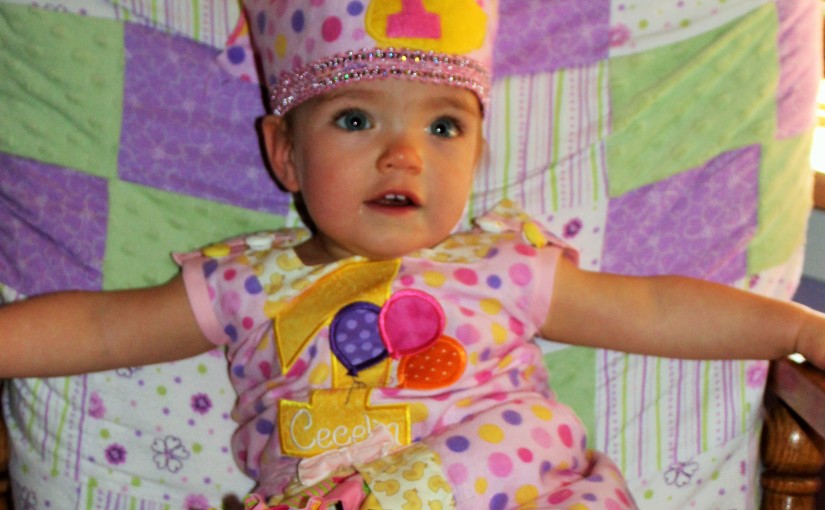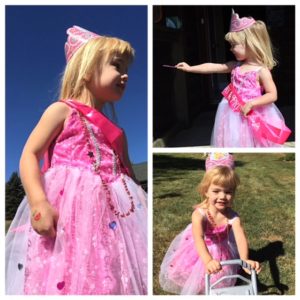
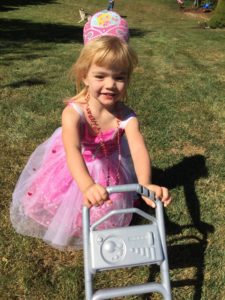
My daughter has recently developed an interest in princesses and playing dress up. I decided to take on the challenge of sewing a princess dress. I’ve made many dresses, including the princess-like 1st birthday dress, but I wanted to make something different, so I did some research and then bought fabric I thought she would love, and designed a dress. I made several adjustments during the process and added embellishments.
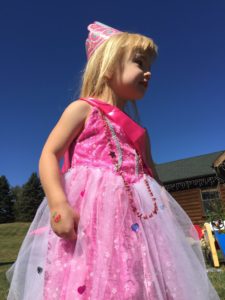
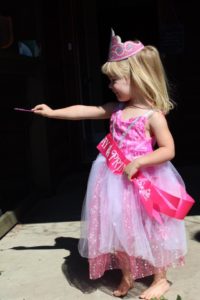
Since I did this all during the process of making it, I decided to take pictures instead of video like I usually do.
There is no pattern for this since I designed the dress as I went. I used one of her regular party dress to eyeball the correct sizing for a 3t dress. (This is what you can do too!)
So below are pictures and some steps. If you want to design a similar one just use a dress to get an idea of the sizing. I don’t work with a lot of tulle sewing, so it didn’t turn out the best, but I’m proud of the end results, and she loves it too!
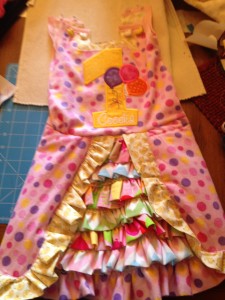
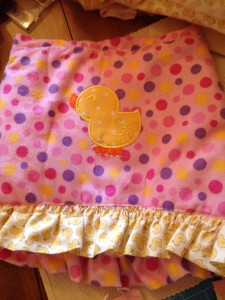
So I first made the front and two back pieces. You can copy these shapes from the picture and use a dress for sizing.
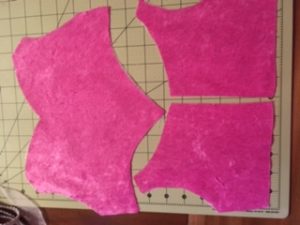
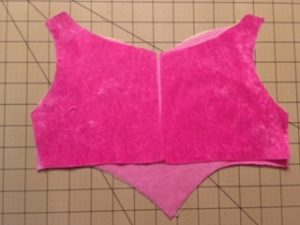
I ended up making another three pieces (another front and two back pieces) and using it as the inside of the dress. So I took pattern facing pattern for the front piece and left a 3 inch space to pull it right side out. Then I sewed this shut and ironed it all. I also used sparkly elastic and pinned it in between the pattern facing pattern (this is what I should have done but forgot and ended up just sewing it to the top).
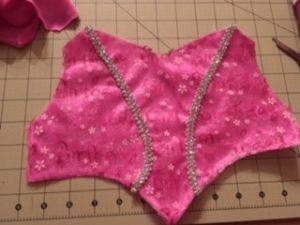
I also added a tulle happy birthday and two pieces of silver design on the front. You can add or not add as many embellishments as you want.
Next, I used interfacing ironed on both back pieces and then used white hair ties cut in half. I pinned the half hair ties facing inwards in between the pattern facing pattern pieces then sewed all the way around except a 3 inch area and pulled it right side out and sewed then ironed it.
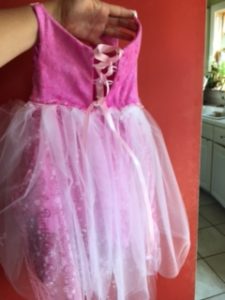 Following that, I placed the two back pieces on the front pattern piece and sewed the sides and then folded them back to have the top finished.
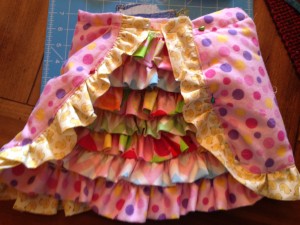
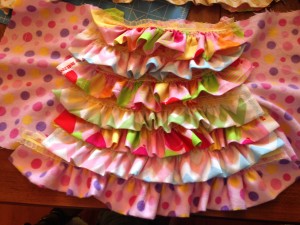
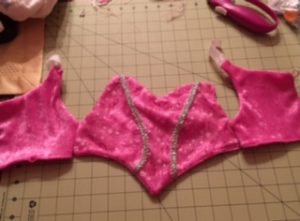 I then measured the skirt by measuring from the top down to the right length for my daughter with a measuring tape. I used the soft fabric of the top for the under-skirt and then cut happy birthday tulle and tulle for the skirt. i made the white tulle width three times the width length since I will gather it to make the skirt more “poofy.” I then gathered the tulle using the easy method of dental floss, on top of the soft under skirt. With this method, you use a large zigzag over the floss and then at the end you pull the floss out and it is gathered!
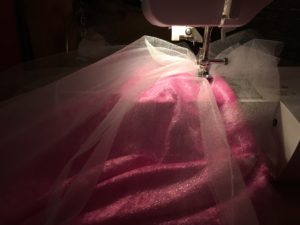 Next I decided to use the happy birthday tulle and sewed it on as well. Then, I put the layers together and I put pattern facing pattern and sewed it all together.
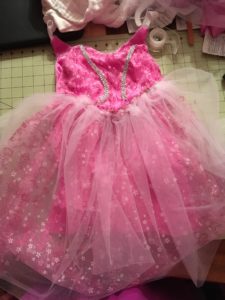
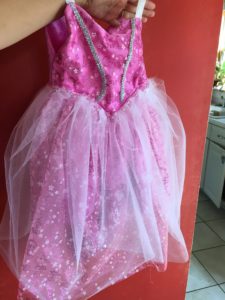
I ended up sewing on a bead embellishments on ribbon in between the top and bottom.

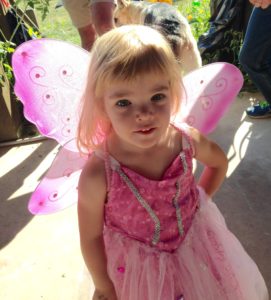
Happy Sewing!
Follow


Share


