I don’t know about your little one, but mine sure does love to read! Well at this age, it is more like browse through the pages and pictures! She sits by the book shelf and pulls out book by book looking at each page.
At first I thought maybe I should purchase her a bean bag chair, and then I thought, well lets just make one! This can also be a great gift for anyone! I actually sometimes sit in it too (shhhh!)
So of course I have the video tutorial on youtube below and then the written and picture tutorial below that. Let me know if you have any questions!
What you need:
- Fabric (you can use two or one color) 2 yards total of each color (or 4 yards of one color)
- A 24 inch zipper (or you can use velcro or buttons)
- 4 yards of muslin or cheap fabric
- Bean bag filling (100L) (I couldn’t find a large bag at my local craft store so I bought mine on amazon with free shipping)
-
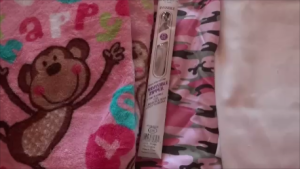
- Make panels of 40×16 inches. You should do 6 outside (3 of one color and 3 of the other color) and 6 inner panels.
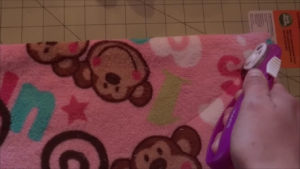
- Take one of your panels and fold once long way and once width. Have your fold on top and side when measuring to cut. Measure bottom to 6 inches (the long side) and start a curve and cut right up to the right corner. See picture below.
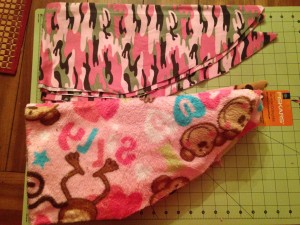
- Line up two inside pieces and sew up and down one side. I did this twice for more strength. For the outside you will have the patterns facing inside towards each other and sew.
- Once sewn open the panel up. Then place another panel on the original piece and sew the opposite side (you will end up with three pieces sewn together)
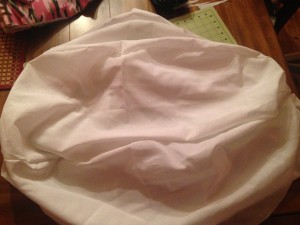
- Then sew the other 3 inside pieces together and you will have two sets of three.
- Take the two sewn together pieces and face pattern side in (doesn’t matter with the inside bean bag layer) and sew all the way around the outside leaving a couple inches hole.
- Turn right side out. Then you will put the bean bag filling it! Ah what a challenge!
Note: I did not completely fill and sew this until I was sure the outside would fit over properly. I waited to finish this until the end of the project. - Take one of your outside panels and face the zipper down on the pattern. Line it up on your machine and sew the zipper on.Take one of your outside panels and face the zipper down on the pattern. Line up the right outside part of the zipper to the outside of the panel (as shown) and sew the zipper on.
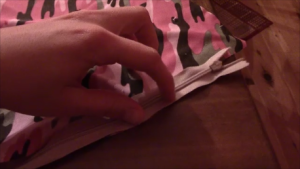
- See the video for more of a demonstration on how to attach a zipper
- Sew pattern and right side of the next panel to zipper right sides facing each other (inside) and sew together.
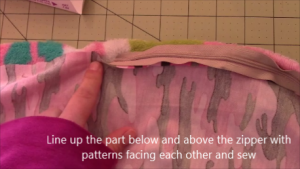
- Line up the part below and above the zipper with patterns facing each other and sew
- Then sew your 3rd panel on…complete another 3 panels together as done with the inside pieces.
- **Open your zipper all the way. Take each 3 piece panel set and place them facing each other (inside) and sew all the way around the edges. Do not leave a hole this time, you will pull it out through the zipper opening!
- Next you will place your inside bean bag that is partially full inside. If its full then you are done! However, if you partially filled…continue to fill all the way and sew the inside bag shut.
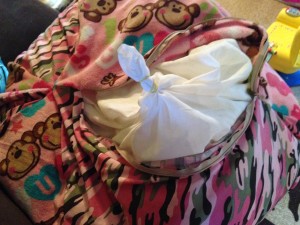
- Congrats you are done! Enjoy! Post your pics below!
Follow
Share
