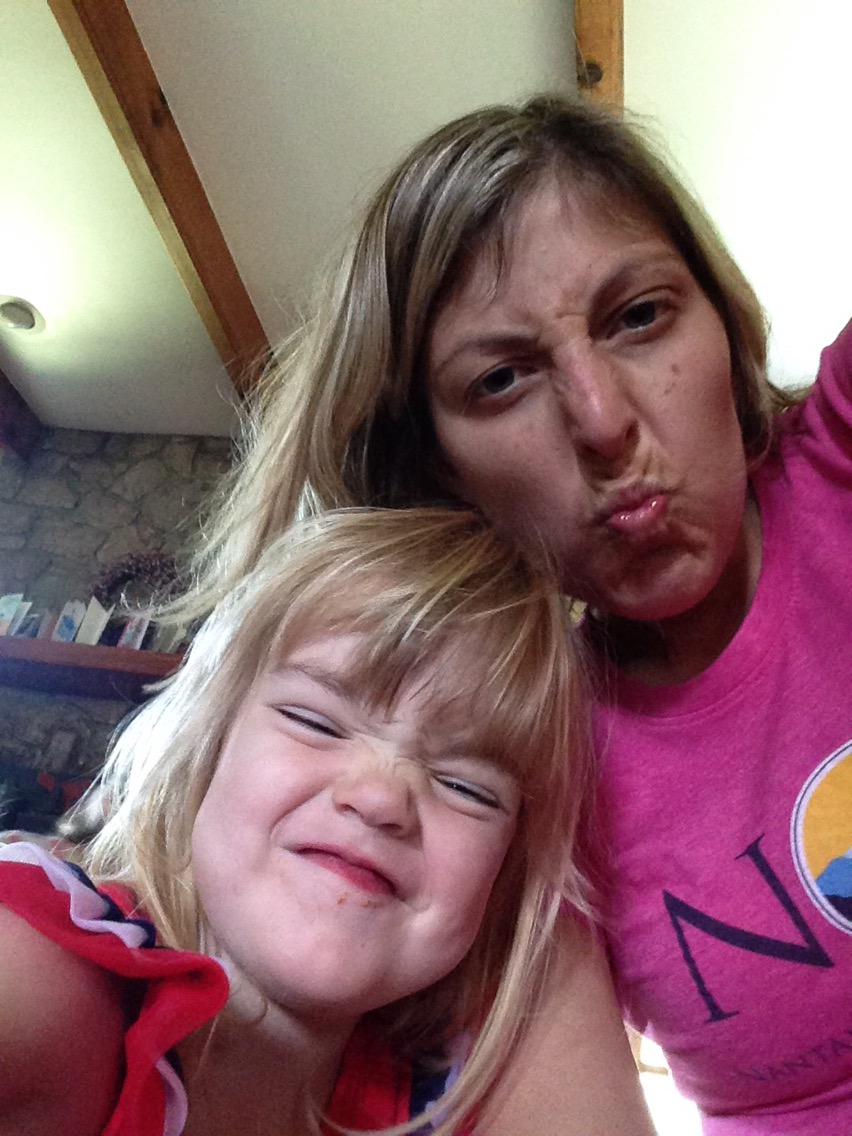
When I say I need a break…

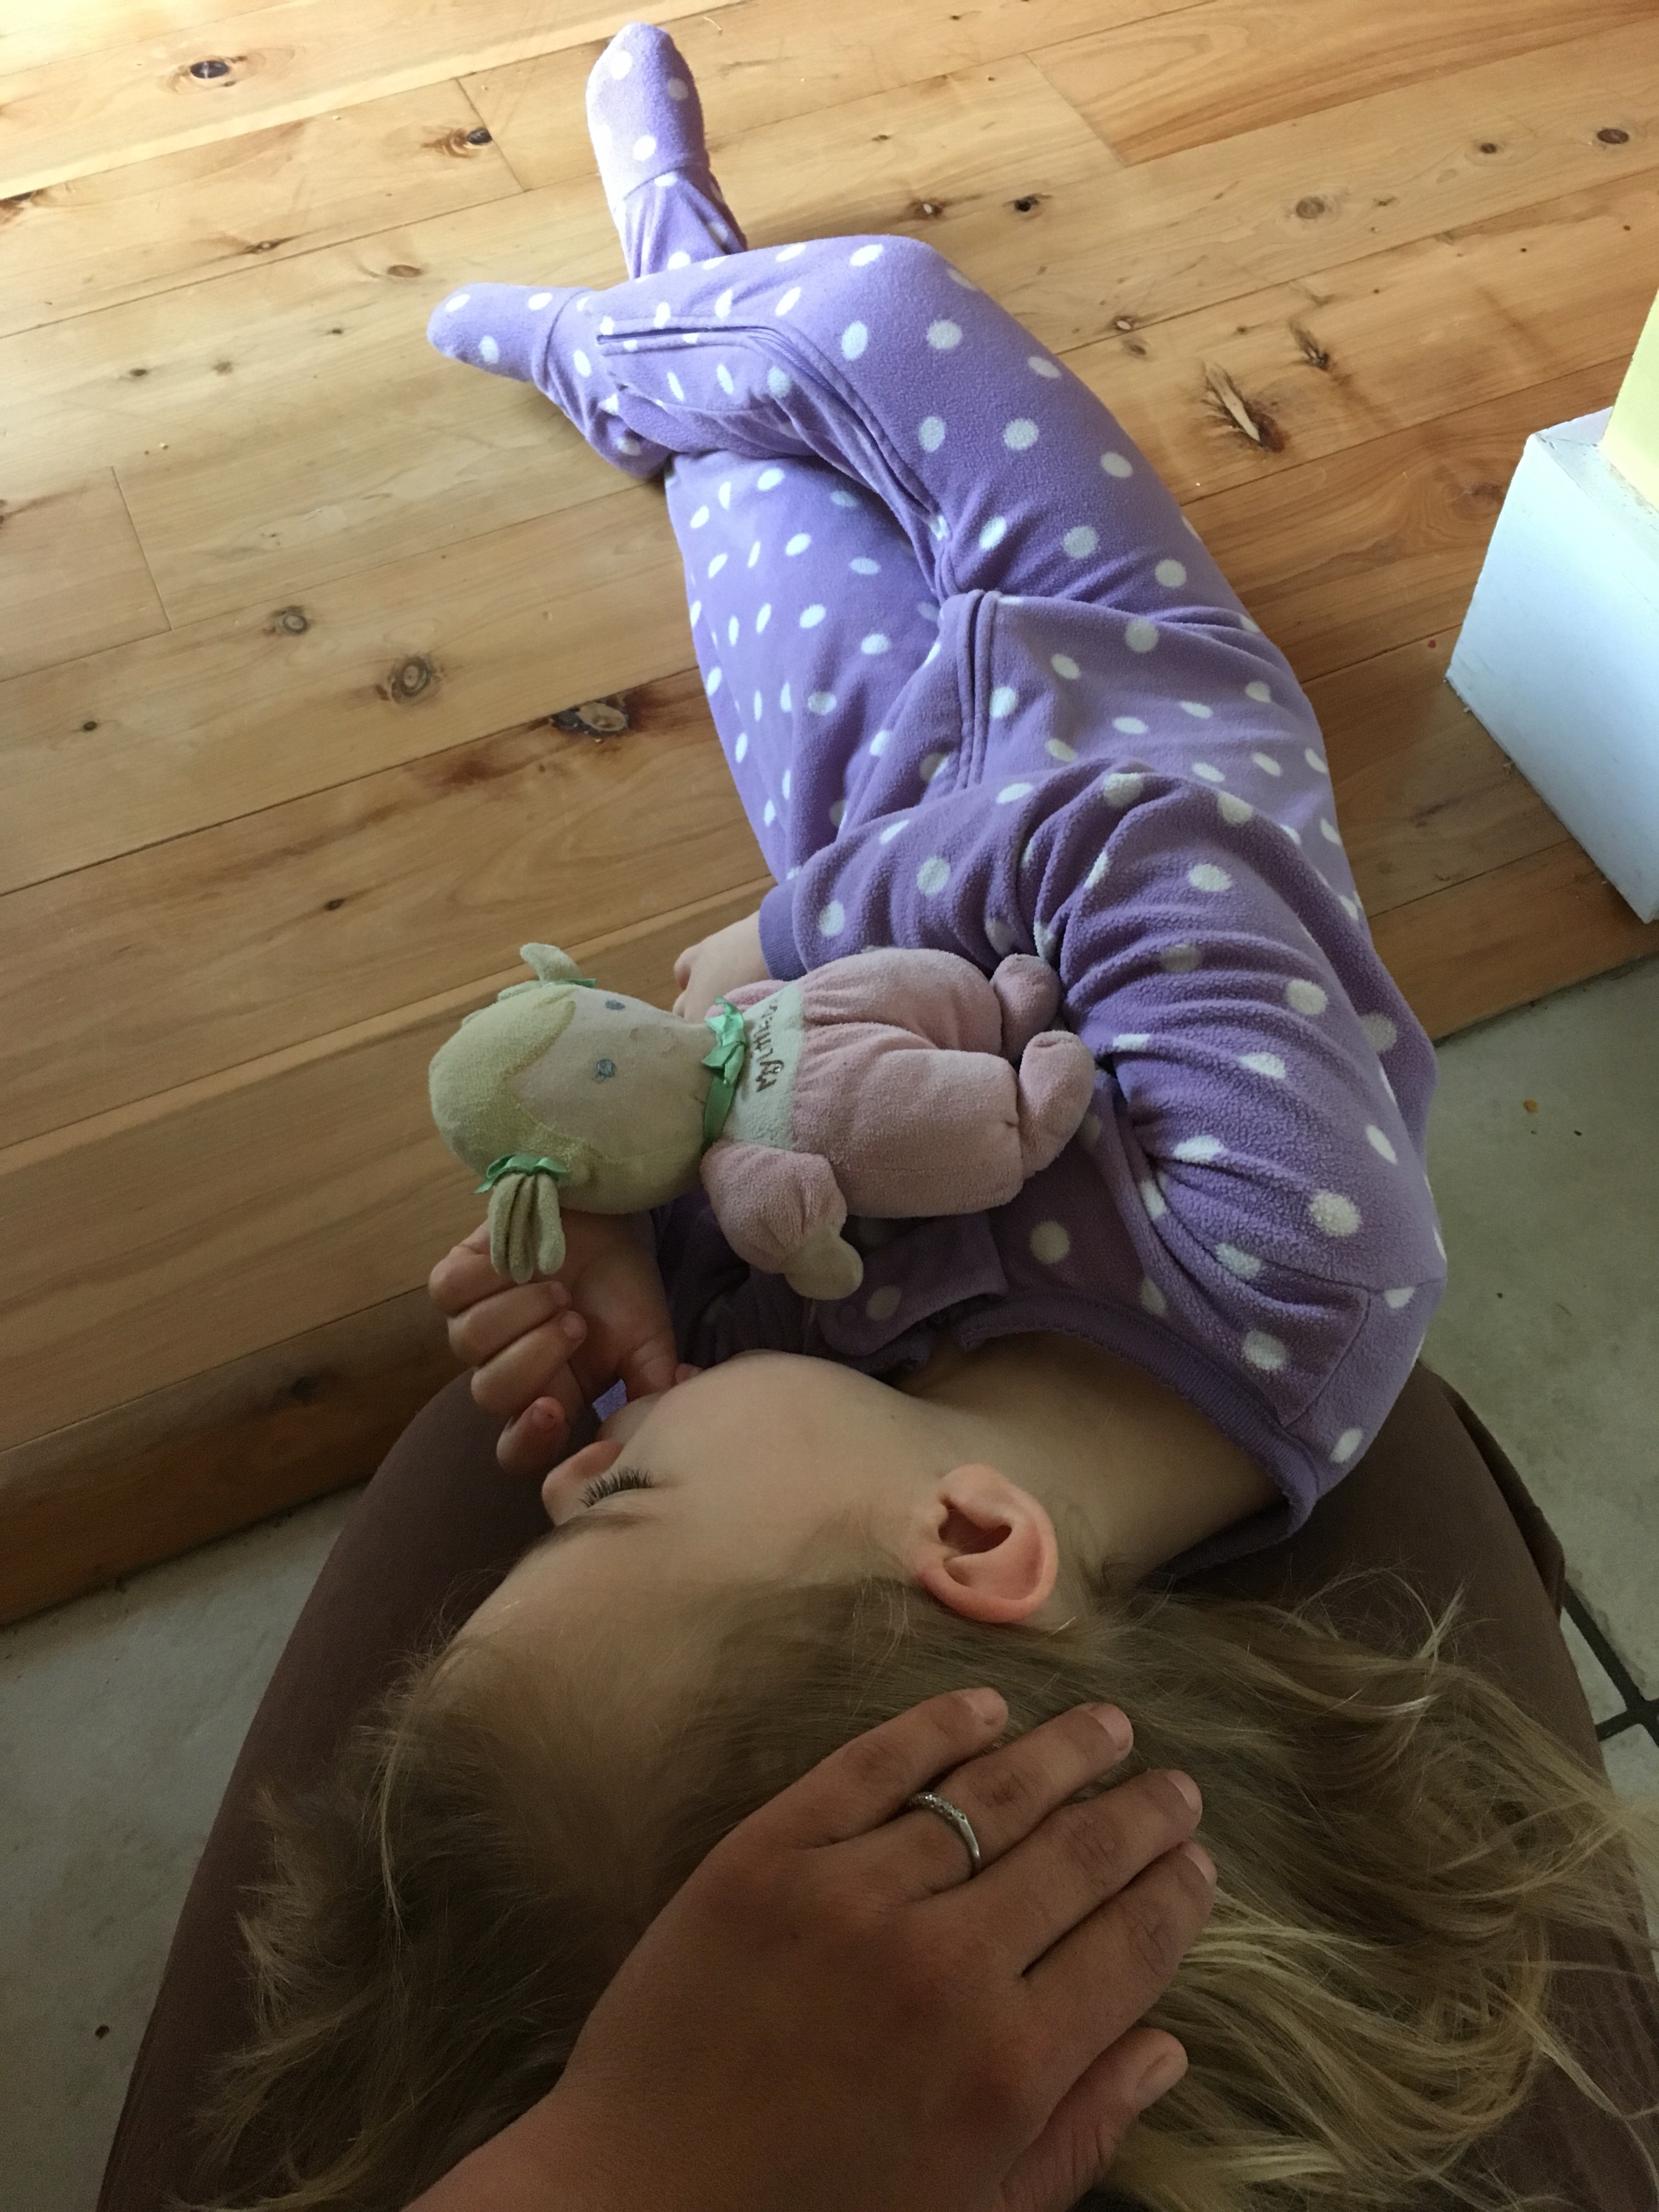
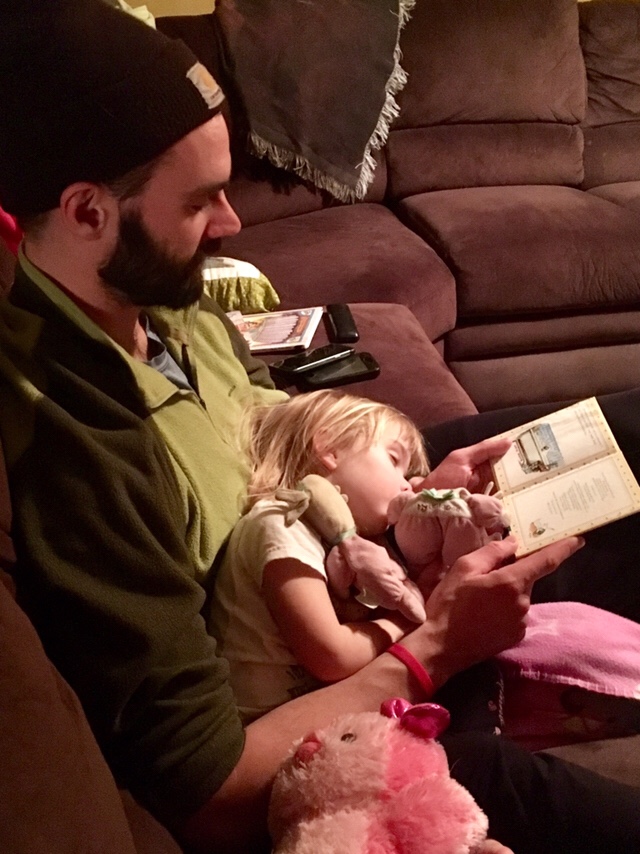
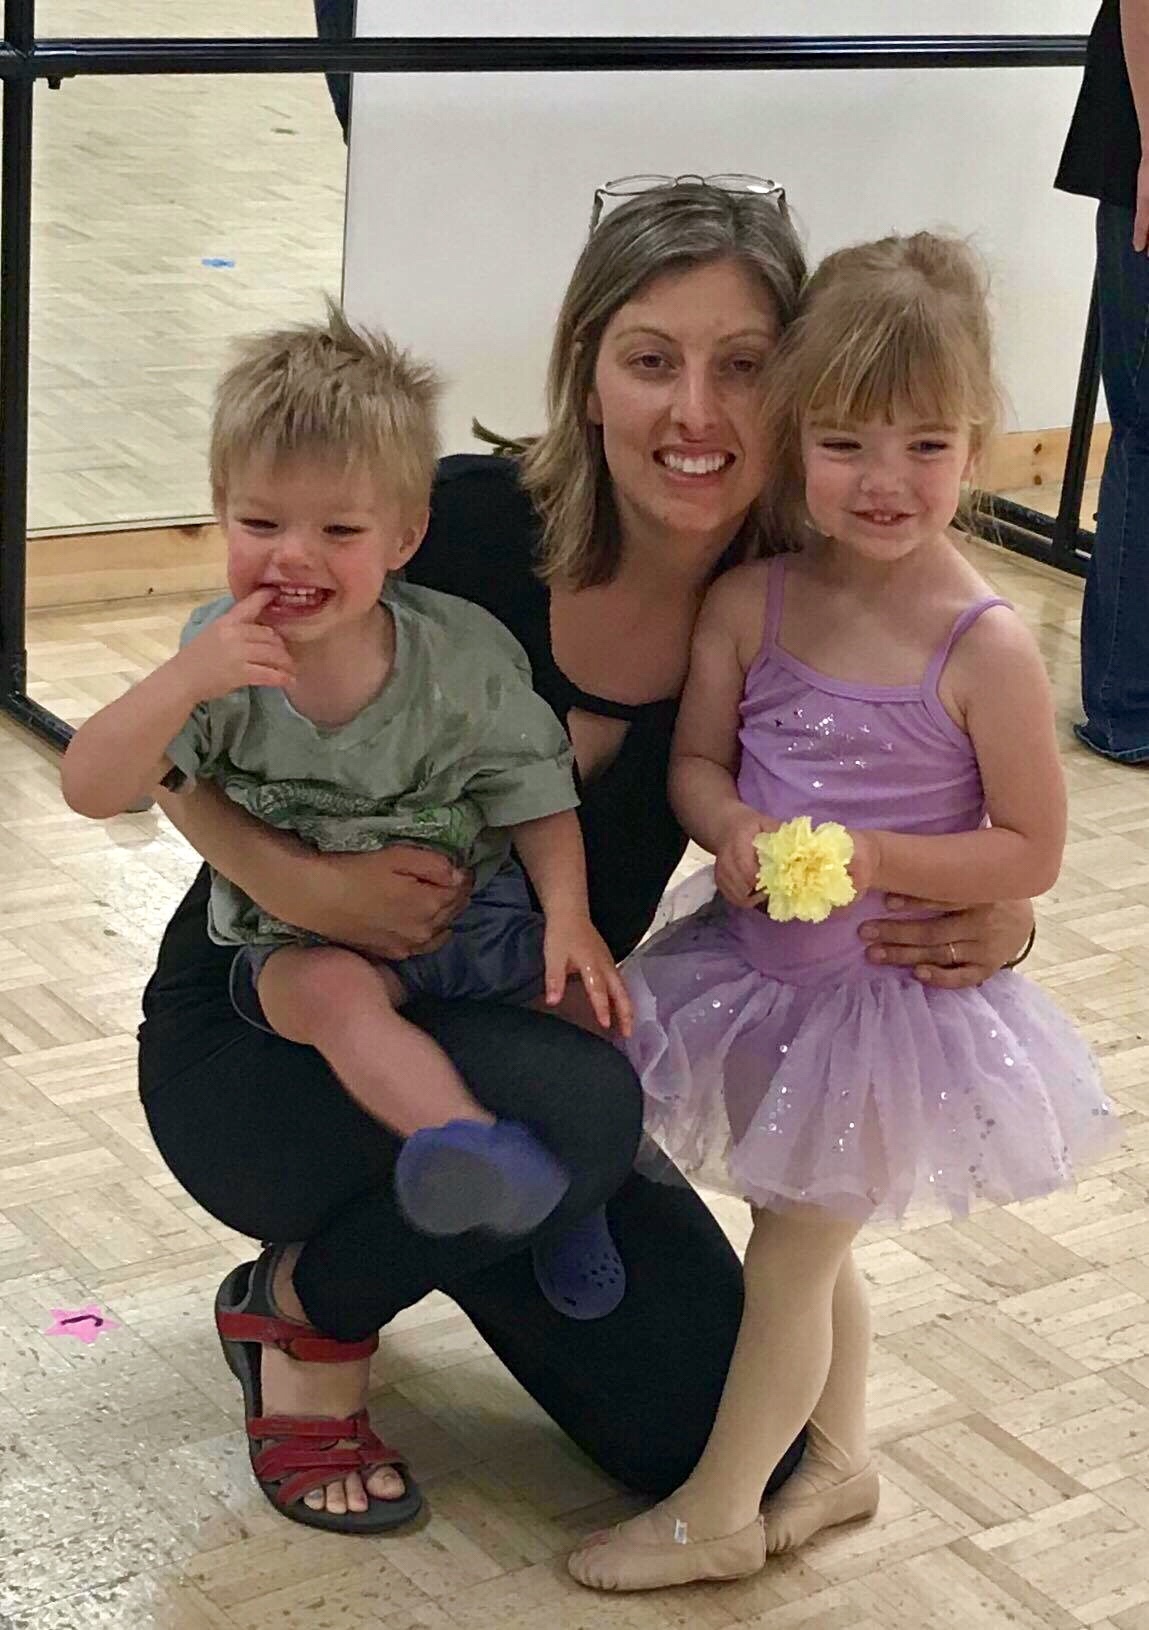
When I say I need a break I mean I need a quiet moment to feel like a human again. I need time to think about myself for a moment instead of continually trying to save infants and toddlers from killing themselves or others. I need a moment to use the potty, or excuse me, the bathroom as adults say it, without children busting in or breaking something in the other room.

When I say I need a break, it does not mean I’m not thankful I’m able to be with my children all day. It doesn’t mean I’m not having a great time and laughing with them. It doesn’t mean I’m trying to make my husband do some work. He works hard and needs a break too. But he also has children he helped make and needs to spend time with them and show them how to be a good person before they grow up.

When I say I need a break I don’t mean that moms that aren’t stay at home moms don’t need a break. I know it’s hard to be away from your children at work and wondering how they are. I know you may be working in a hospital or another setting listening to others needs instead of your children, or lastly yourself. You are doing a great job working and being with your children when you are home and can be.

But when I say I need a break, it means I need to listen to my needs instead of constant needs from children, patients, and others all day. When I say I need a break it means I need time to try and feel like myself, to try and remember what it feels like to dress up sometimes or feel pretty. When I need a break it’s mostly just going to the food store alone, working in my garden, going to a doctor appointment or hair appointment, it doesn’t mean I’m going out to the movies or to the bar (hah who has time for that!).

When I say I need a break I just want to feel like me, like a human for just a little while until I miss my children and husband shortly after I leave or they do. It means I’m psychologically drained and need a recharge, and you could be the one to help me with that. We all need a recharge from time to time, especially when we focus on others needs and wants above our own and use up all of our energy and love on or little ones.

FollowFacebookpinterestrssyoutube
ShareFacebookpinterest

Twinkle Twinkle

Hello! Guest writer here! I am the blog founder’s twin sister, Jessie, and I’m here to share my decorations and ideas from my little girl Madison’s first birthday party. You can use these decoration ideas for anything from baby showers, birthday parties, to graduation parties depending on what your theme is. If your theme involves stars, pink, or gold then you are in luck!

party
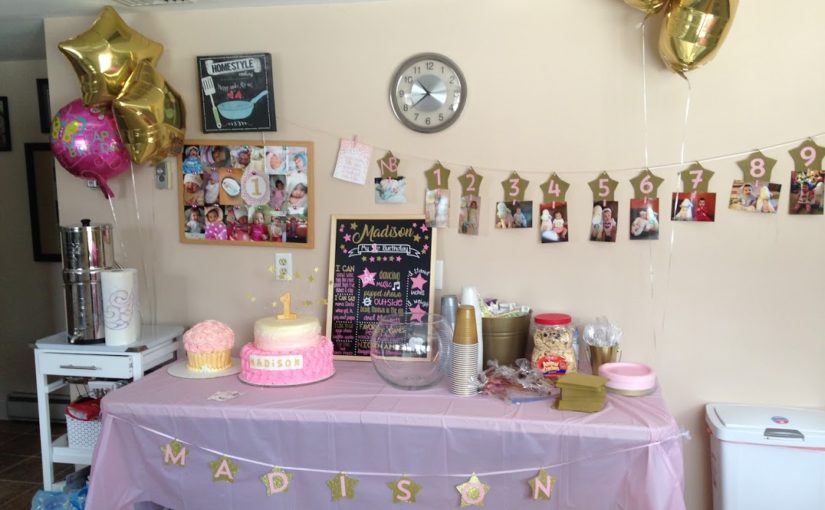
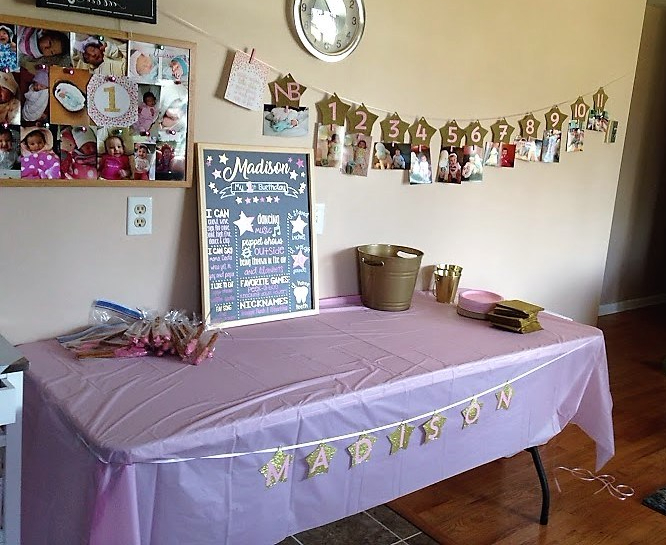
The dessert table before the desserts!

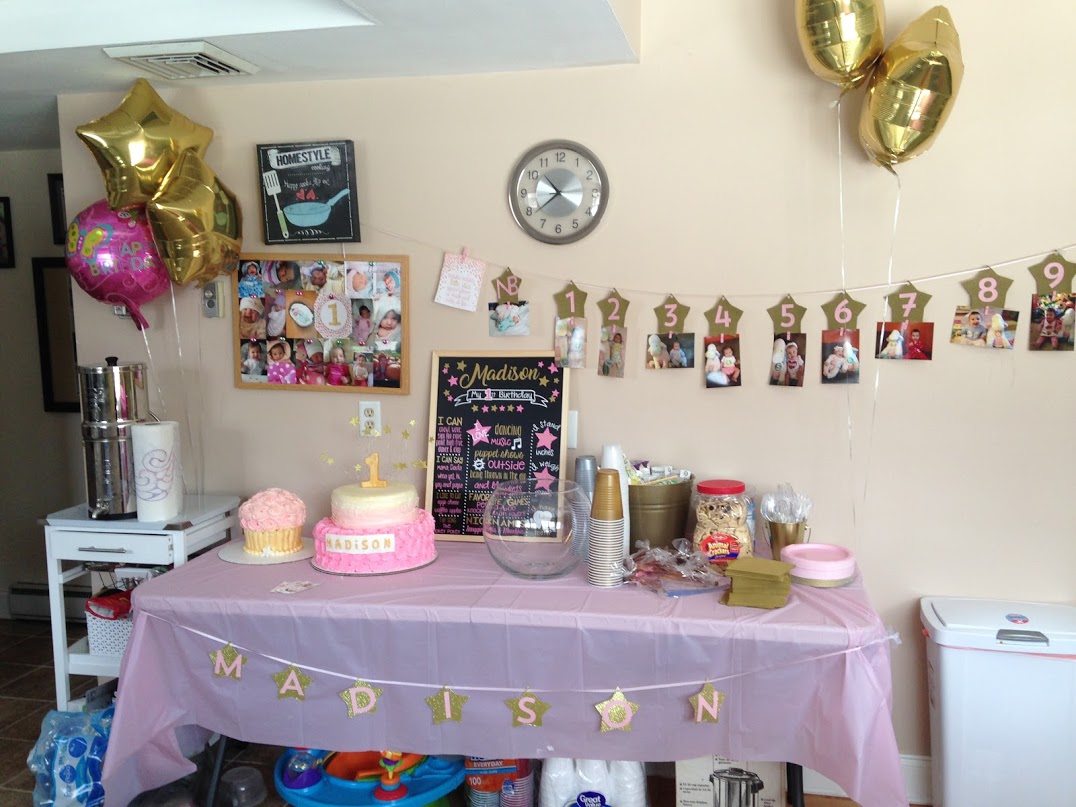
Let’s first start with the pink and gold theme. All of the tablecloths, plates, napkins, and containers are from Walmart. I wanted a good deal, but also wanted it to look good and found the best deals there. Michaels was another store I frequented for ideas and supplies. All of the numbers, letters, and banner supplies were purchased there.

Okay, before we dive too deep into how each decoration was made, let’s check out some pictures!

party6
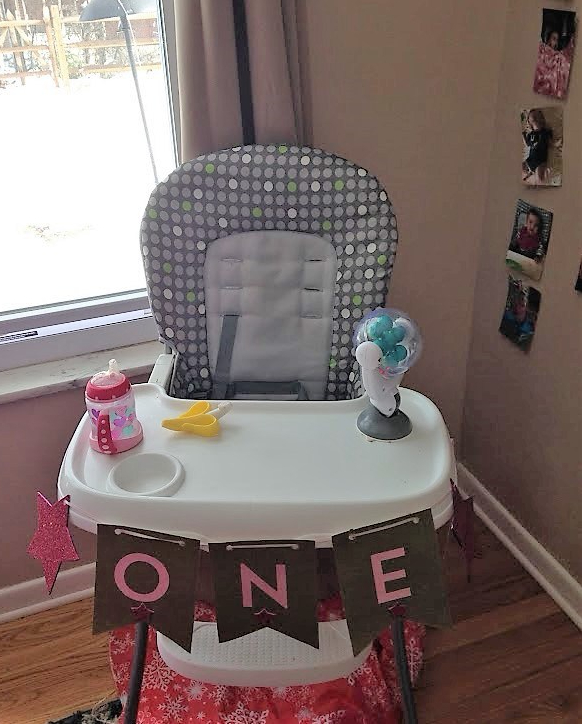
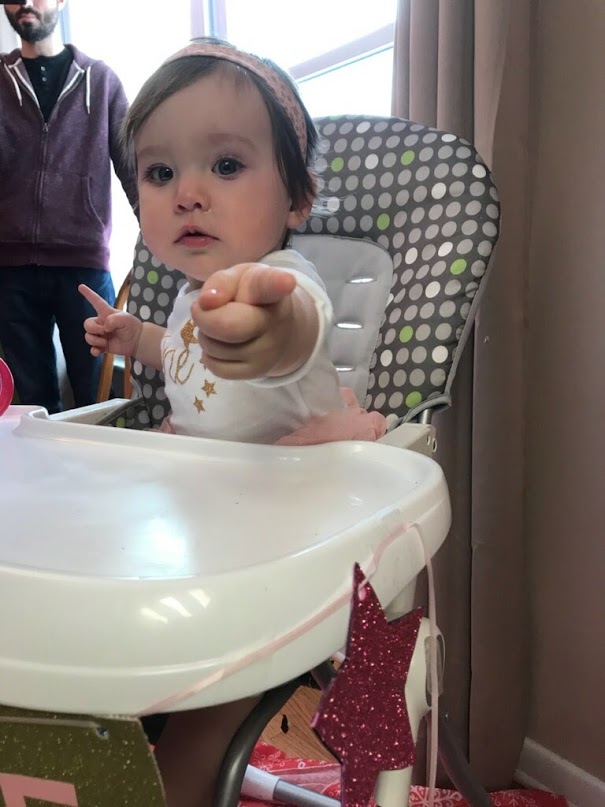
The birthday girl’s chair!

All of the banner pennants in this article were purchased from Michaels. The letters on all of the banners are stick on letters from Michaels too. However, they don’t stay on the thick fabric of the pennants so need to be glued on. I used a hole puncher to make 2 holes at the top of each pennant and put string through them. I purchased some glitter foam sheets from Walmart to make the stars and used a cookie cutter to trace them.

party14
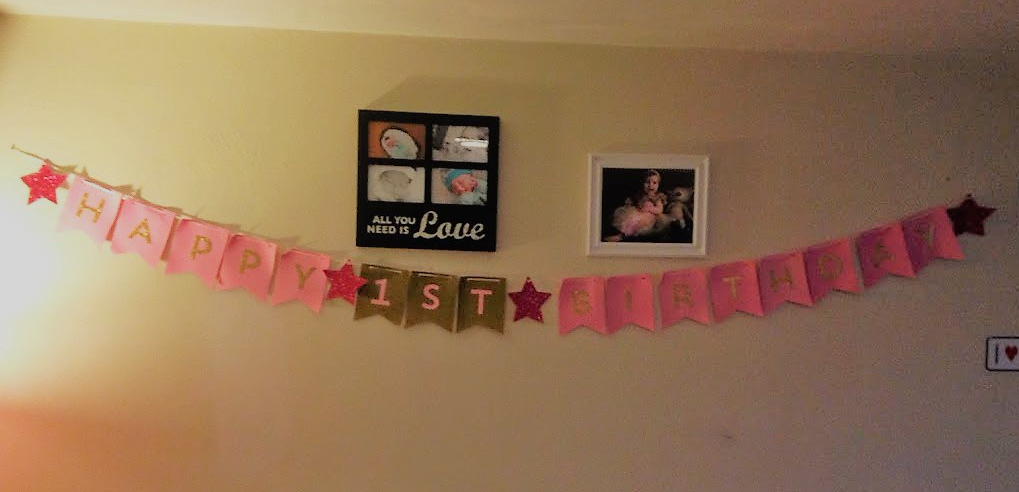
The happy birthday banner hanging above the food table.

Again, I used the materials I purchased to make this banner and it was fairly easy because everything was cut out besides the stars. This banner was definitely worth the time to put it together, it was super cute and personalized to her party. I moved the pictures that were originally above the banner and replaced them with picture frames of Madison.

party10

Balloons were purchased at the dollar store. I used the cork board from the kitchen to put pictures of her from the first year-a simple and affordable decoration. The 12 month banner was also made from the pennants. I simply traced the star cookie cutter and cut out stars instead of using the pennant shape. If you don’t have a cookie cutter you could print out a star from a computer and trace it! I found little pink clothespins at Michaels and hot glued them to the stars so the pictures could be added below the banner. This could also be a cute idea for other types of parties. You could write someone’s name and have pictures of them beneath it or for graduation with pictures from each school year. The options are endless!

party18
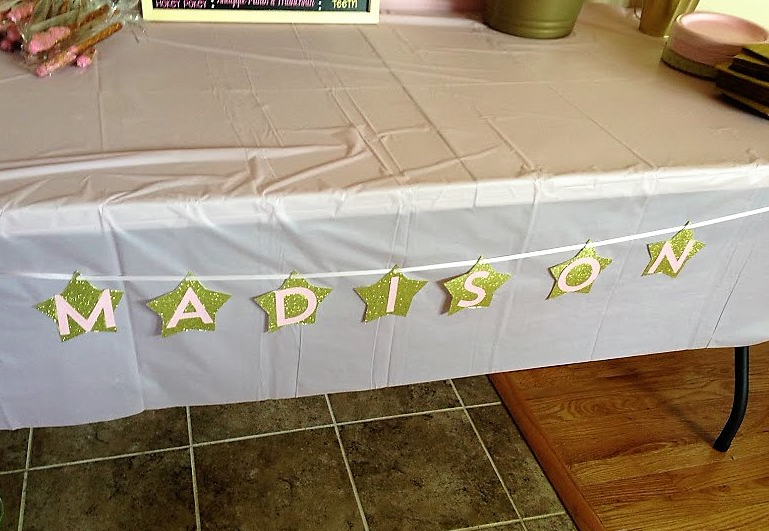
Again, I cut out stars and added the stick on letters with glue. These stars were cut from glitter foam paper.
party7
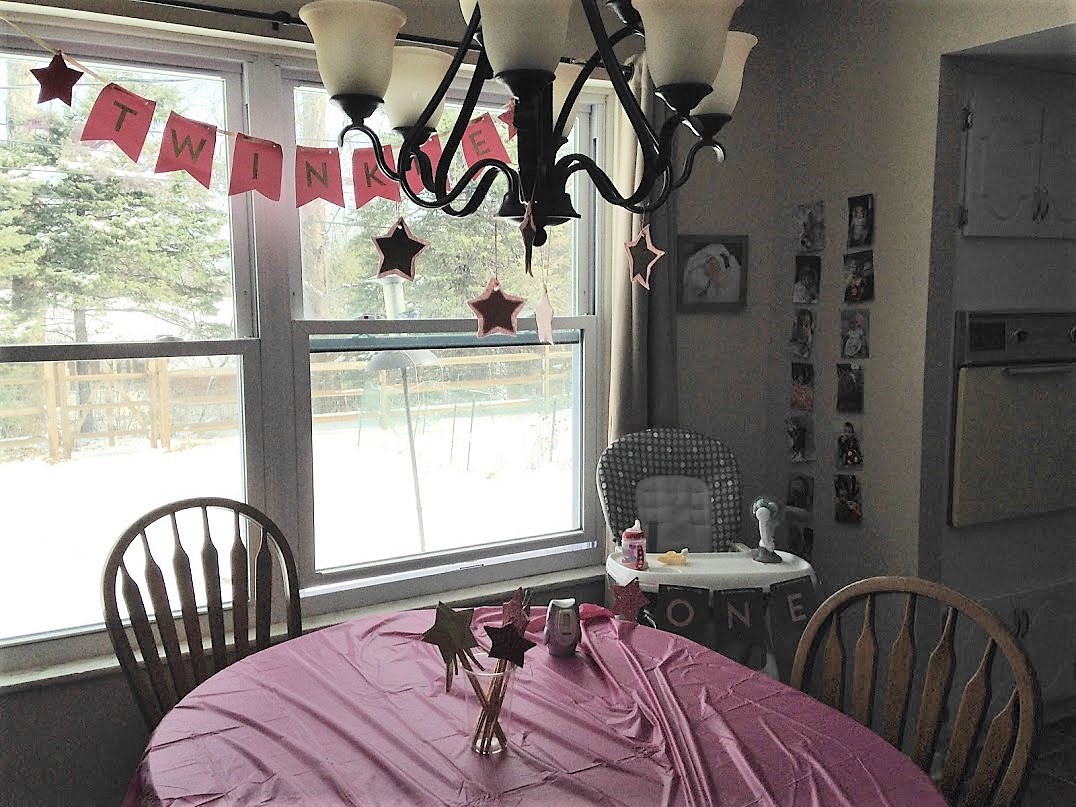
Stars, stars, everywhere!

I made the twinkle banner, the stars hanging from the chandelier and the star wands on the table that I used as party favors and a centerpiece. For the stars hanging from the light, I cut out stars from the foam paper and attached it to felt pink cloth I had. I cut the outline of the pink cloth around the gold star so it looks like an outline for the stars.

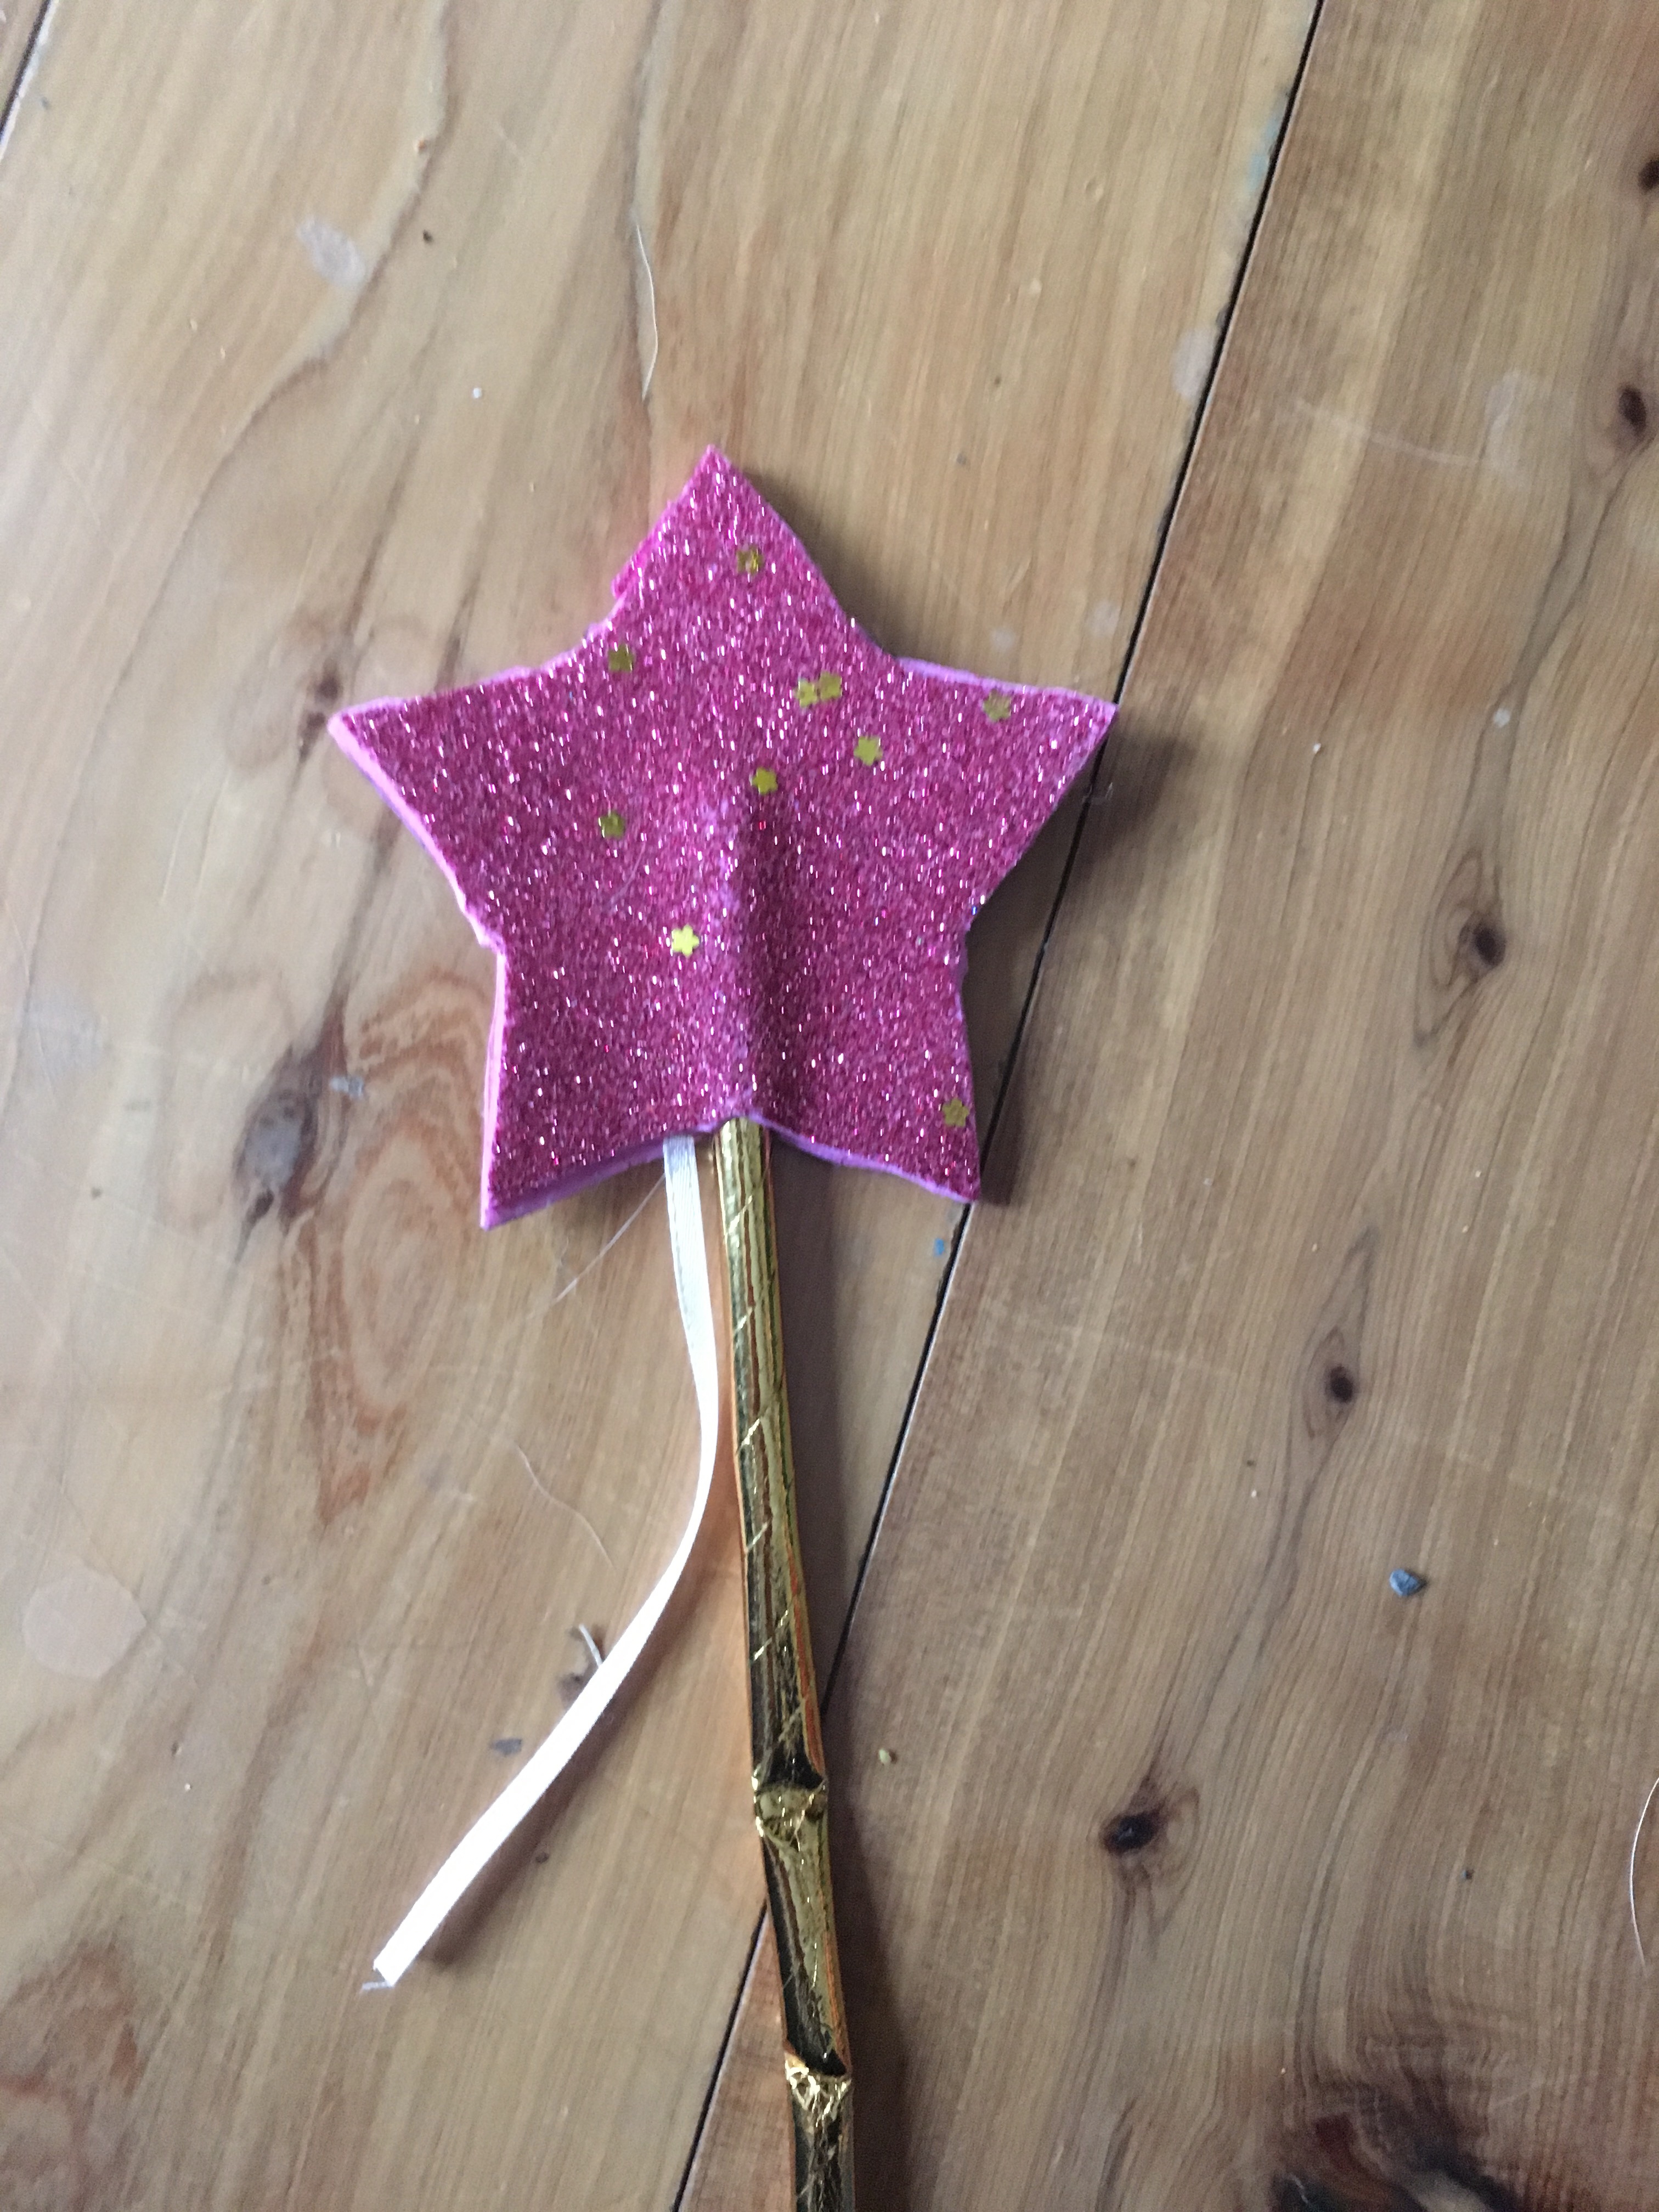
As for the wands, I purchased gold straws from Michaels and they were very sturdy made from cardboard and didn’t bend. I decided to use the foam paper to cut out two stars and stick them together around the top of the straw. I also included 2 cut pieces of ribbon on the wand. I put one on each side of the star and pushed the stars together (they have sticky backs, but you could easily glue them). They were a hit!

party4
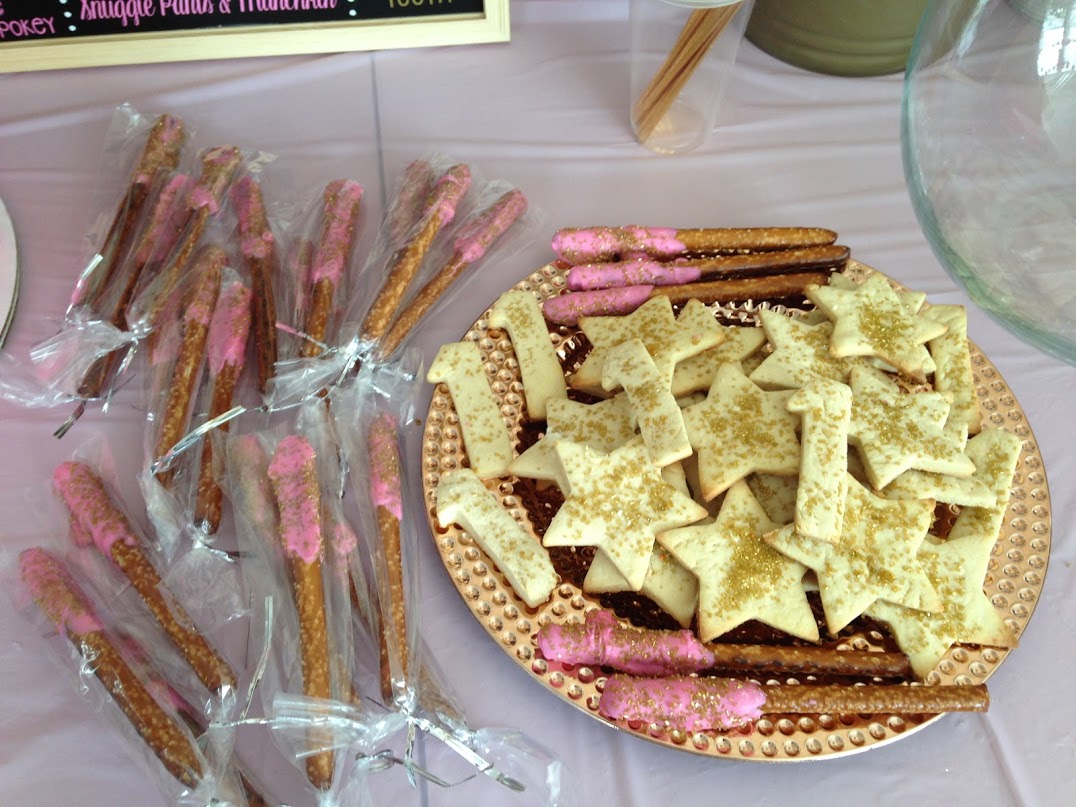
Yum! I made chocolate covered pretzels with pink chocolate melts and gold sprinkles. I also made the sugar cookies with star and number one cookie cutters!
party9
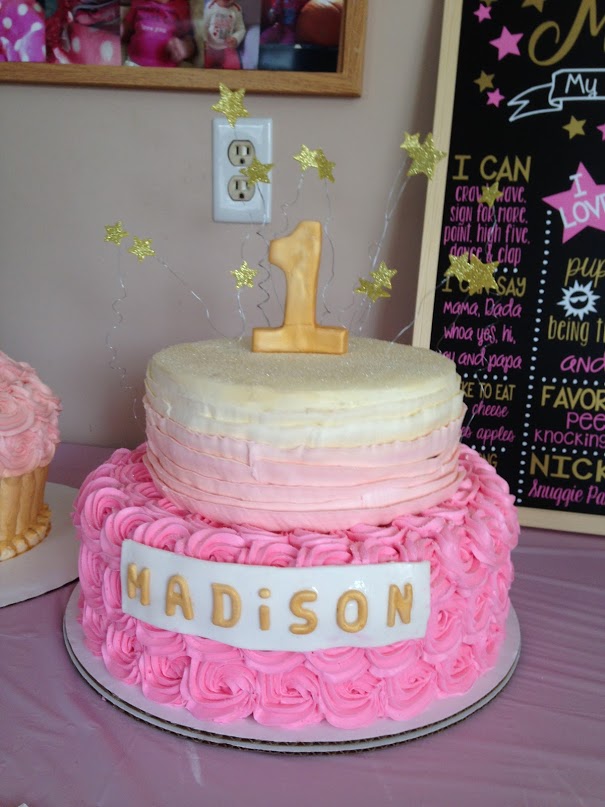
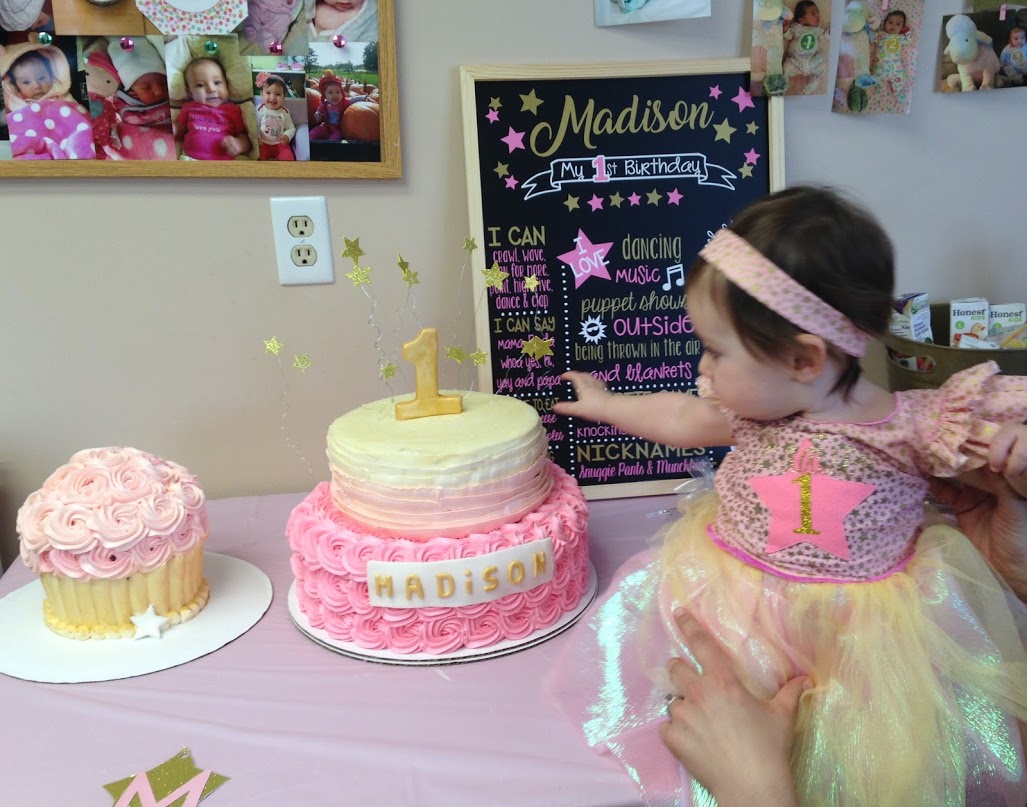
No, I didn’t make this beautiful cake. However, I thought the stars sticking out of the top were so cute and easy to make! They simply used some wire and cut out stars they hot glued to the wire! 
party11
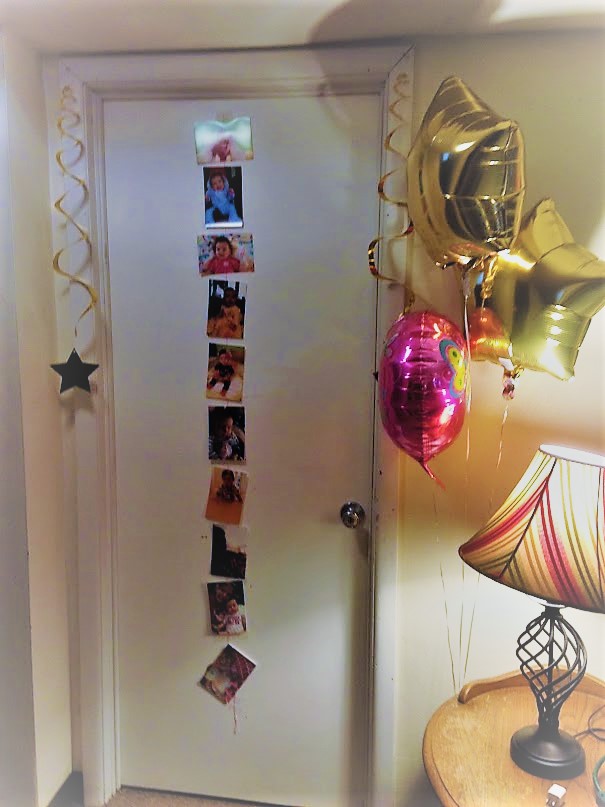
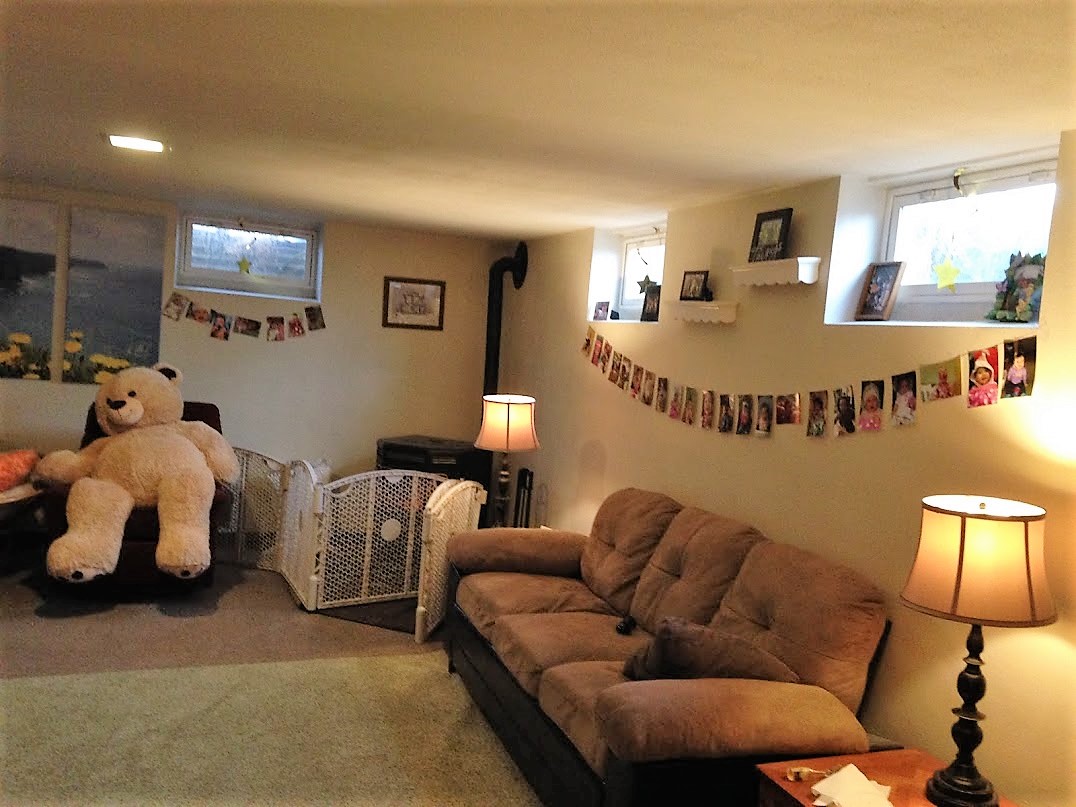
Pictures, pictures, everywhere! 
party13
Super cheap decoration-pictures on string! I used pink string and taped the pictures. For a twinkle twinkle theme you could also use string lights around the house for decorations!
party17
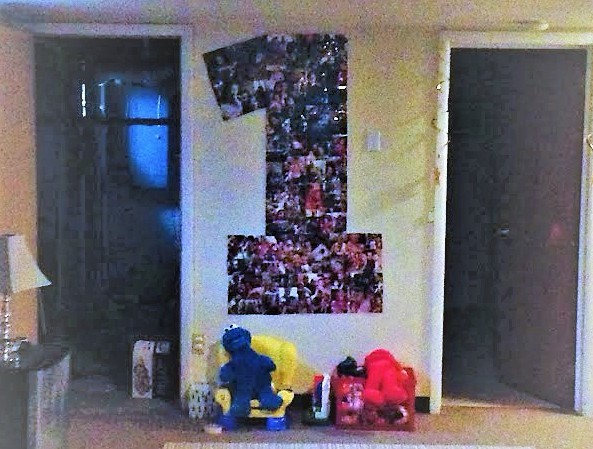
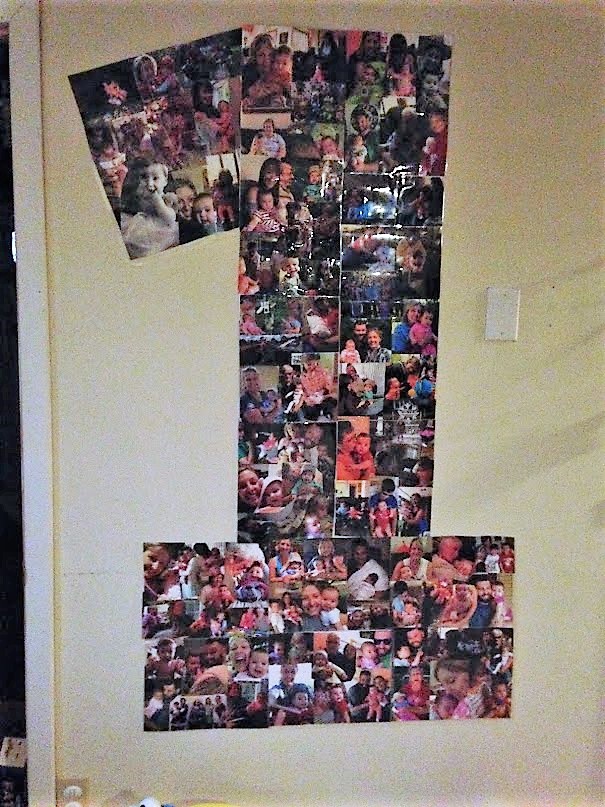
A giant number one made with pictures!

There are great tutorials online about making the number one with pictures for your baby’s first birthday. Most people recommend using cardboard from a large appliance box. I didn’t have any available, so used regular printer paper. I simply cut pictures and fit them on the paper with glue, then laminated the paper. I am a teacher so I happen to have a small scotch laminator at home that worked perfectly. I lined up all the papers to make the number one and adhered it to the wall with tape!

party16

party20
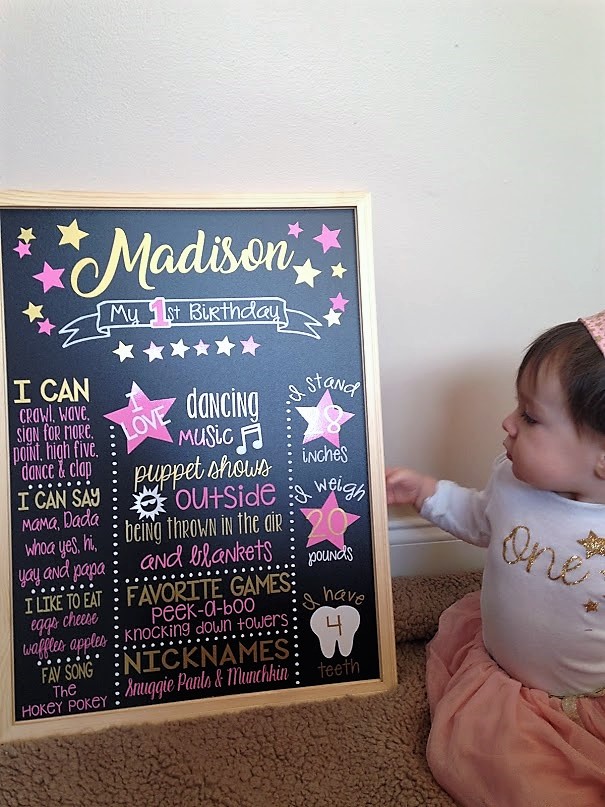
You might be wondering about her outfit and this wonderful sign. I’m sorry to tell you that I didn’t make them. A local woman made them both for me. 
party2
My sister (aka the blog writer) made her beautiful dress and headband. Hopefully there will be a post on that coming up soon! Yes, Madison wanted the cake.

If you are a very busy person with many kids, making all of these decorations might be too time consuming. However, even making a small amount of them is very rewarding. It not only adds a personal touch, but can be used as a keepsake or for future parties!

party19
Thank you for visiting this blog and YOU can make these decorations too with a little time and effort!
FollowFacebookpinterestrssyoutube
ShareFacebookpinterest

Mommy Roadblock Tips 

Some days you feel like you have hit a road block and can’t get anything done. You feel like your in an alternate universe ruled by crying and screaming toddlers and infants. You feel like instead of going forward you are going backwards.  The dishes are piled high, the floor is covered in food your infant throws off the high chair, and your laundry basket is overflowing with clothes. 

Today is one of those days. One kid is trying his best to eat crayons and chalk that are strewn about because he can now stand and grab everything your toddler loves. Meanwhile , your toddler  is yelling no that’s mine! As you are trying to reach your kids,  you trip over your dog that sheds far to much and causes your carpet to be forevermore covered in a layer of long golden white and black hair. 

Meanwhile, you have your toddler dance music on and you are trying to keep your cool, and keep your Children alive And happy. And then a toddler Dives onto your back and pokes your eye and laughs, “I poked your eye mommy!” 
So you put your infant in his walker and he climbs half way out out about to head dive onto the wood floor-i thought they were suppose to be stuck in there-what use is it now! 
As a mom (and dad) you know you have days like this, it’s not every day (thank goodness), but it’s more than you care for. Here are the things that seem to help me (a mom of 2 under 3) 

If available, 

1) find a babysitter for the evening so you can get out with other moms 

2) have your significant other watch the kids and get out and do something! 

3) if you feel like your losing it, put the little one in a playpen or crib to secure them (they can’t kill themselves in there, or can they?)

4) if you need to put the tv on for a half an hour, pbs preferred for us! I can’t tell you how many lessons and songs my toddler knows from Daniel and she can relate the events and the songs to situations which make it so much easier to teach lessons (I also have the songs in my head). 

5) take the kids out somewhere,  even if it is just a drive (once they are finally in their car seats secured you can breath). When my infant was a little baby and my toddler didn’t want to nap, I packed up he car and drove around while they fell asleep so I could have a breather. 

6) go for a walk with the kids (even though it takes longer to get gen ready and out). Use a stroller, wagon, whatever you have lol. 

7) if it’s nap time soon, get them going earlier 

8) call your family/friends/mom support group (or like me call or text your husband and ask when they will be home). 

9) take a deep breath and count to three (that one is for all you Daniel tiger fans) 

10) suck it up and say this too shall pass. 
I find that if I don’t get free time (besides cleaning the dishes, showering, doing the bills, laundry and everything else after the kids go to bed), I start to get closer and closer to that roadblock until one morning I just wake up on the wrong side of the bed. Don’t get me wrong, I love and adore and cherish the time I get to spend with my little ones, but if you are a parent or caregiver day in and out, you know what I’m talking about. Don’t worry, The next day you will wake up and be ready for a brand new day of fun and new surprises with your little ones! 

 It happens to all of us, and it too shall pass…


What tips and techniques do you use? 

FollowFacebookpinterestrssyoutube
ShareFacebookpinterest

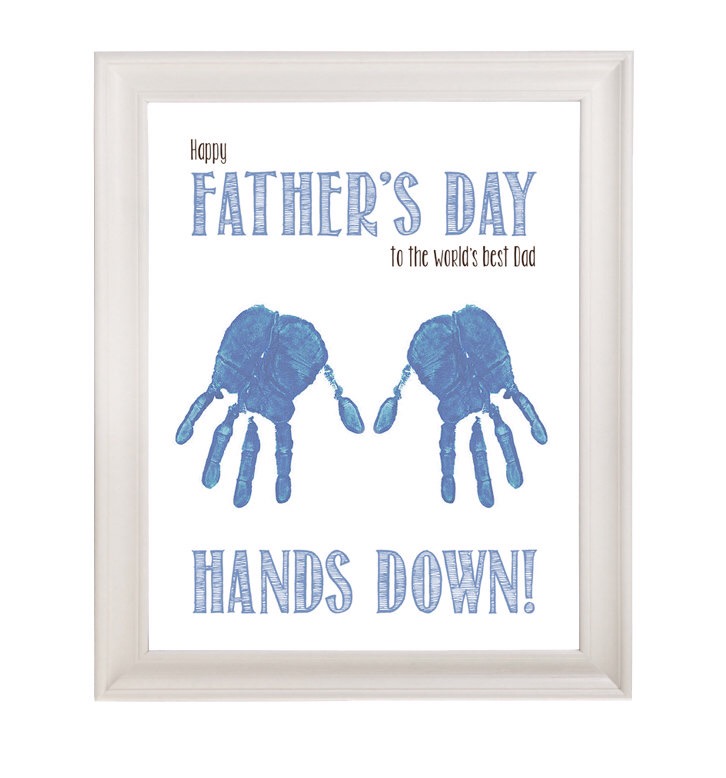
Handprint and Footprint DIY  Father’s Day Gifts 

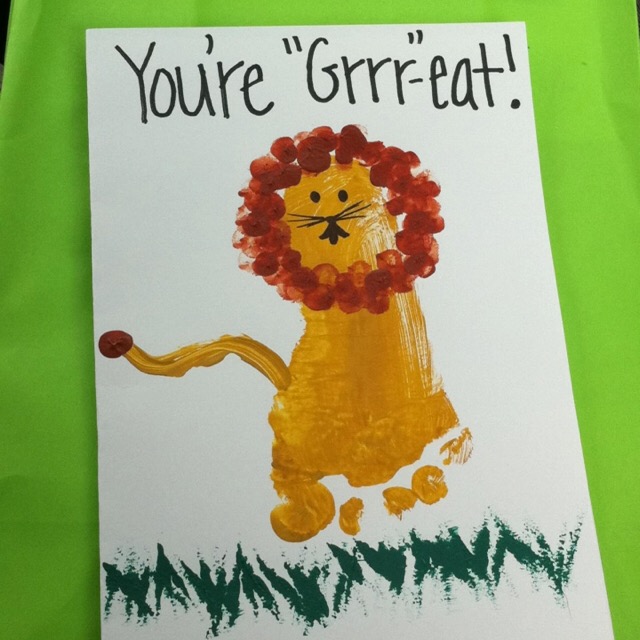
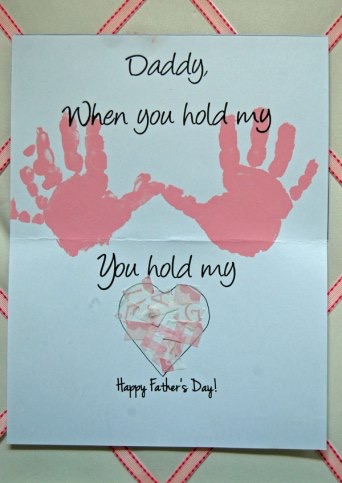
Want something personal to give for Father’s Day? How about something made by your toddler or even your baby? Well here’s some easy ideas below (although messy!). Also, you can use these for birthdays and other occasions! 

Handprint ideas: these are easy to make for any age! Just make sure you use waterproof nontoxic paint! 

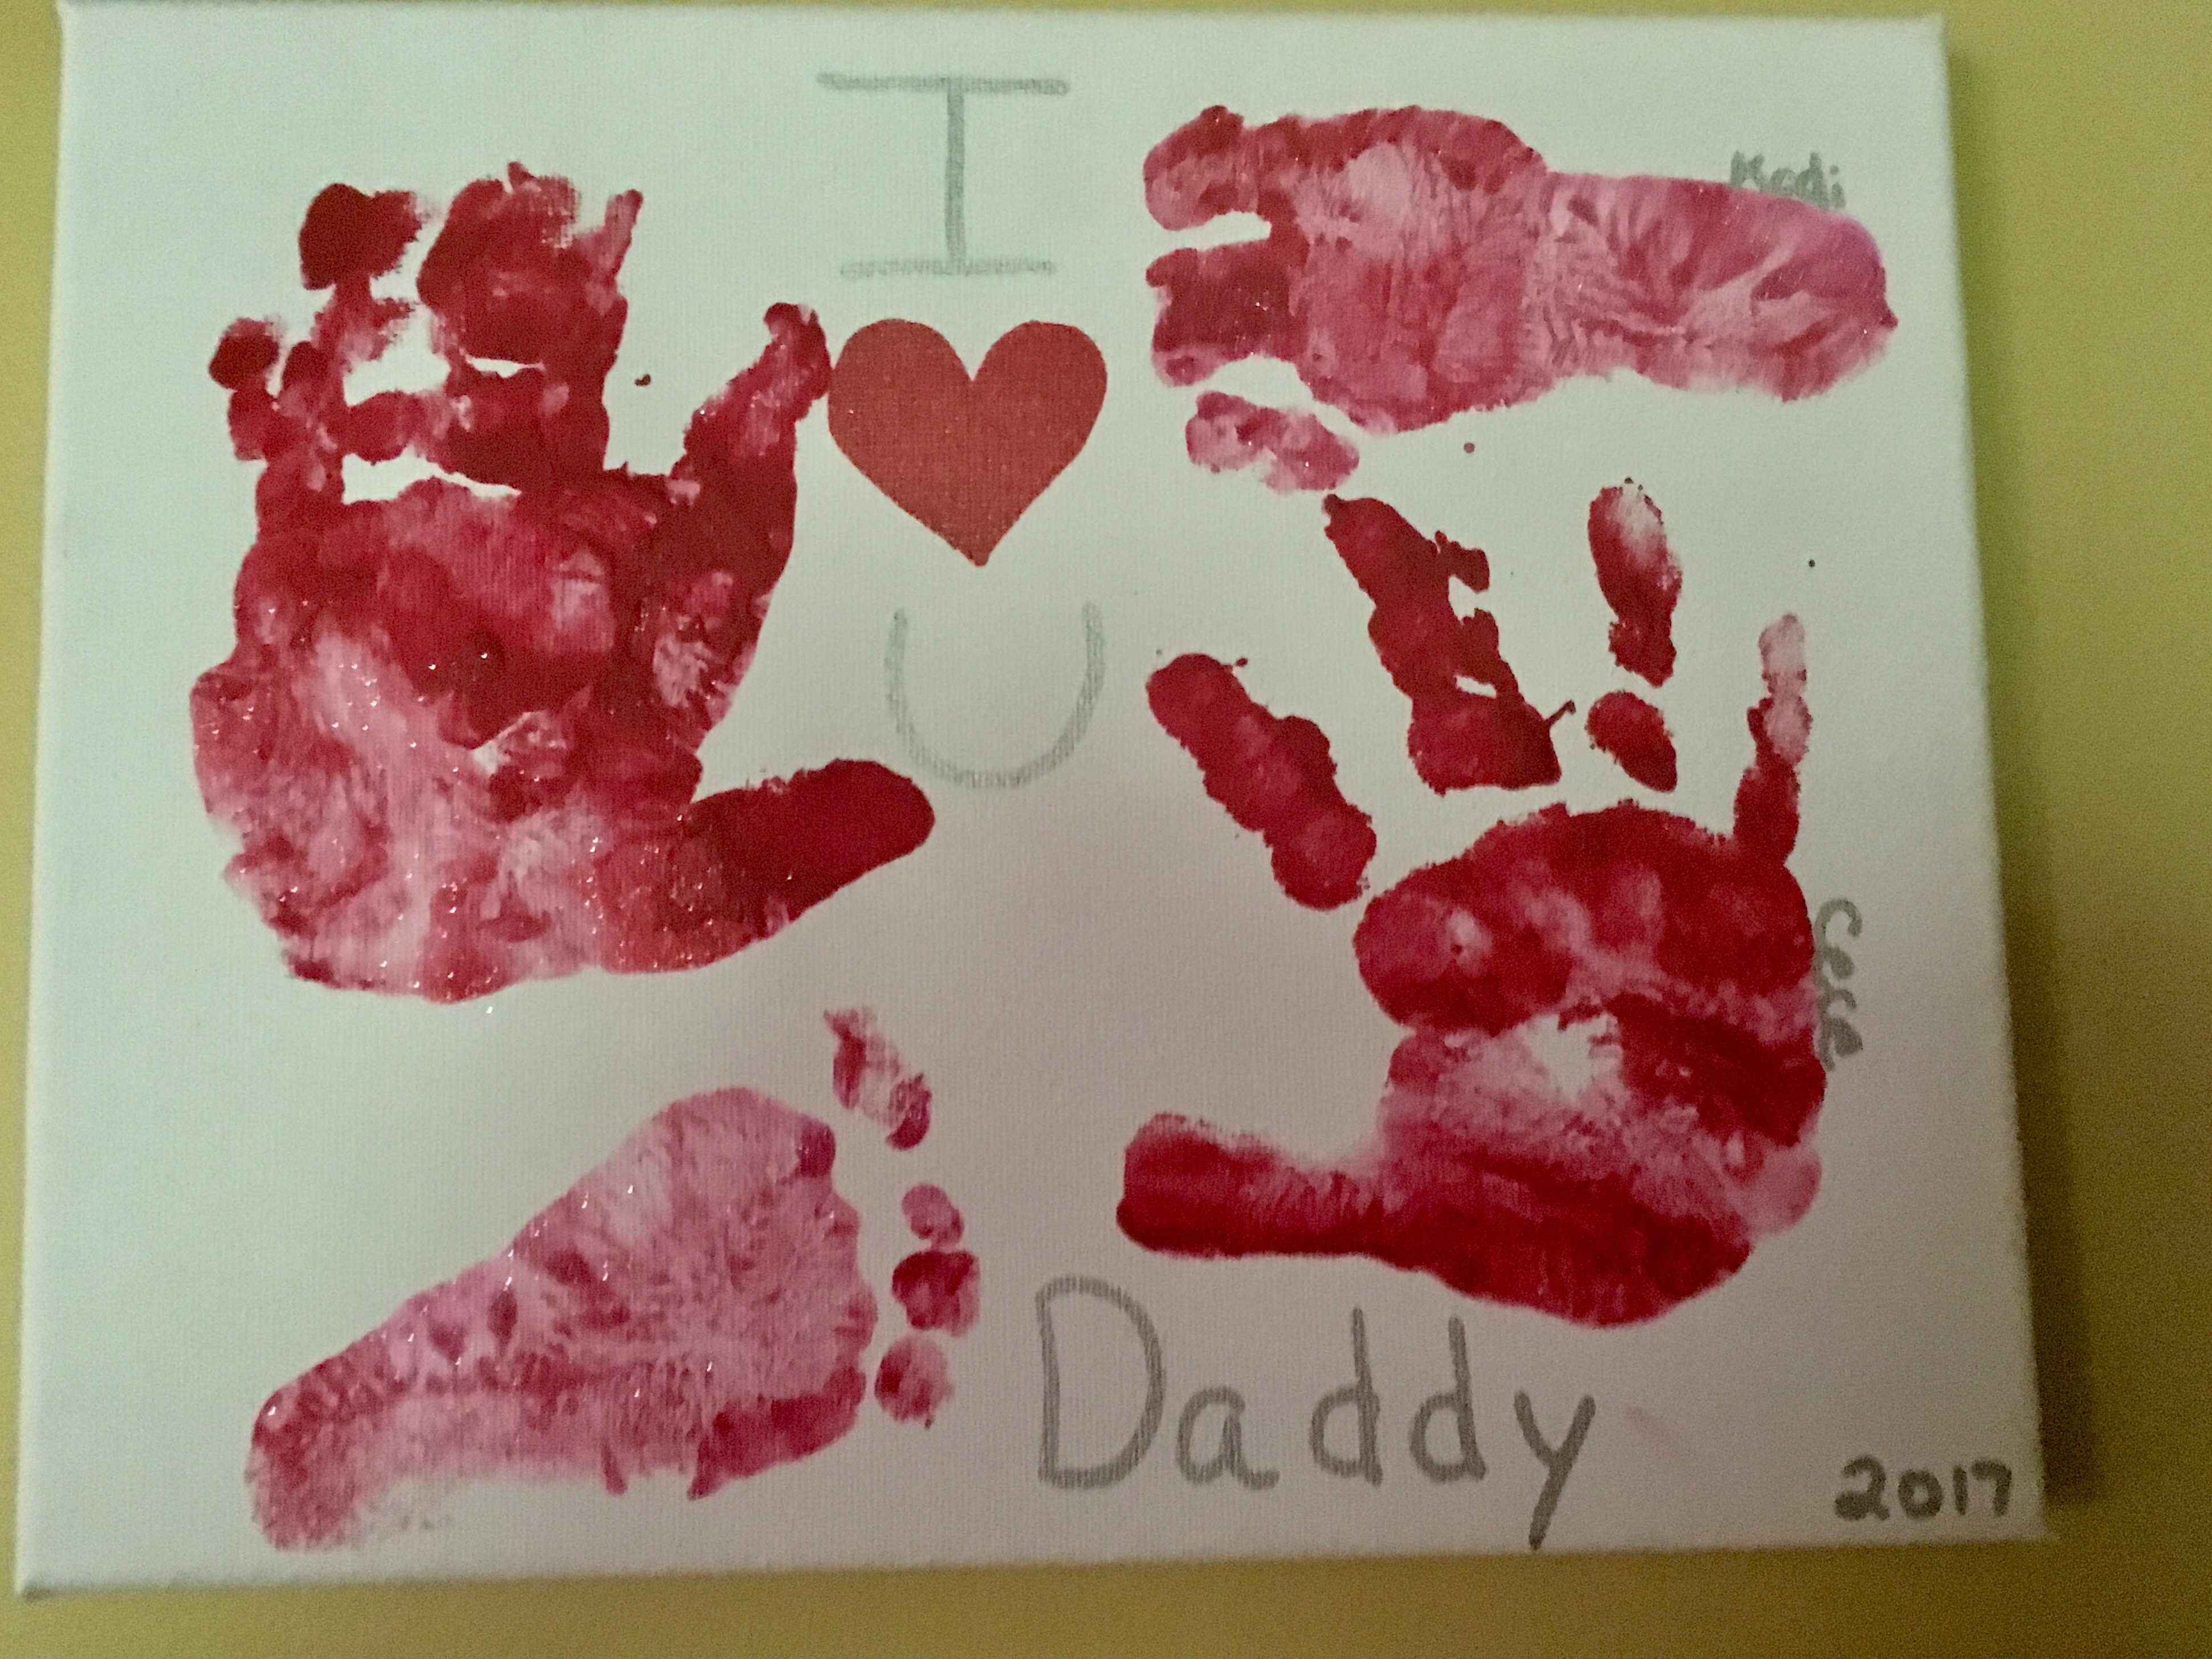
This was an easy one I made with my daughter and sons participation. My daughters handprints and my sons footprints! 


I bought nontoxic paint and a pack of canvases at my local craft store that were on sale! I used fabric marker on it! I dated it and labeled with the kids names.

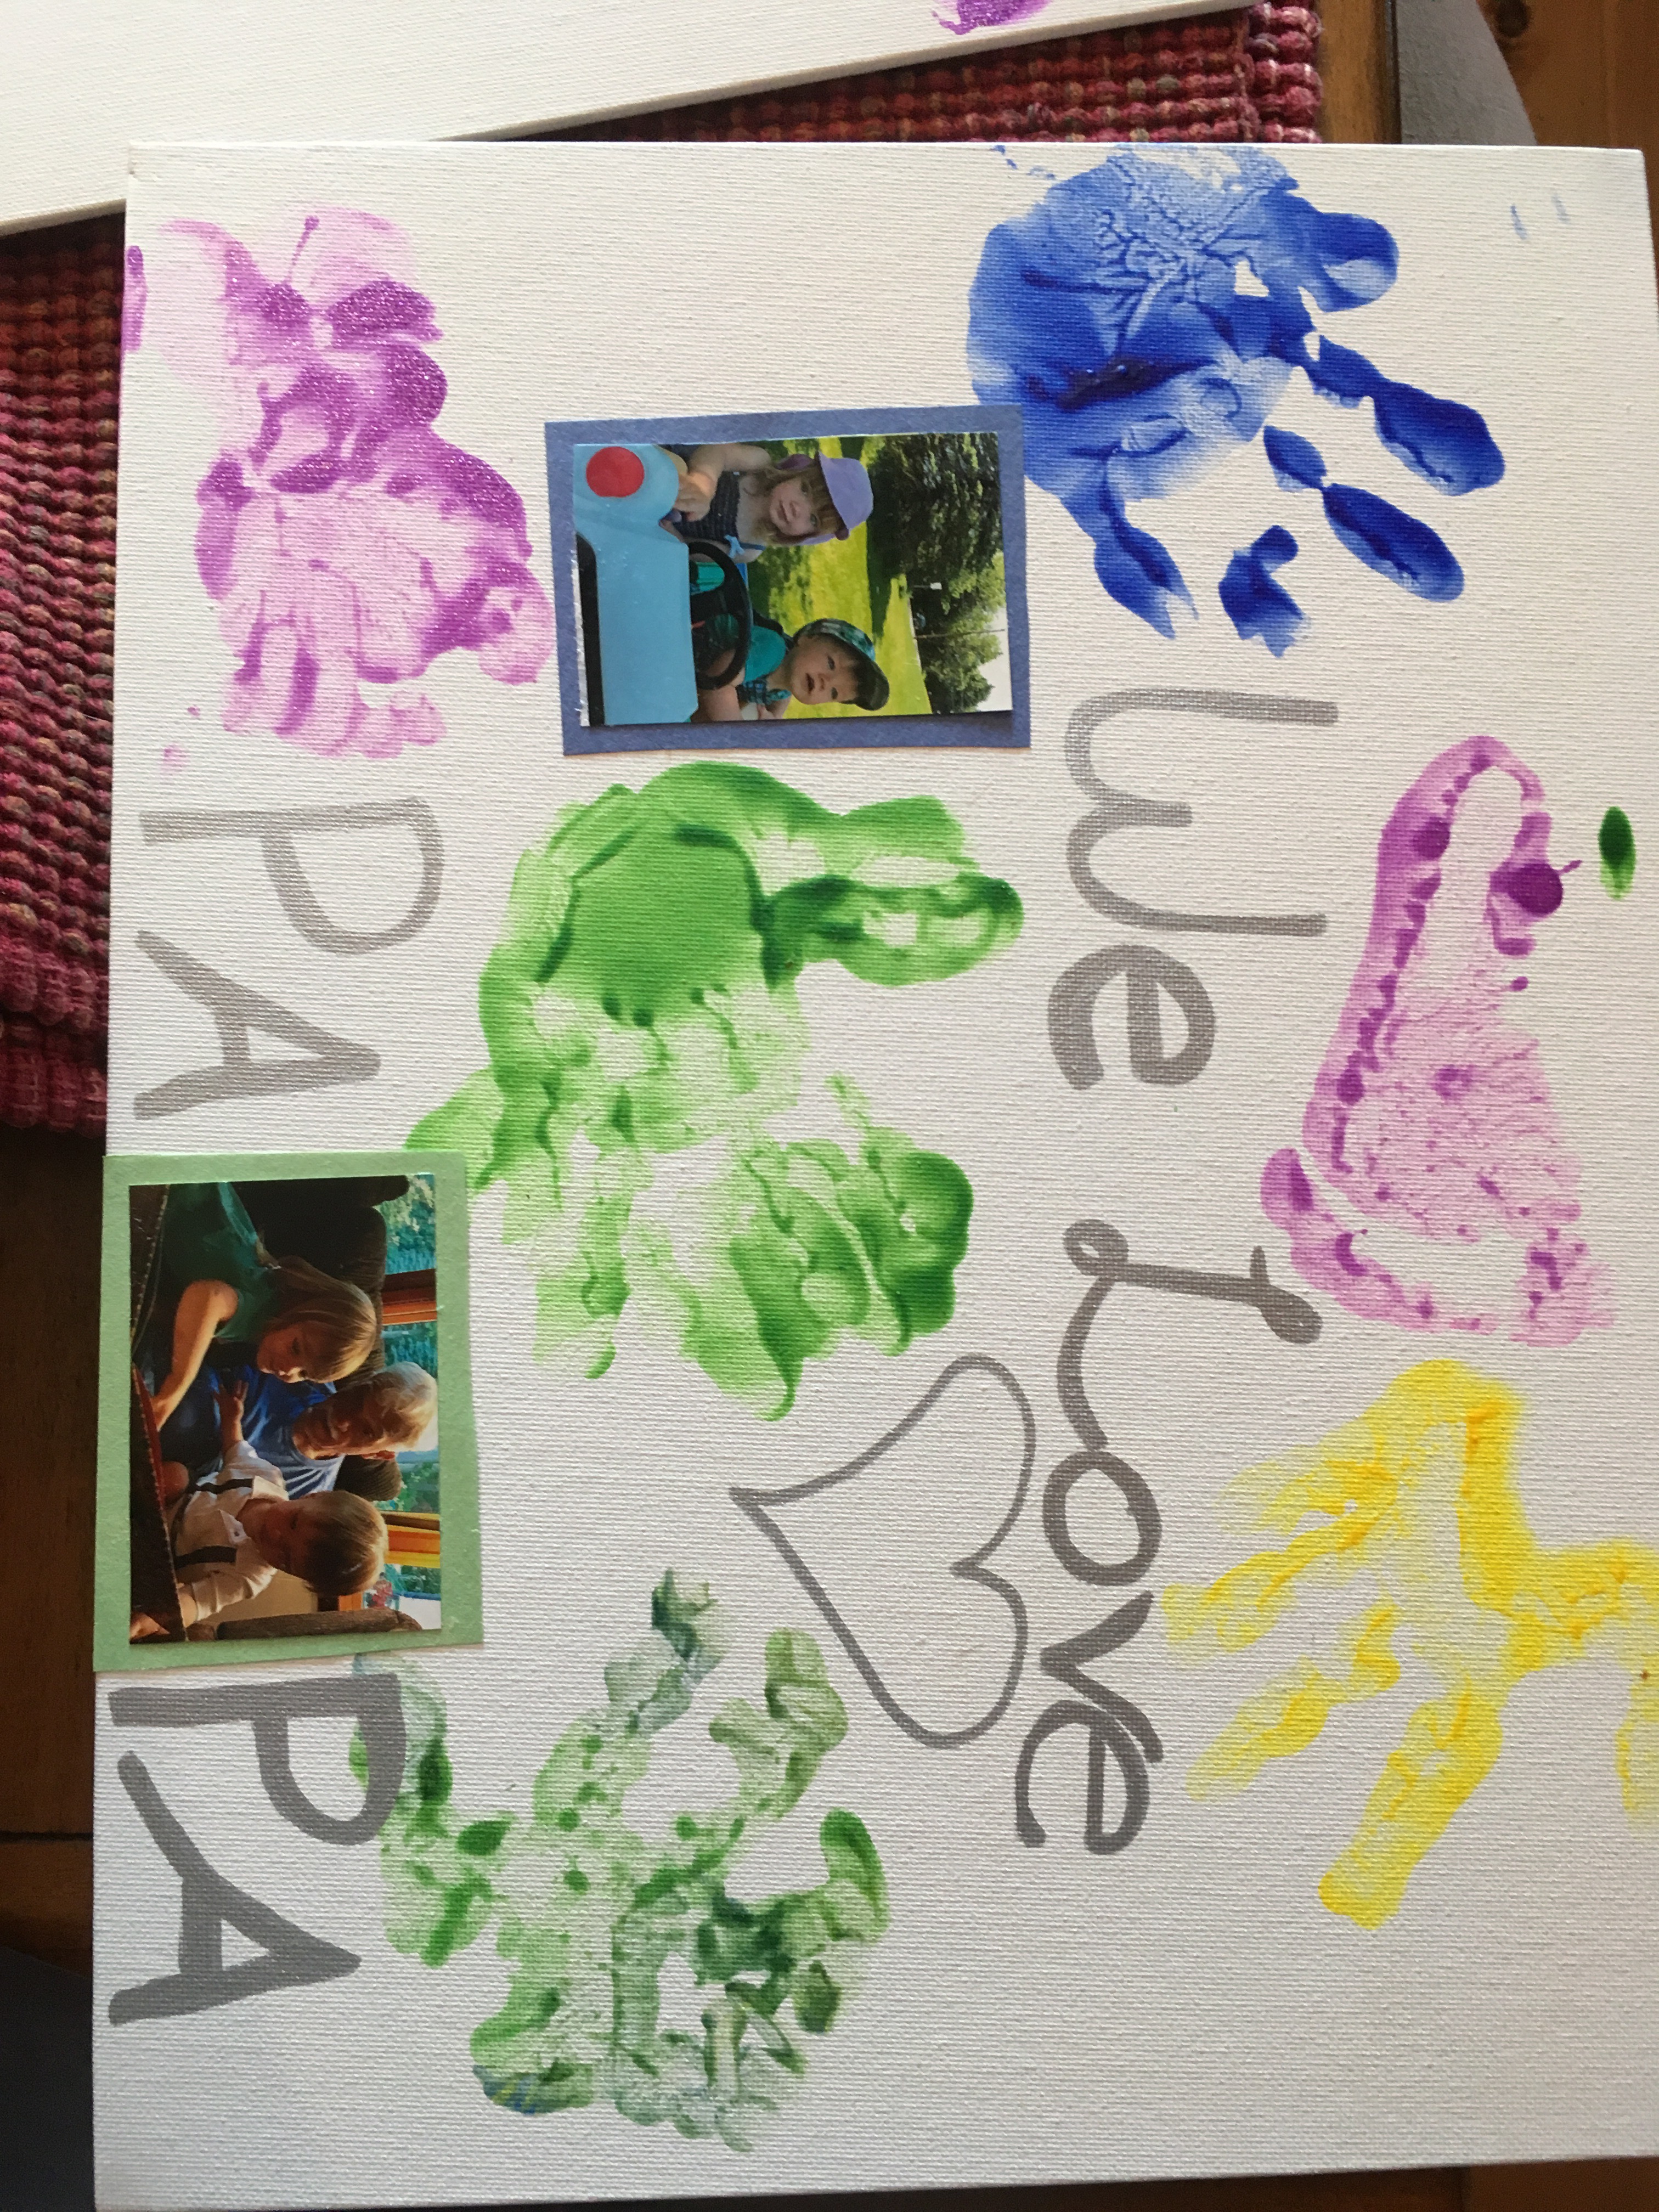
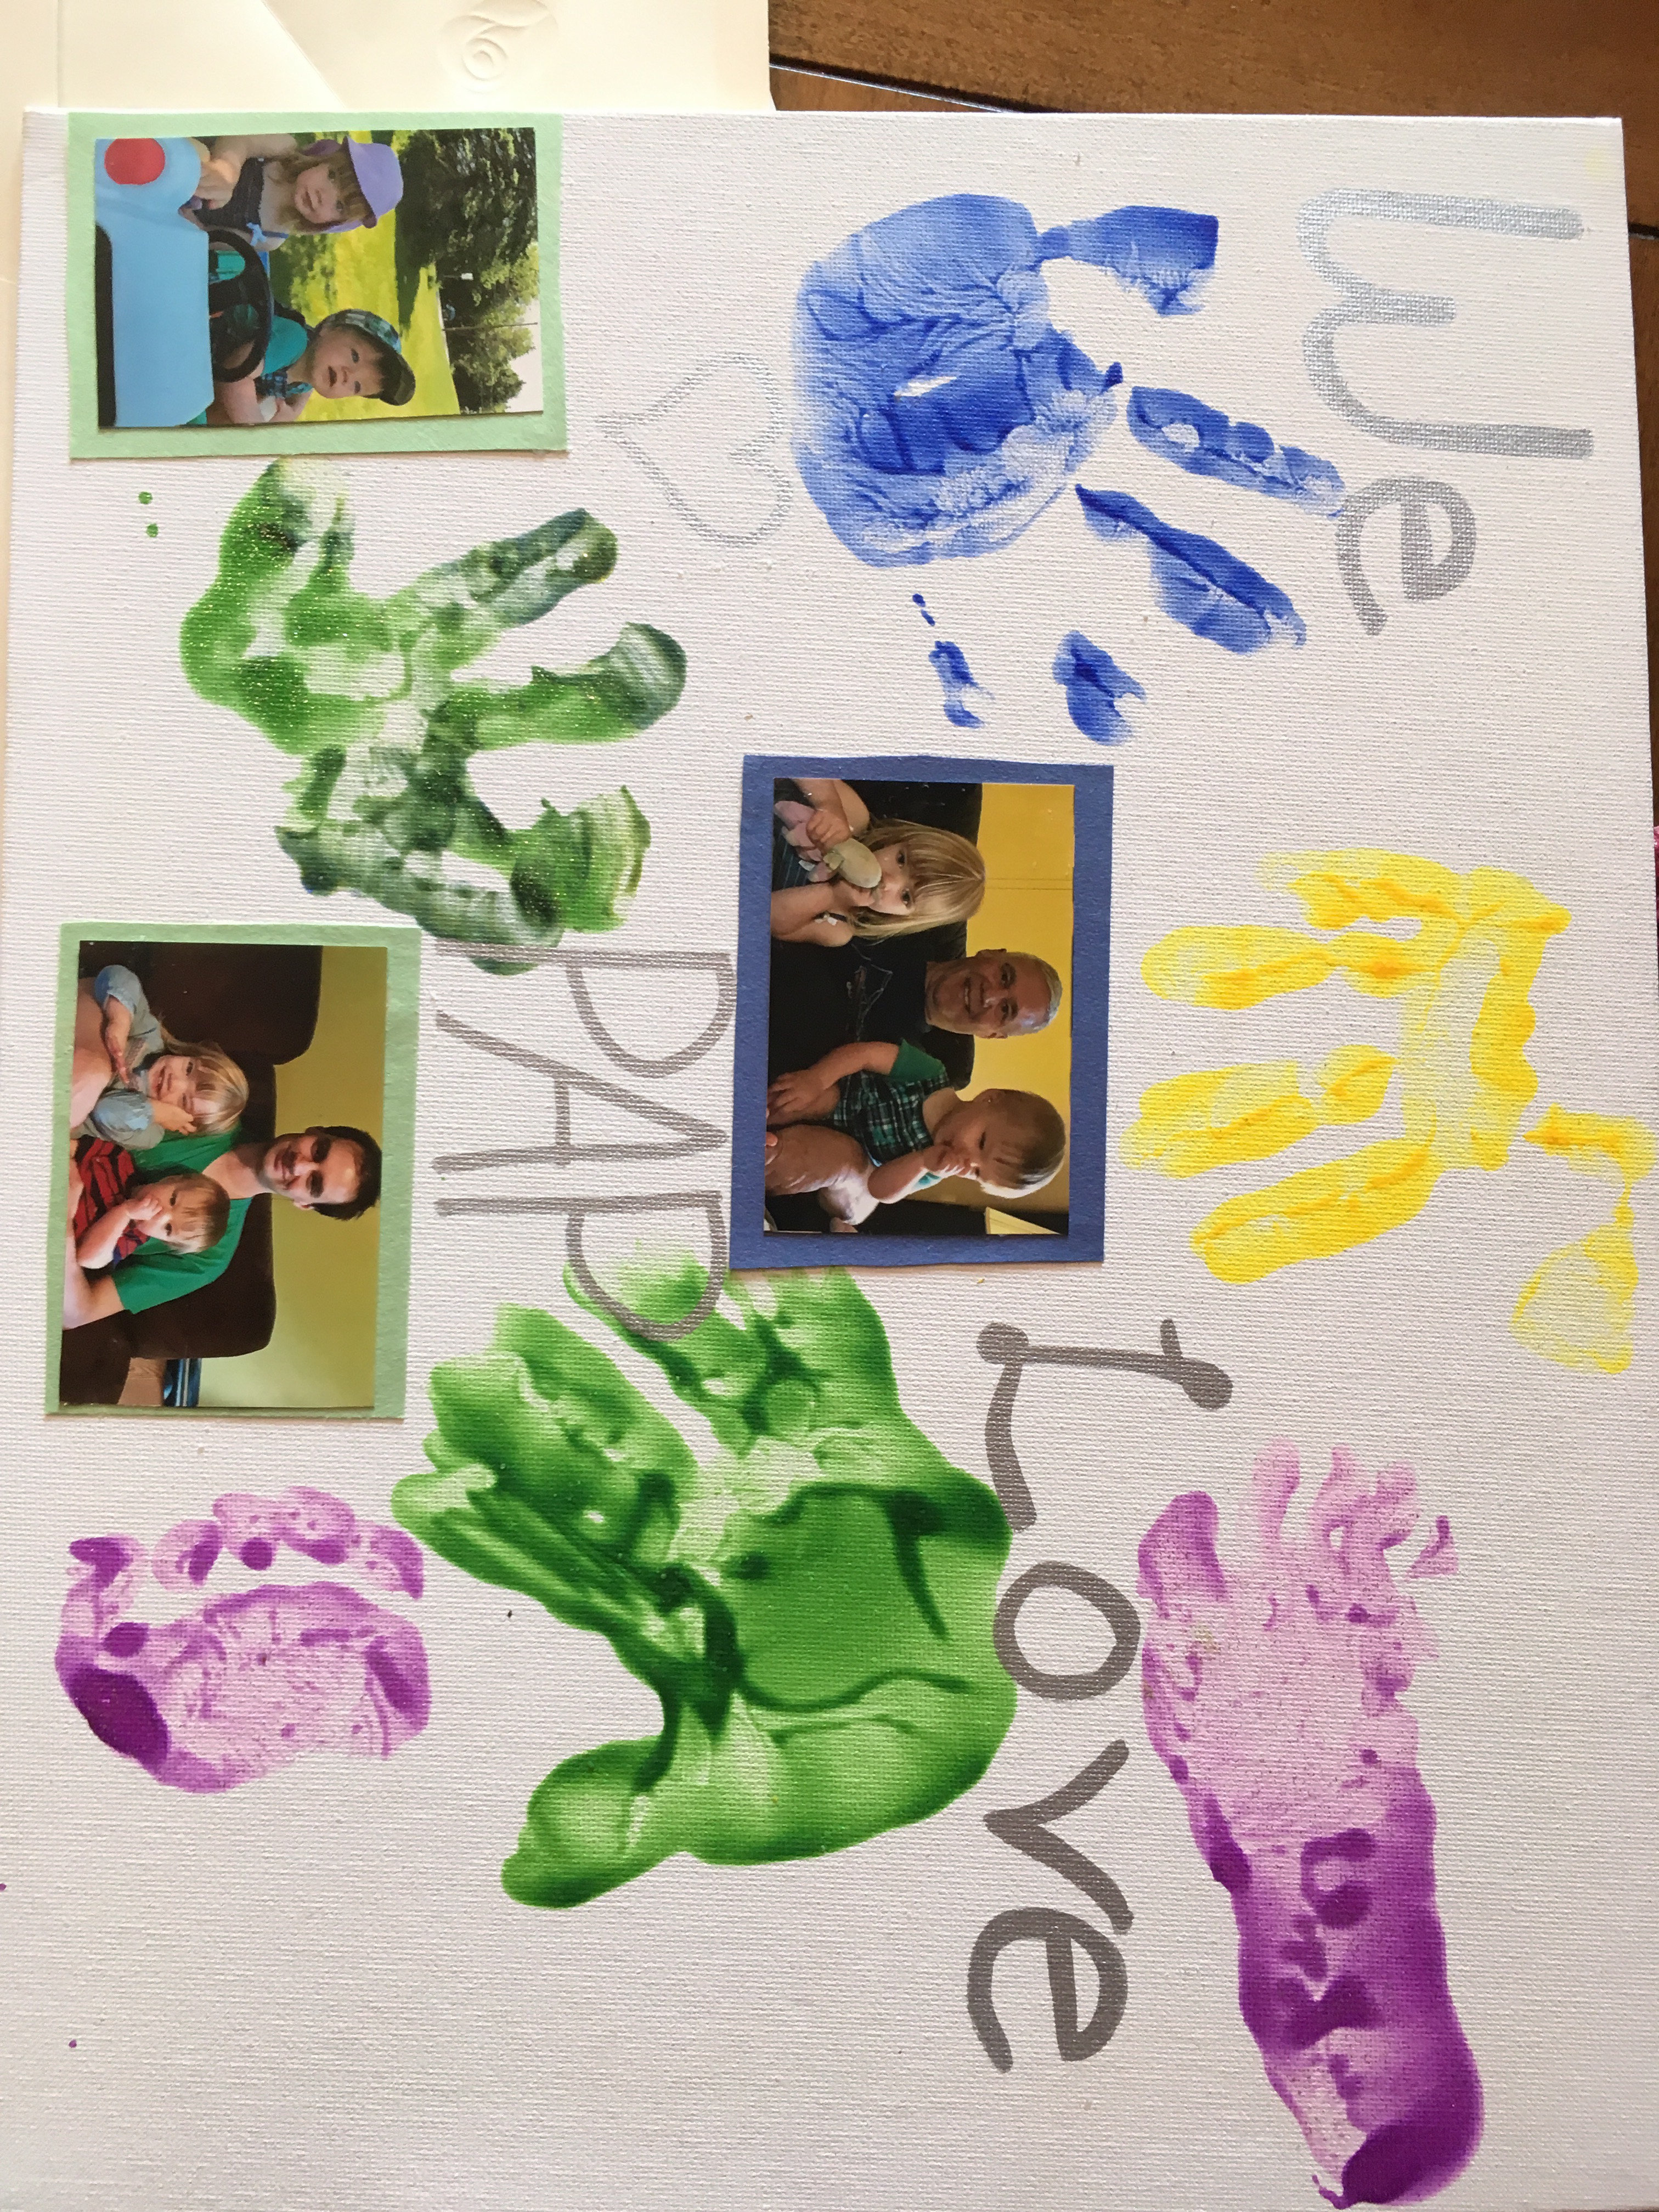
I made the next two pictures for Father’s Day for my dad and father in law. My little ones went crazy with hand and footprints and then I put some pictures up on it and wrote a special message. 


https://www.etsy.com/listing/152950937/fathers-day-printable-fathers-day-gift

This is a picture from an Etsy site for 2.00 you can get the template. Or for free make your own!! 


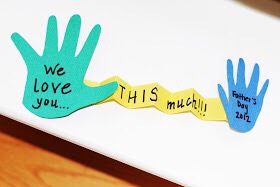
Here is a Father’s Day card that you can make using construction paper,  scissors, glue sticks, and marker! For all the directions visit 1Here


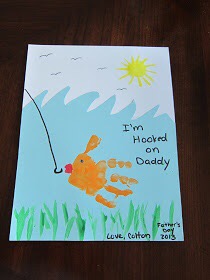
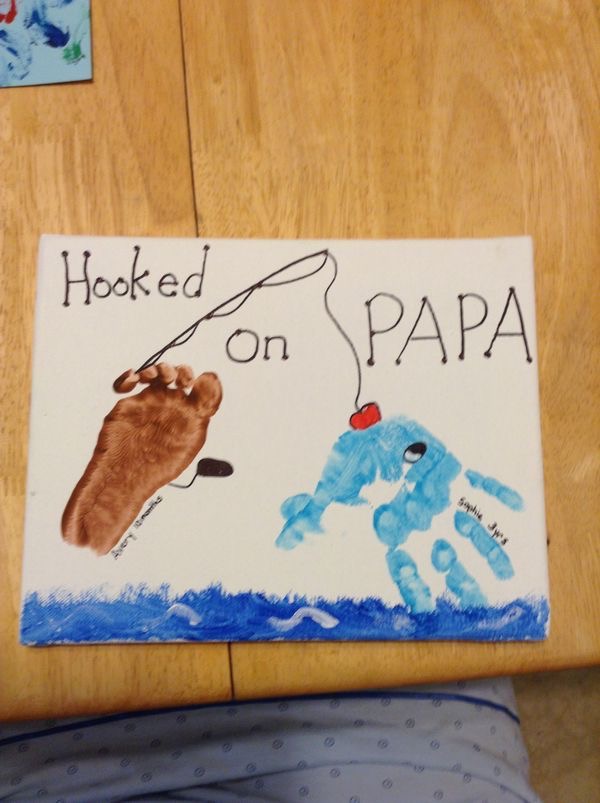
This one is very cute and perfect for all the fishermen dads out there! Easy to do in a jiffy! Check out the tutorial Here


Here’s a variation. SourceSource


This is creative and you can use both the footprint and fingerprints! Source


This tutorial is for a card, but it would make a wonderful canvas as well. Tutorial


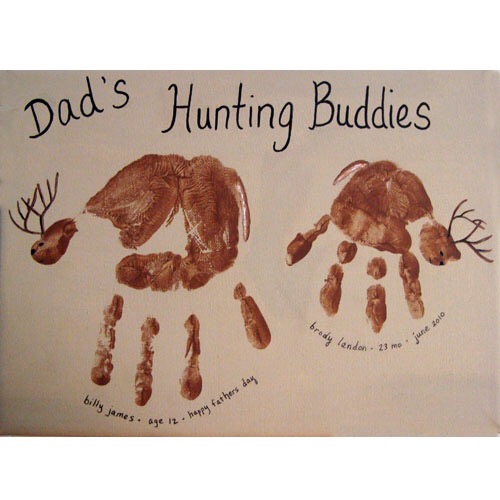
For the hunter in the family. Source


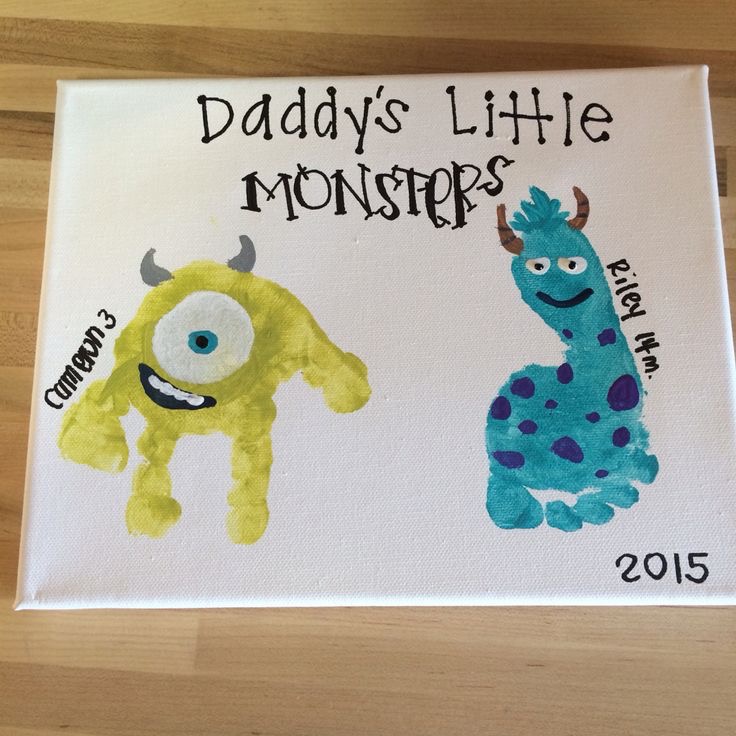
Love this one too! Monsters
You can really make any animal you want just get creative and have fun! 

You can also do the traditional handprint or Footprint to hang on the wall. You can buy a kit at any craft store, or make your own. 


Here’s a free tutorial Here
Enjoy and have fun! Happy Father’s Day! 

FollowFacebookpinterestrssyoutube
ShareFacebookpinterest

Get your dog protection…

Yes that’s right, protection. Protection against tick borne diseases and other transmitted diseases. 

You may shrug it off and say, “we check our dog for ticks,” or maybe the classic line of, “it’s too expensive to take the dogs to the vet or buy tick medication.” Or maybe you forgot or choose not to vaccinate your dog. 
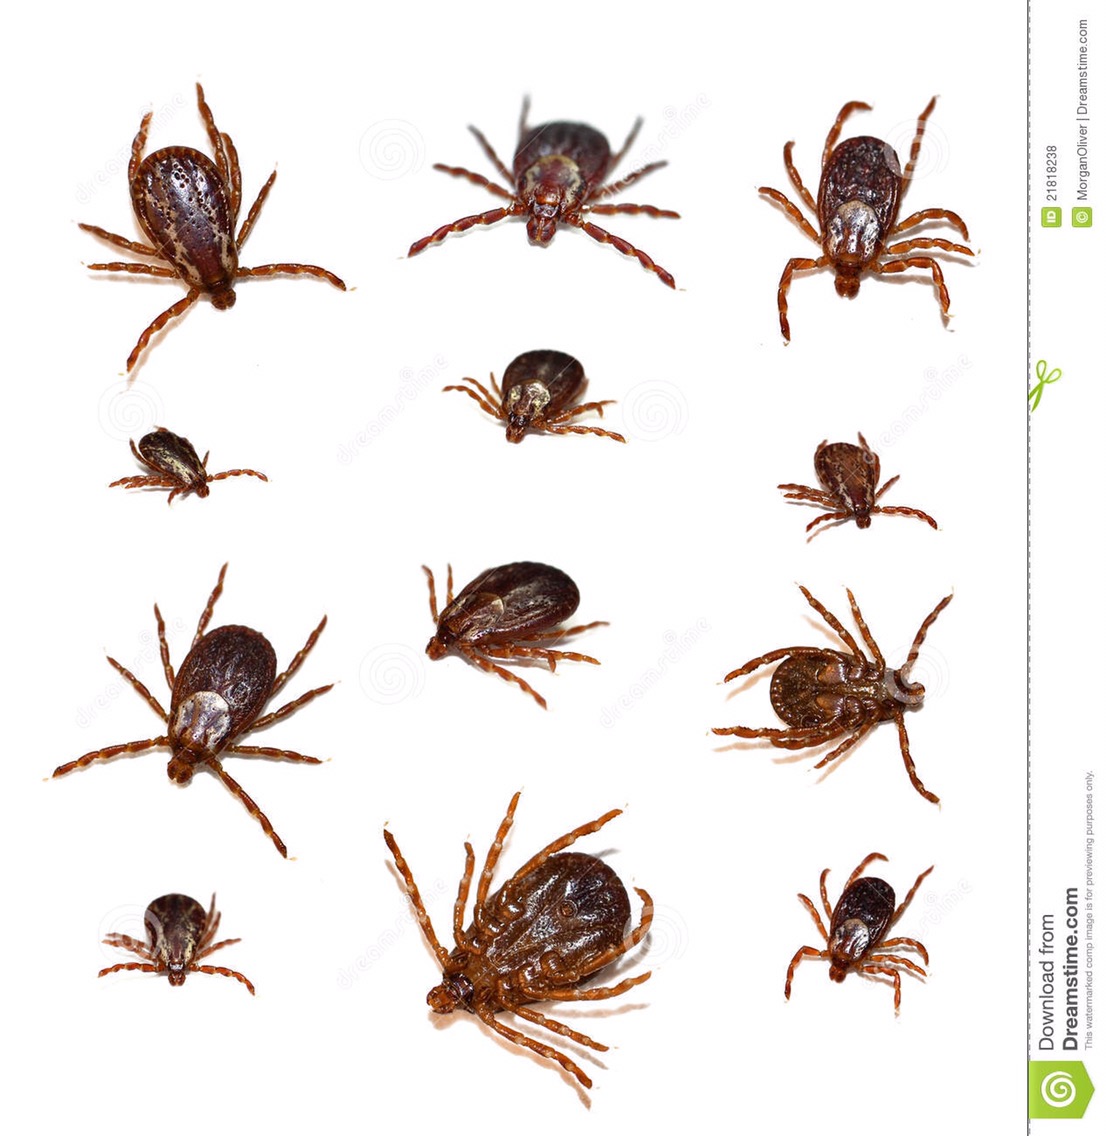

Well, let me tell you what happened to my family yesterday. 

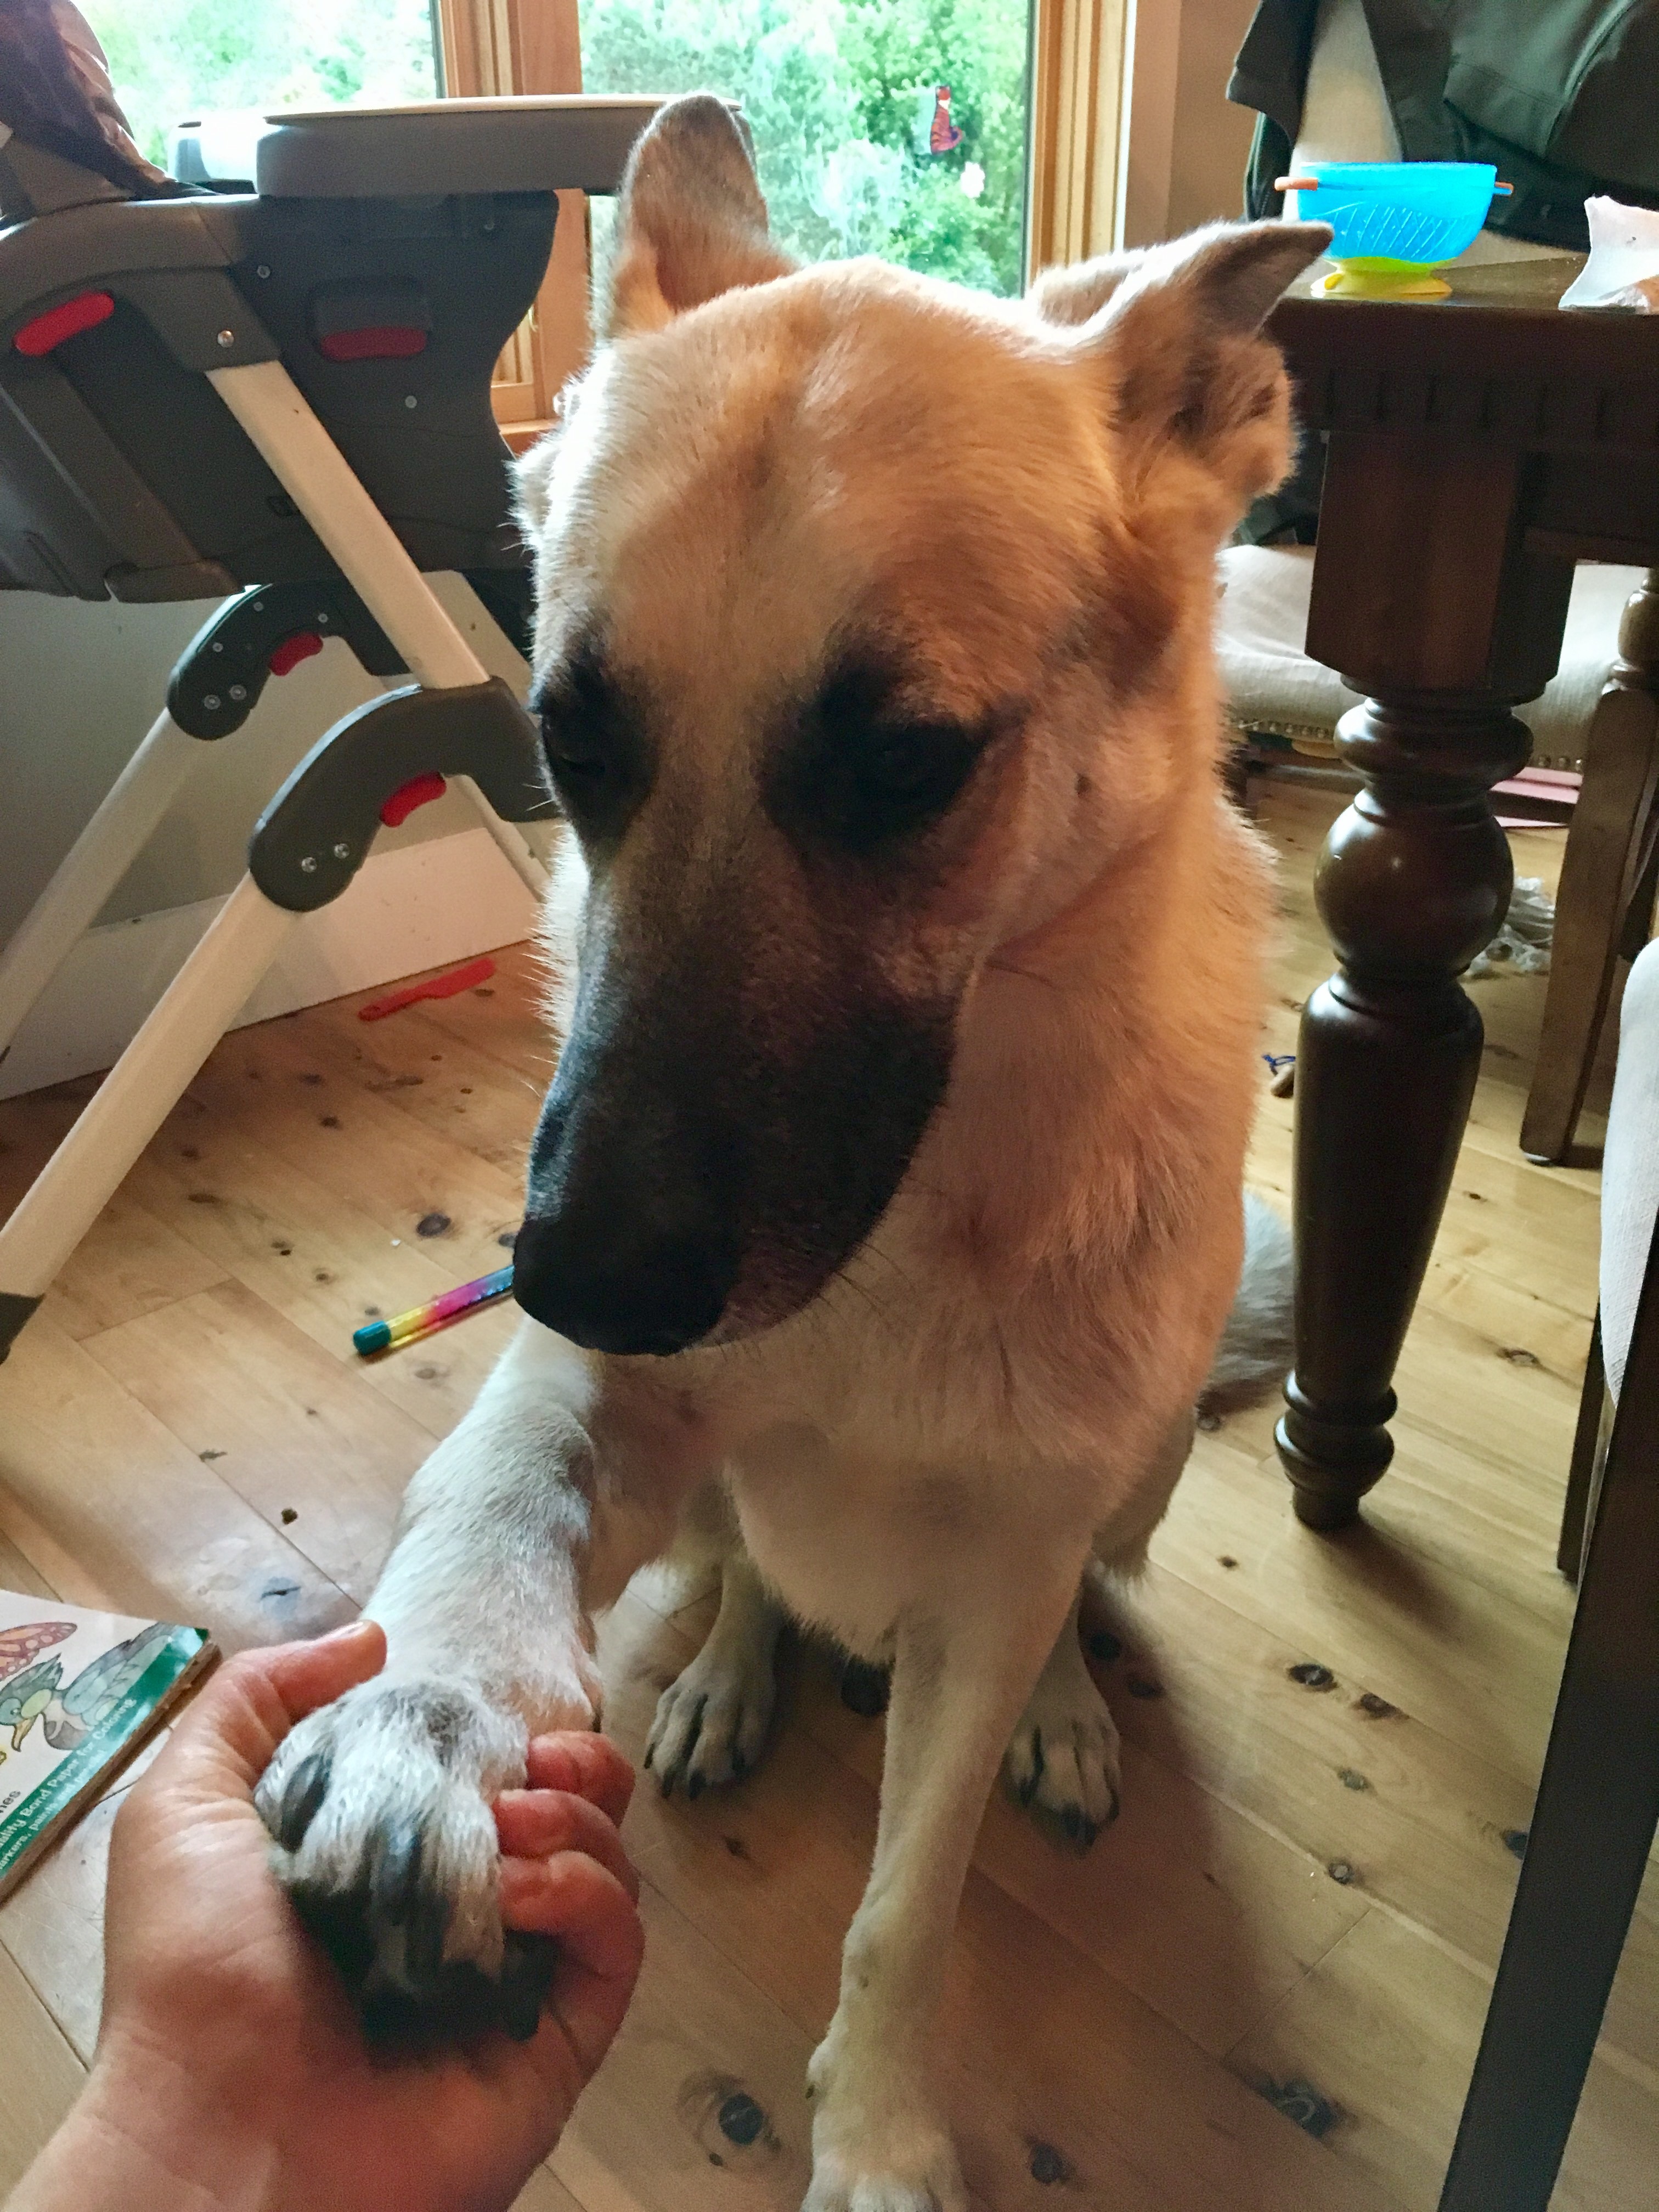
Rewind to earlier this week, our German Shepard who is normally rambunctious, playful, goofy, and needs his water and food dish filled every time you turn around, suddenly became lethargic, not eating or drinking, depressed looking, and groaning. 


We thought maybe he got into the trash again and ate a baby diaper. But, this behavior continued. A trip to the vet in the evening proved that he had three super tiny ticks lodged into his skin that were almost impossible to get out. 

Blood tests, pain shots, and three hundred dollars later, we don’t have an answer yet. We are still waiting for blood results. Two days later our dog still is not eating or drinking. I’ve had enough, I call the vet and am told the first lymes test is negative, but I can make a recheck appointment for my 80lb dog today. So I do, after checking with my amazing parents to see if they can watch my almost one year old boy and almost three year old daughter. Dragging my kids and dog to the vet would be quite a challenge since my 80lb dog tries to run towards the door to escape the office.  Meanwhile, I’m sure my daughter would want to pet everyone’s animals! 

So I finally pack everything up and head into the garage to my SUV. My little one is packed up in his seat, and my daughter has pushed her way past his car seat to jump into the front seat and pretend she’s driving the car. Okay harmless enough I say, since I have the car keys and she keeps jumping from the front of the car to the backseat when I try and get her to her seat. 
I go to the trunk and open it up and try and get my 80lb dog to jump in. He is struggling with his pain to jump up.  Meanwhile, I hear and see the garage door coming down on the trunk above us. “Stop,” I yell to my daughter who had innocently found the garage door remote and had no idea what she was doing. She hits it again and it stops, phew. Then, suddenly it comes down again and I quickly escape the trunk from smashing me and the dog; however, the dog is confused and scared and in the direct path of the closing garage door (we need to invest in sensors).  I scream come to him and pull his collar and he is frozen. And again, he is 80lbs, so it is not an easy task to move him. Finally he runs out from the door that has almost crushed him and we are safe, for the moment at least. I looked into the car and loudly told my daughter to get into her seat. Since she isn’t quite 3 yet, she still doesn’t understand exactly what she did and that she could have seriously injuried us. (Also now the garage opener is hidden).  

I finally get to the vet and more blood tests, a pain shot, and a couple hundred more dollars spent, and we find that our dog has two types of tick borne diseases including lymes disease. I’m told the medication for large dogs is very expensive (like 200 dollars for a month), and the dose is very high. Also I’m told the medication is best taken on a full stomach; however, my dog has not eaten in days. The doctor warns me the majority of dogs cannot tolerate the medications’ stomach side effects including vomiting. The doctor then assists with using a pill gun to get the medication down the dogs throat. Don’t worry it’s nothing like a gun, it looks more like a tampon inserter! 

We are done at the vet and my dog walks me to the car. It takes him a little while but he finally makes the jump into the car. We head back to my parents to see how well they are surviving with the kiddos. 

Nap time rolls around and I am balancing kodi trying to make a bottle and whoops, it spills all over the floor. At the same time, I hear a loud thud from the other room and then my daughter screaming. 

My daughter was playing kitchen with a fake birthday cake and runs around the table when grandma sings happy birthday. She was running, and unbeknownst to everyone, the dog vomitted on the other side of the table. 

I run in and see my daughter in her pink dress covered in yellow bile dog colored dog vomit. She stands up and it is dripping down her hair. This is serious dog vomit, a huge puddle of yellow bile that has now been slid through. 

Immediately I pick her up and take her to the bath. She plays in the bath and repeatedly asks what was behind the table. Once she understands, she feels compelled to tell everyone for the next couple of days, that she fell in dog vomit. 

The dog is now feeling better, his appetite is back, he can keep his food down, and he’s back to his old energetic self. 
This could have all been avoided with a vaccination. You can bet I’m getting him his vaccinations and medications now. Don’t be stupid, get you’re dog protection. Your dog, kids, parents, and wallet will thank you. 
FollowFacebookpinterestrssyoutube
ShareFacebookpinterest

Dear Mom…

Dear Mom, 

Now that I am a mom, I want to thank you for all you’ve done.  Before I had kids I had a totally different perspective of my parents, life, and children.  I never thought “oh you’re baby is so cute.” What I thought was thanks for posting a million pictures of your baby online I don’t care about. 

My mom was just my mom, someone I took for granted.  I expected her to help me in everything I need anytime. 

Now that I have two children (a toddler and infant!), my whole perspective of the world has changed. It’s something you can’t describe to someone who does not have children. Just like you can’t describe how it feels to have a sibling to a single child, or what it’s like to have a chronic disease to a healthy person. Becoming a mom is forever changing in every way. 


So, on this Mother’s Day, mom, I want to thank you for dealing with the long pregnancy (of twins), the nausea, cravings, mood swings, weight gain, stretch marks, turning dads hair grey when he heard about twins, and whatever else may have happened (the list is never ending).

I want to thank you for the long sleepless nights of feeding screaming babies and protecting us from killing ourselves and each other. I want to thank you for giving up most of your free time (who am I kidding, all of your time) to us.  I want to thank you for giving up your full time job to care for us and help us grow.  

Oh my goodness, let’s not even talk about the toddler tantrums and meltdowns! I’m not sure how you did it with a boy and twin girls! I guess that’s why you don’t remember most of it! Thank you for changing poopy and pee diapers with a wrestling monkey (or whatever we were), because it sure is hard sometimes. 
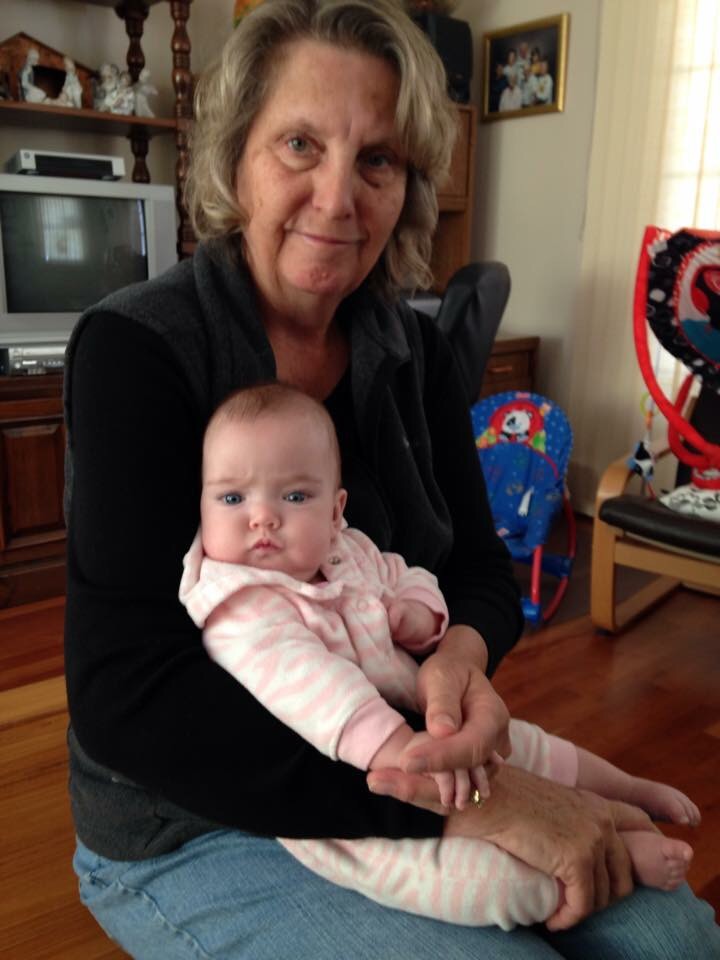

I want to thank you for all the great experiences you provided to us.  All the wonderful vacations, day trips, toys, and playtime you provided have made me and my sister and brother who we are (which by the way is awesome). 

The list goes on and on, and would take forever to write it all out.  

 Now that I’m a mom I understand what it’s like to wake up every hour to make sure my baby is still breathing. I know what it’s like to yearn for a nap and sleep but then toss and turn worrying if the baby is okay without you. Or finally get free time and just wonder how the kids are or have nothing left to talk about but how the baby babbled or crawled (at one time I would have completely rolled my eyes at this). I know what it’s like to want your child to have everything but also know you need to limit and teach them about the world. I know the struggle of balancing work and caring for kids, trying to keep friendships alive, having date nights and trying to talk about something besides the kids. 

Thank you for holding my hand, drying my tears, spending all your hard earned money to take me on trips and experiences to help me grow. Thank you for rocking me to bed, reading me countless books, and never giving up on me. 

Again, the list goes on and on and will continue to grow as the children and I grow. 

I also apologize for all those times we hide in the clothing racks while we were shopping. The teenage years in general and the lack of appreciation I have given you before having my own children. 


I am very blessed and lucky to have a mom (also dad- but it’s not Father’s Day yet) who are willing to help whenever needed. Besides the amazing mom support you provide, we always joke about the services of mom and dad including but not limited to: babysitting, laundry, yard work, food shopping, dog sitting, painting, bed and breakfast and many other jobs now that you are retired. 

So on this Mother’s Day I say thank you for all you have done and continue to do for all our families. Love you mom! 

FollowFacebookpinterestrssyoutube
ShareFacebookpinterest

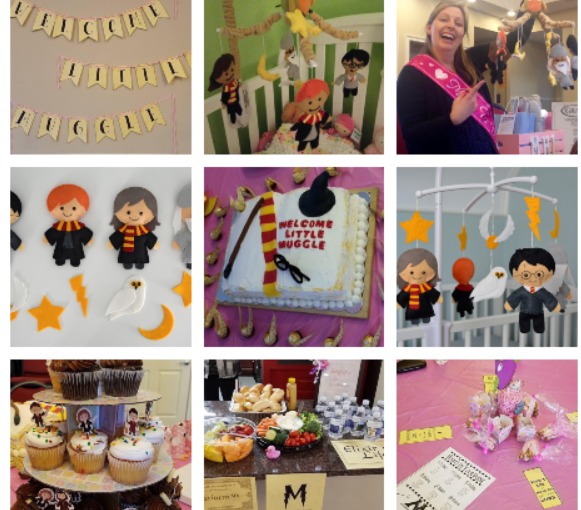
Harry Potter Mobile & Shower!

My twin sister loves Harry Potter, and what better way to celebrate the coming of her daughter Madison, then to throw a Harry Potter Baby Shower!  I give all the credit to our mother who was able to organize and decorate while I was dealing with my two young children.

I was able to make a special harry potter mobile for her though!
No photo description available.

I used a mobile hanger that I previously had for my daughter which was an outdoor one- so the owl worked out perfectly! I used felt material and sewed mostly by hand to put the pieces together. I also stuffed the pieces with filling and used black puffy paint and marker for the faces and glasses!

No photo description available.

I got the template from a fantastic website- and you can ask her for the template but it cannot be for selling the items- just for your personal use.  FREE TEMPLATE SITE HERE

I used string from my crocheting to hand the harry potter items.


Here are some more photographs of the awesome Harry Potter shower!

No photo description available.Our talented Aunt Joey G. made this special cake for the shower!

No photo description available.

Cupcake toppers!

No photo description available.

This cute sign is easily made by printing out or using black marker!

No photo description available.

Easy print out ideas!

No photo description available.More easy to print signs (I don’t remember the site we printed them from- but if you look up the signs I’m sure you can find it).
 

There were harry potter balloons and other decorations as well! Hope you enjoyed this post and it gave you some ideas!


FollowFacebookpinterestrssyoutube
ShareFacebookpinterest

Easy Easter crafts for toddlers 

My almost two and a half year old isn’t ready for a lot of the crafts you see on blog posts. 

So I decided to create some easy crafts for toddlers who don’t have the dexterity quite yet to use scissors or exercise caution with sparkles. 

So let’s start really simple with painting. For each holiday we have been painting an object related to the holiday and punching a hole in it and hanging it on door knobs or suction cups or using tape and sticking on doors. 

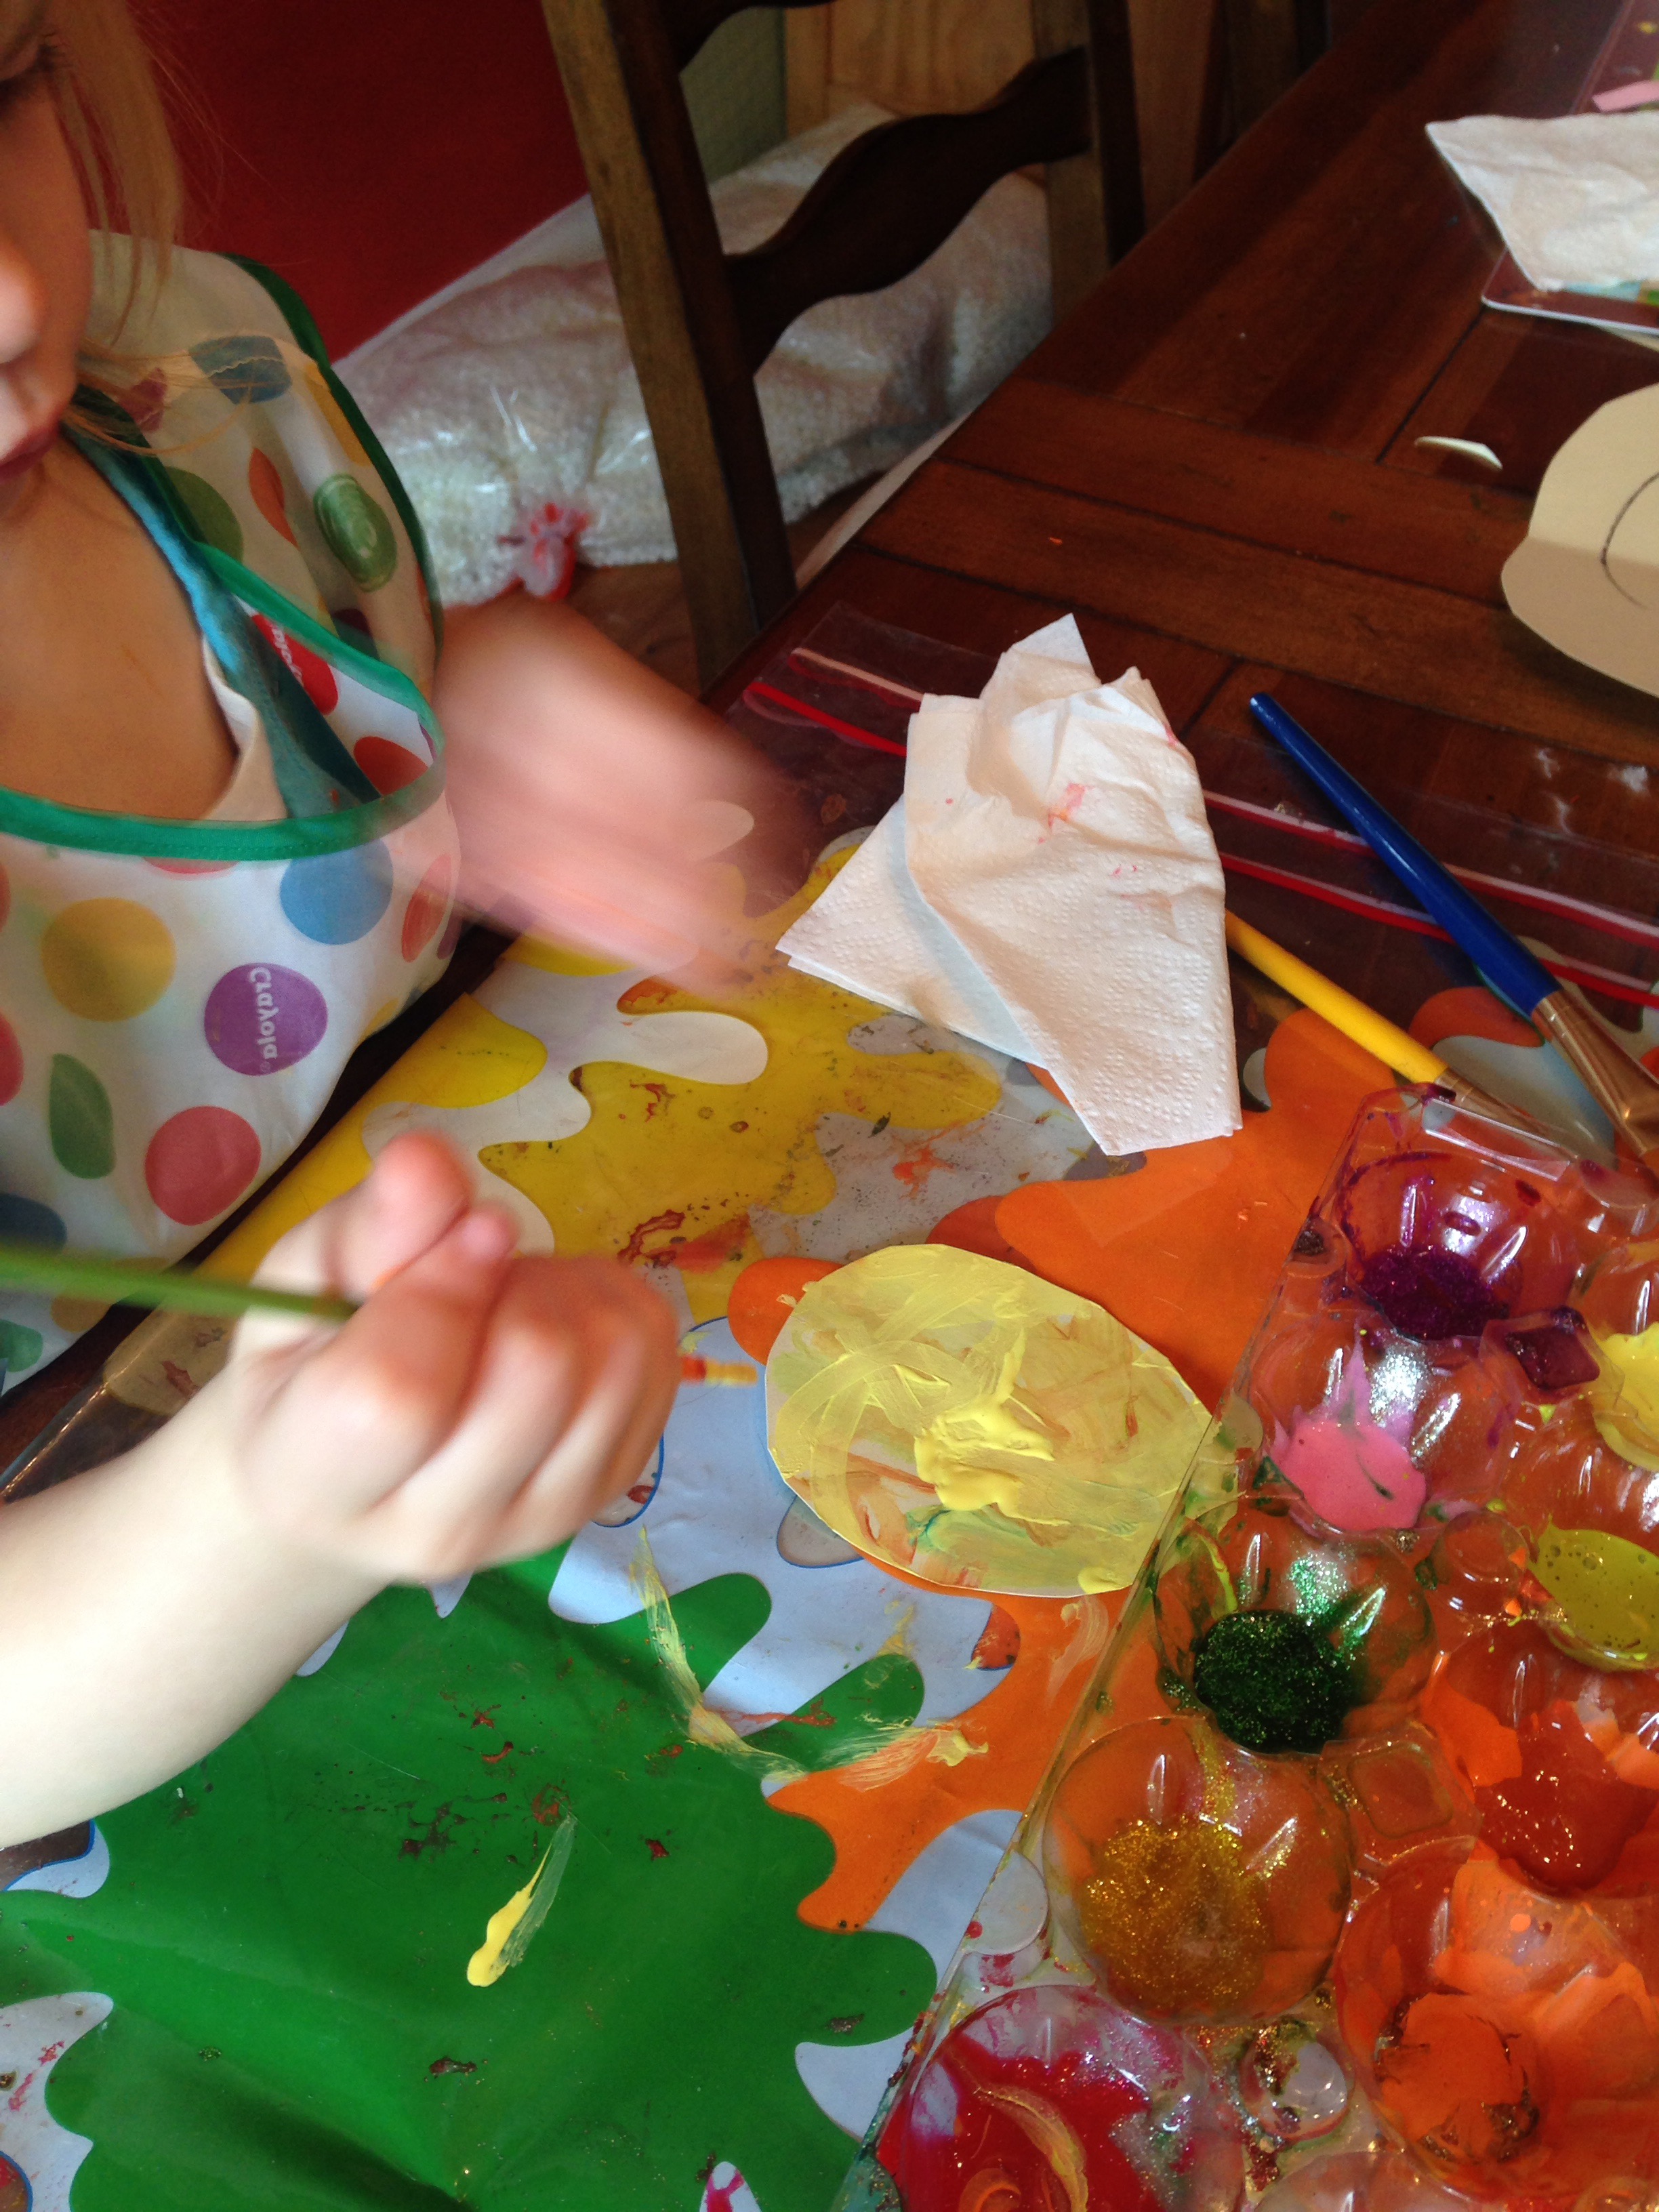
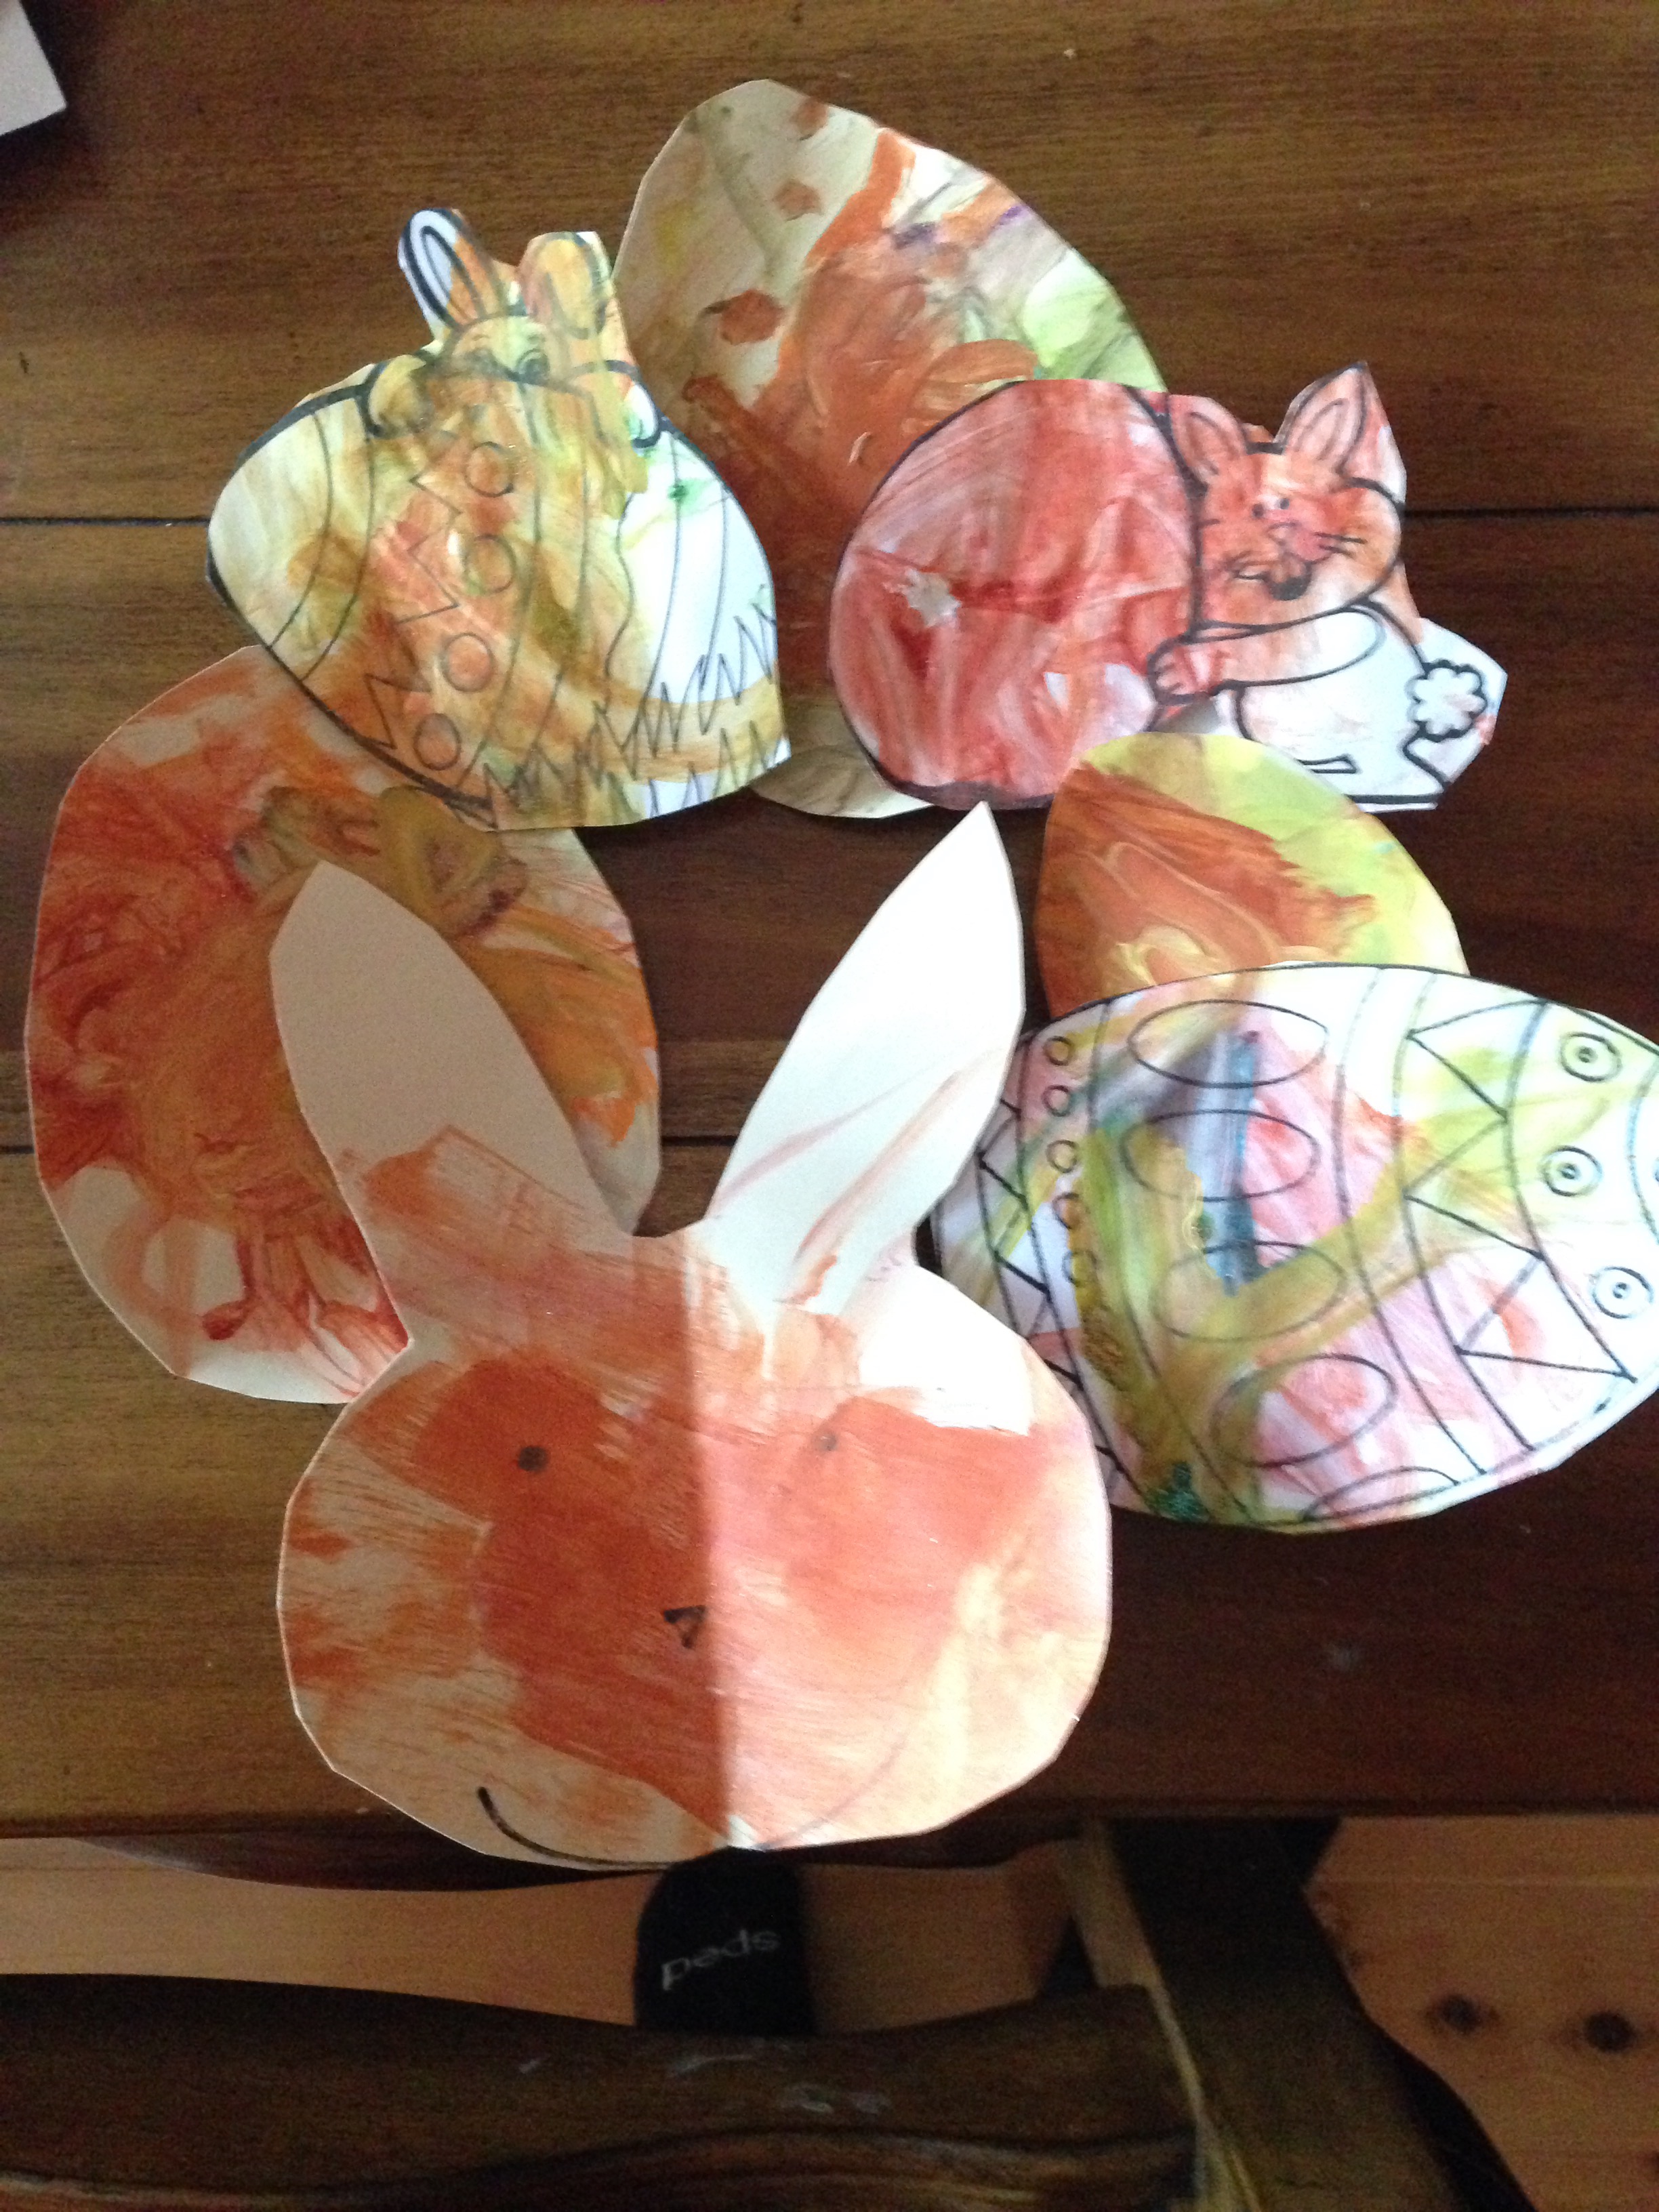
But for this holiday we painted eggs and bunnies using the washable sparkle paint, put in an old plastic egg carton. Then we took them all and made a paper wreath out of it to hang by cutting out the middle of a paper plate and gluing the pictures, Easy peasy! 

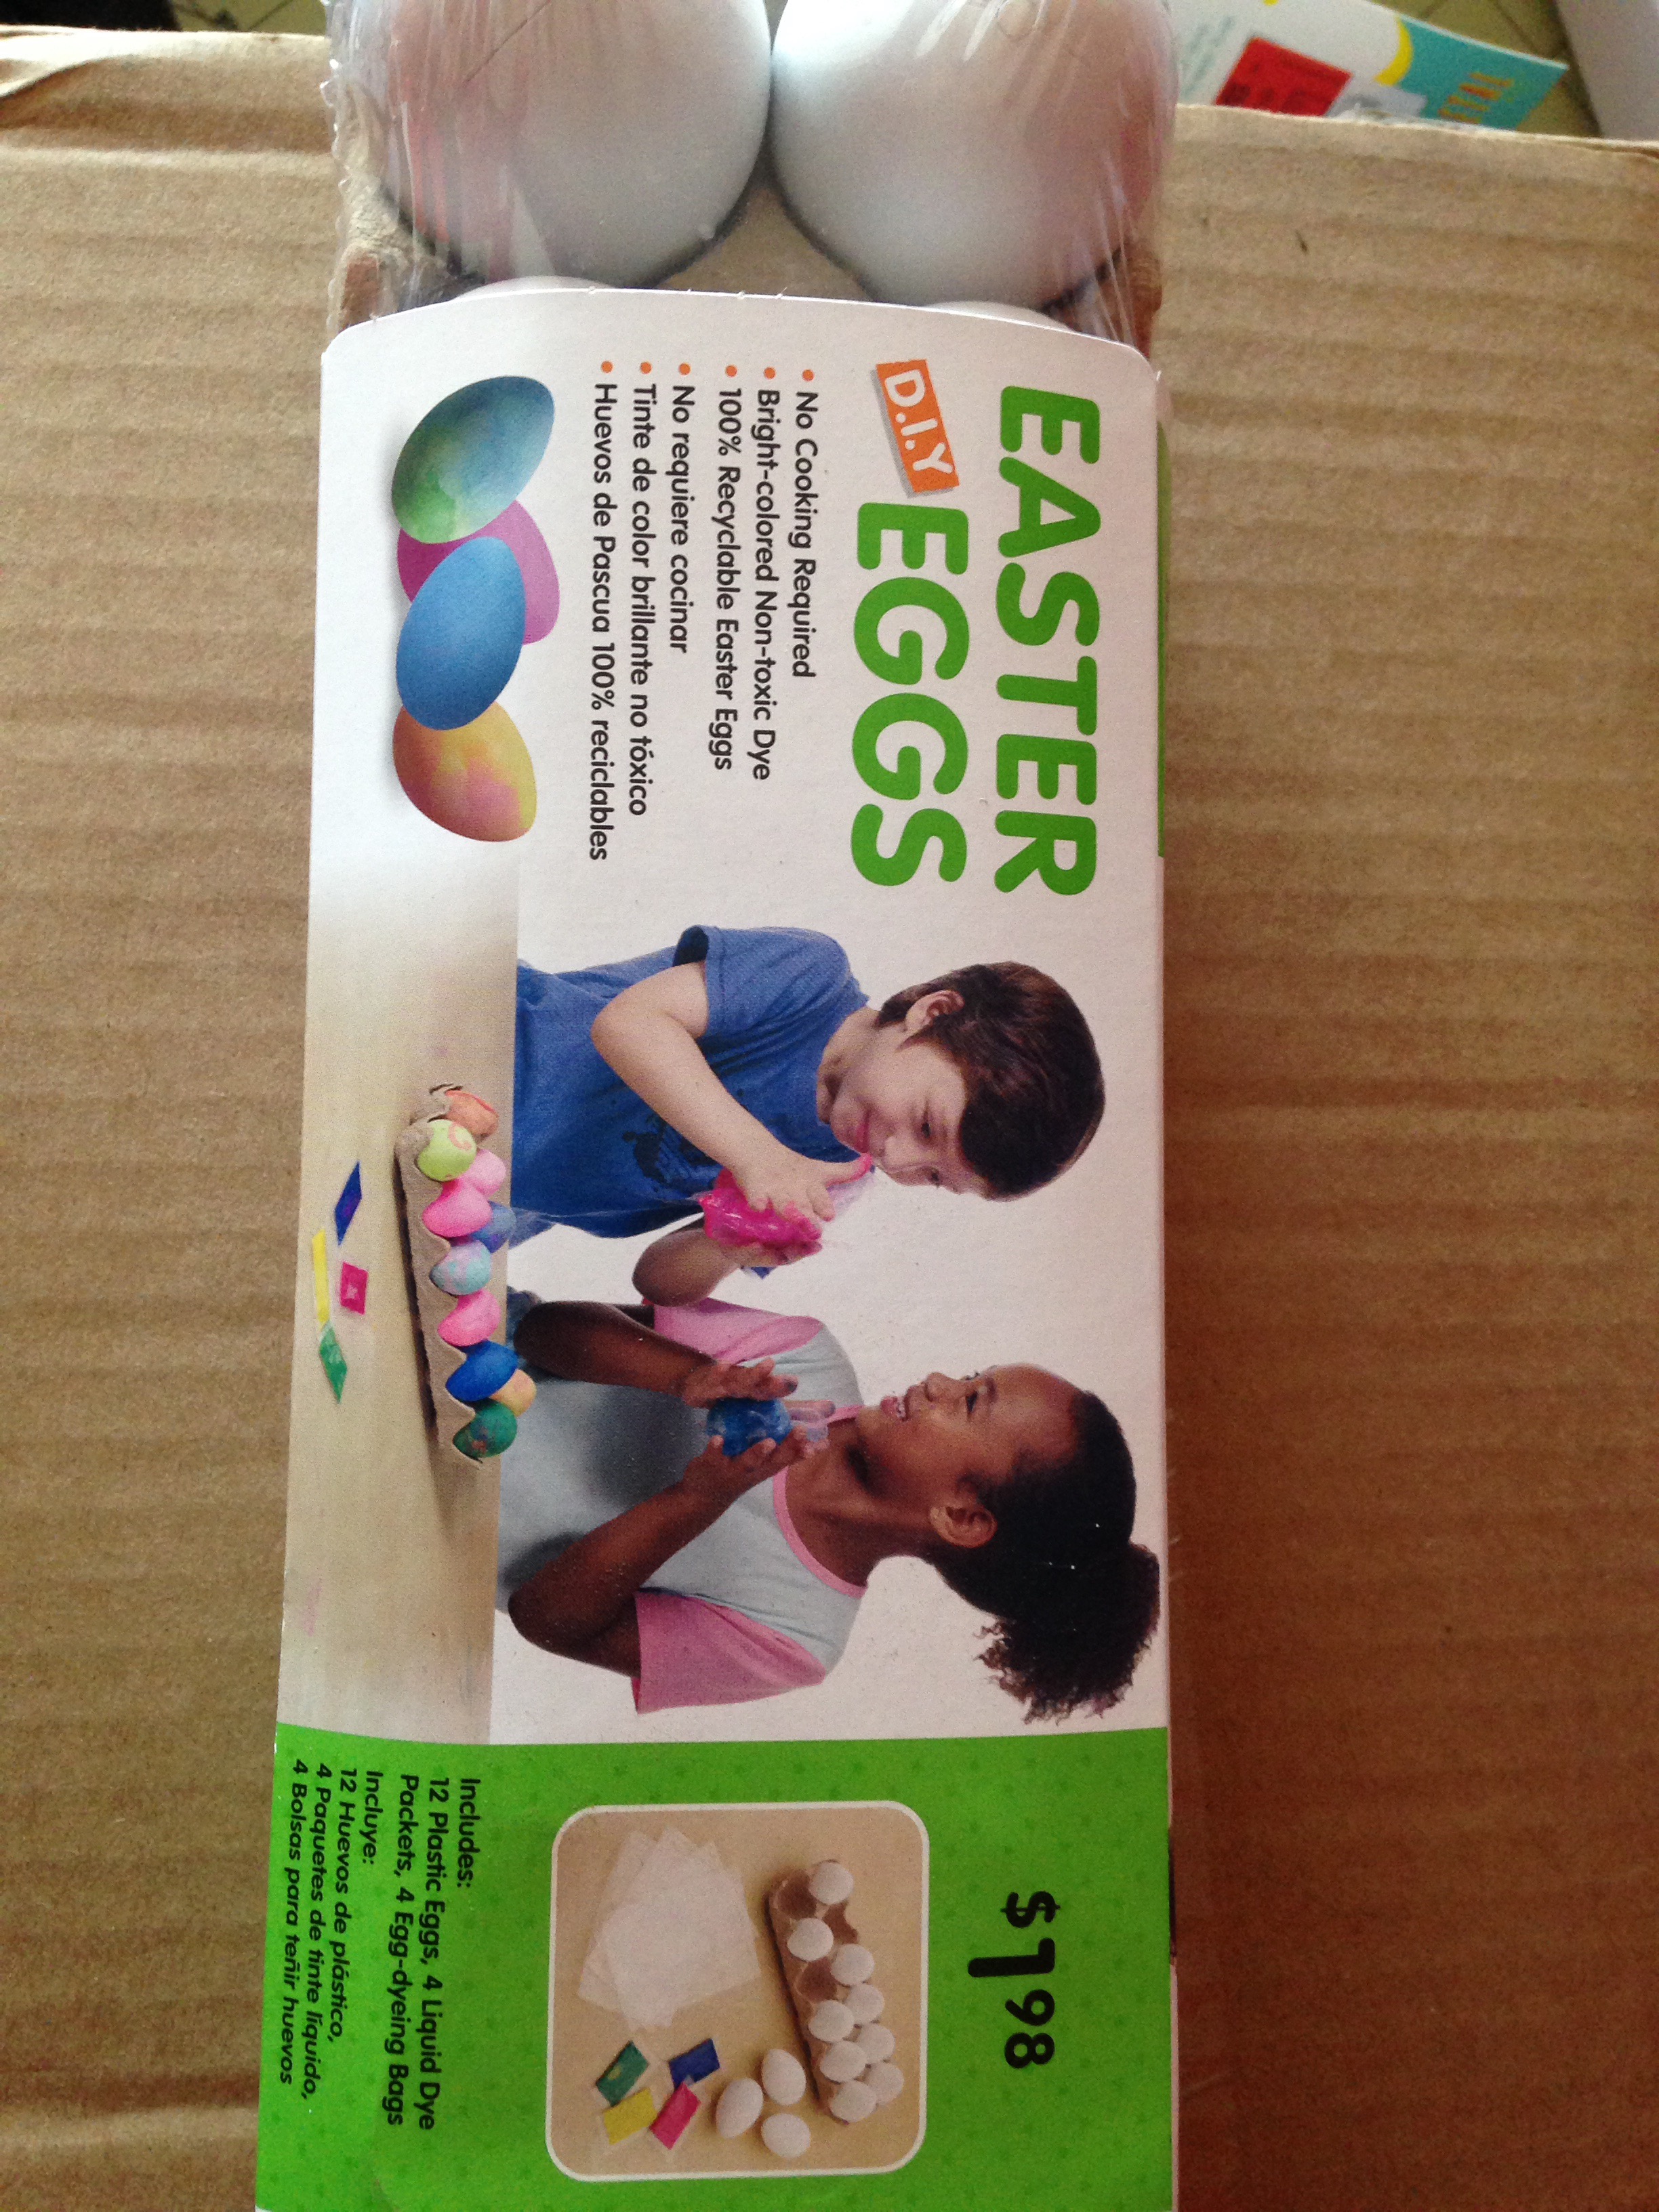
Another easy project is buying this under two dollar cardboard egg kit! I got mine at Walmart but I’m sure there are lots of different ones at craft stores. Now you can paint them yourself or they come with a dye kit. 


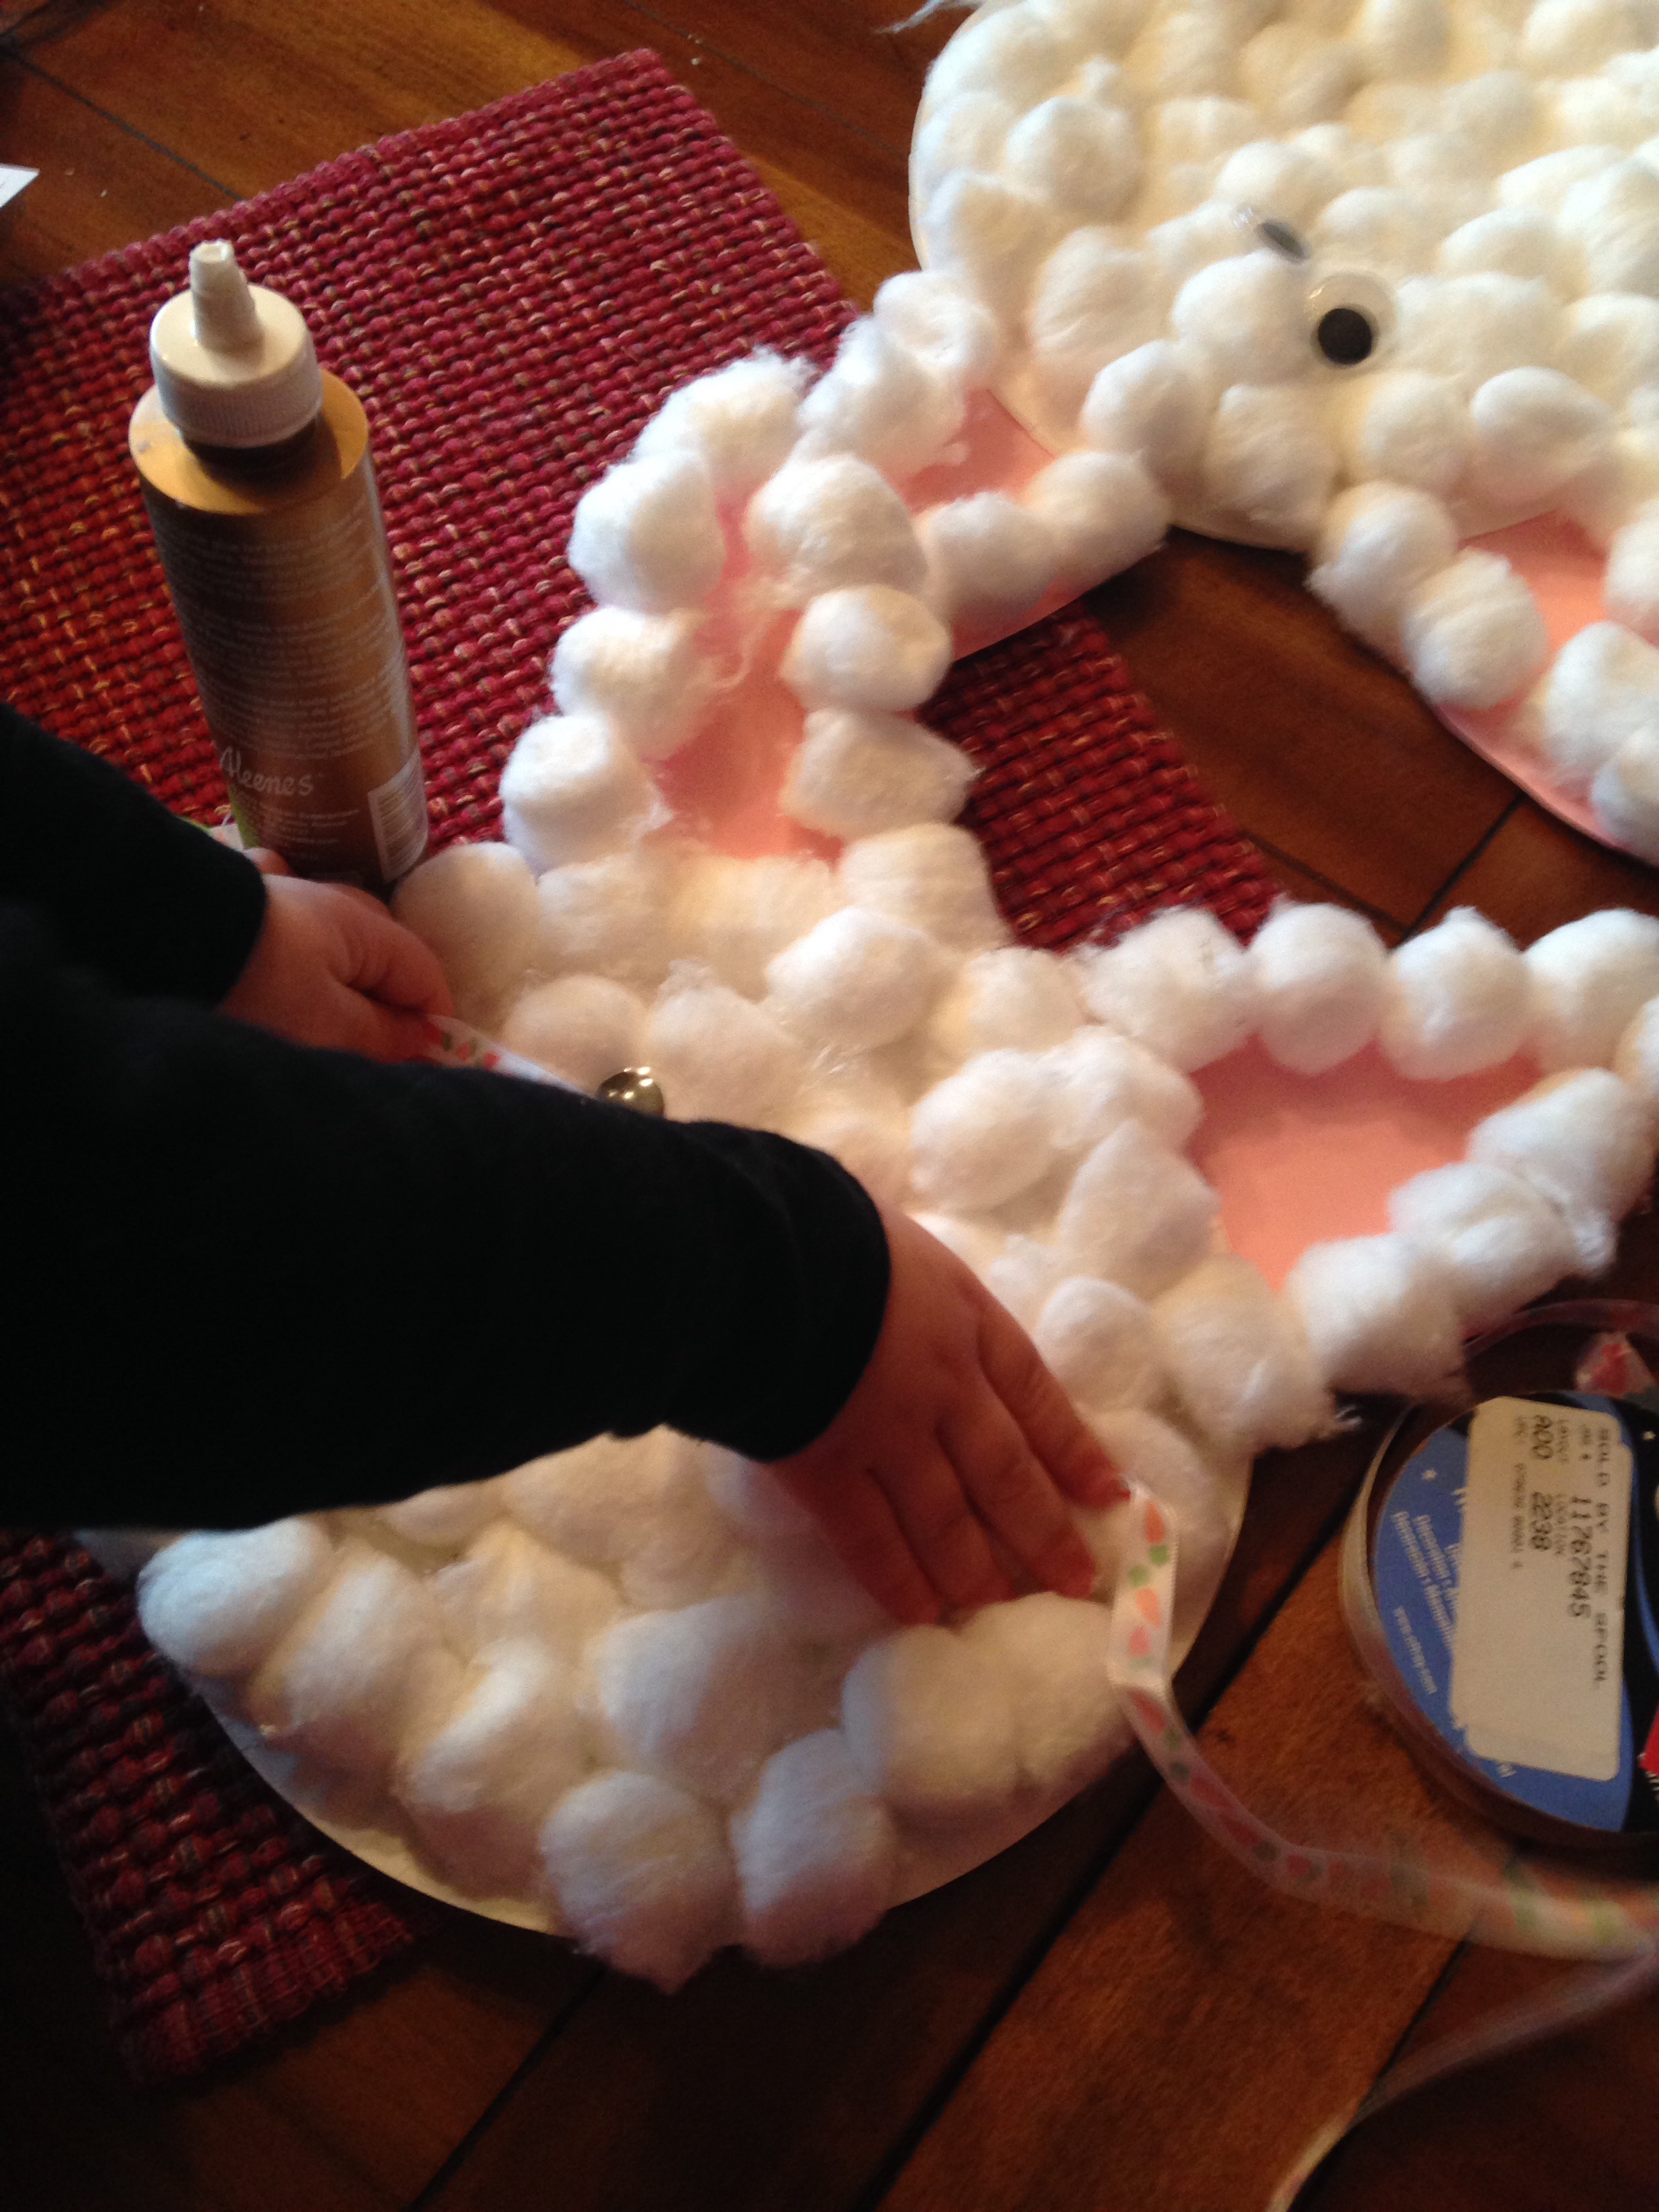
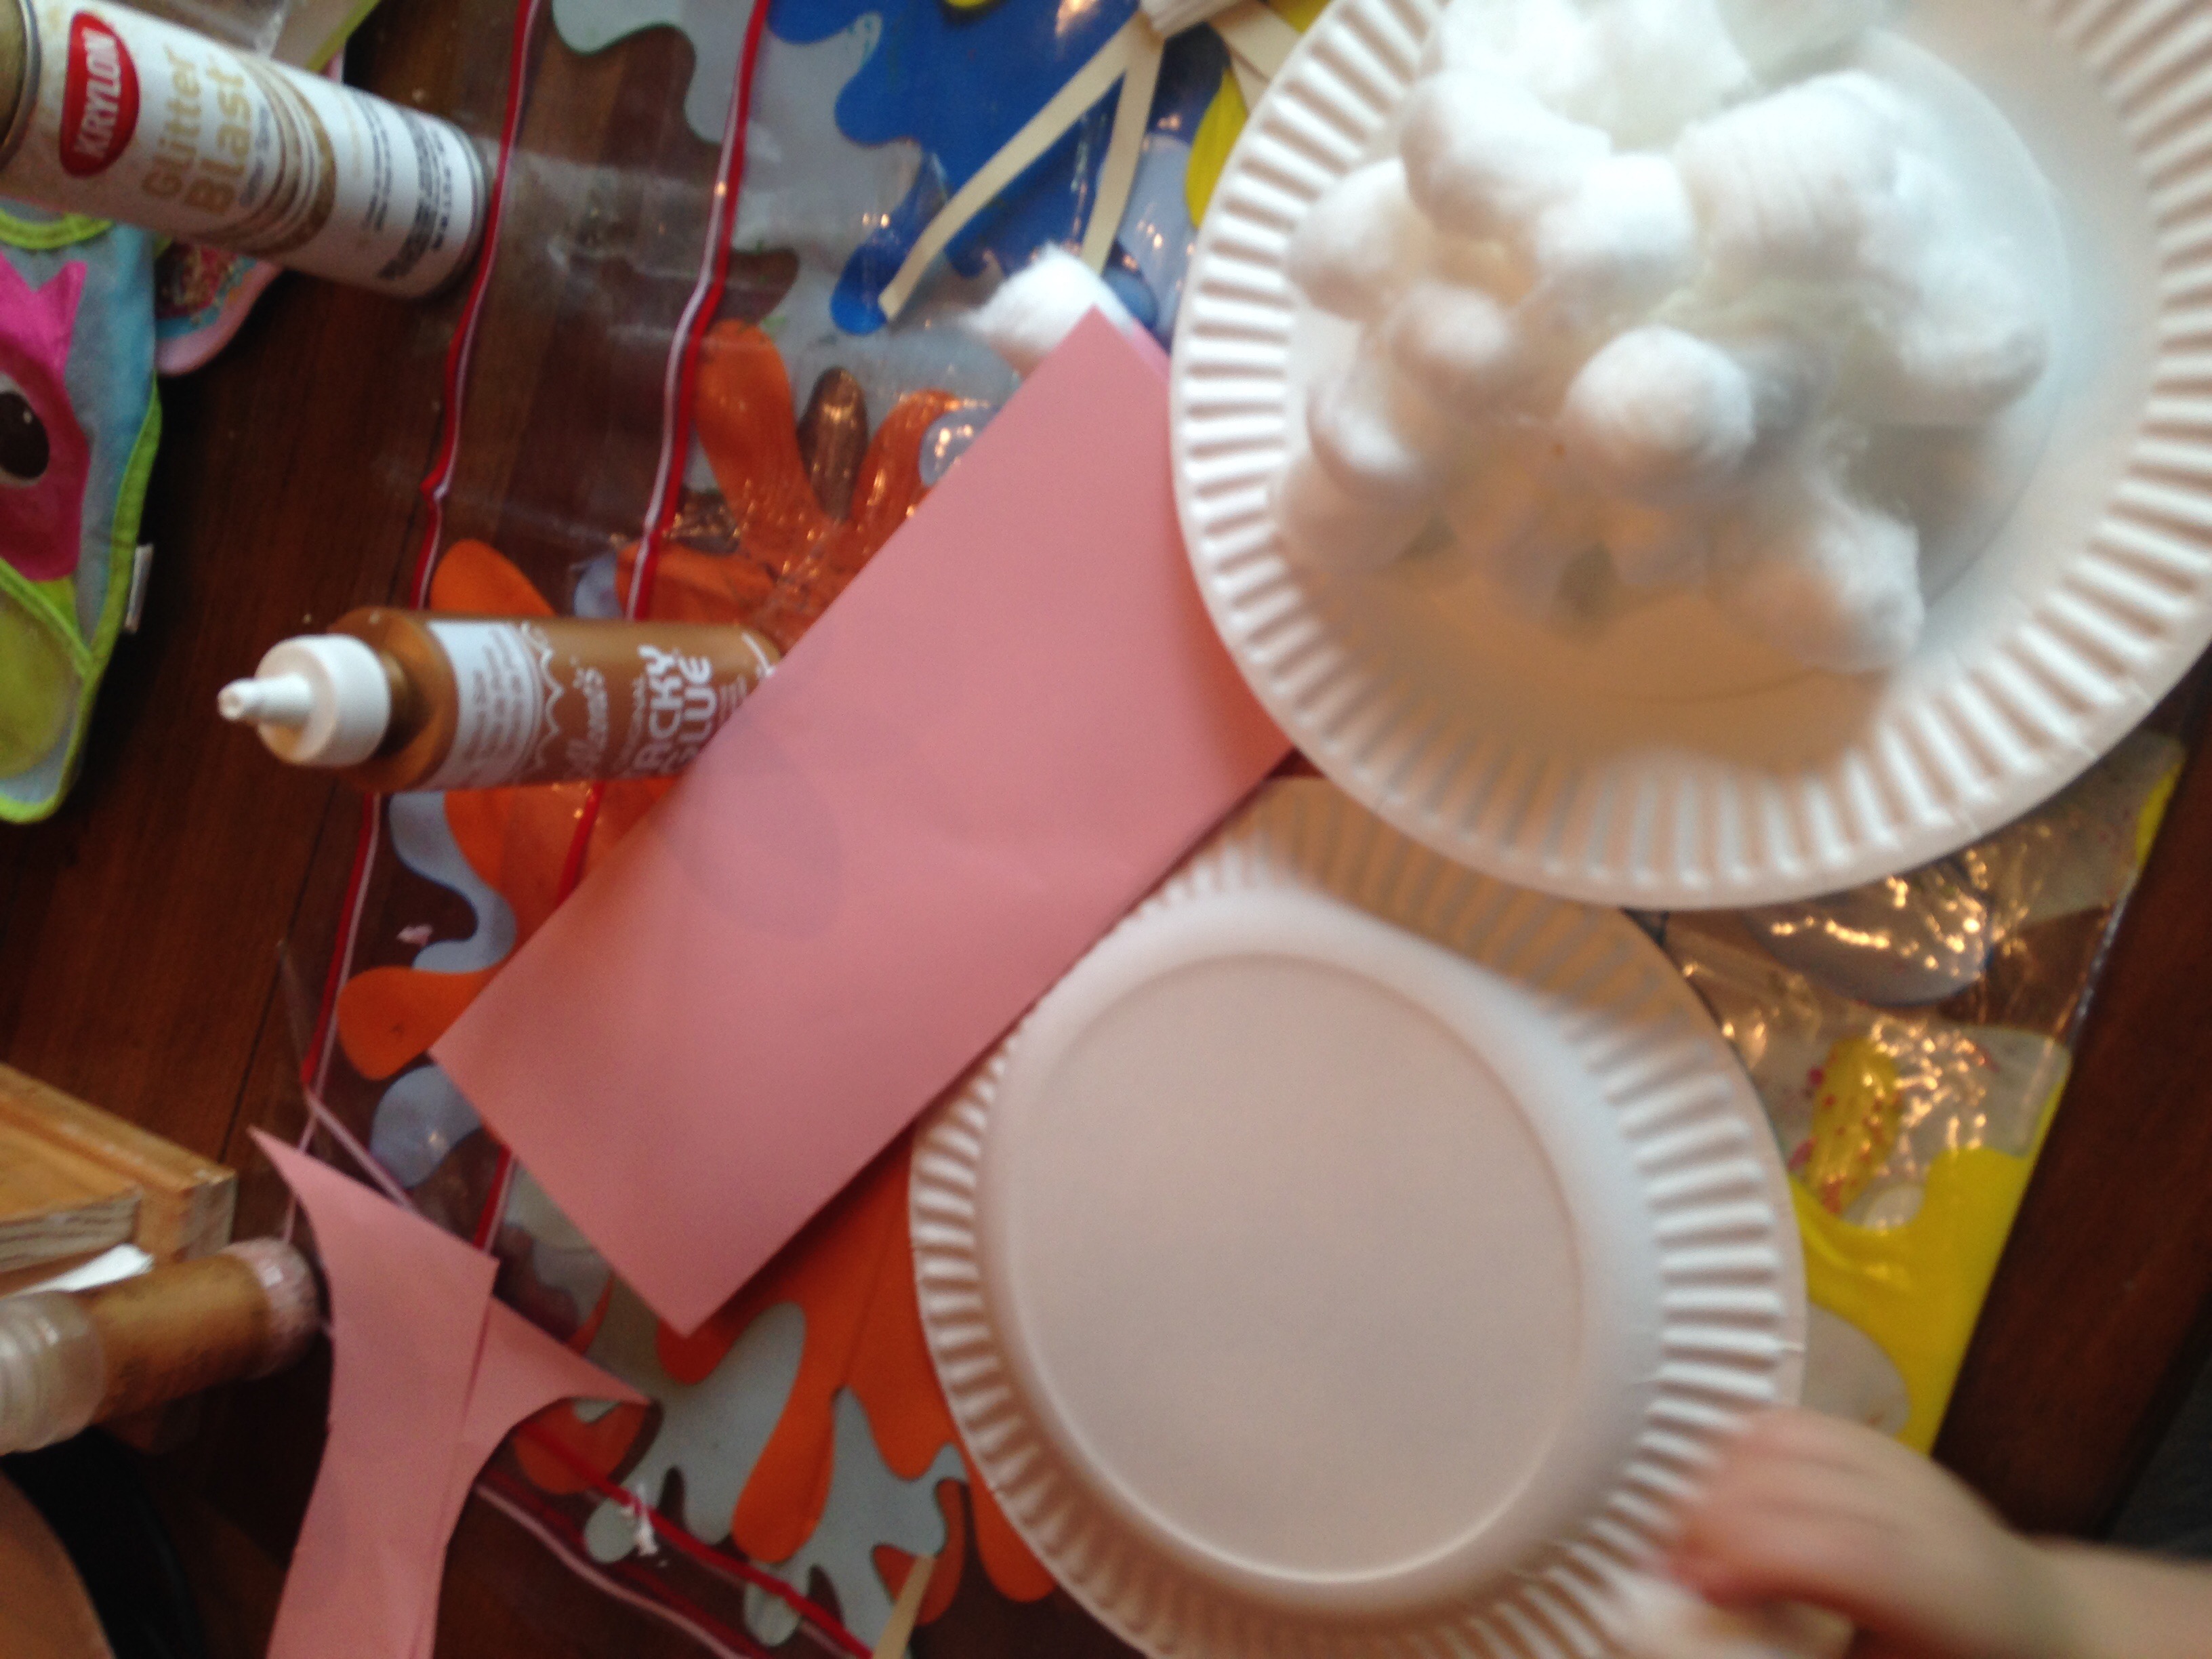
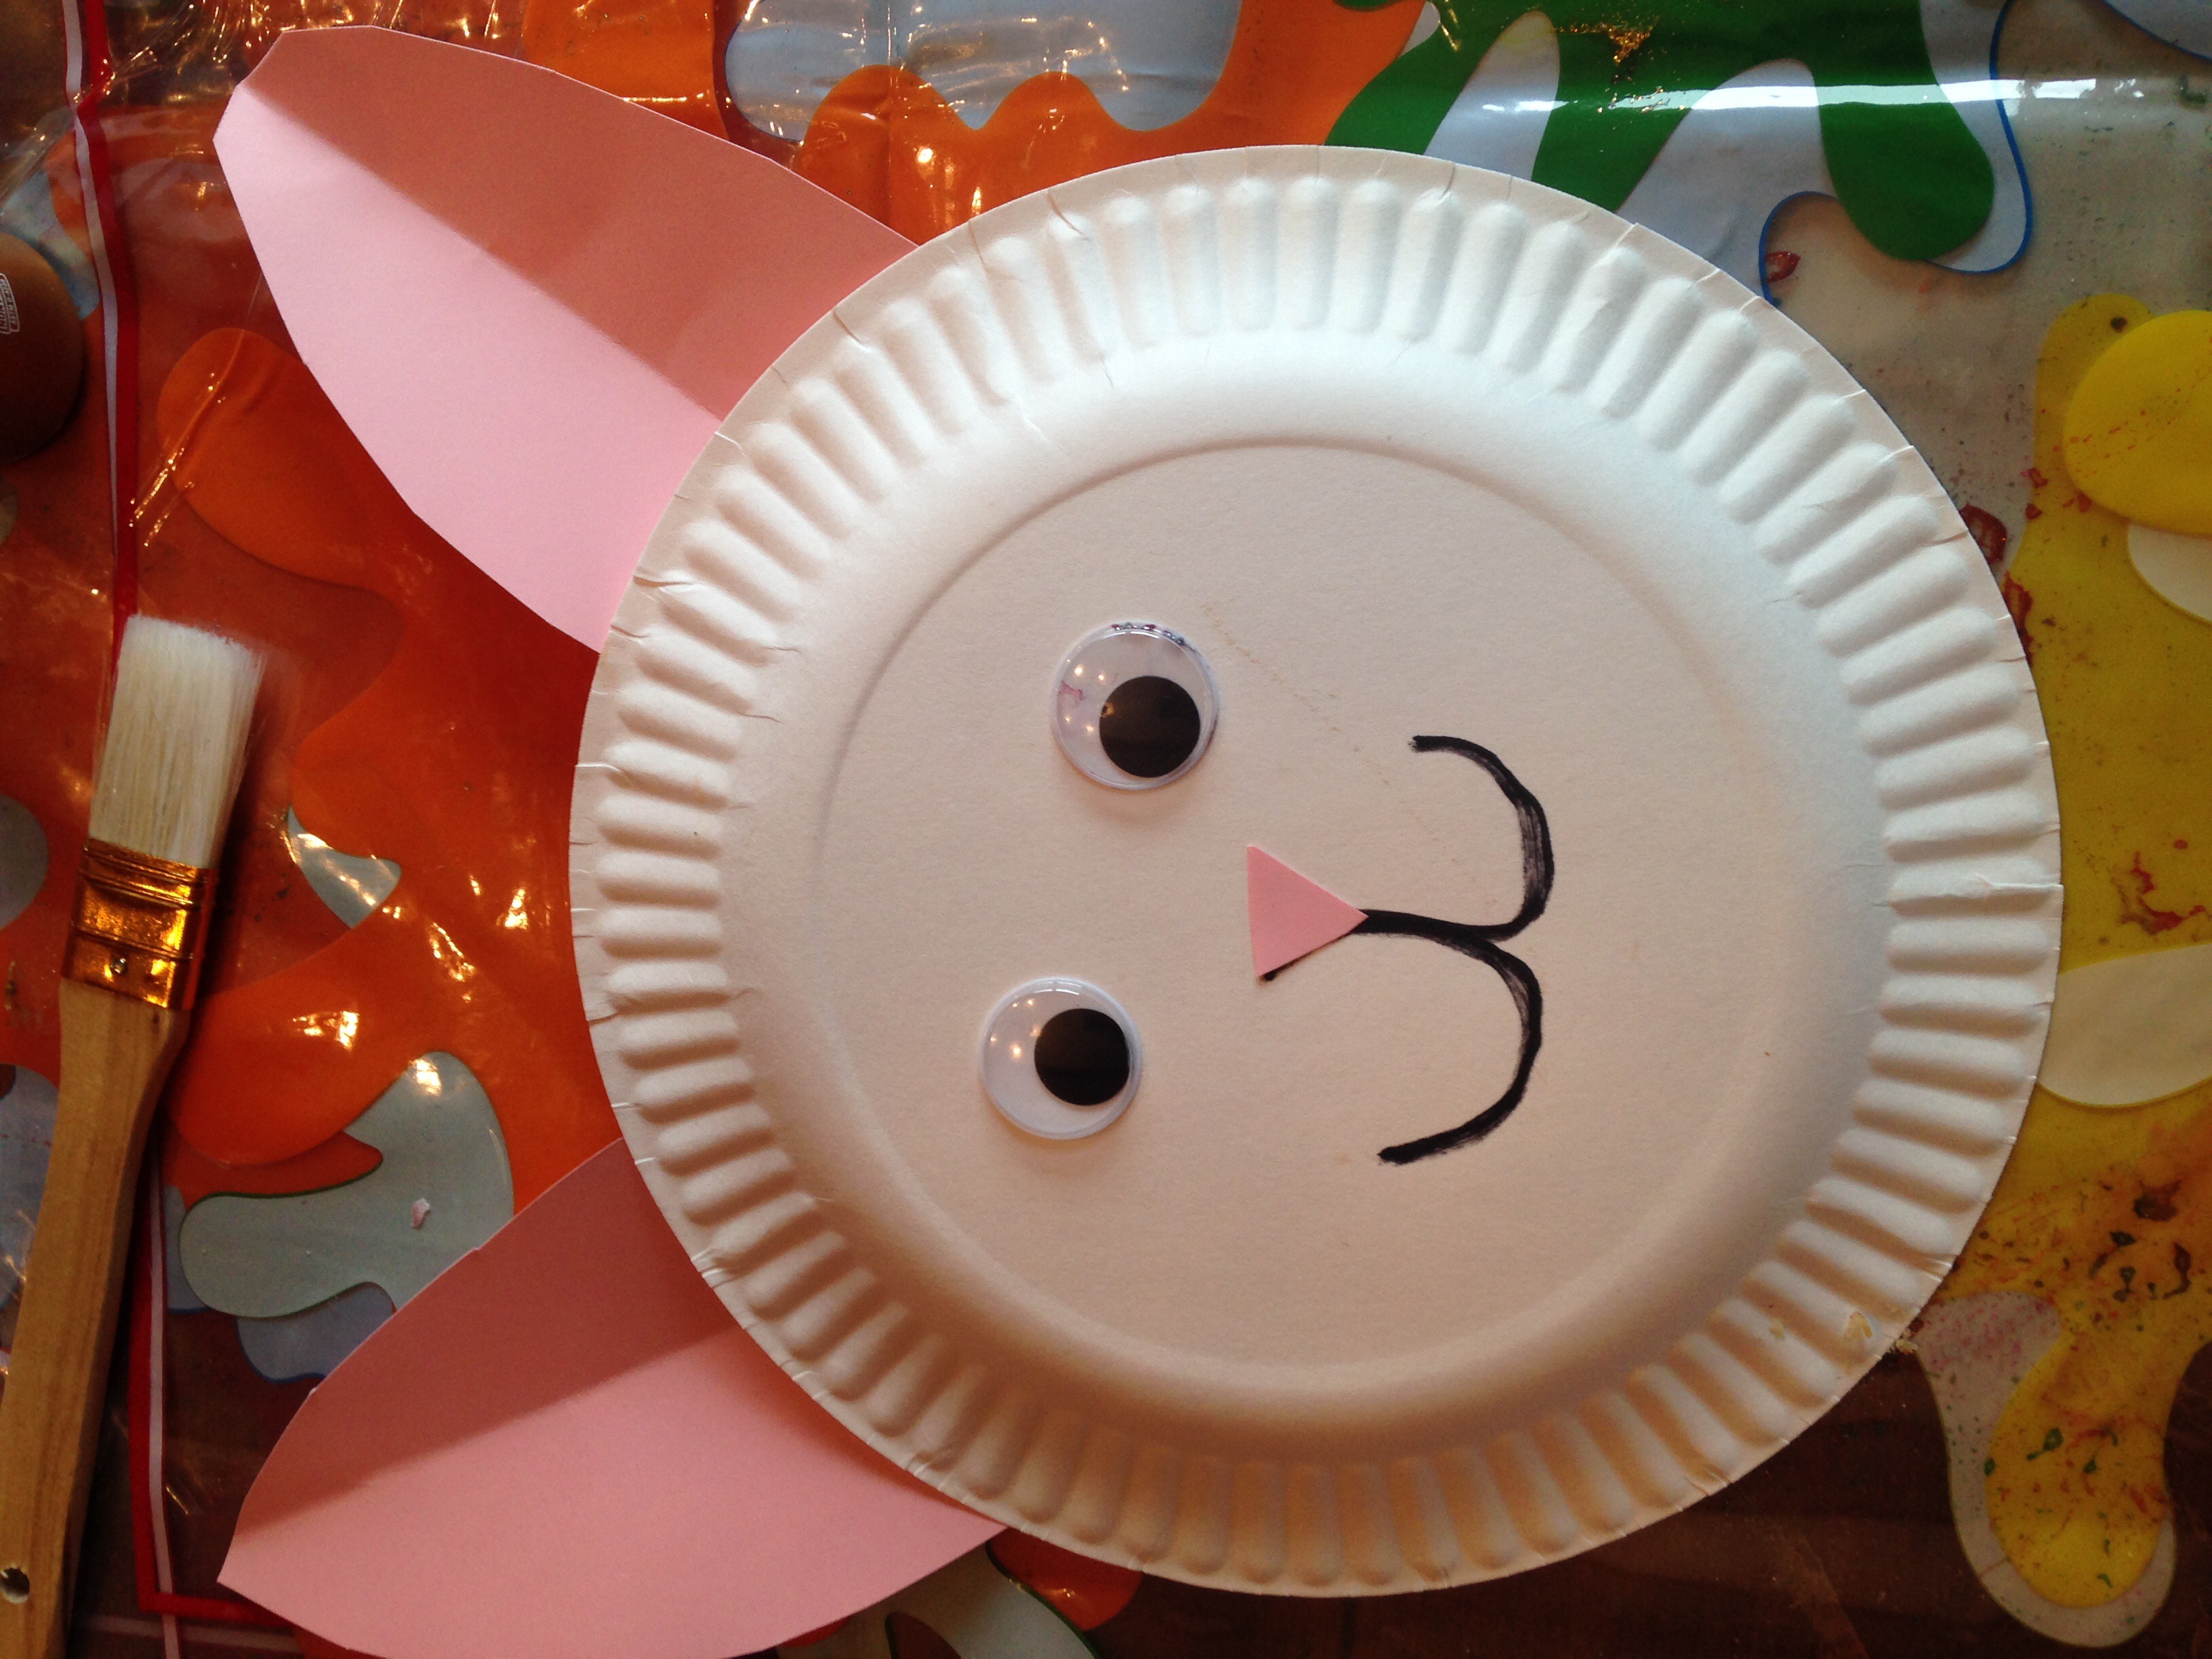
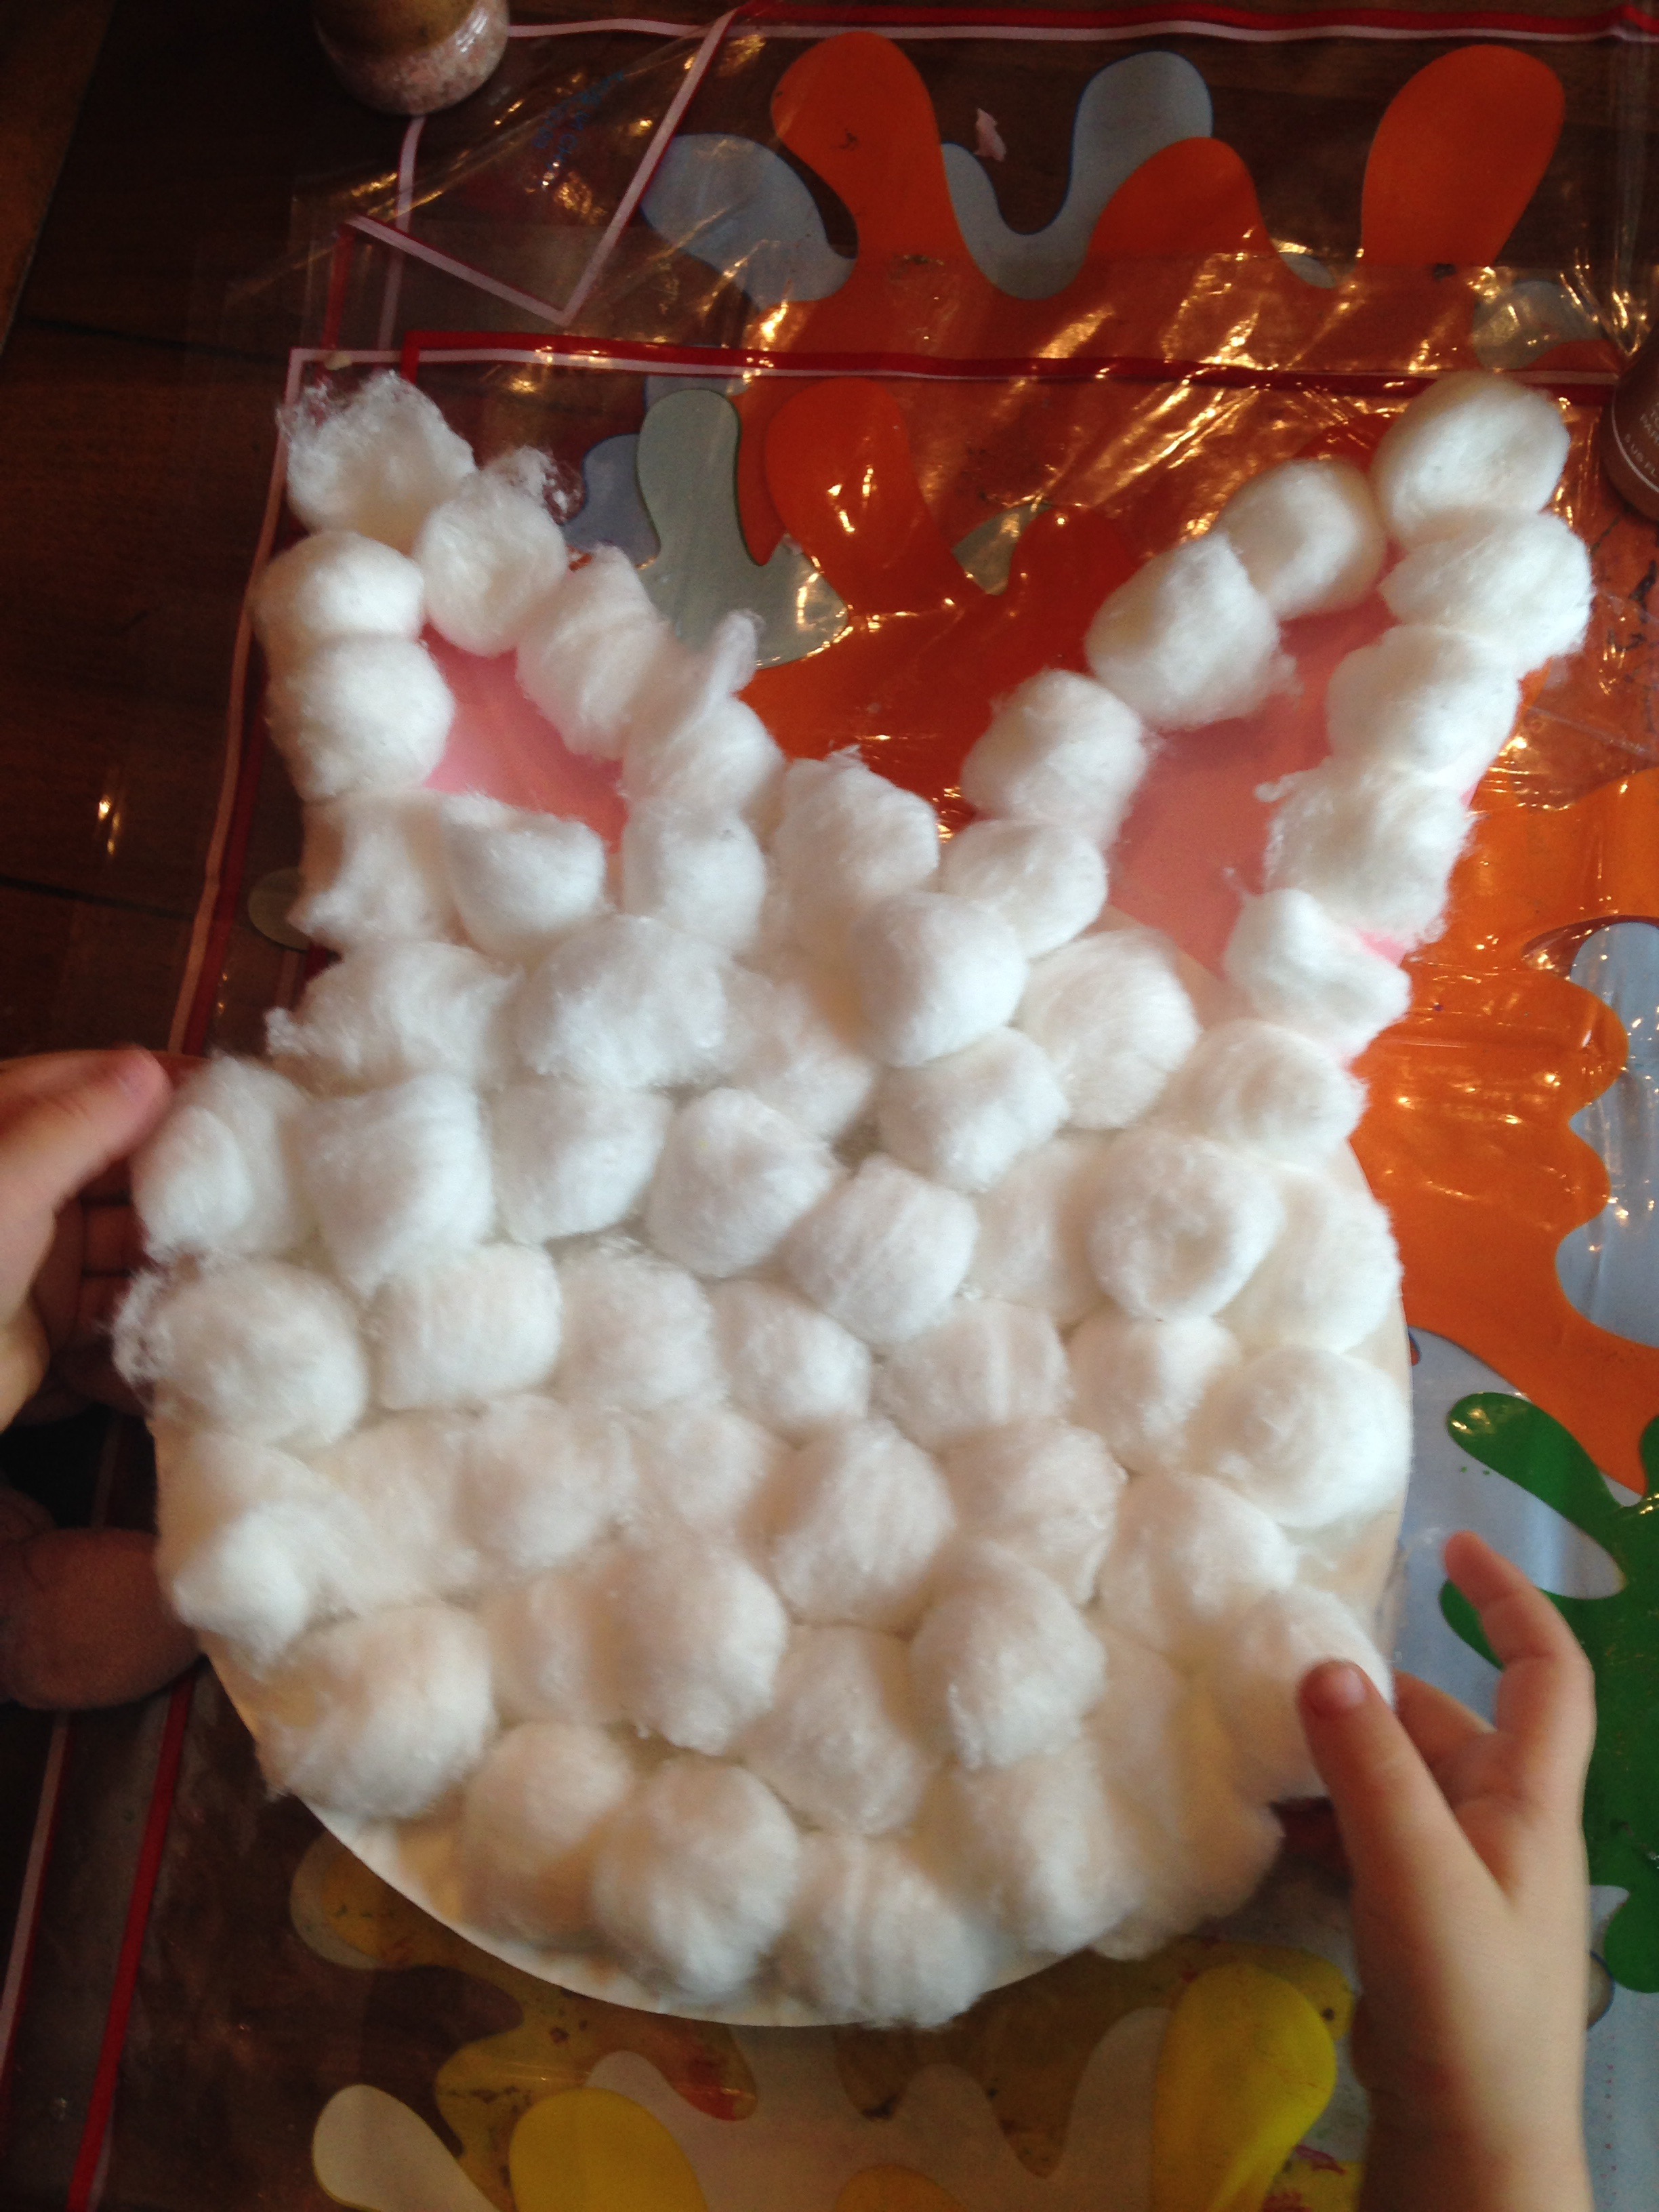
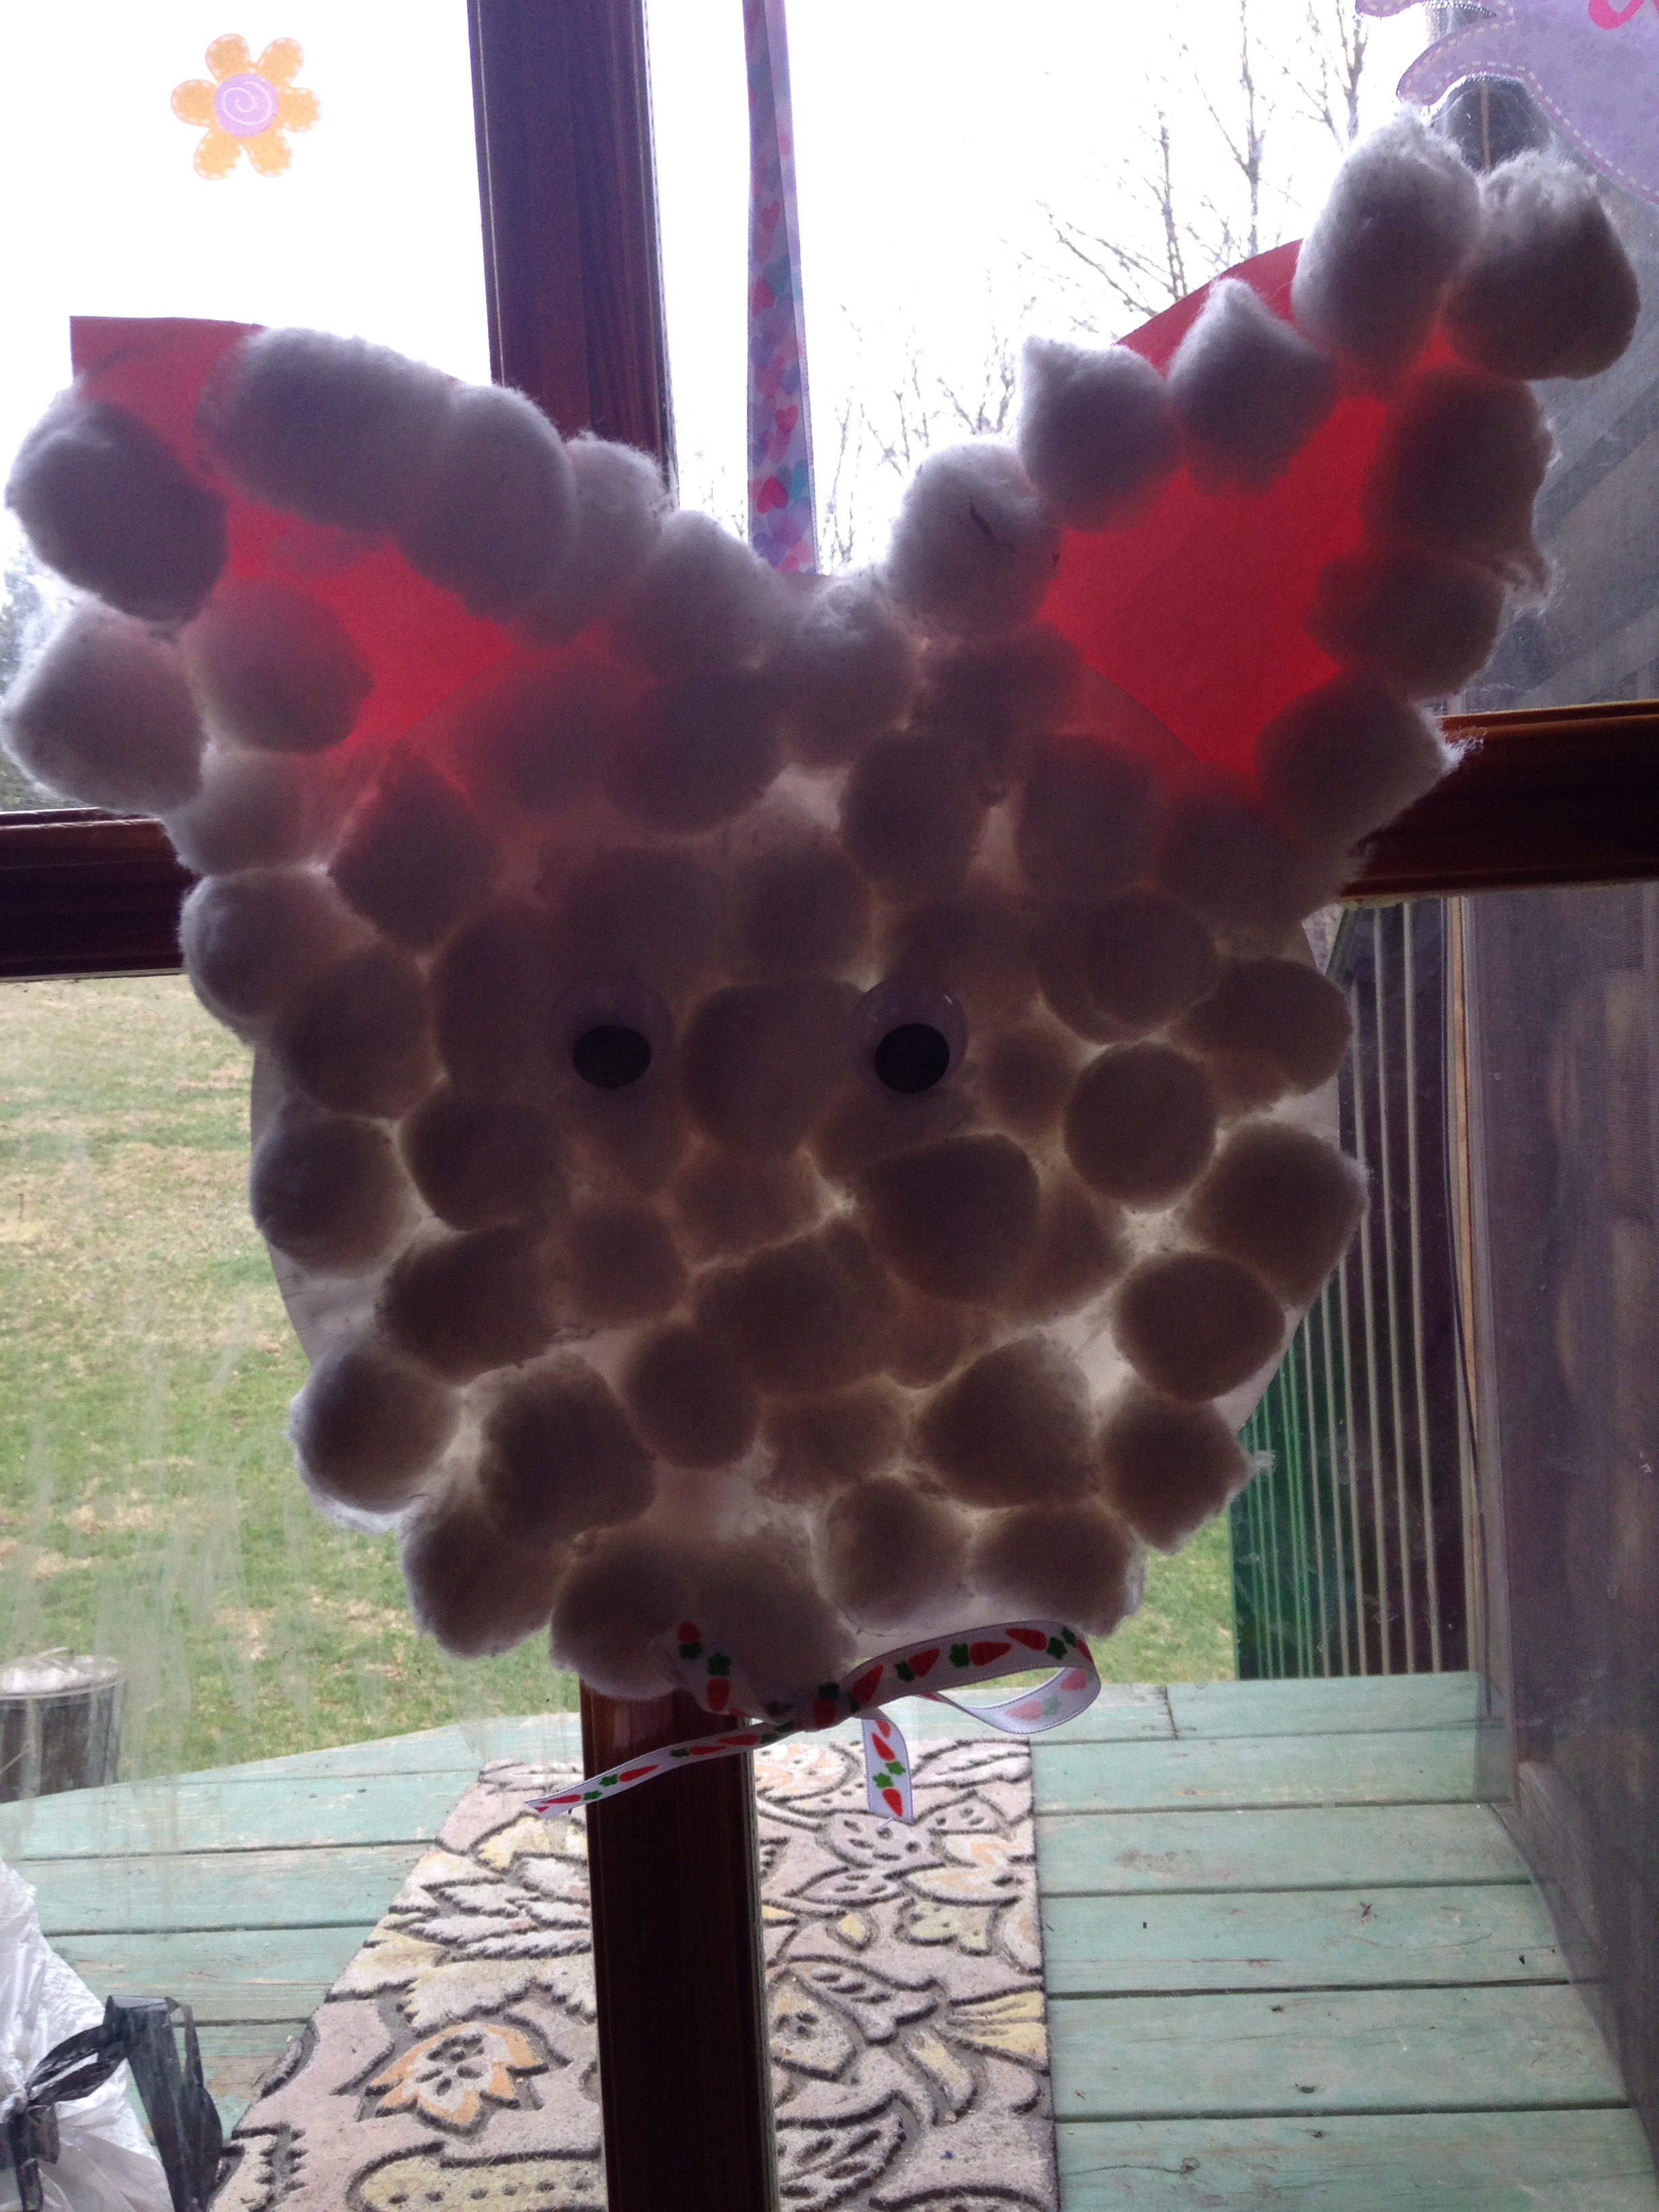
Next is the cotton ball Easter bunny! Sure, I had to help with the glue and the eyes a bit but she loved sticking on the cotton balls everywhere and placing the face! You can go more detailed with an old child as well. We used a carrot Easter ribbon we had and then a loop ribbon on the back to hang it on the door.  This also makes an easy gift to a grandparent or family member. 


What you need is a paper plate, cotton balls, glue or glue stick, ribbon, pink construction paper, scissors, googly eyes, and any other decoratons(nose whisker mouth). 


And get creative! It’s a cheap project too! 


Glue the pink ears on and then use cotton balls to line them! 

FollowFacebookpinterestrssyoutube
ShareFacebookpinterest

Breast is best? 

I’m sure you’ve all seen, heard, and been drilled that breast is best. Breast is best. Breast is best. 
So what about moms who can’t or choose not to breastfeed? What type of message does this send?  


This letters for the new mom, the mom struggling to breastfeed, the mom who chooses not to, or is unable to breastfeed, and to the moms who are strictly breastfeeding. 
Dear Mom or mom to be, 

Congrats! You will soon or have a little cutie pie! You may have noticed the ads, commercials, and educational information that says breast is best and tells you how fabulous your baby will grow up to be if they are breastfed. Or maybe you heard you will lose weight and still have big boobs?  
Or maybe you have hit reality. To the mom struggling with breastfeeding, I’ve been there. I know what it’s like to feel the intense pressure To breastfeed and are unable to produce enough milk damnit. stop looking at all the forums giving advice or the moms asking what to do with their abundant amount of breastmilk overflowing from the their faucets, it will only make you feel worse. 

Yes you can try supplements, you can pump before and after and all night and day and still not be able to make enough milk, but there’s no shame in giving formula, that’s what it’s made for, feeding a baby! Maybe you work and can’t pump, or have a sick baby, or whatever reason or not you are having difficulty, stop feeling like a failure.
I’ve been there, twice! Two preemies with poor underdeveloped latching skills in the nicu. Or maybe you were sick  or developed mastitis or one of the many fun side effects of breastfeeeding you weren’t told about. I’ve been there. 
Maybe it’s gotten to the point you’ve developed anxiety or depression and are no longer enjoying the precious moments with your beautiful baby. You just don’t understand why none of the supplements medications gallons of water pumping and all the other tricks aren’t working. They said it would be easy? All my friends are having no problems, why can’t I just do it? There must be something wrong with me.
Maybe you see all these photos of moms breastfeeding or posts about milk overproduction and you feel like strangling someone. I’ve been there. 
 Maybe you’re afraid of the looks you get in public feeding your baby a bottle. Maybe you change the topic when someone talks about feeding your baby. 
On the other hand, maybe breastfeeding came easy. Maybe you don’t understand why everyone complains about breastfeeding? Maybe you scoff at formula feeding moms and just don’t get it. Maybe you enjoy every moment of breastfeeding and having the freedom to whip them out wherever and whenever you want.  

To mom who feels like a breastfeeding failure and cry over not being able to feed your baby, YOU ARE FEEDING your baby. A happy mom makes  a happy baby. Whatever you feed your baby, breastmilk, formula or both, you should be proud. Proud you are a mom, proud you are doing your best, proud you are making the best choice for you and your baby, proud to be you!
When you look back at this short period in your life you want to be proud and happy, not miserable. Do what’s best for you there is no shame in any choice.
To the mom to be, don’t be afraid do your best with whatever choice you choose and if it doesn’t work there’s always help or another choice, don’t feel stuck in a corner. You’ll do great and be proud. 

To the happy breastfeeding moms, I hope this article helps you understand it’s not easy for everyone and be understanding.
Finally, to the struggling moms who feel like failures, you are amazing, stop killing your self and be happy. Looking back after my first I can’t believe I put myself in such a tail spin over breastfeeding, I wasted time worrying instead of enjoying. The public and healthcare puts far too much pressure on a new mom and sends the wrong message. Enjoy the free time your using for pumping googling and crying instead for snuggling with baby and reading books

You are an awesome! 

Mom no matter how you feed your baby, formula or breast, keep Up the good work and smile!  Your baby will grow up to be smart and happy because you are happy and you spend time with your little one. 

FollowFacebookpinterestrssyoutube
ShareFacebookpinterest

Homemade Paint!

Looking for an easy homemade nontoxic paint for your little one to be creative?  Well, look no further!  We experimented with several types of homemade paint and below are our favorite recipes!


Kids of all ages love painting!  You can have your little one finger paint, use brushes, sponges, or even potatoes!

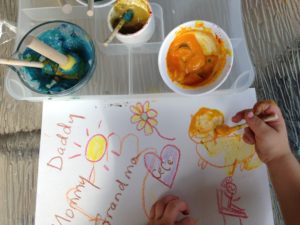
So we started off making completely edible finger paint with only a couple ingredients!

img_5388

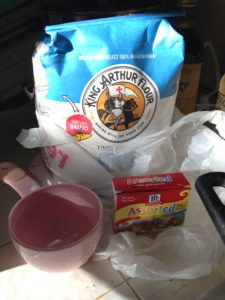
Here is what you will need: (this makes enough for about 4-5 different colors depending on how much you want for each)…

img_5362

  • 1 cup water
  • 1/2 cup of flour
  • extra water to thin out
  • food coloring, watercolors, or natural colors such as beet, carrot, tumeric

Instructions:

img_5363

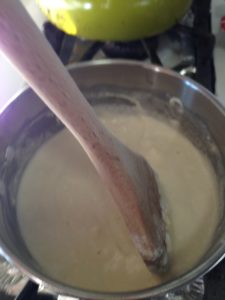
  1. Place pot over medium heat and pour flour and water into pot and continuously stir the ingredients until it becomes a thick paste.
  2. Take the pot away from the heat when it no longer sticks to the sides
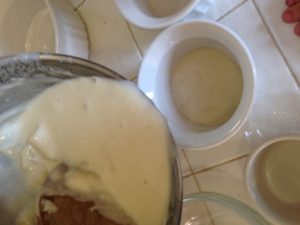
  3. Add cold water to the blob until it reaches the consistency you like and place the amount you desire into separate bowls to color.
  4. Add food coloring, watercolors, natural colorants such as beet or carrot juice, turmeric spice
  5. img_5364
  6. These can be enjoyed right away or stored in the fridge!!

img_5390img_5391

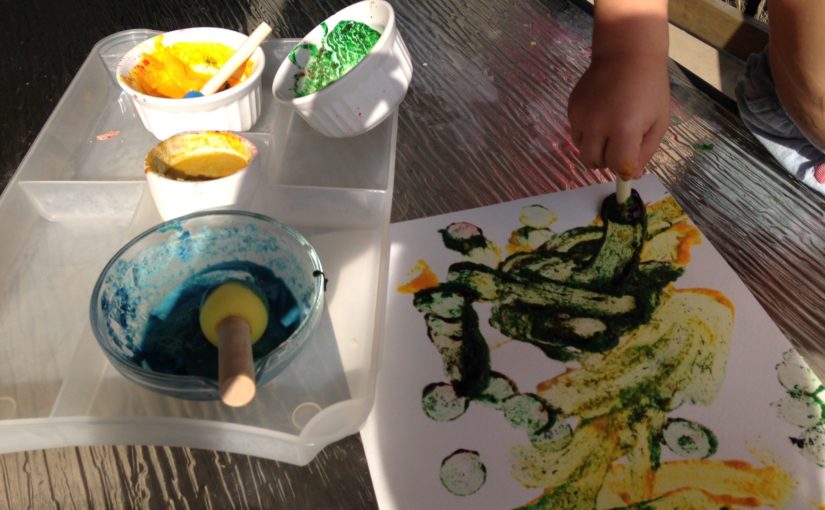
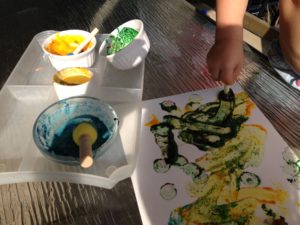
This paint works well for fingerpainting or sponge painting.  You can also use brushes but as you see in the photo, the colors come out thinner and lighter than traditional paint.  The color dries on without fading. We used the paint several days in a row.


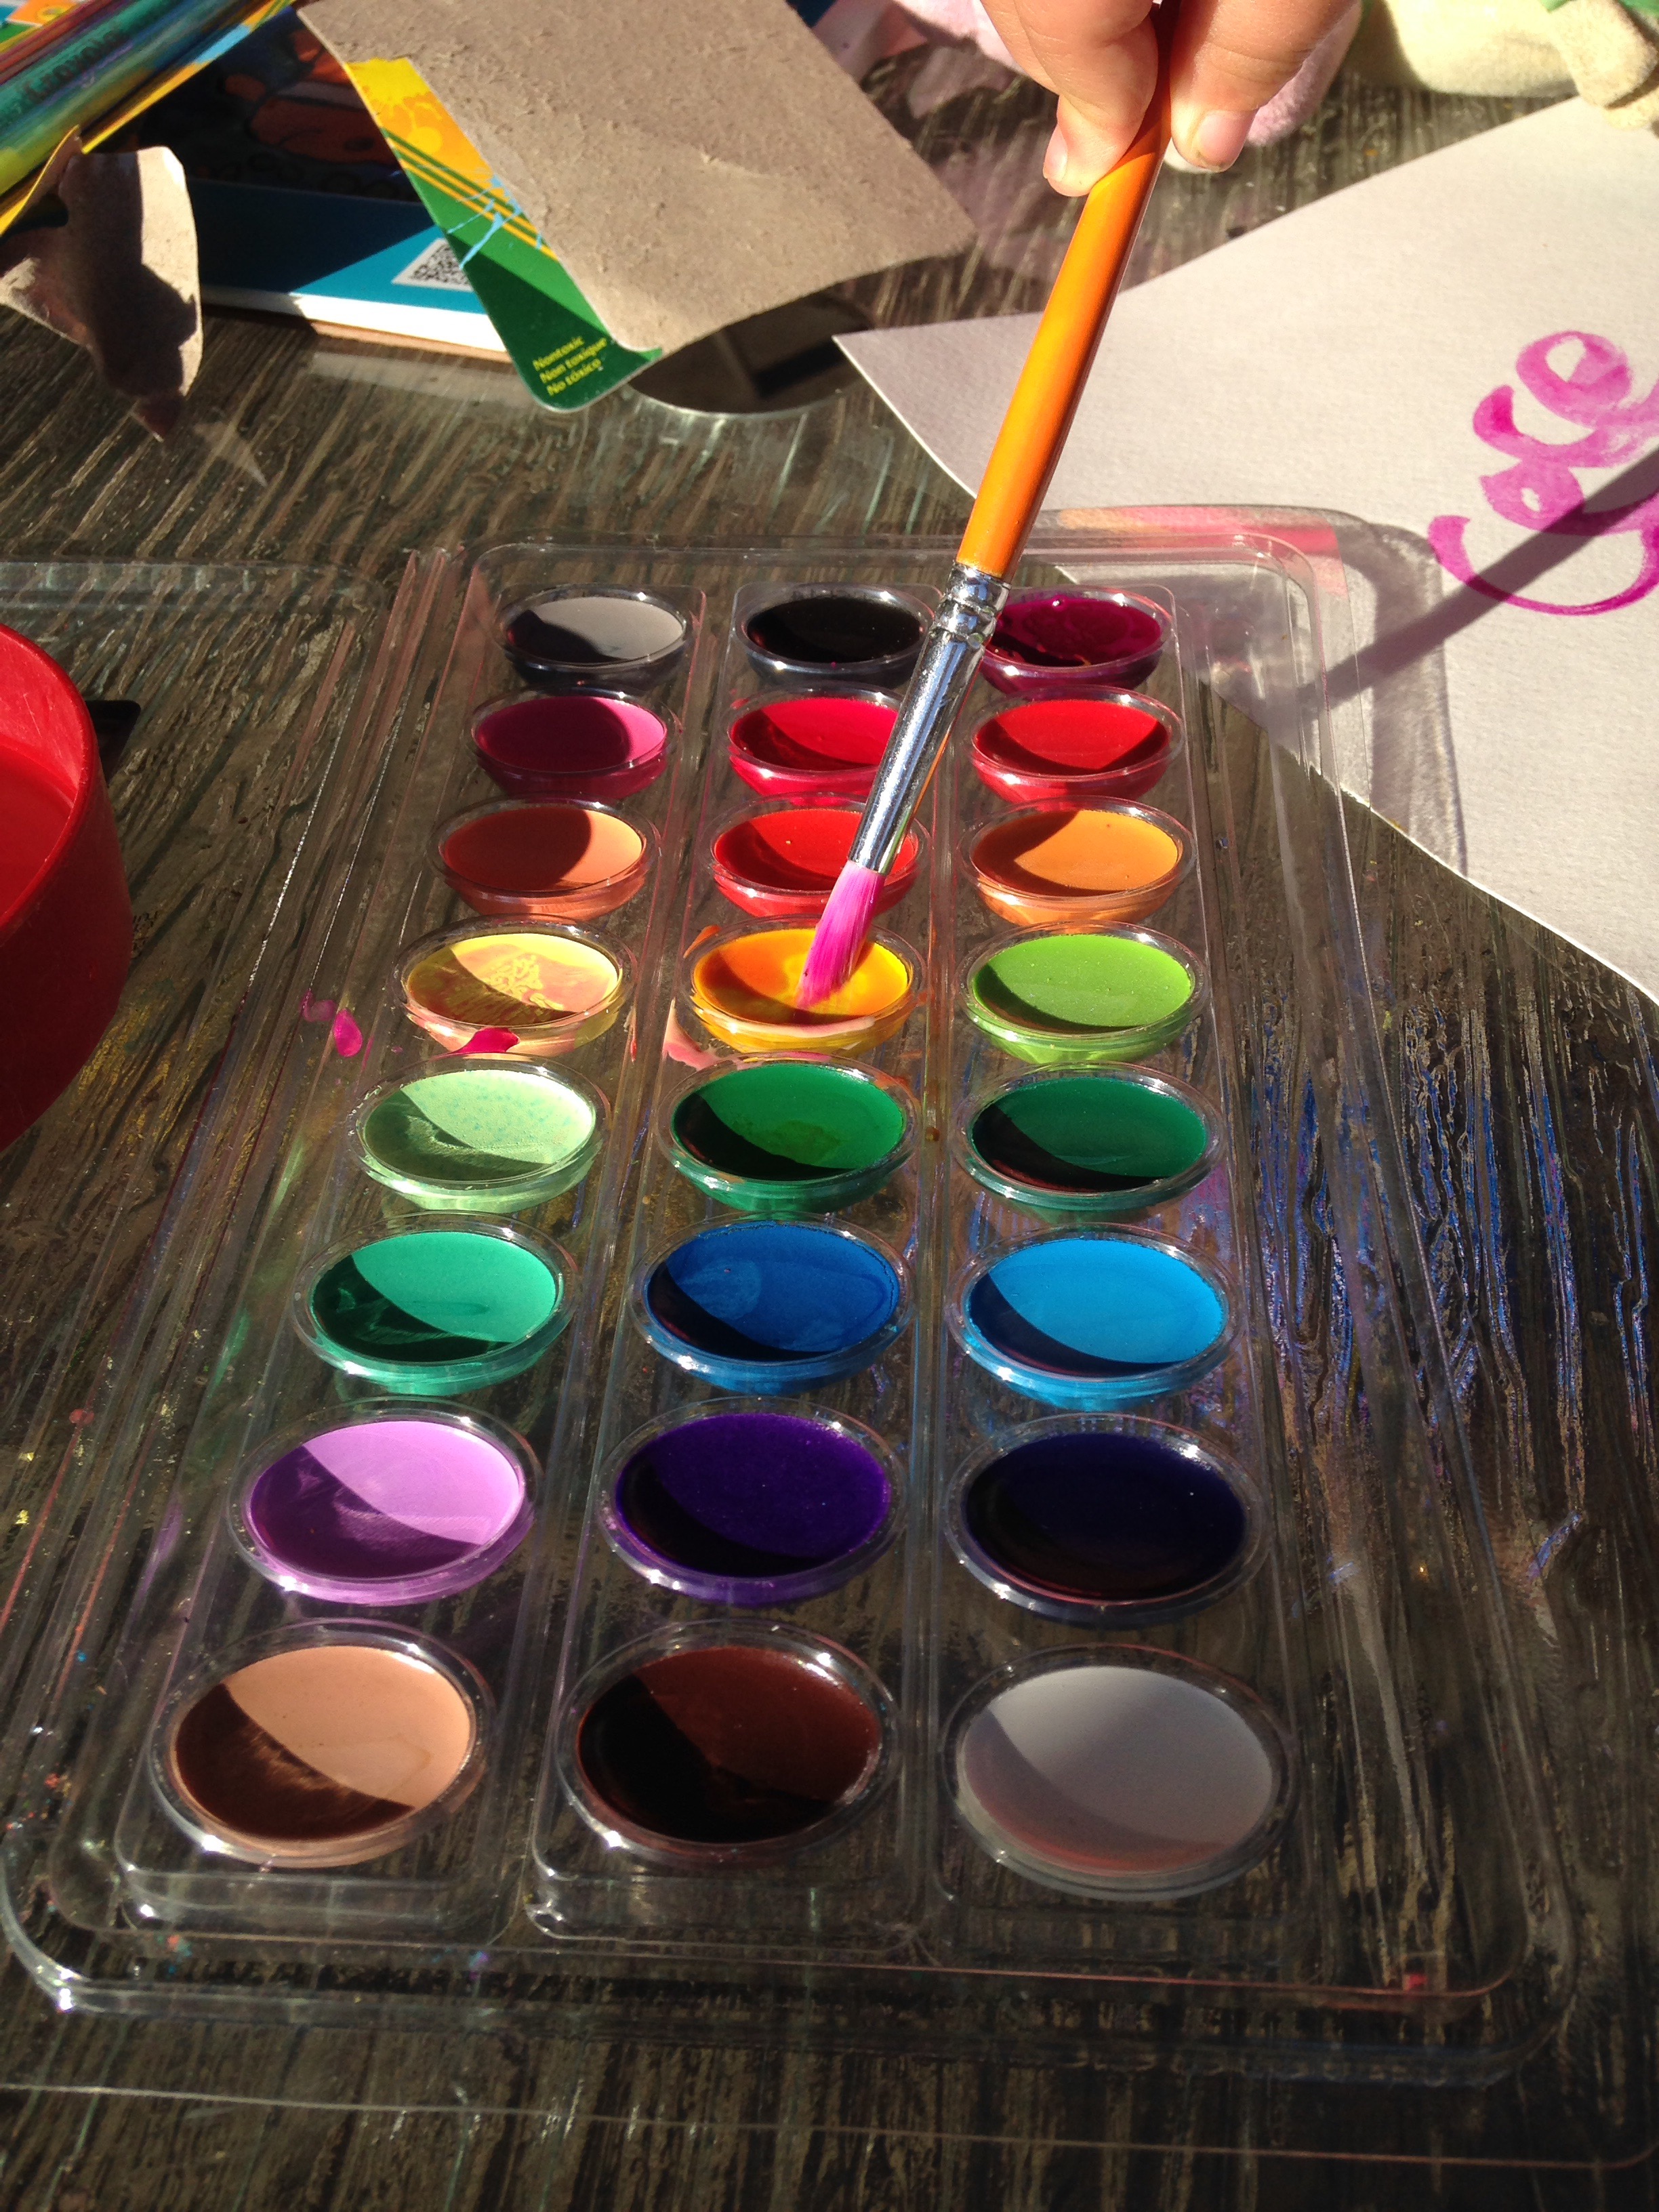
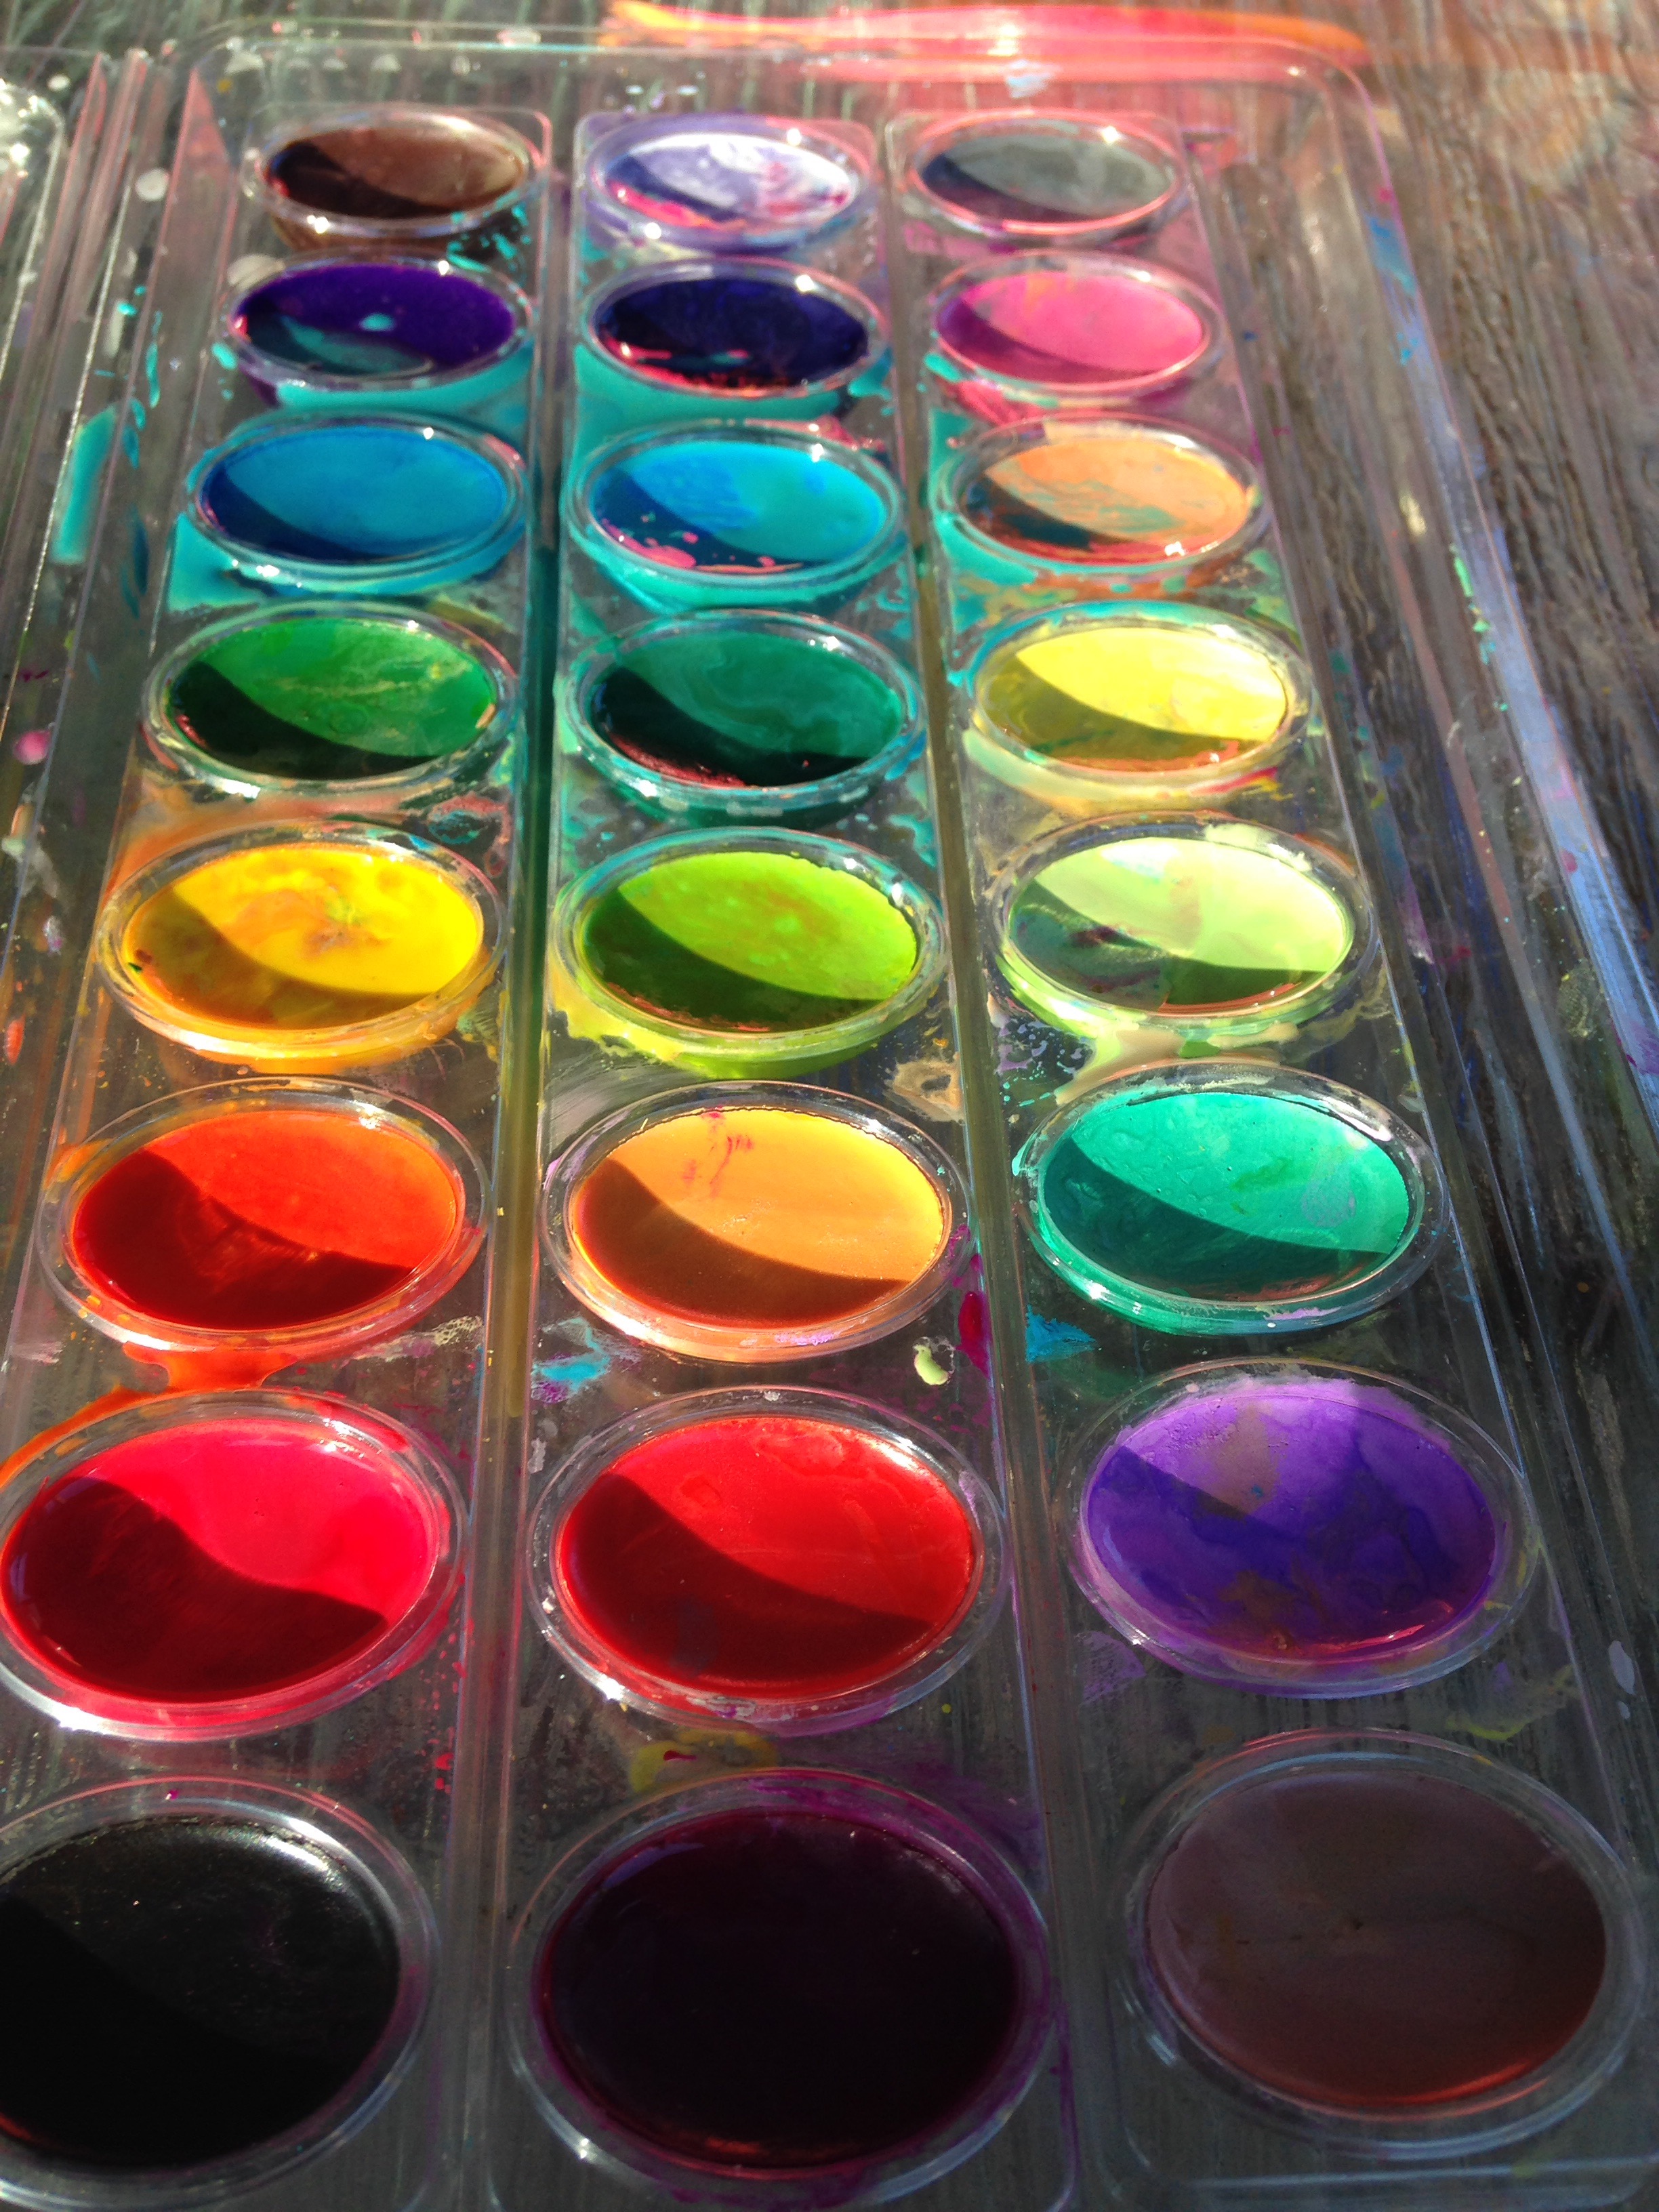
And who doesn’t love watercolors?  The problem with watercolors is that the colors can mix and you only get very small amounts of each color.  However, this can all change with homemade watercolor paints!

photo by factorydirectcraft
tbsp. baking soda
2 tsp. white vinegar
1/2 tsp. light corn syrup
2 tsp. corn starch
food colors*
containers for storing paints*
something to stir with (toothpicks)

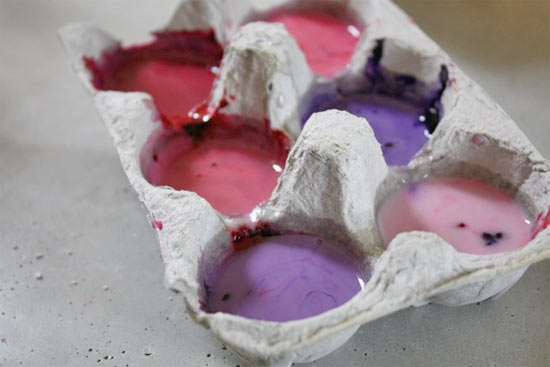
photo from happyhooligans

You can use a muffin pain, disposable cups, egg cartons, or any other container that you aren’t going to use for a couple days.

Instructions:

1)Mix baking soda & vinegar in a cup with a spout.  I used my Pyrex measuring glass.  Let the kids watch as it fizzes

2) Add in light corn syrup and stir.

3) Stir in the corn starch until well combined.  (If it gets too thick, add a little more vinegar.)

4)Pour into your paint containers- not too full, you need room for the food colors.

5)Add the food colors and stir until you reached your desired color!

6) Now if you want them to harden into hockey pucks you have to let them sit almost two days!  If you plan on using it right away that’s fine too!


Sponges and potatoes!! 


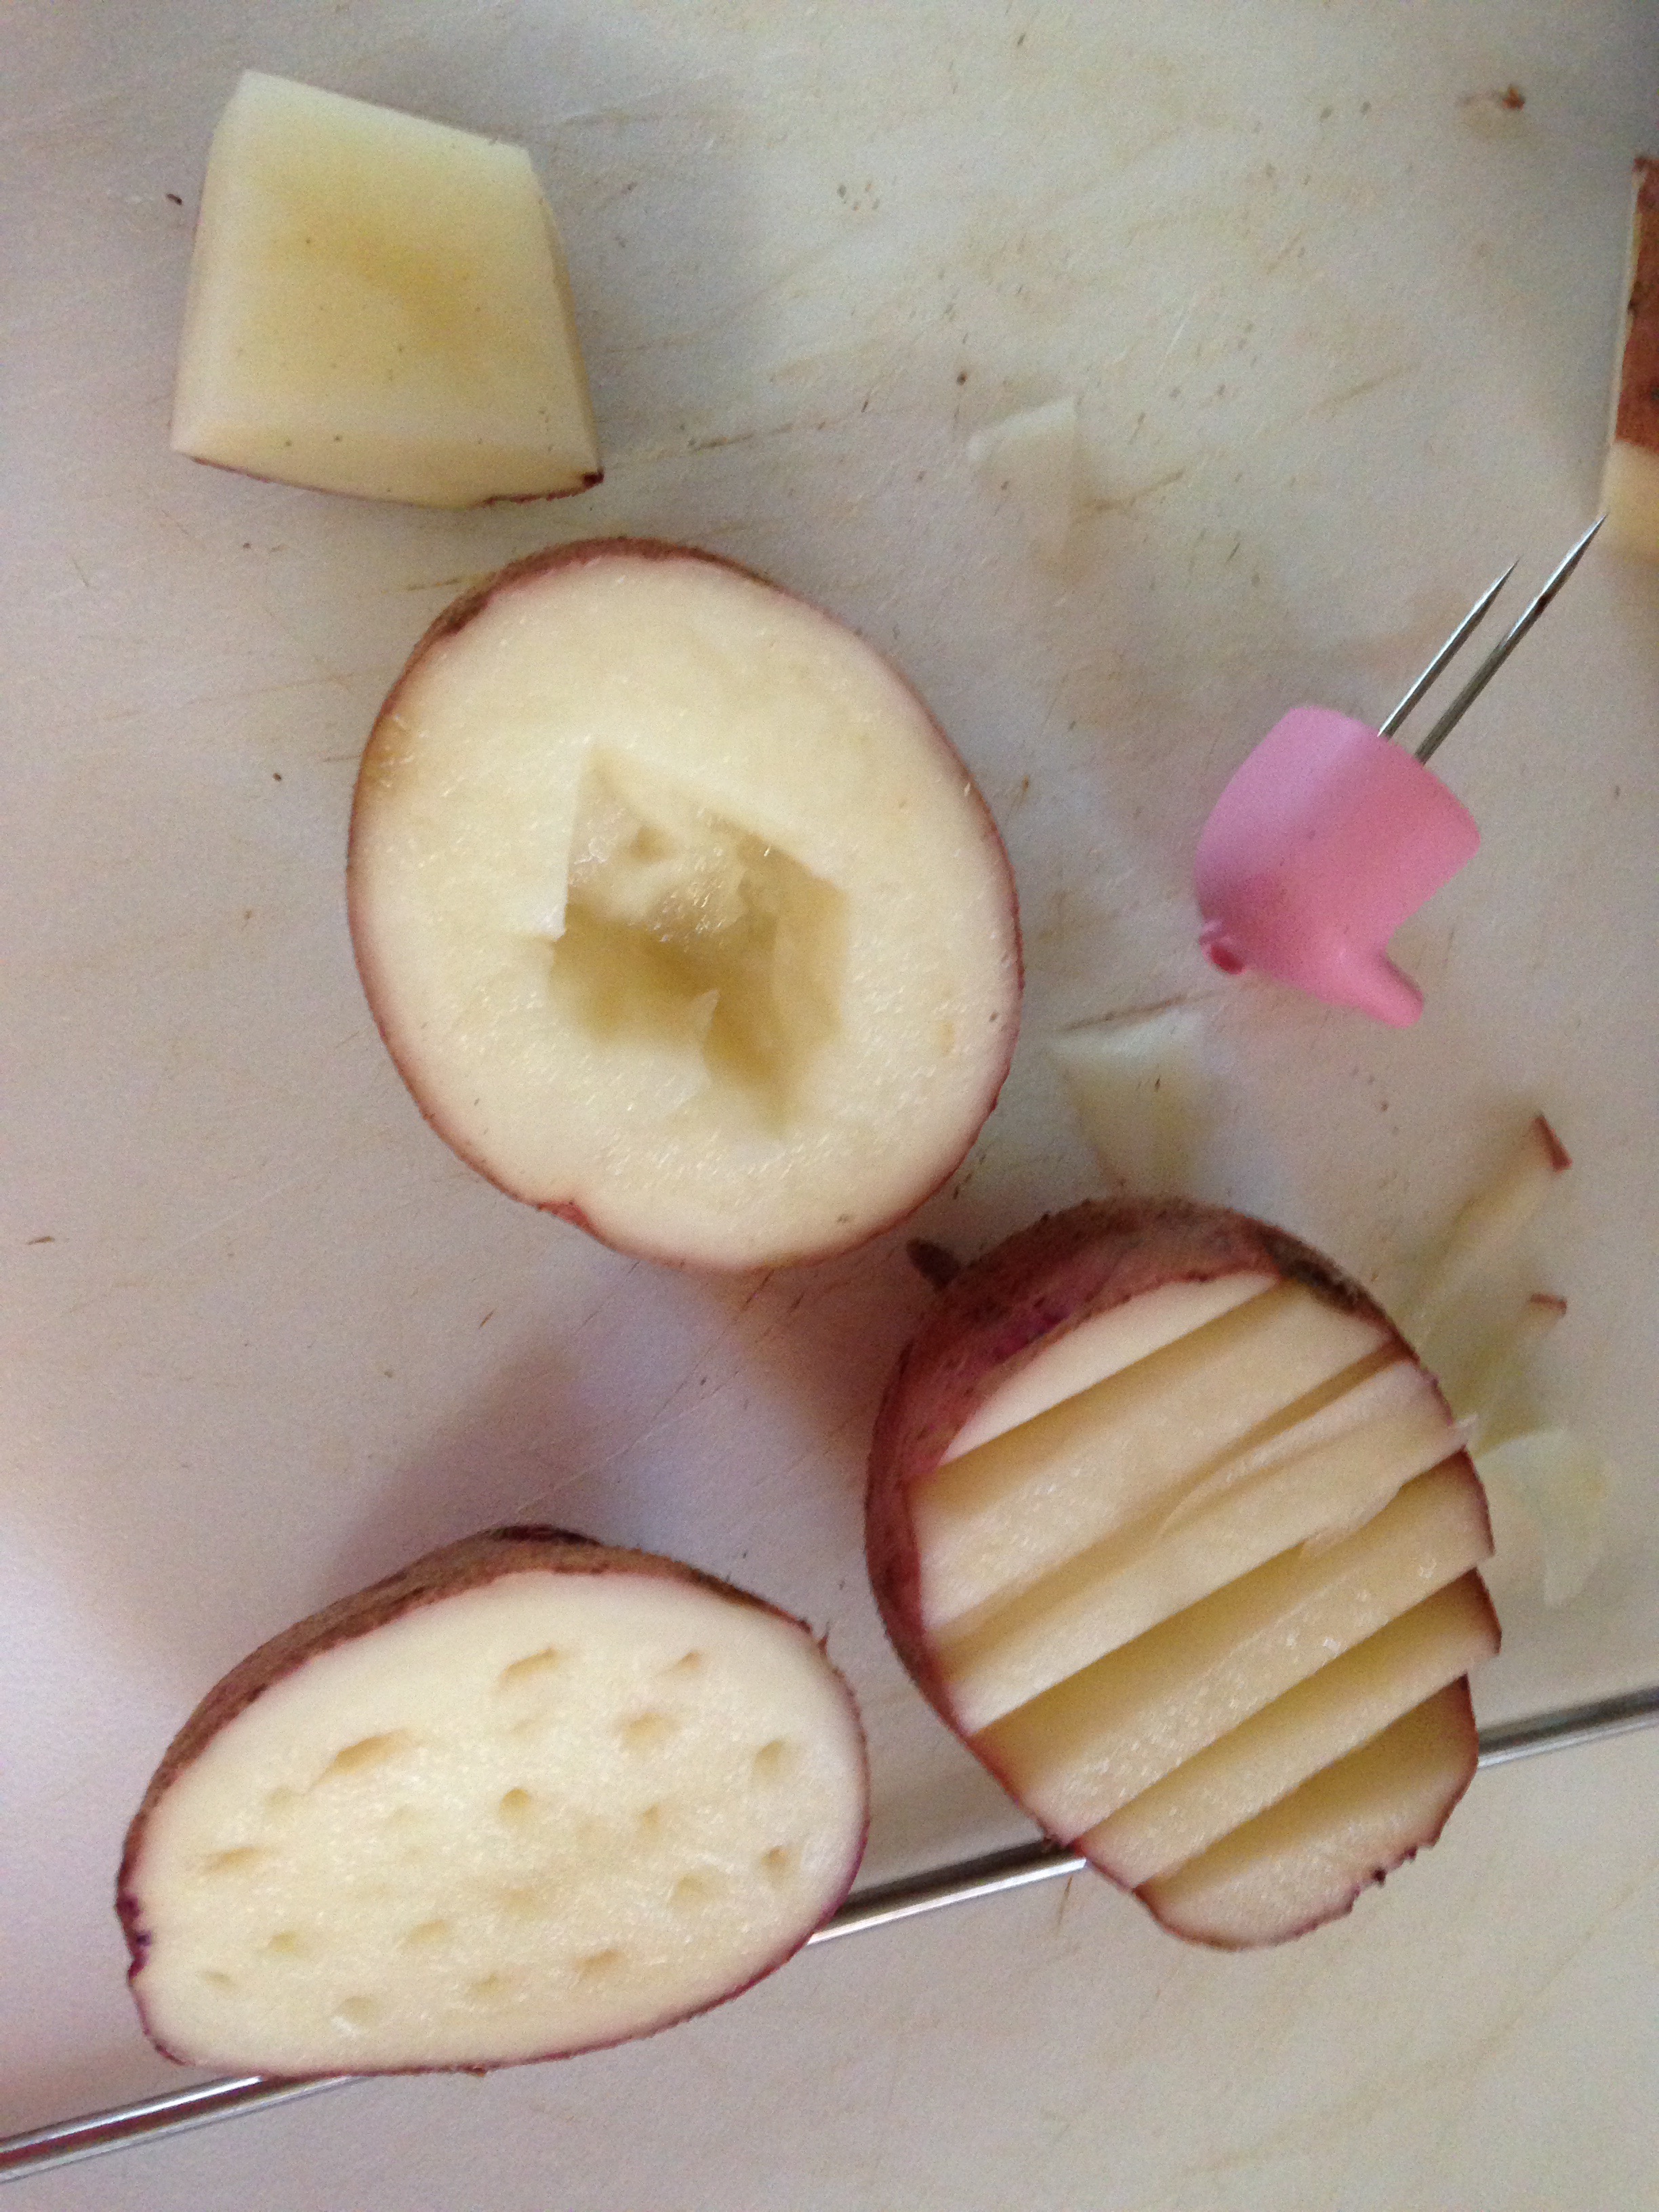
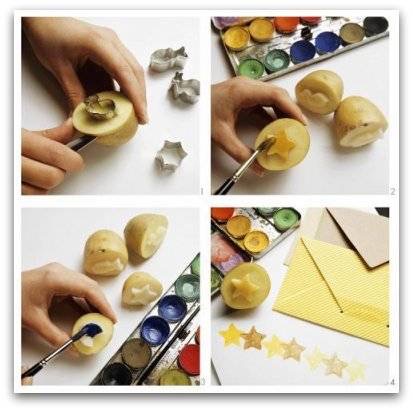
You can cut out designs in potatoes or out of sponges and dip into paint and press just like a stamp! I remember doing this as a child! 


You can also use cookie cutters and paint the potato. This picture was taken from Fun stuff
Dollar store sponges are great to cut out designs for painting! 

Enjoy! 

FollowFacebookpinterestrssyoutube
ShareFacebookpinterest