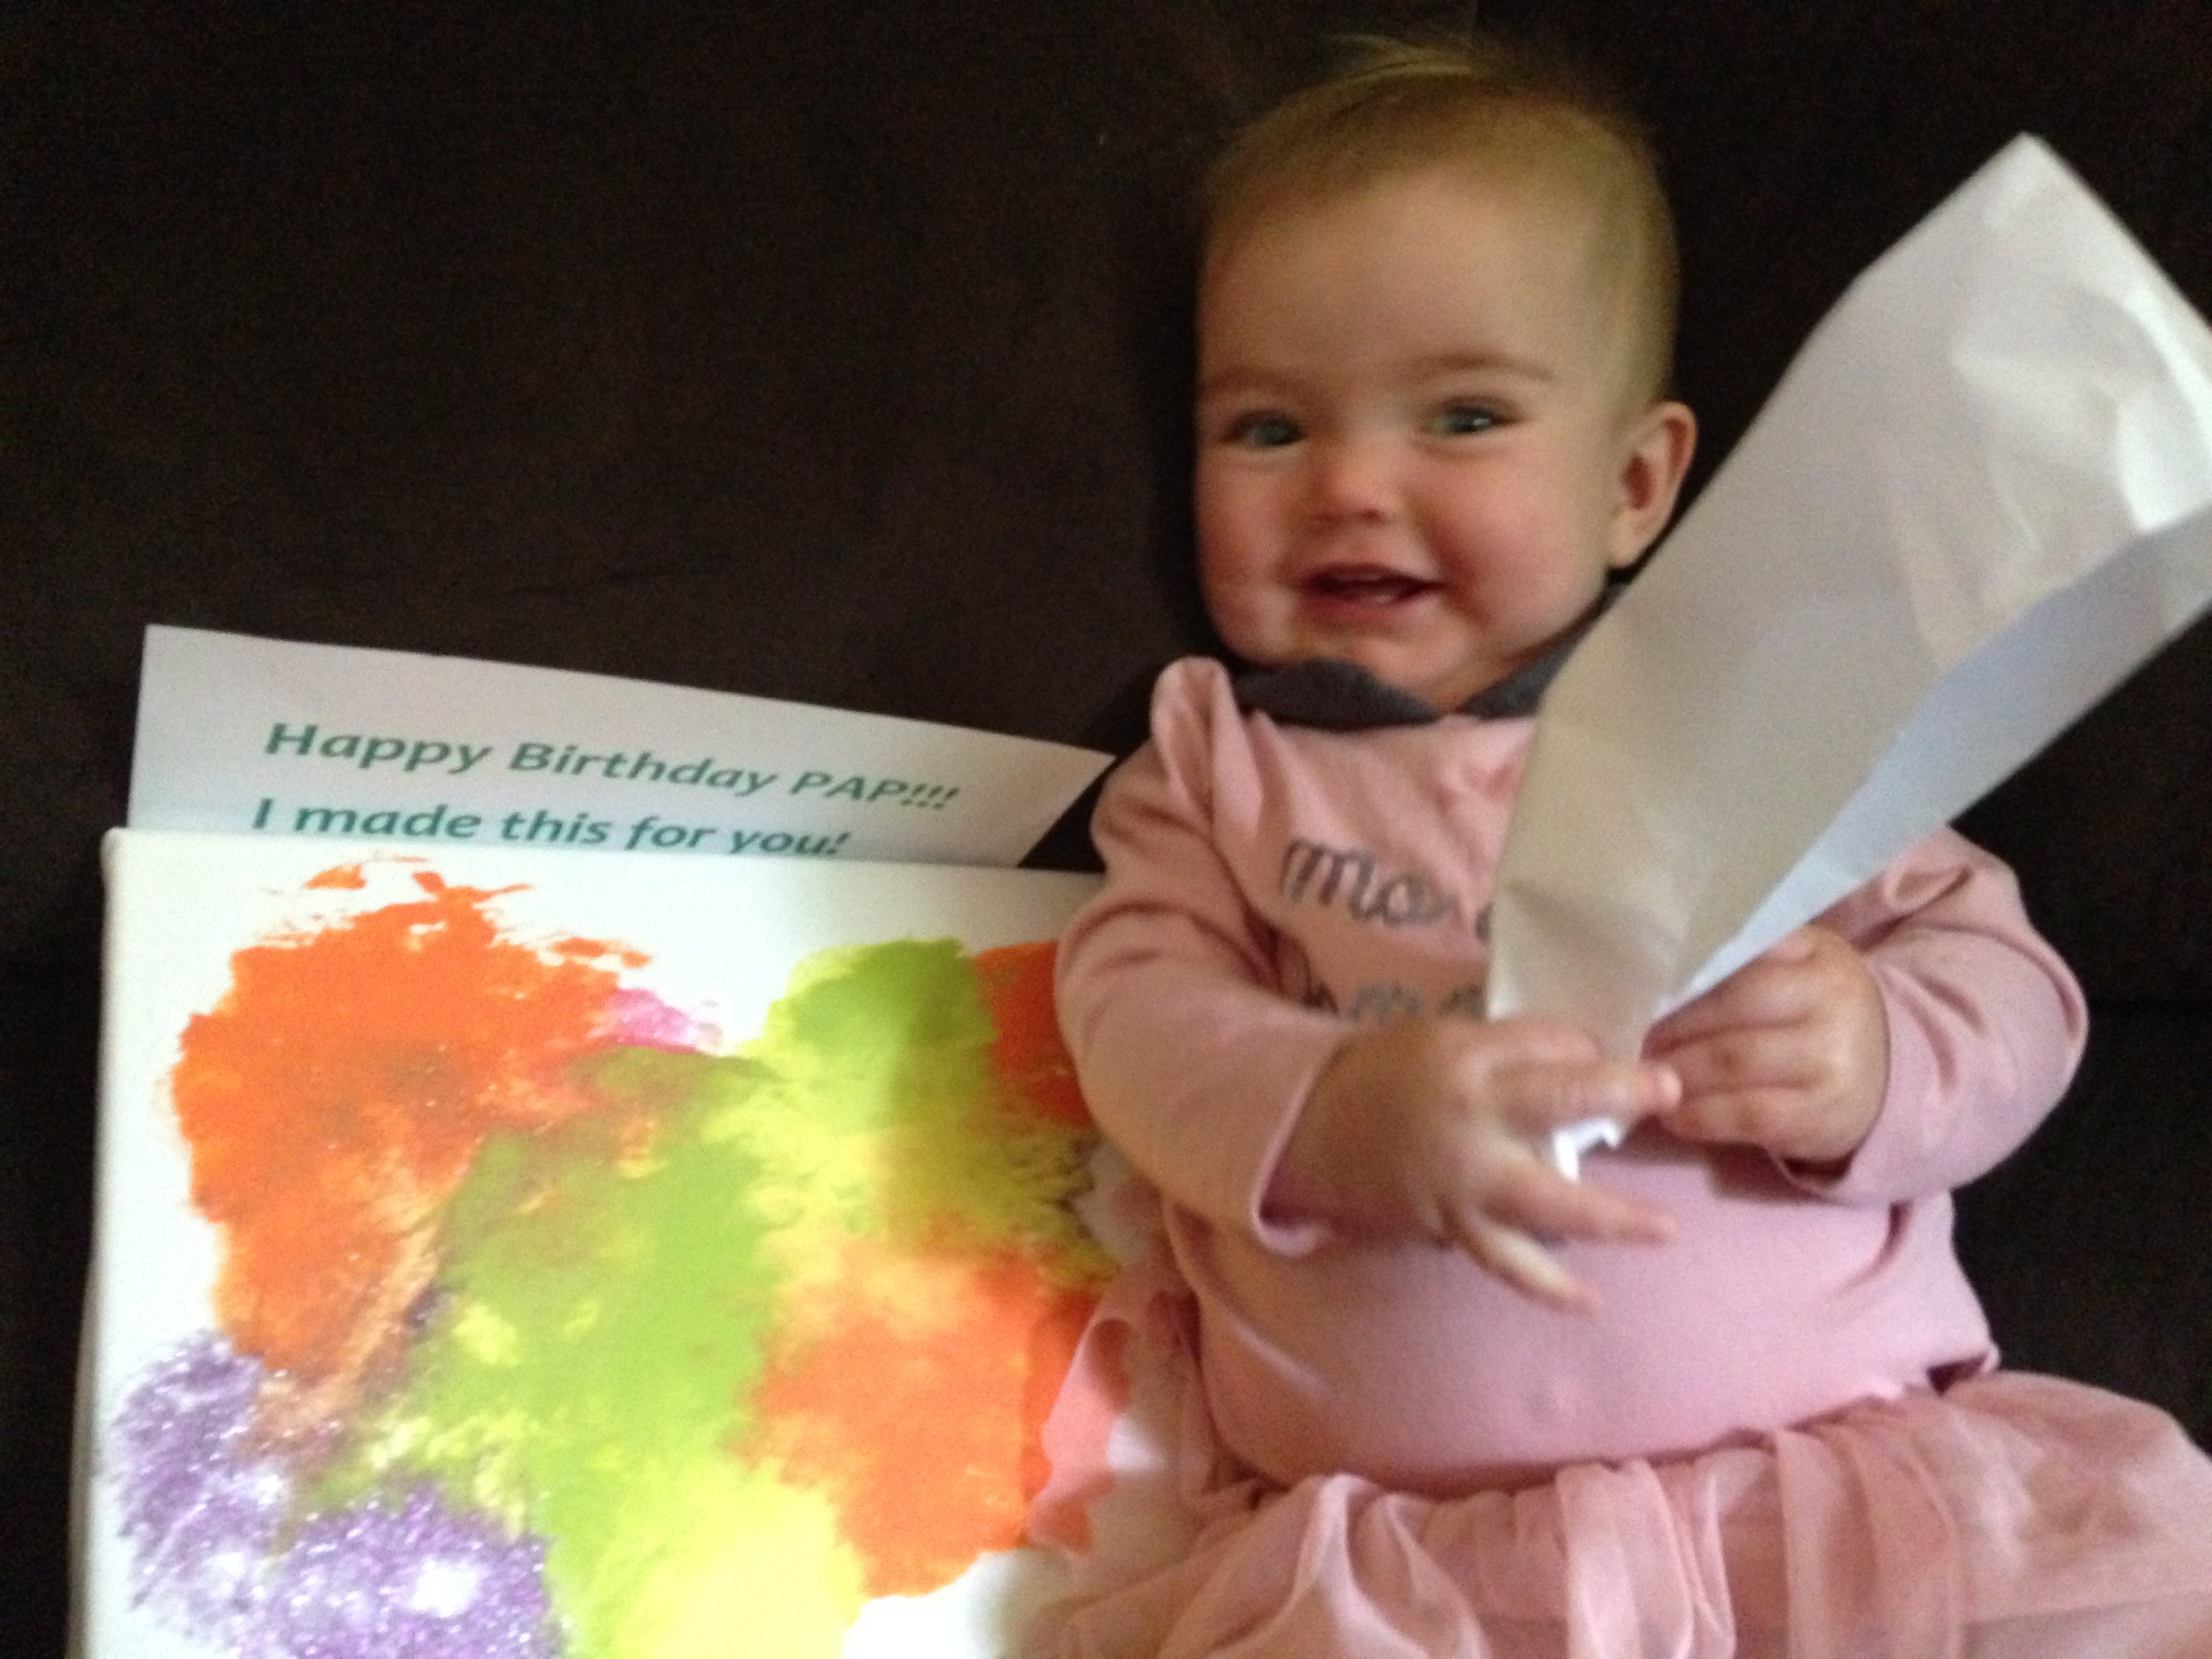
Every want your baby to create a work of art? Well, lets get realistic here, a work of art only a parent could love!
Here is an easy fun project for you and your little one! I started this at 6 months of age and continue to have her enjoy smashing paint colors together frequently.
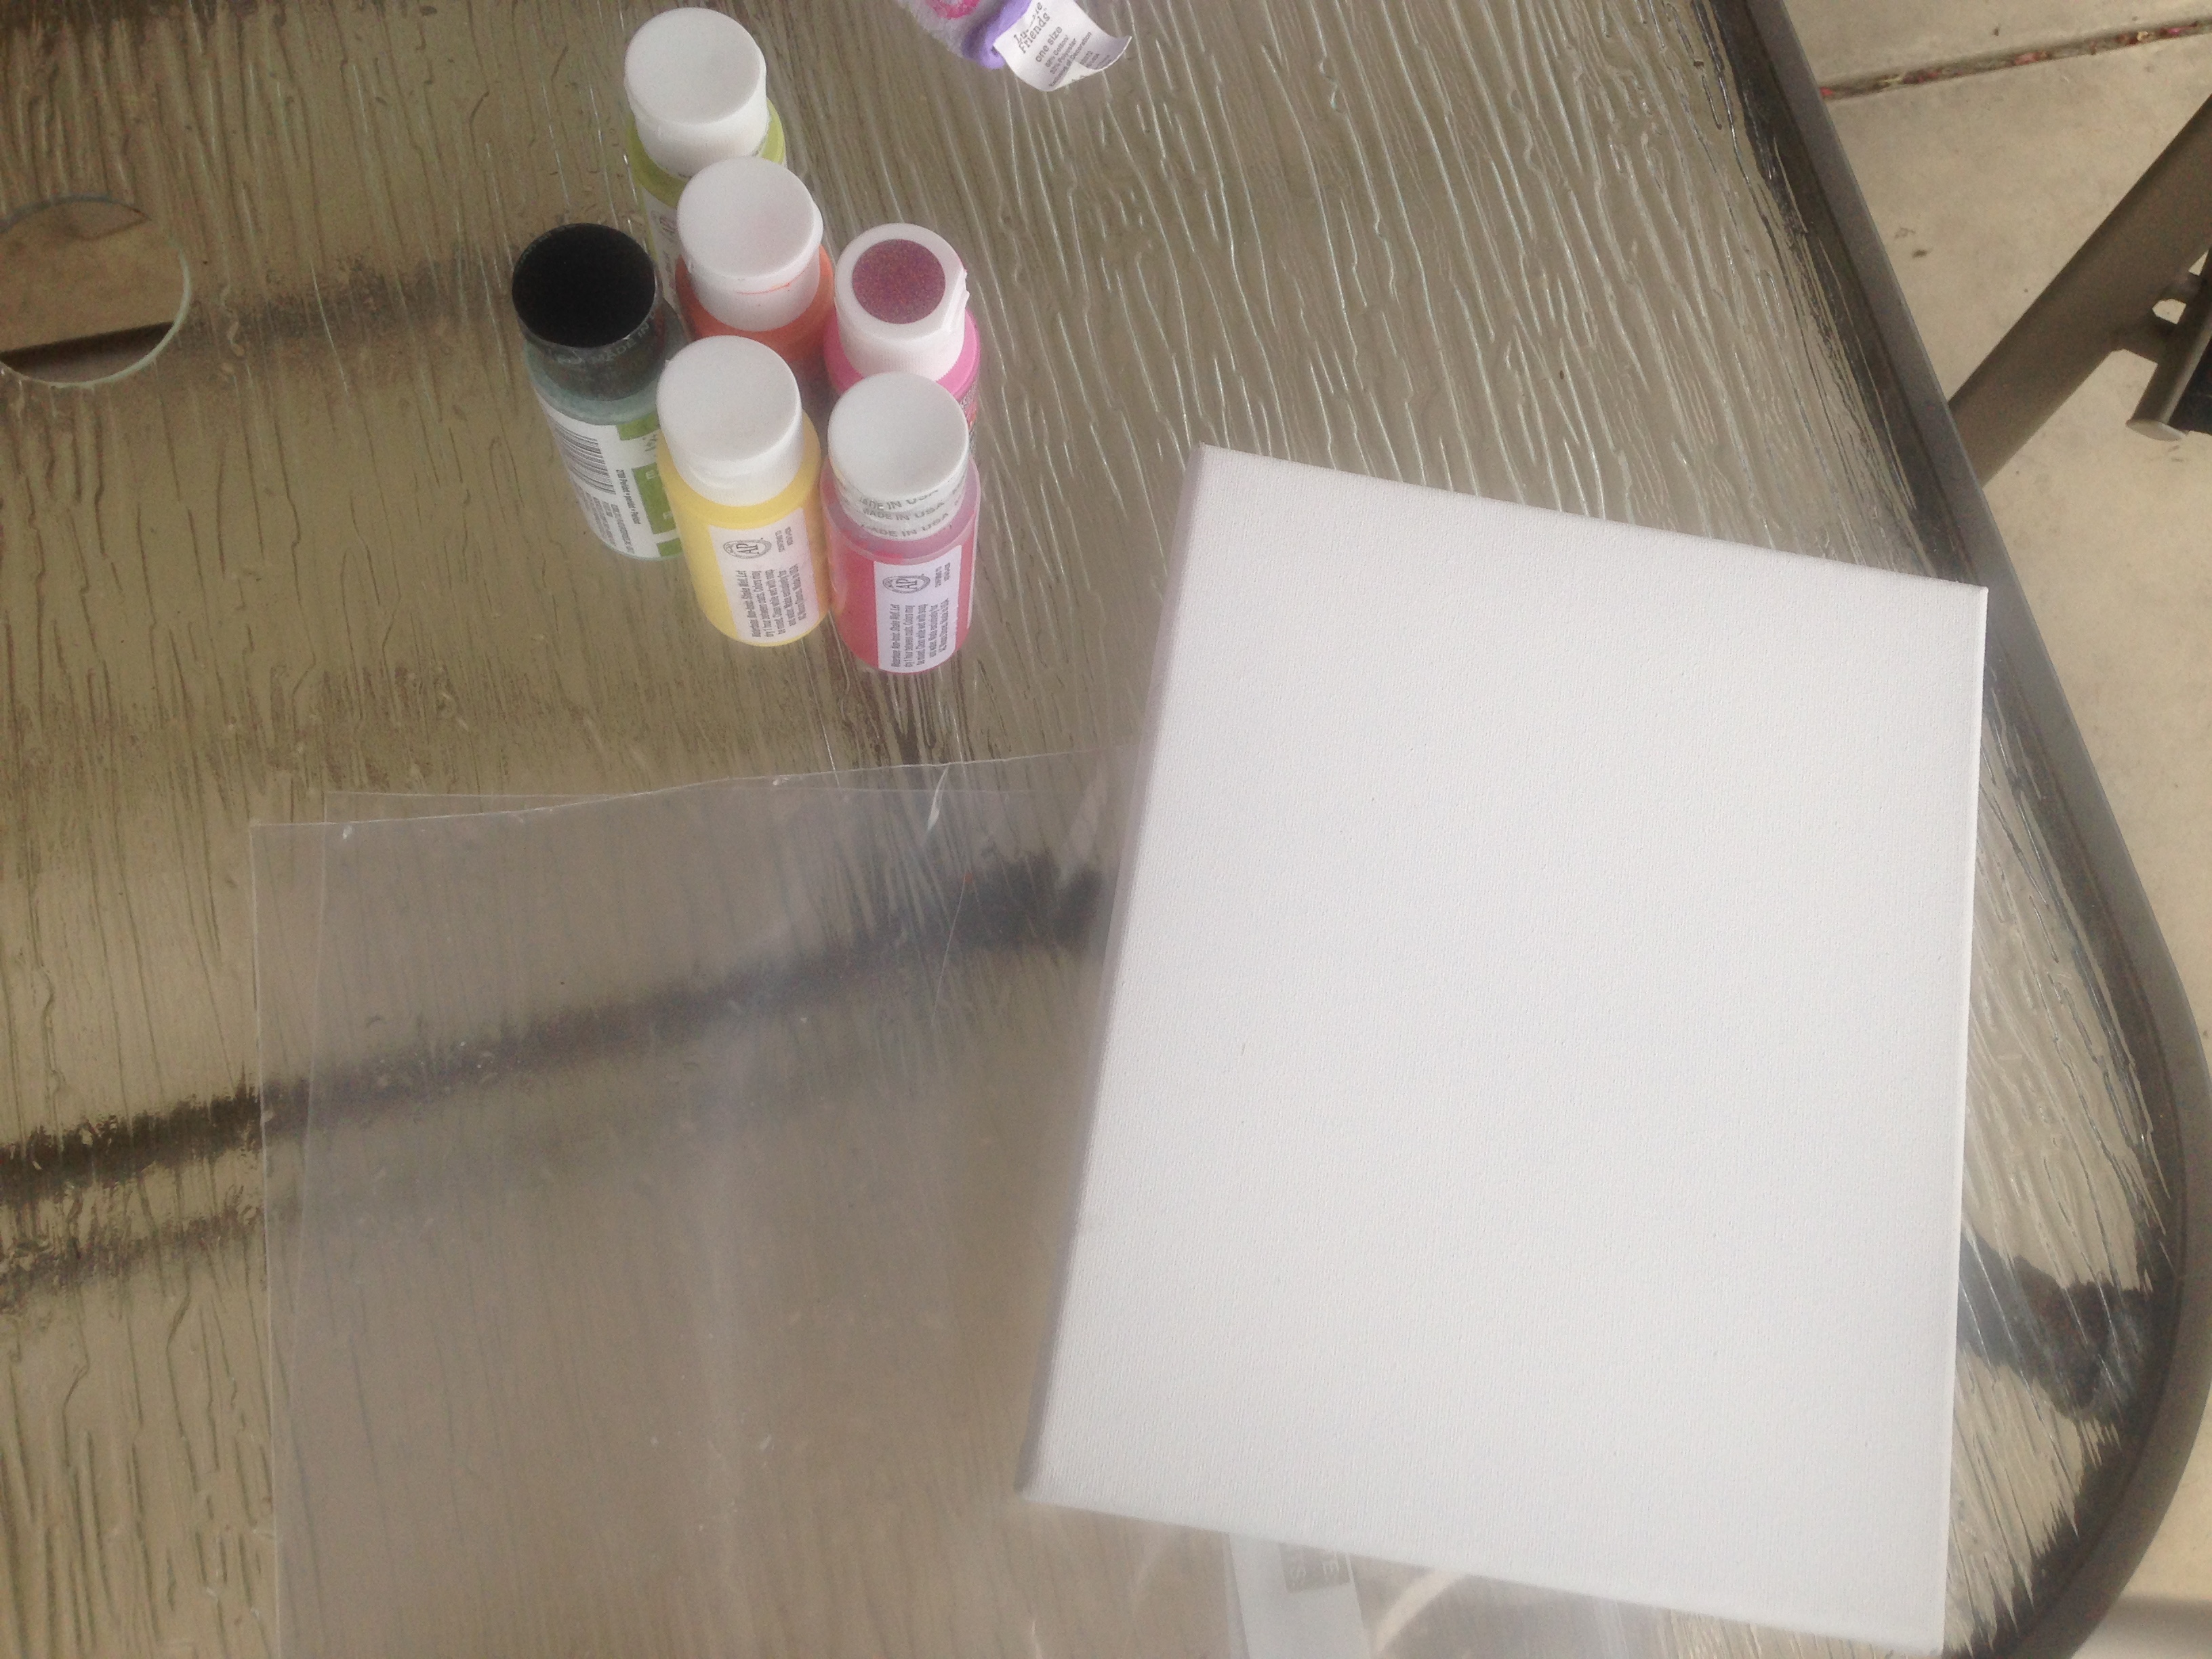
What you need:
Pack of small canvas or poster boards (I bought a pack of 10 small canvases at Acmore for $12- what a steal!)
Paint
Zip lock bags that the canvas or board will fit in
Scissors
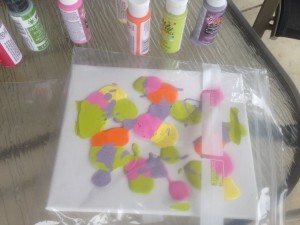
Place blobs of paint on the canvas- go wild! Place the canvas carefully into the ziplock bag. Zip it up!
Place it in front of your little one and watch them enjoy
Now, it’s more complicated to get it out without smearing it. So I use the scissor to cut the sides off and then carefully lift up. *Note, I first tried this with saranwrap, and I can tell you my little one just ripped it right away*
Wa-La you are done and have a painting! You can do this as often as you want or monthly to see a new creation!
Now if you want a messy way, but edible check out this great blog post about making edible paint.
You can also purchase edible finger paint on amazon and some other stores! ENJOY!
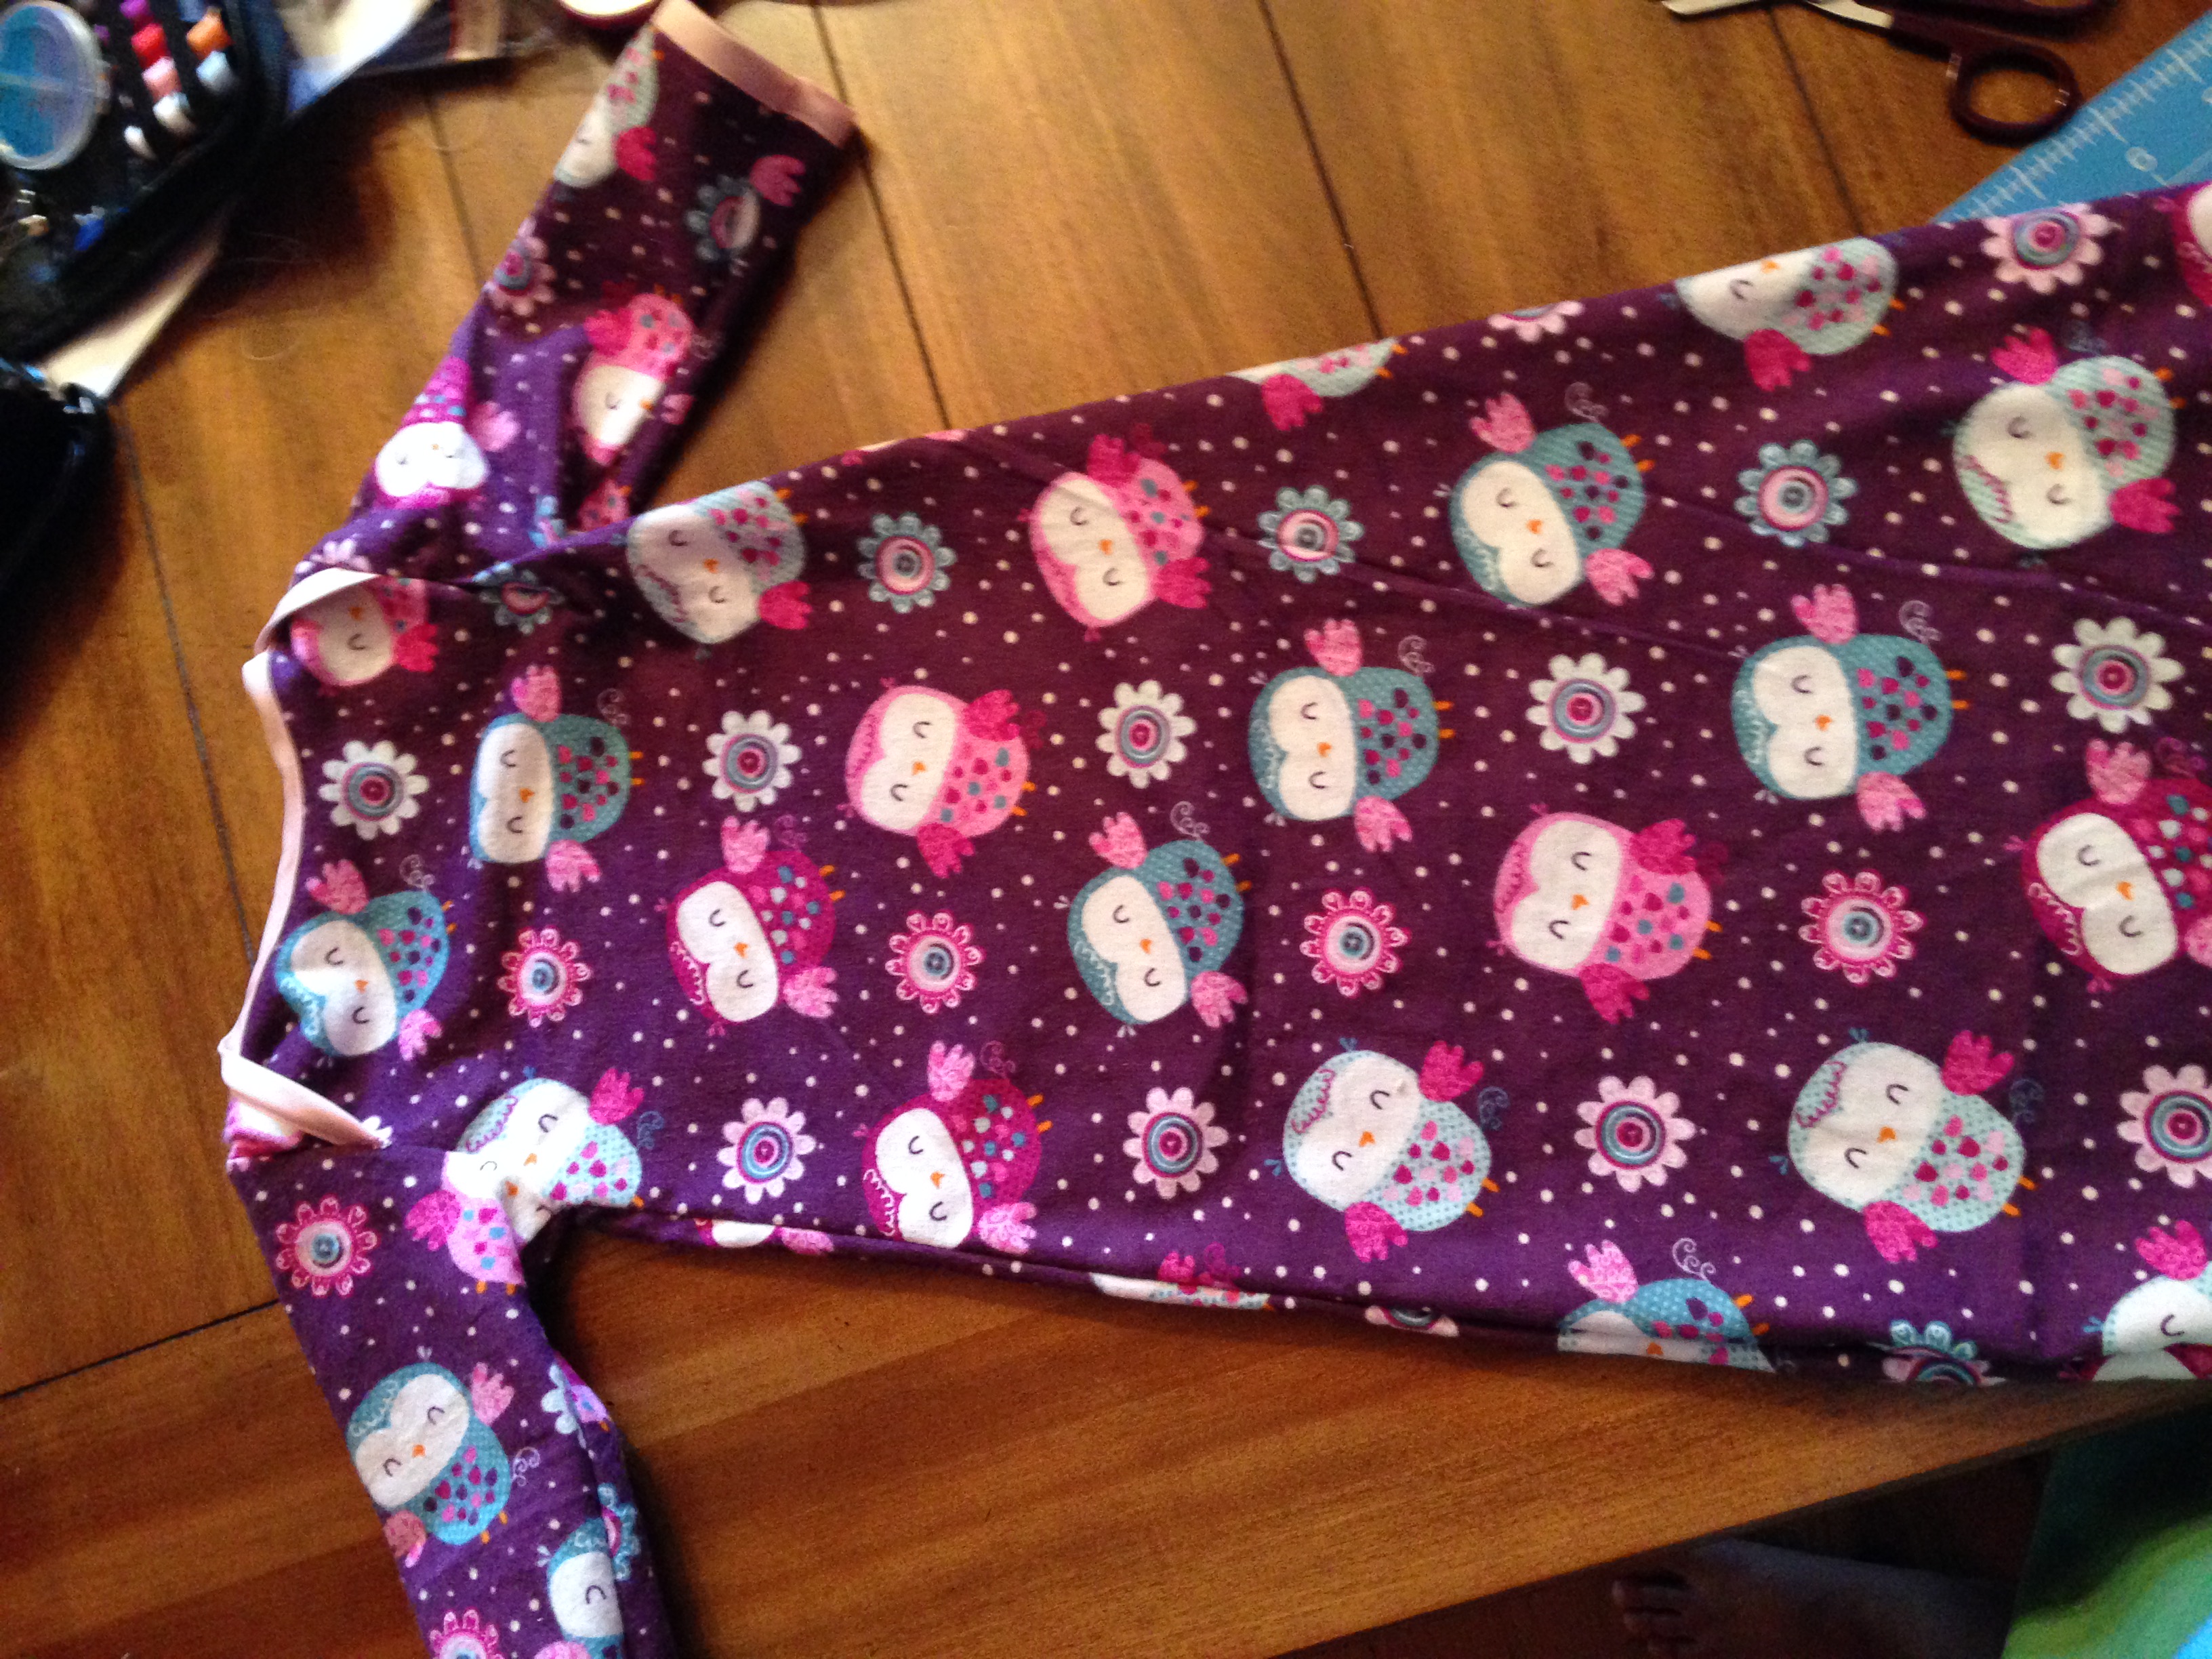
Ever love that oh so cute baby sleepers with the elastic on the bottom? I sure do, in fact I miss them now that my little one is getting older! However, I have many showers to go to and it is a great gift! The slip on sleeper with the elastic on the bottom is great for babies because you can easily change the babies diaper without fussing with all the buttons, snaps, or zippers. It also keeps the baby warm and comfortable; not to mention how cute he or she will look!
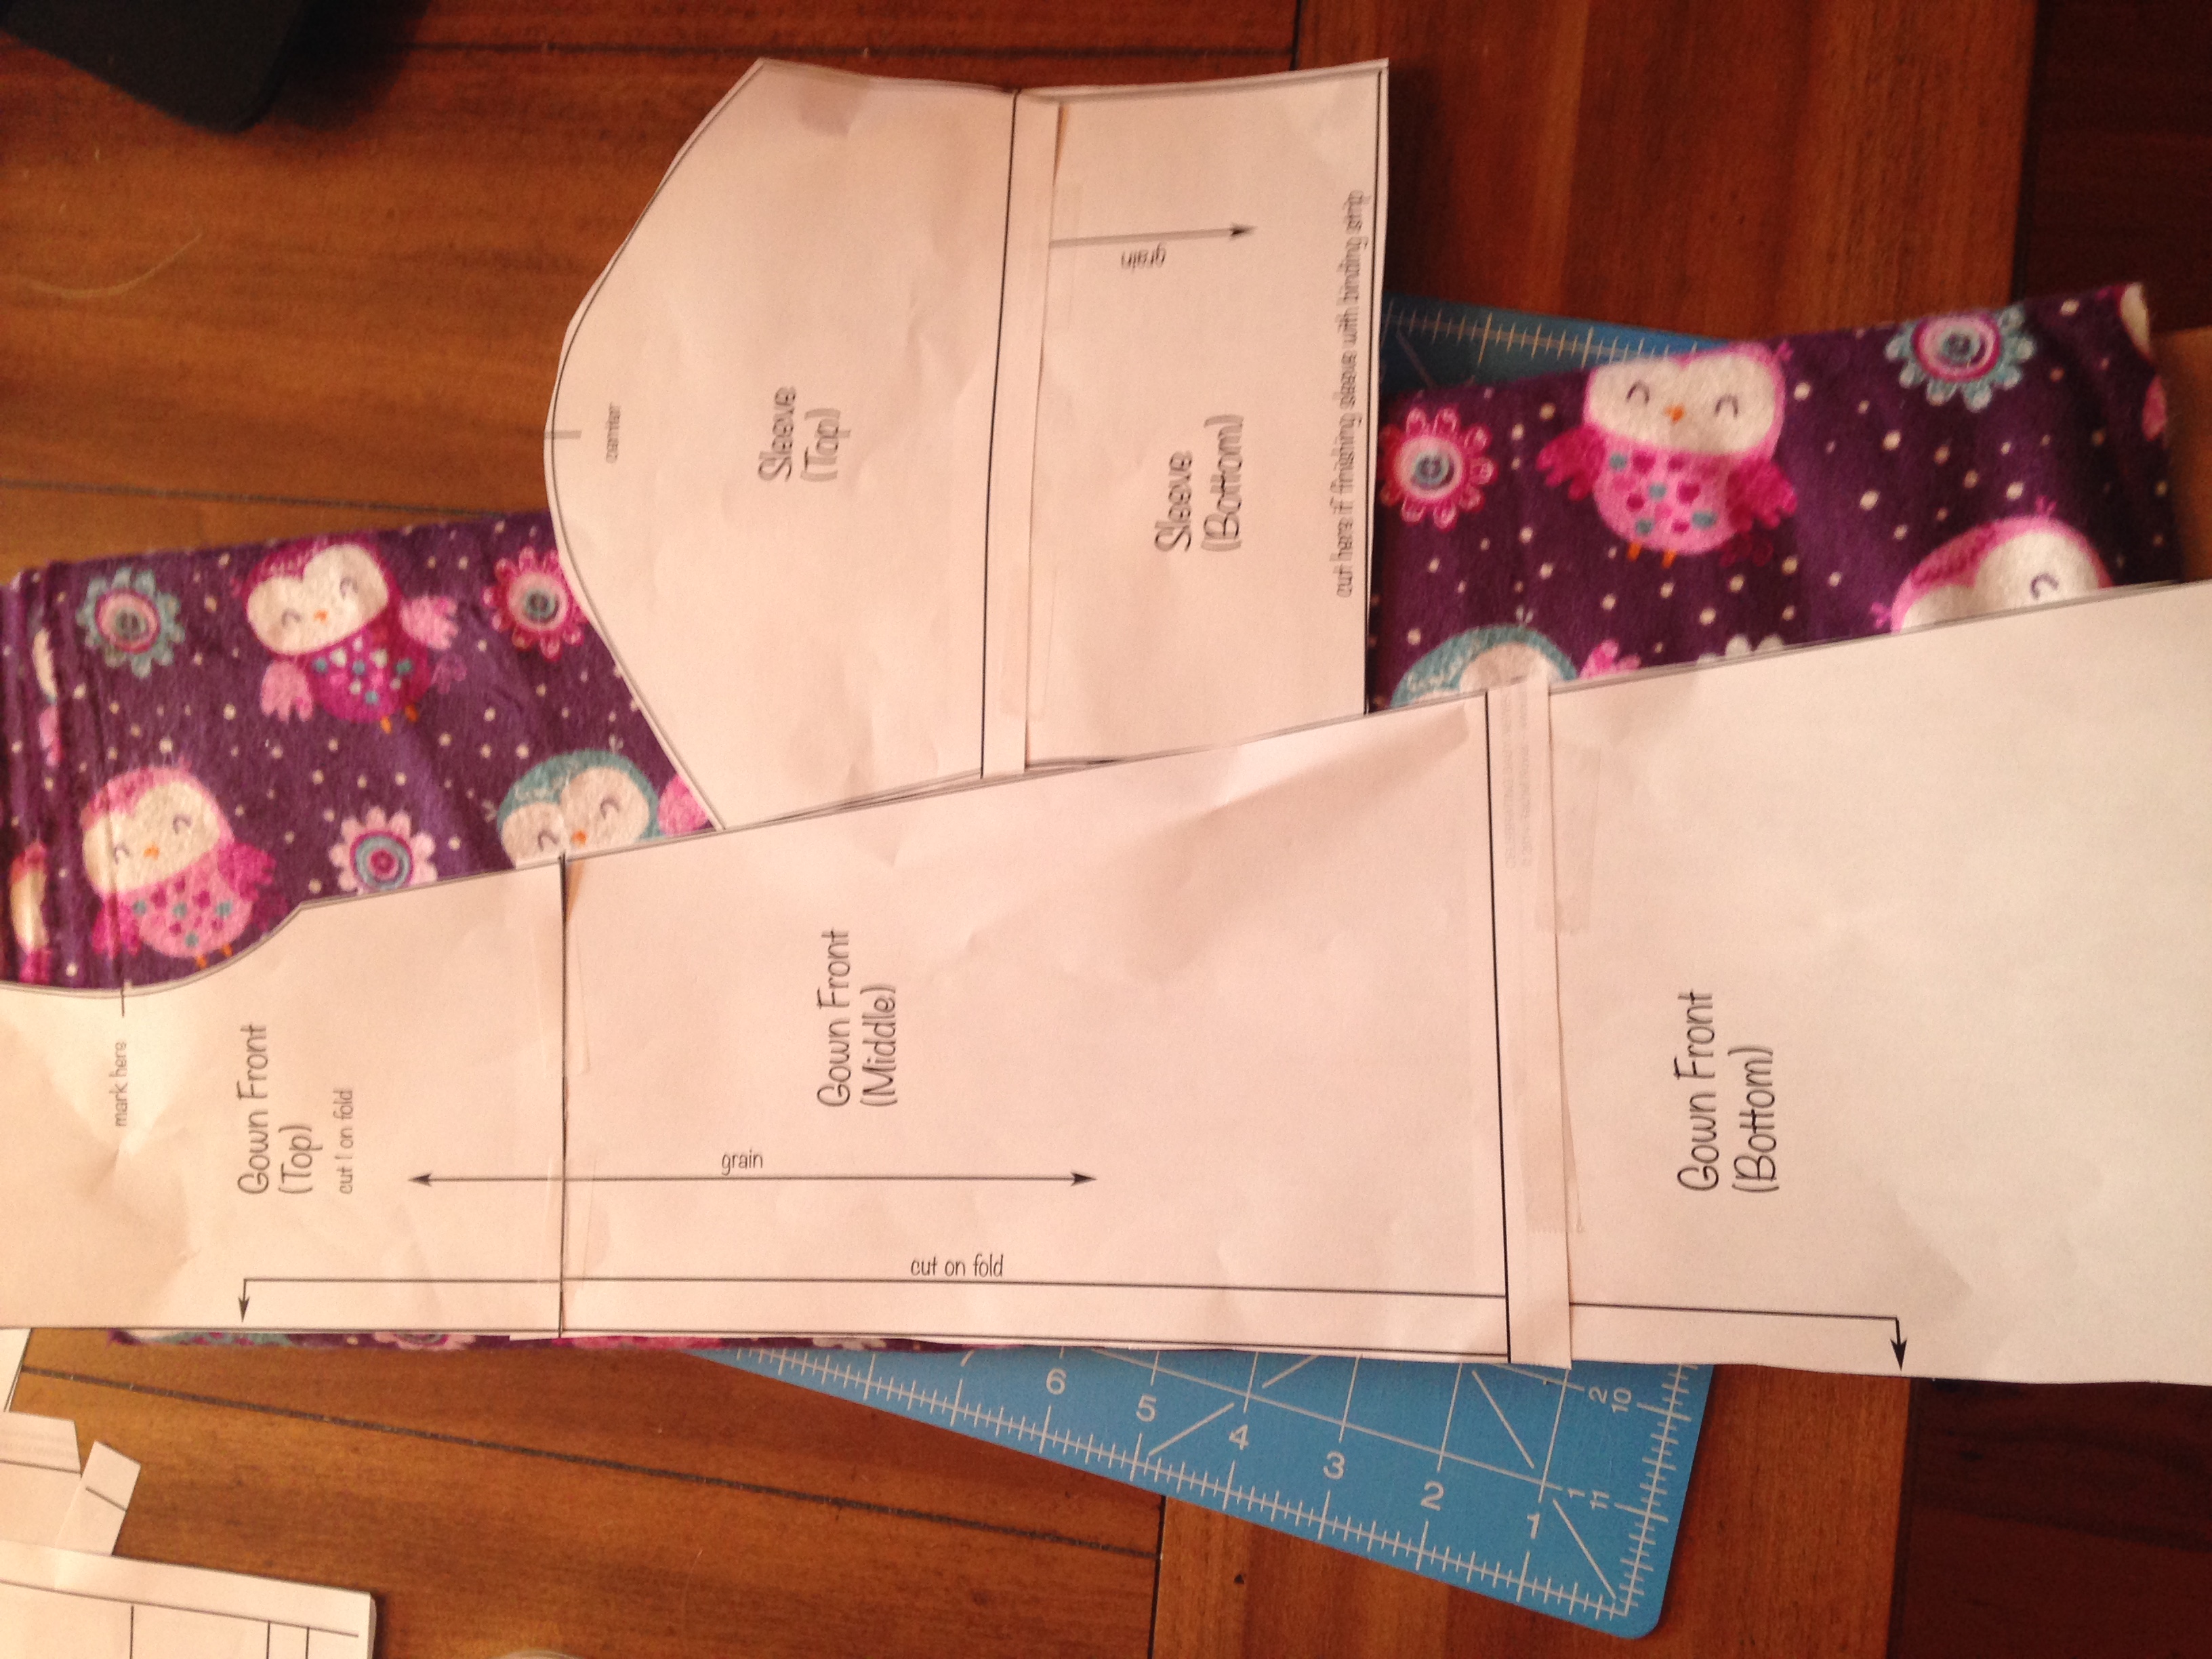
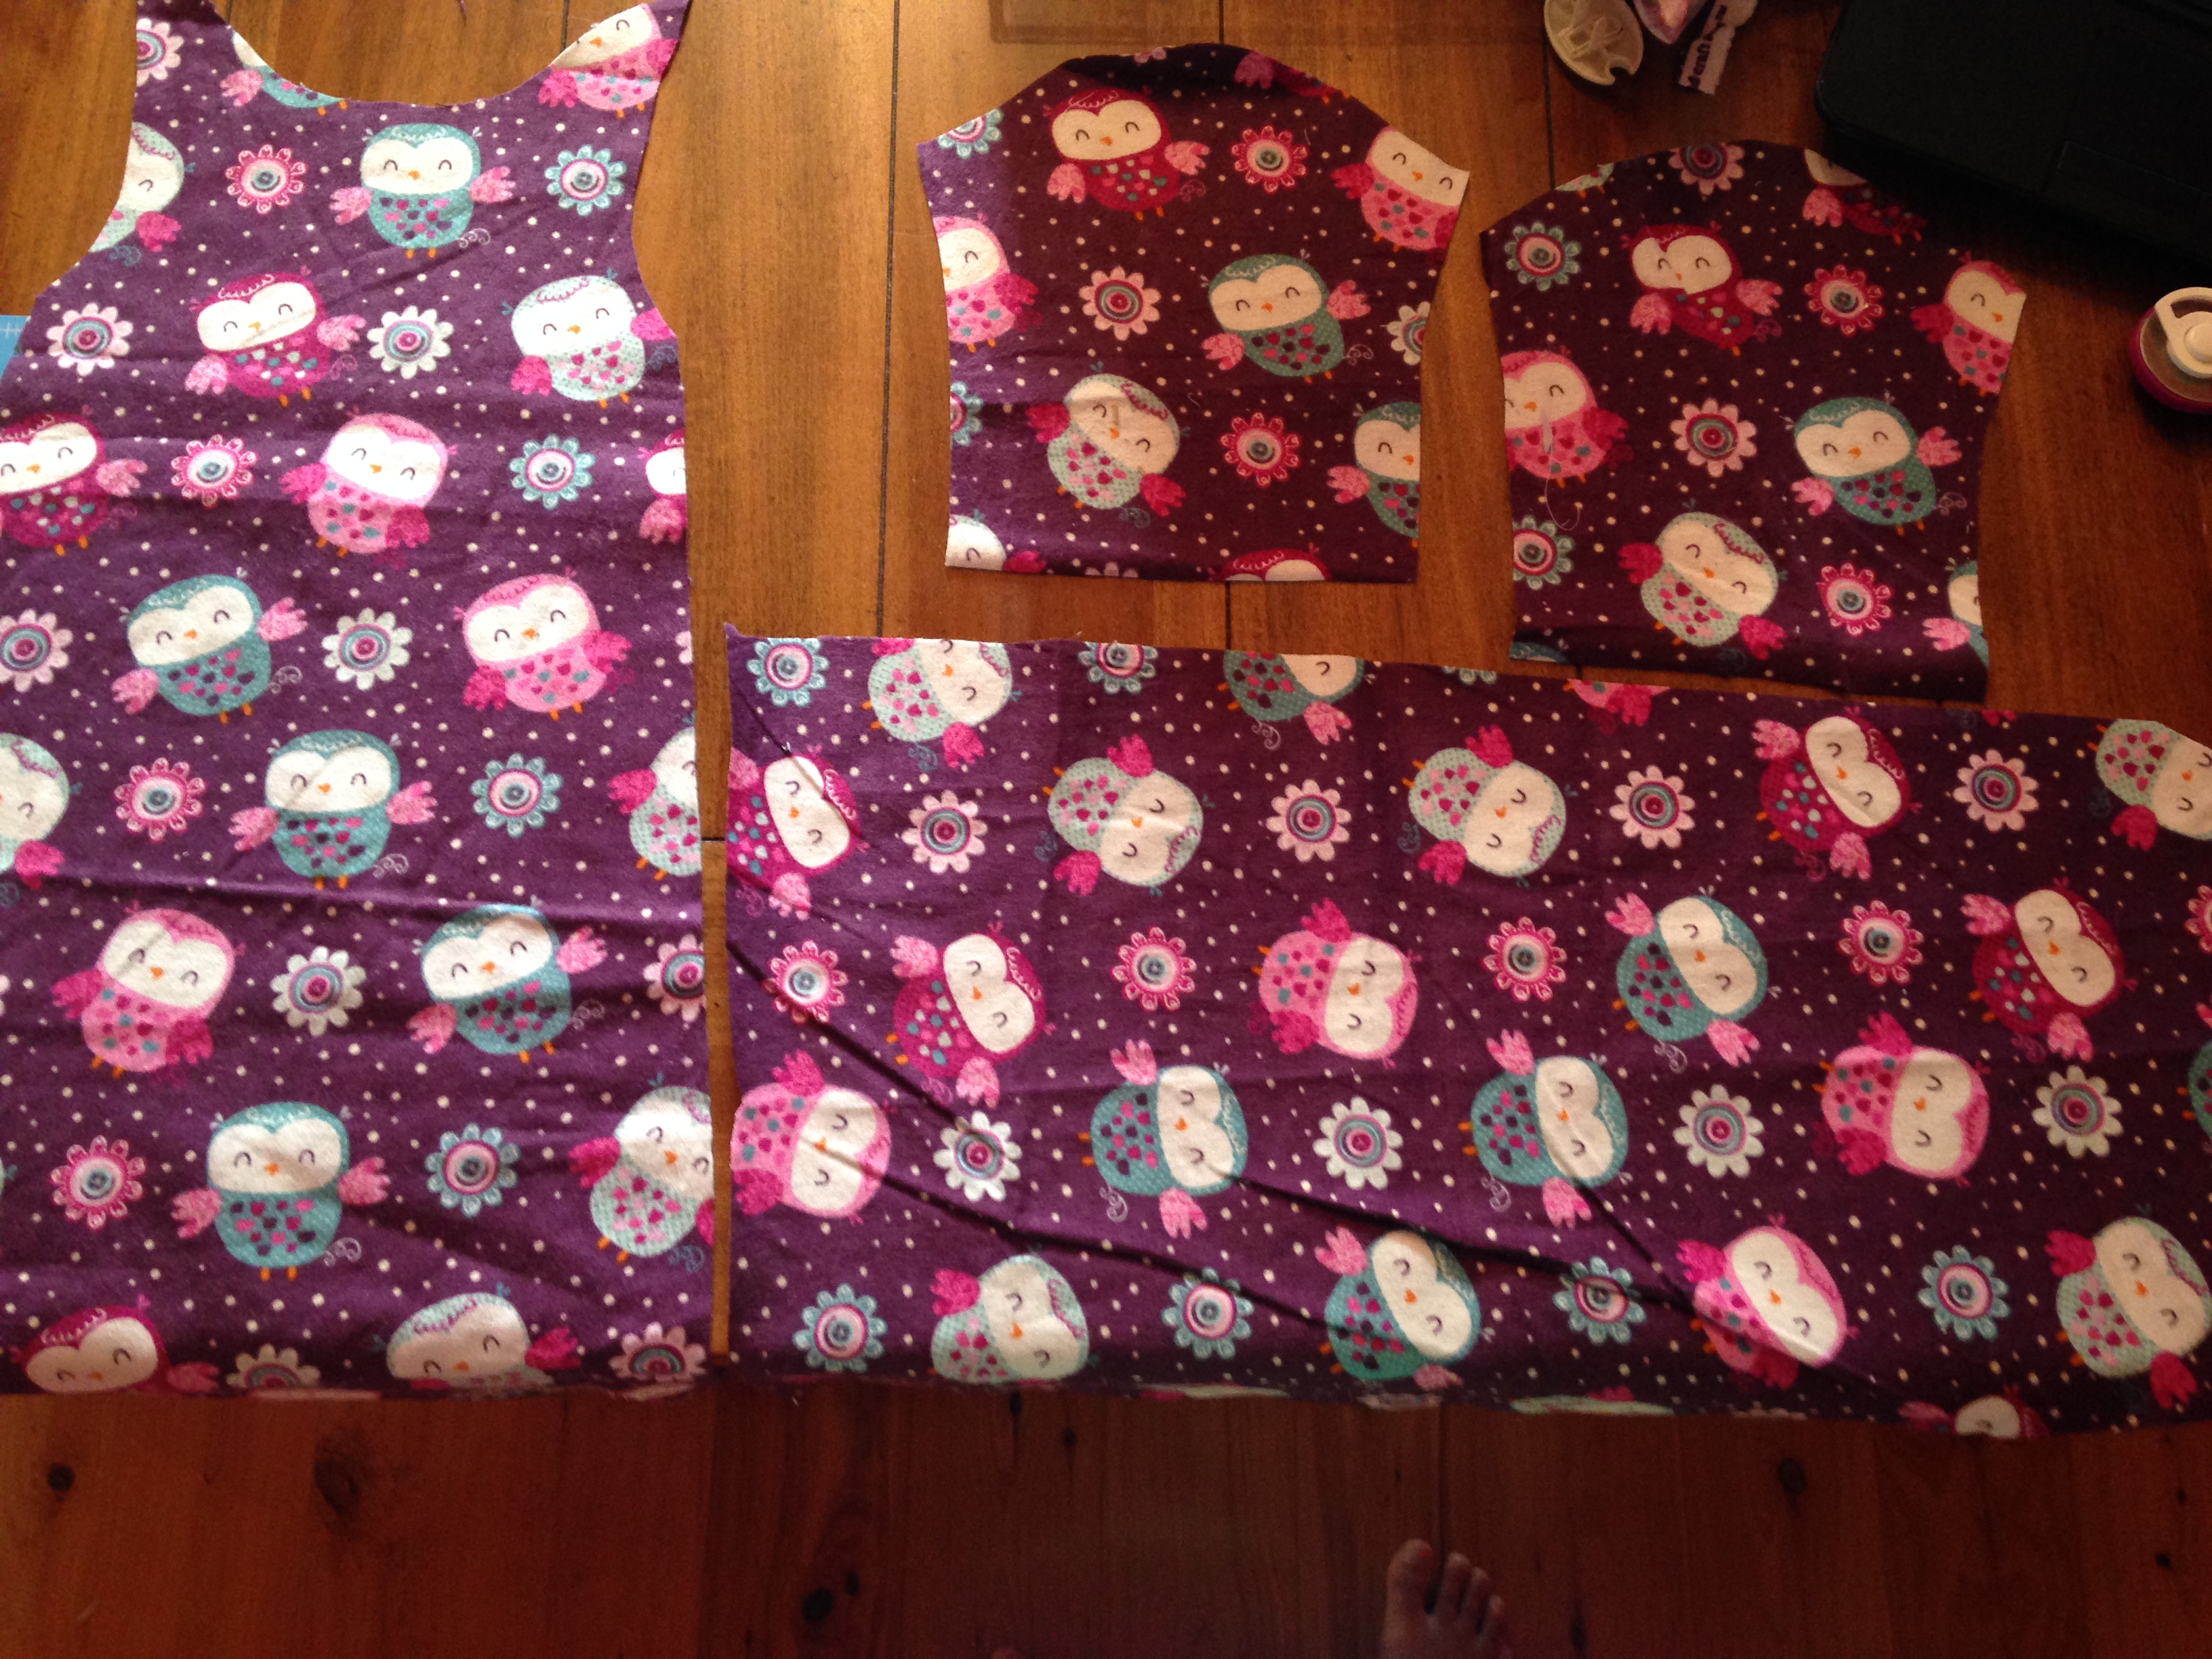
First off, you need the pattern. For this one, I used a neighboring sewing blog’s pattern since there are so many out there:
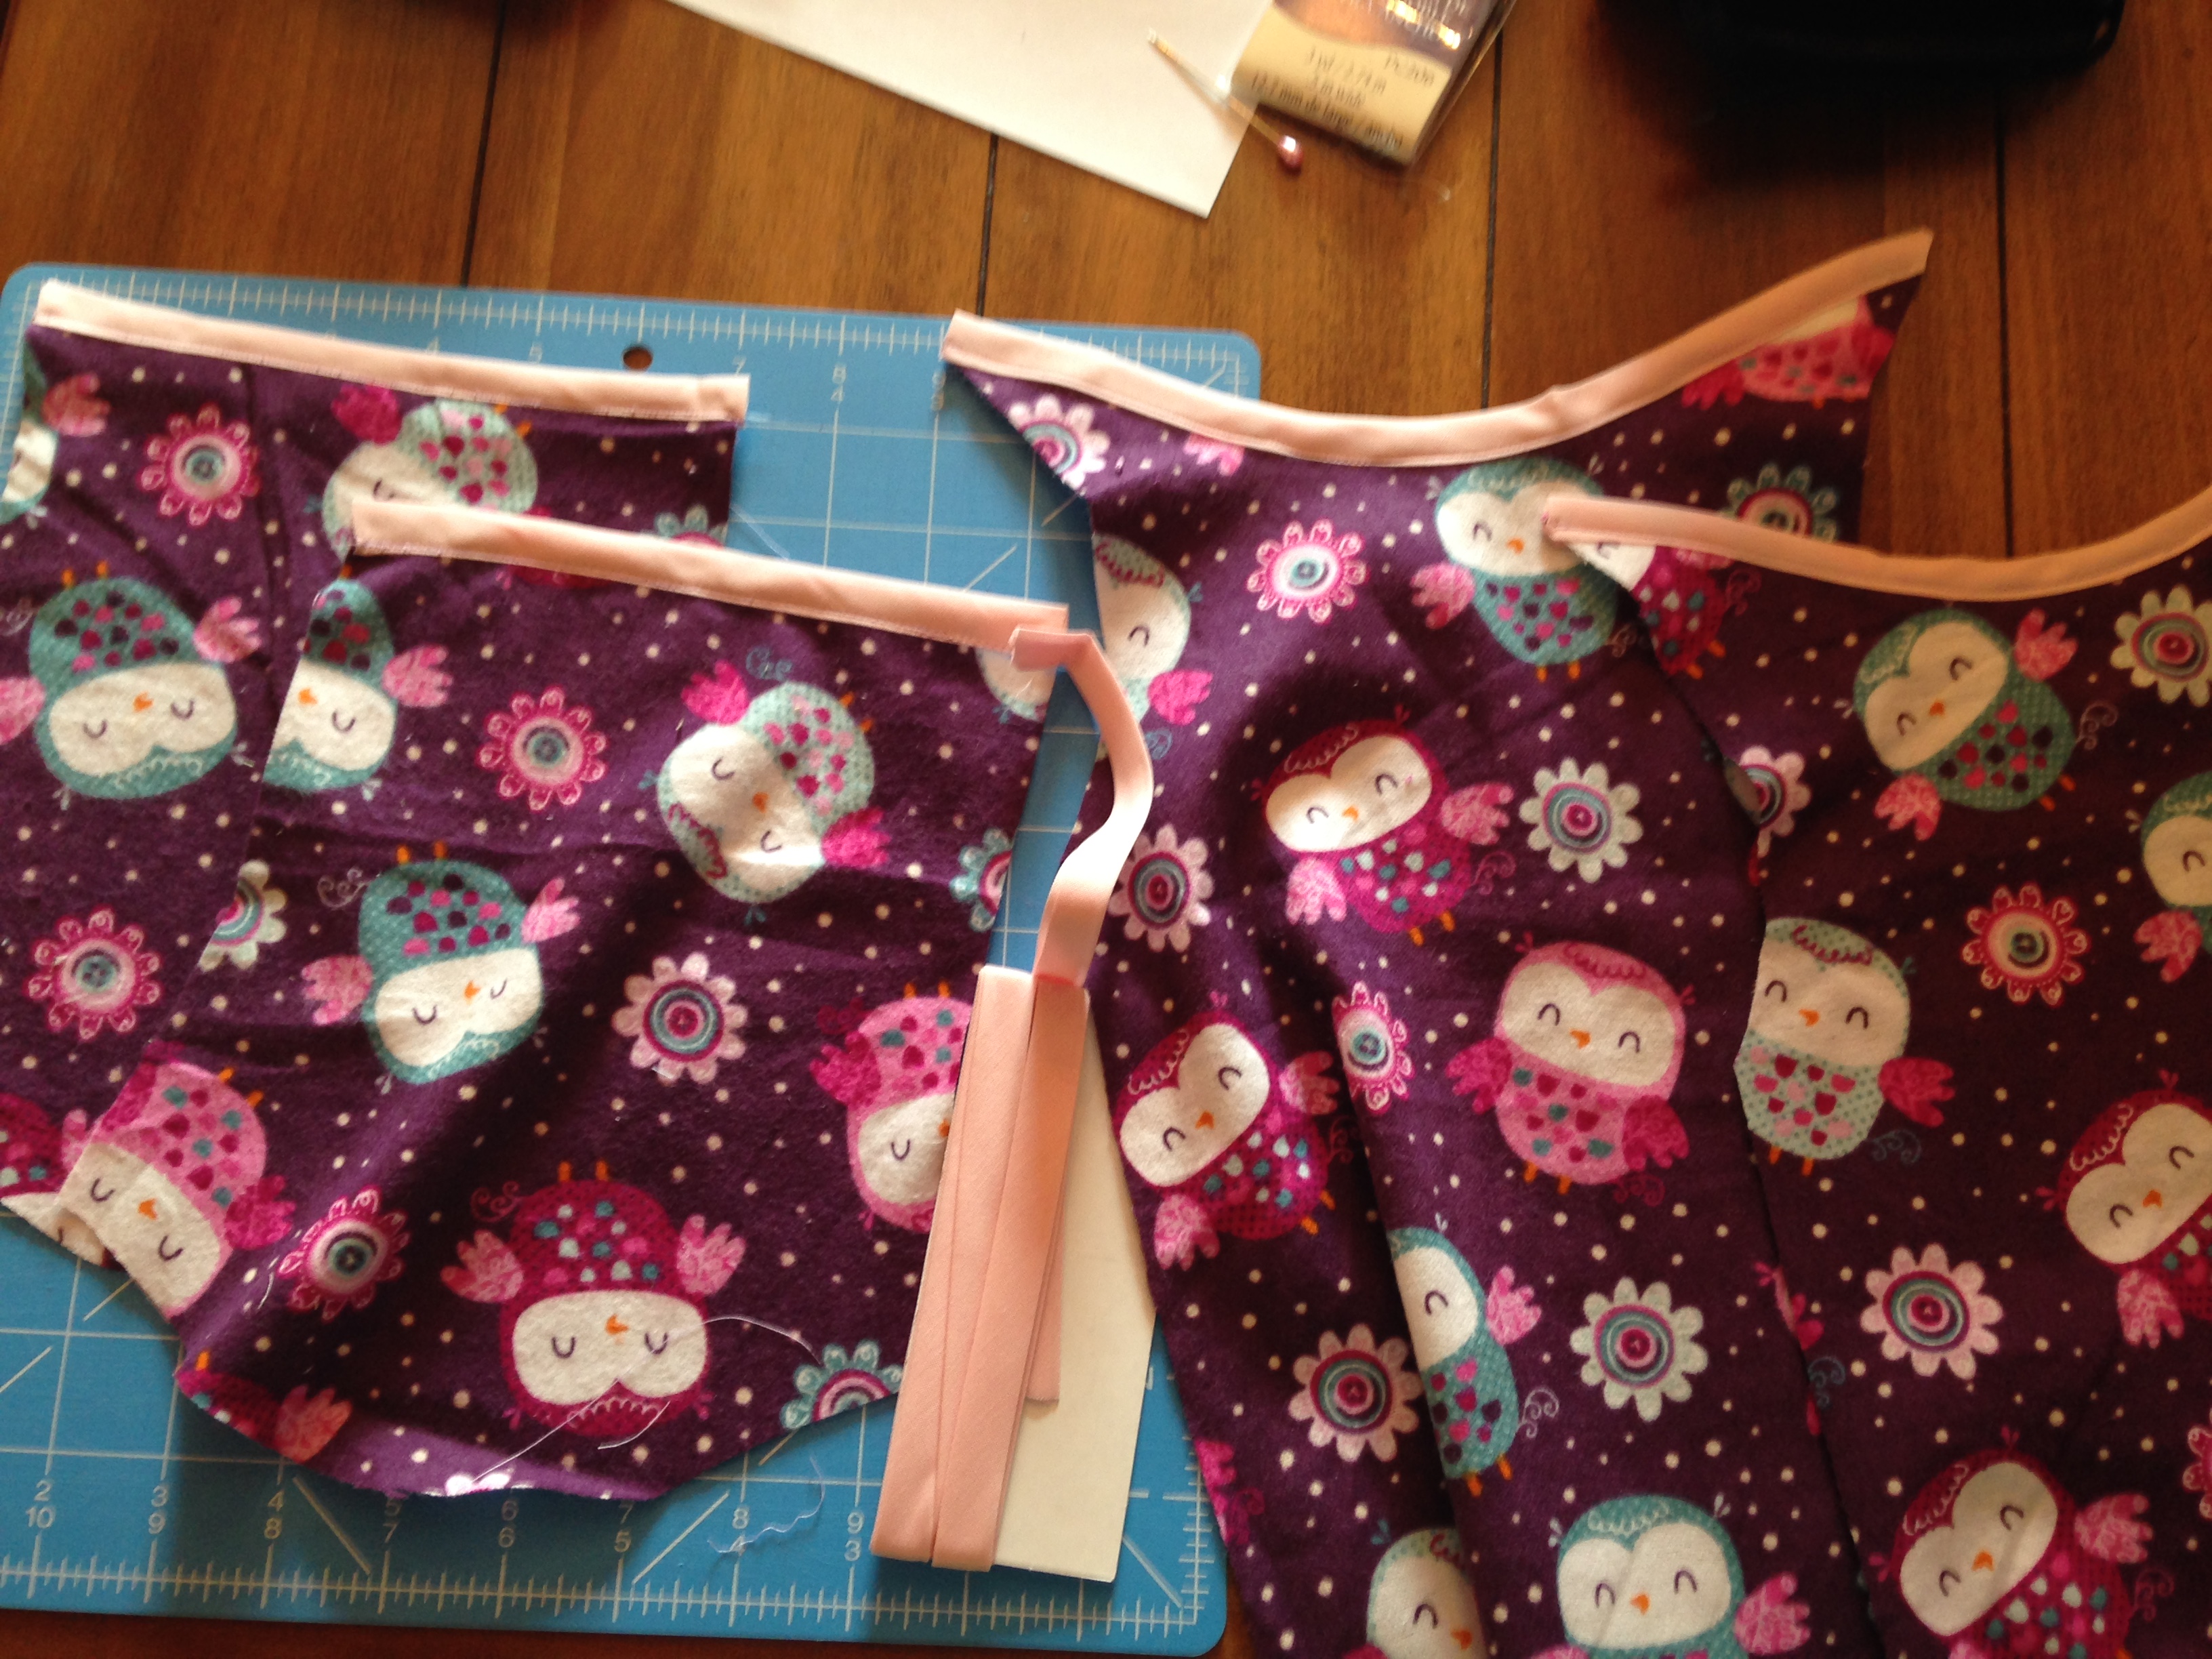
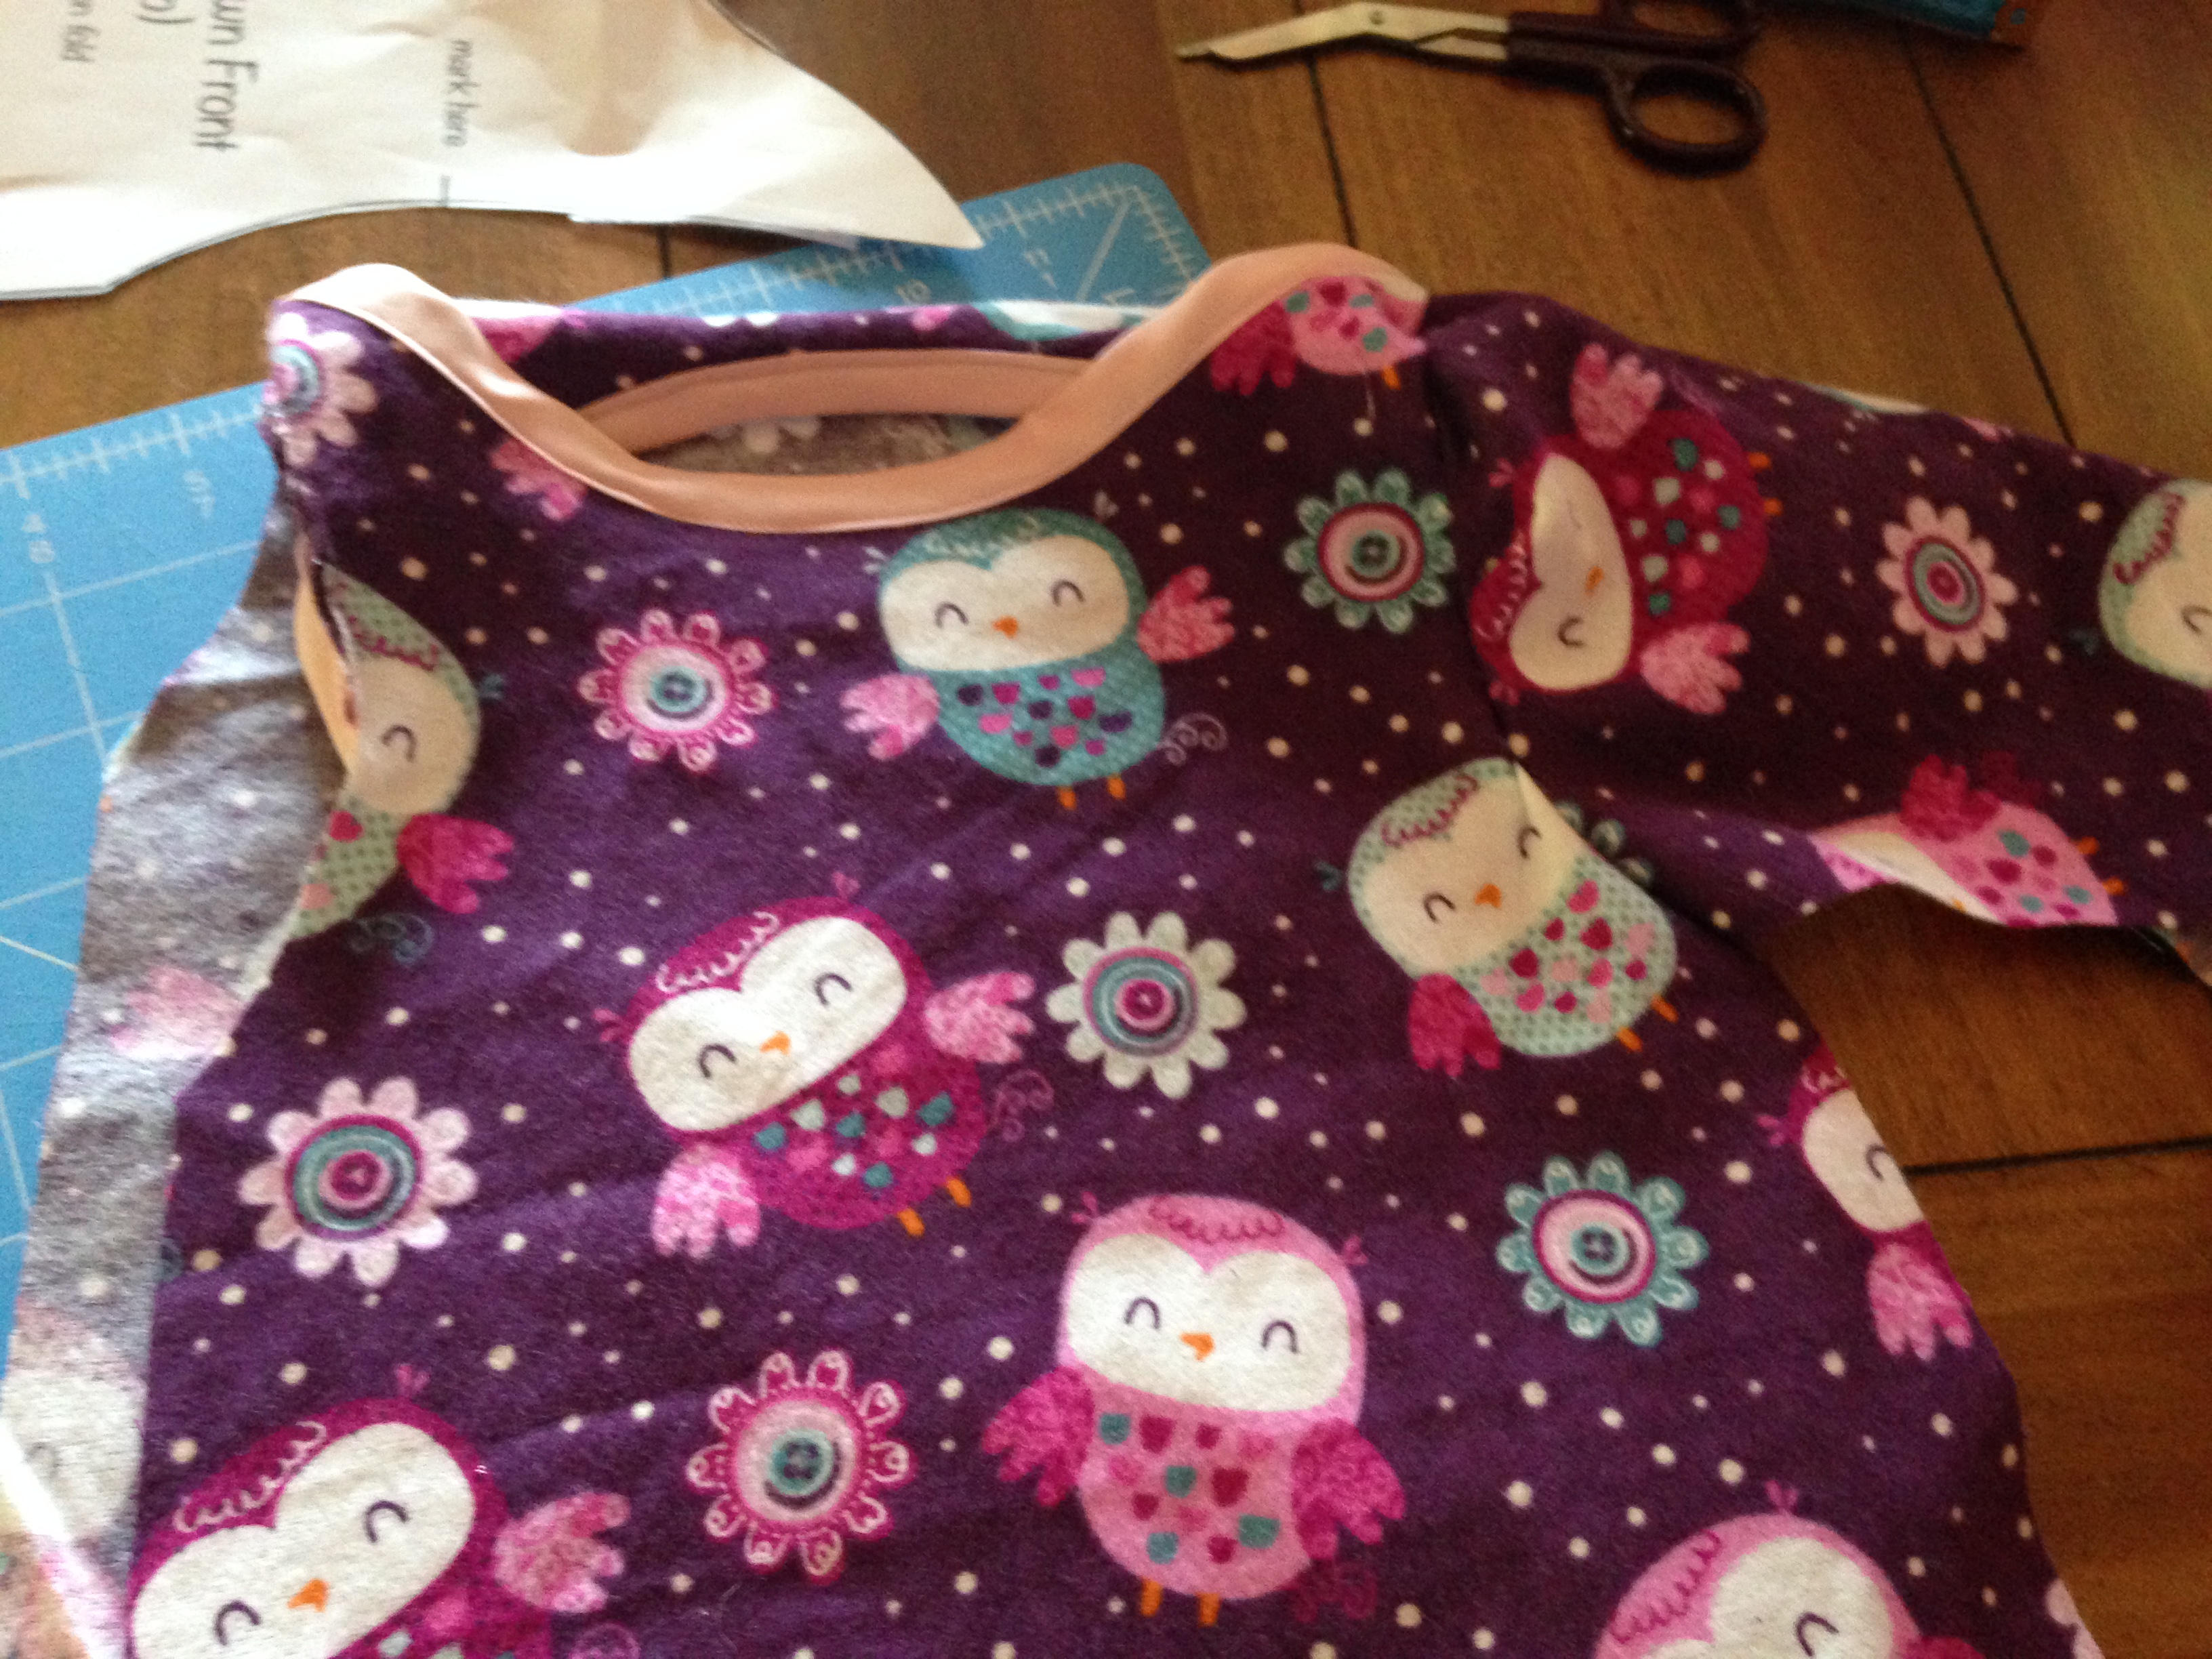
3. Fold your bias tape on the ends of the sleeves, pin on
and sew straight on both sleeves. Do this also to the neckline of the front and back piece.
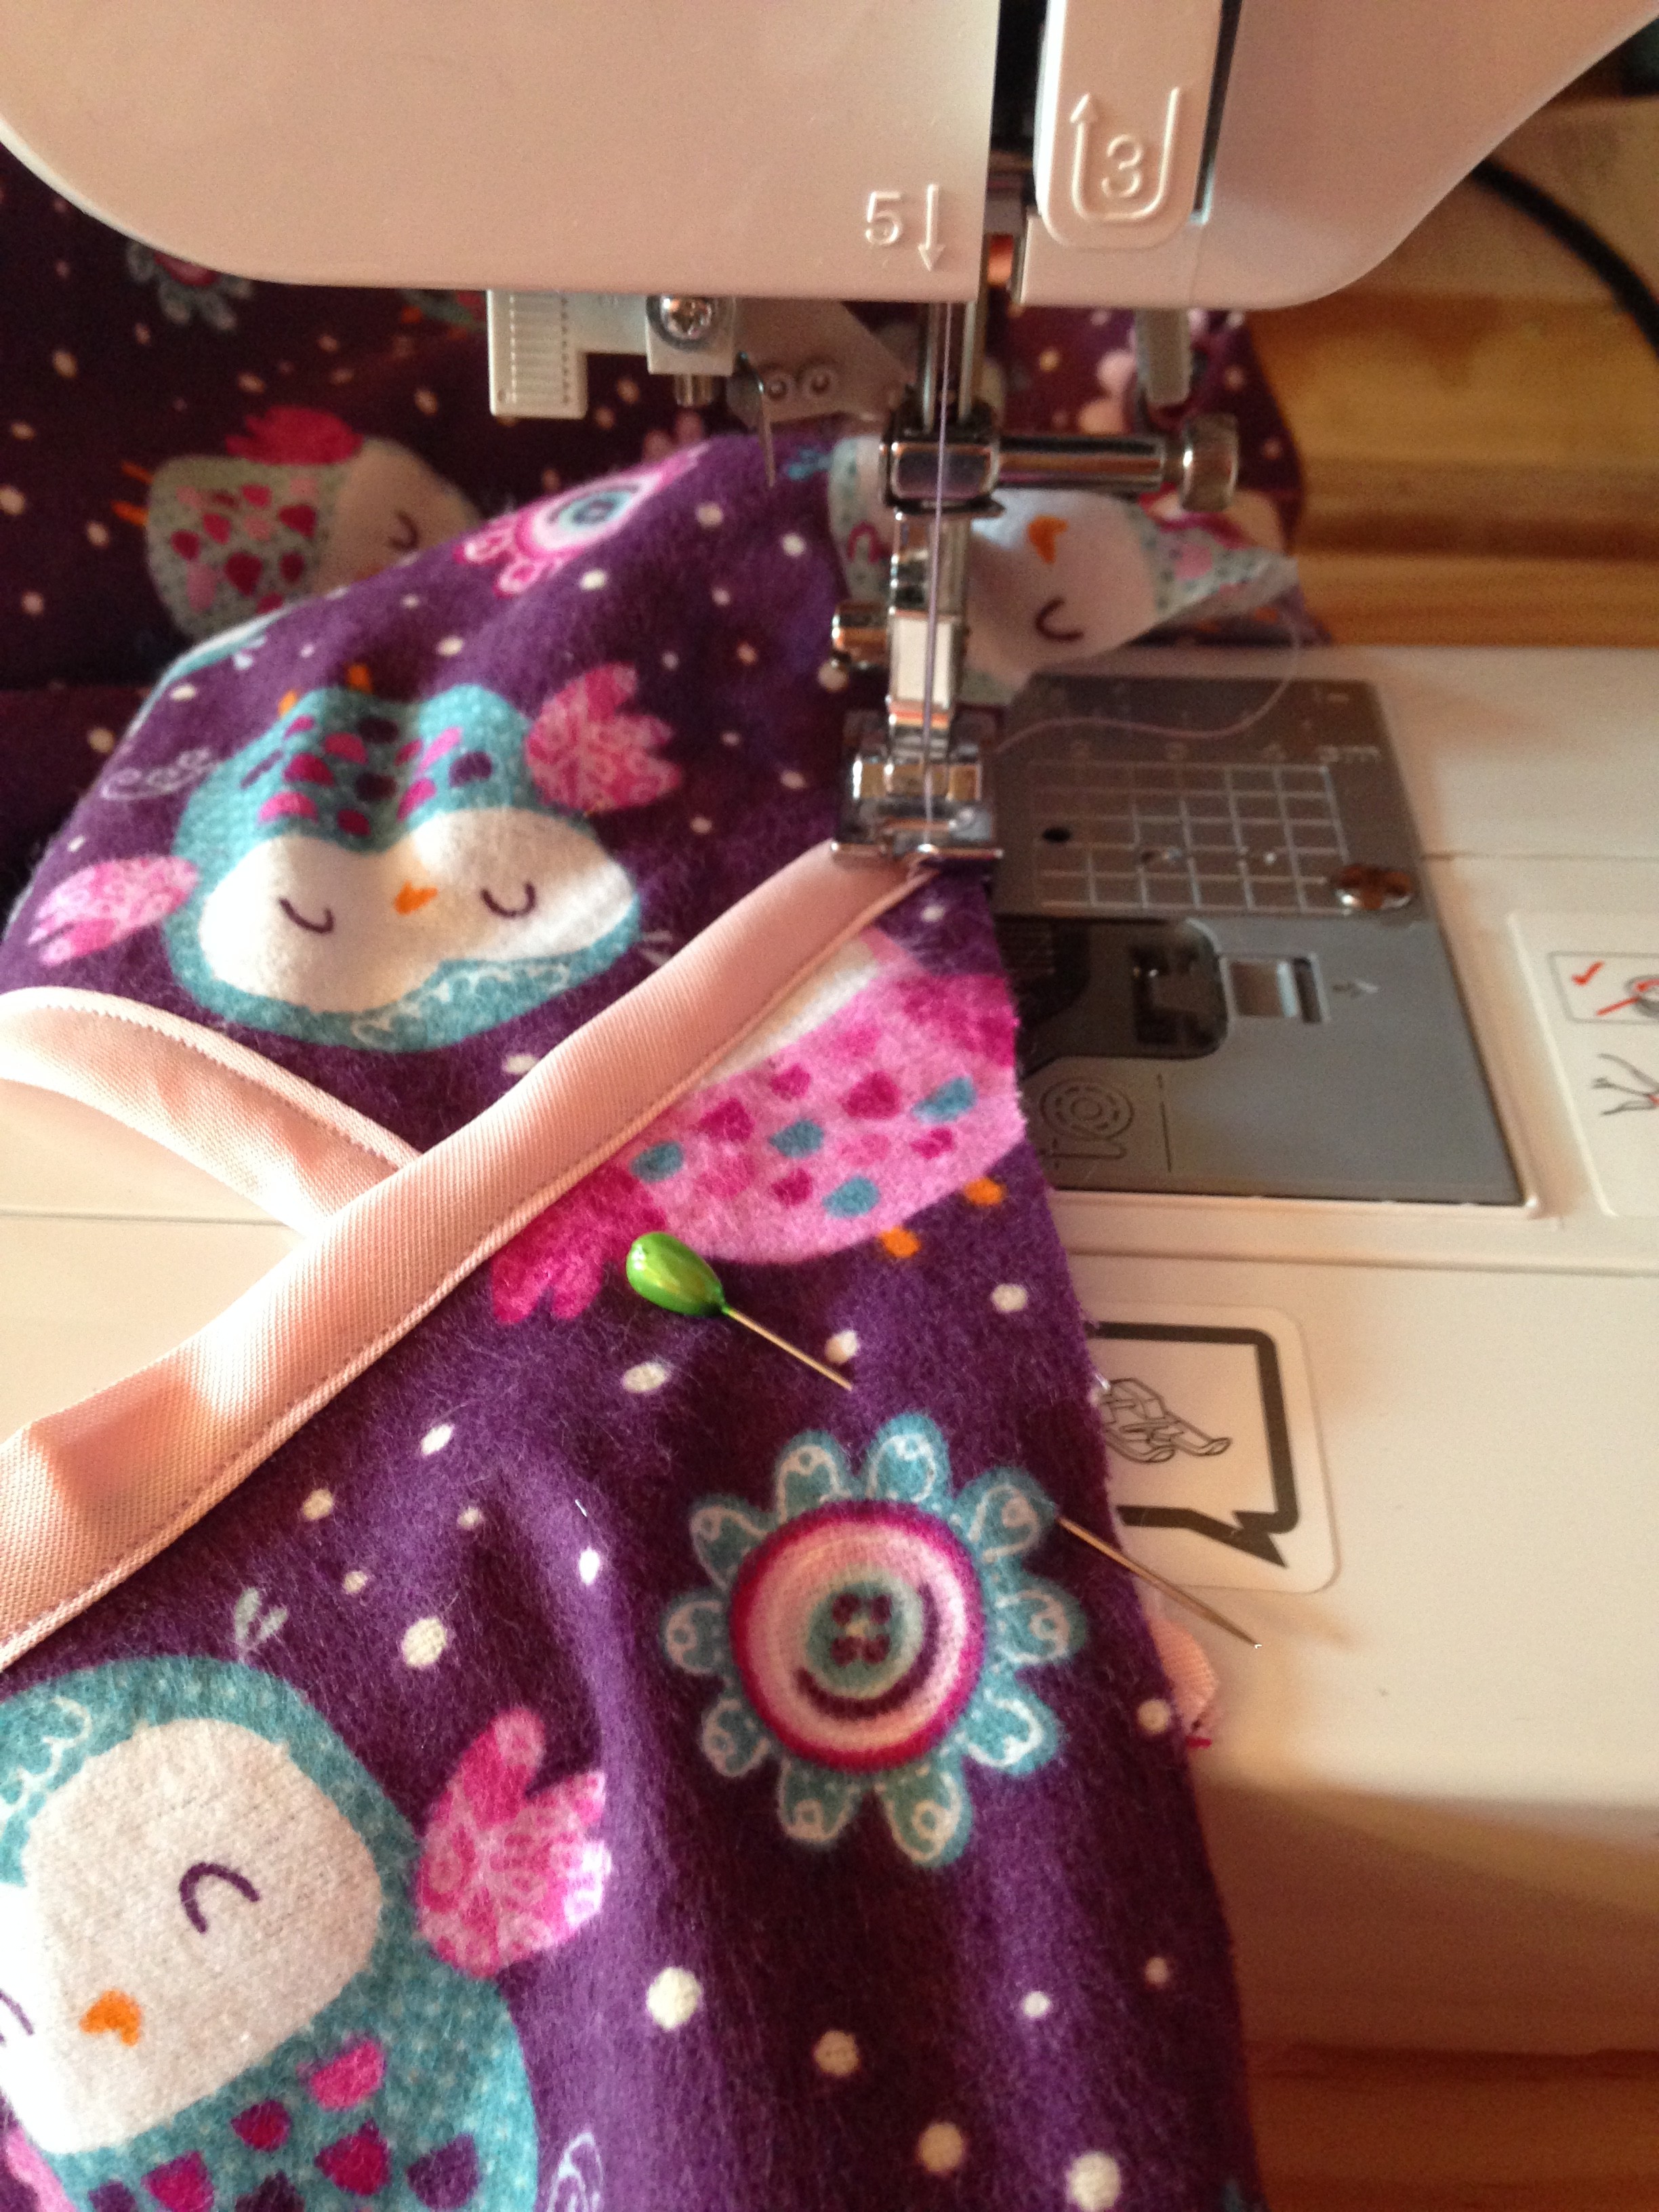
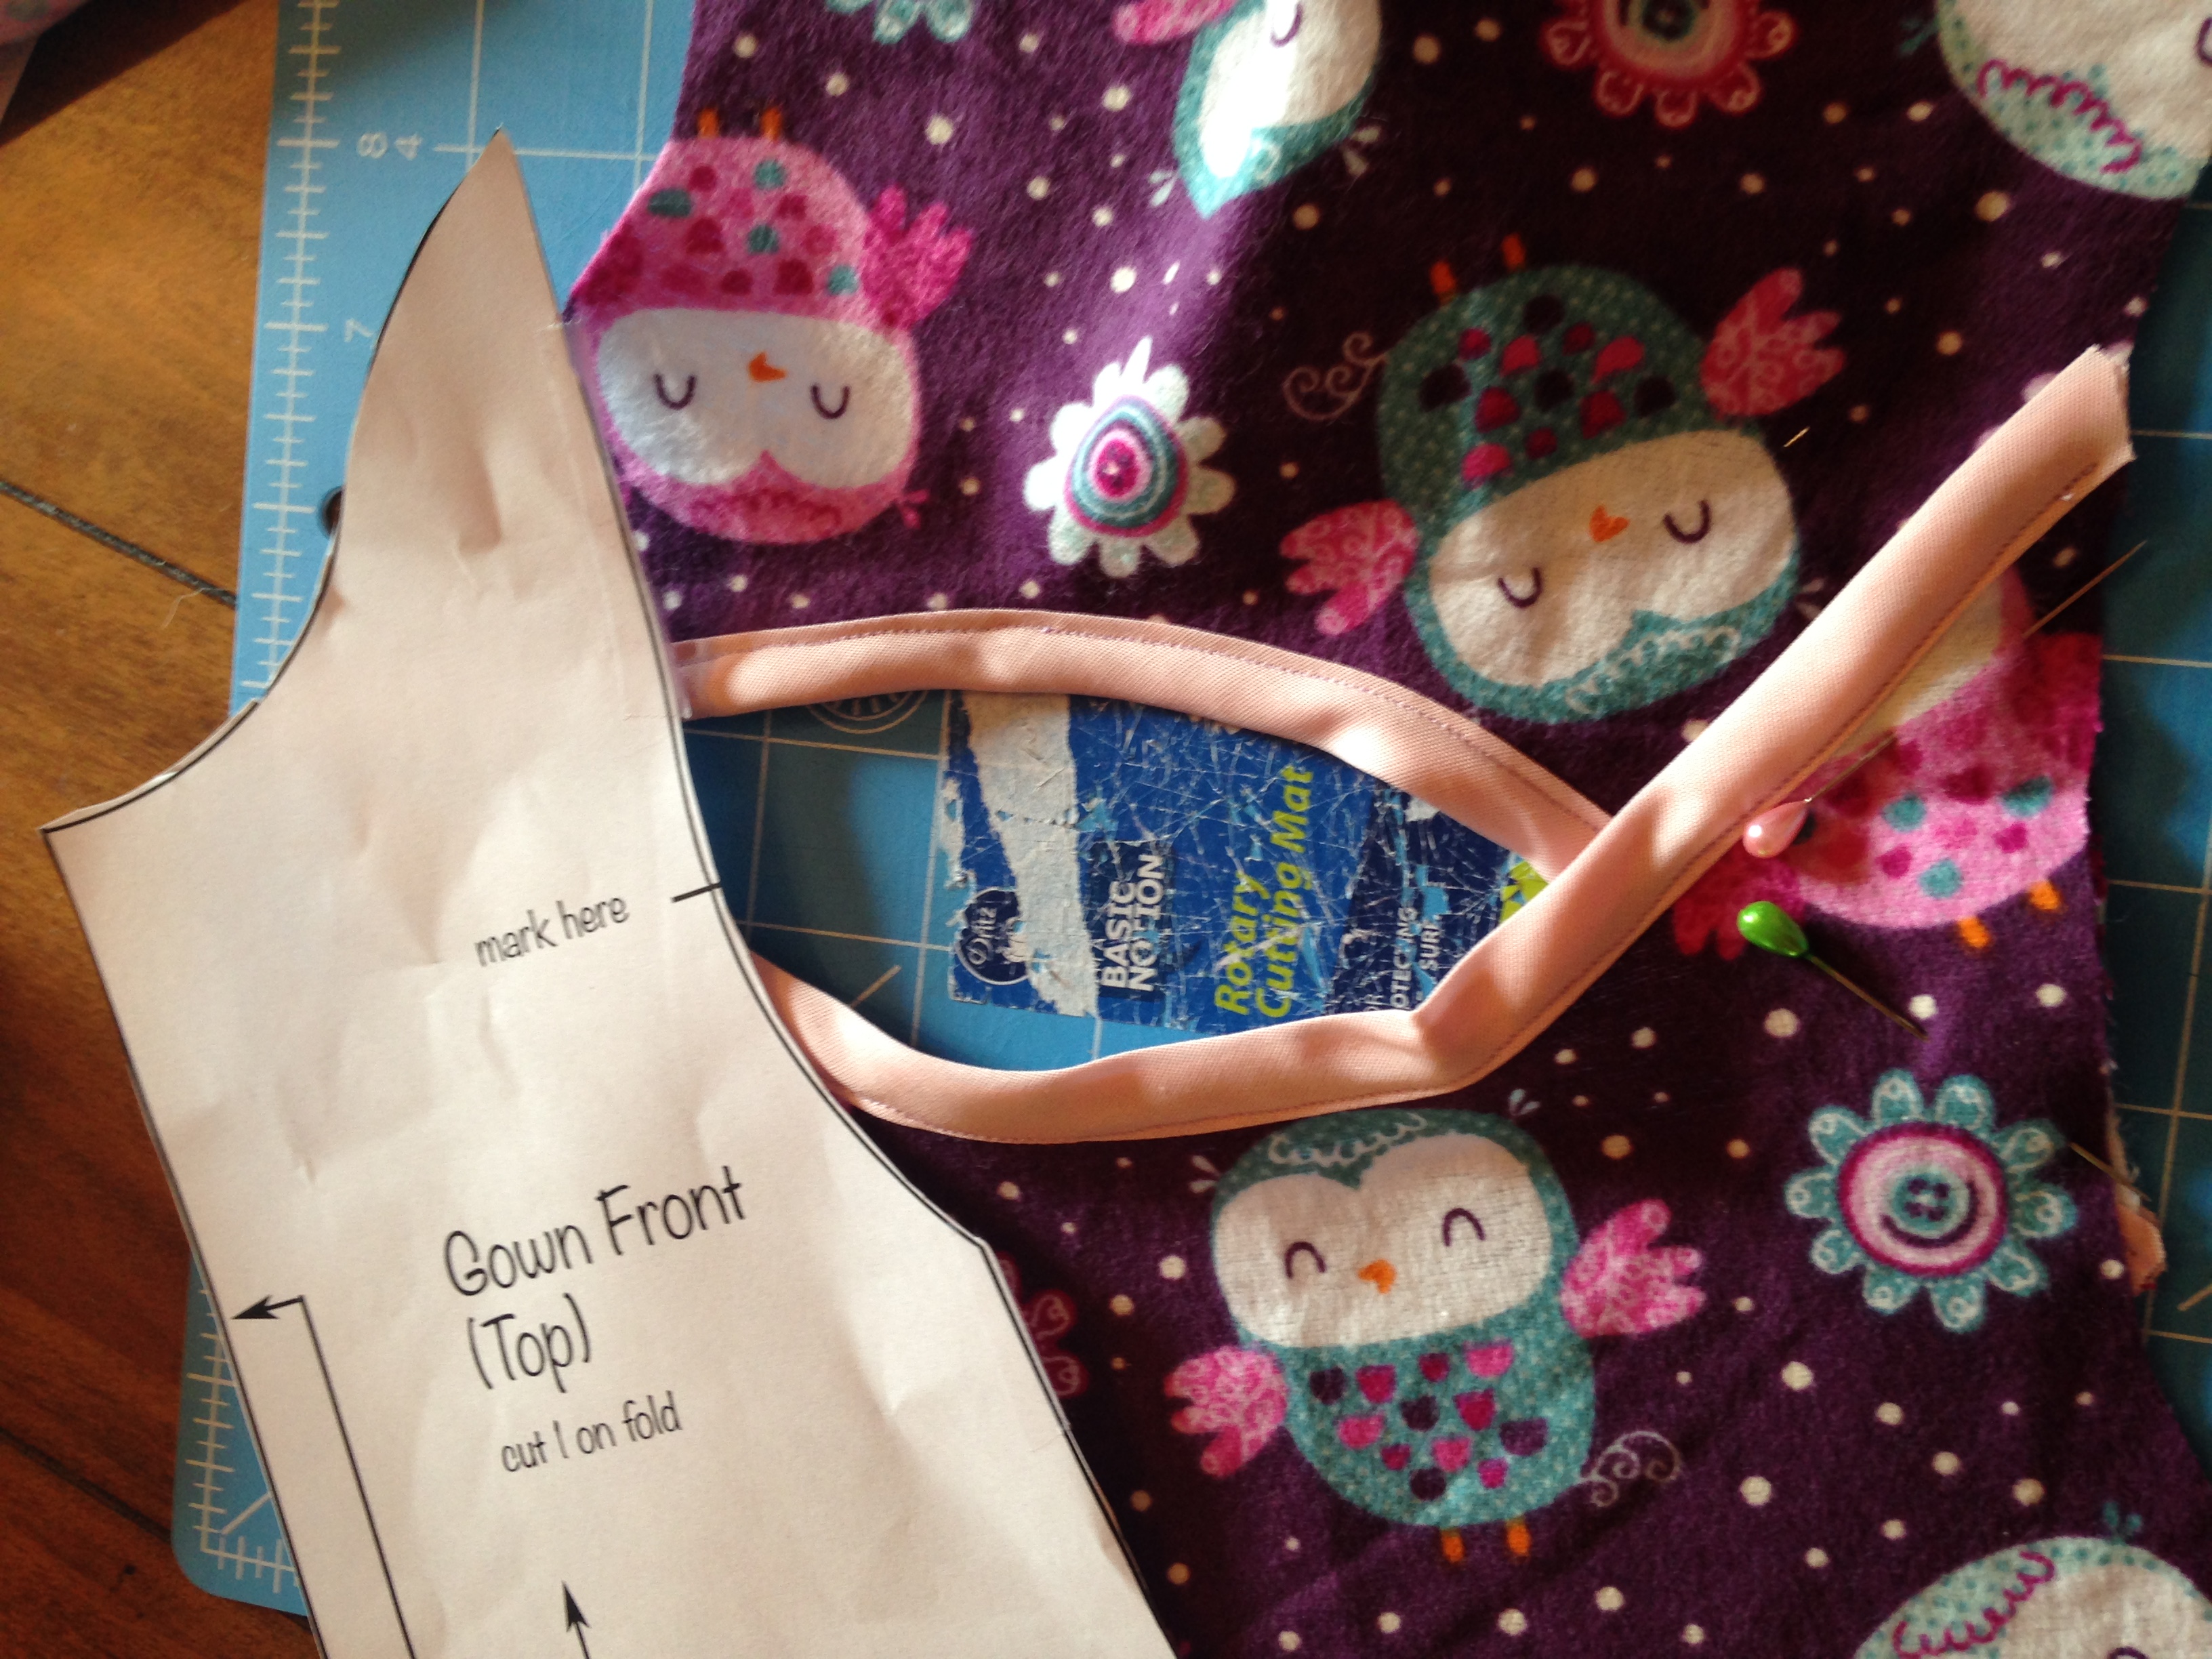
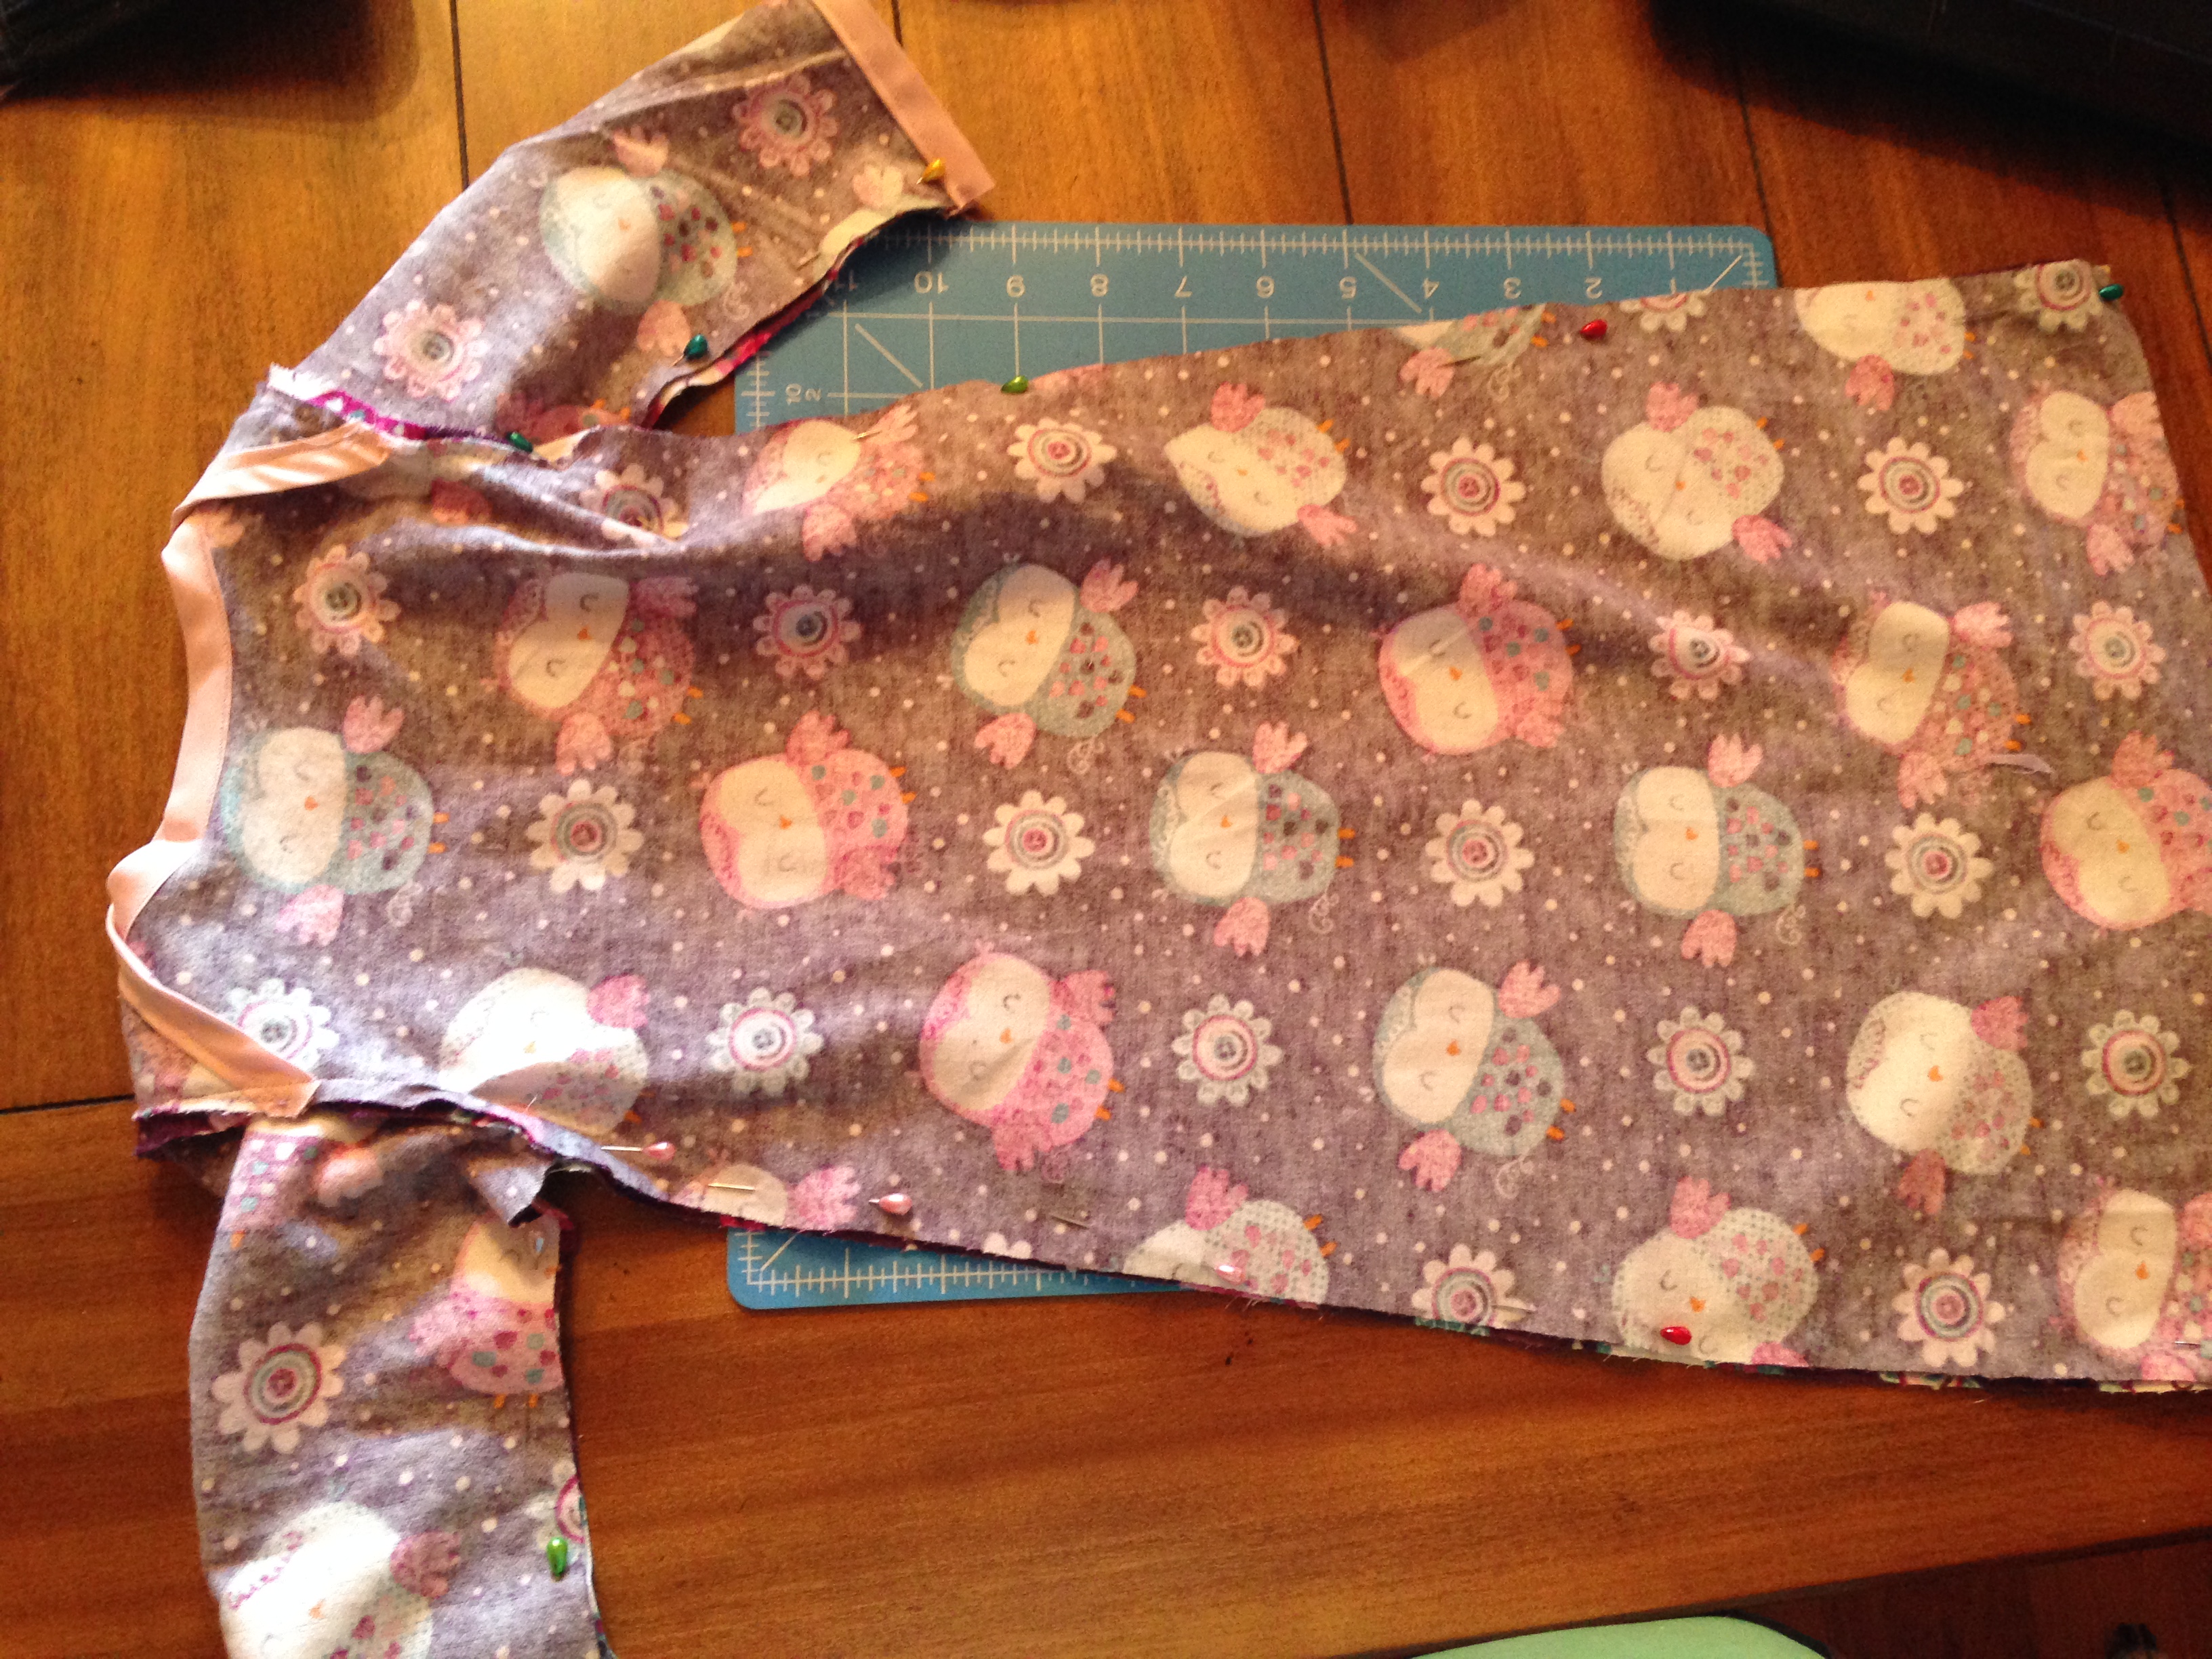
4. Next, You want to overlap your front and back gown pieces by either looking at the mark you made from the pattern or you can measure 4 inches of overlap from the top down. So you want to pin and sew the overlapping sides (the 4 inches)
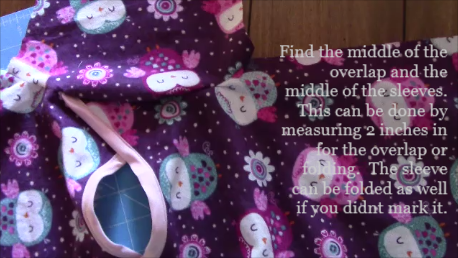
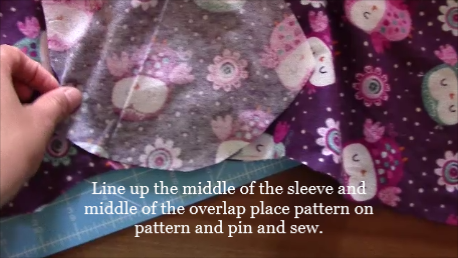
5. Find the middle of the overlap and the middle of the sleeves. This can be done by measuring 2 inches in for the overlap or folding. The sleeve can be folded as well if you didn’t mark it. Line up the middle of the sleeve and middle of the overlap place pattern on pattern and pin and sew.
You have to bunch it and pin it for it to stay.
6. Turn your sleeper inside out and pin from the bias tape bottom all the way down to the bottom of the sleep. Then sew!
Almost there!
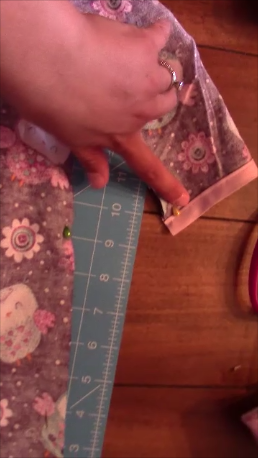
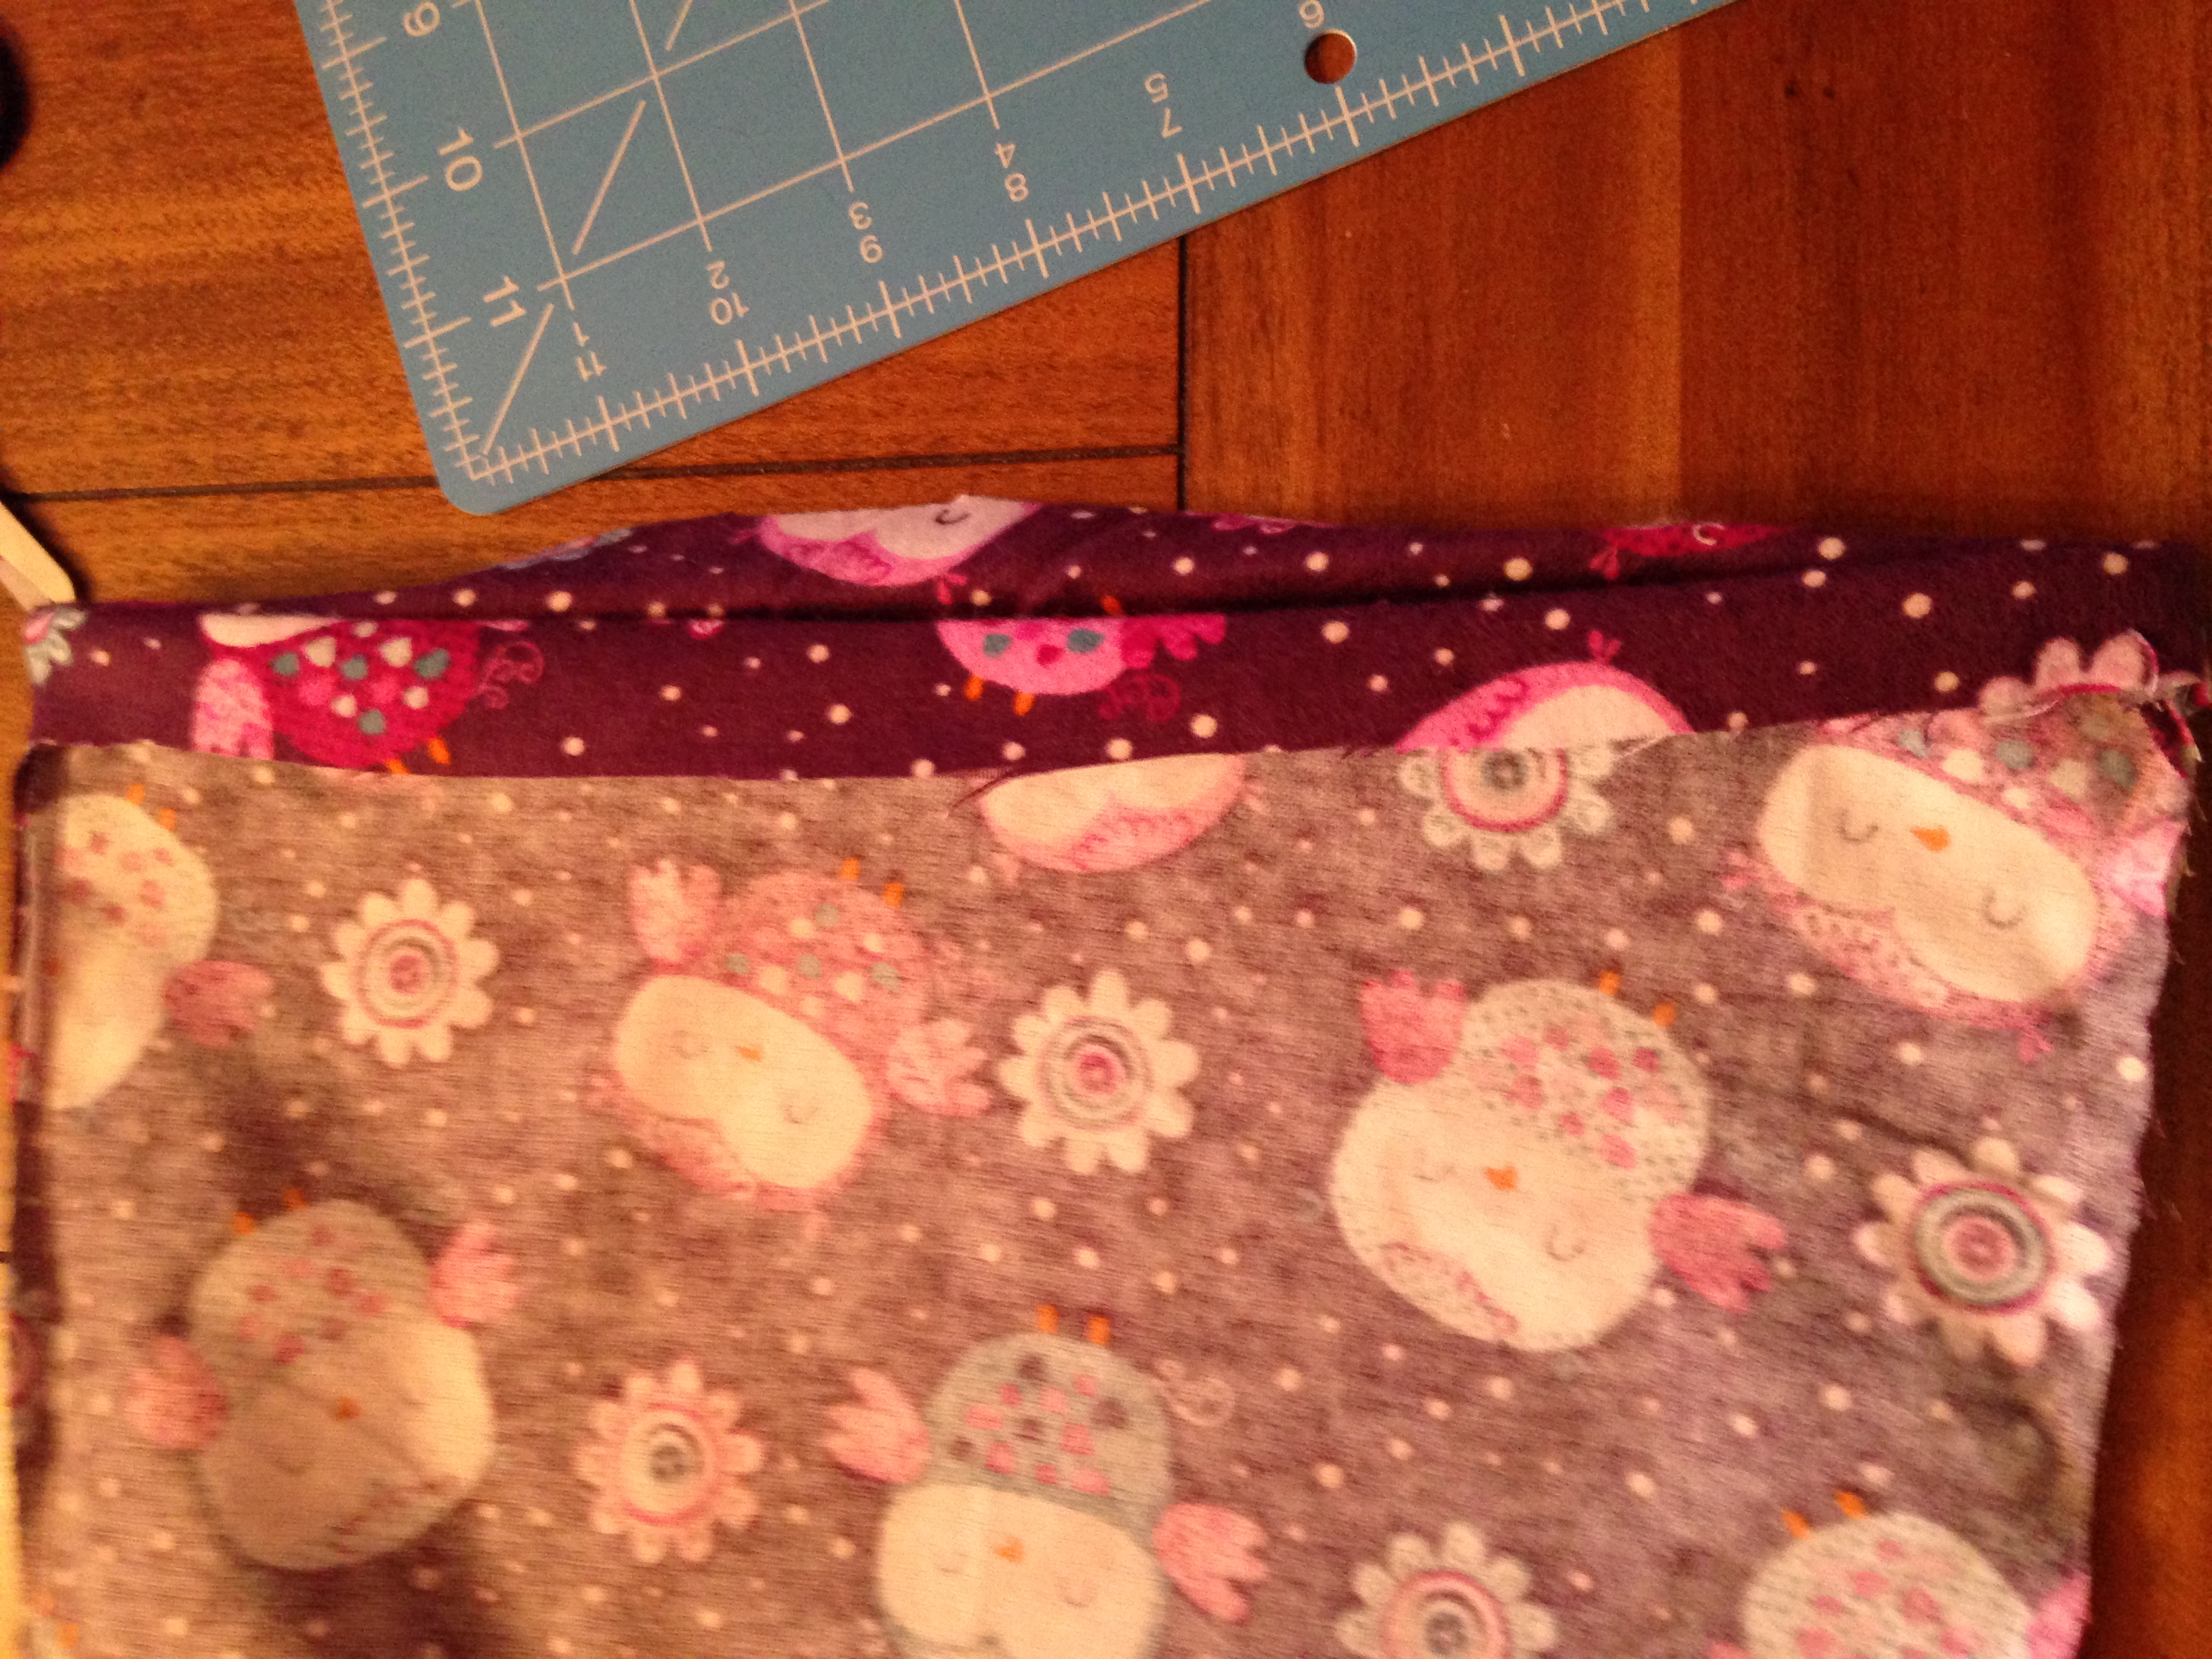
7. Turn inside out and make elastic casing by folding up the bottom 1/4 inch for 1/8elastic or 1/2inch for 1/4elastic. Iron or pin the area to make it easier to
sew. Don’t forget to leave a 1-2 inch opening to put the elastic through!
Remember to back stitch!
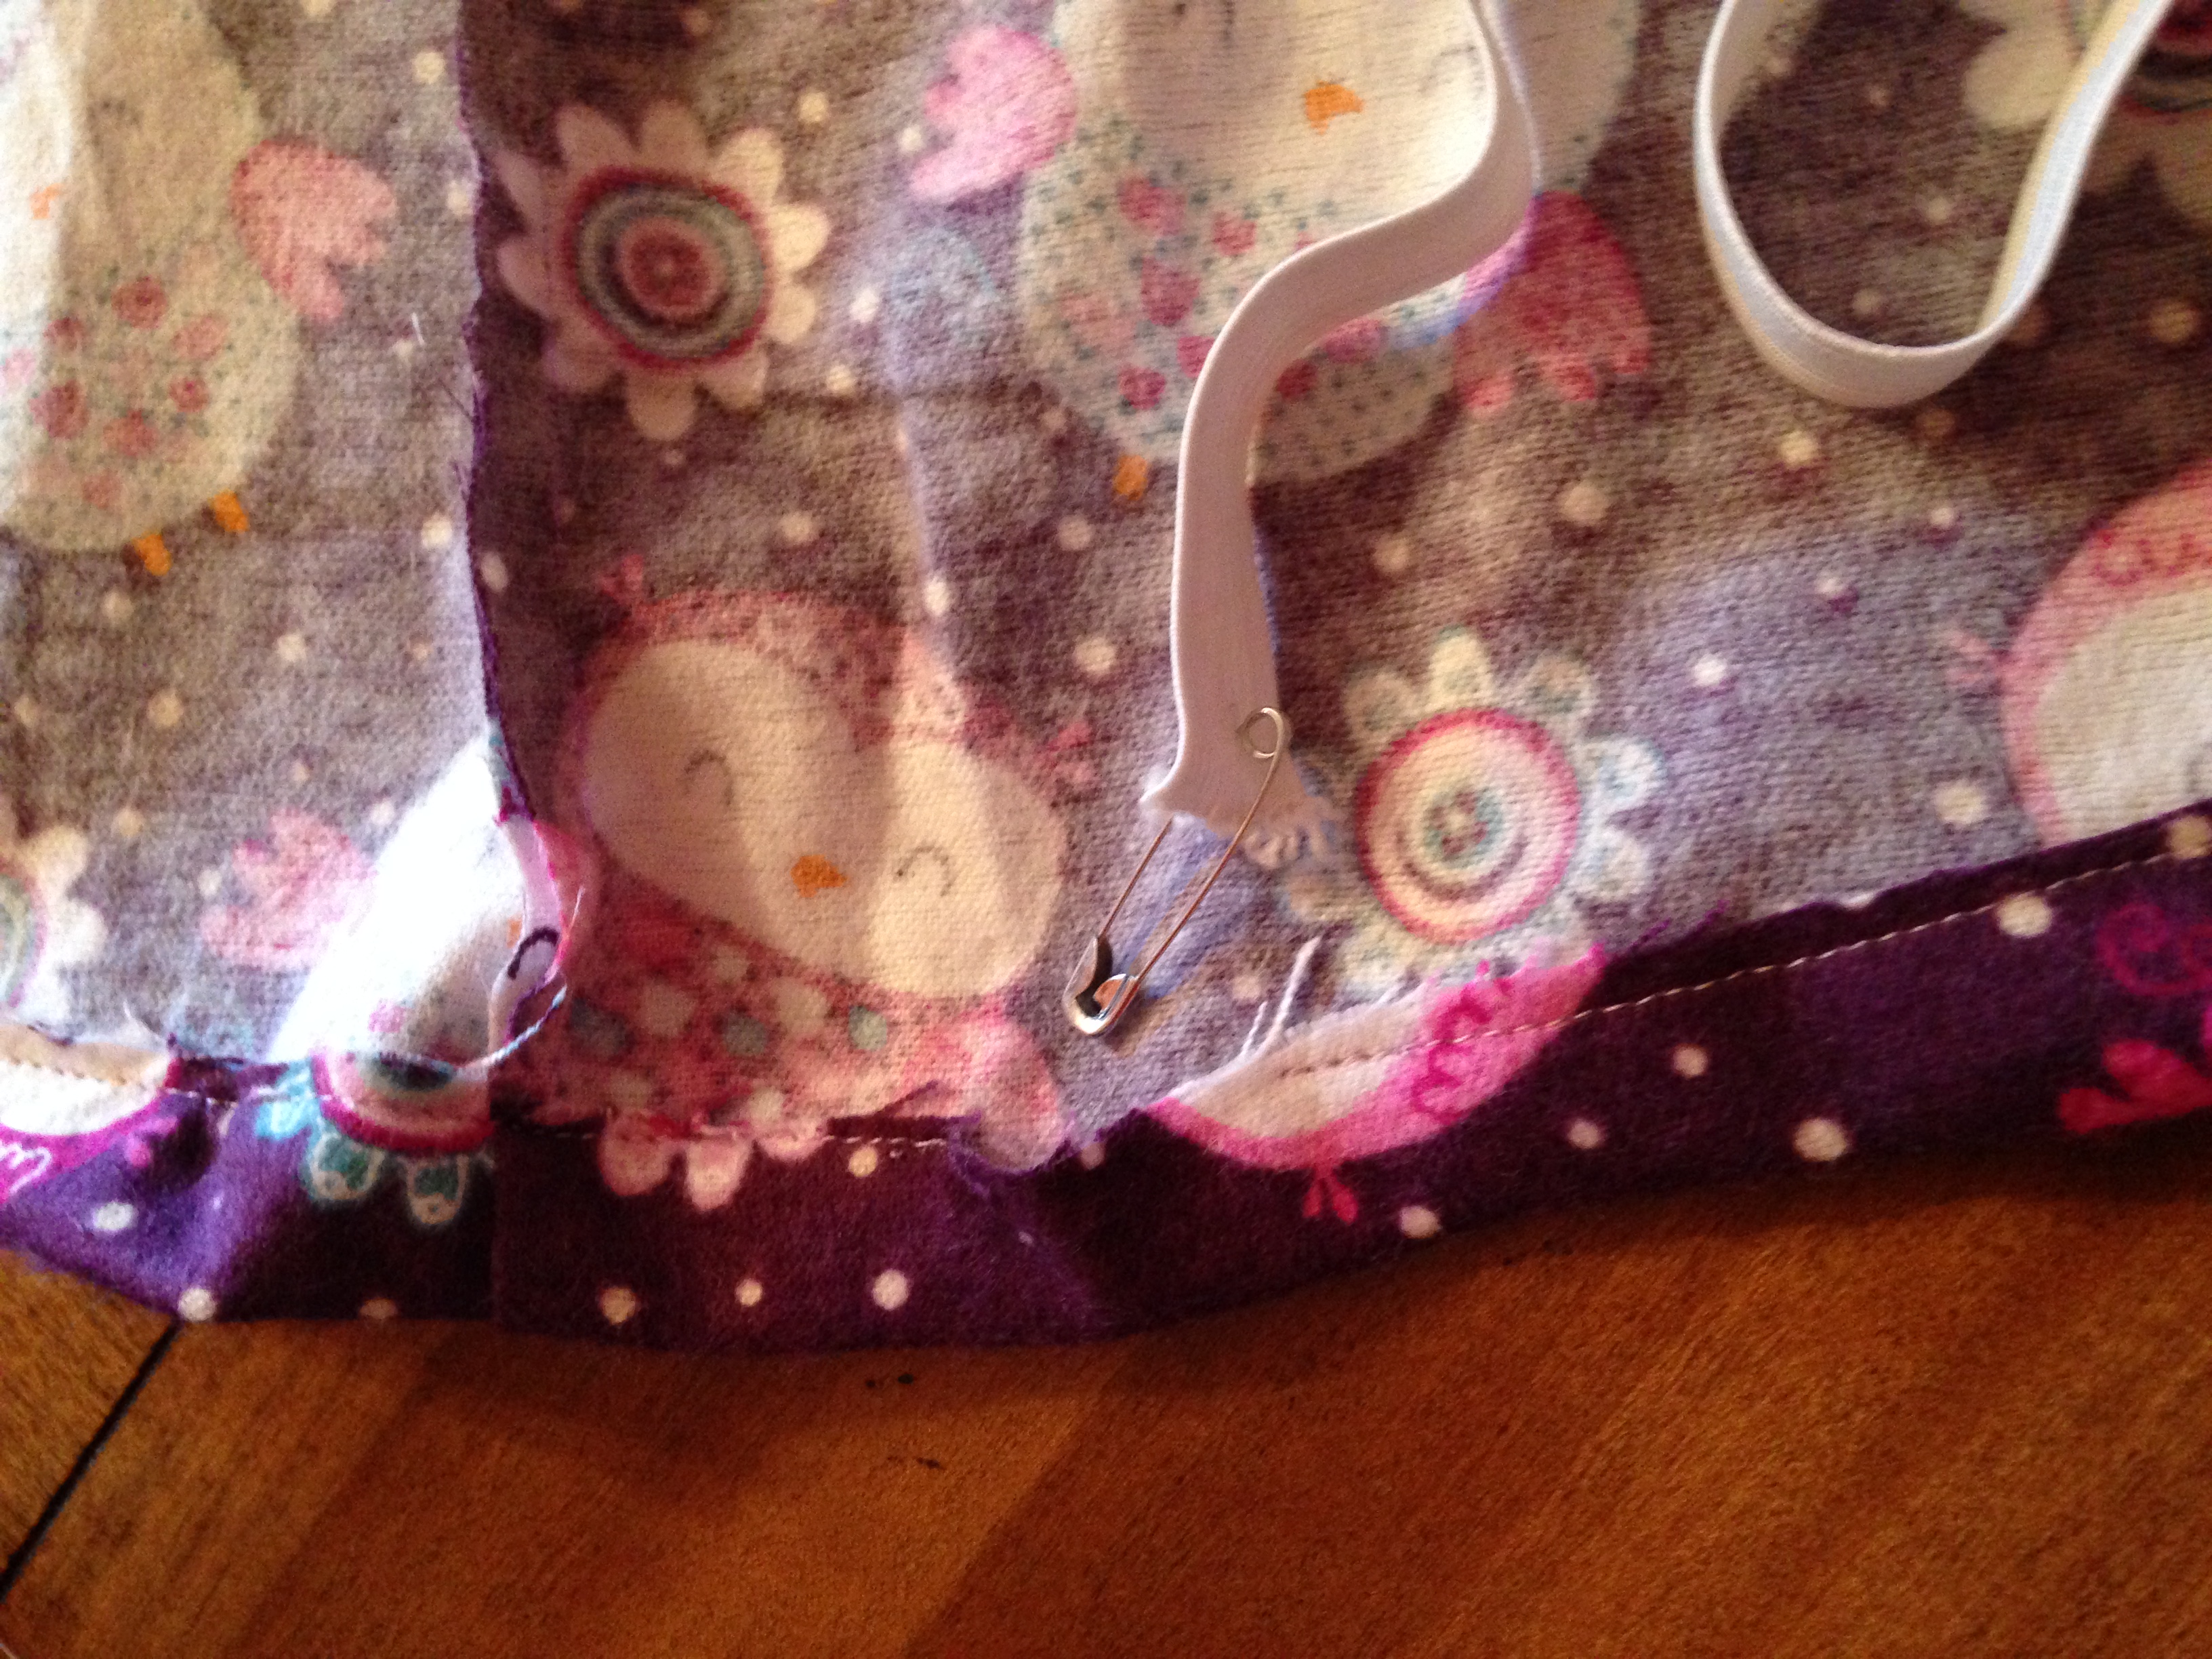
8. To get your elastic through use a safety pin on the end and put in the opening
and pull through by bunching the fabric and then pulling the safety pin.
9. Choose the tightness you need for your little one on the bottom and then sew your two pieces of elastic together. Then sew the opening closed!
That’s it! Congrats you have finished! Great job. Any suggestions questions please let me know. Look for the next post to be the matching slippers!
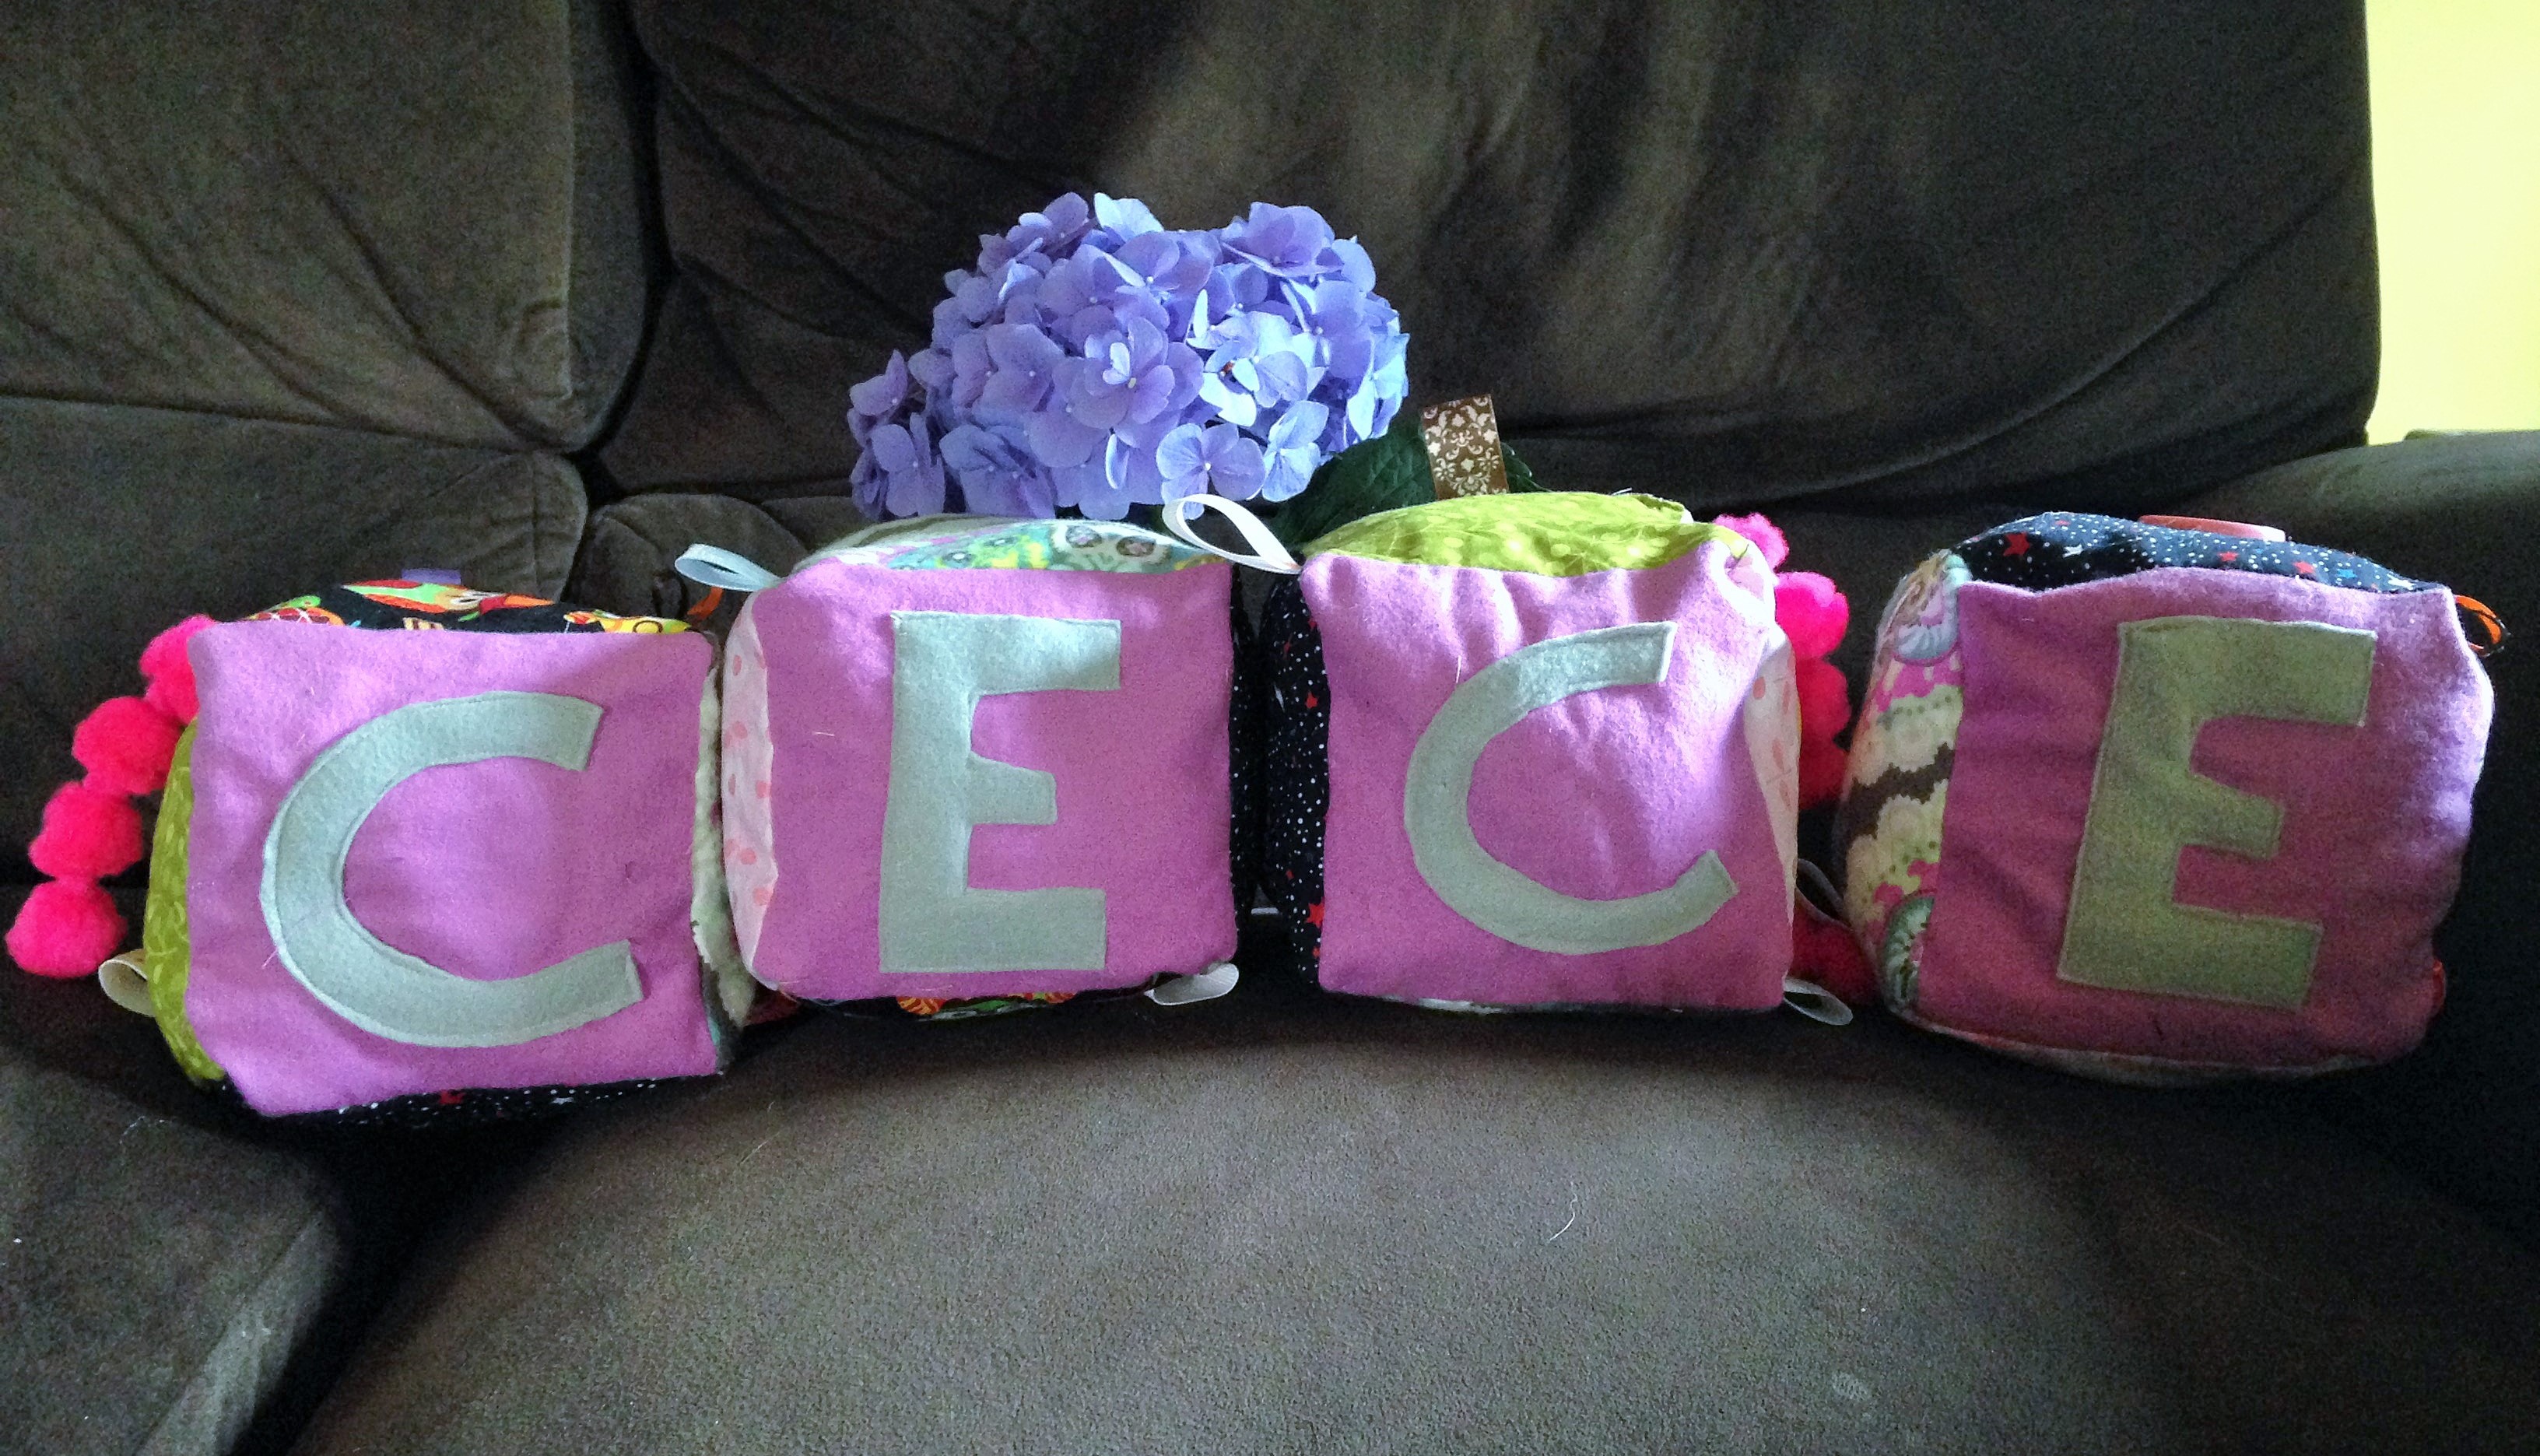
I’ve been looking for a toy that offers a variety of sensory activities through textures, sounds, and touch.
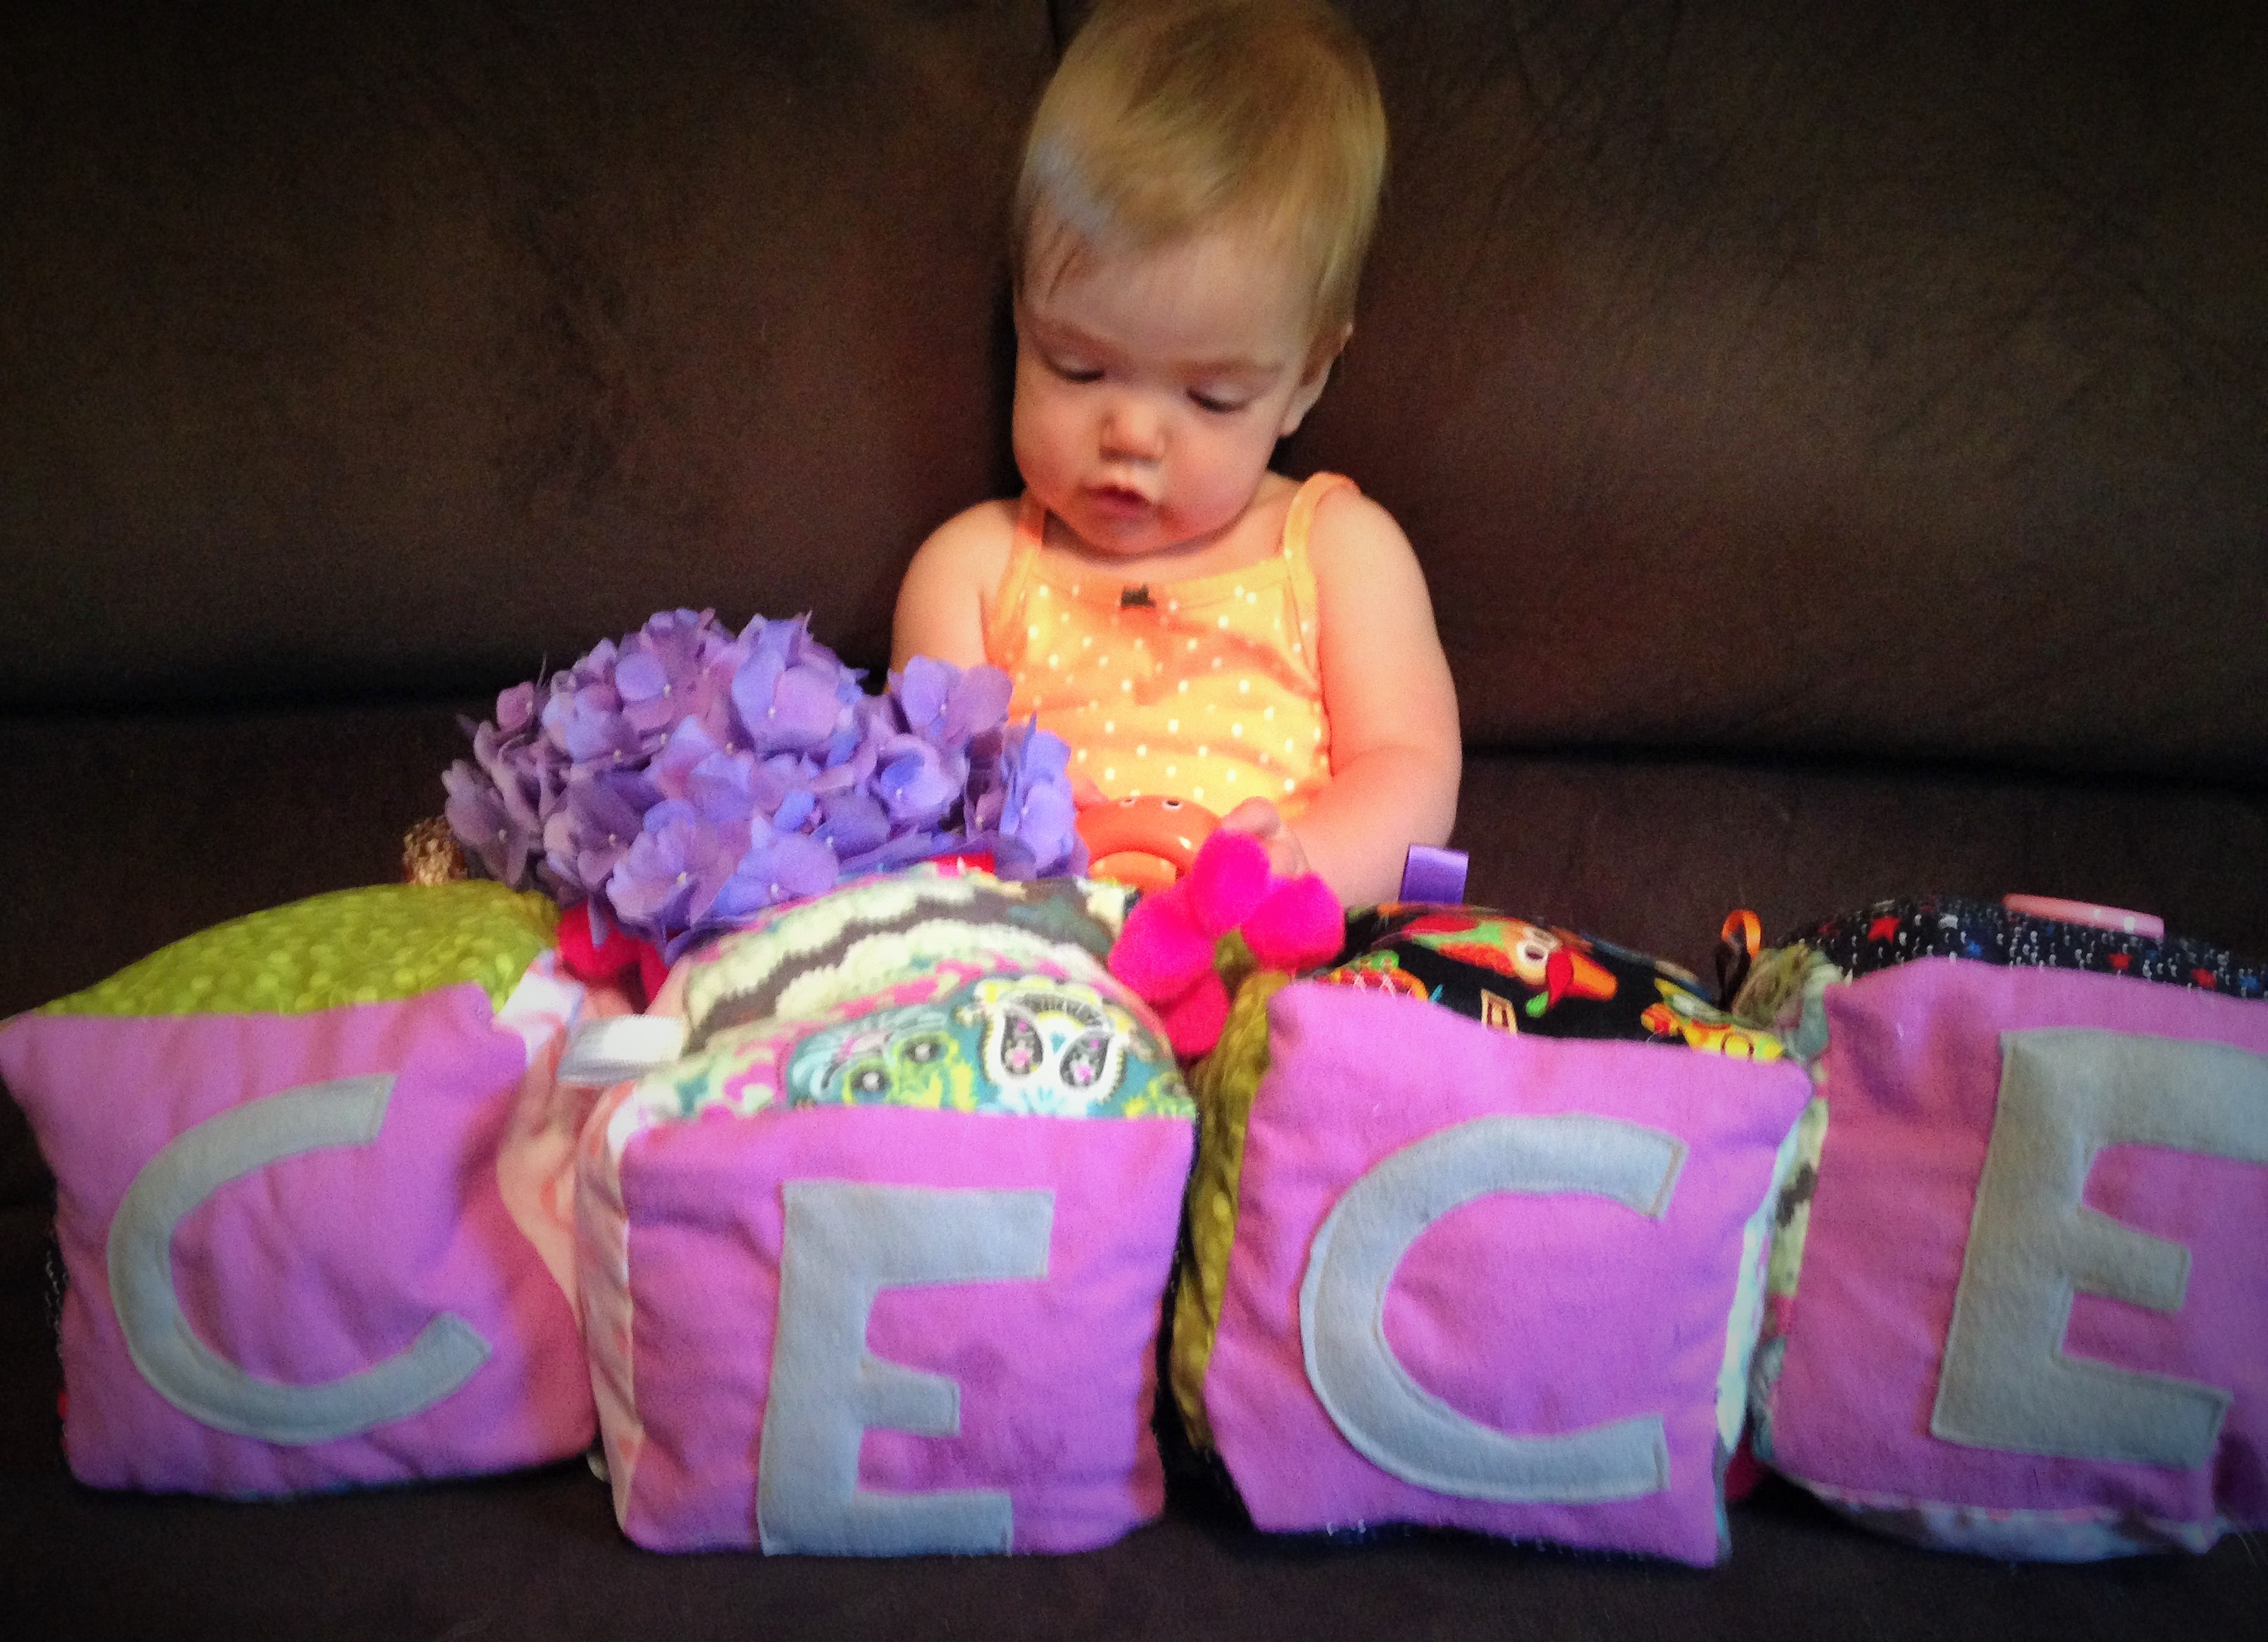
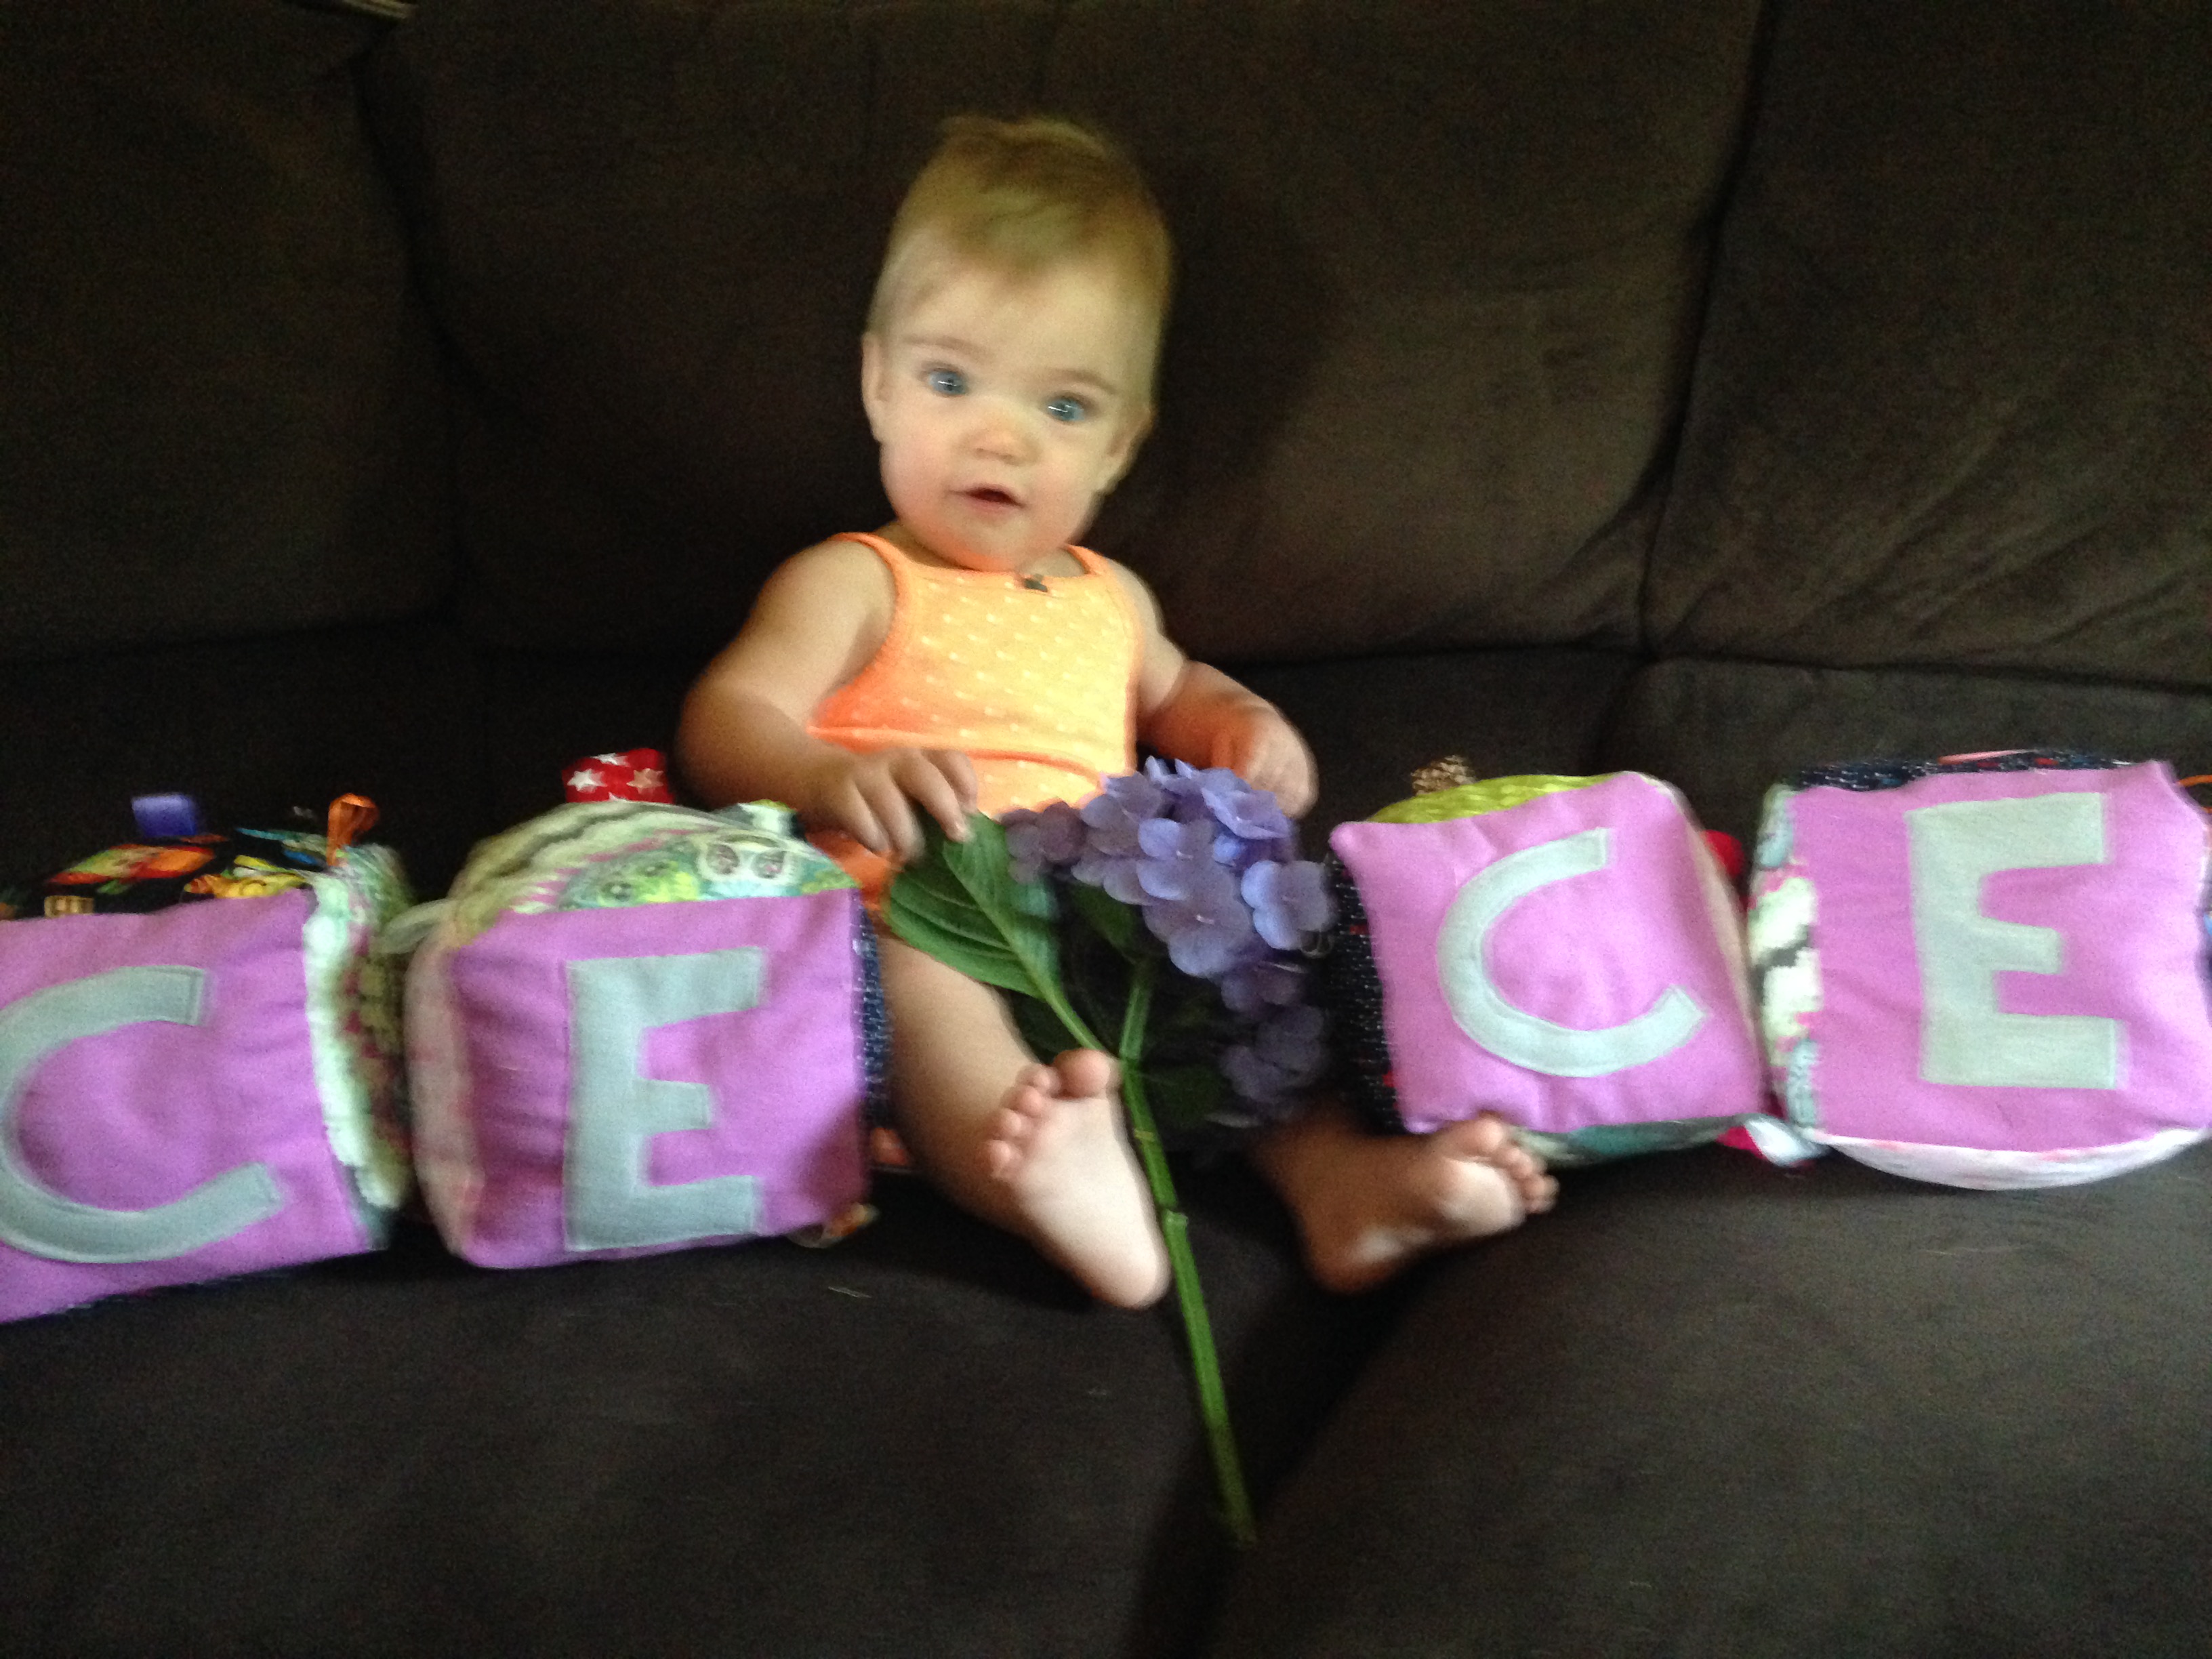
After making these squares, which by the way are FABULOUS for pictures, my little one couldn’t stop playing with all the ribbons, buttons, and laughing at the fabric and textures while sitting in her car seat. What a great toy not only for entertainment, but for learning and increasing intelligence! Not to mention it makes an amazing gift!
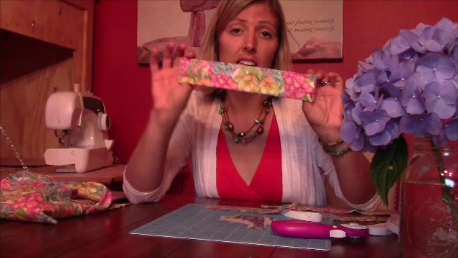
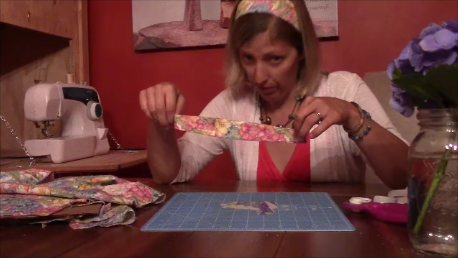
Here is the Youtube tutorial:
If you would also like to follow the written then here goes:
What you will need: FABRIC, buttons, ribbons, polyfil, optional bells or rattle
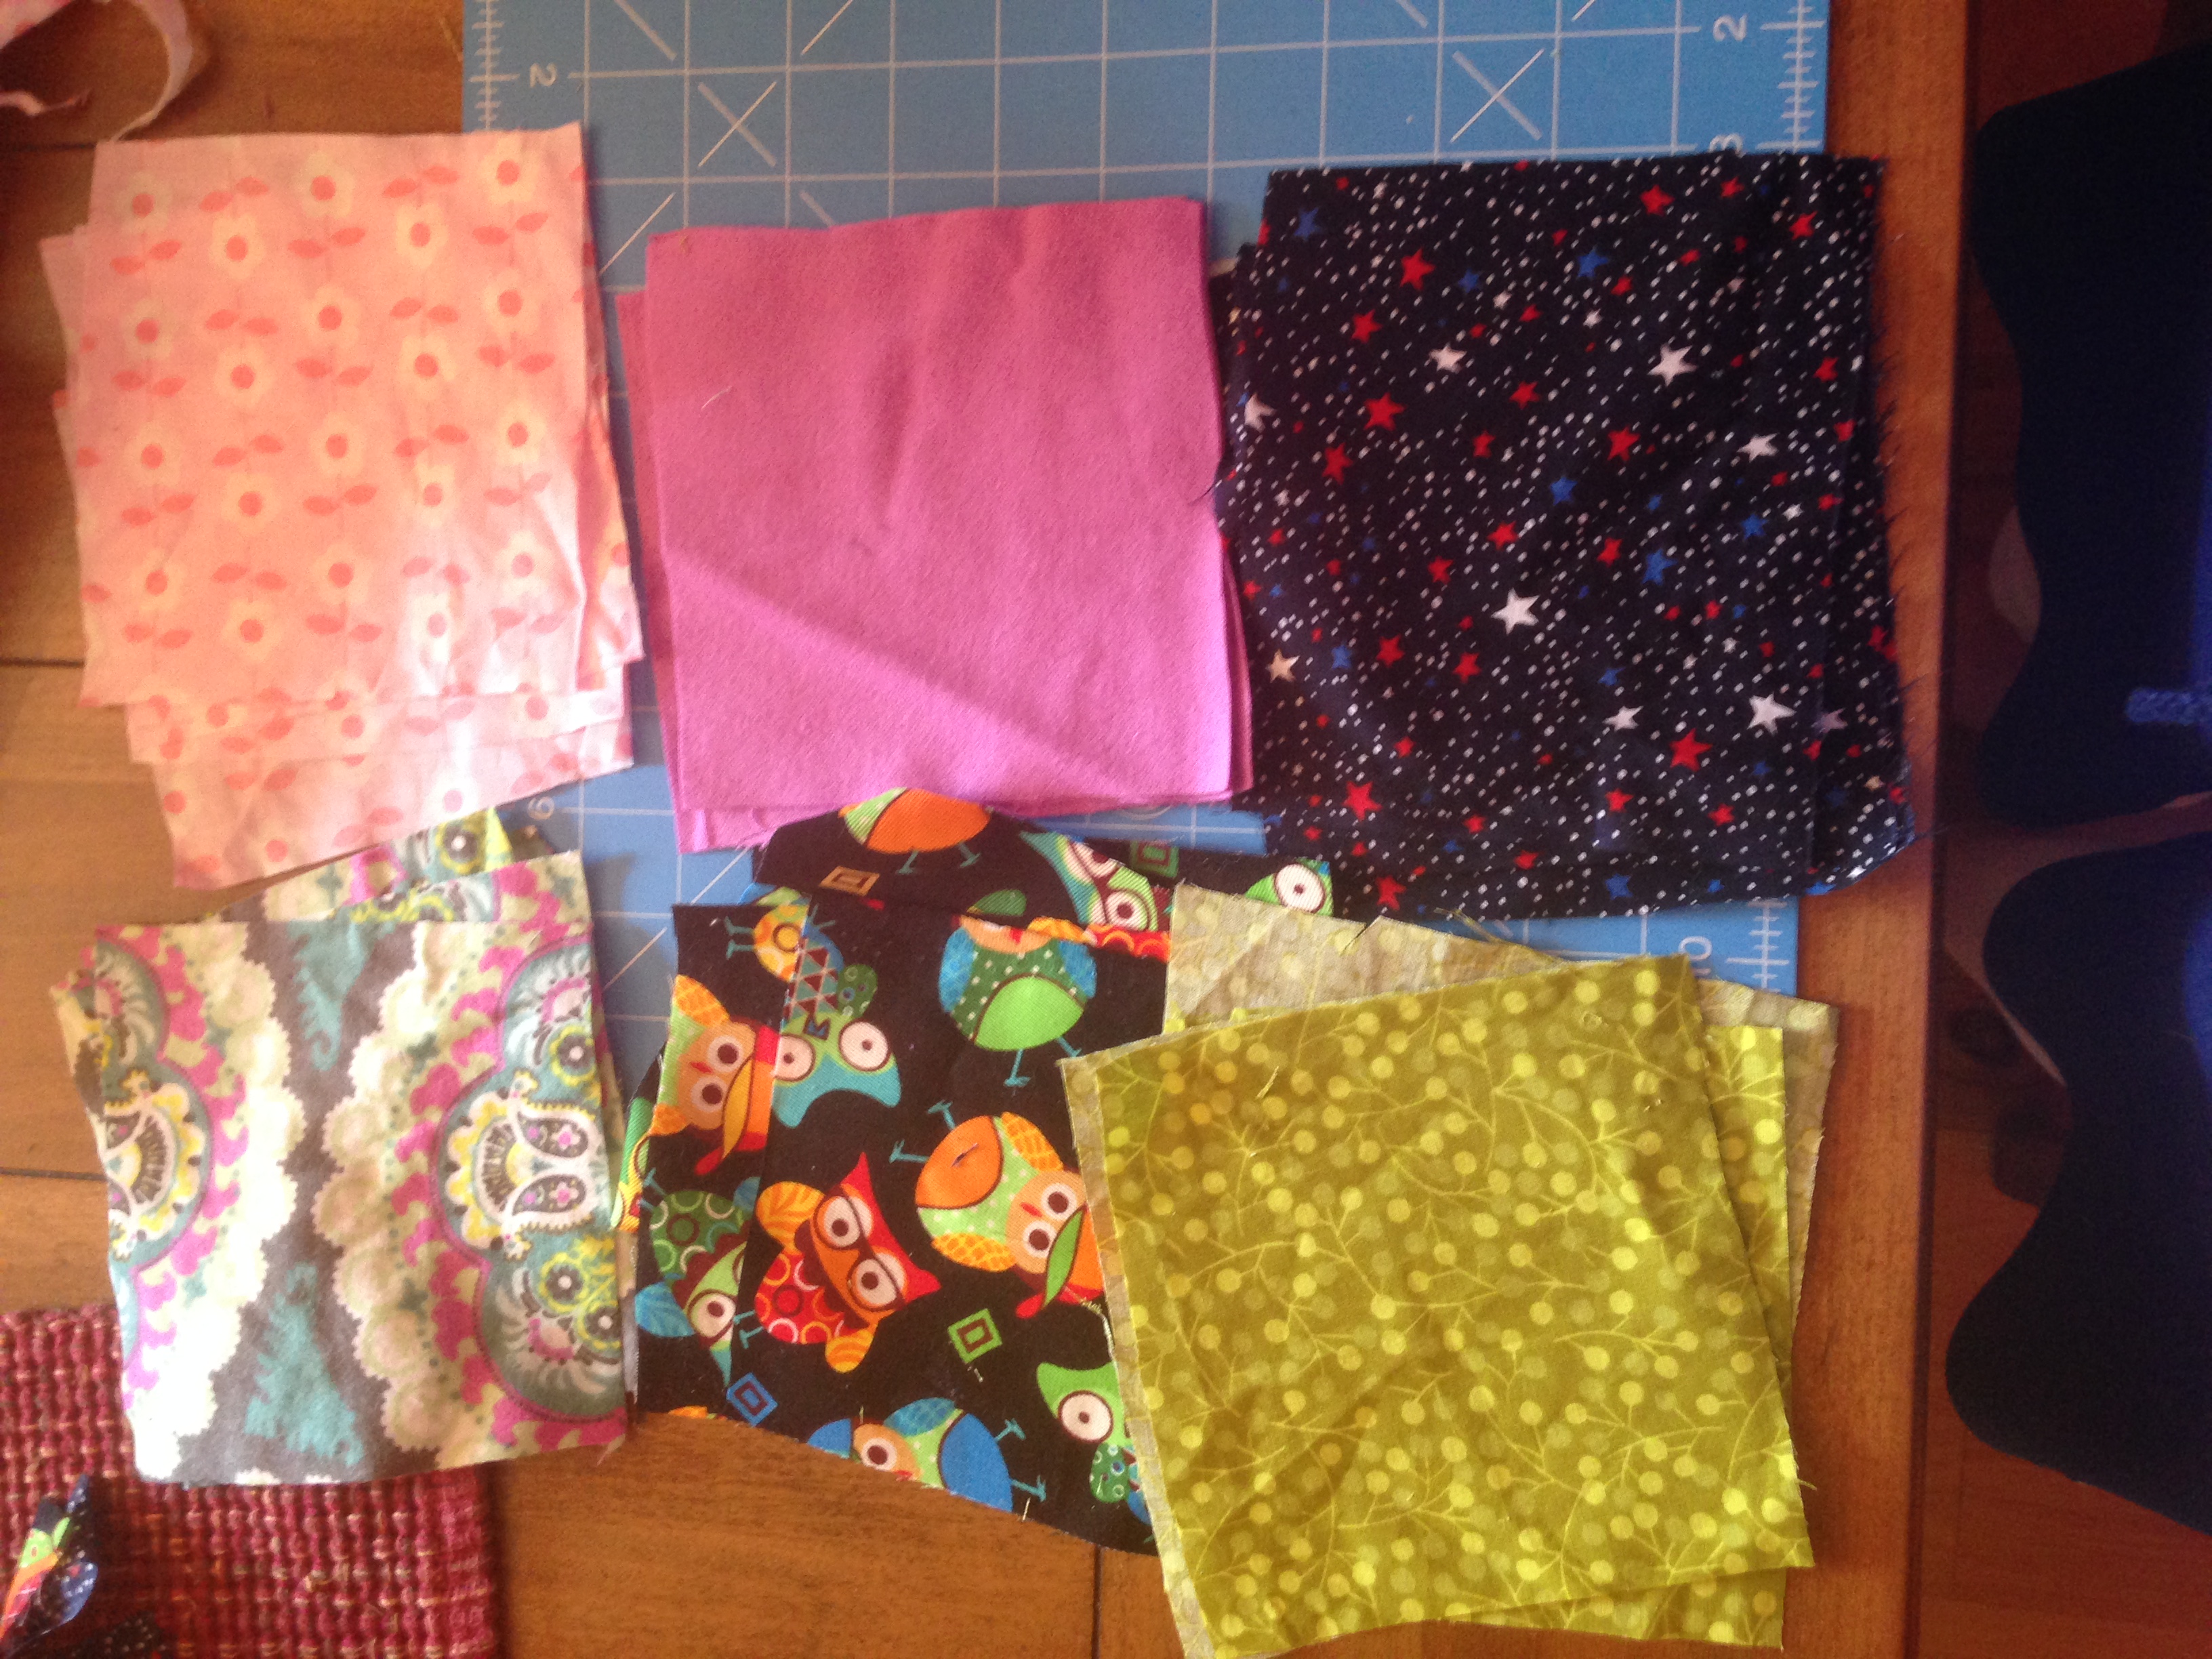
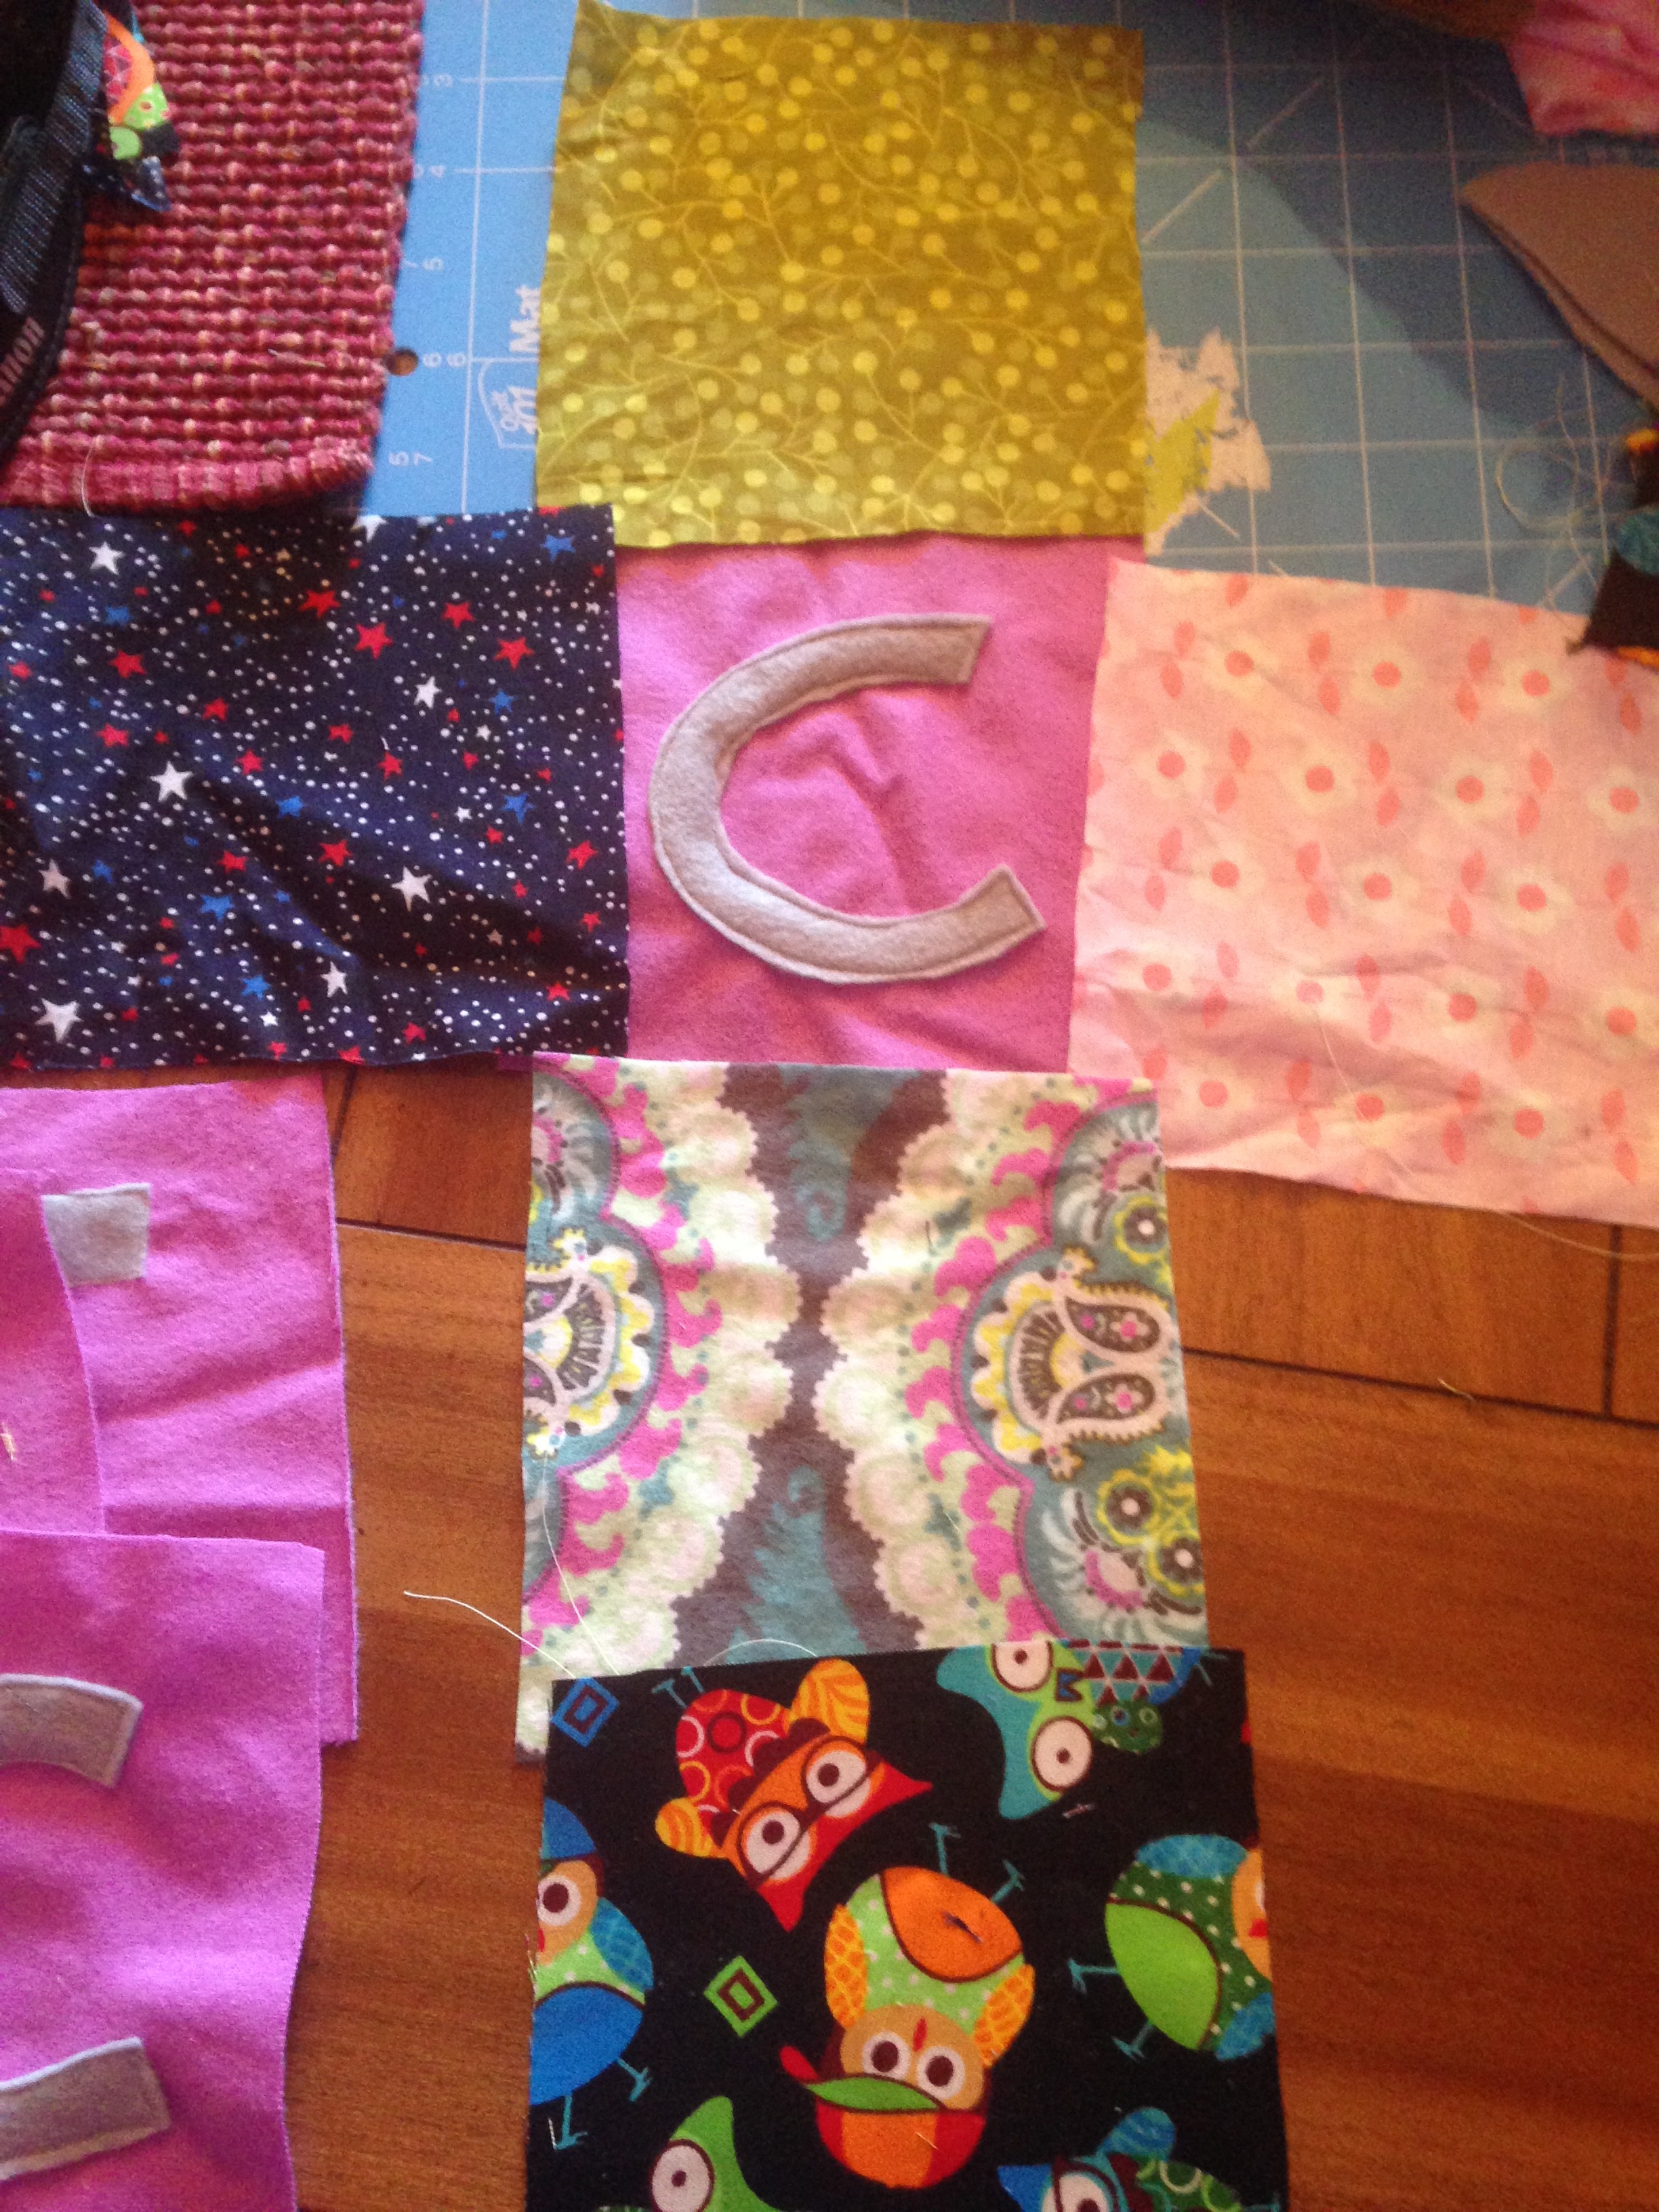
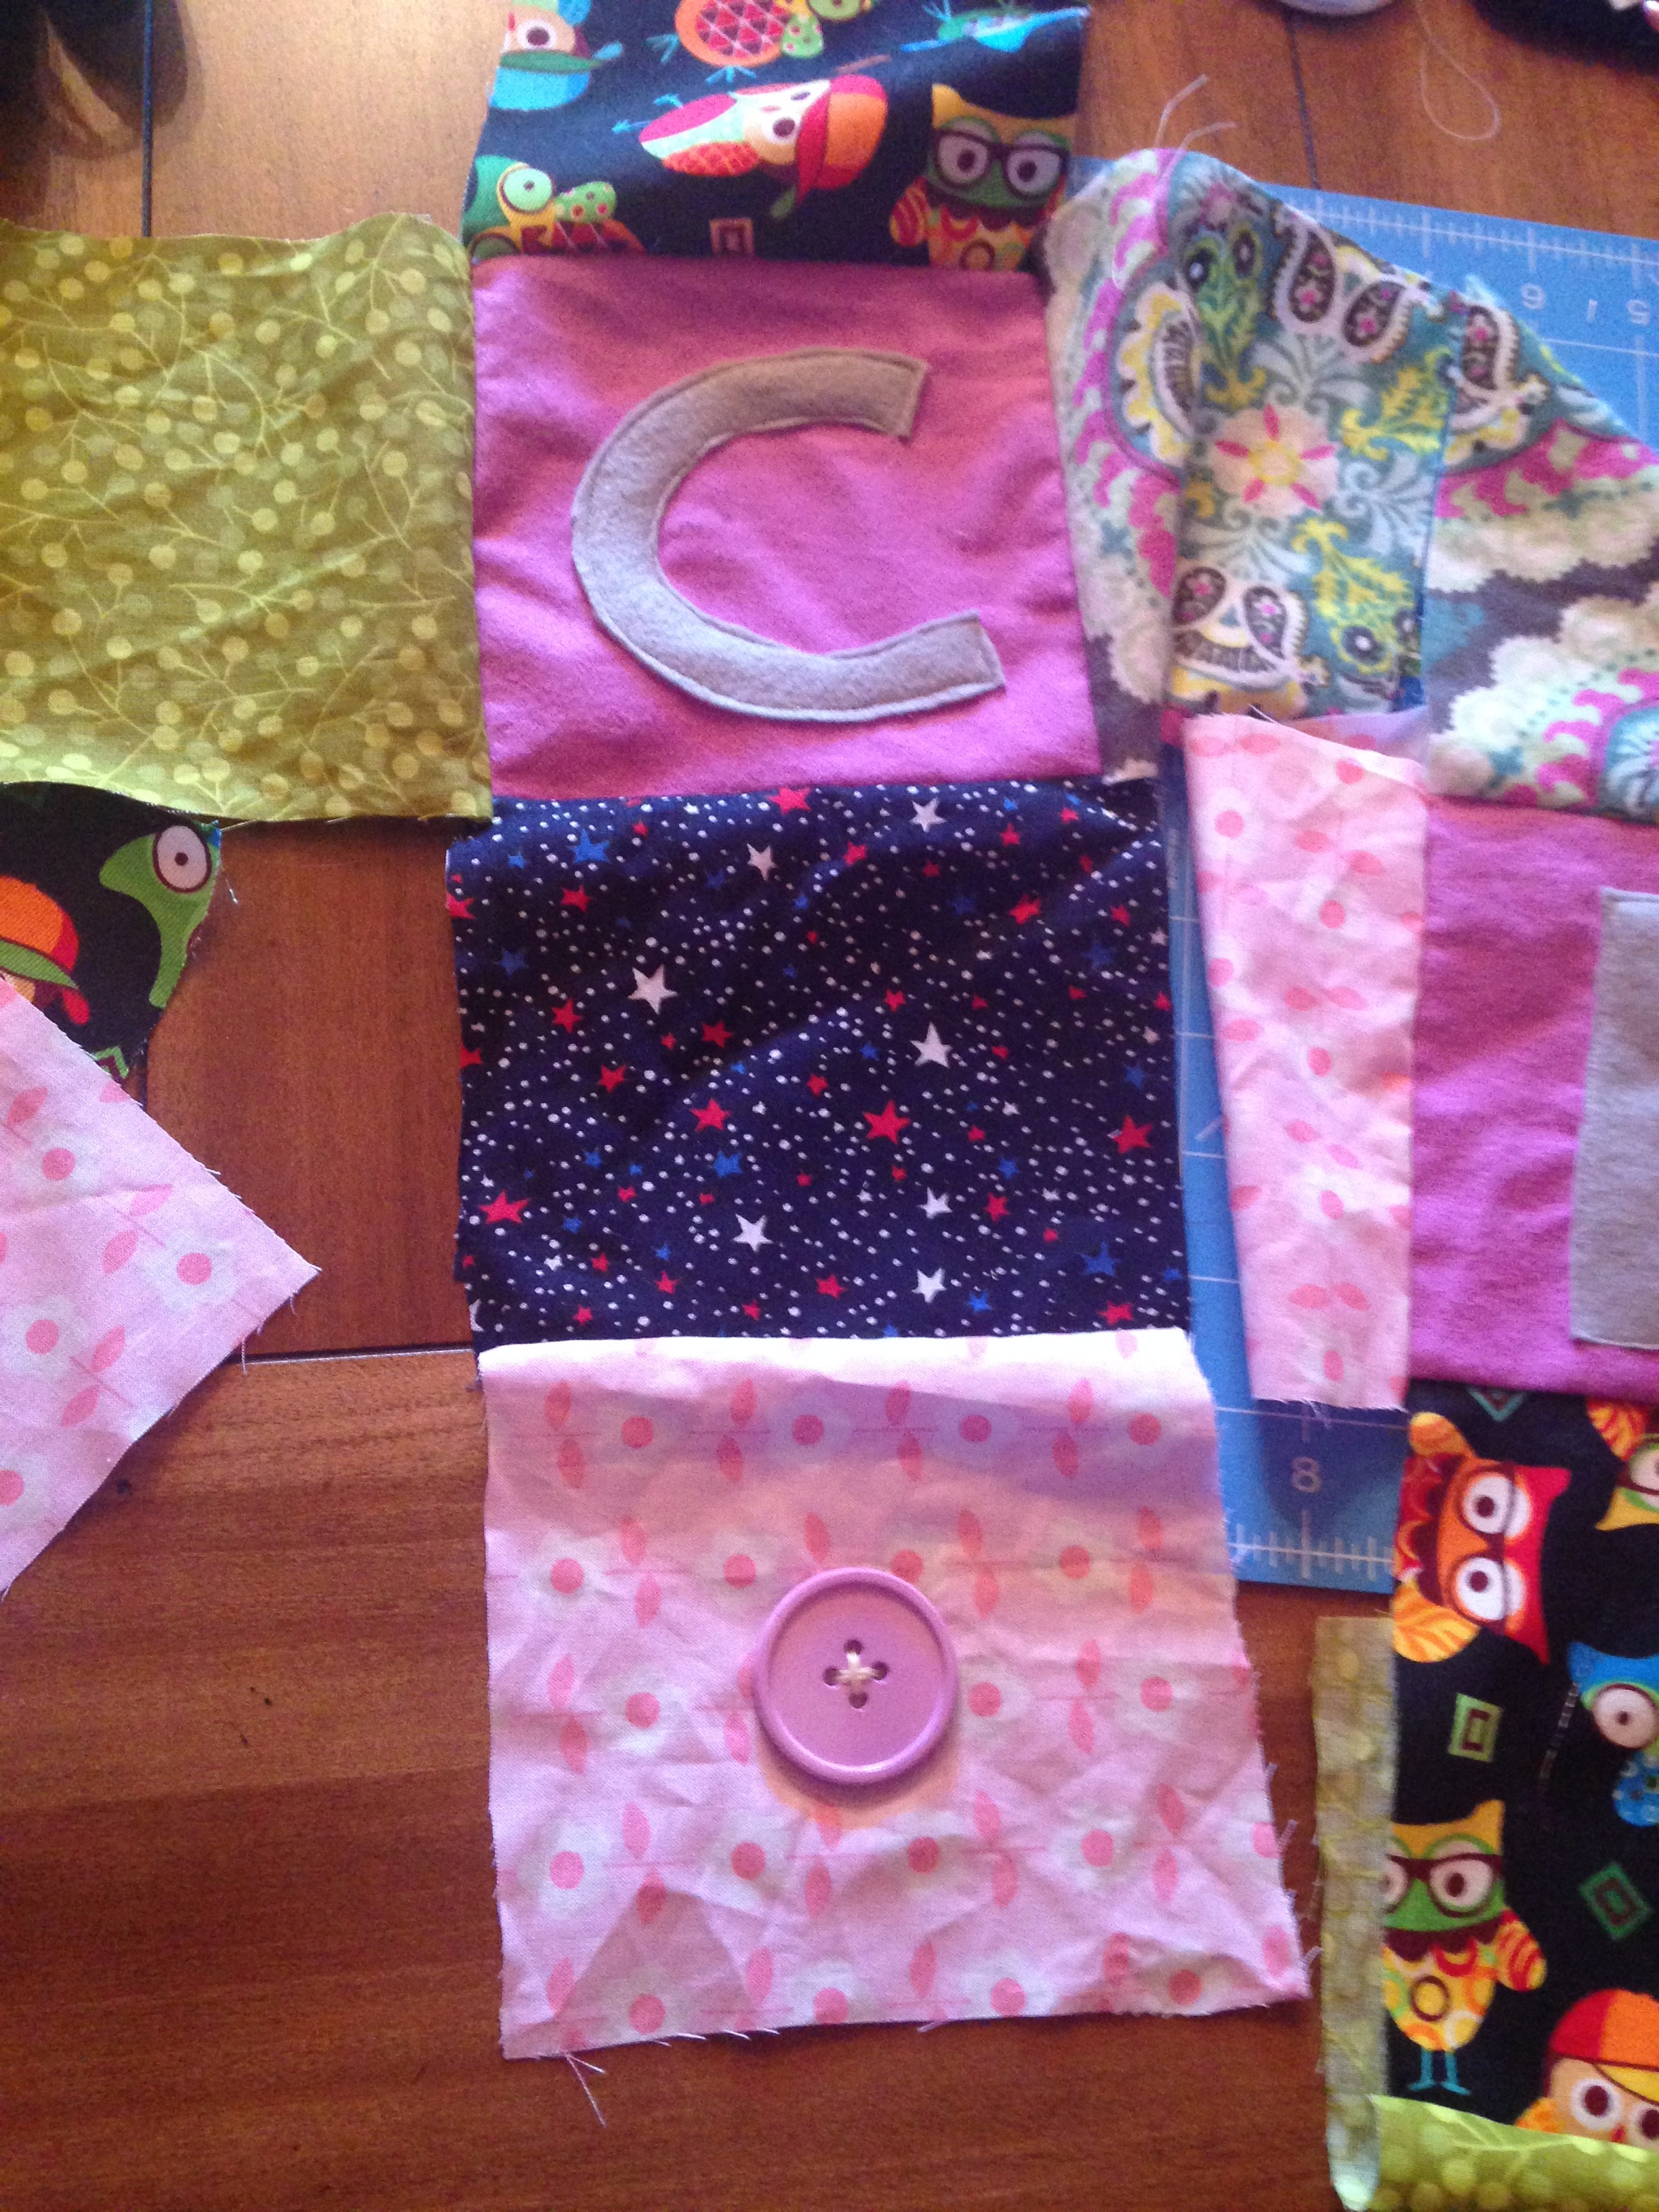
fabric: There are six sides to each square. You can chose your colors and textures. You will need six squares for each letter you are making. In this case, I used four letters for four blocks and six different pattern pieces with all different textures and patterns. This is the fun part! You can of course color coordinate for a boy or girl; however, I chose to do fun patterns that I knew my little one would love to look at, catch her attention, and also advance her imagination.
So there are six sides to the blocks so I picked those fabrics and chose my size for the blocks to be 6×6 and cut out four of each fabric I wanted to use. This is also great if you have extra scrap pieces you want to use up.
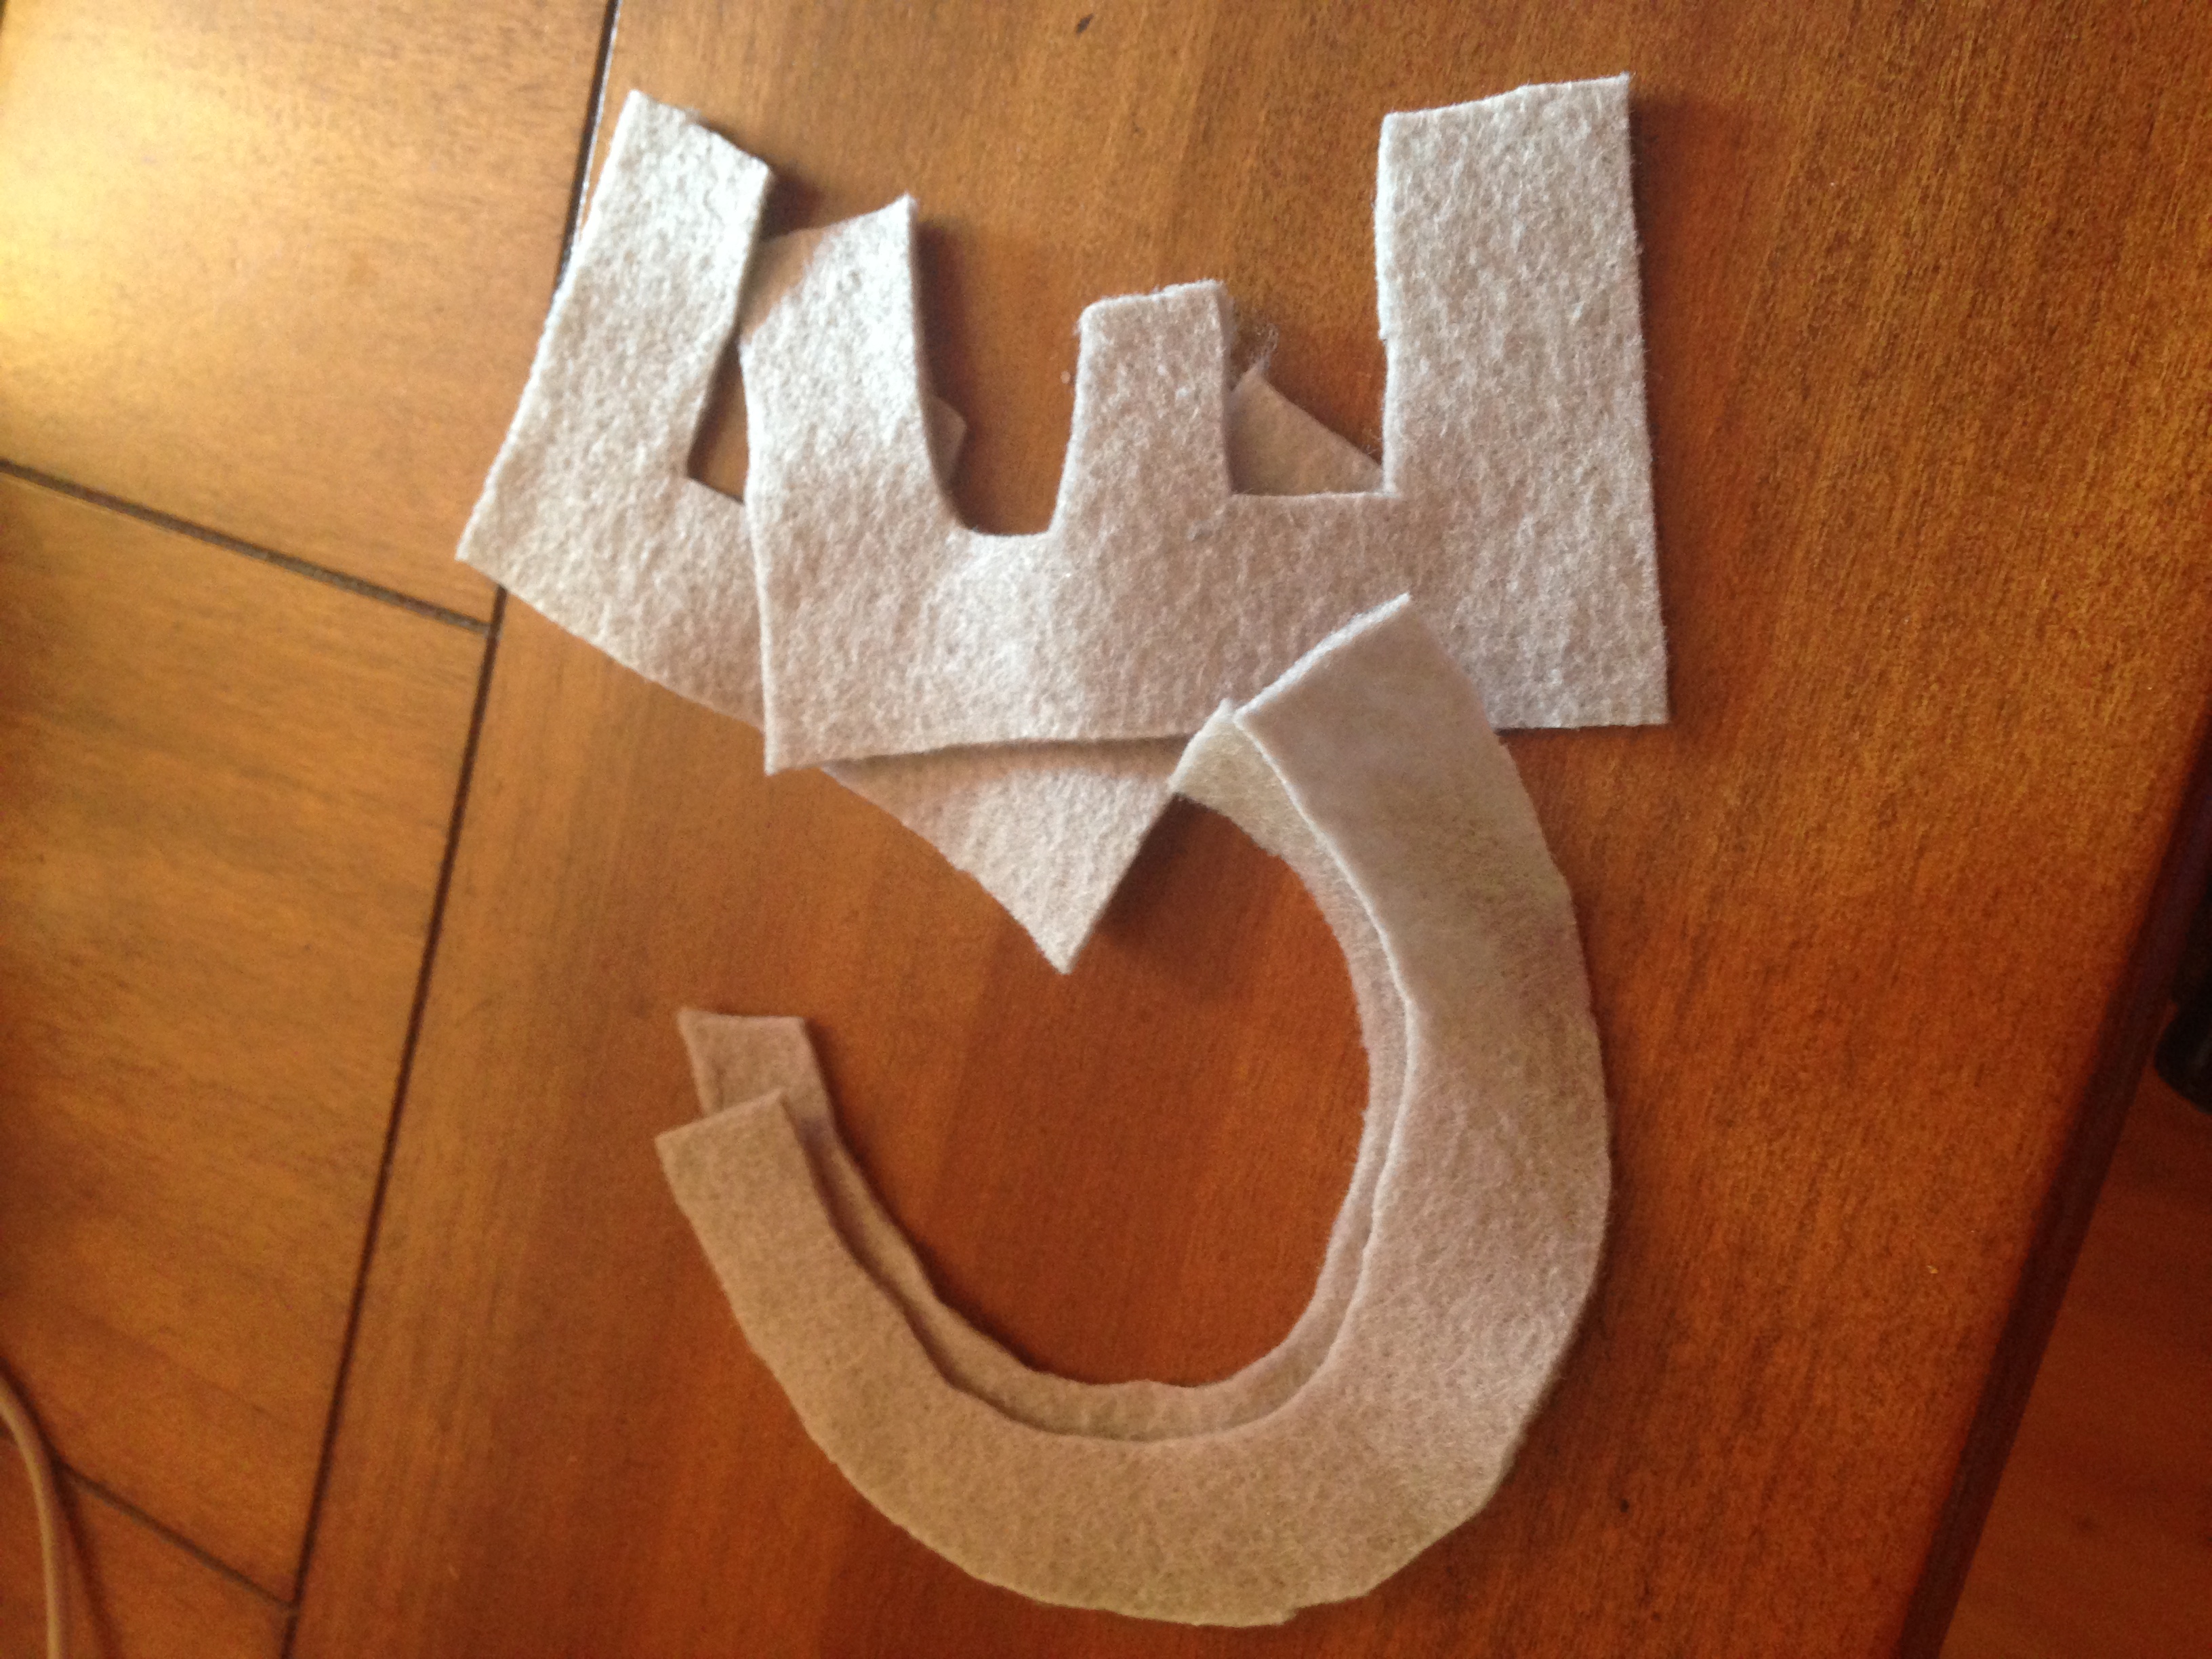
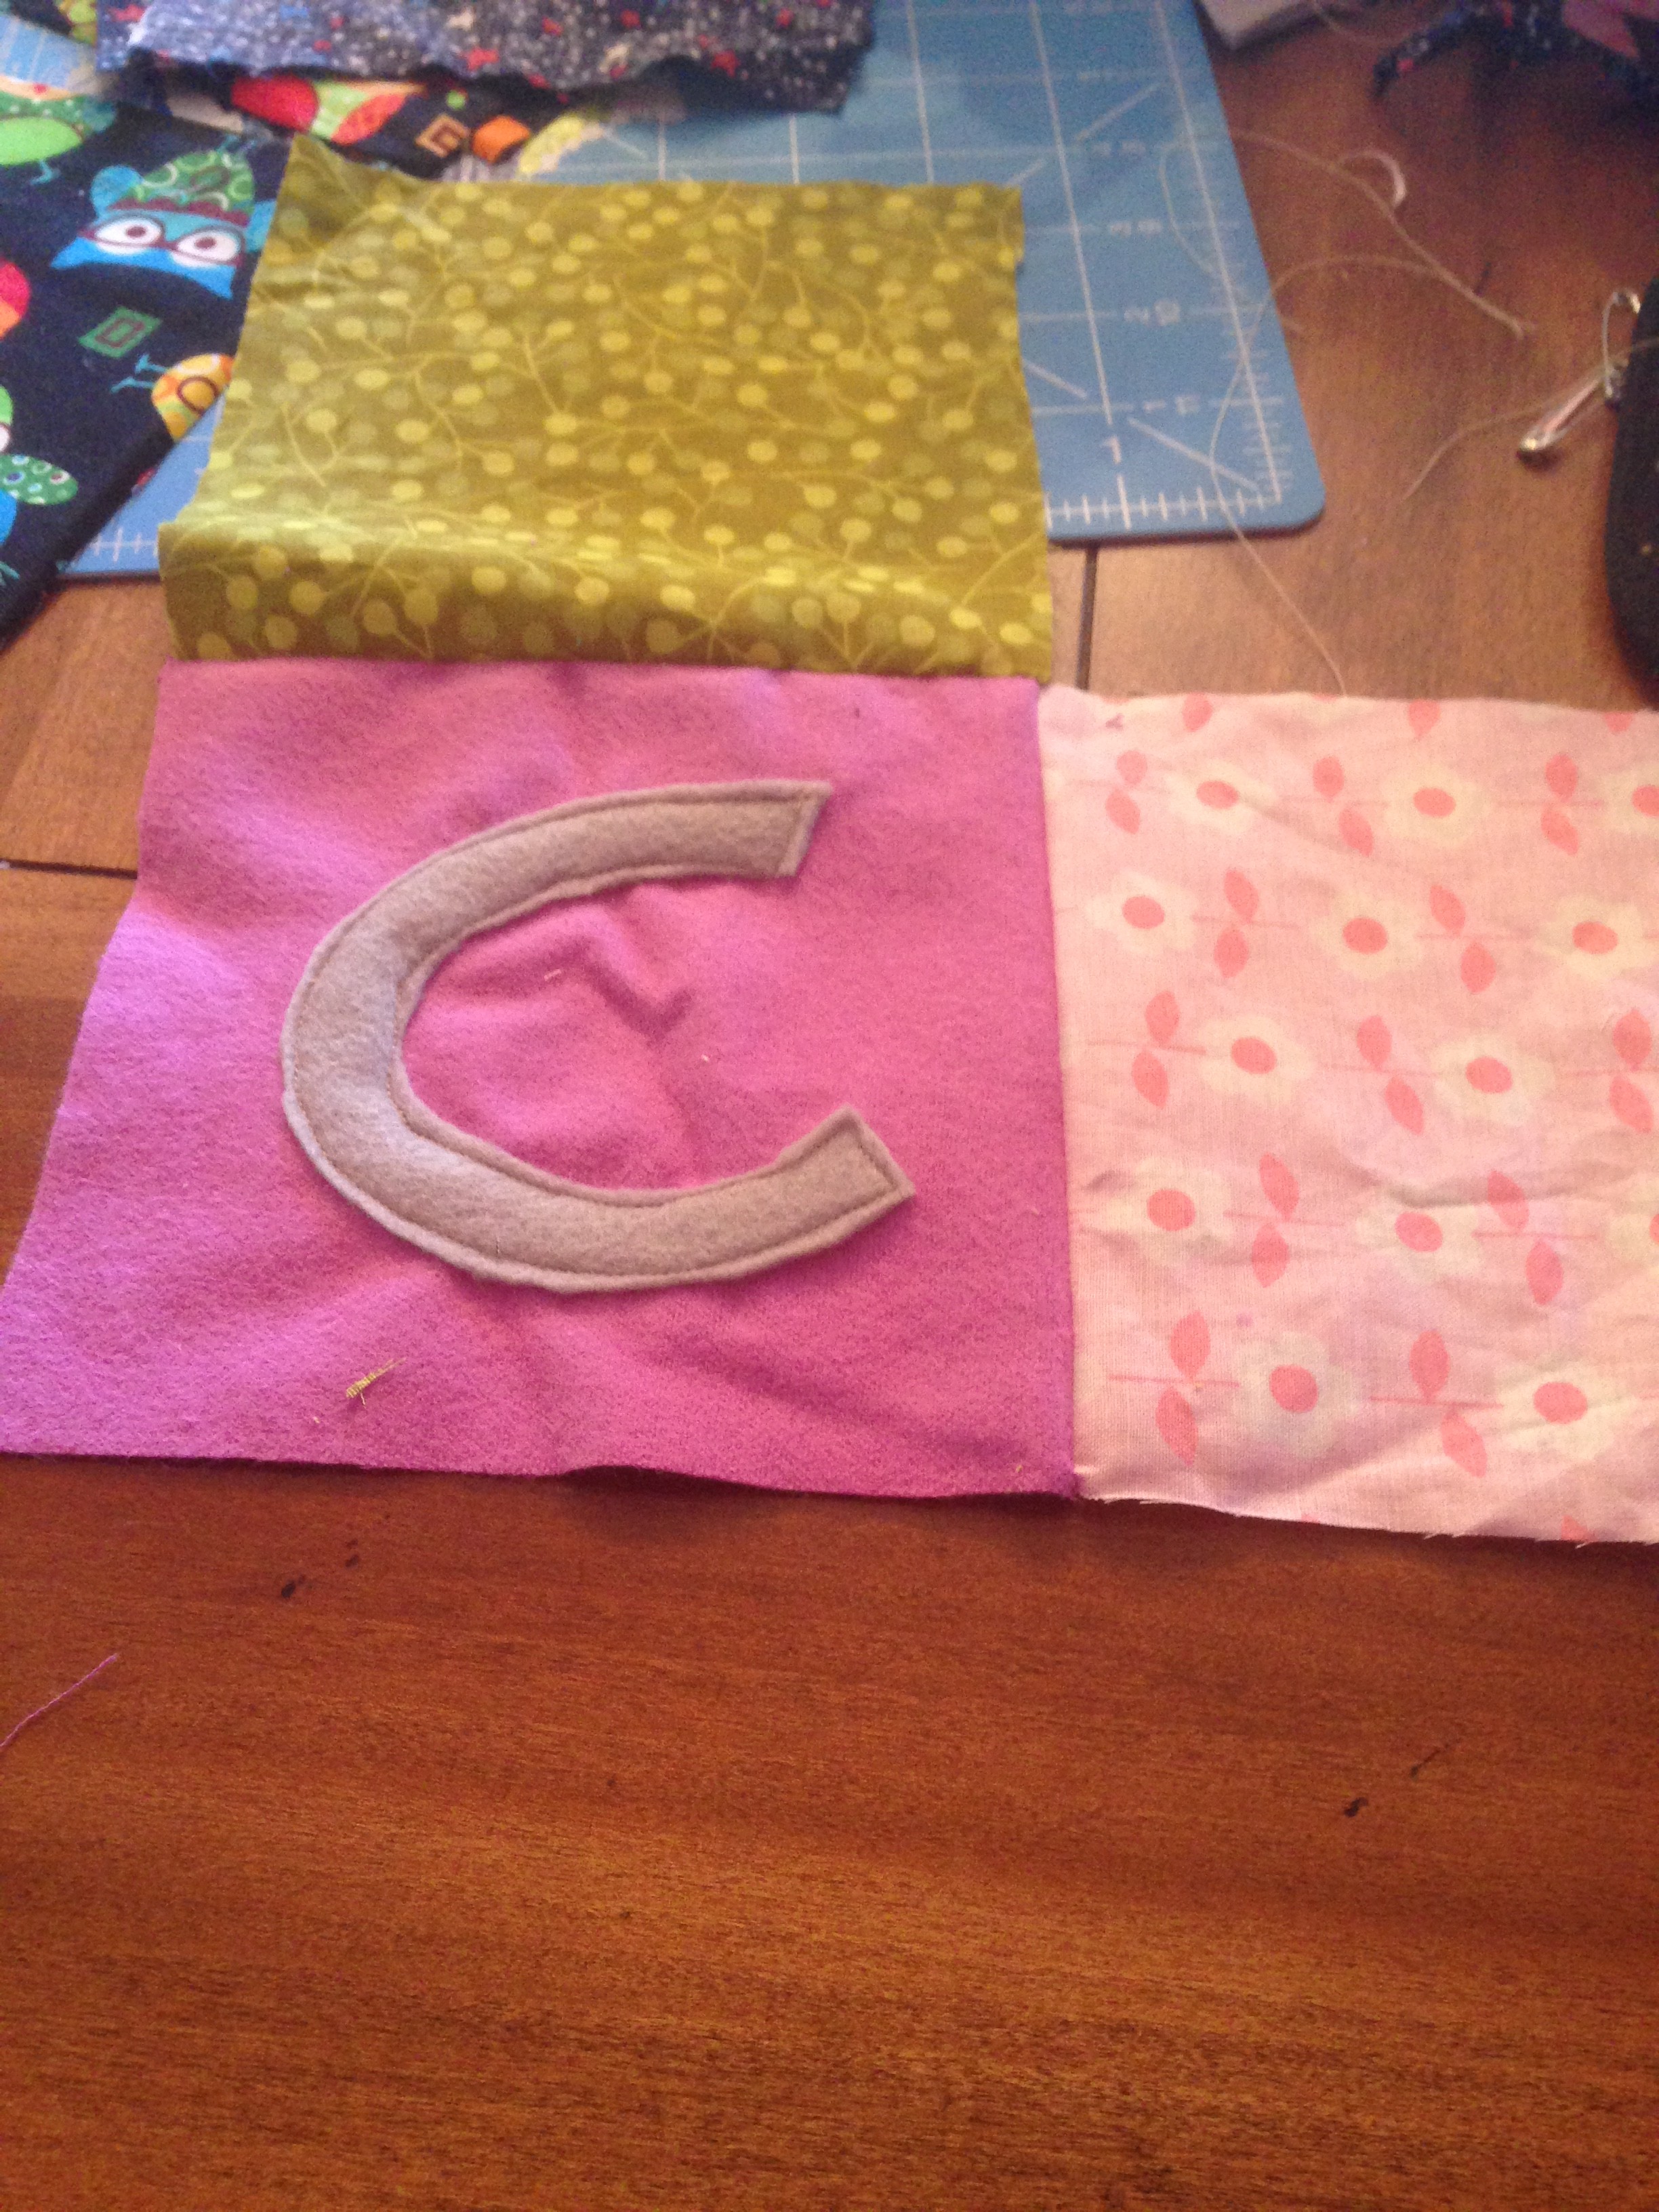
Next, you want to cut out your letters. I did this free hand. I used extra felt I had sitting around! Once completed, sew them on the fabric you would like for each block.
Now you want to setup your pieces to
make your block. Put the letter in the
center and surround it as shown with your
other fabrics. You may want to have the same pattern
for each block or different spots for each
fabric square
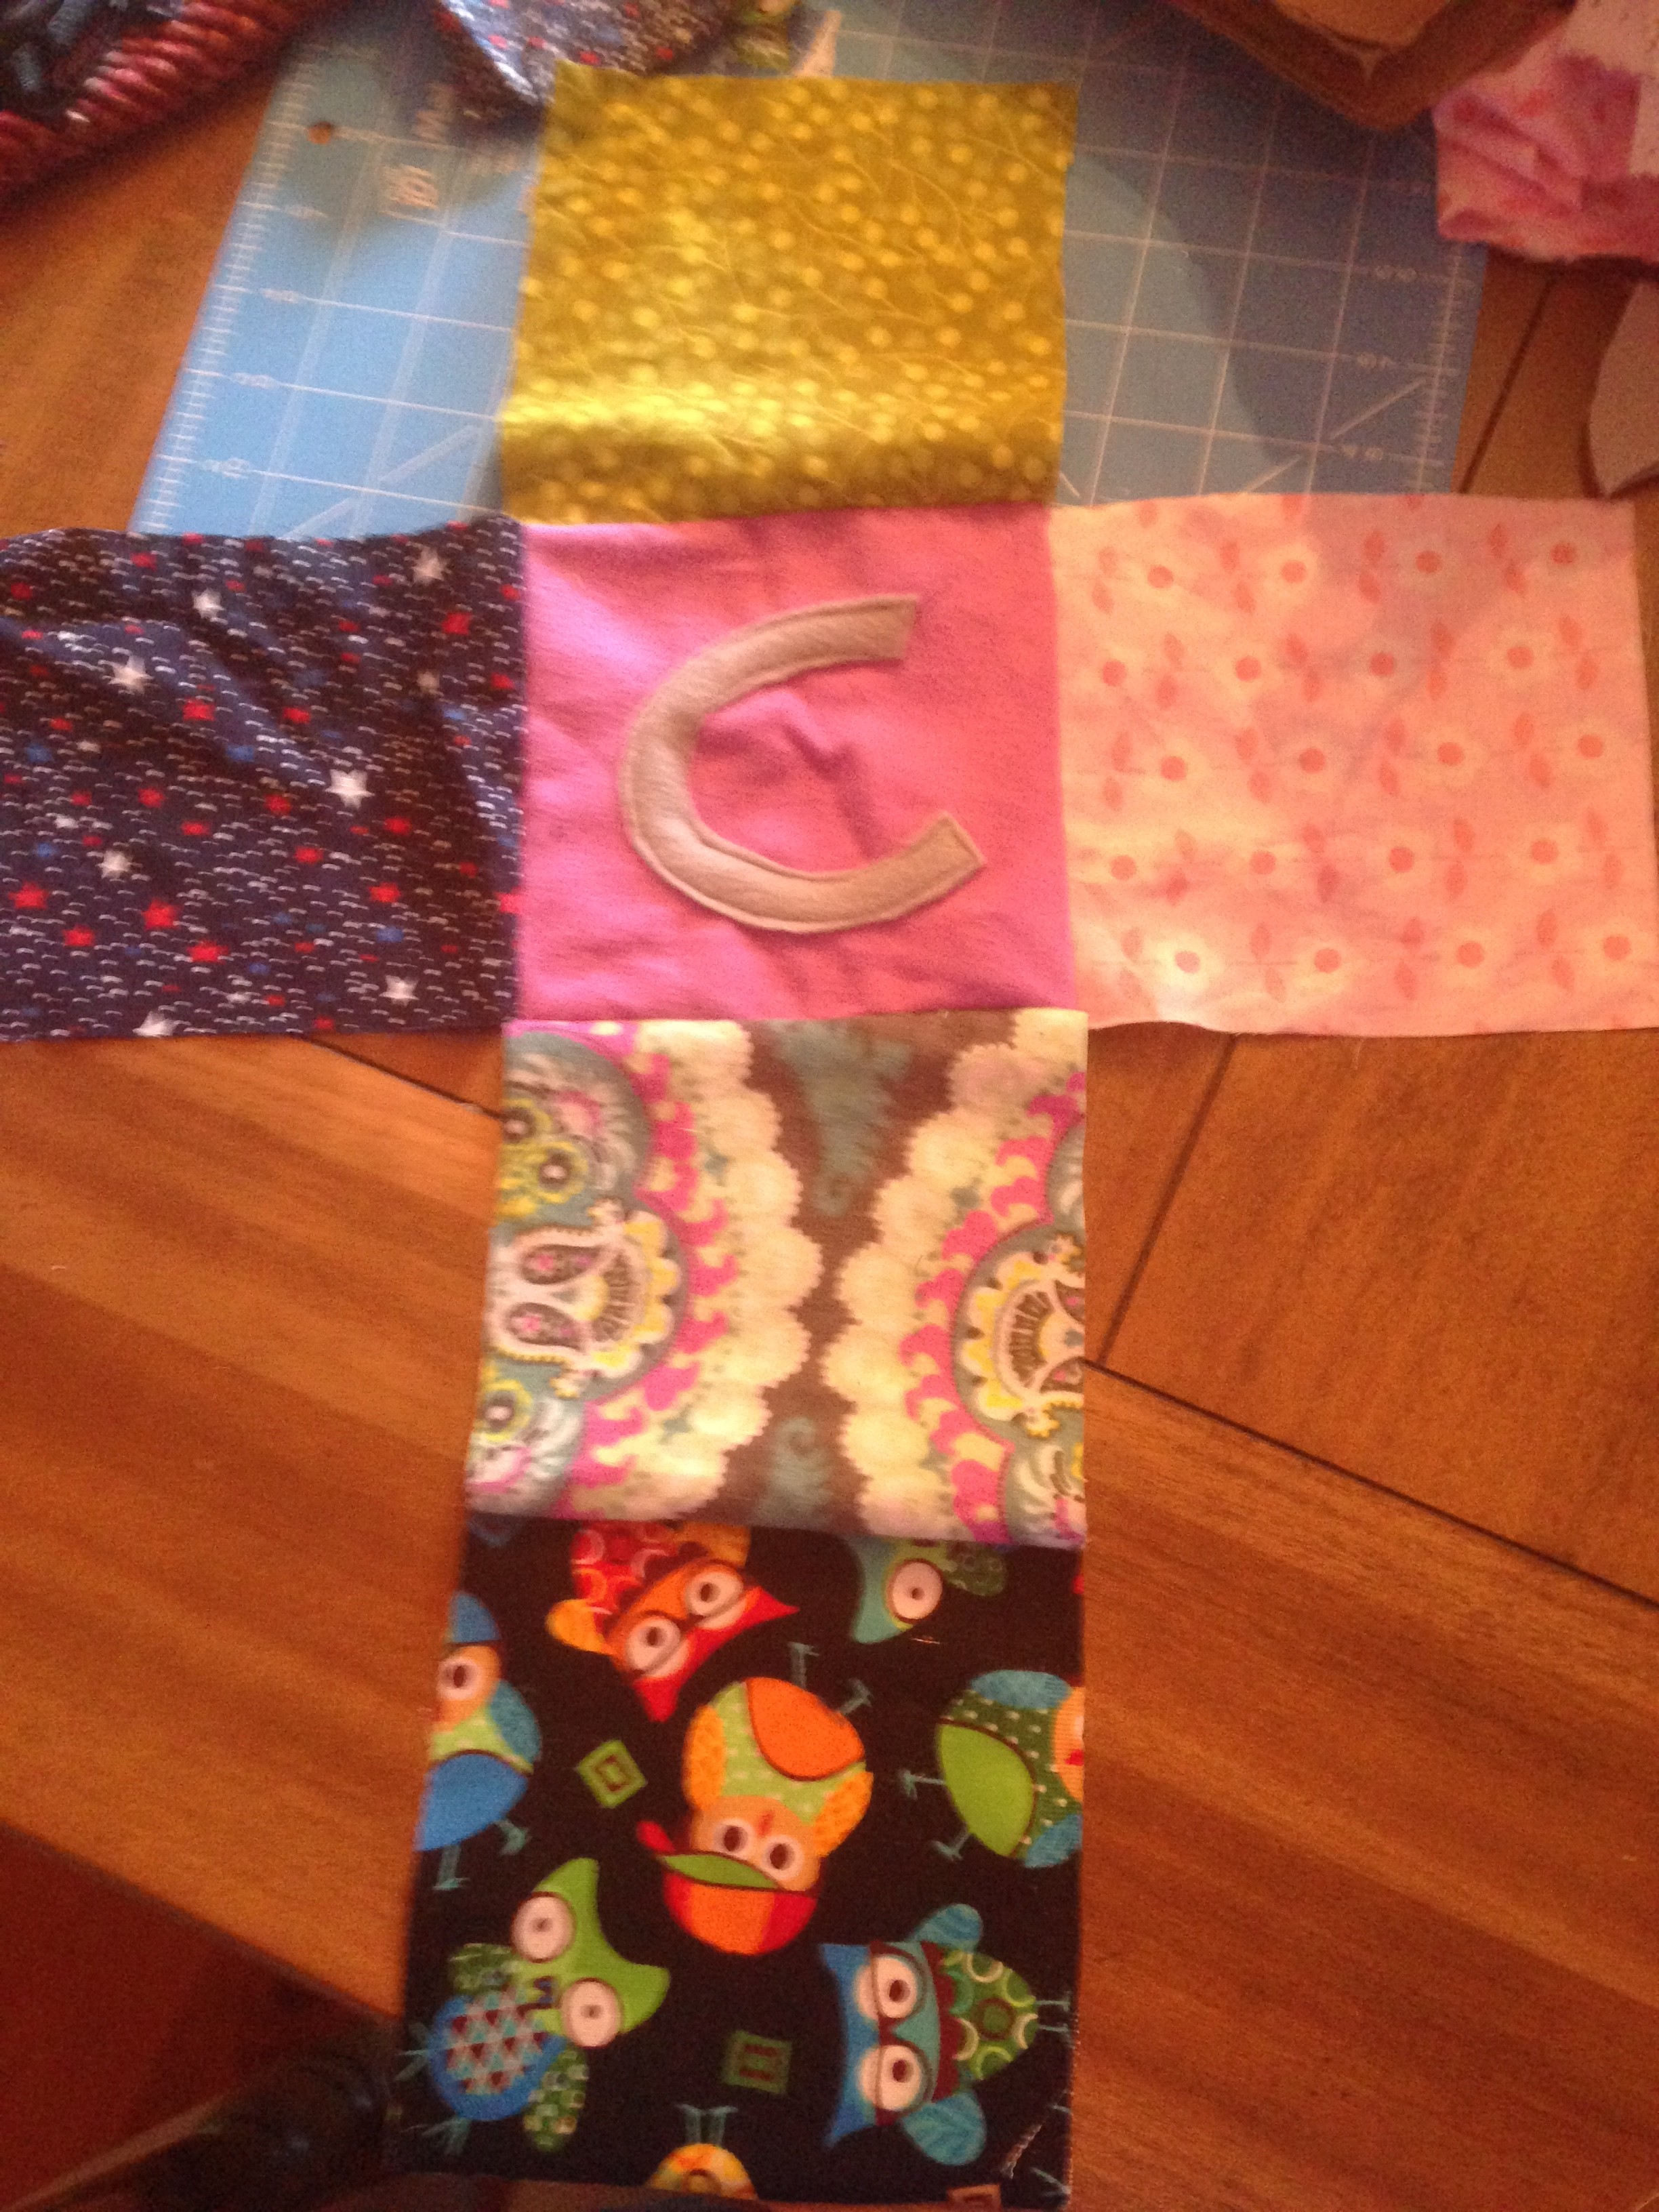
Start sewing pattern pieces facing
each other. Take top piece and put pattern facing inside on the letter and sew the top edge, then continue until they are all sew together as shown below. Do this for all your blocks.
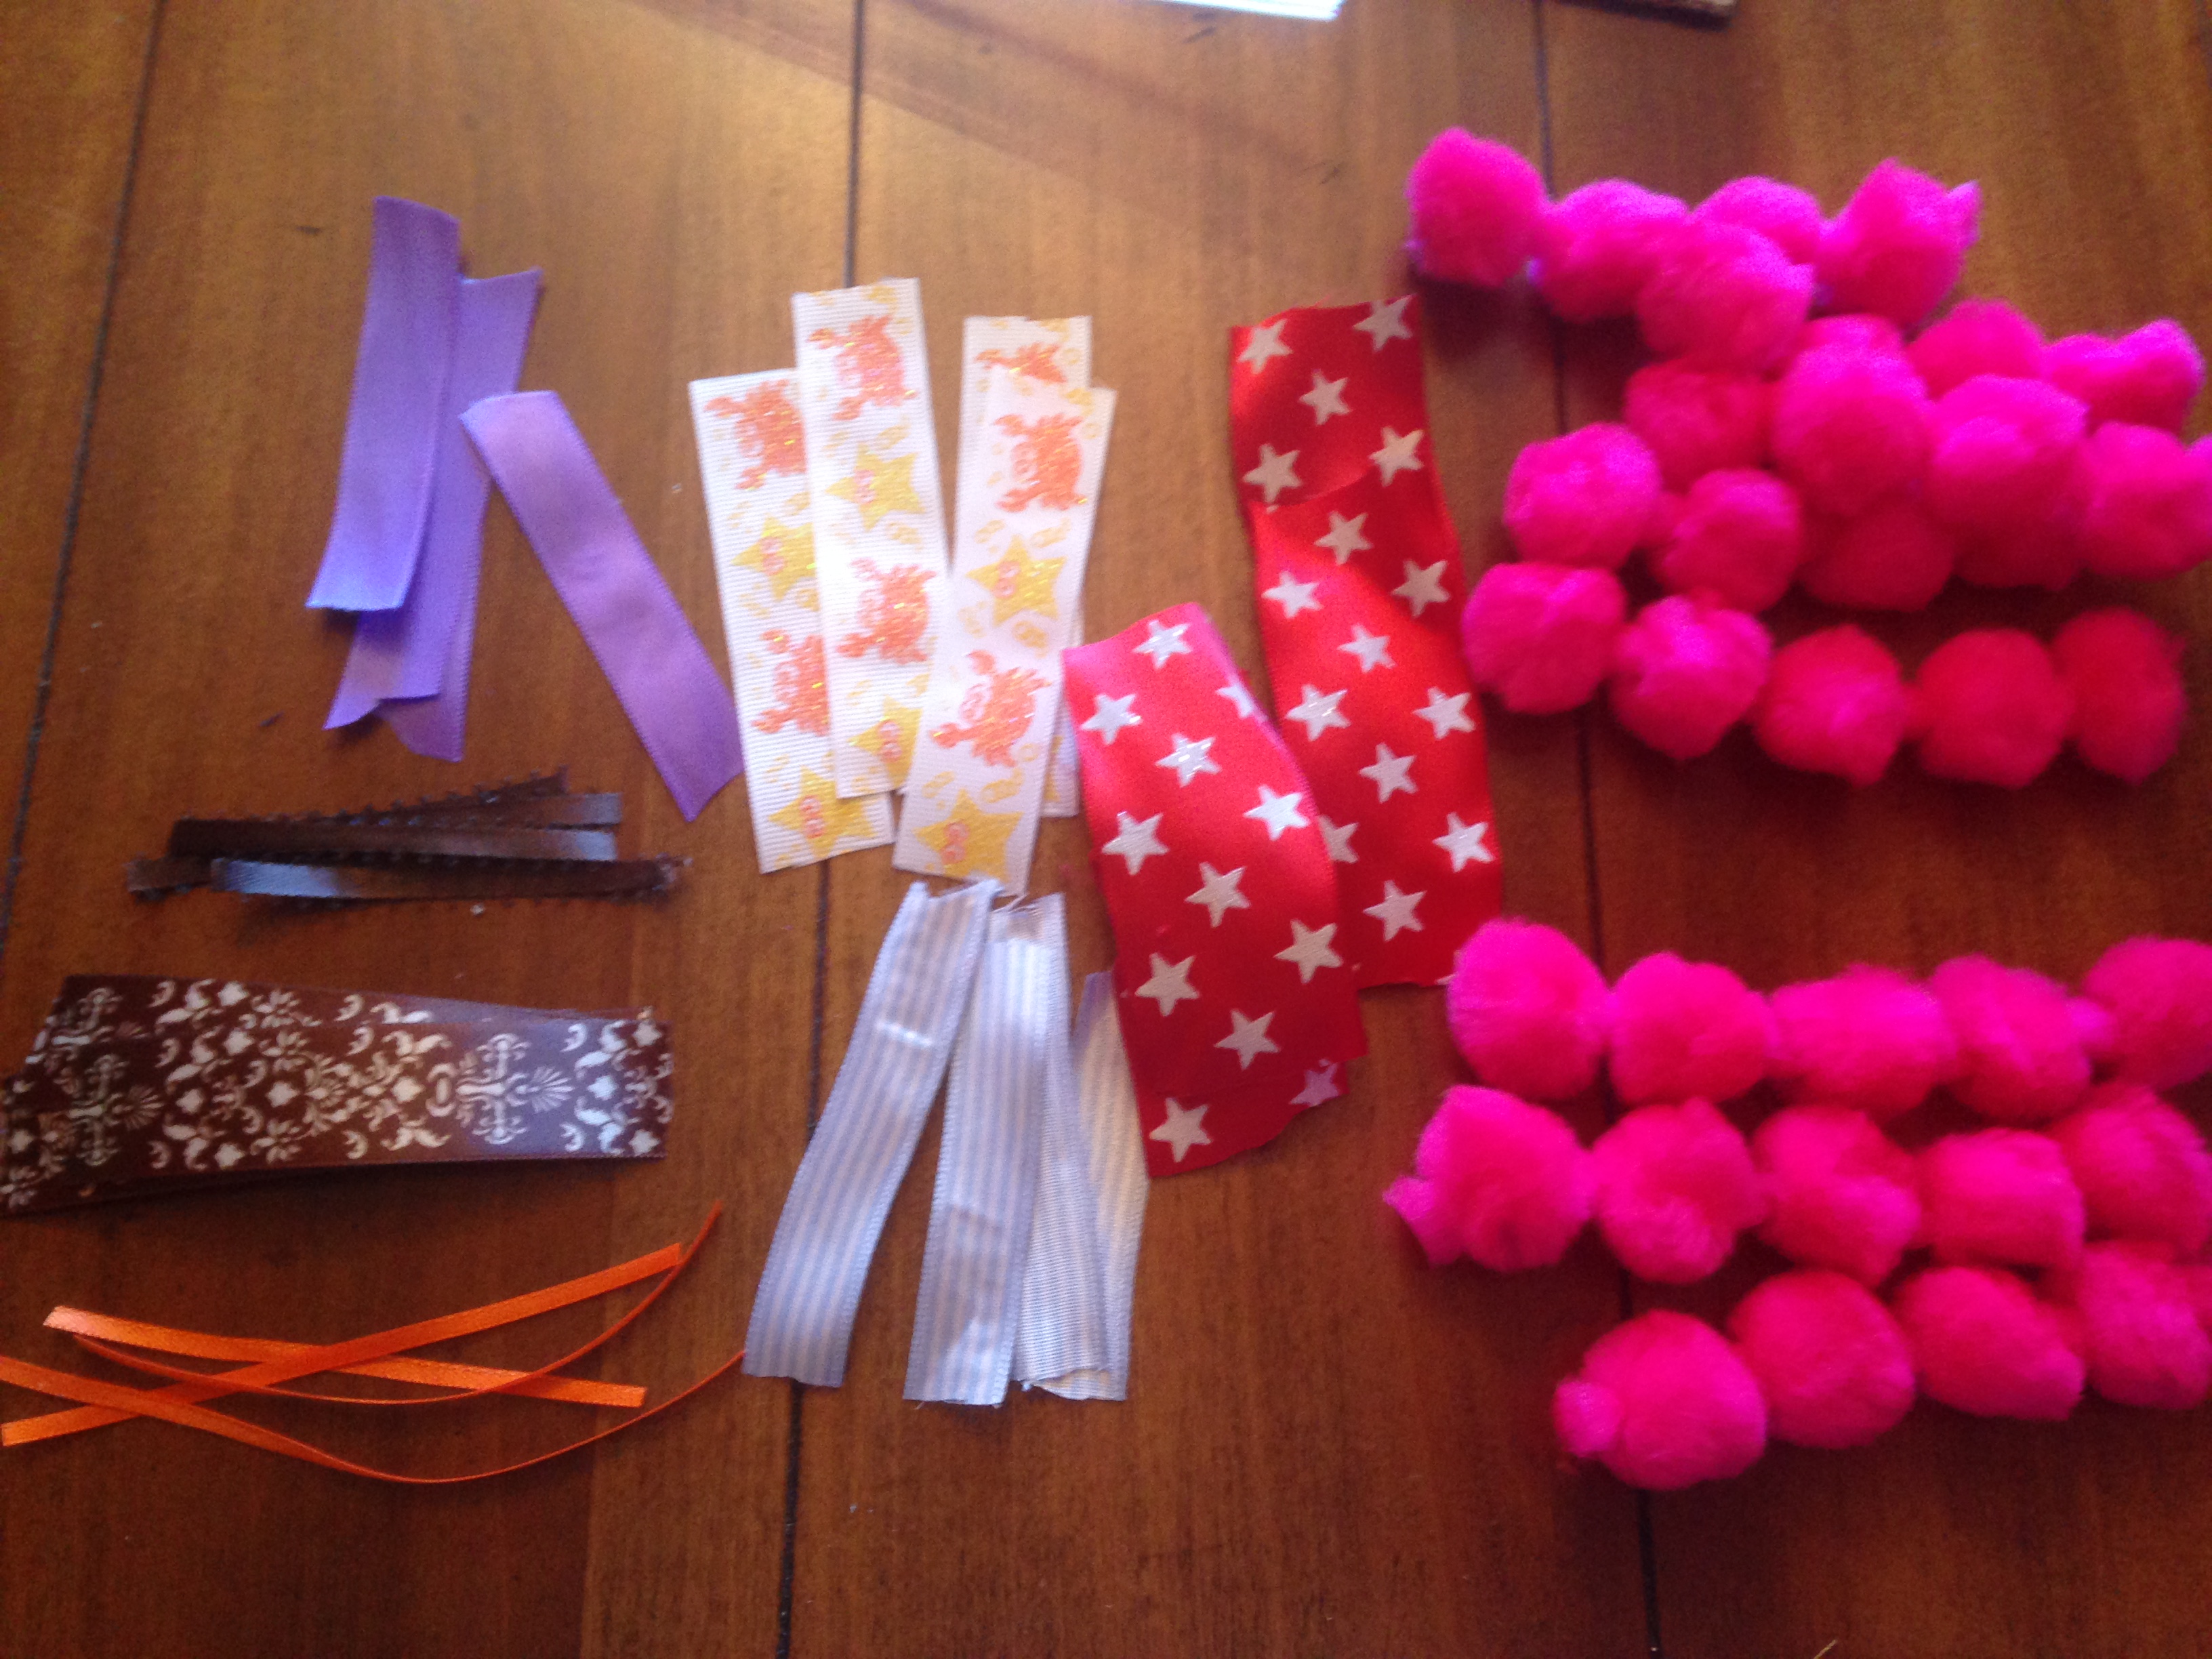
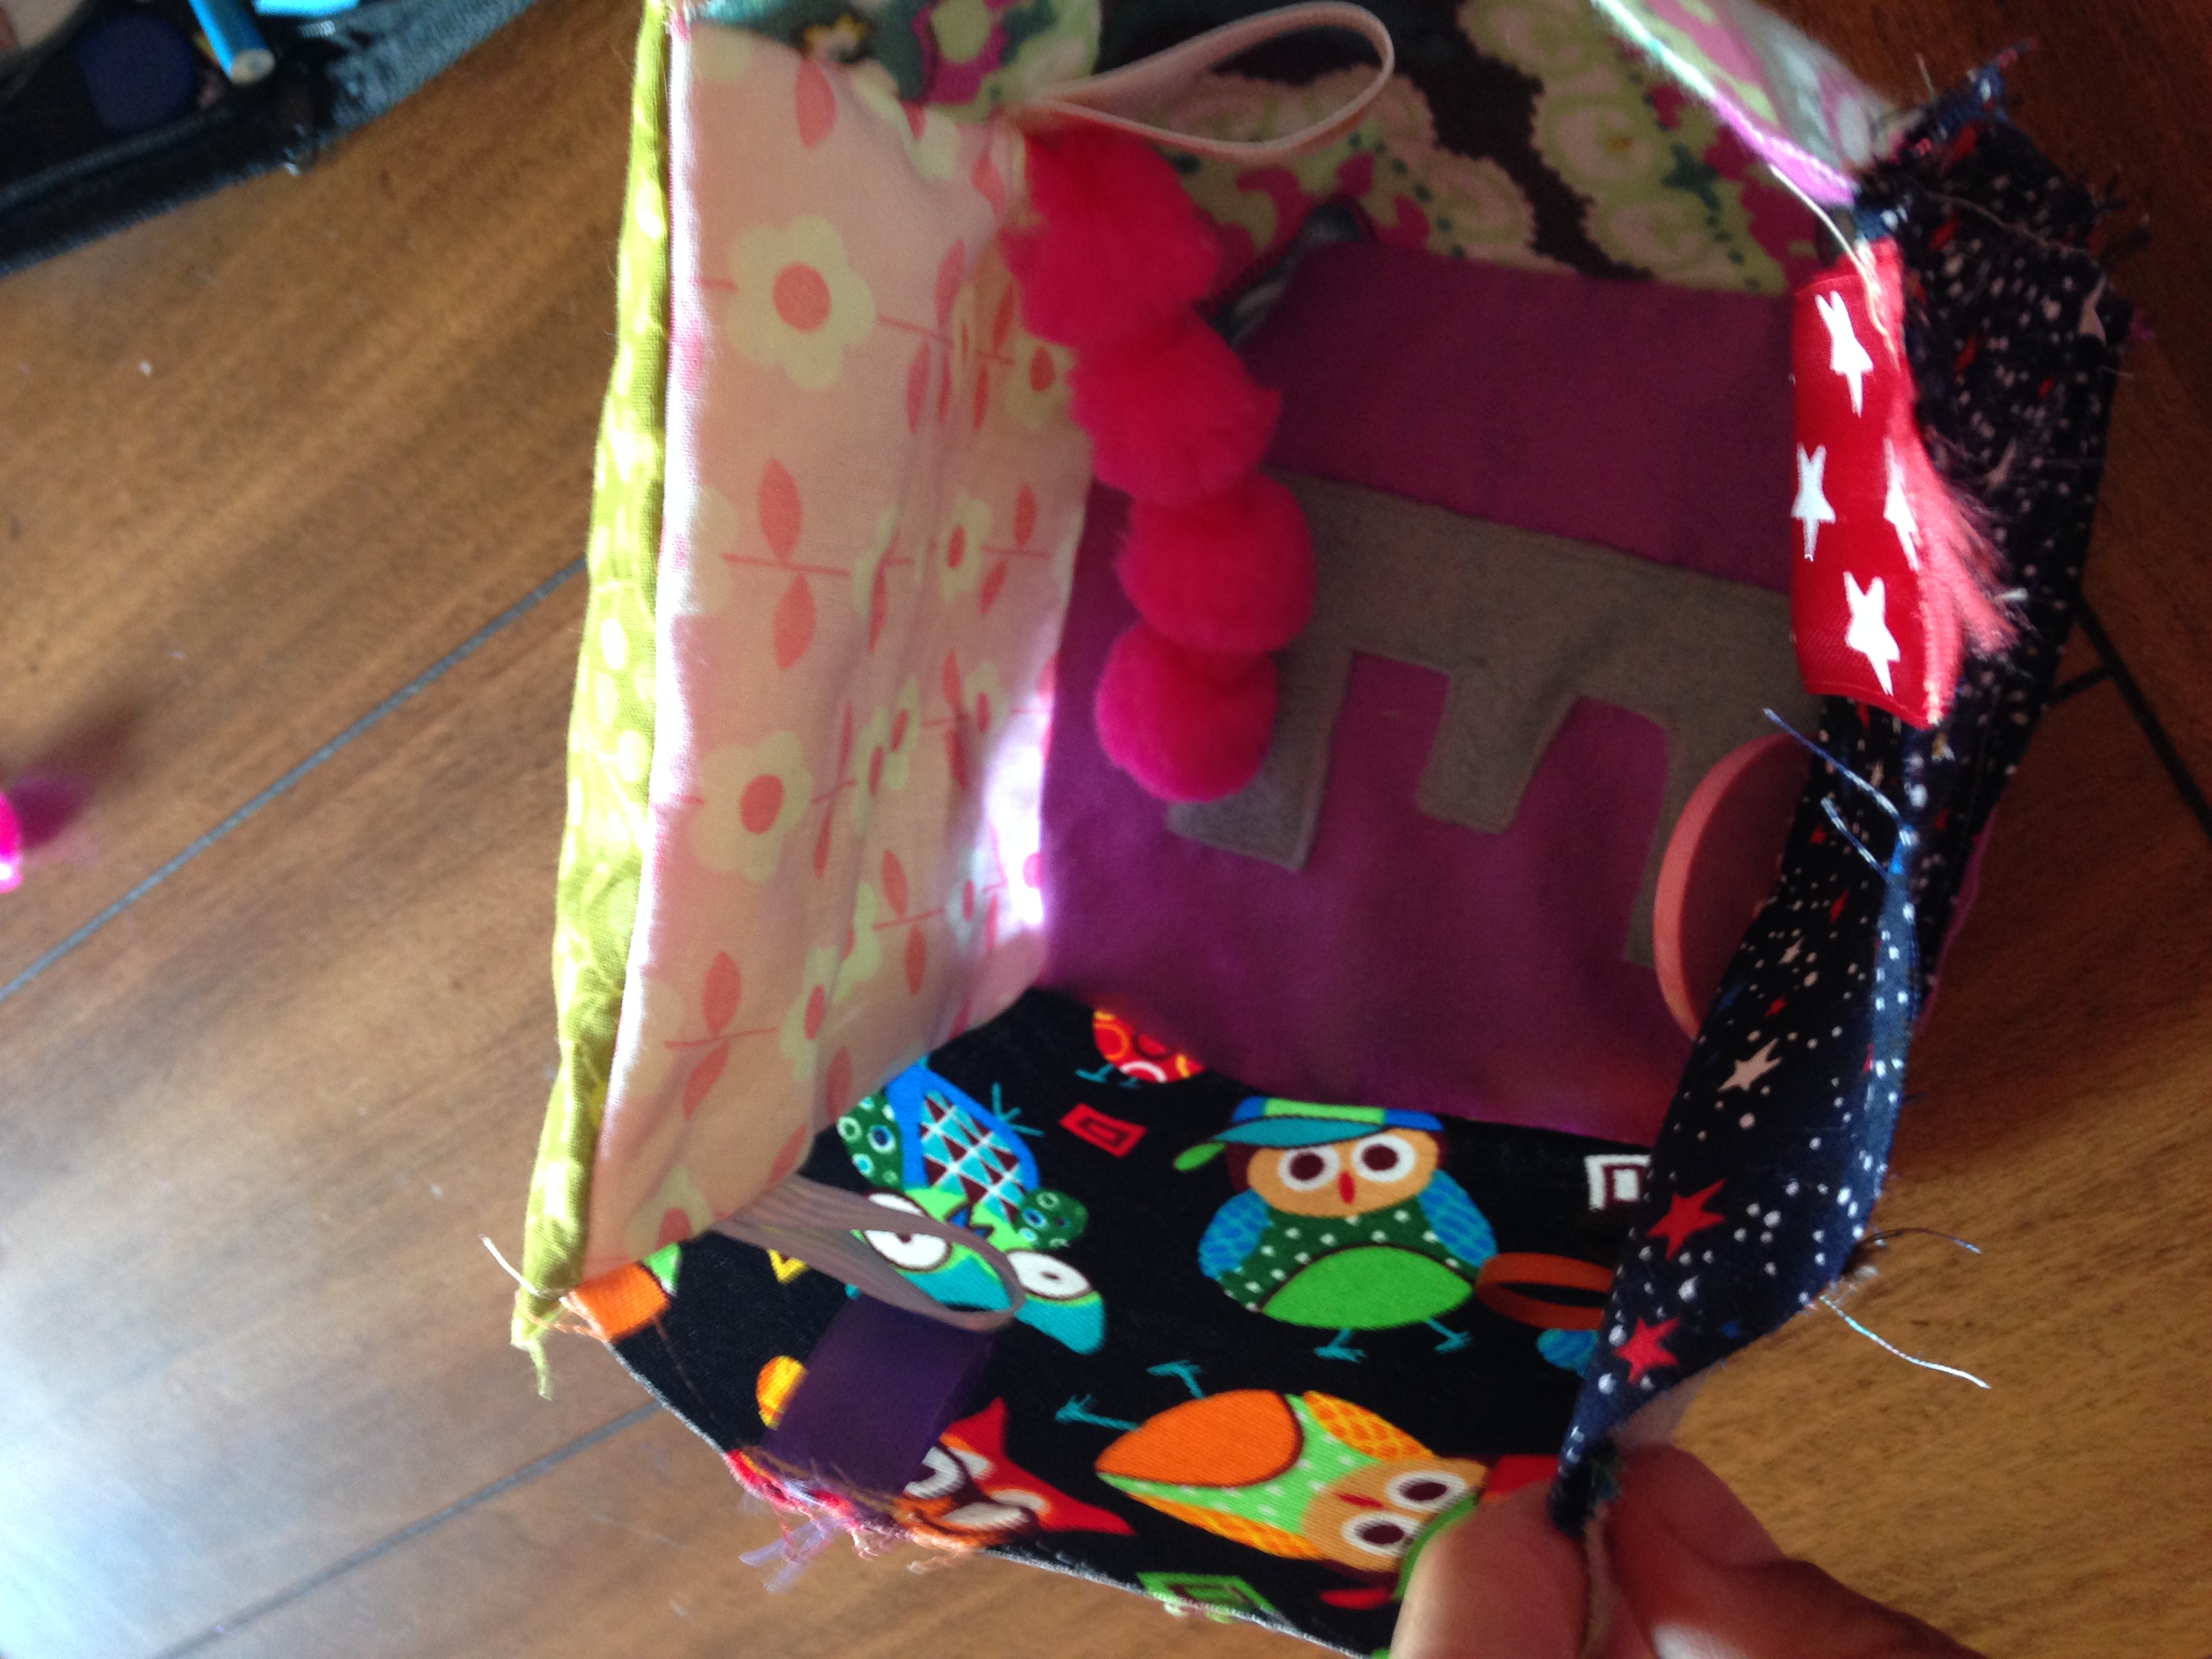
If you want to add ribbons, buttons, or
any other accessories this is the time to get
those together! So now you want to decide where to sew them. You can choose different spots on each block or the same!
Sew the ribbons on facing towards the inside of the block. If you do the opposite they will be on the inside instead of the out!
Start by sewing right sides together of two
blocks. Take the top square and fold down and to the left. You will line up the left side of the top block to the top side of the left block. Then sew. Continue this around using the letter piece as the bottom part of the block. The pattern of the fabric should end up in the inside of the block.
Continue around until you have all sides except one sewn together.
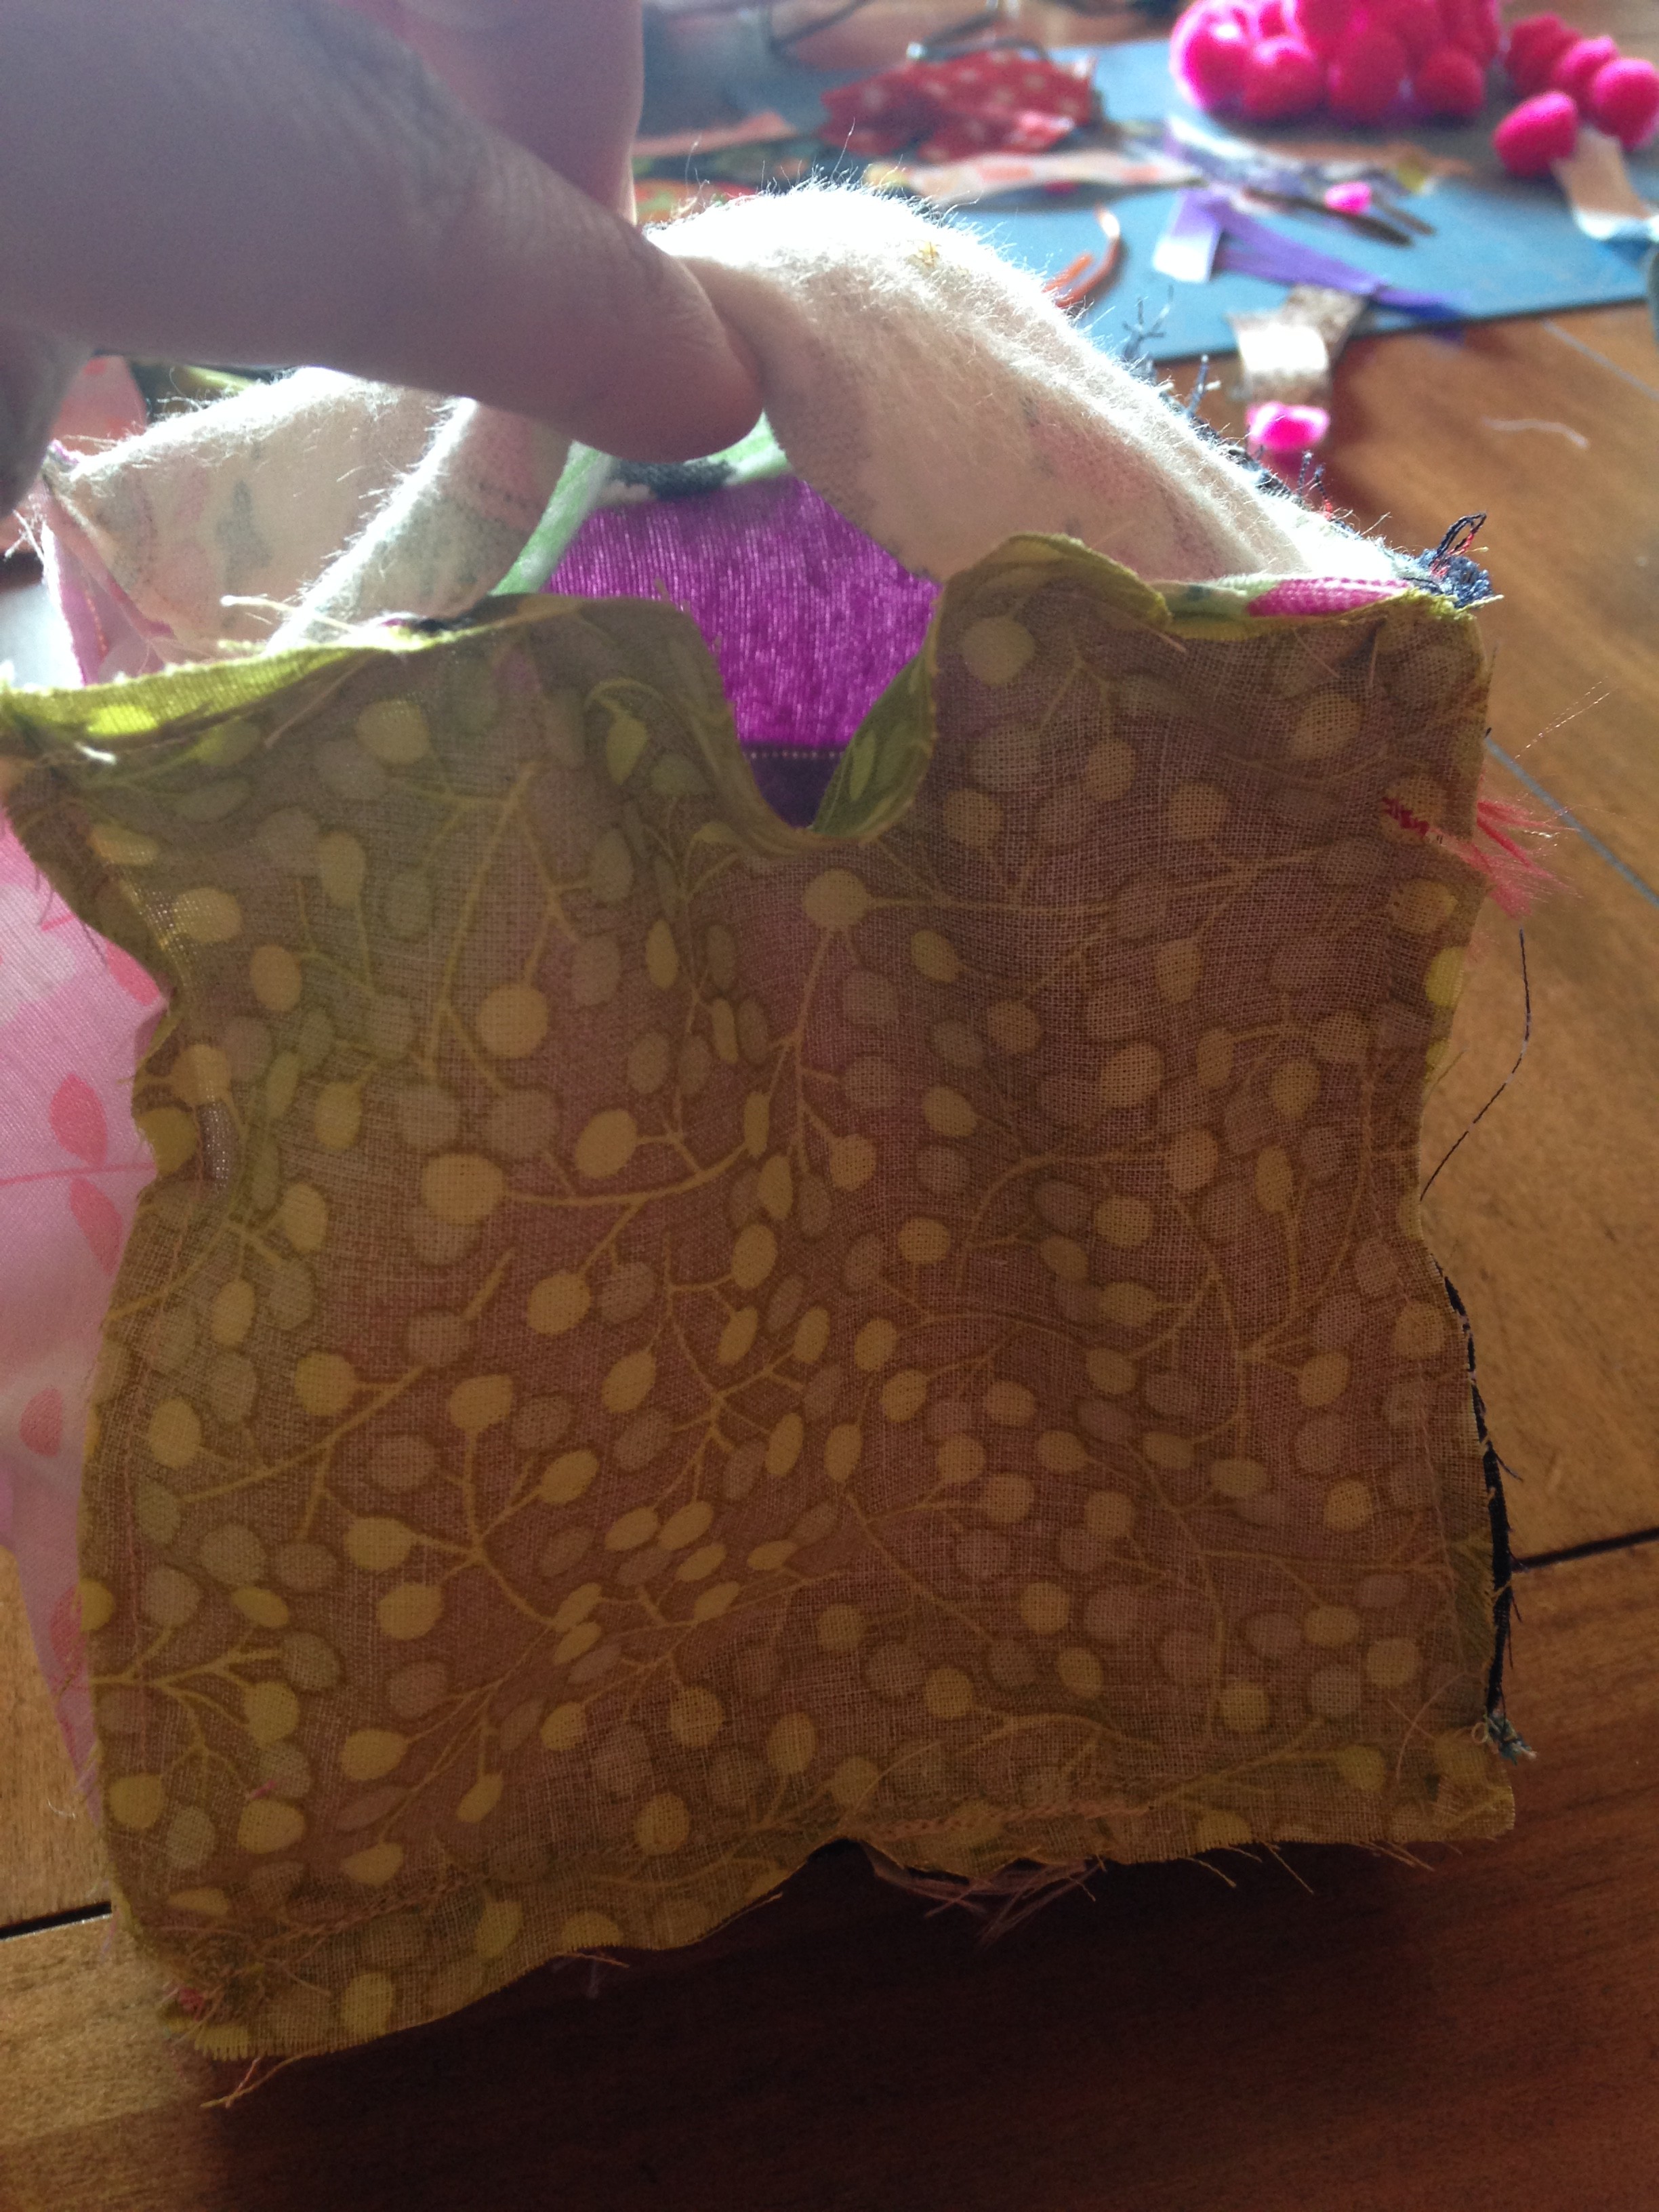
For the last square, Sew each side around but for one side leave a 2-3 inch opening so you can pull the right side out. Don’t forget to back stitch well!
Okay! Almost there! So now you want to turn your block right side out. So reach in there and pull the fabric through. Then use a pencil, pen, crochet needle or what not to poke out the corners and make them shapely.
Next, grab your stuffing, in this case polyfil, and start filling.
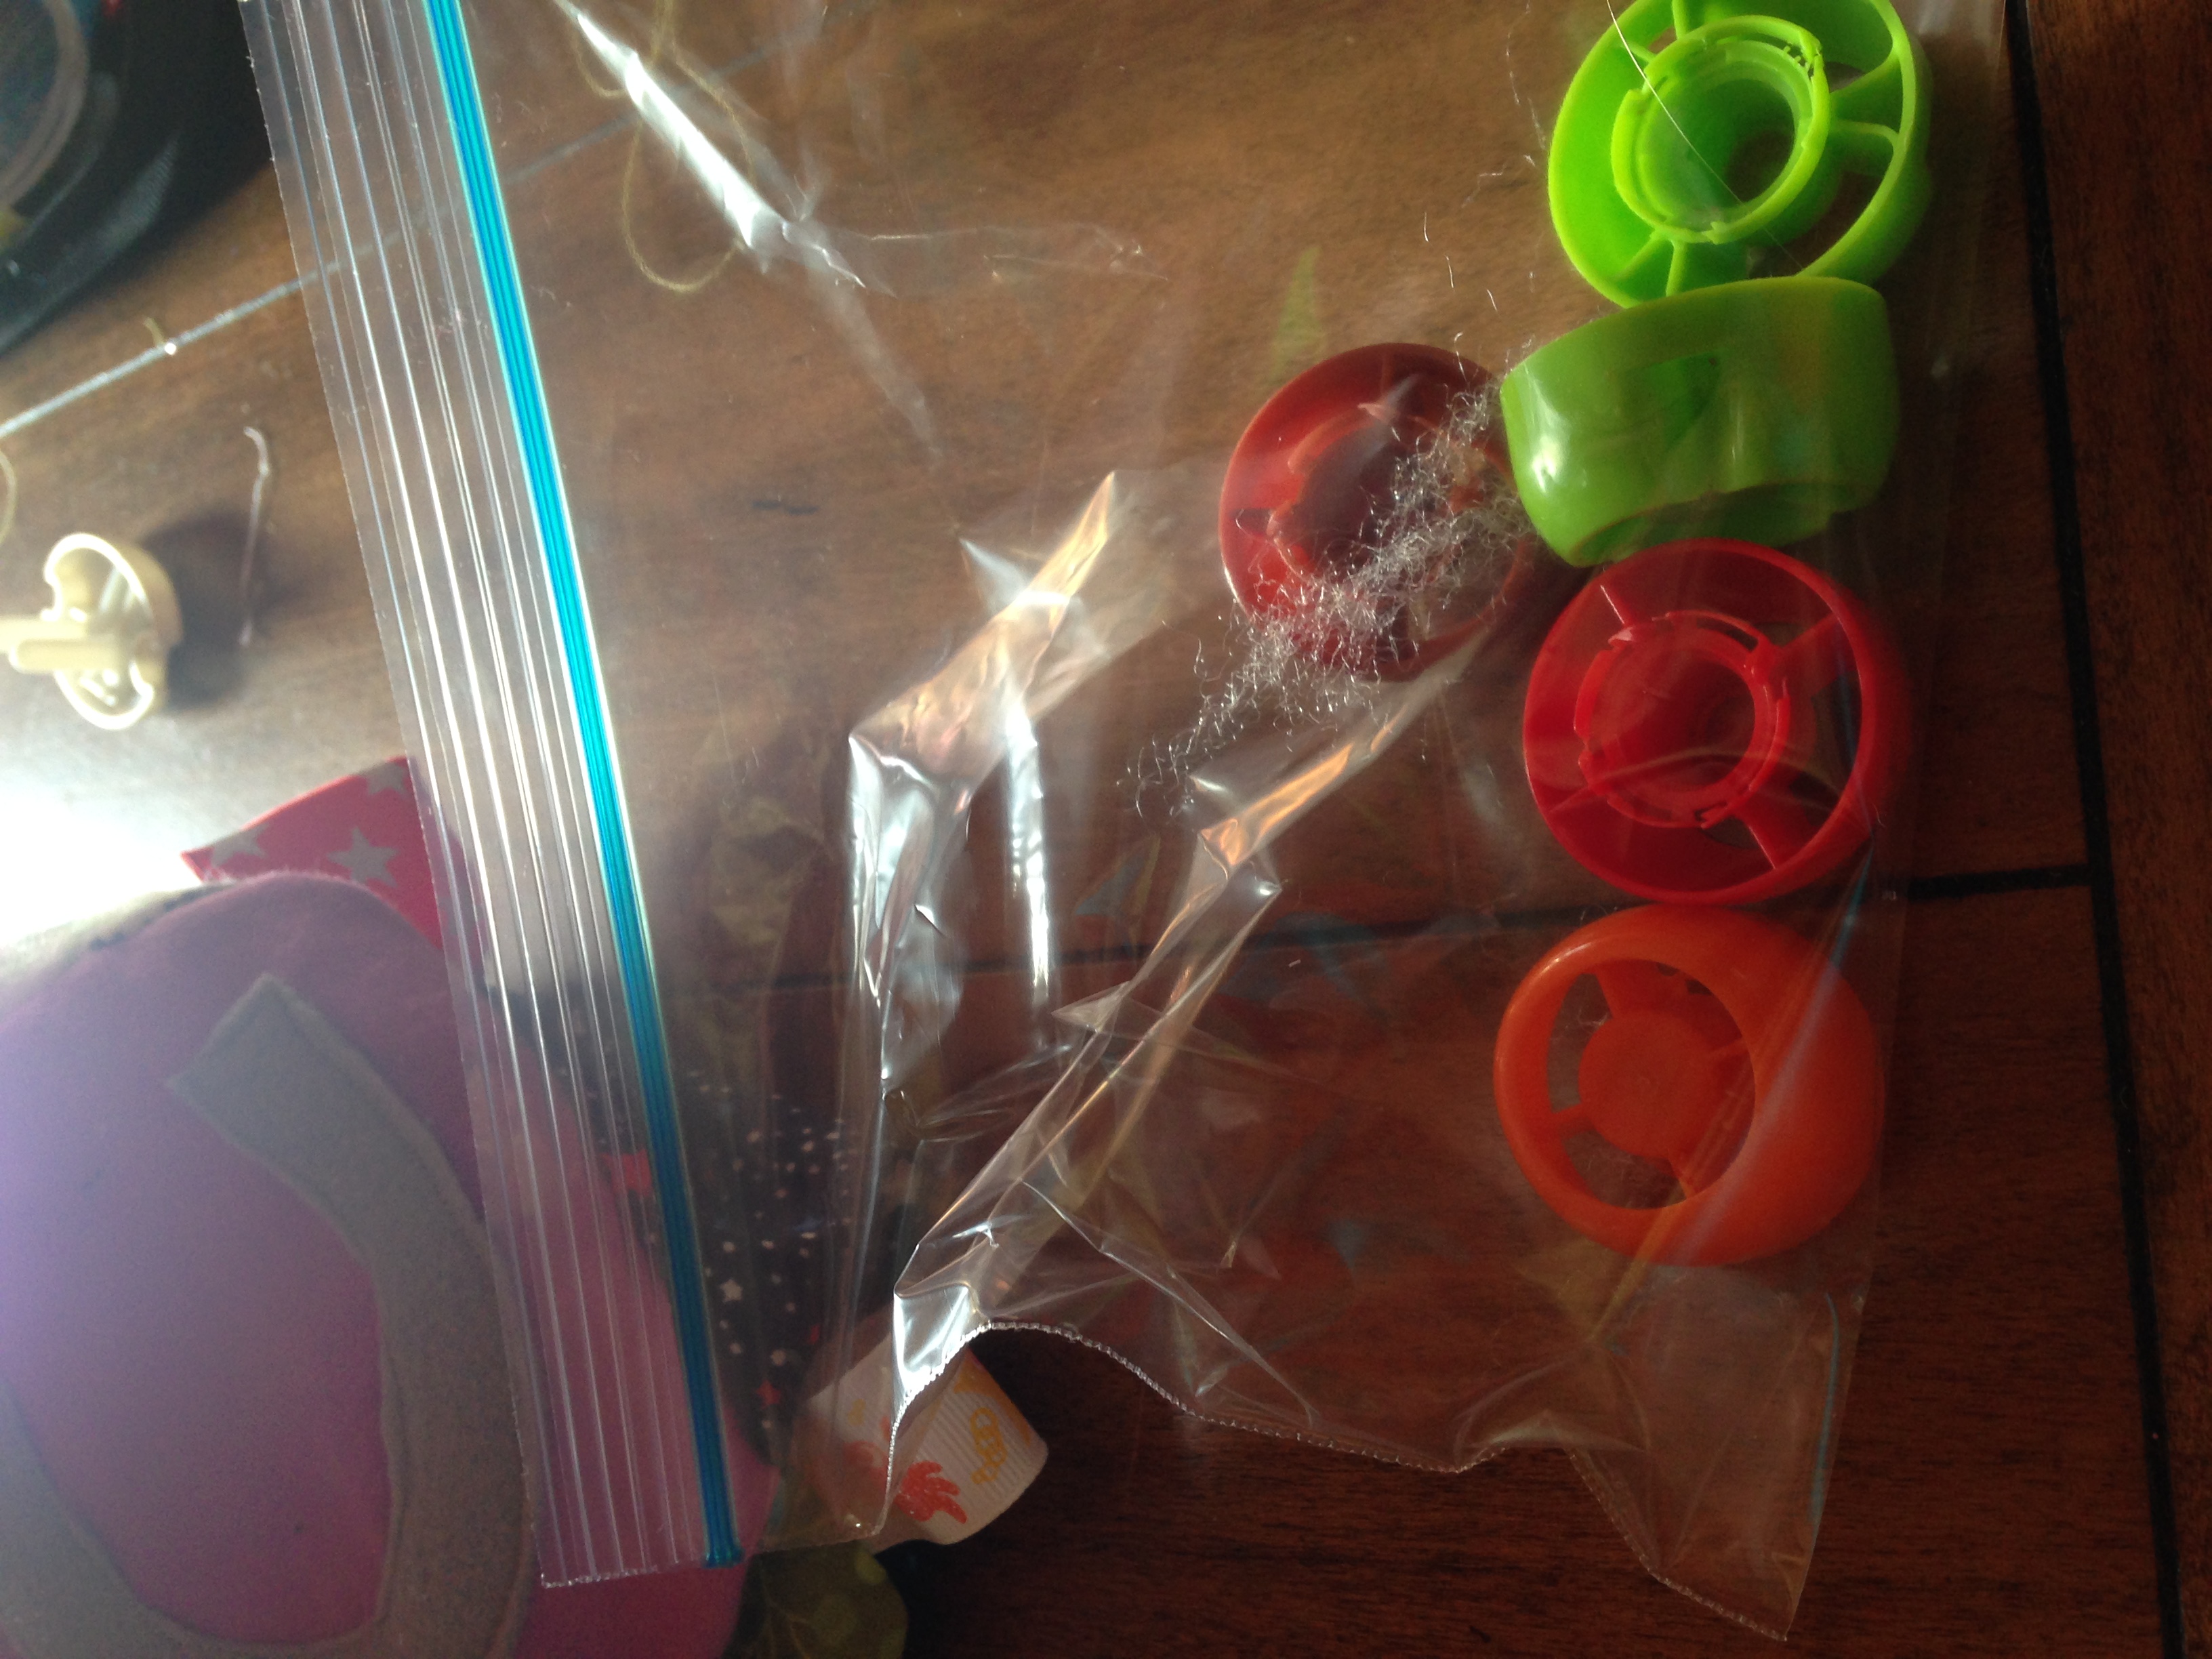
You can put a bell or rattle in the inside of the block!
To do this I put it in a small ziplock bag that is sealed with some air so that it has room to rattle around instead of being stuck in the polyfil. I actually have been saving the twist off tops of the food pouches and used them in a bag to make some noise! So if you are going to do this try and put this in the center of the block then stuff around it.
Lastly, close up that hole! You can do a whip stitch or invisible stitch or even use your machine.
Ta-Da you are done! Great job….take some pictures and share!
Need a stylish way to keep the hair out of your face? Want it cheap? Well, believe it or not, you can sew a quick headband in almost under 5 minutes! This is great to match your little one’s dress or outfit. Also, you can match your own outfit or dress for a stylish design. I made a neat flower dress for my munchkin and made myself a matching headband! It looks great for pictures but it’s not the overboard matching outfits :op
Here’s how:
What you need:
Fabric (15×3 two pieces or 15 x6 or one piece folded)
Matching Thread
Elastic (1/4-1/2 inch)
1) First you want to cut out your fabric. You can either make the headband with two pieces of fabric at 15×3 and cut on a slant. Or you can do one piece with the fold on the long side (the 15 inch long side).
2) Following that you want to turn it with fabric sides facing each other and sew the sides (or side if you are folding) and leave ends open. Turn inside out.
3) Fold the ends inwards.
4) Cut your elastic to 7 inches long (or if for younger you can measure ear to ear in the back and cut elastic)
5) Put elastic in end and sew up and down several times ! If you are doing the folded headband then take the corners of the fabric and fold in and sew.
6) And wala! You are done! Don’t be afraid to add buttons, glitter, bows, and other neat accessories!
Awesome! Quick and easy, Enjoy and check back for more activities each week!
Lastly, do you think having matching outfits to your little one is too much? I’d like to see the debate begin!