Hooded Dress (Christmas Theme)

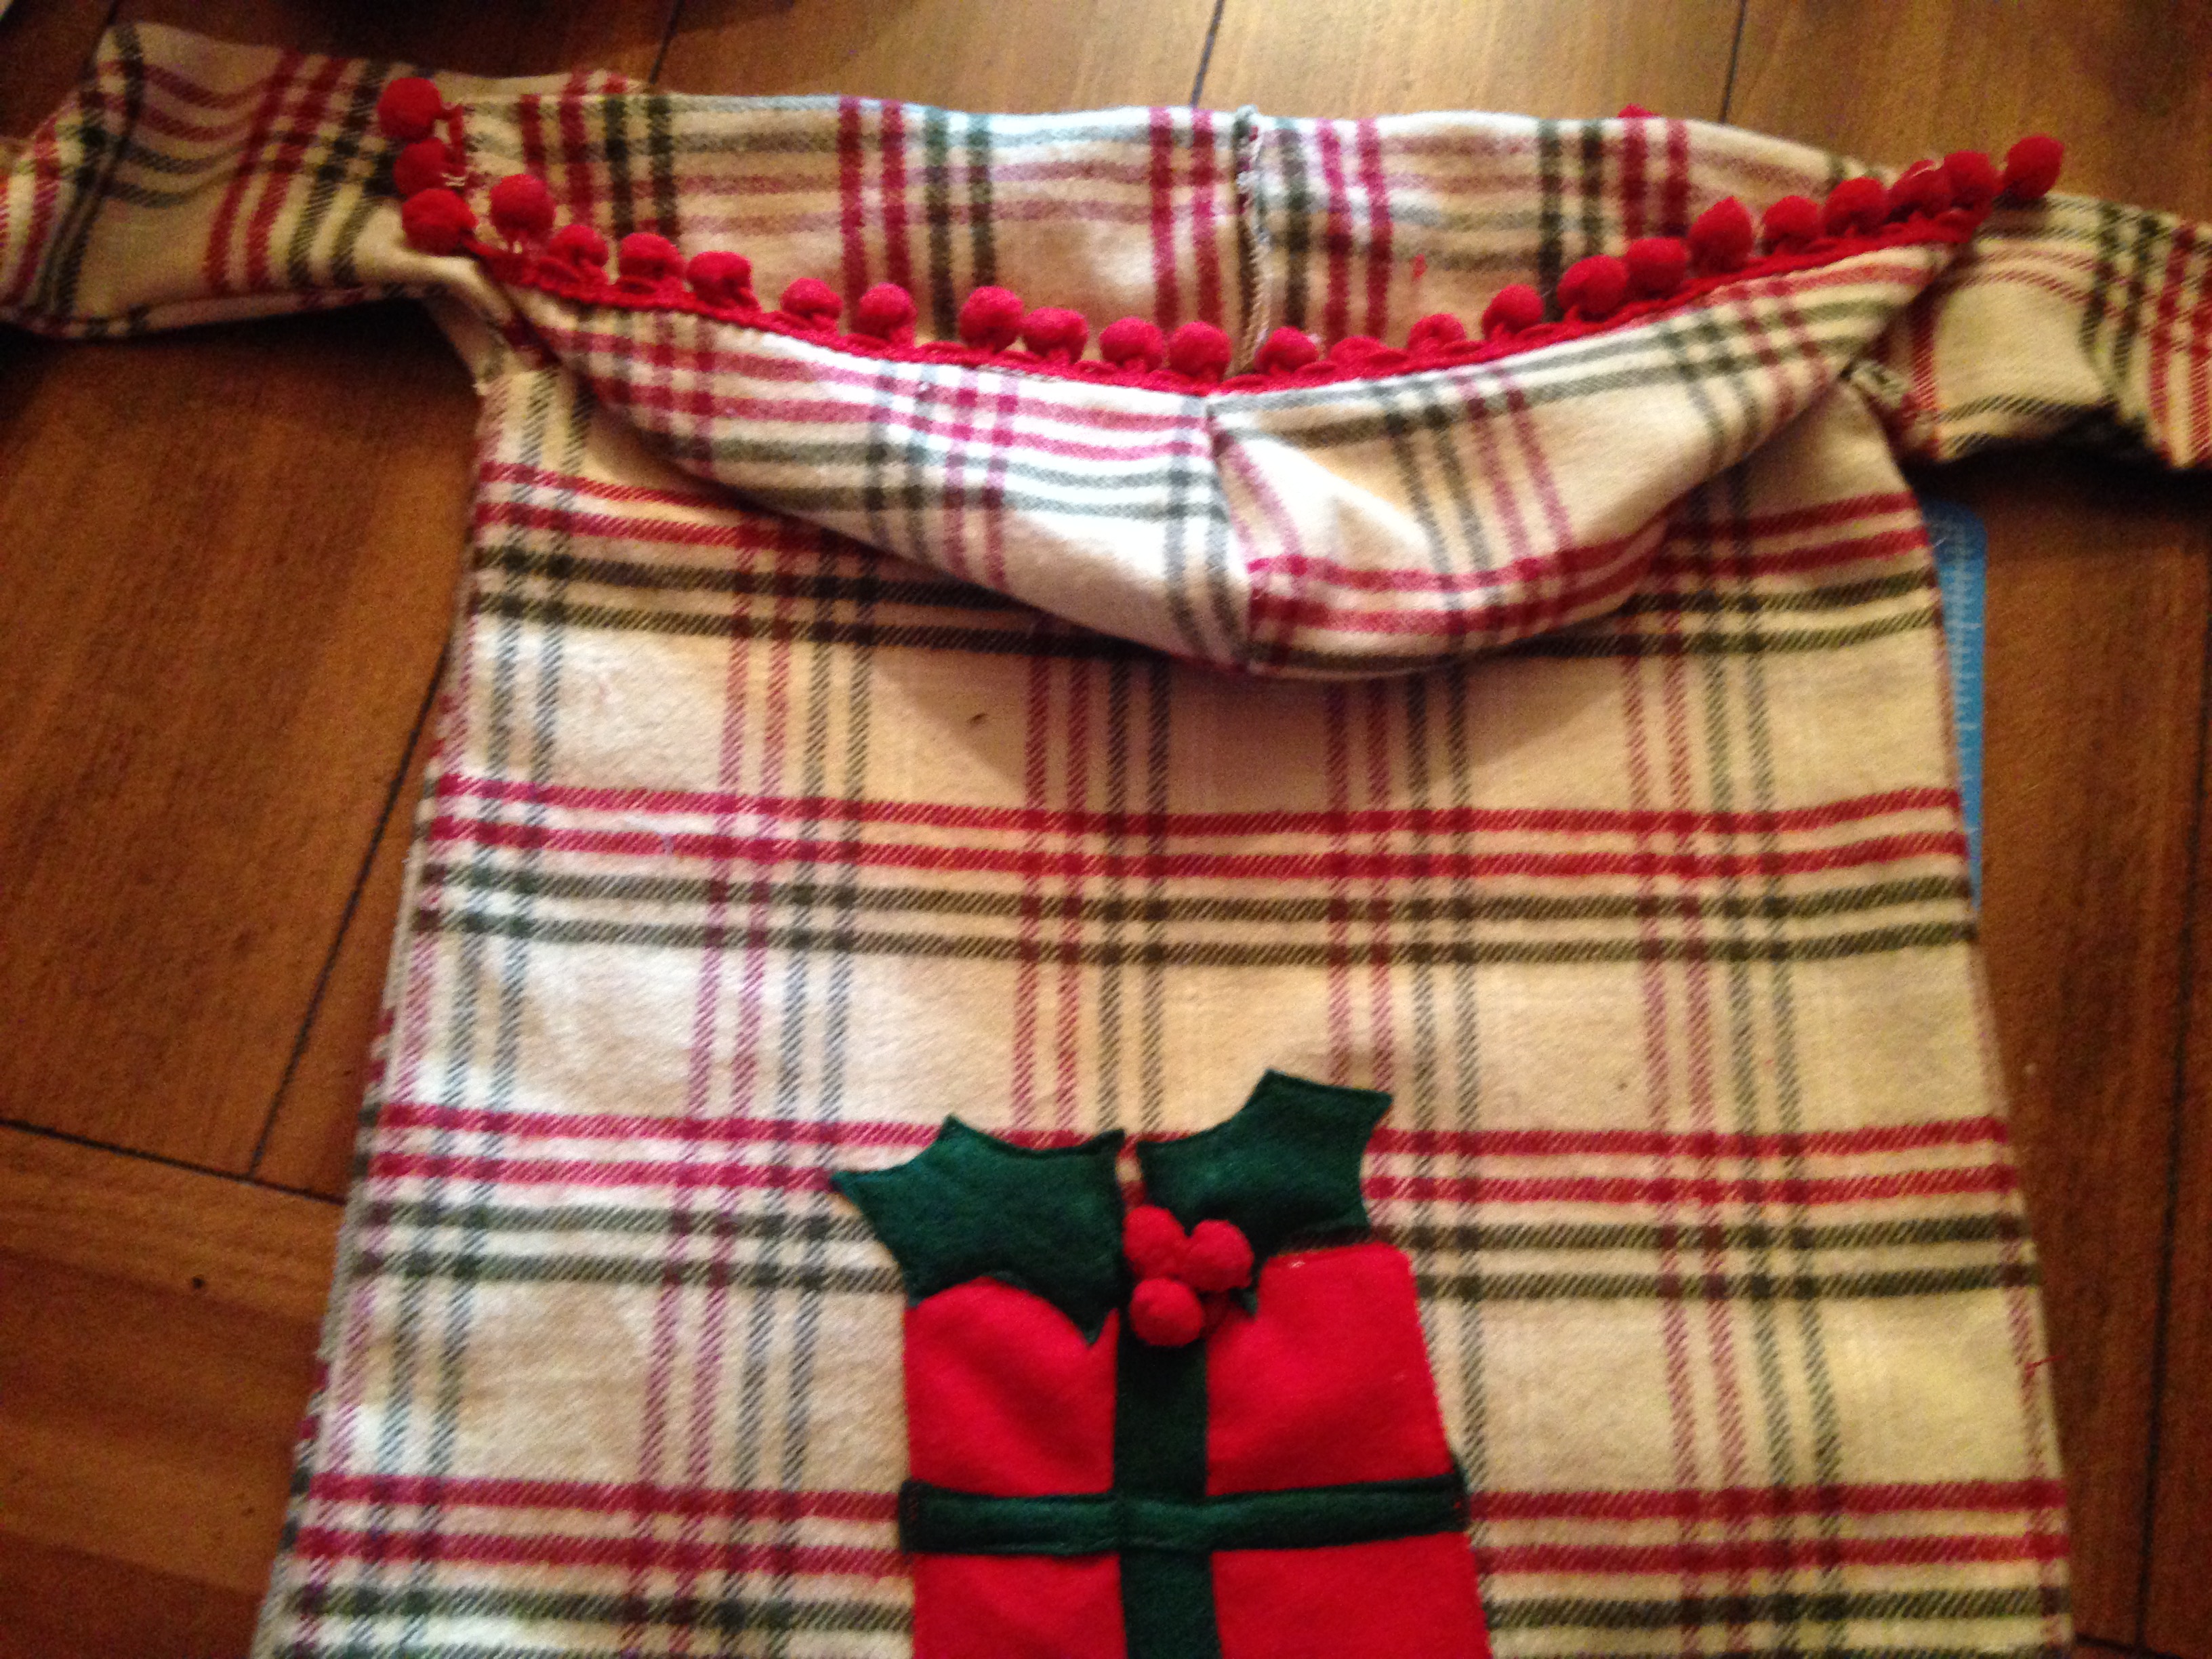
So I didn’t want the same old fancy dresses for Christmas that take FOREVER to make and are uncomfortable.  Therefore, I strolled around the fabric store looking for inspiration.  A tan plaid red and green pattern caught my eye.  For some time I have wanted to make a plaid dress for my little one, but haven’t found the right fit.  However, today, I thought to myself, “How about a comfy hooded dress in plaid?”  And so, the Christmas Plaid dress was born!!!

IMG_3377 IMG_3379 - Copy


I designed the dress myself, so be patient with the video since sometimes I change my mind after completing part of the dress.  Oh, you’ll see what I mean when you watch it!  As always, there is a youtube video tutorial and a written and picture form.  The dress pattern is listed below and is a sketch I made of it.  There are several sizes on there, but you can always adjust it by measuring your little one or making it bigger or smaller by moving the lines.
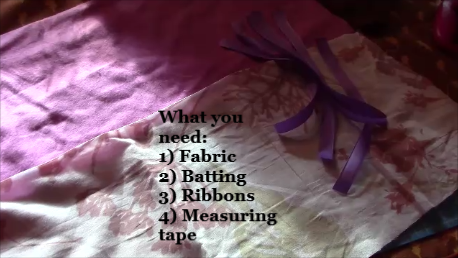
 

What you will need:

  1. The pattern found here–> dress.jpg
  2. Fabric (around 1 yard)
  3. Thread
  4. Sewing machine and scissors
  5. Optional: ribbon, bias tape, buttons, felt, any other decorations, Velcro for hood


Lets get started!

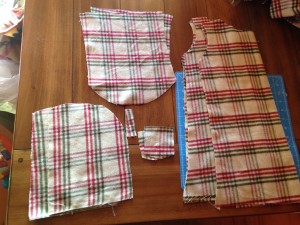
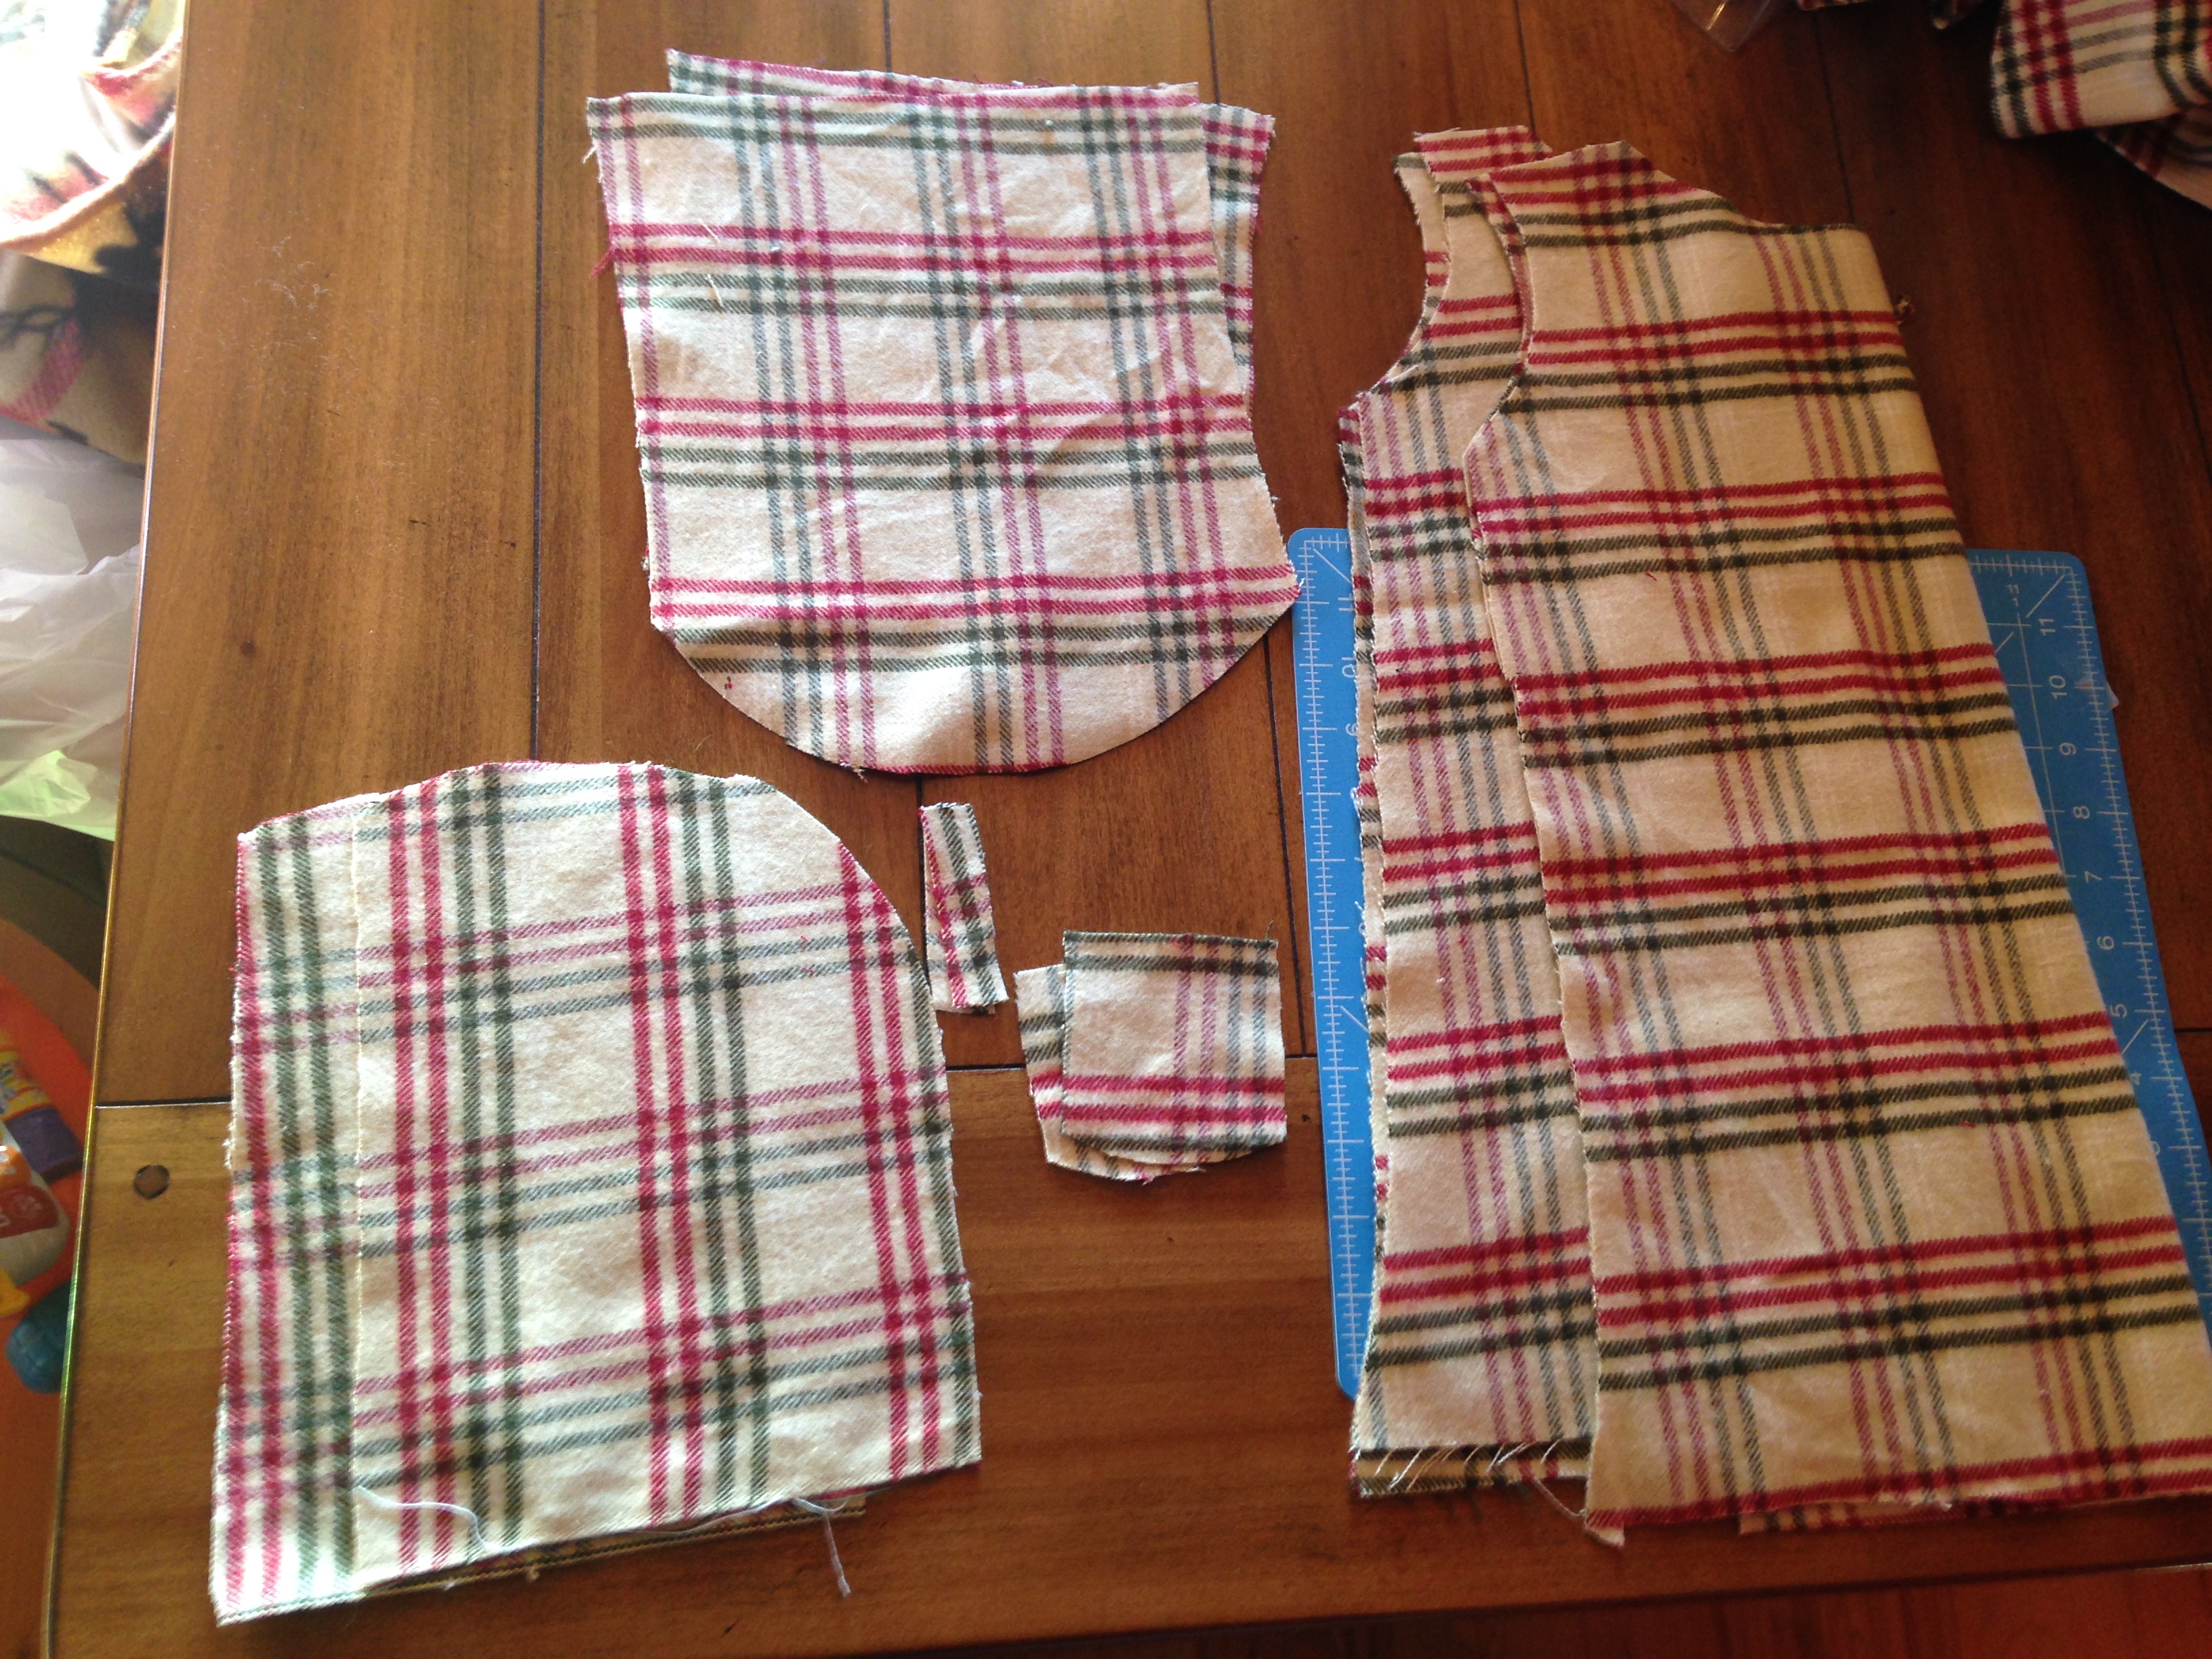
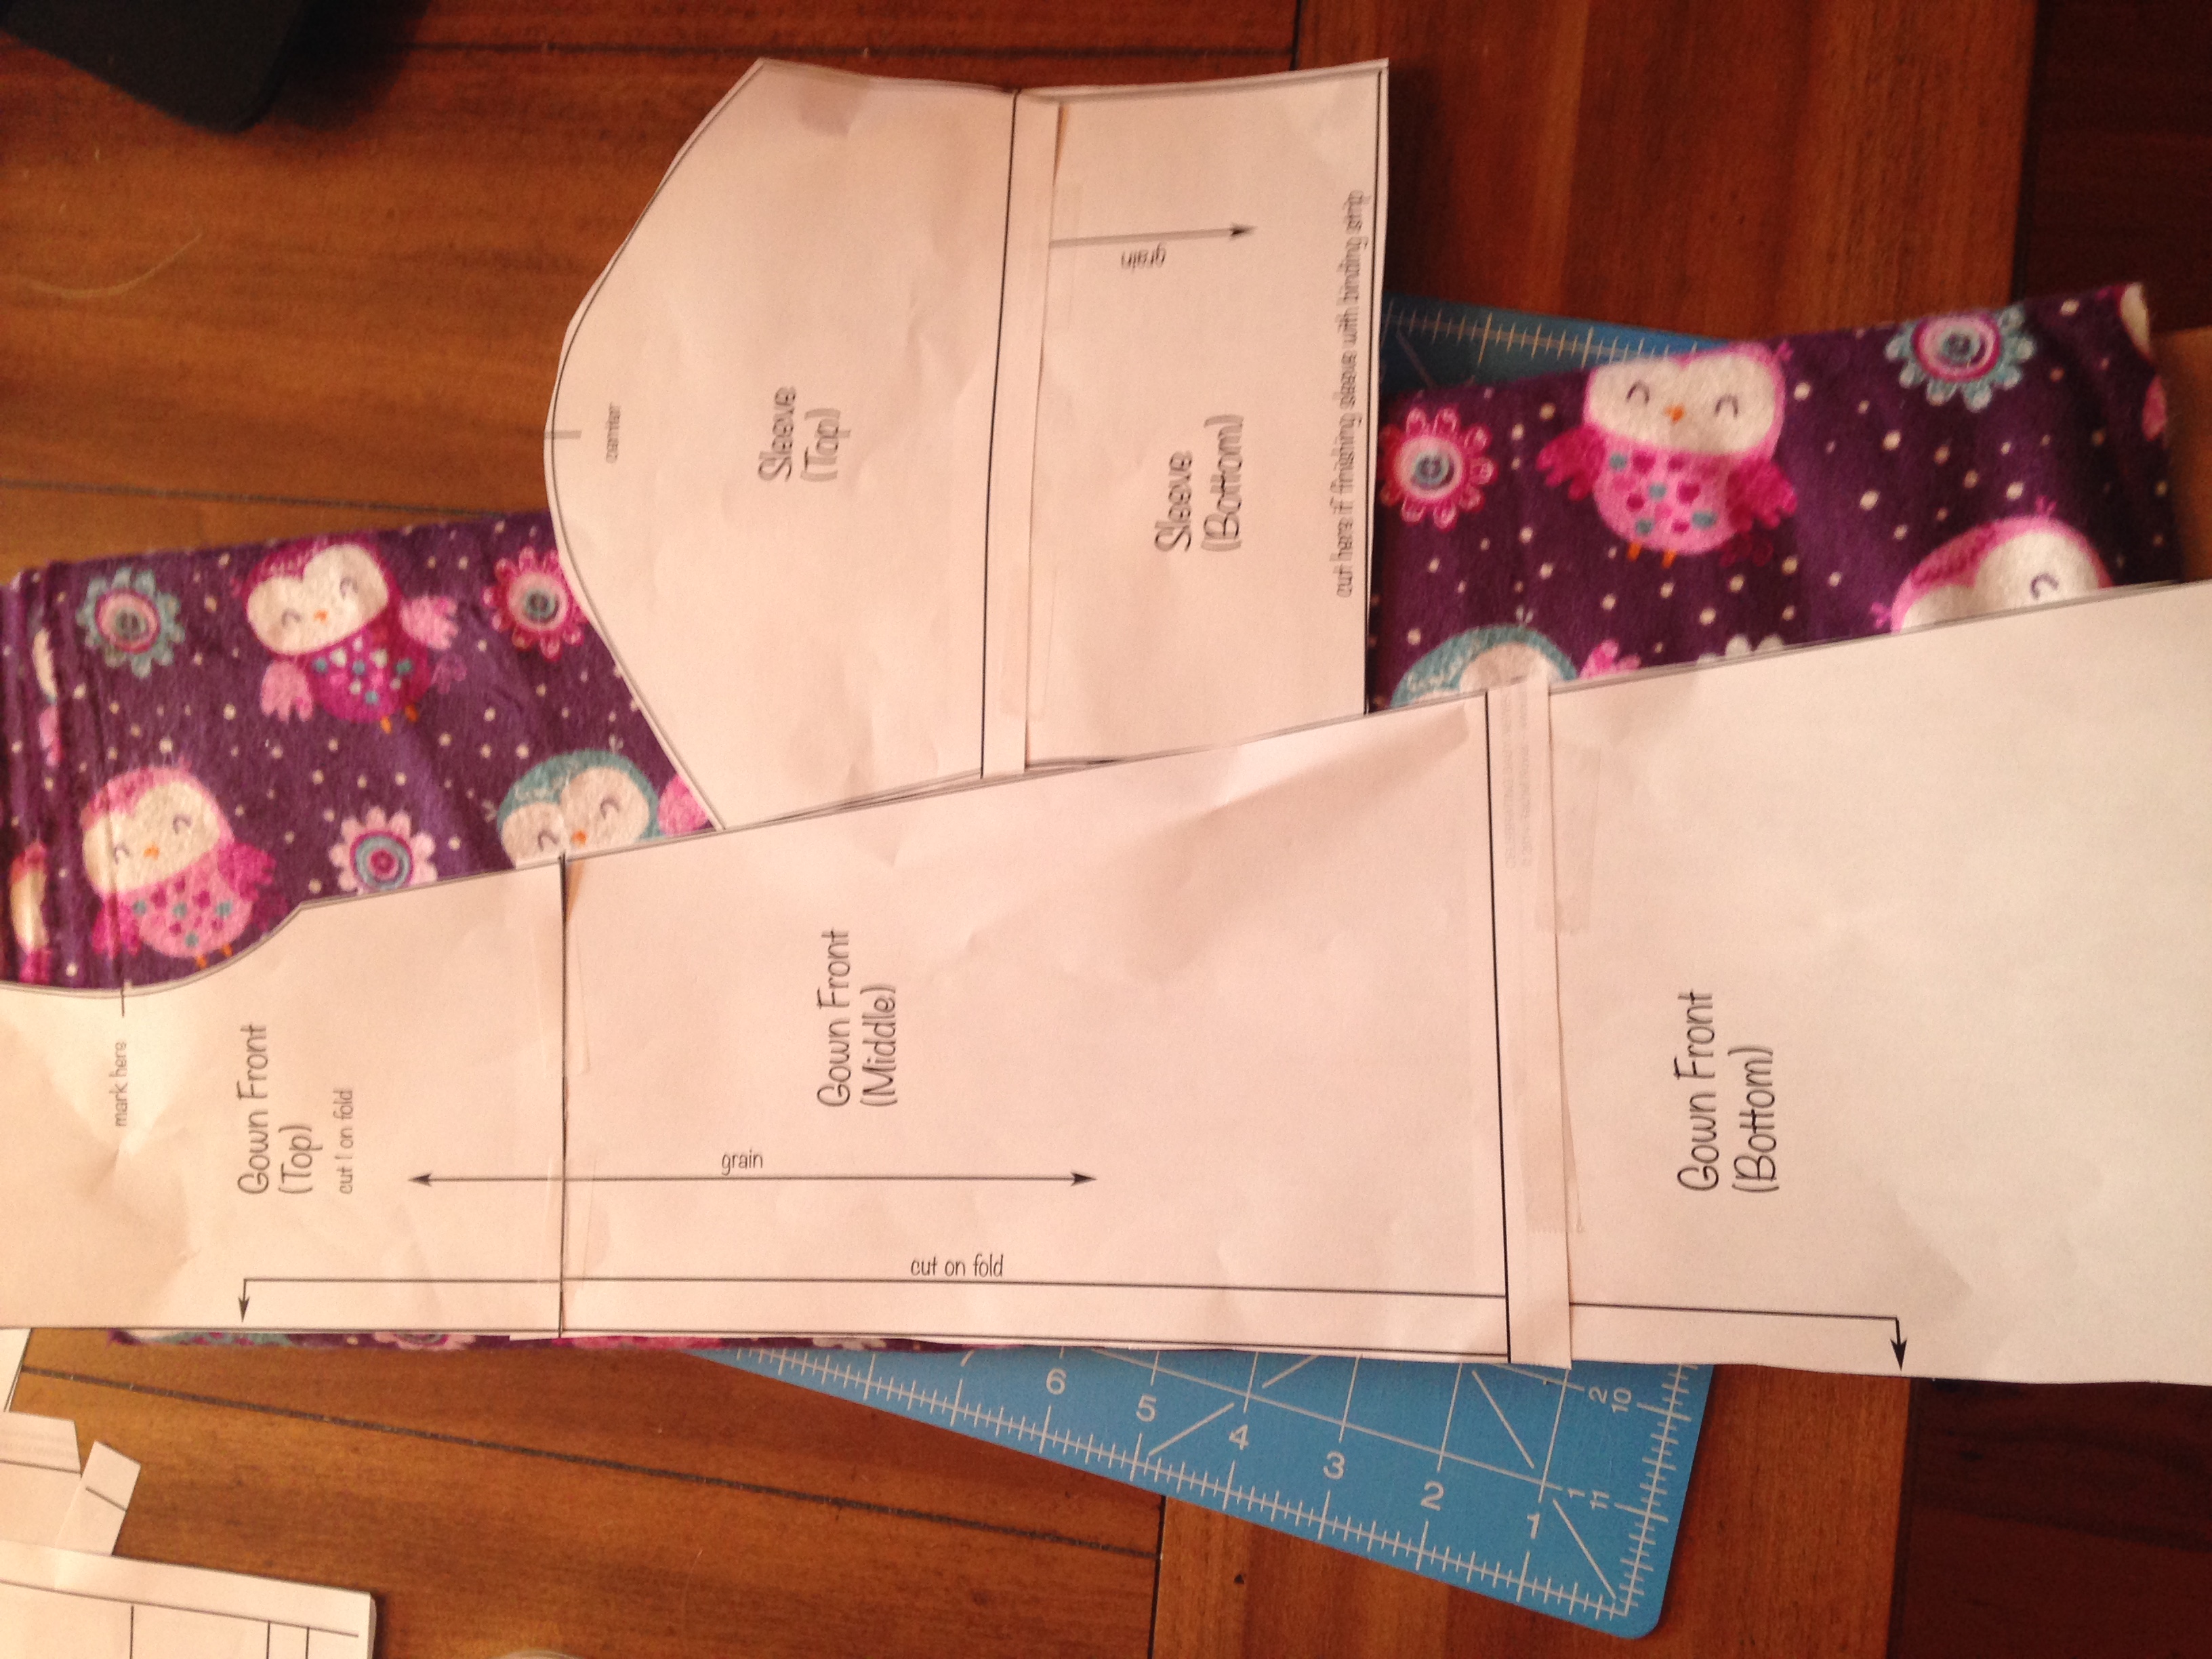
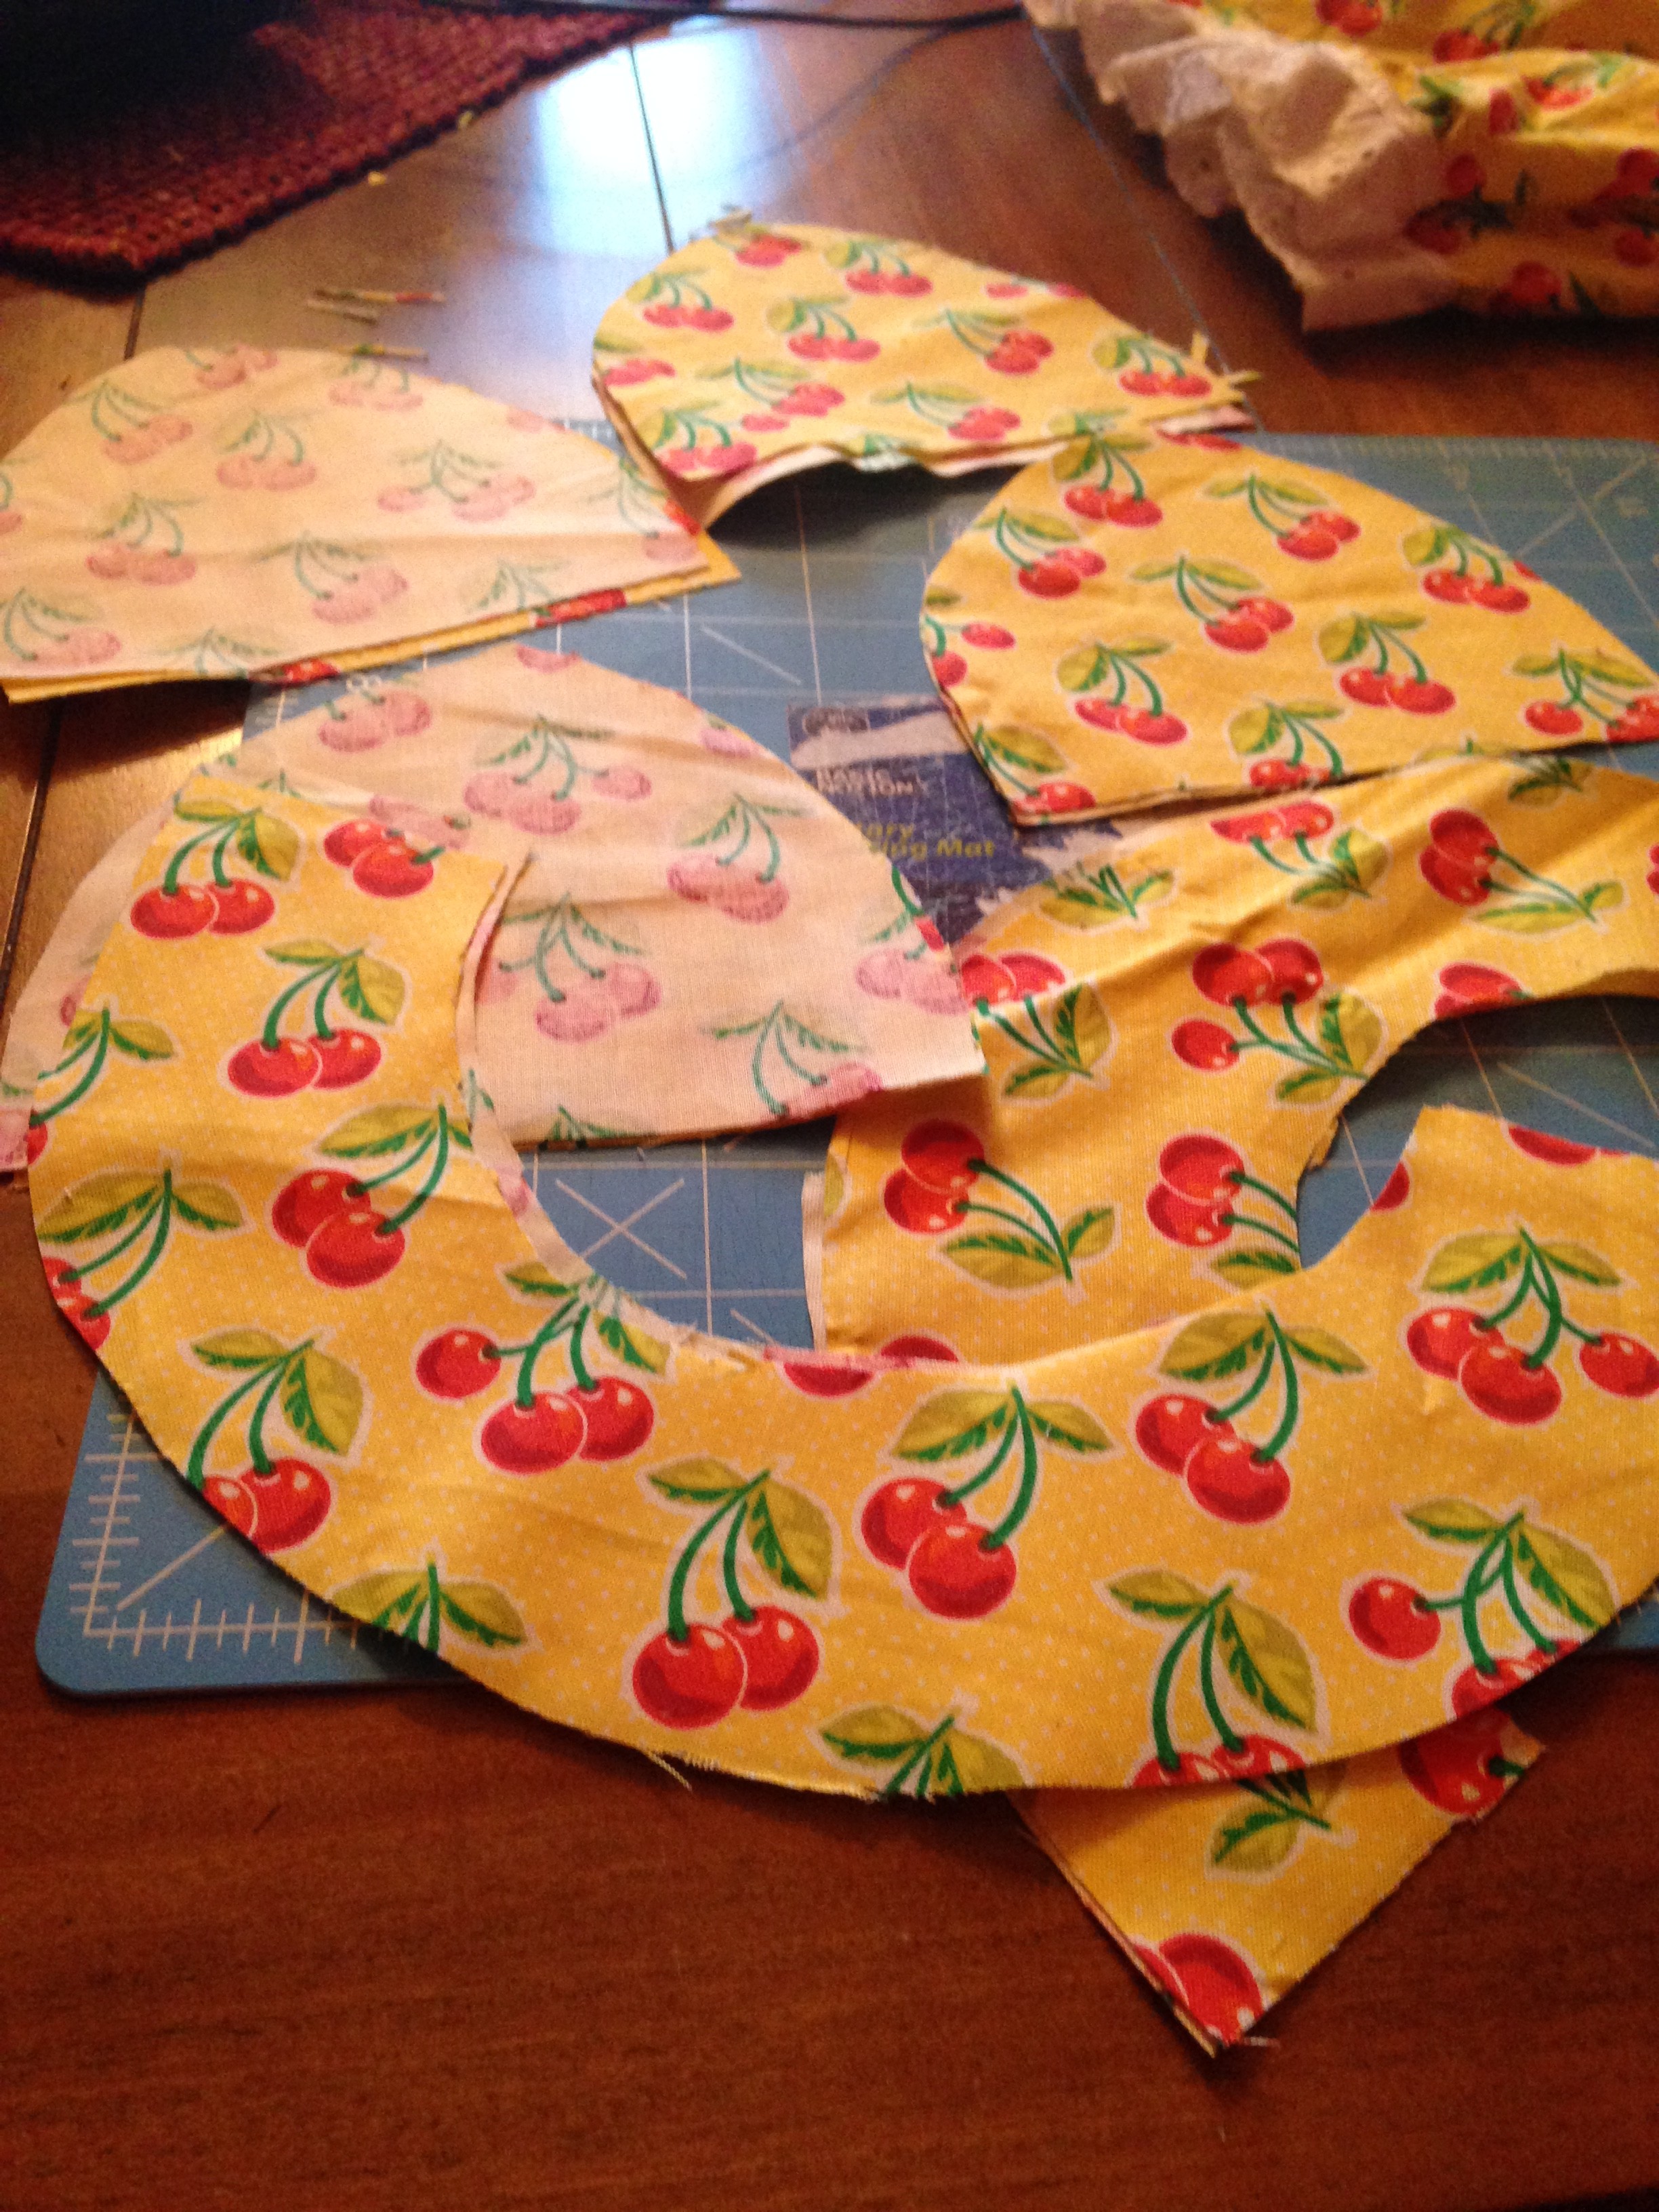
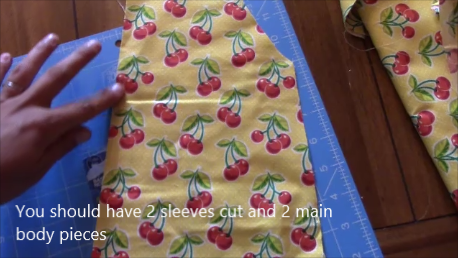
  1. Print the pattern and cut out the right size (note: make sure it is the right size for your little one by measuring)
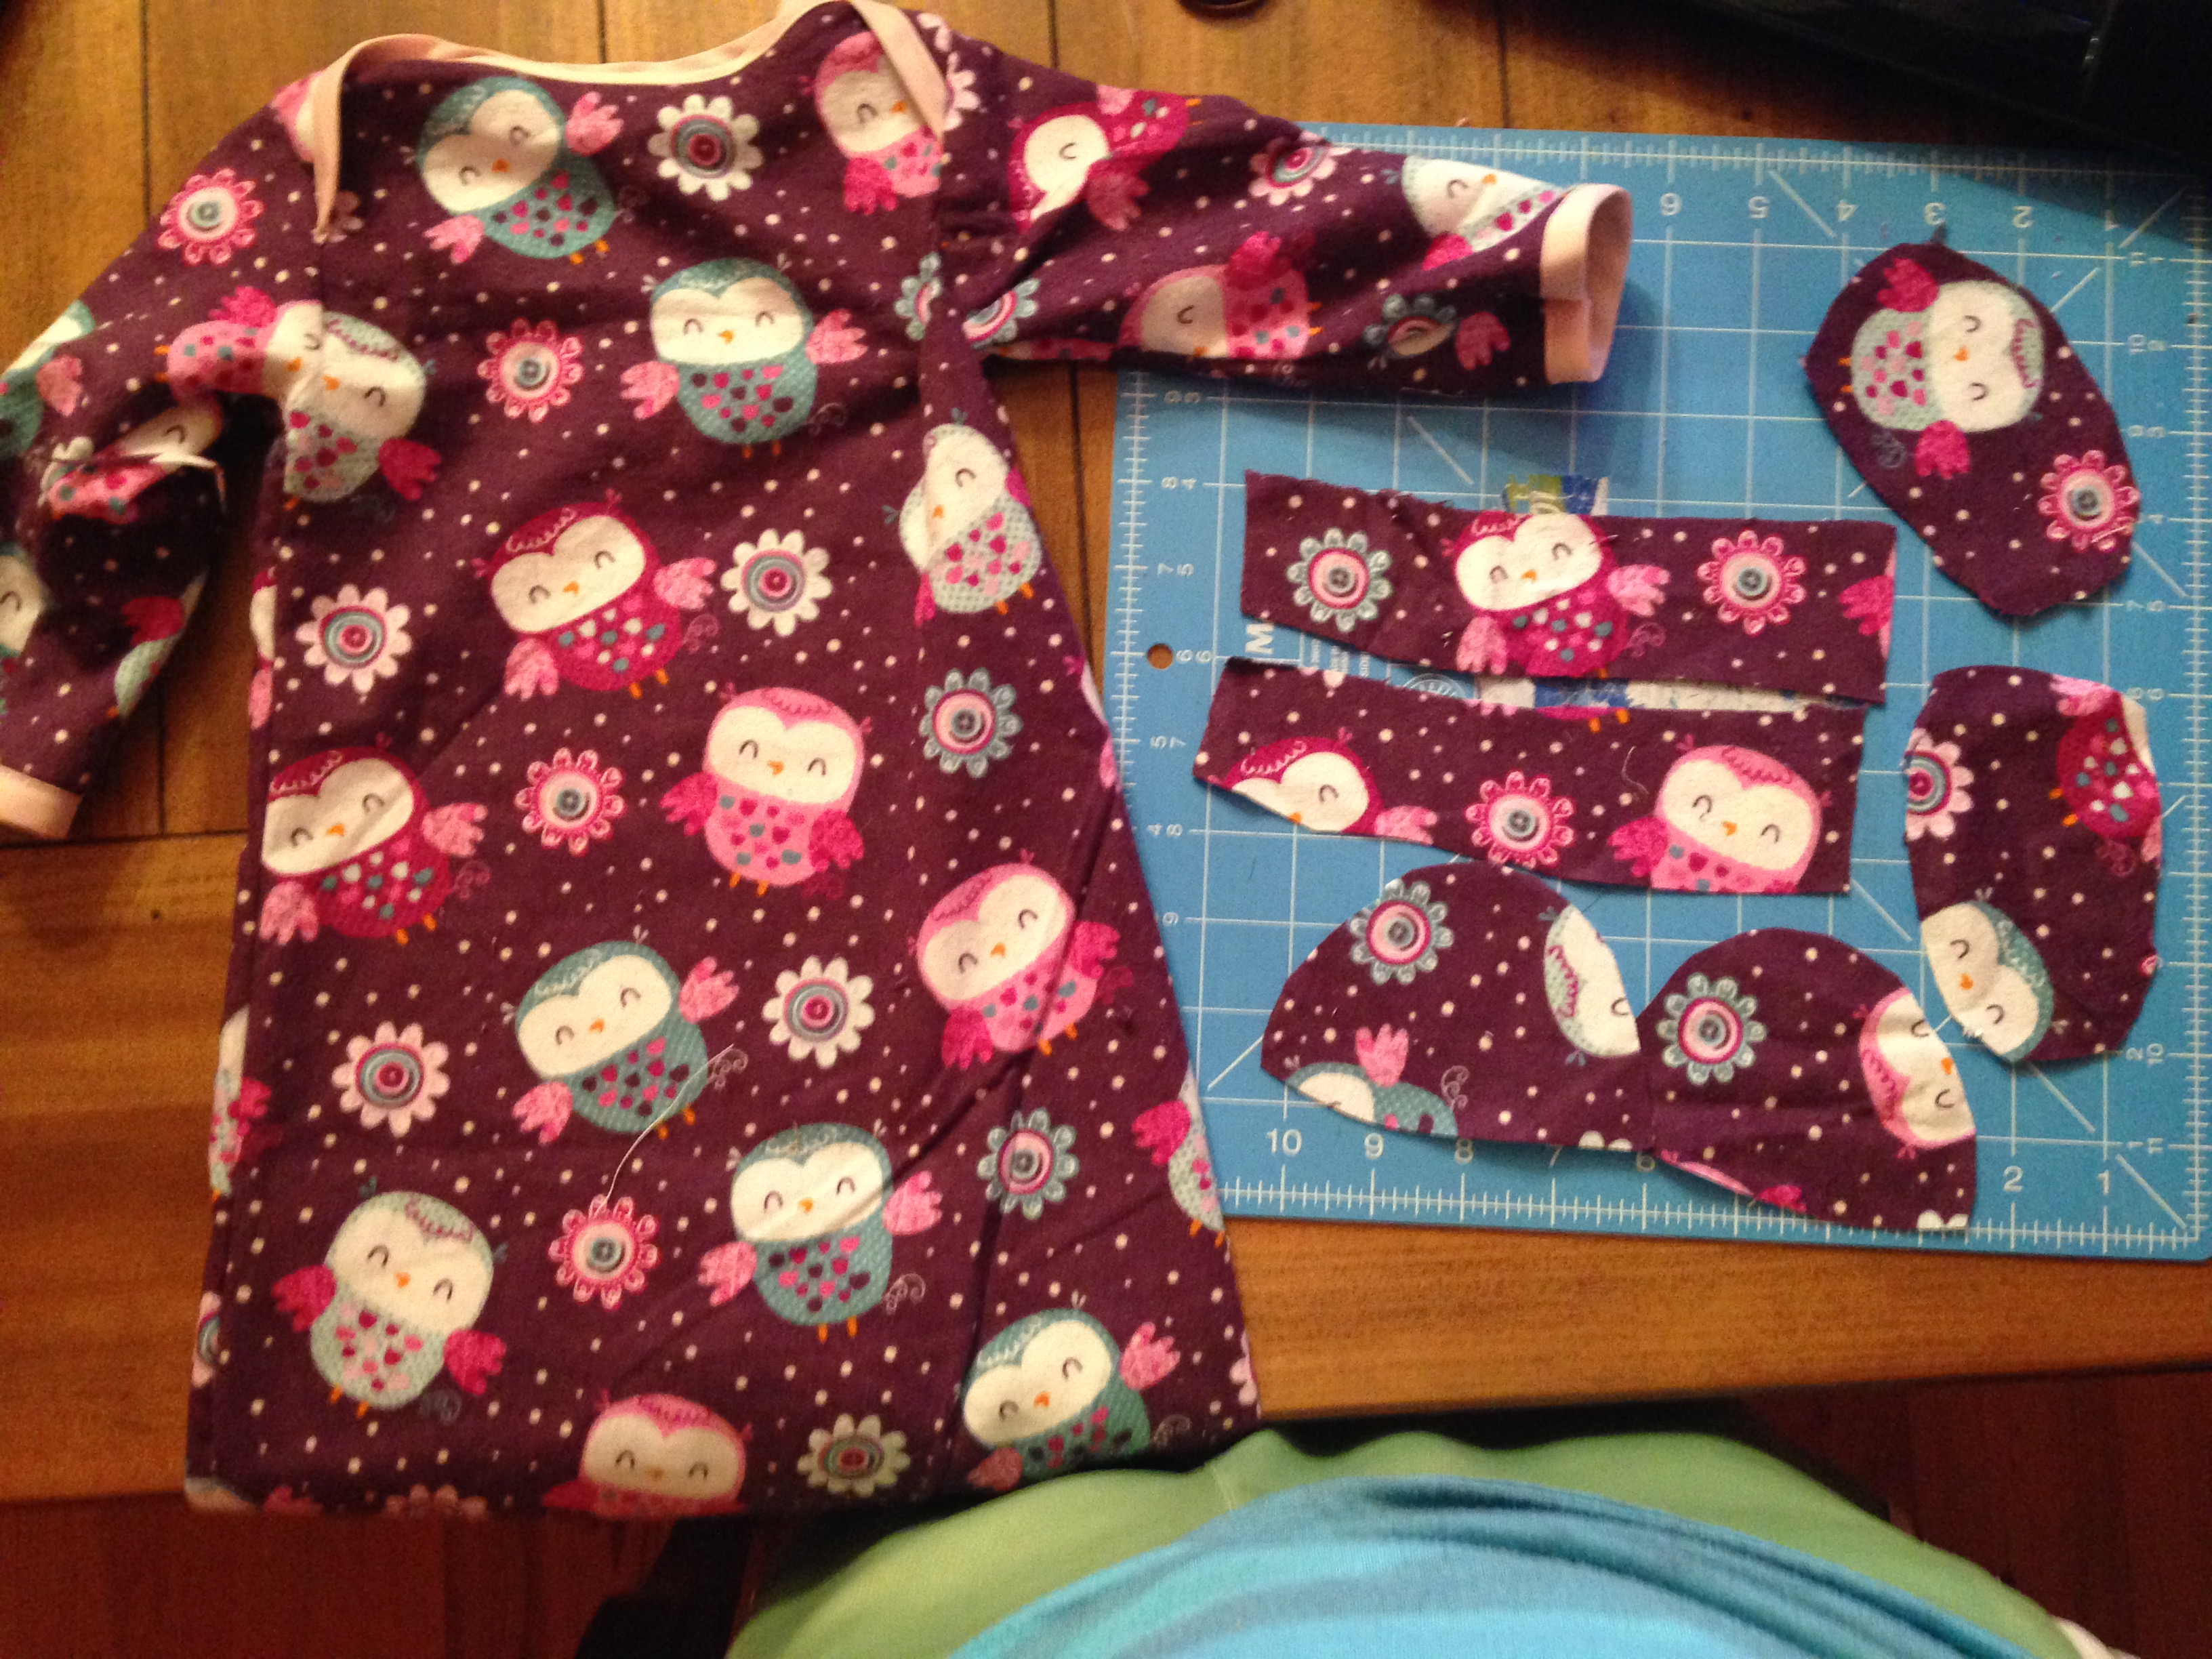
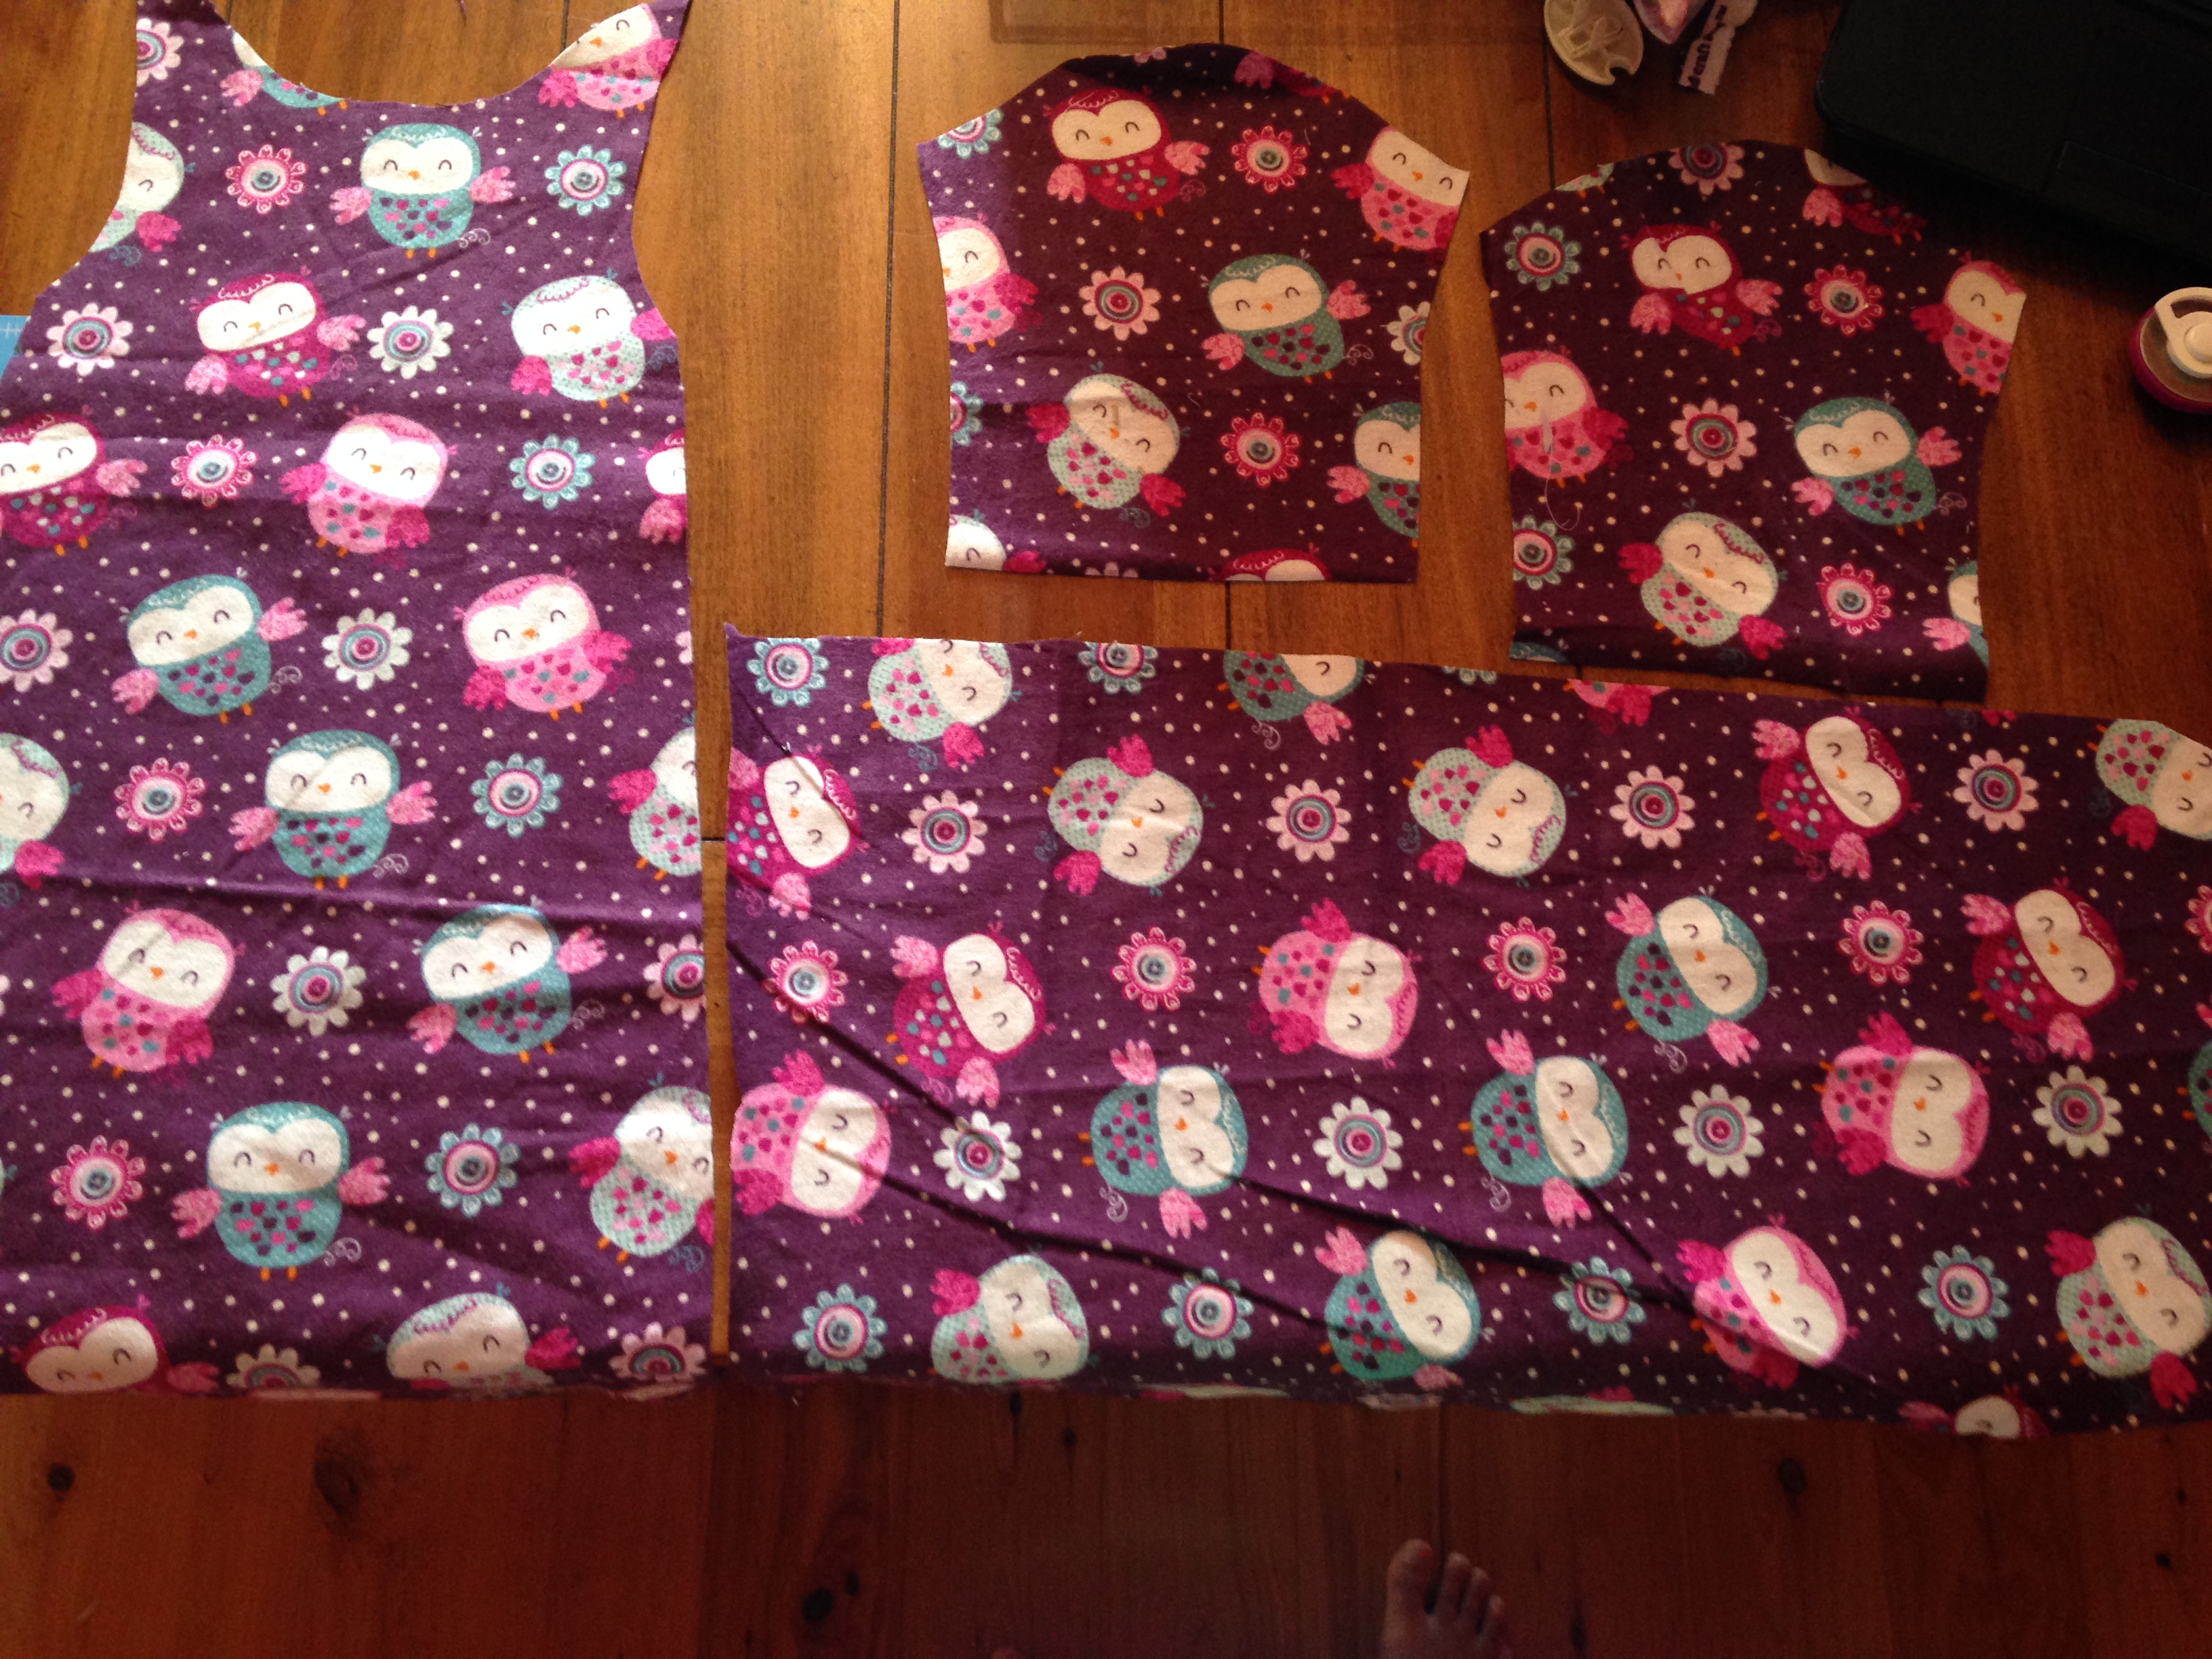
  2. Cut your fabric patterns out as instructed (decide if you want a hood and if you want it detachable.  Also decide if you want long sleeves or no sleeves)
  3. You can serge or zigzag stitch around all the pieces of fabric to prevent fraying. IMG_3287
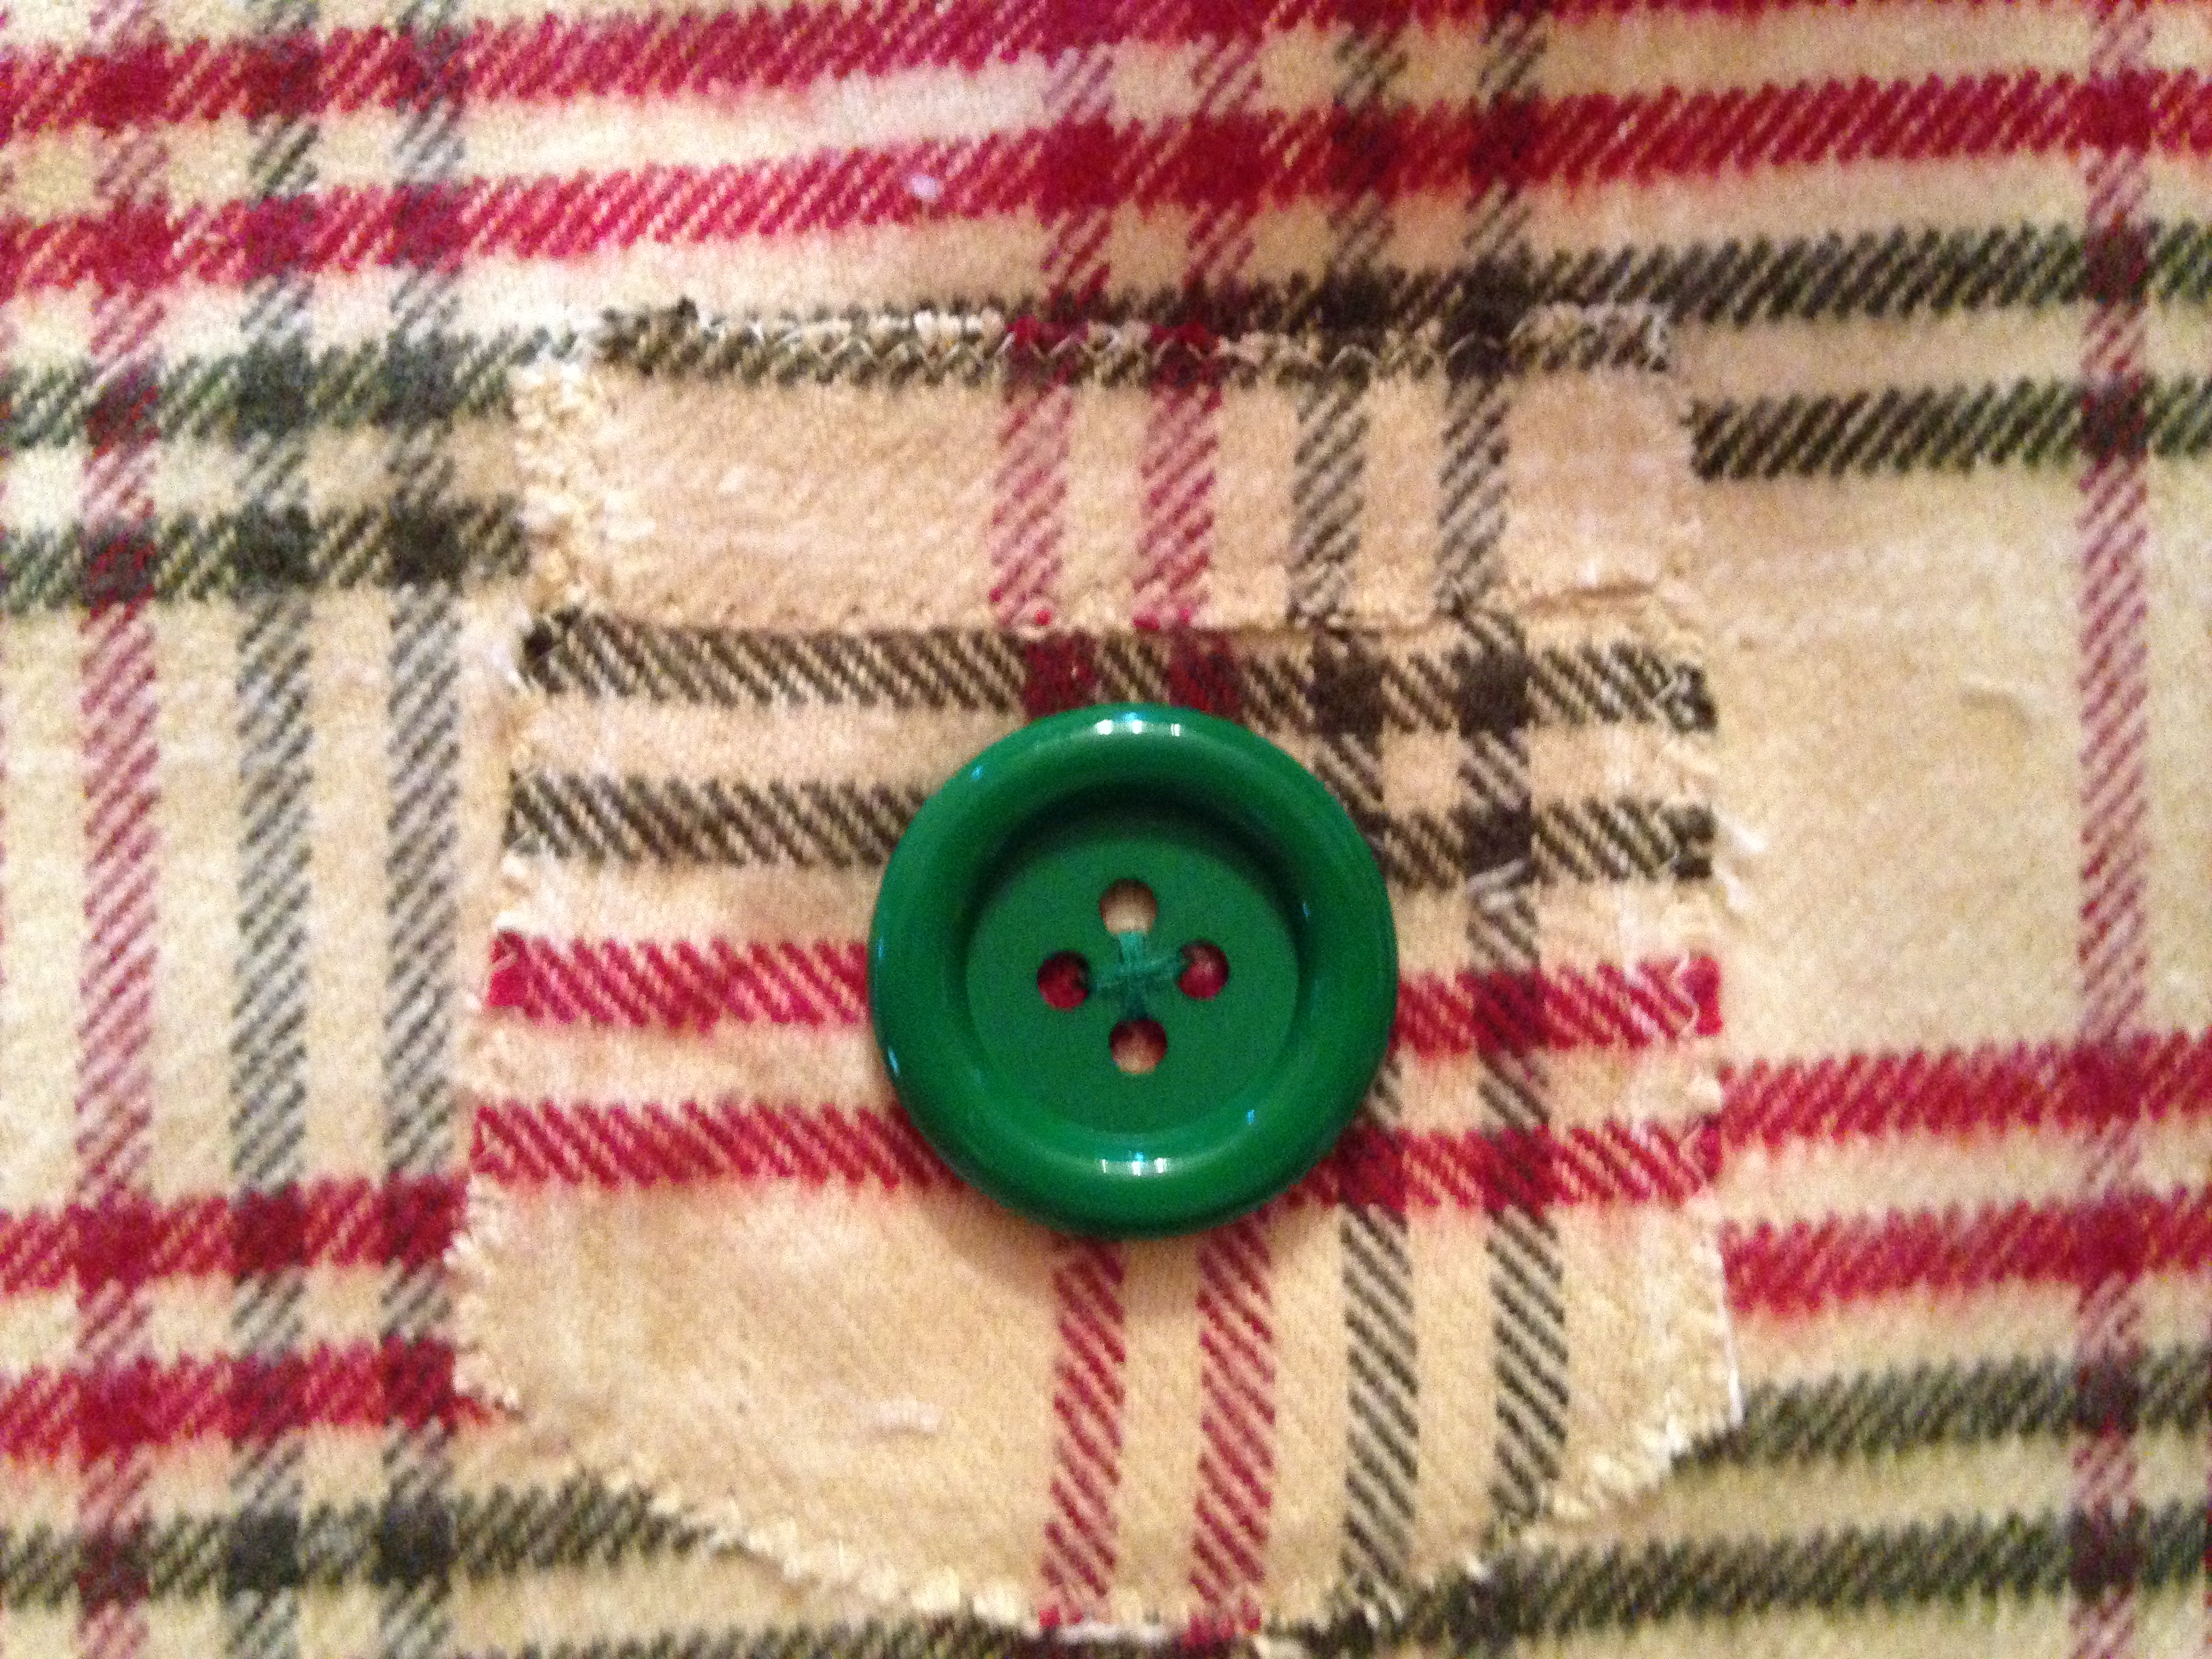
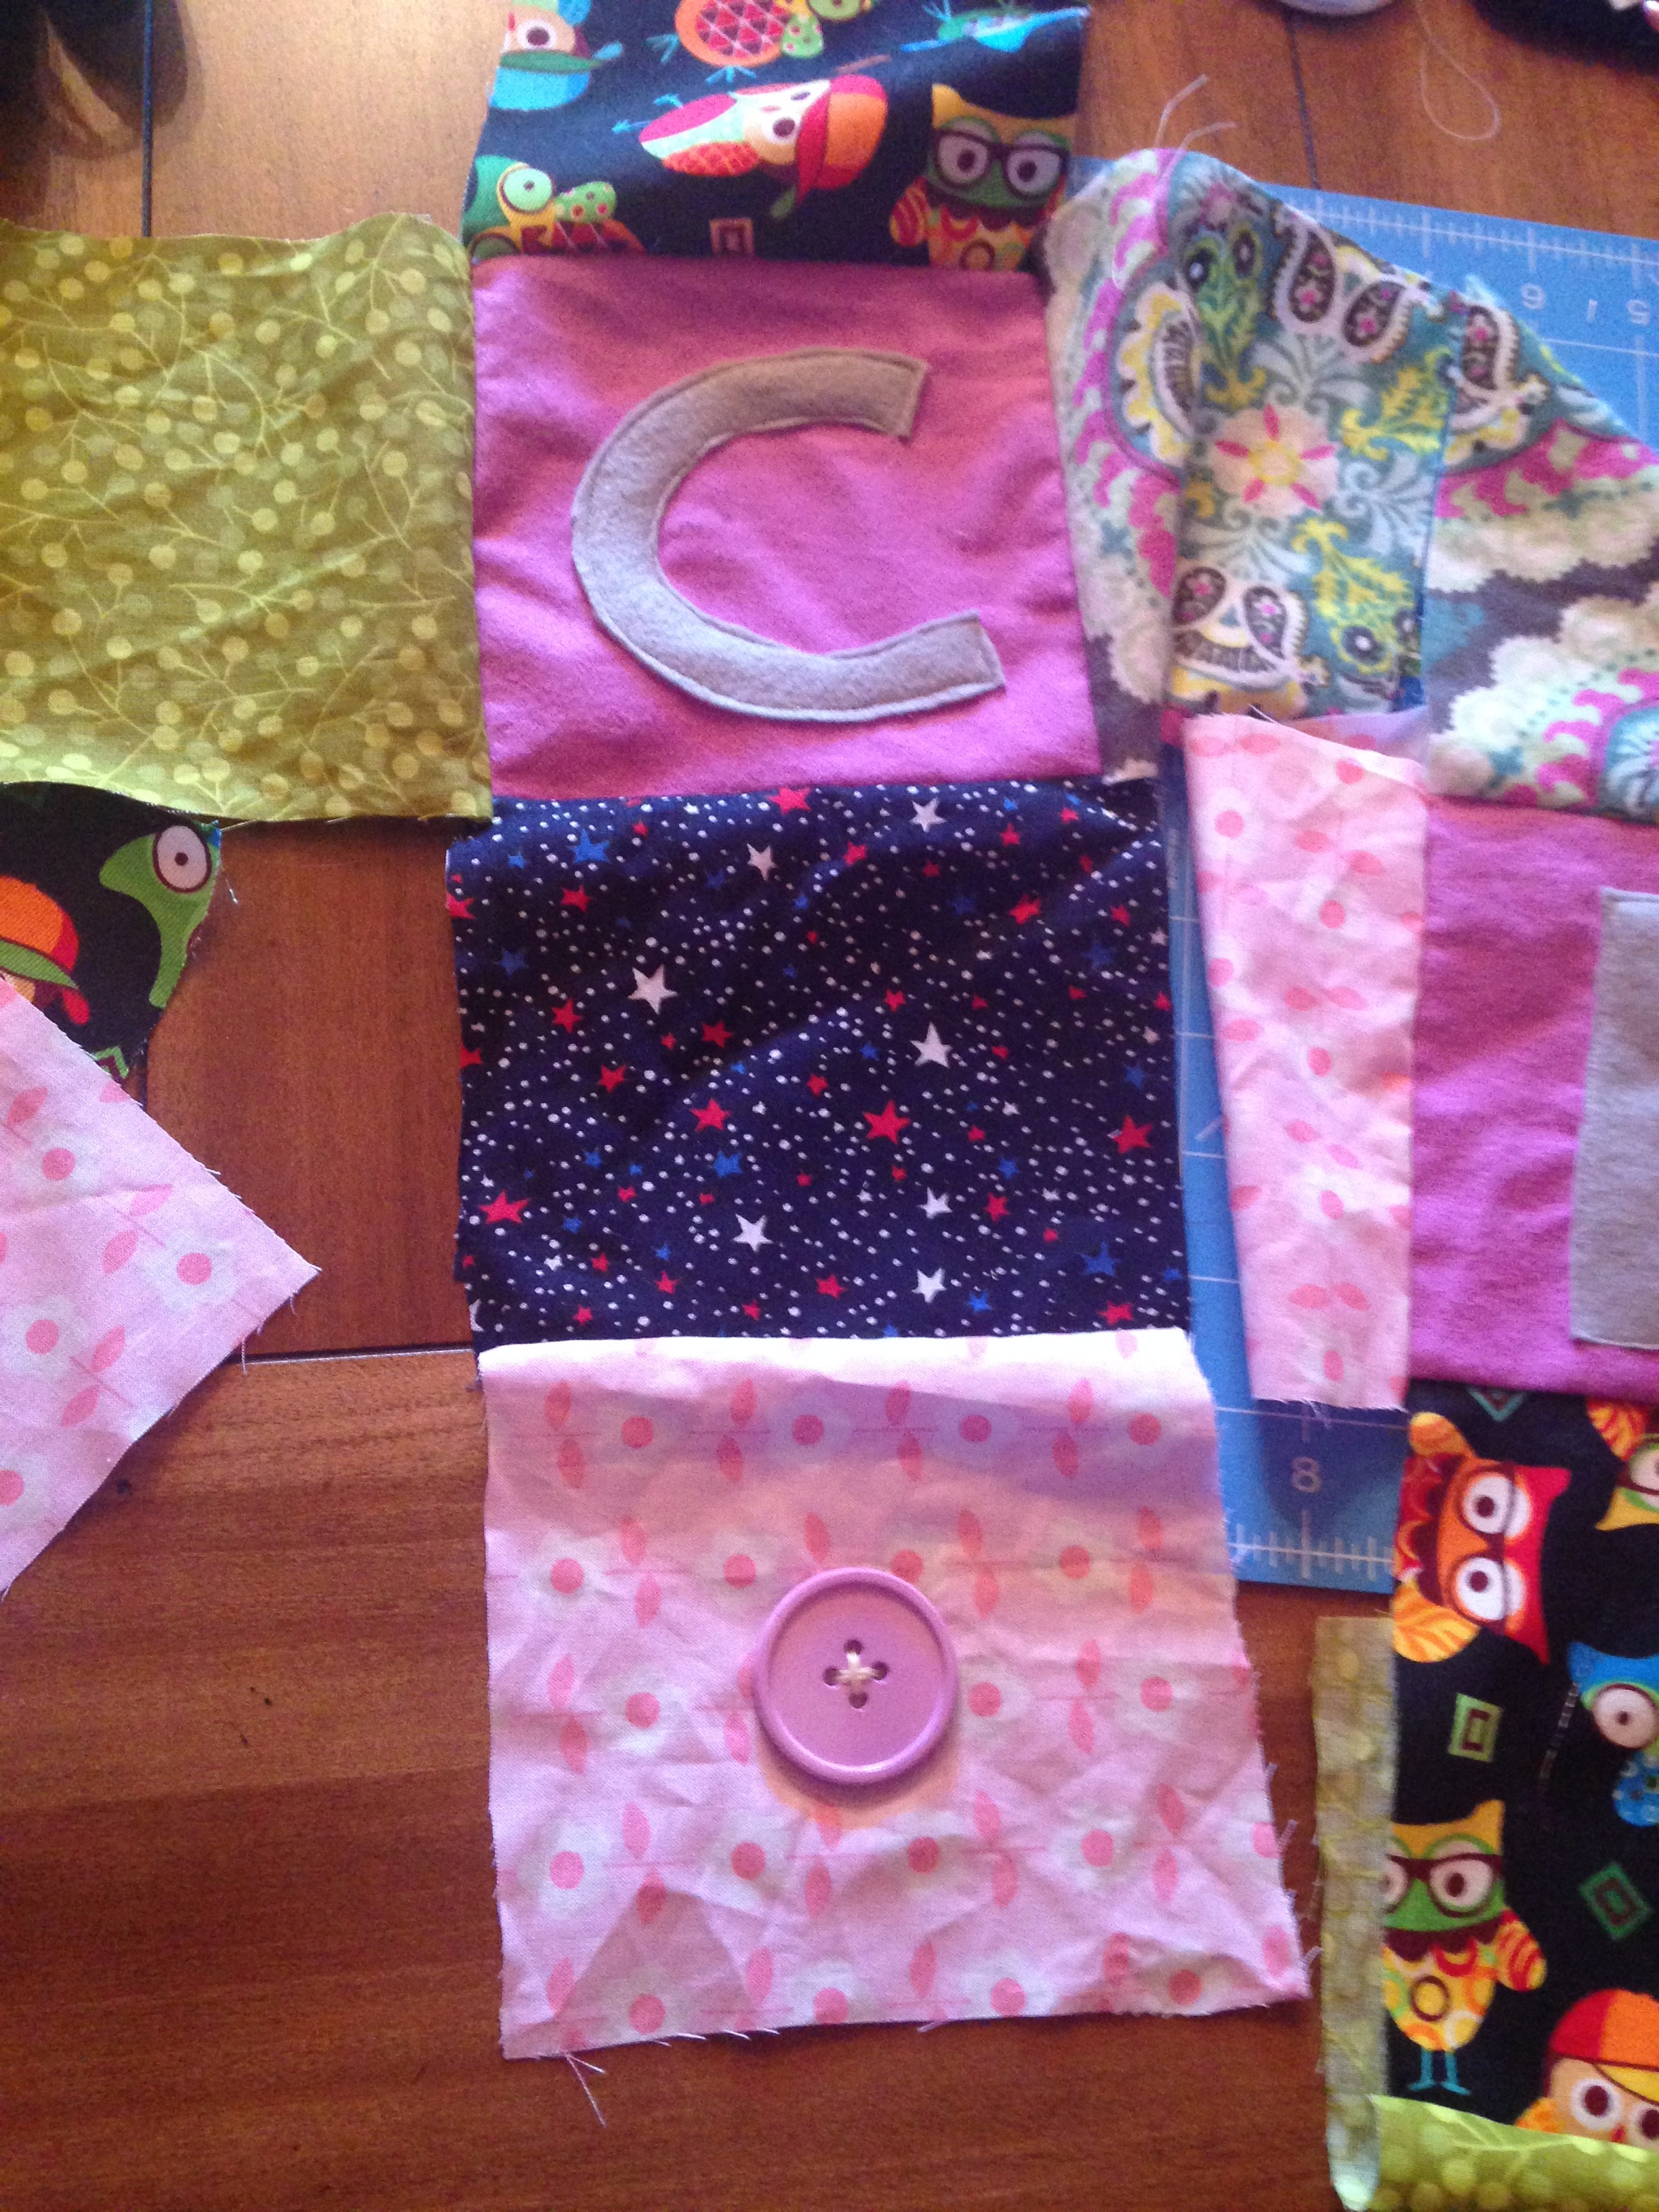
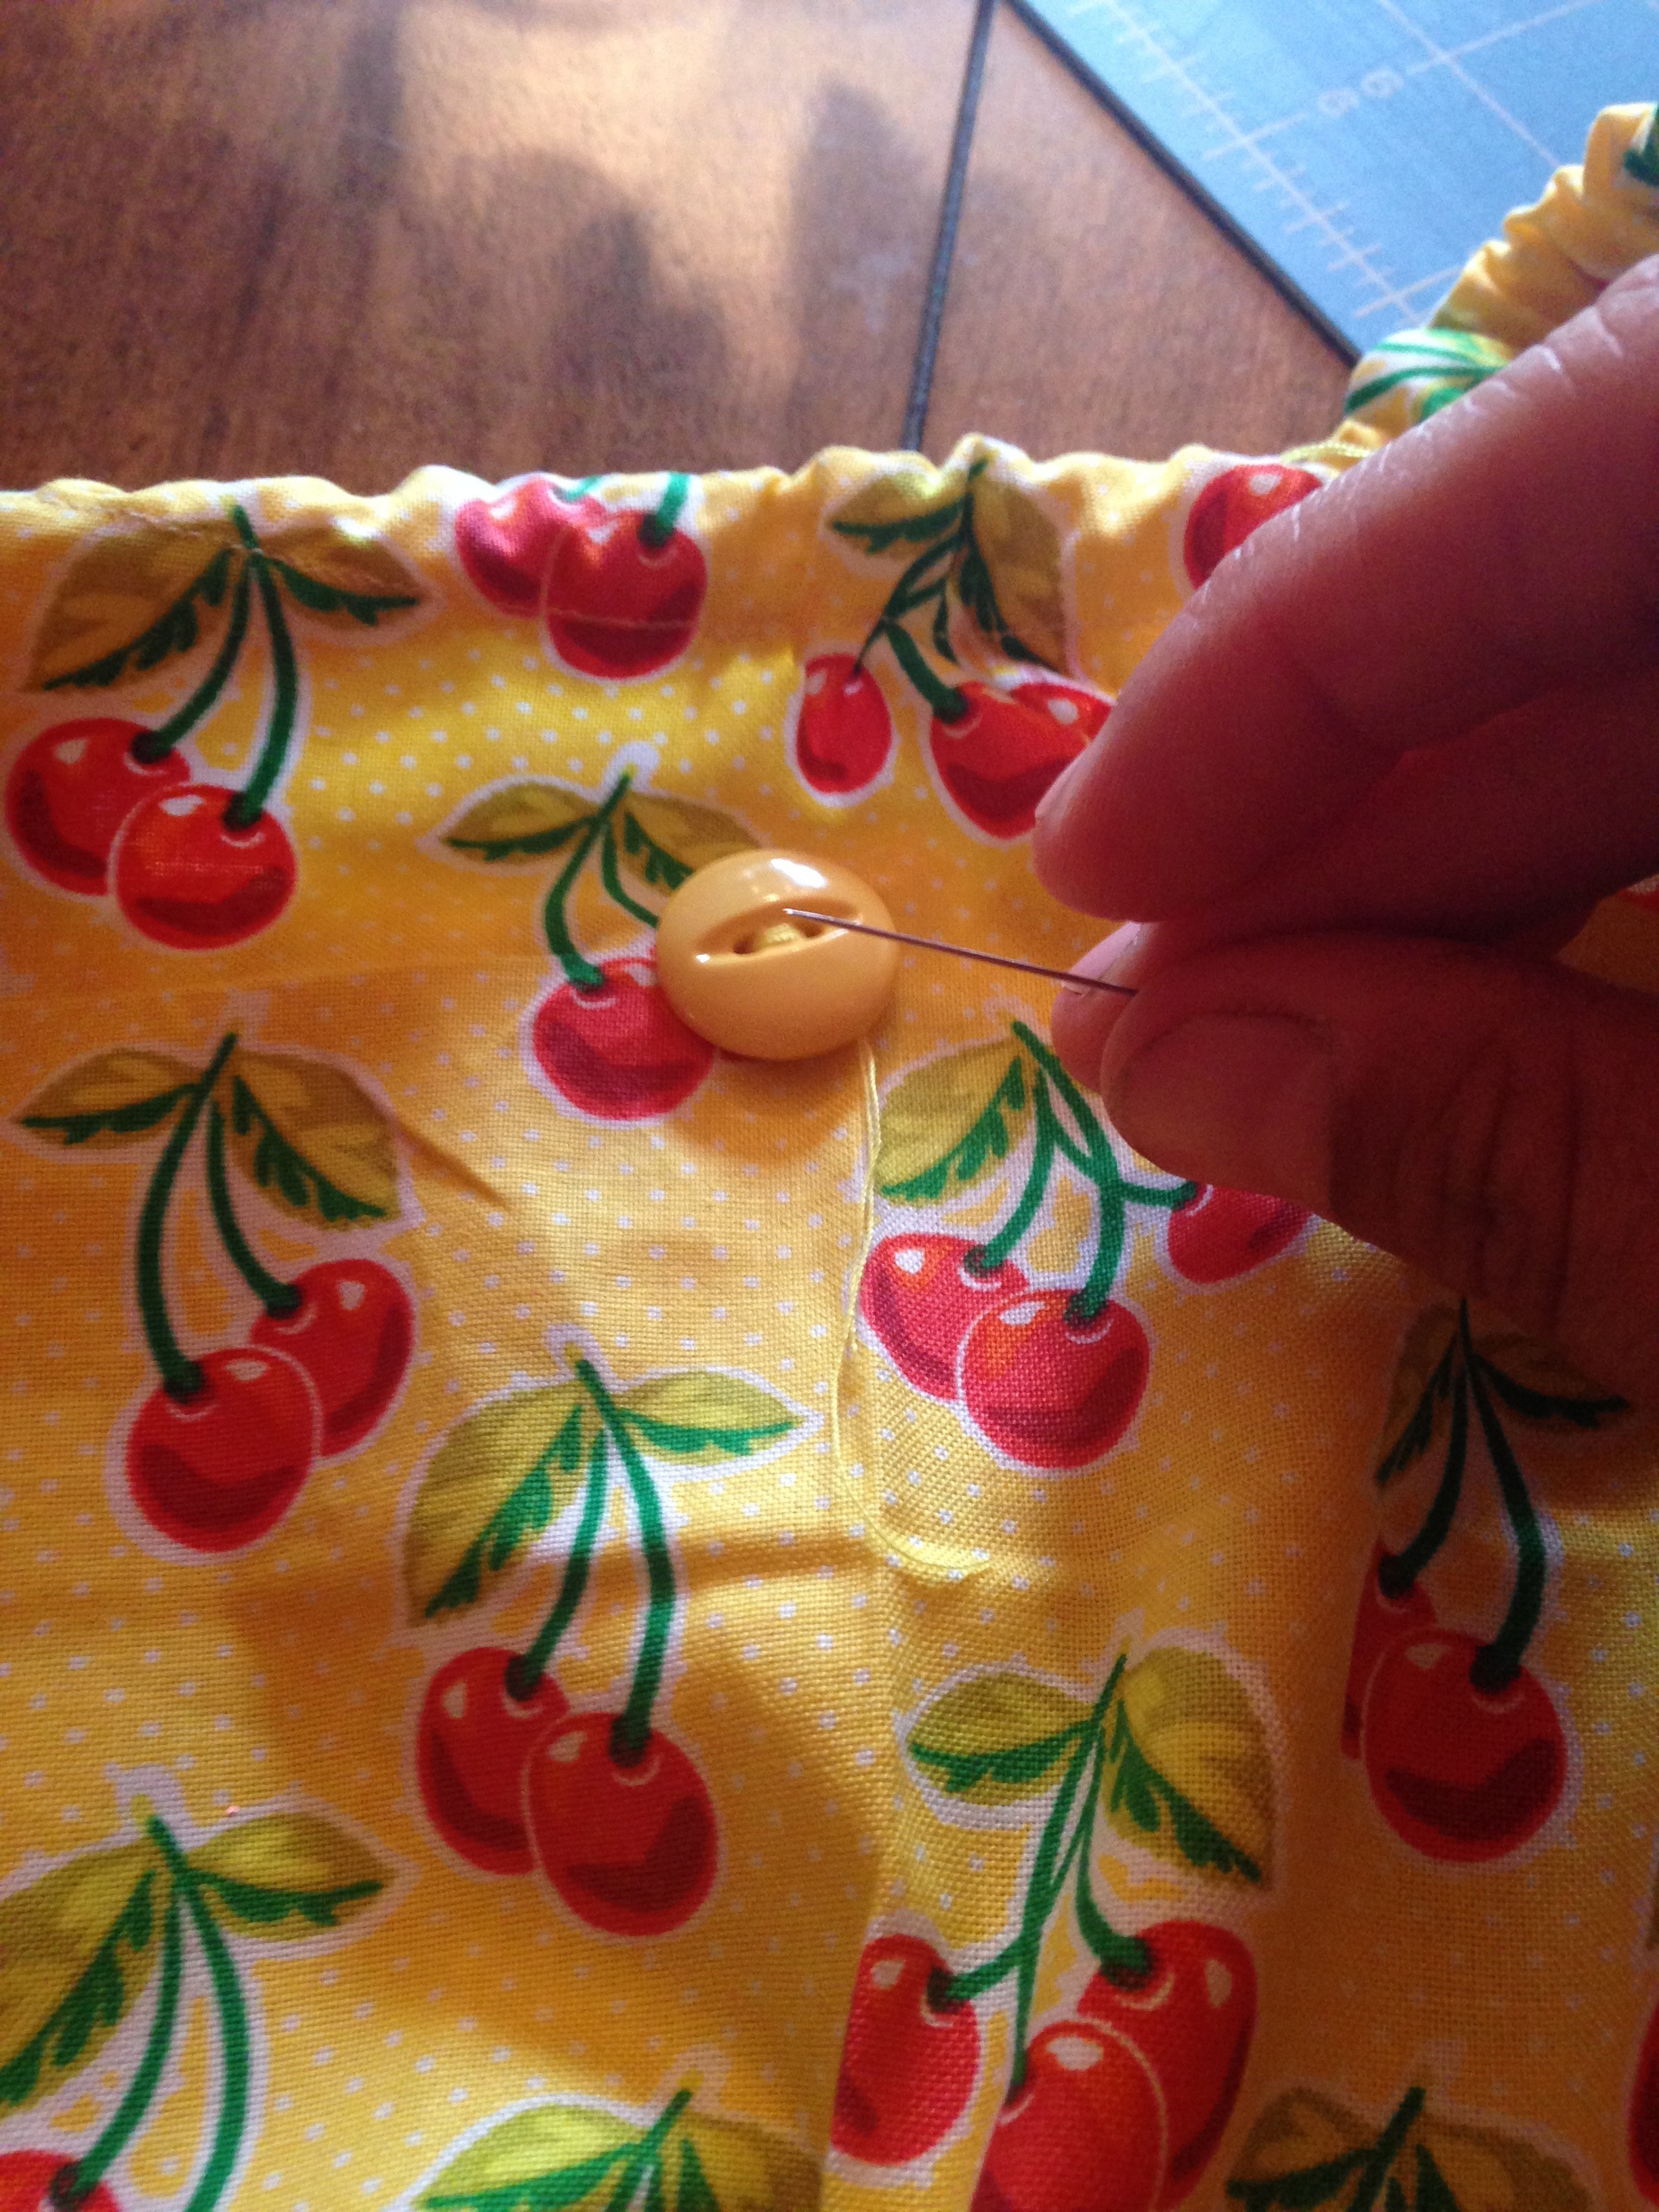
  4. After zigzaging or serging, sew the top part of the pocket on the main pocket
    parts
  5. If you want a button on your pocket sew them on now before you attach it
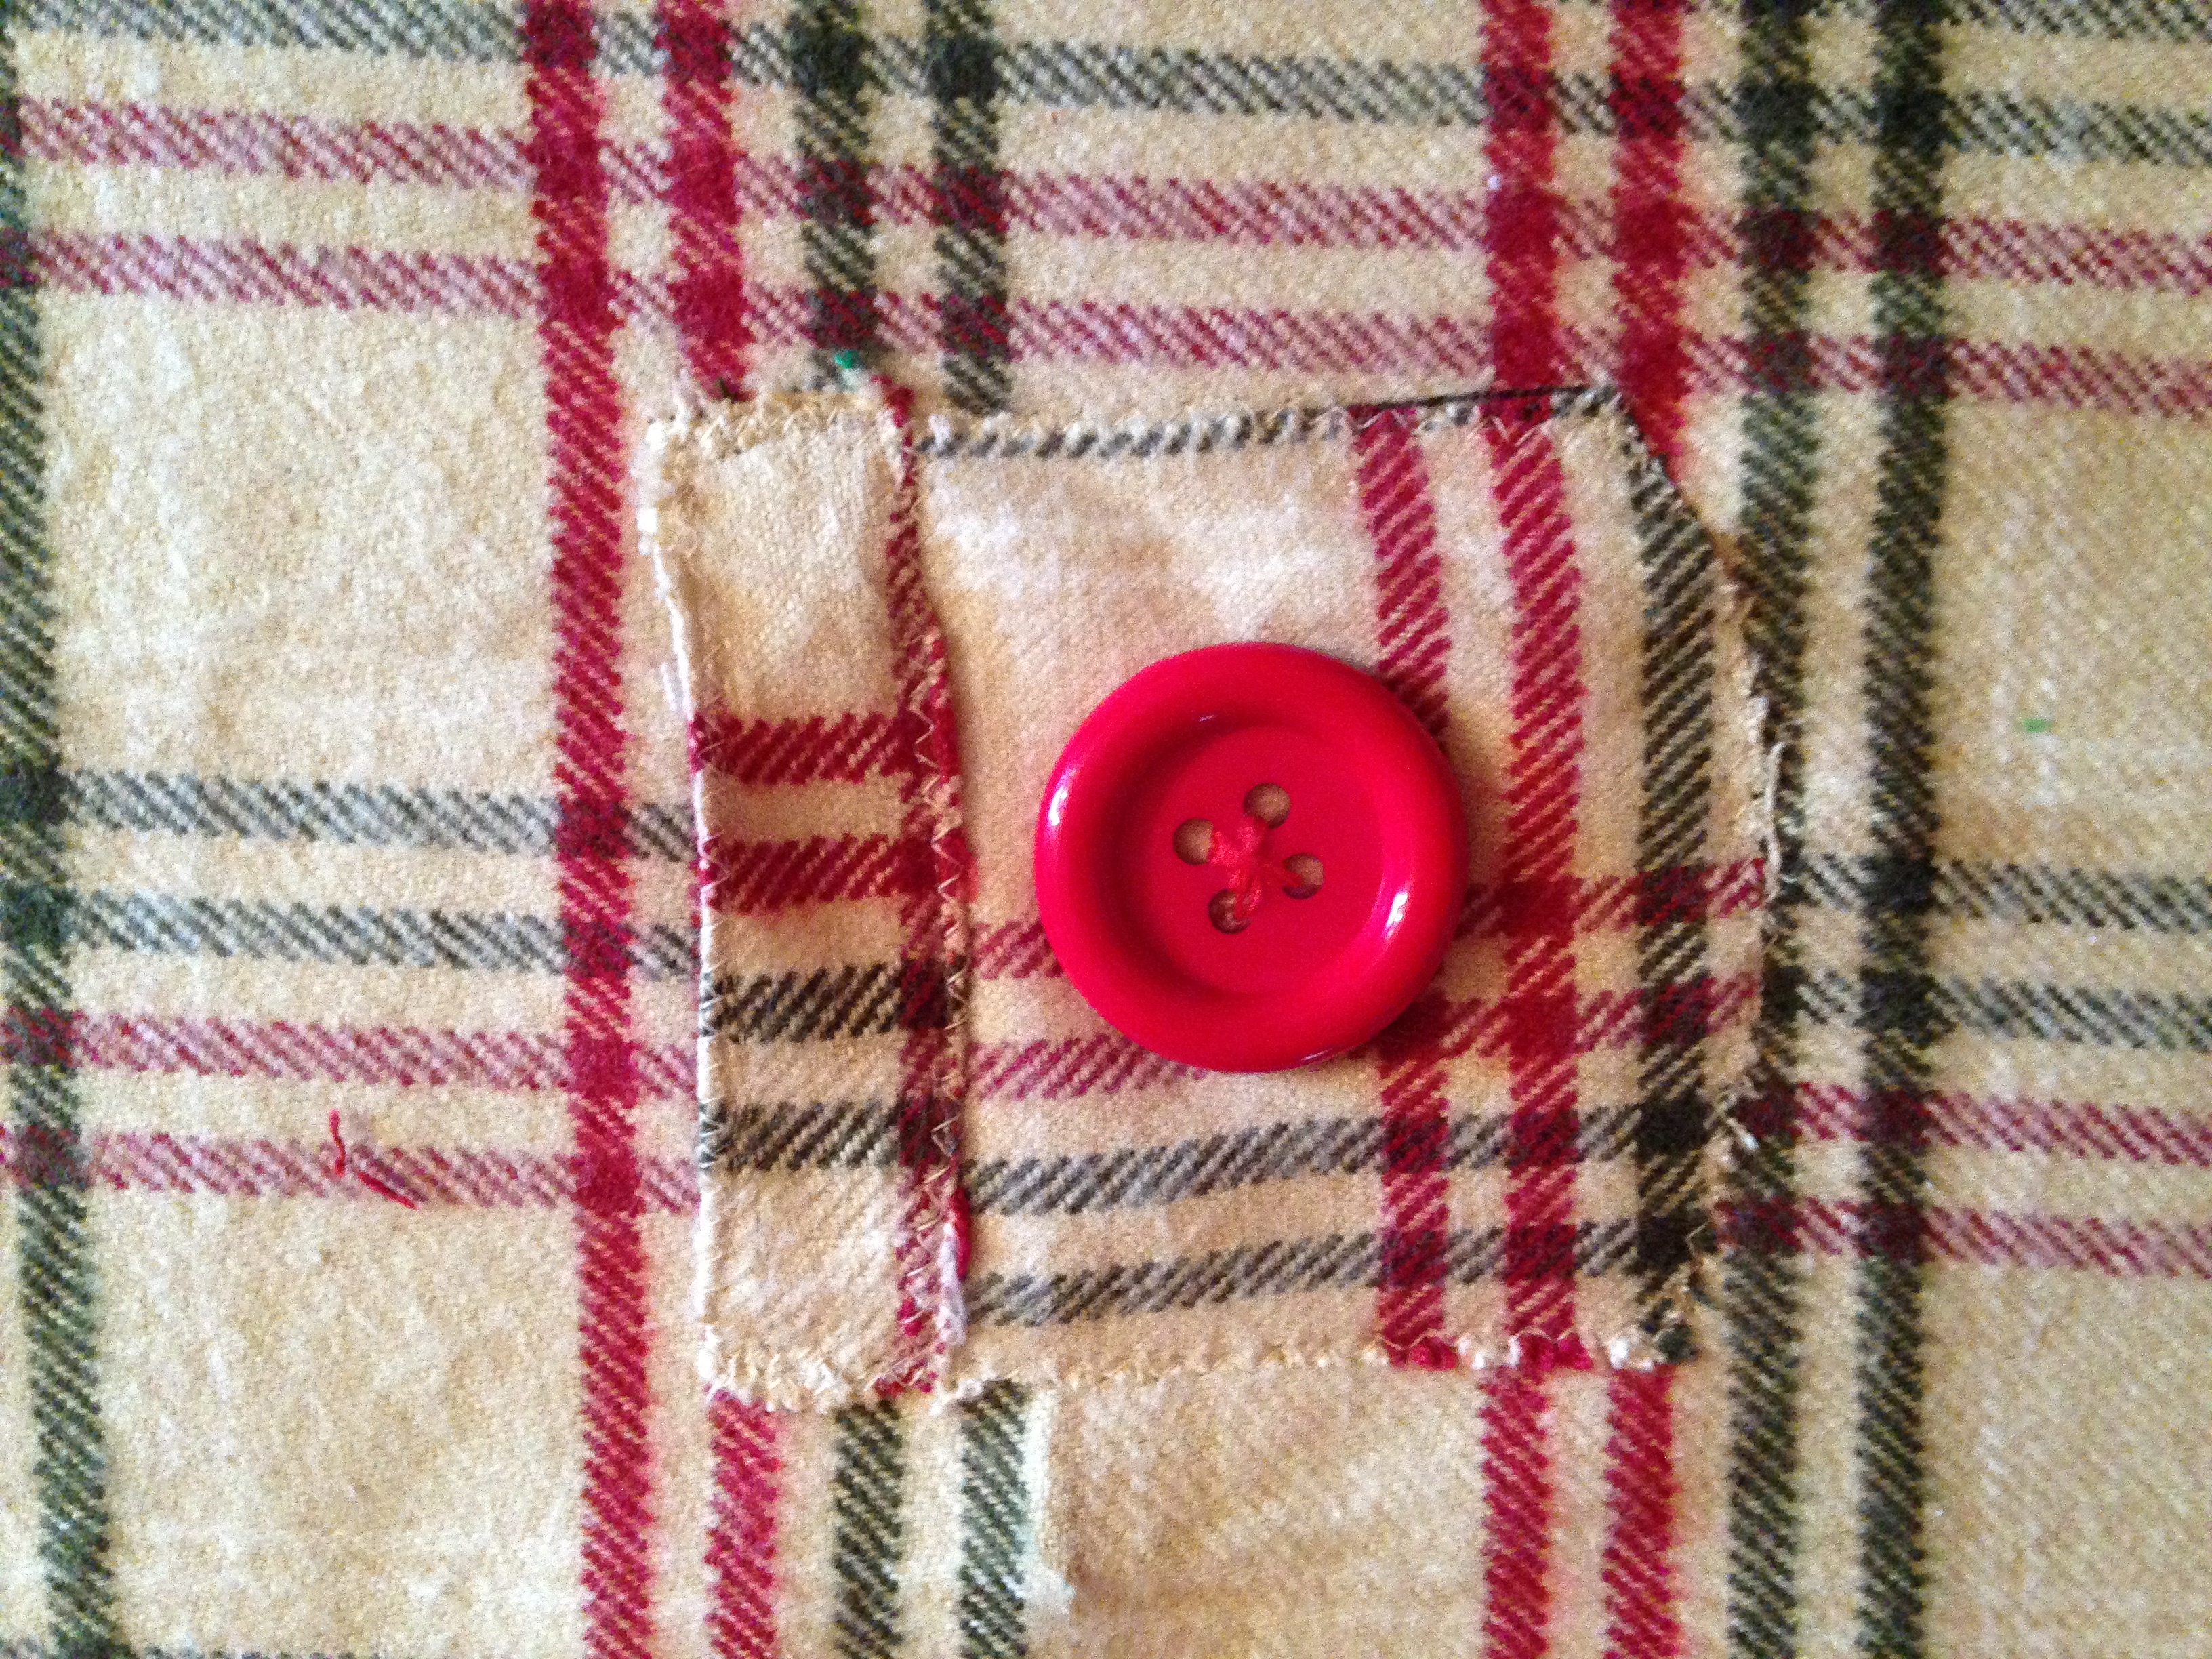
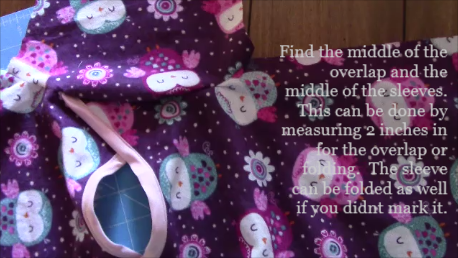
  6. Next, make sure you align your pockets on the dress front by measuring in from the sides and from the top and bottom to get them as even as possible.
  7. You can either fold your pocket edges and sew either a straight or zigzag stitch around the pocket leaving the top open, or you can just stitch around it as I have done since I liked the look for the plaid dress.
  8. IMG_3310 IMG_3311
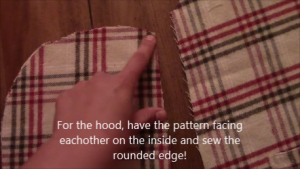
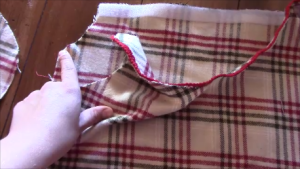
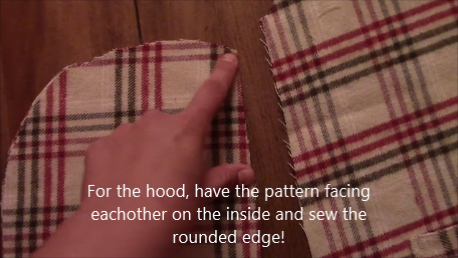
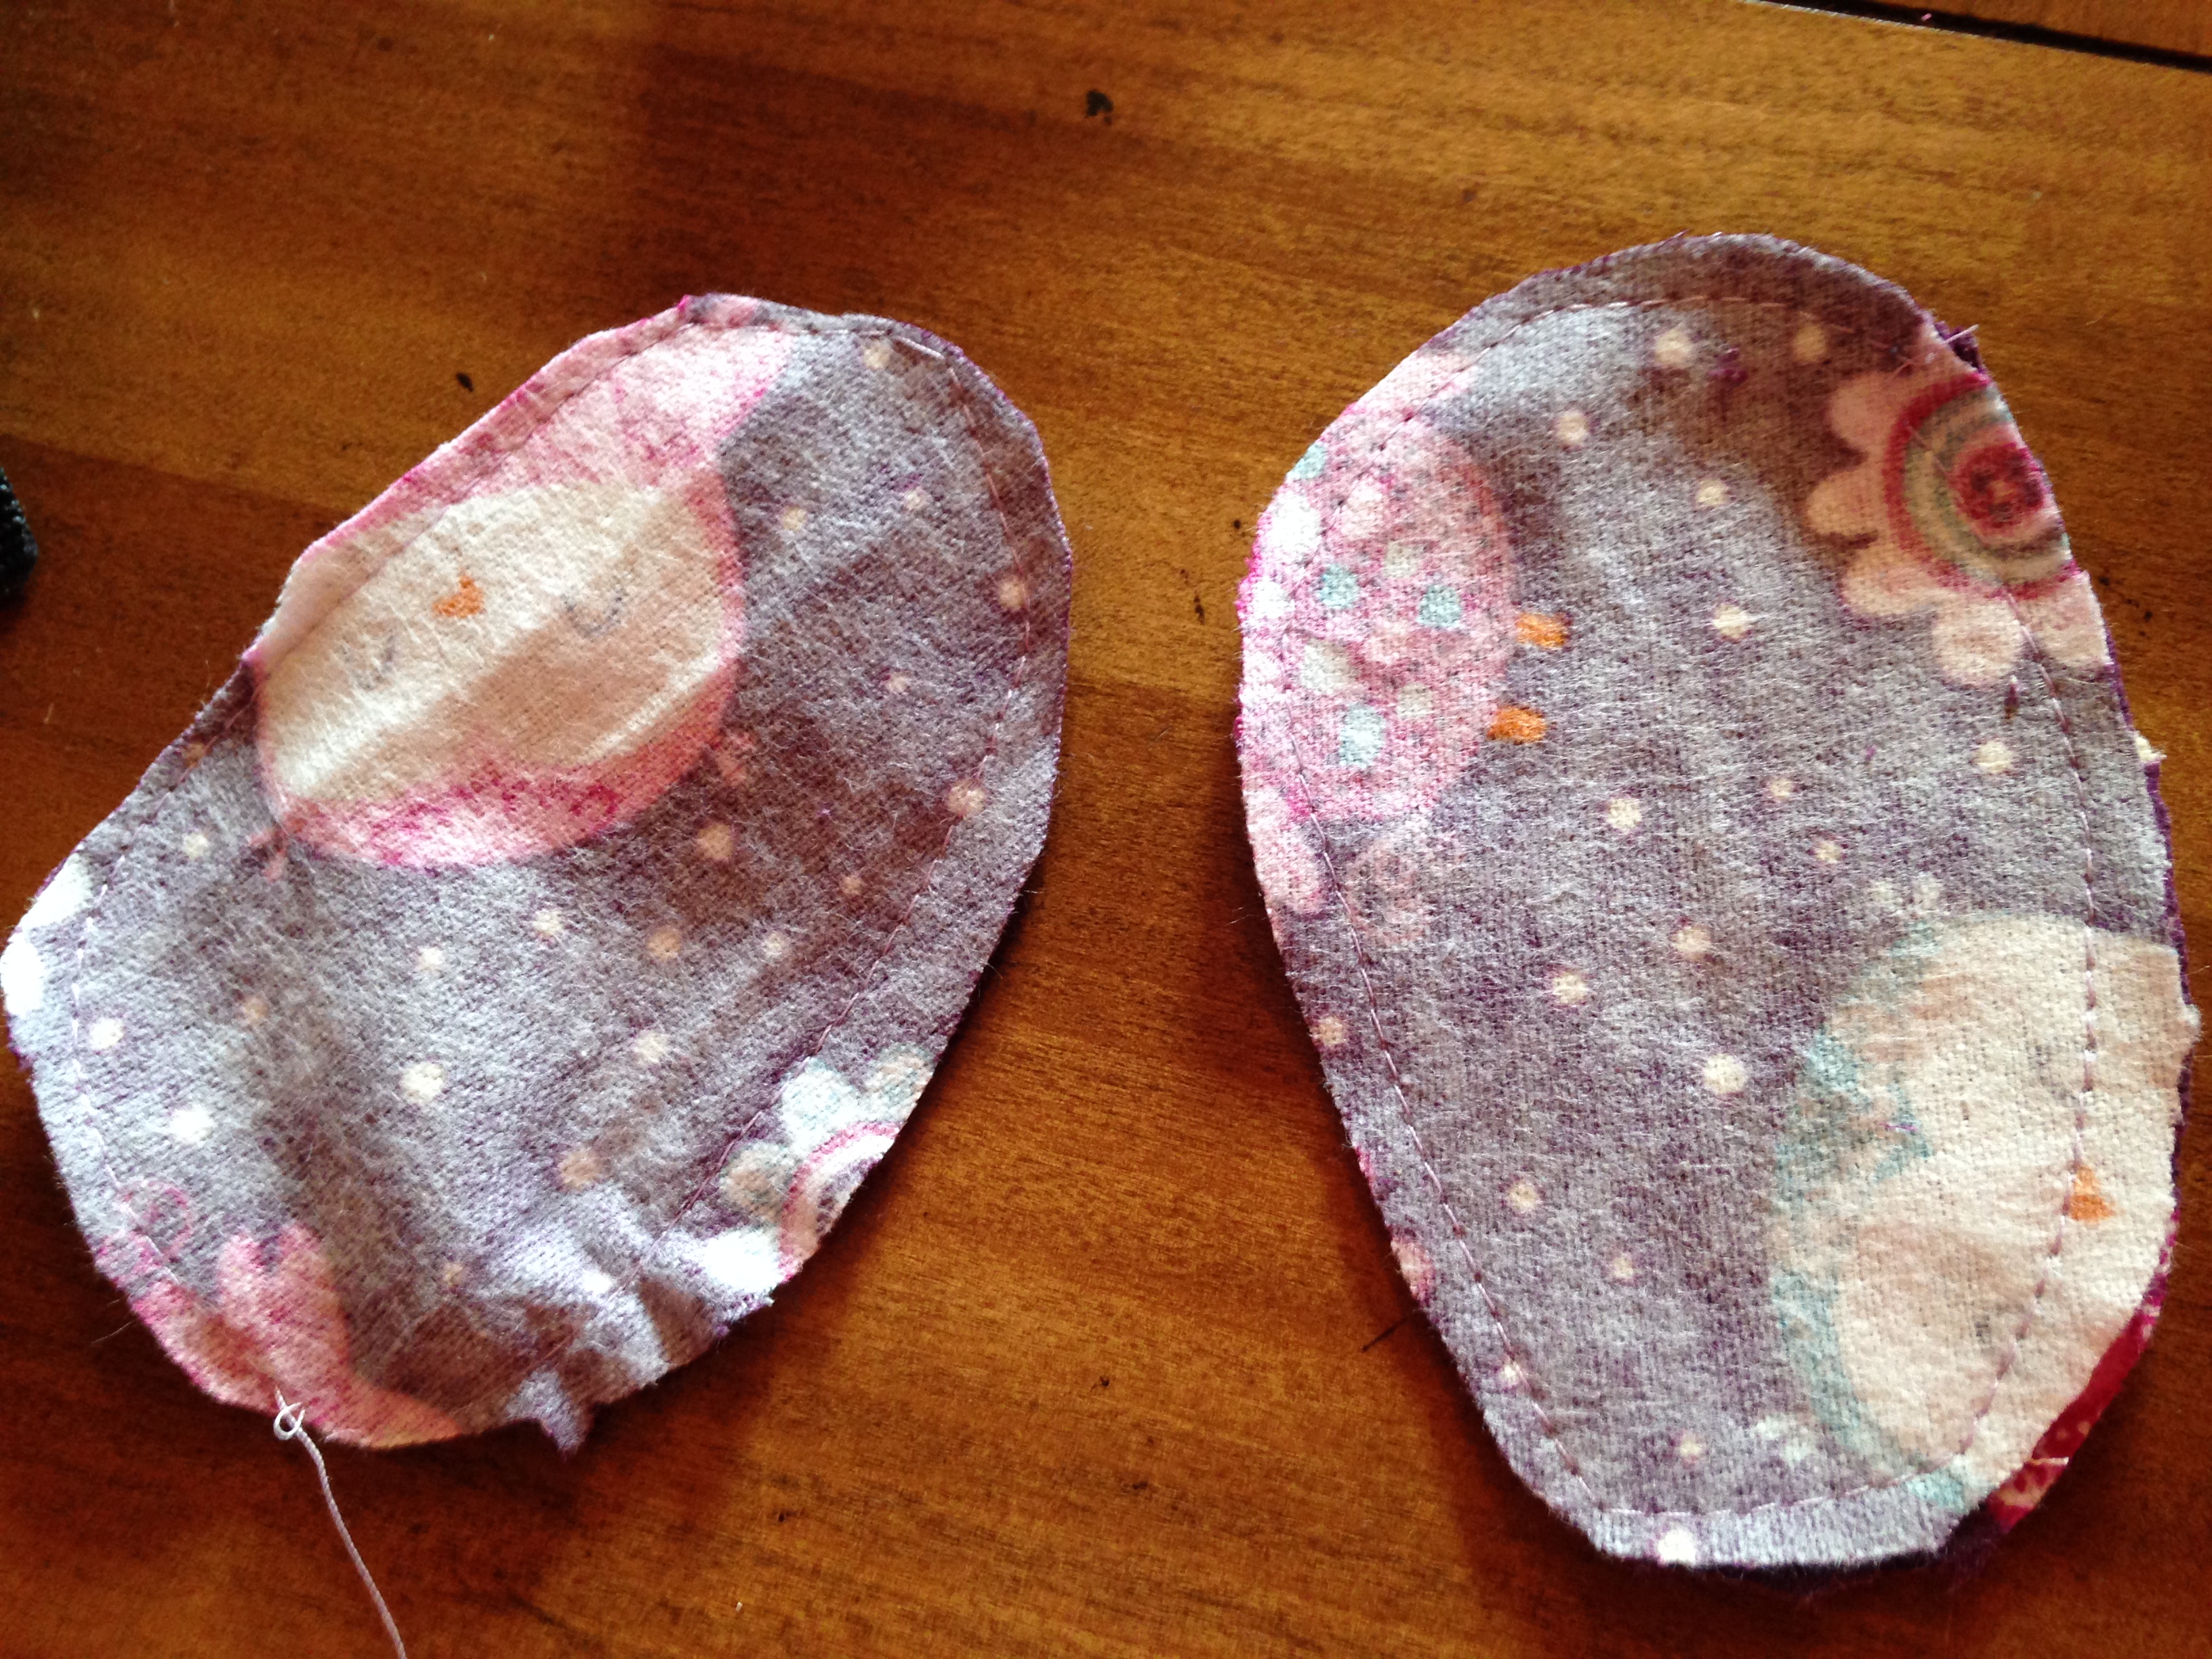
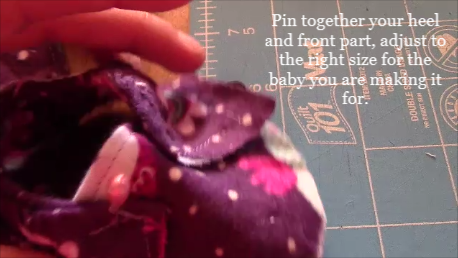
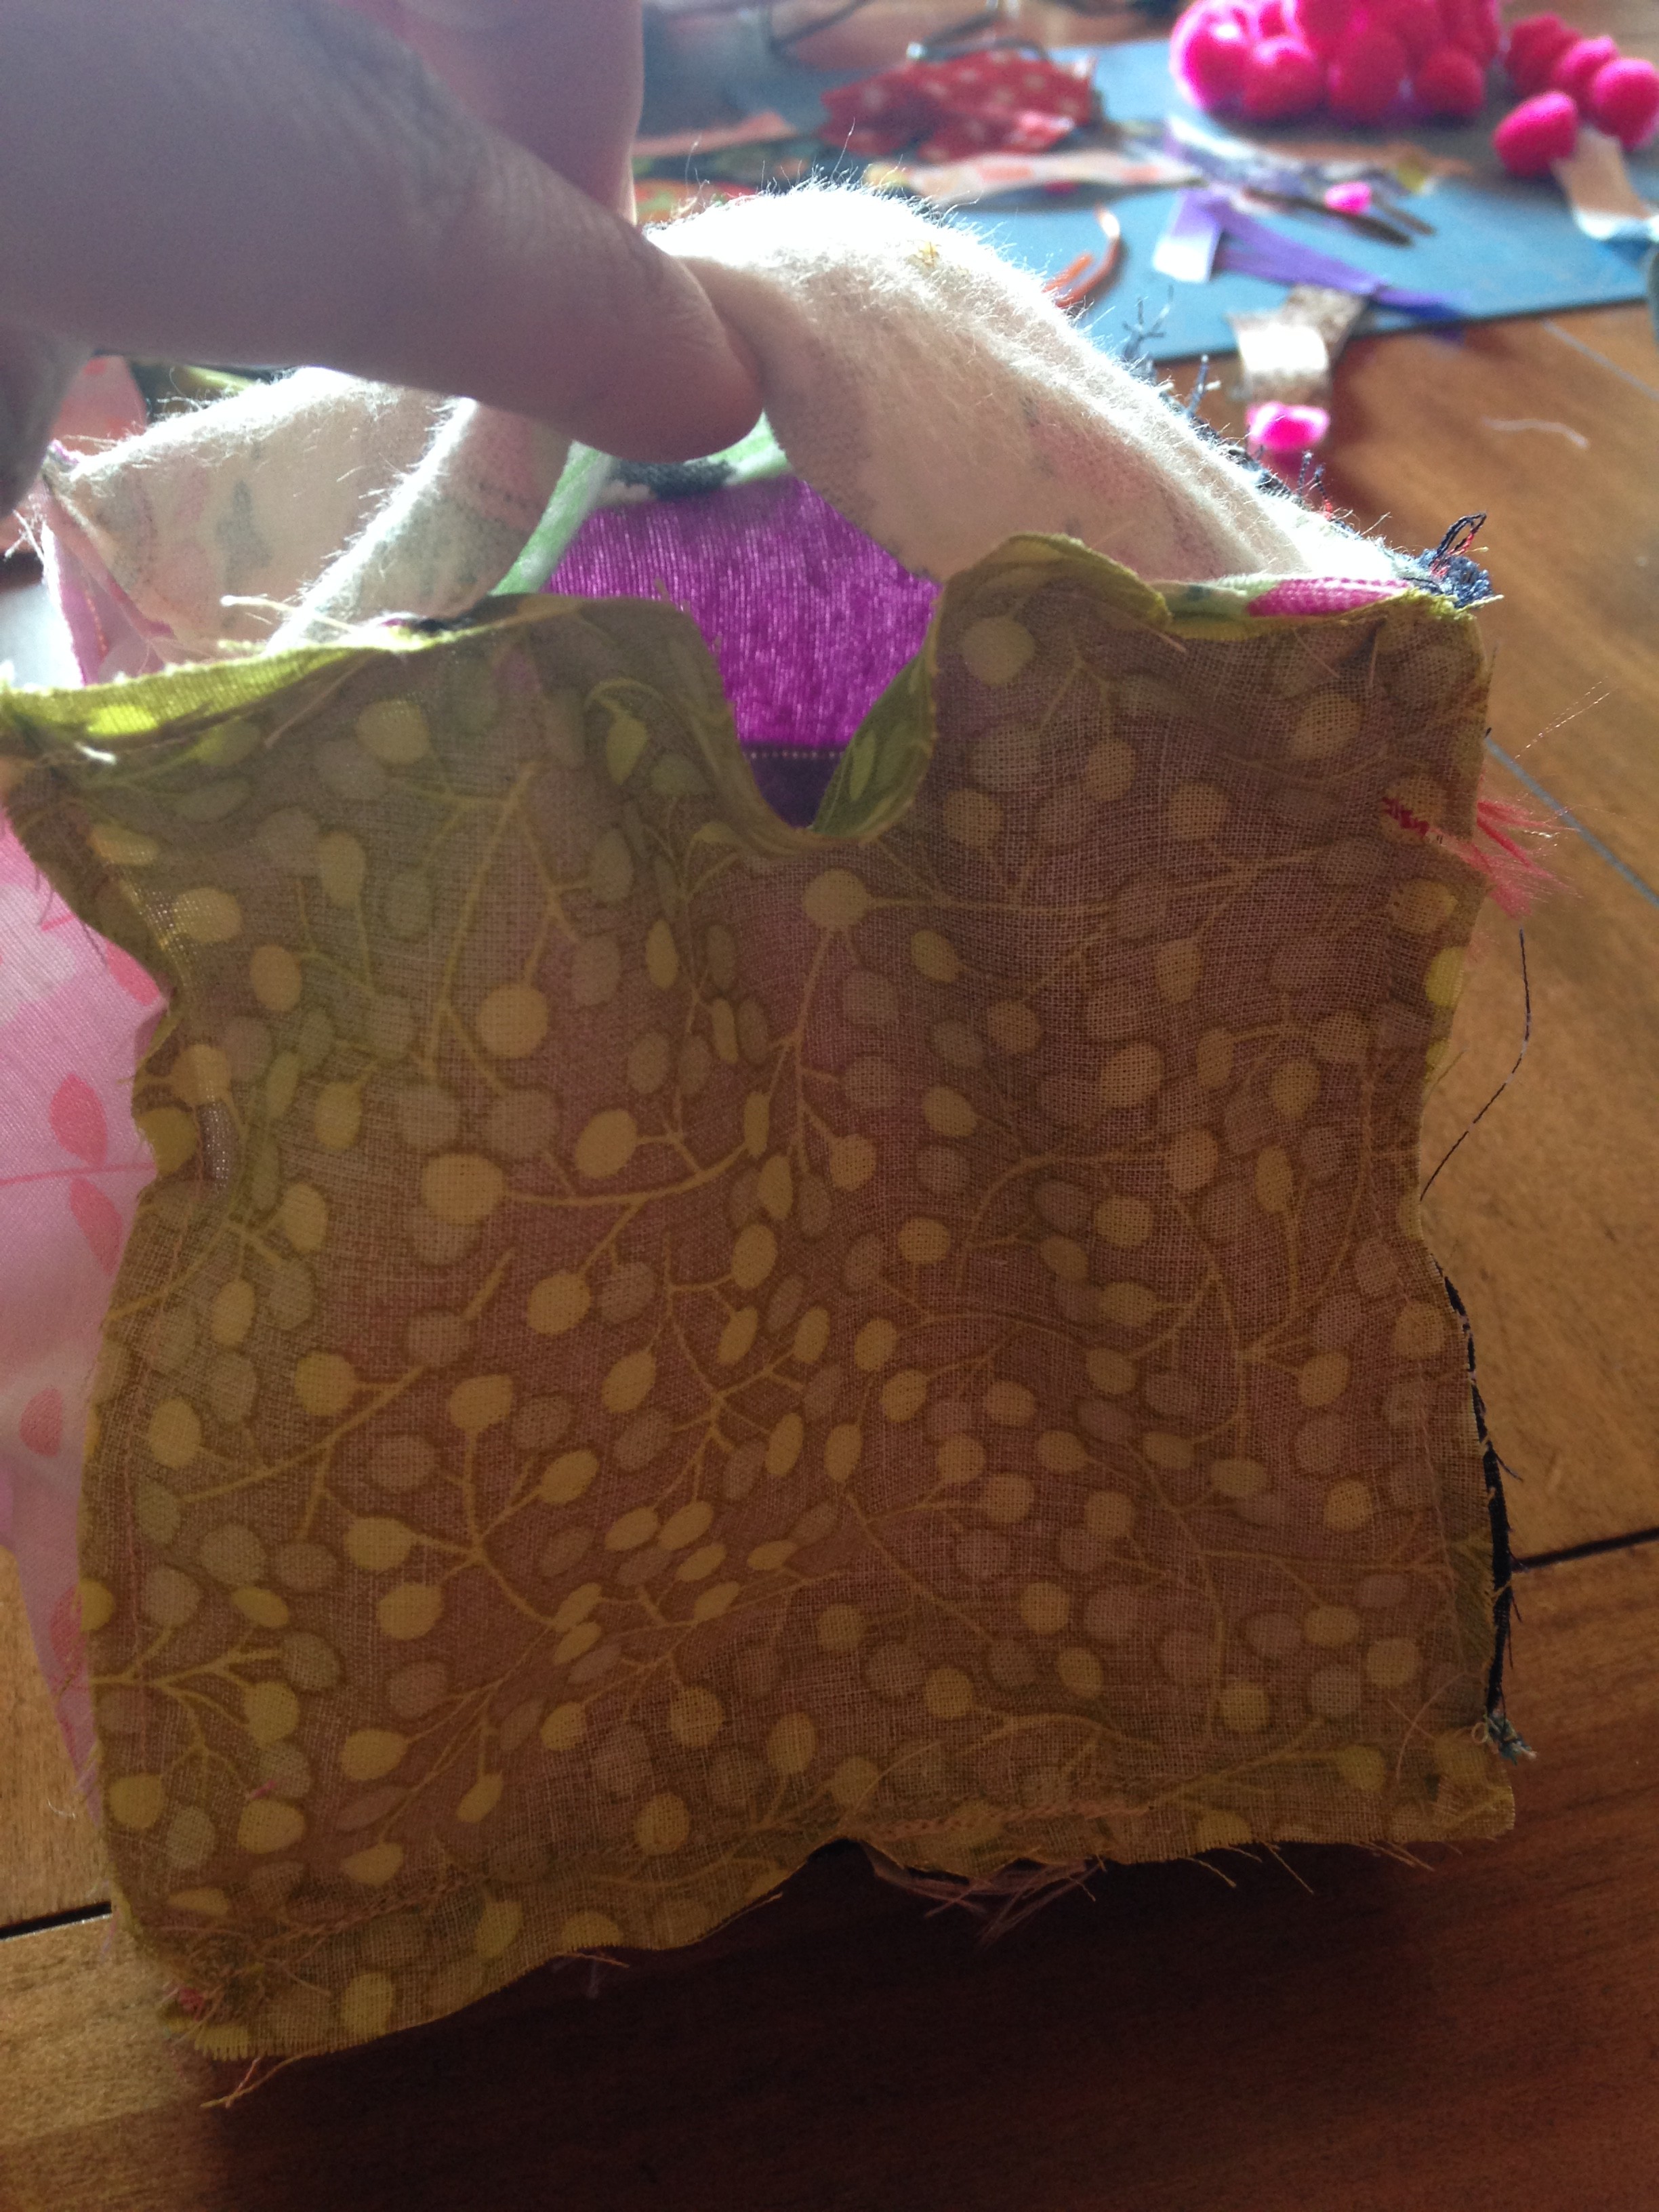
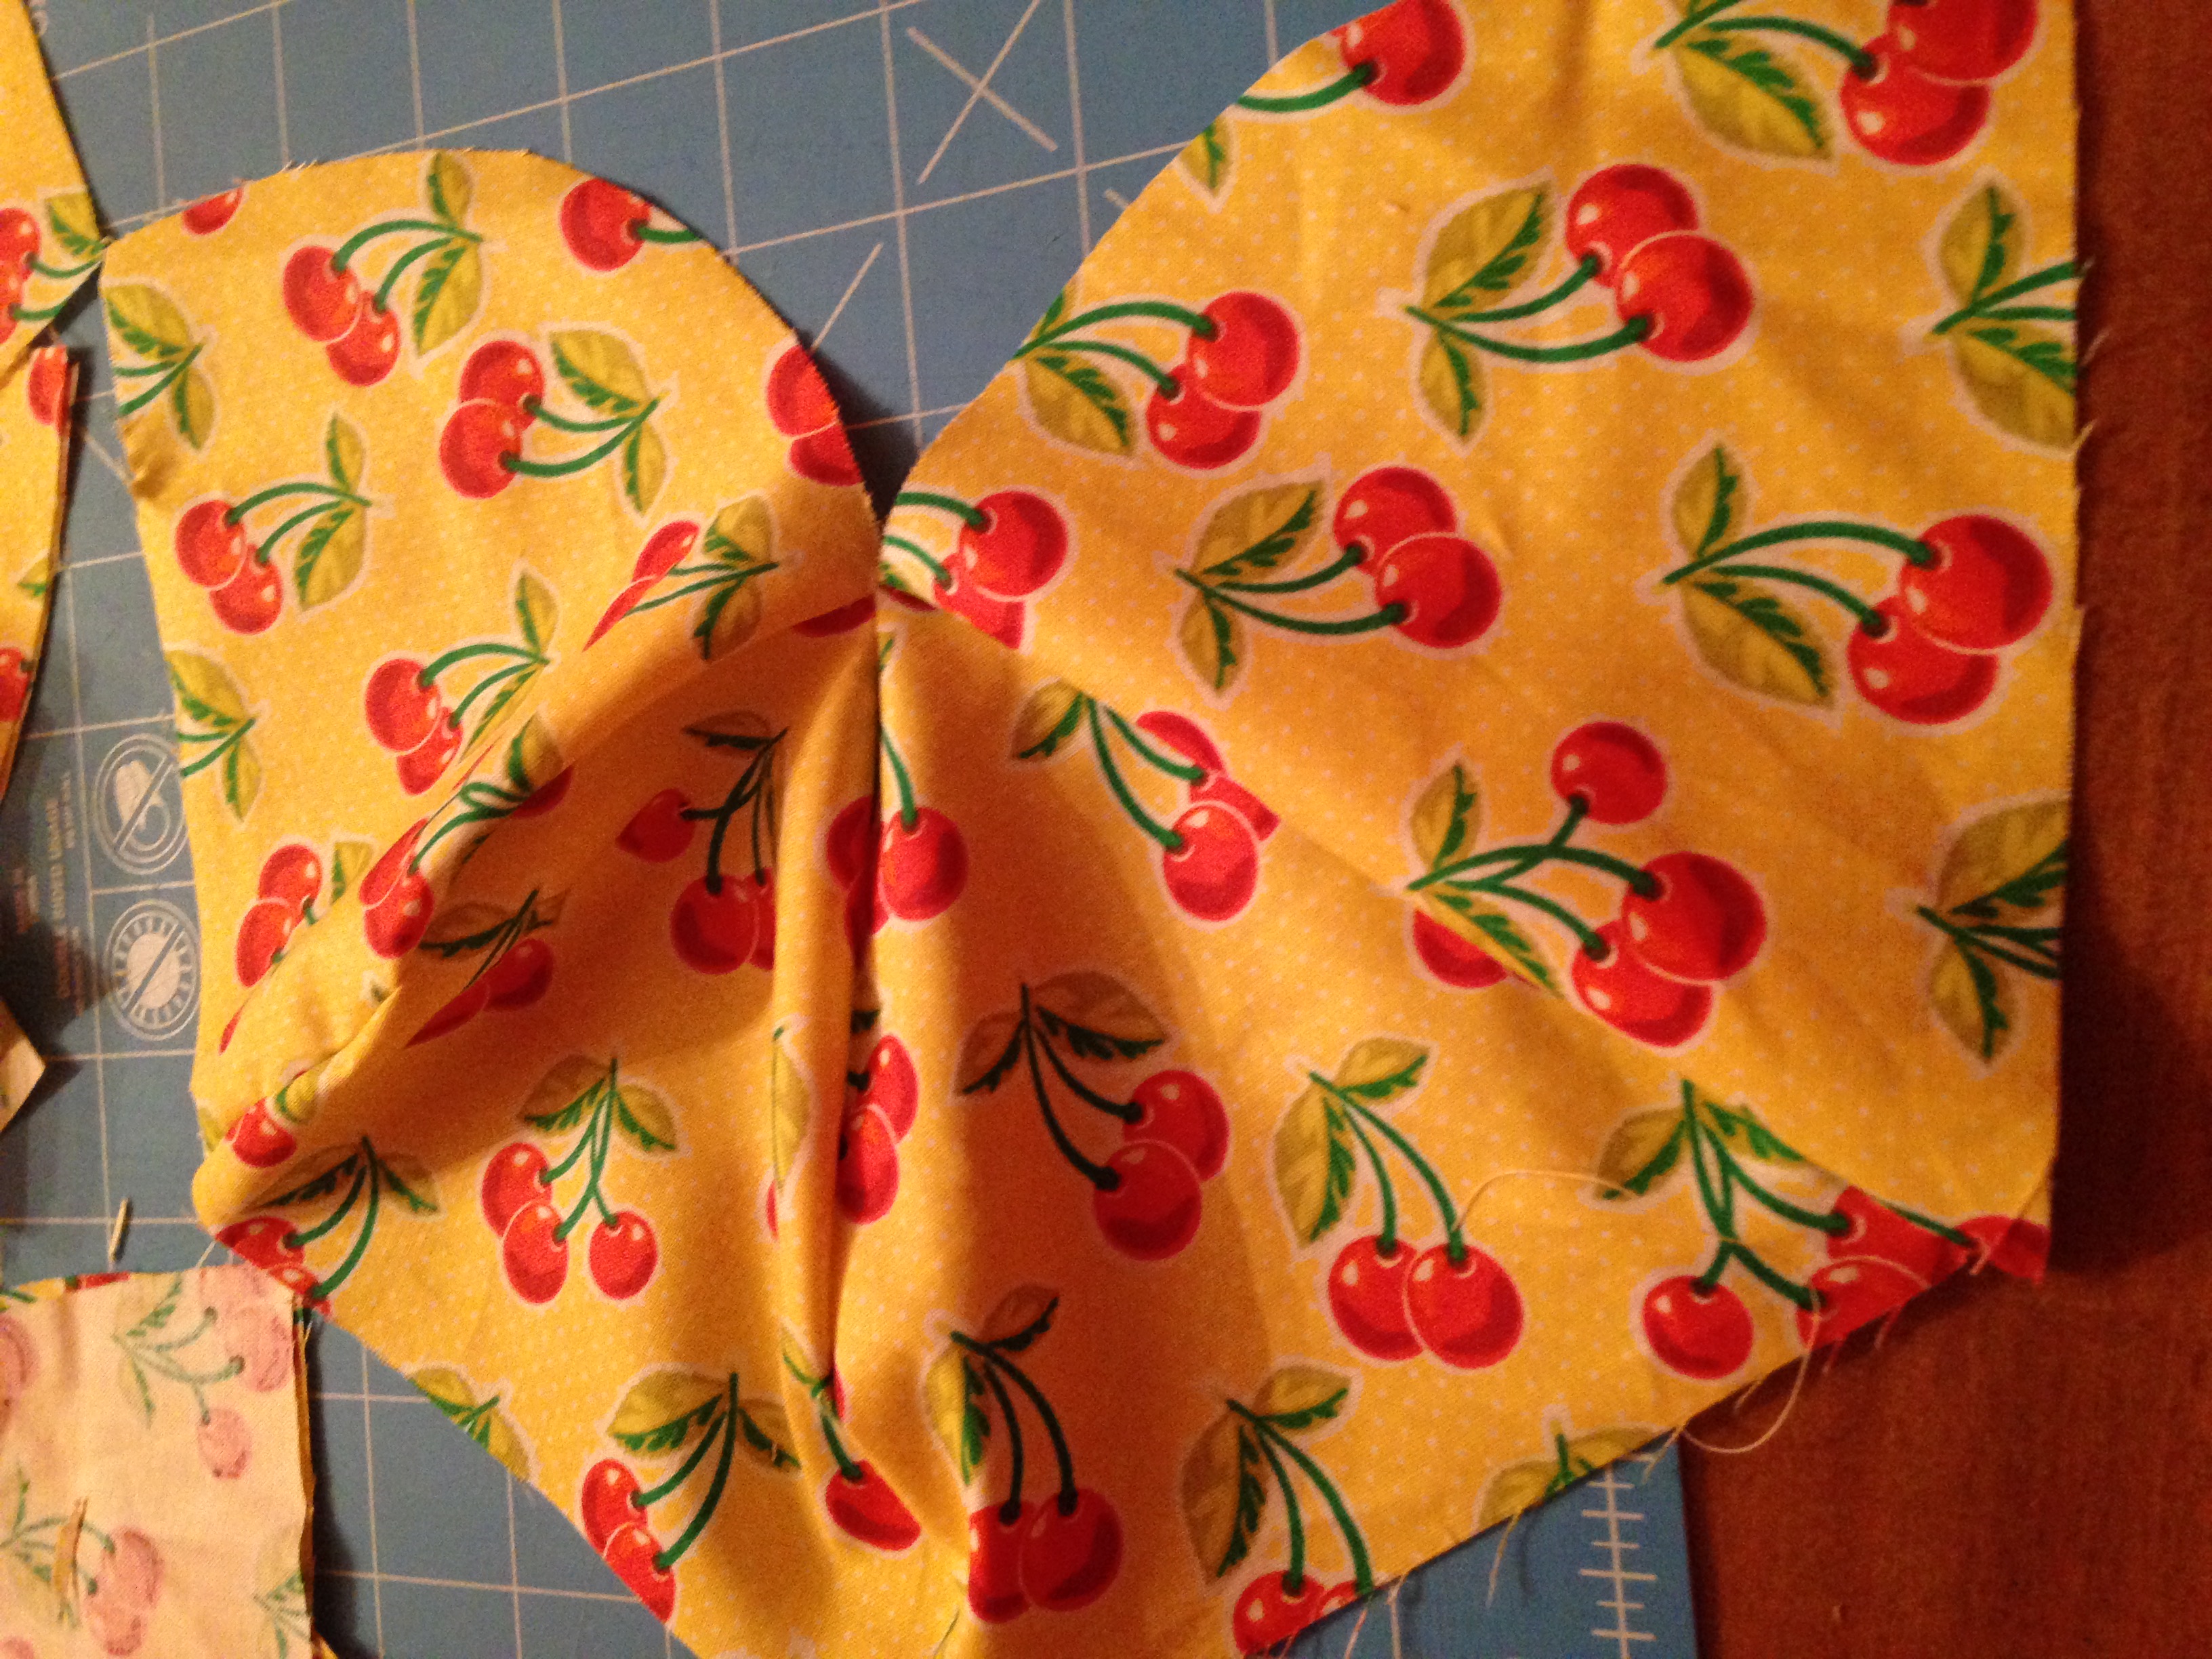
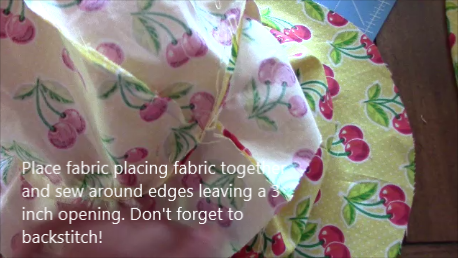
  9. For the hood, have the pattern facing each other on the inside and sew the rounded edge!
  10. Snapshot 1 (11-17-2015 10-01 AM)
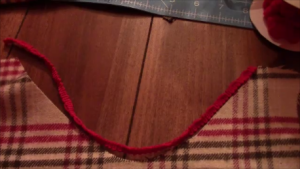
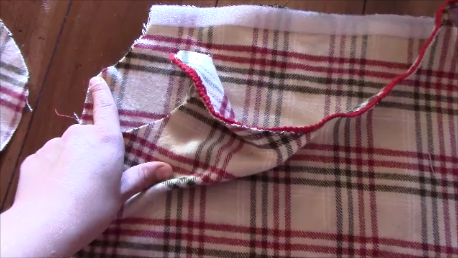
  11. Flip right side out and hem or add bias tape to outside
  12. You can sew your hood on fabric pattern facing fabric pattern and sew across and flip right side out, or you can use buttons or velco. You will need to either make button holes or put velcro on the back of the dress to hold the hood.  I used iron on velco.  Note**If you are sewing it on wait until after you sew the front to back**
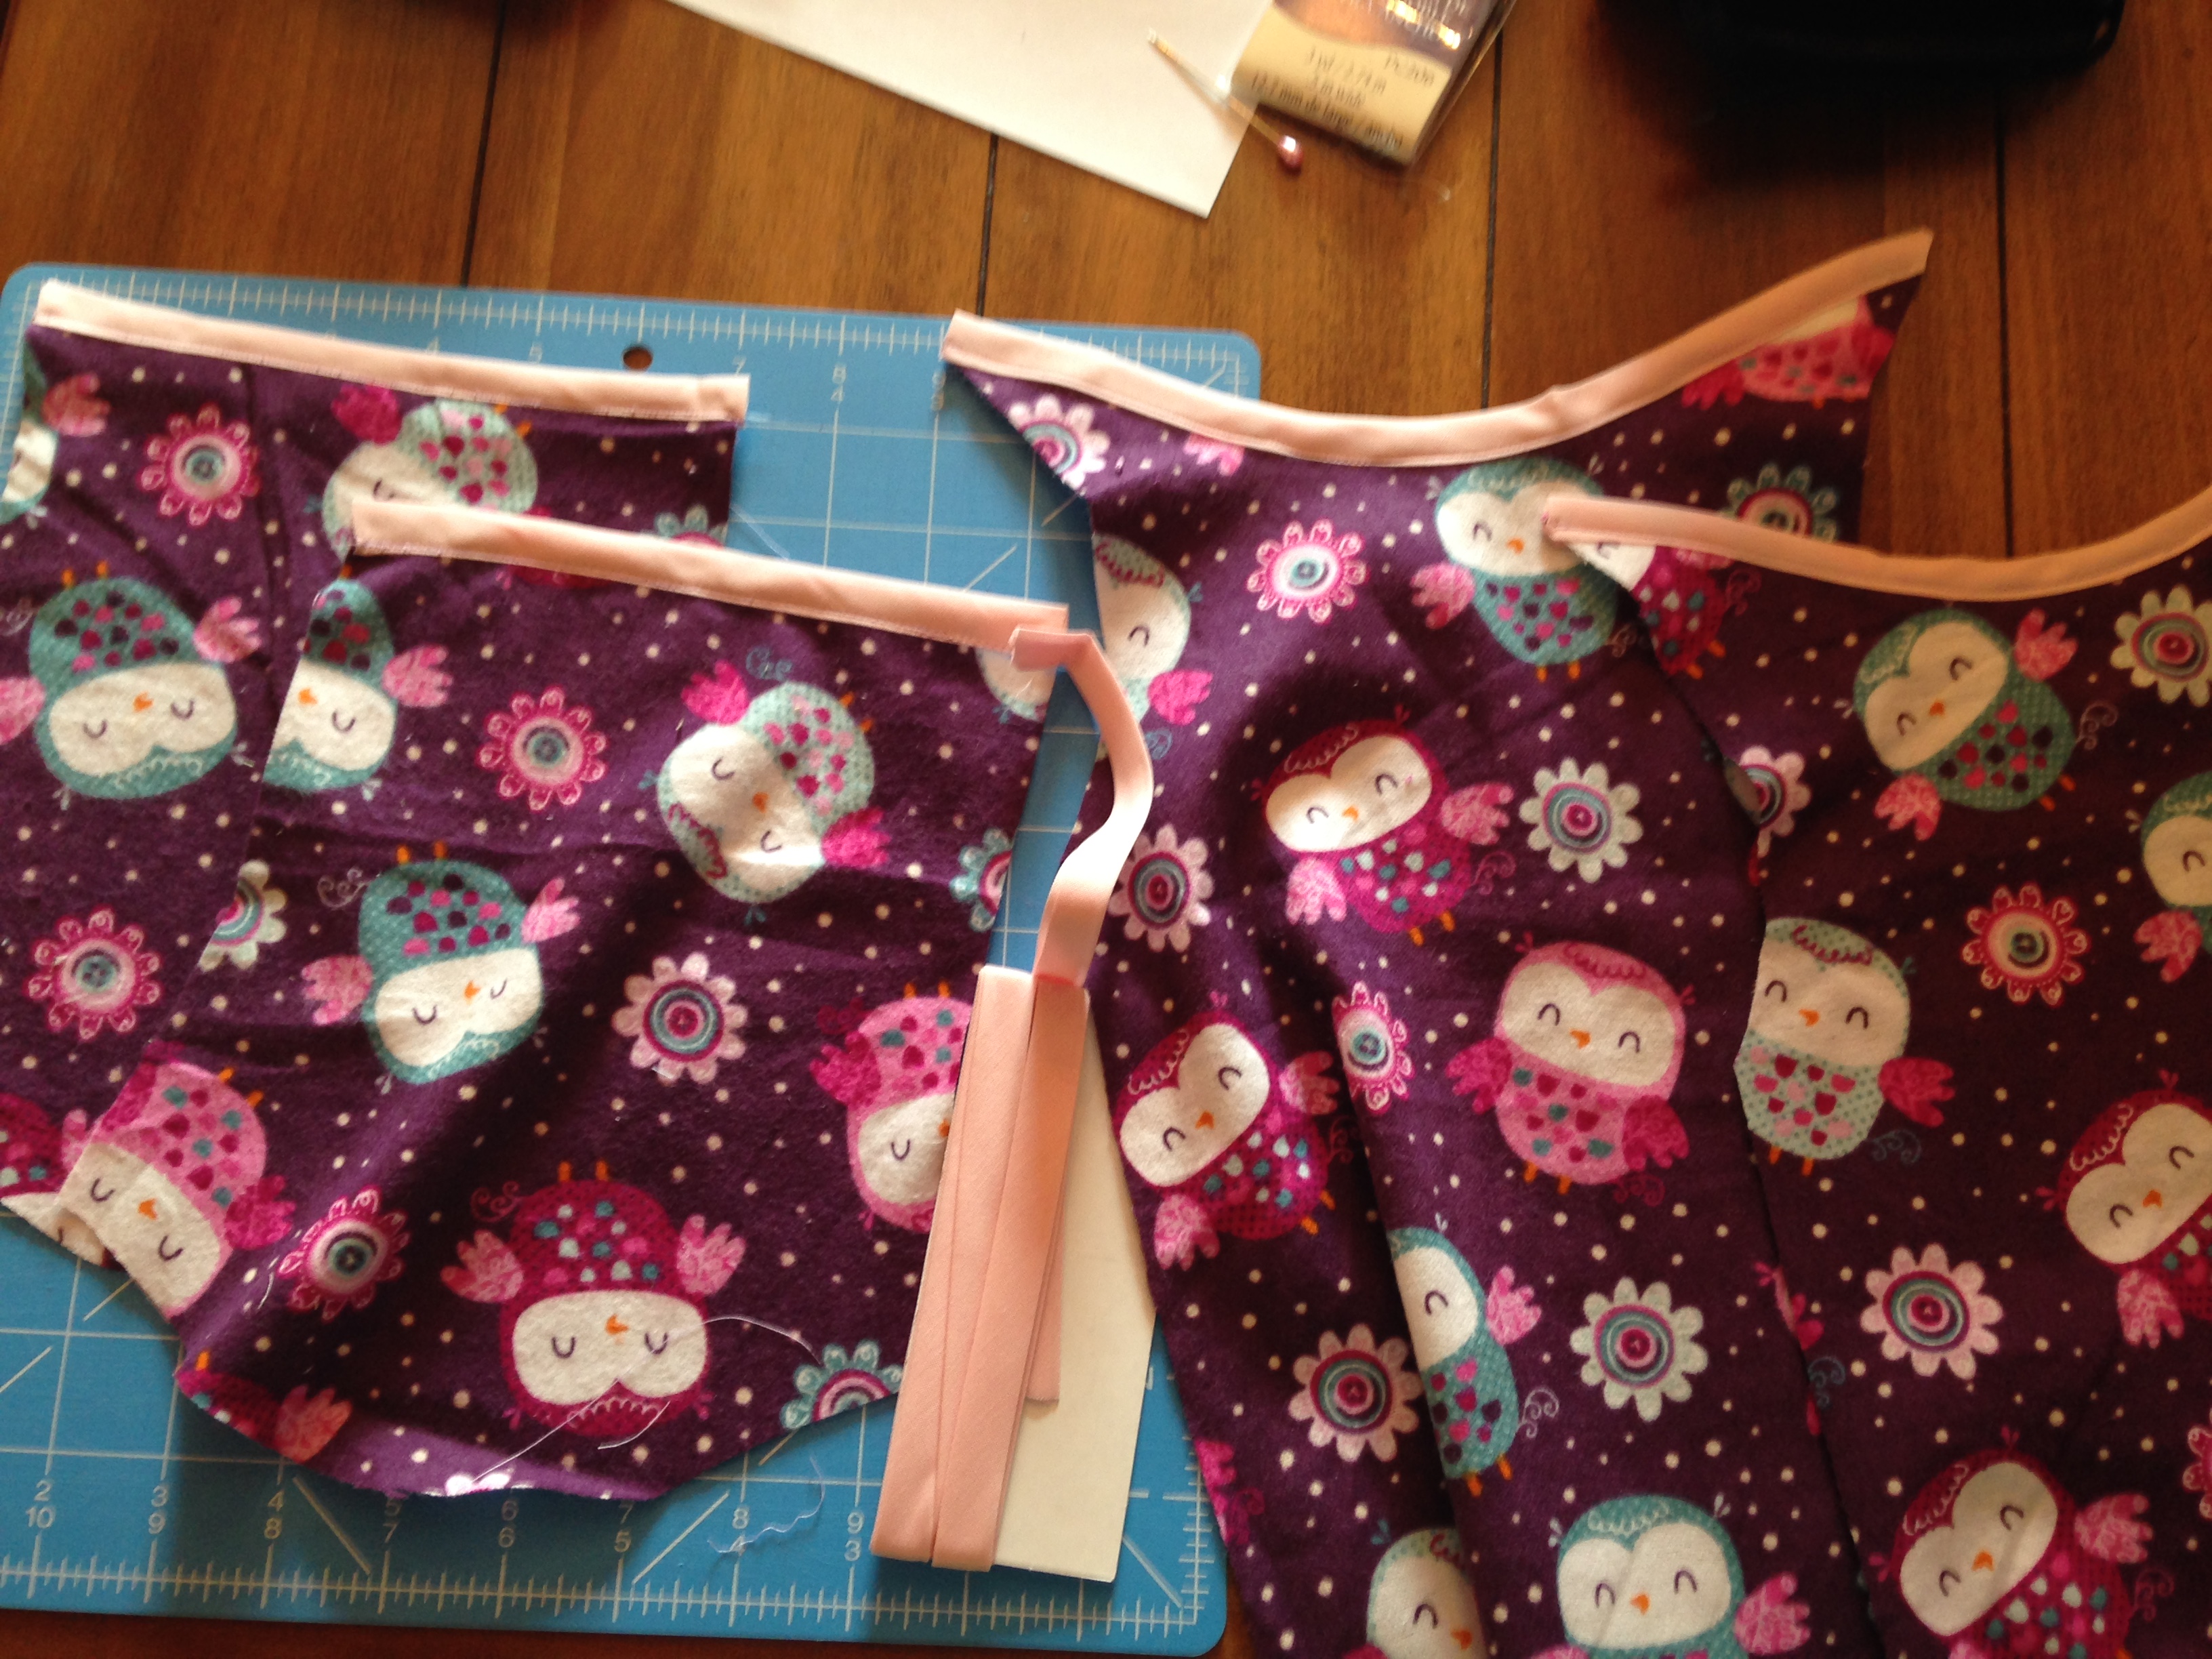
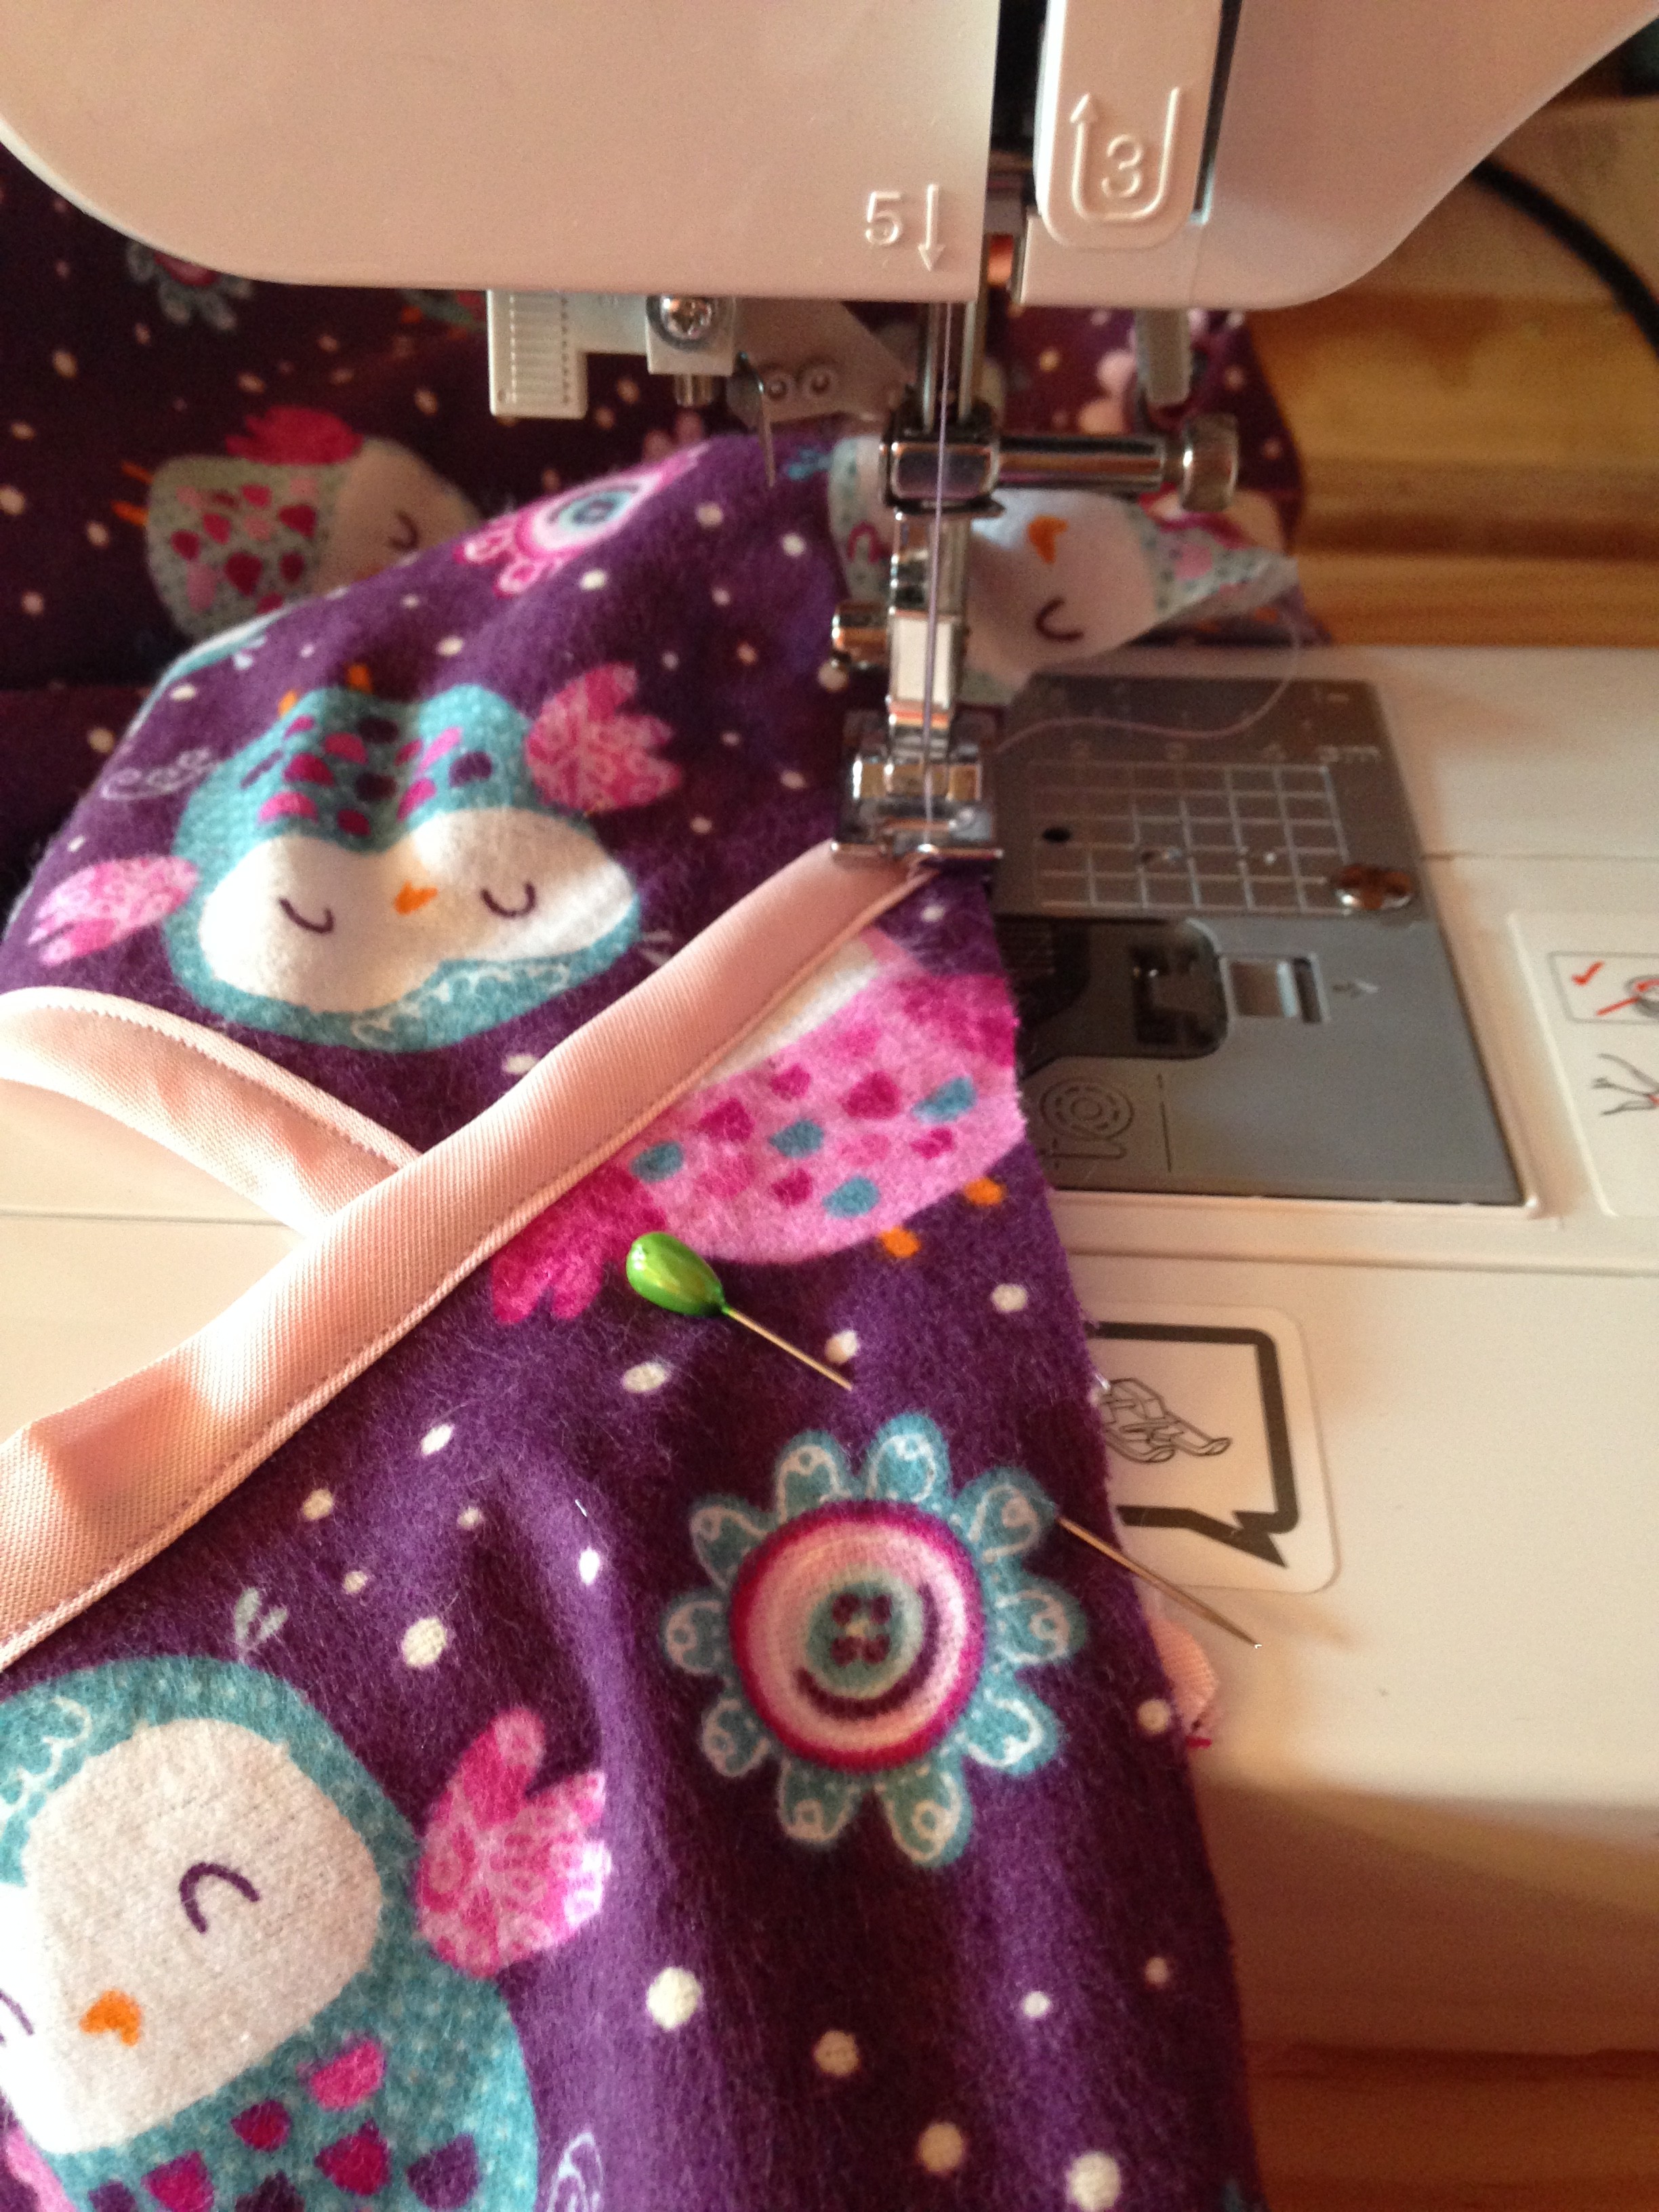
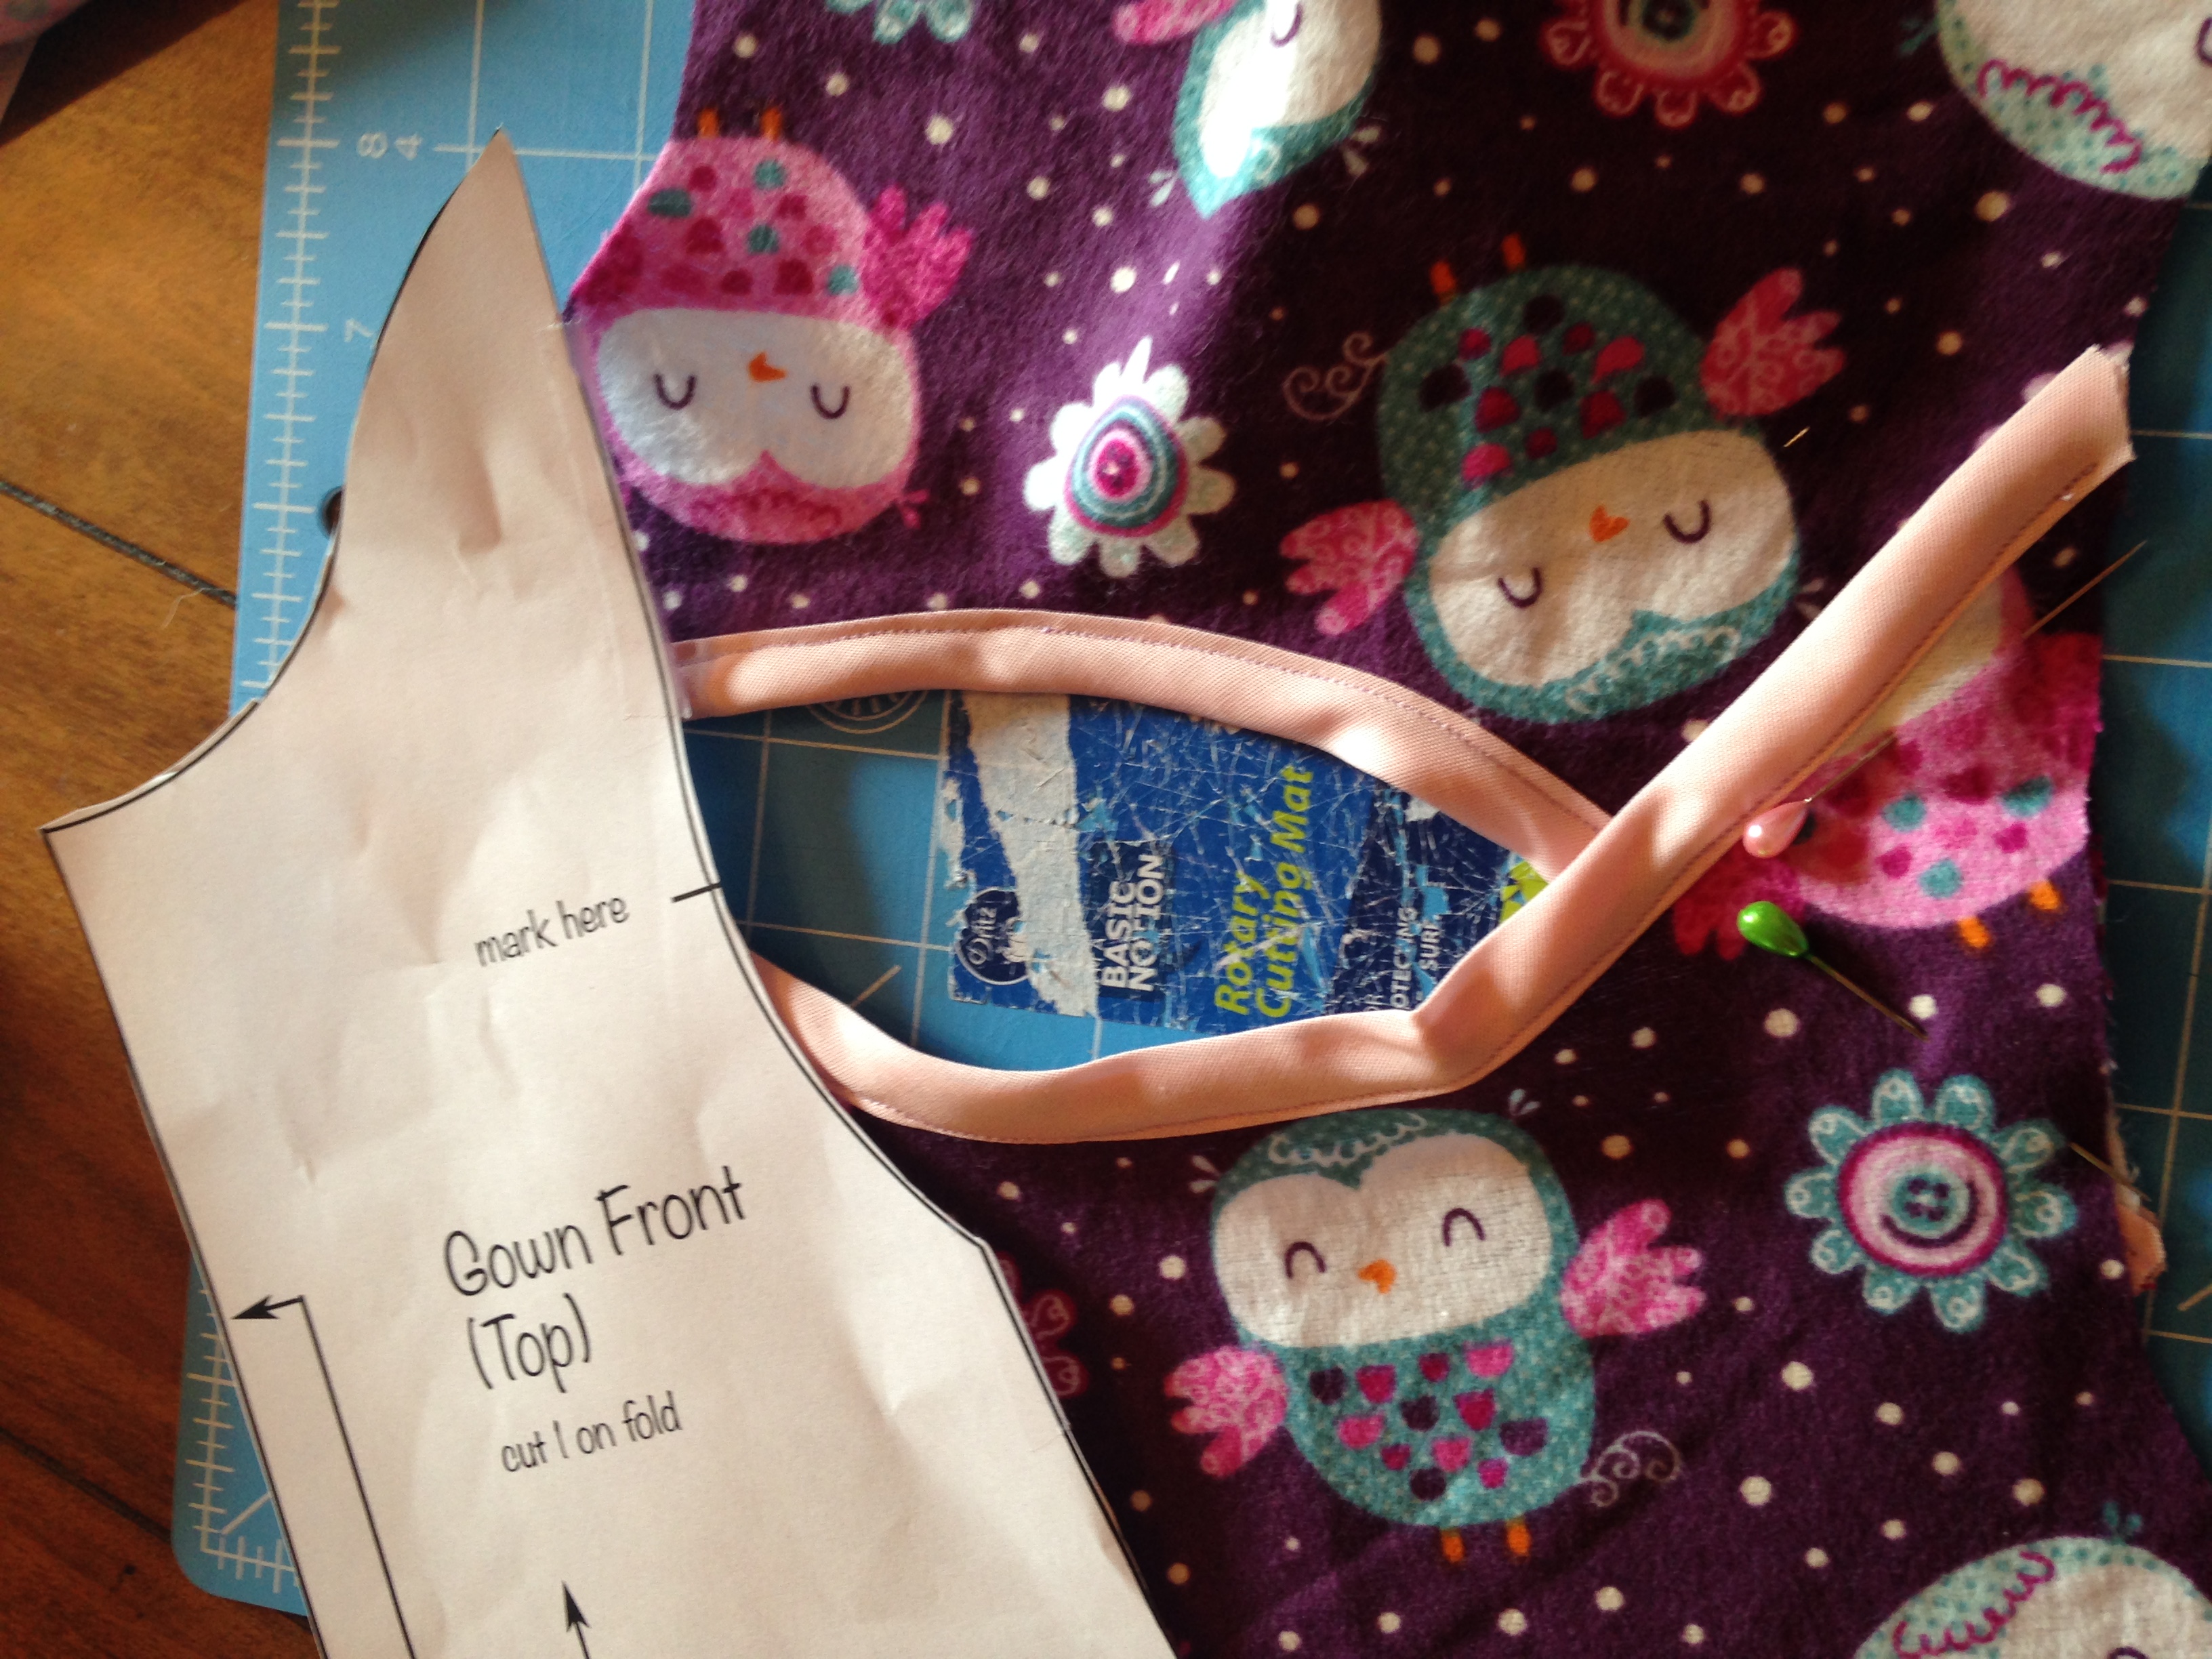
  13. The front collar of the dress needs to be hemmed or sew bias tape on it
  14. Snapshot 2 (11-17-2015 12-39 PM)
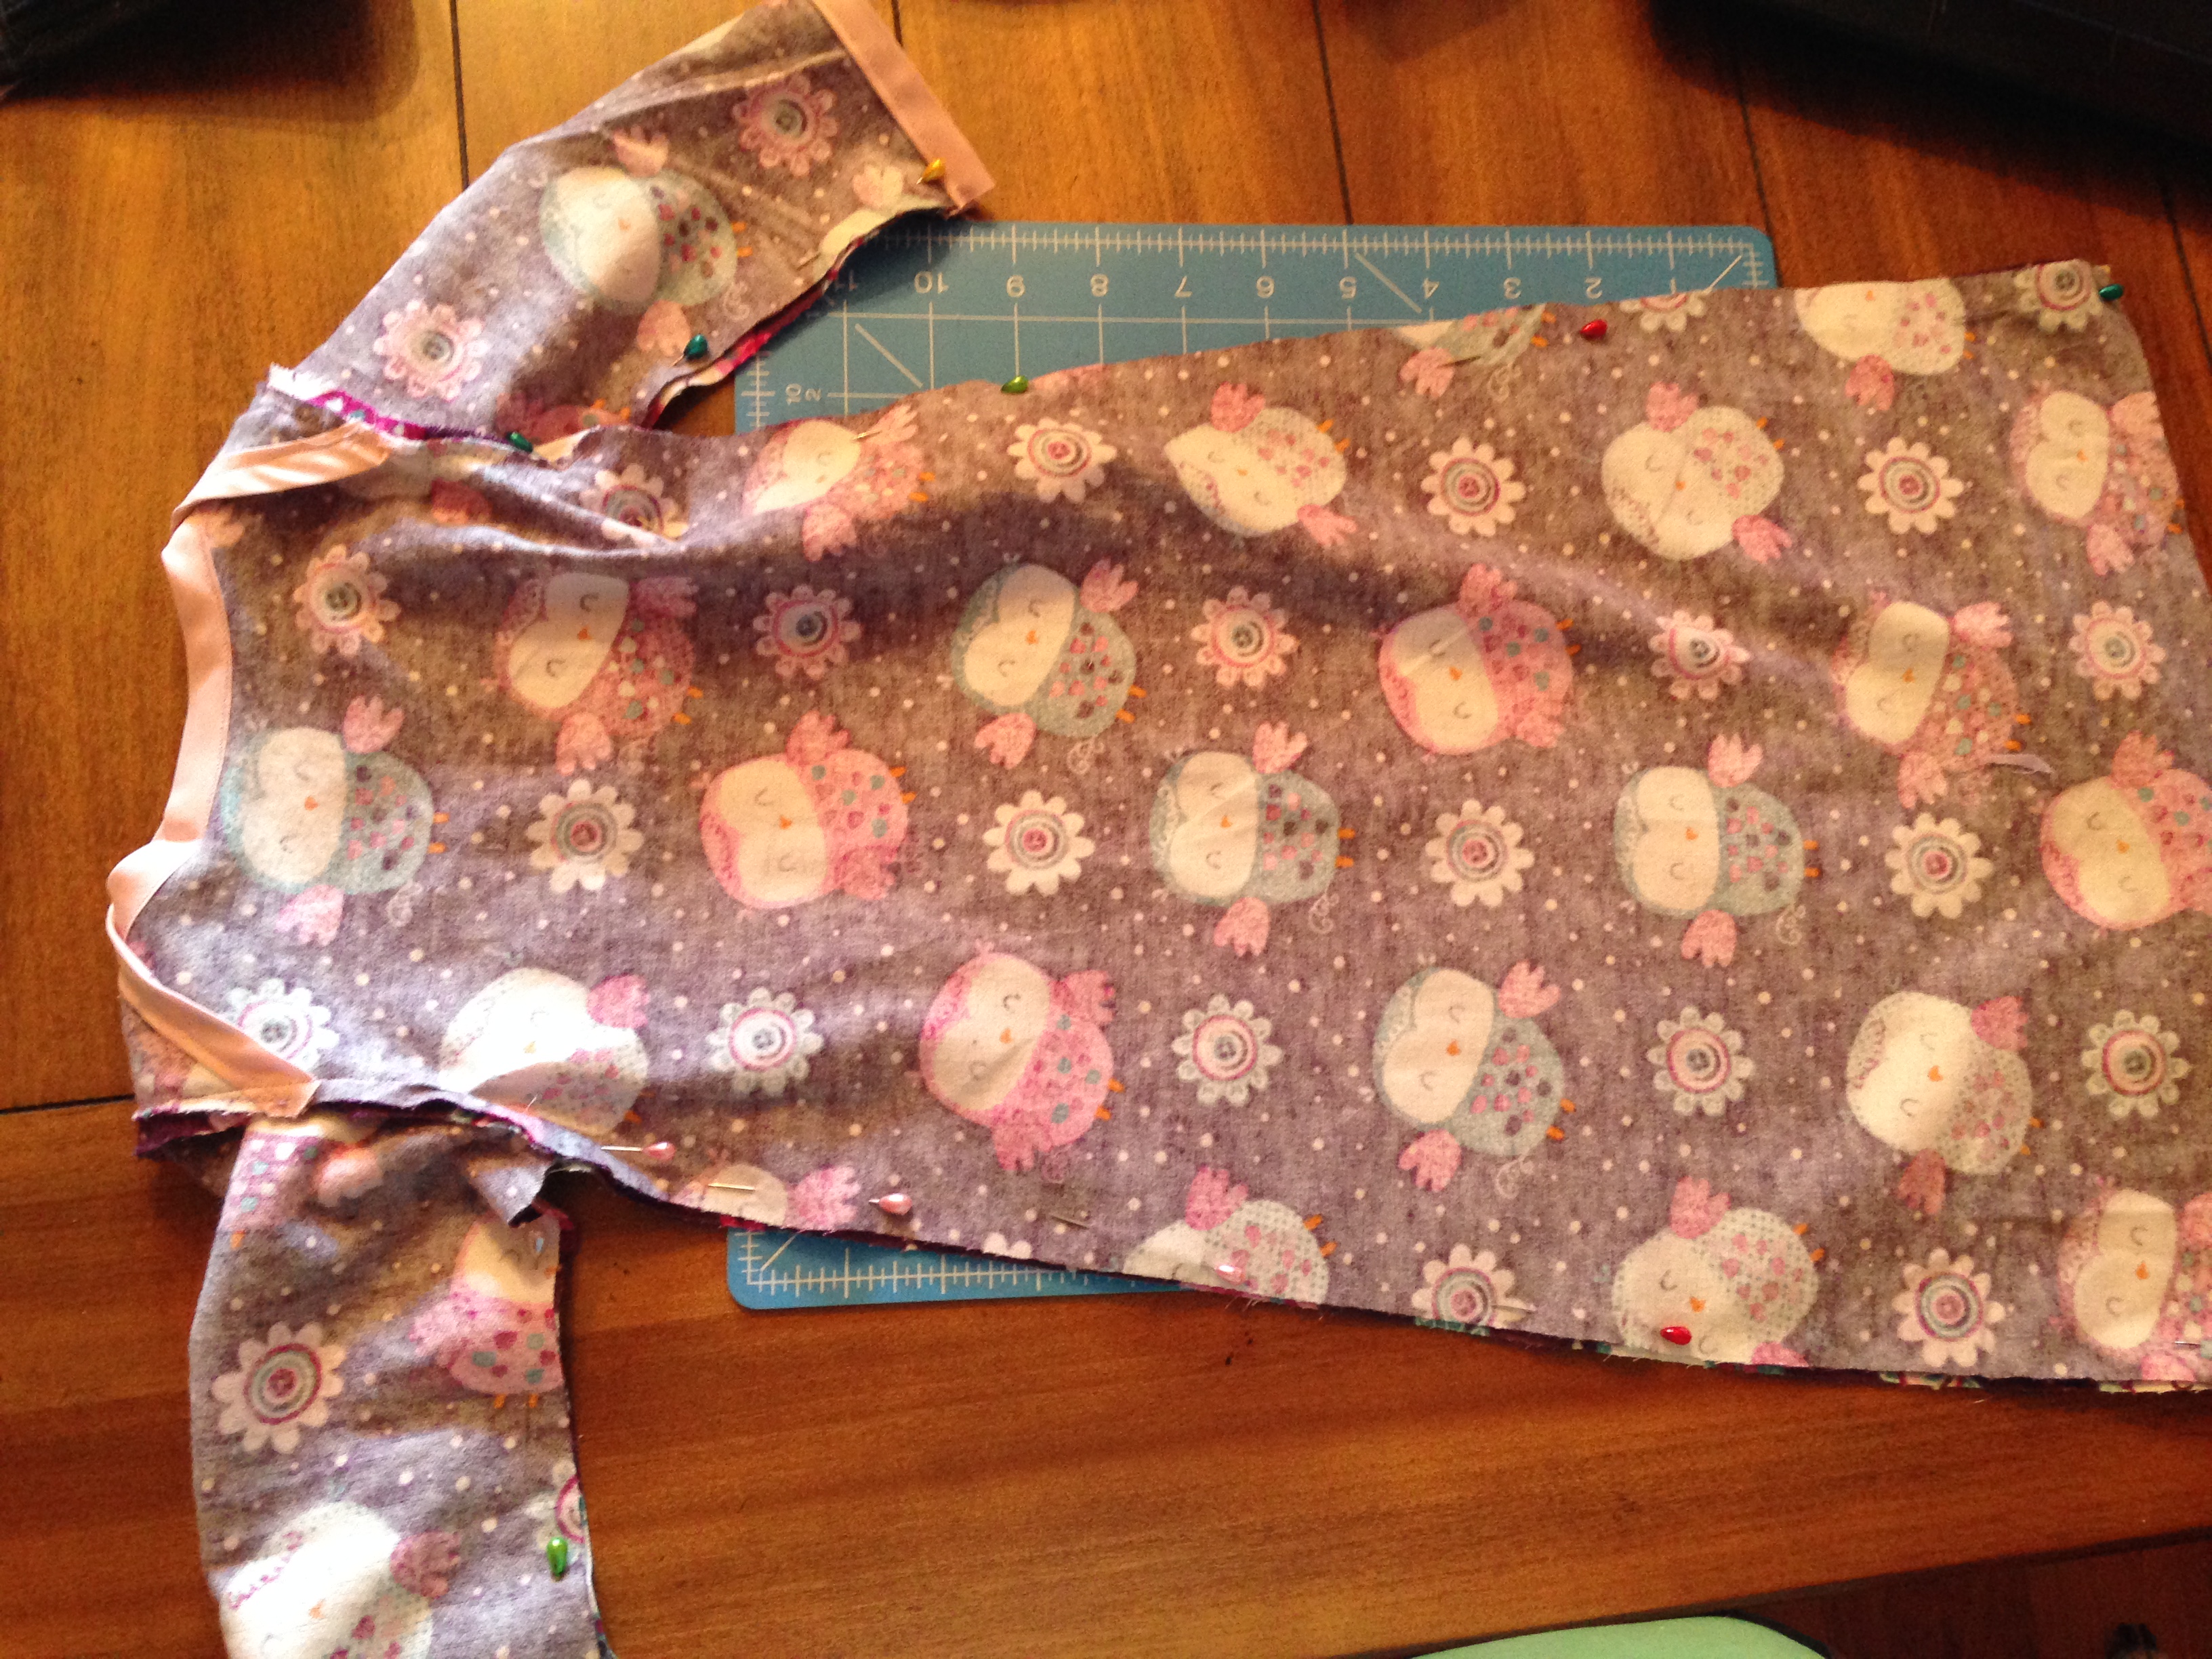
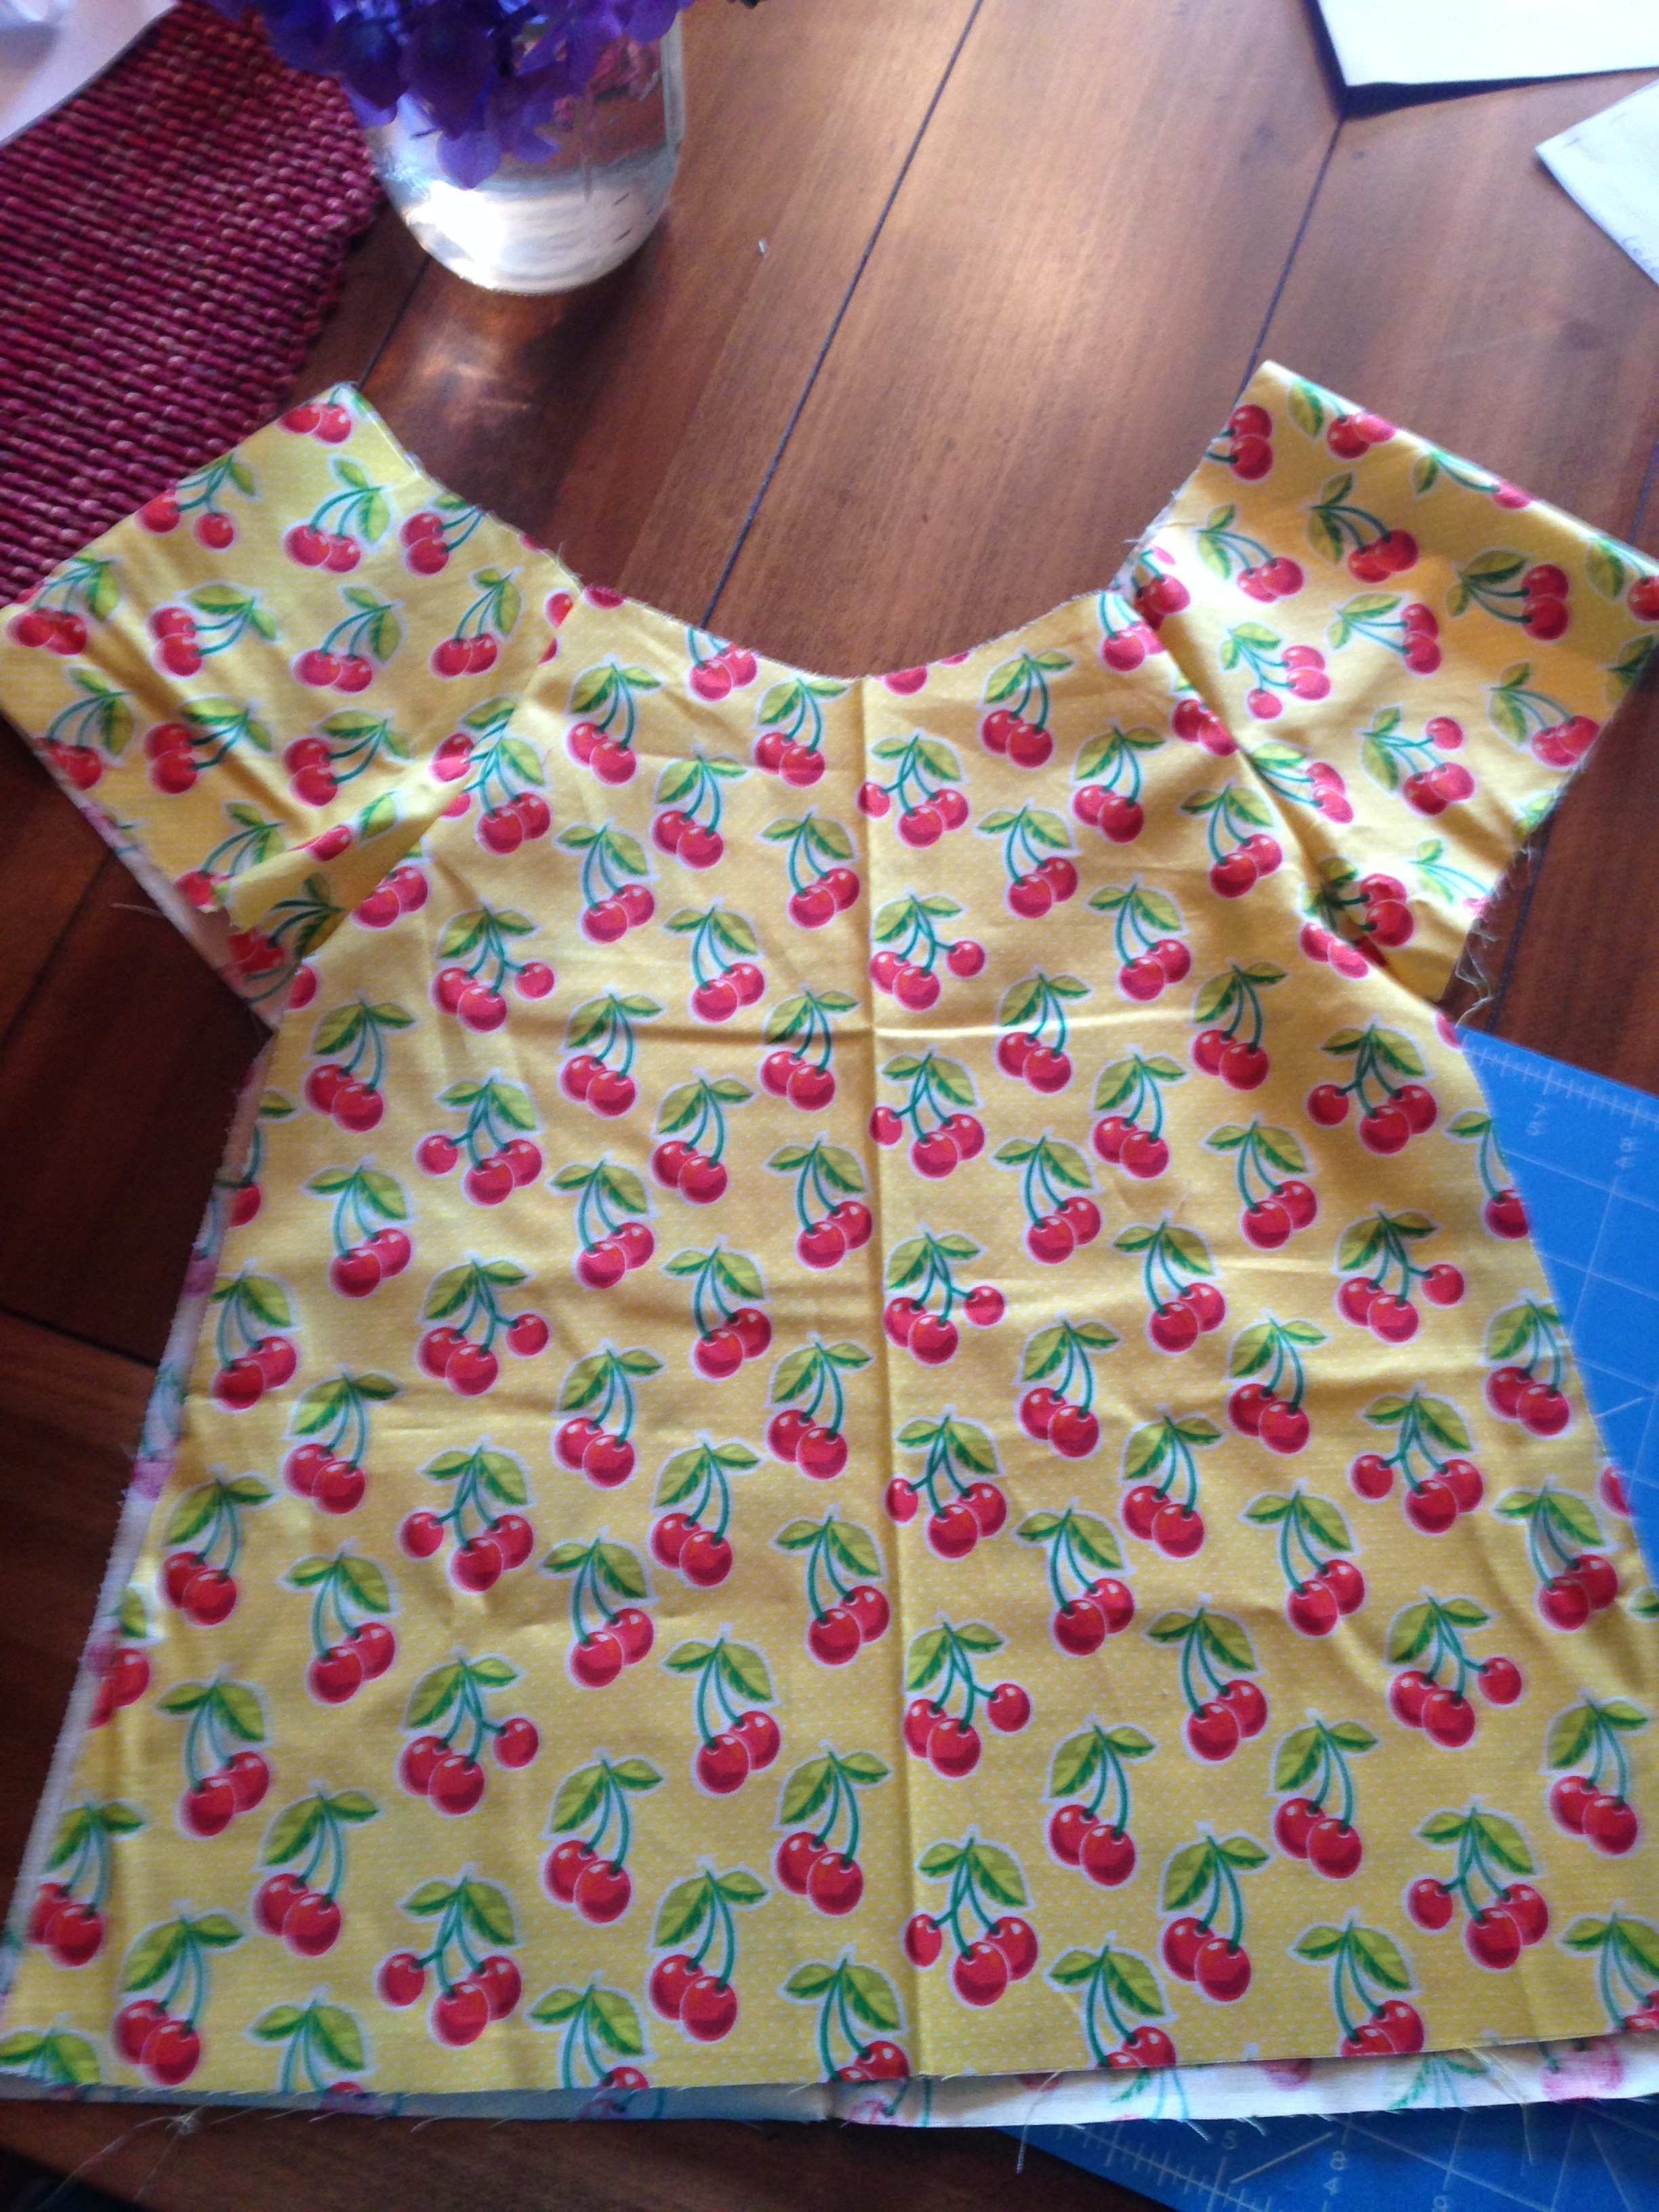
  15. Next, is to sew the front to back of the dress.  If you want the top of the dress to be velcro as well, you can have a jumper (but you wouldn’t have sleeves so skip the sleeve part).
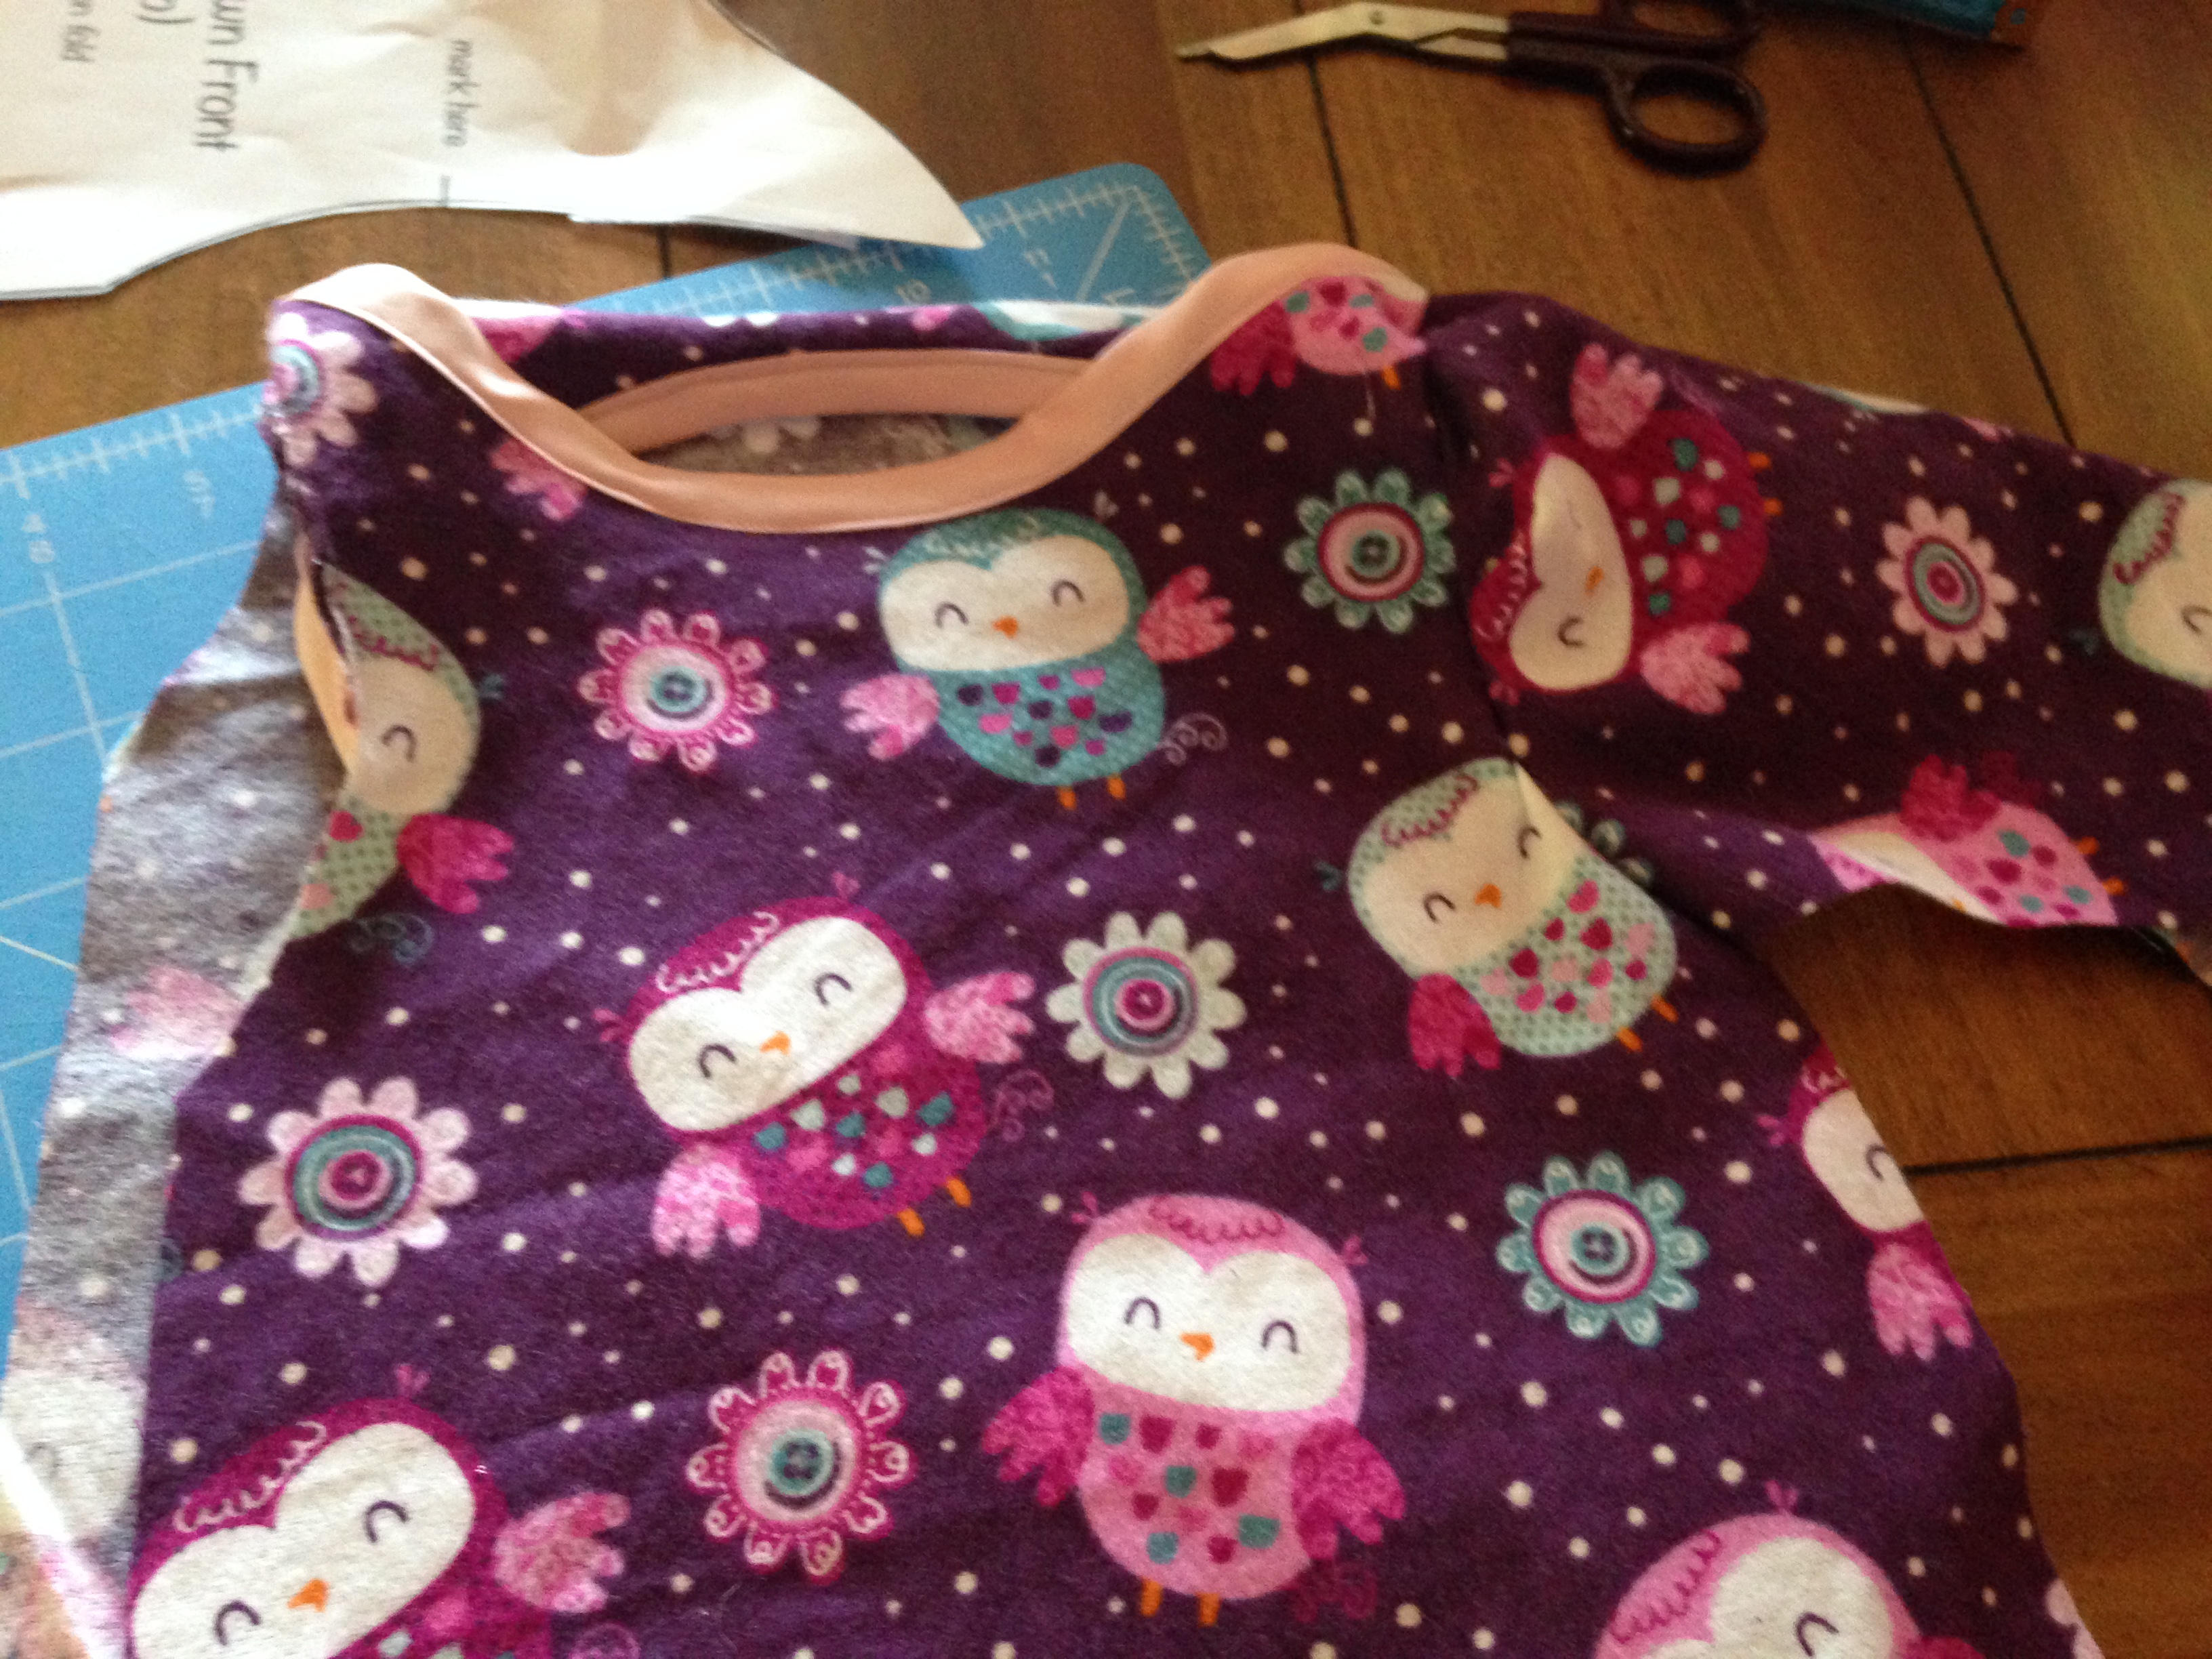
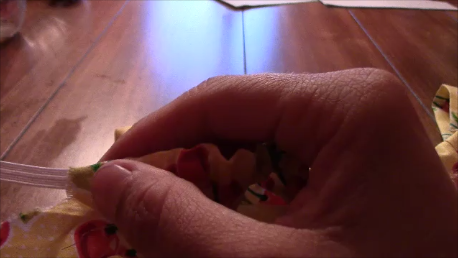
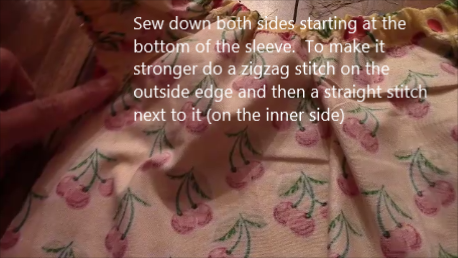
  16. To sew it together, turn patterns facing each other and sew . Also line up sides and pin and sew down underneath the sleeve opening. Then turn right side out.
  17. Snapshot 3 (11-17-2015 1-23 PM)
  18. If you are not doing sleeves, you want to hem or use bias tape on the sleeve holes after sewing down the side. If you are not doing sleeves then hem or use bias tape around the bottom and you are all done!
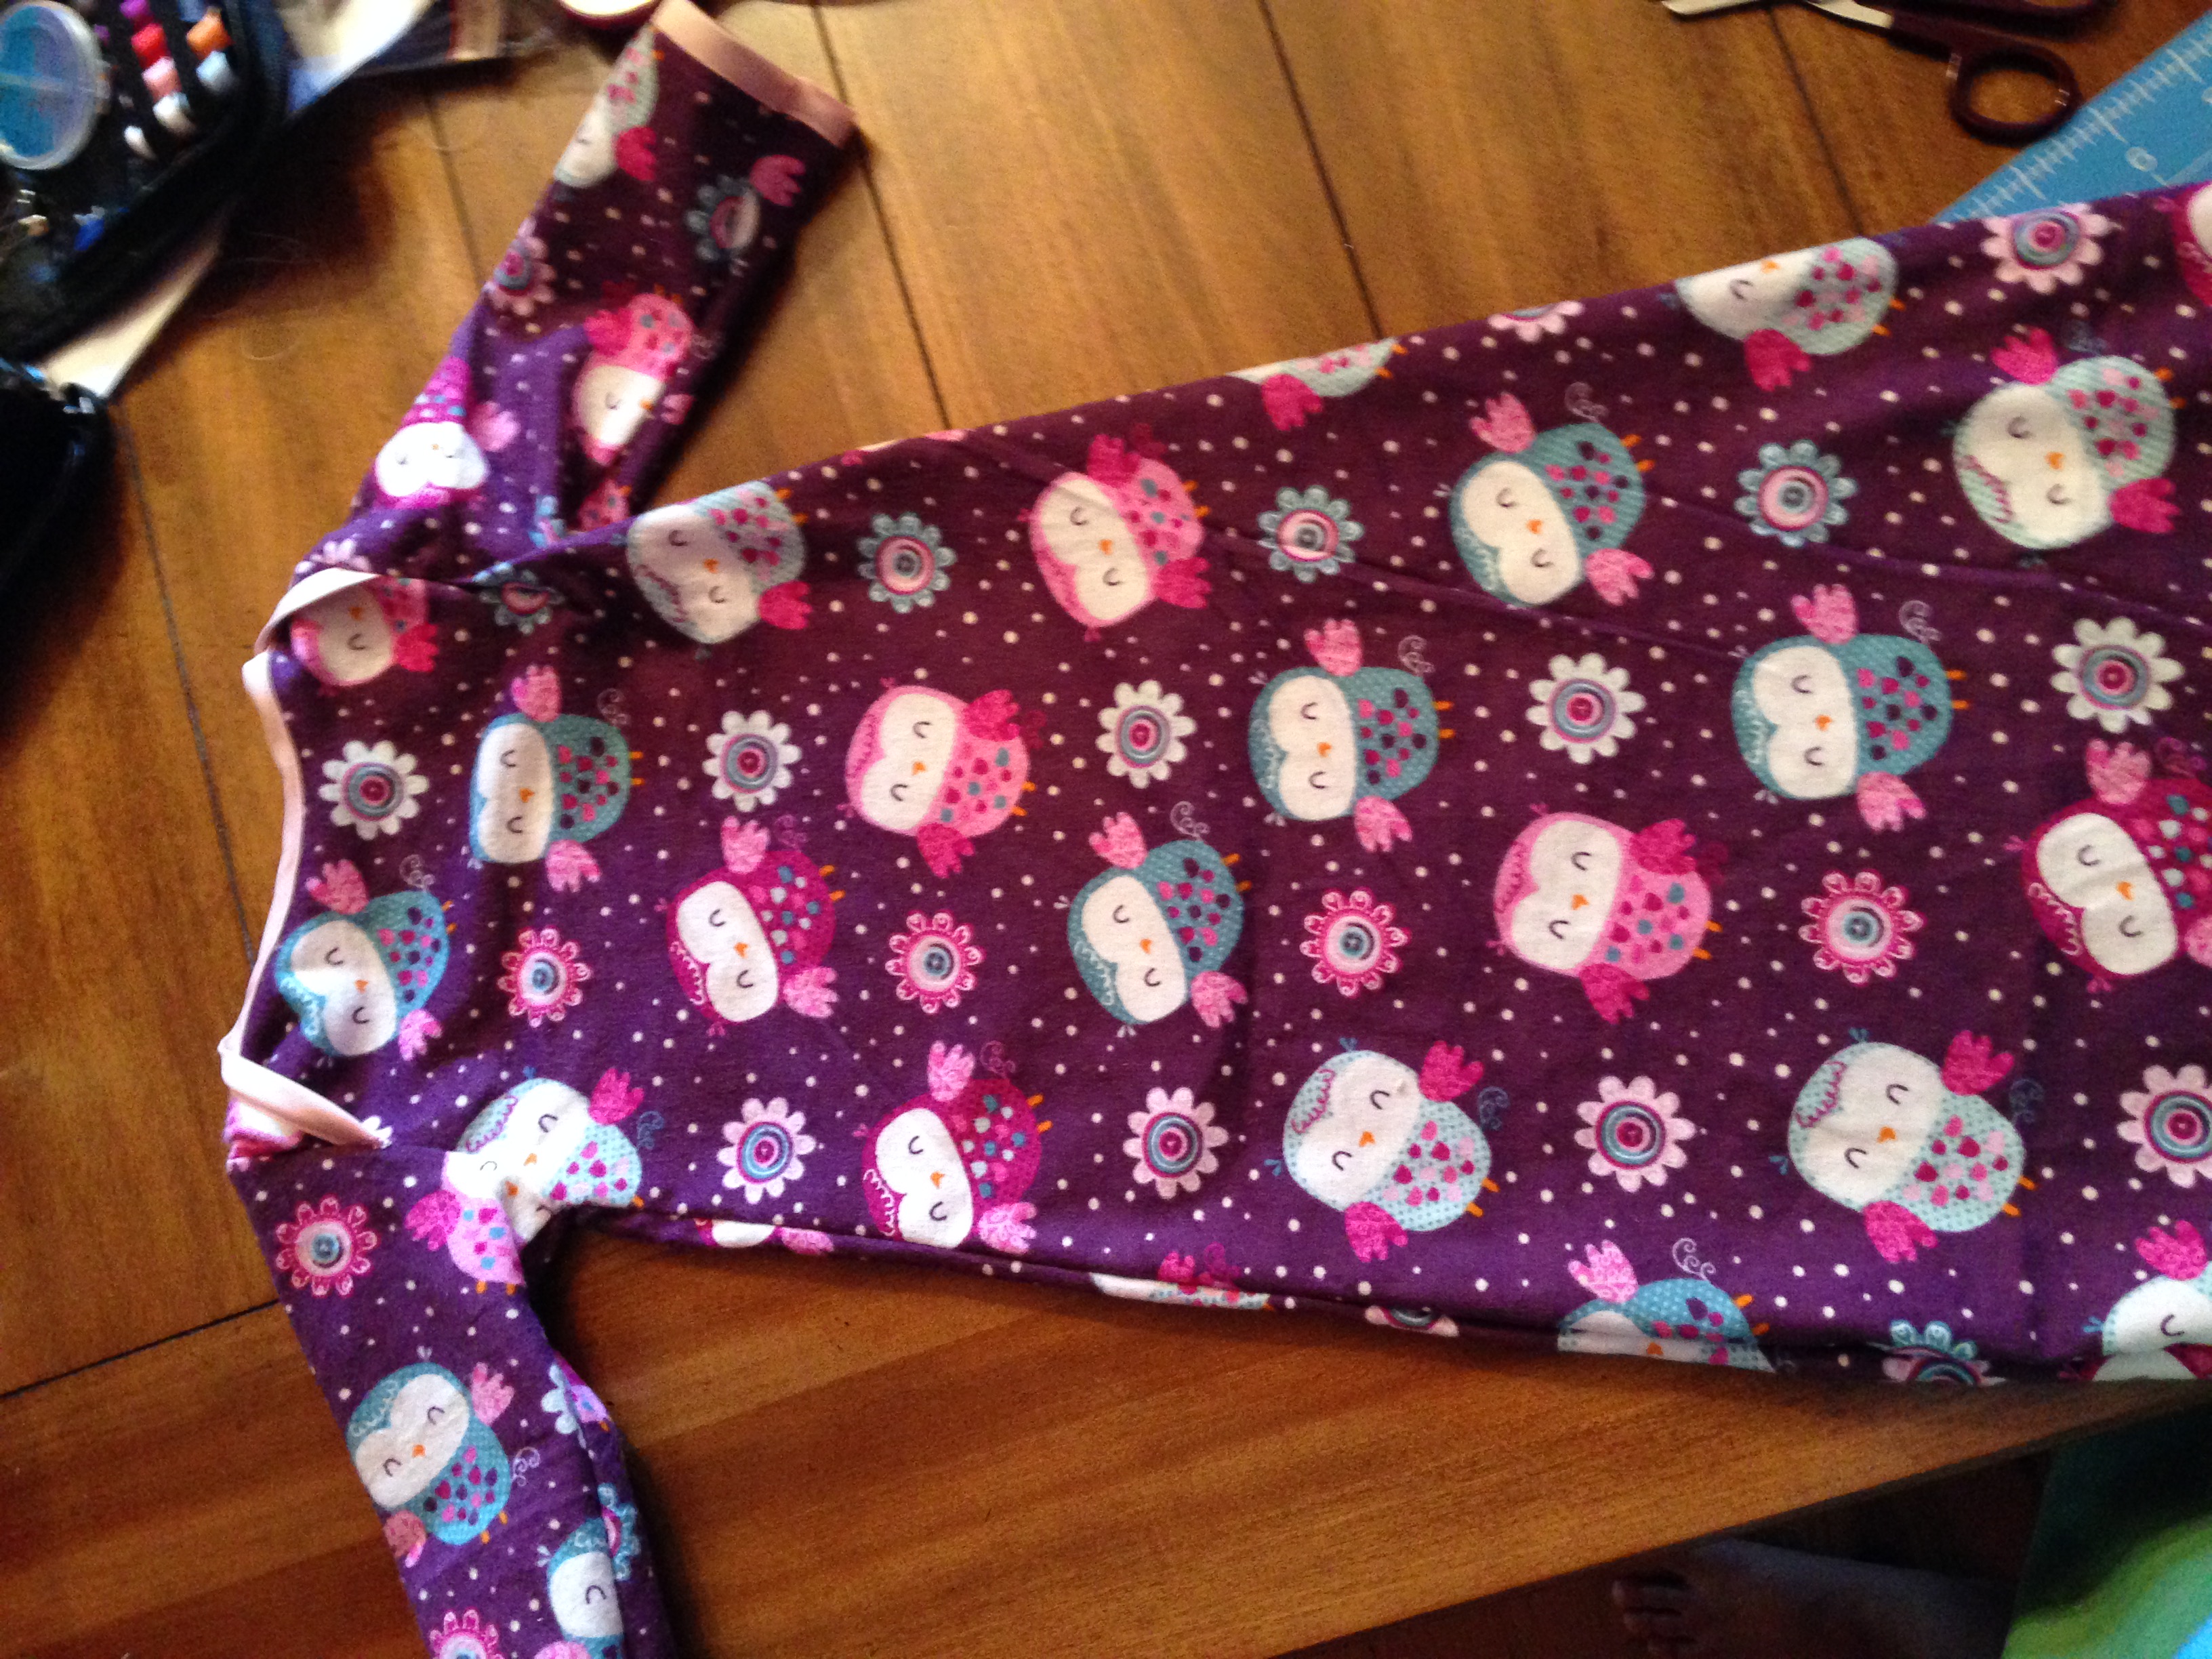
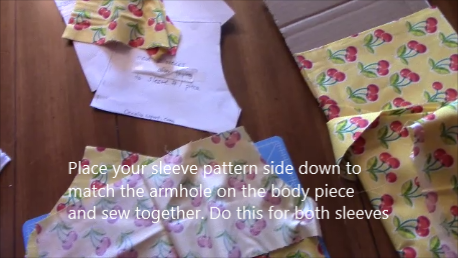
  19. If you are doing sleeves, turn pattern facing pattern and sew.  Then turn right side out.
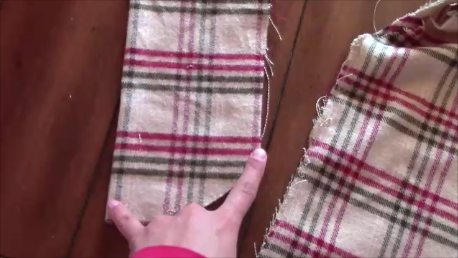
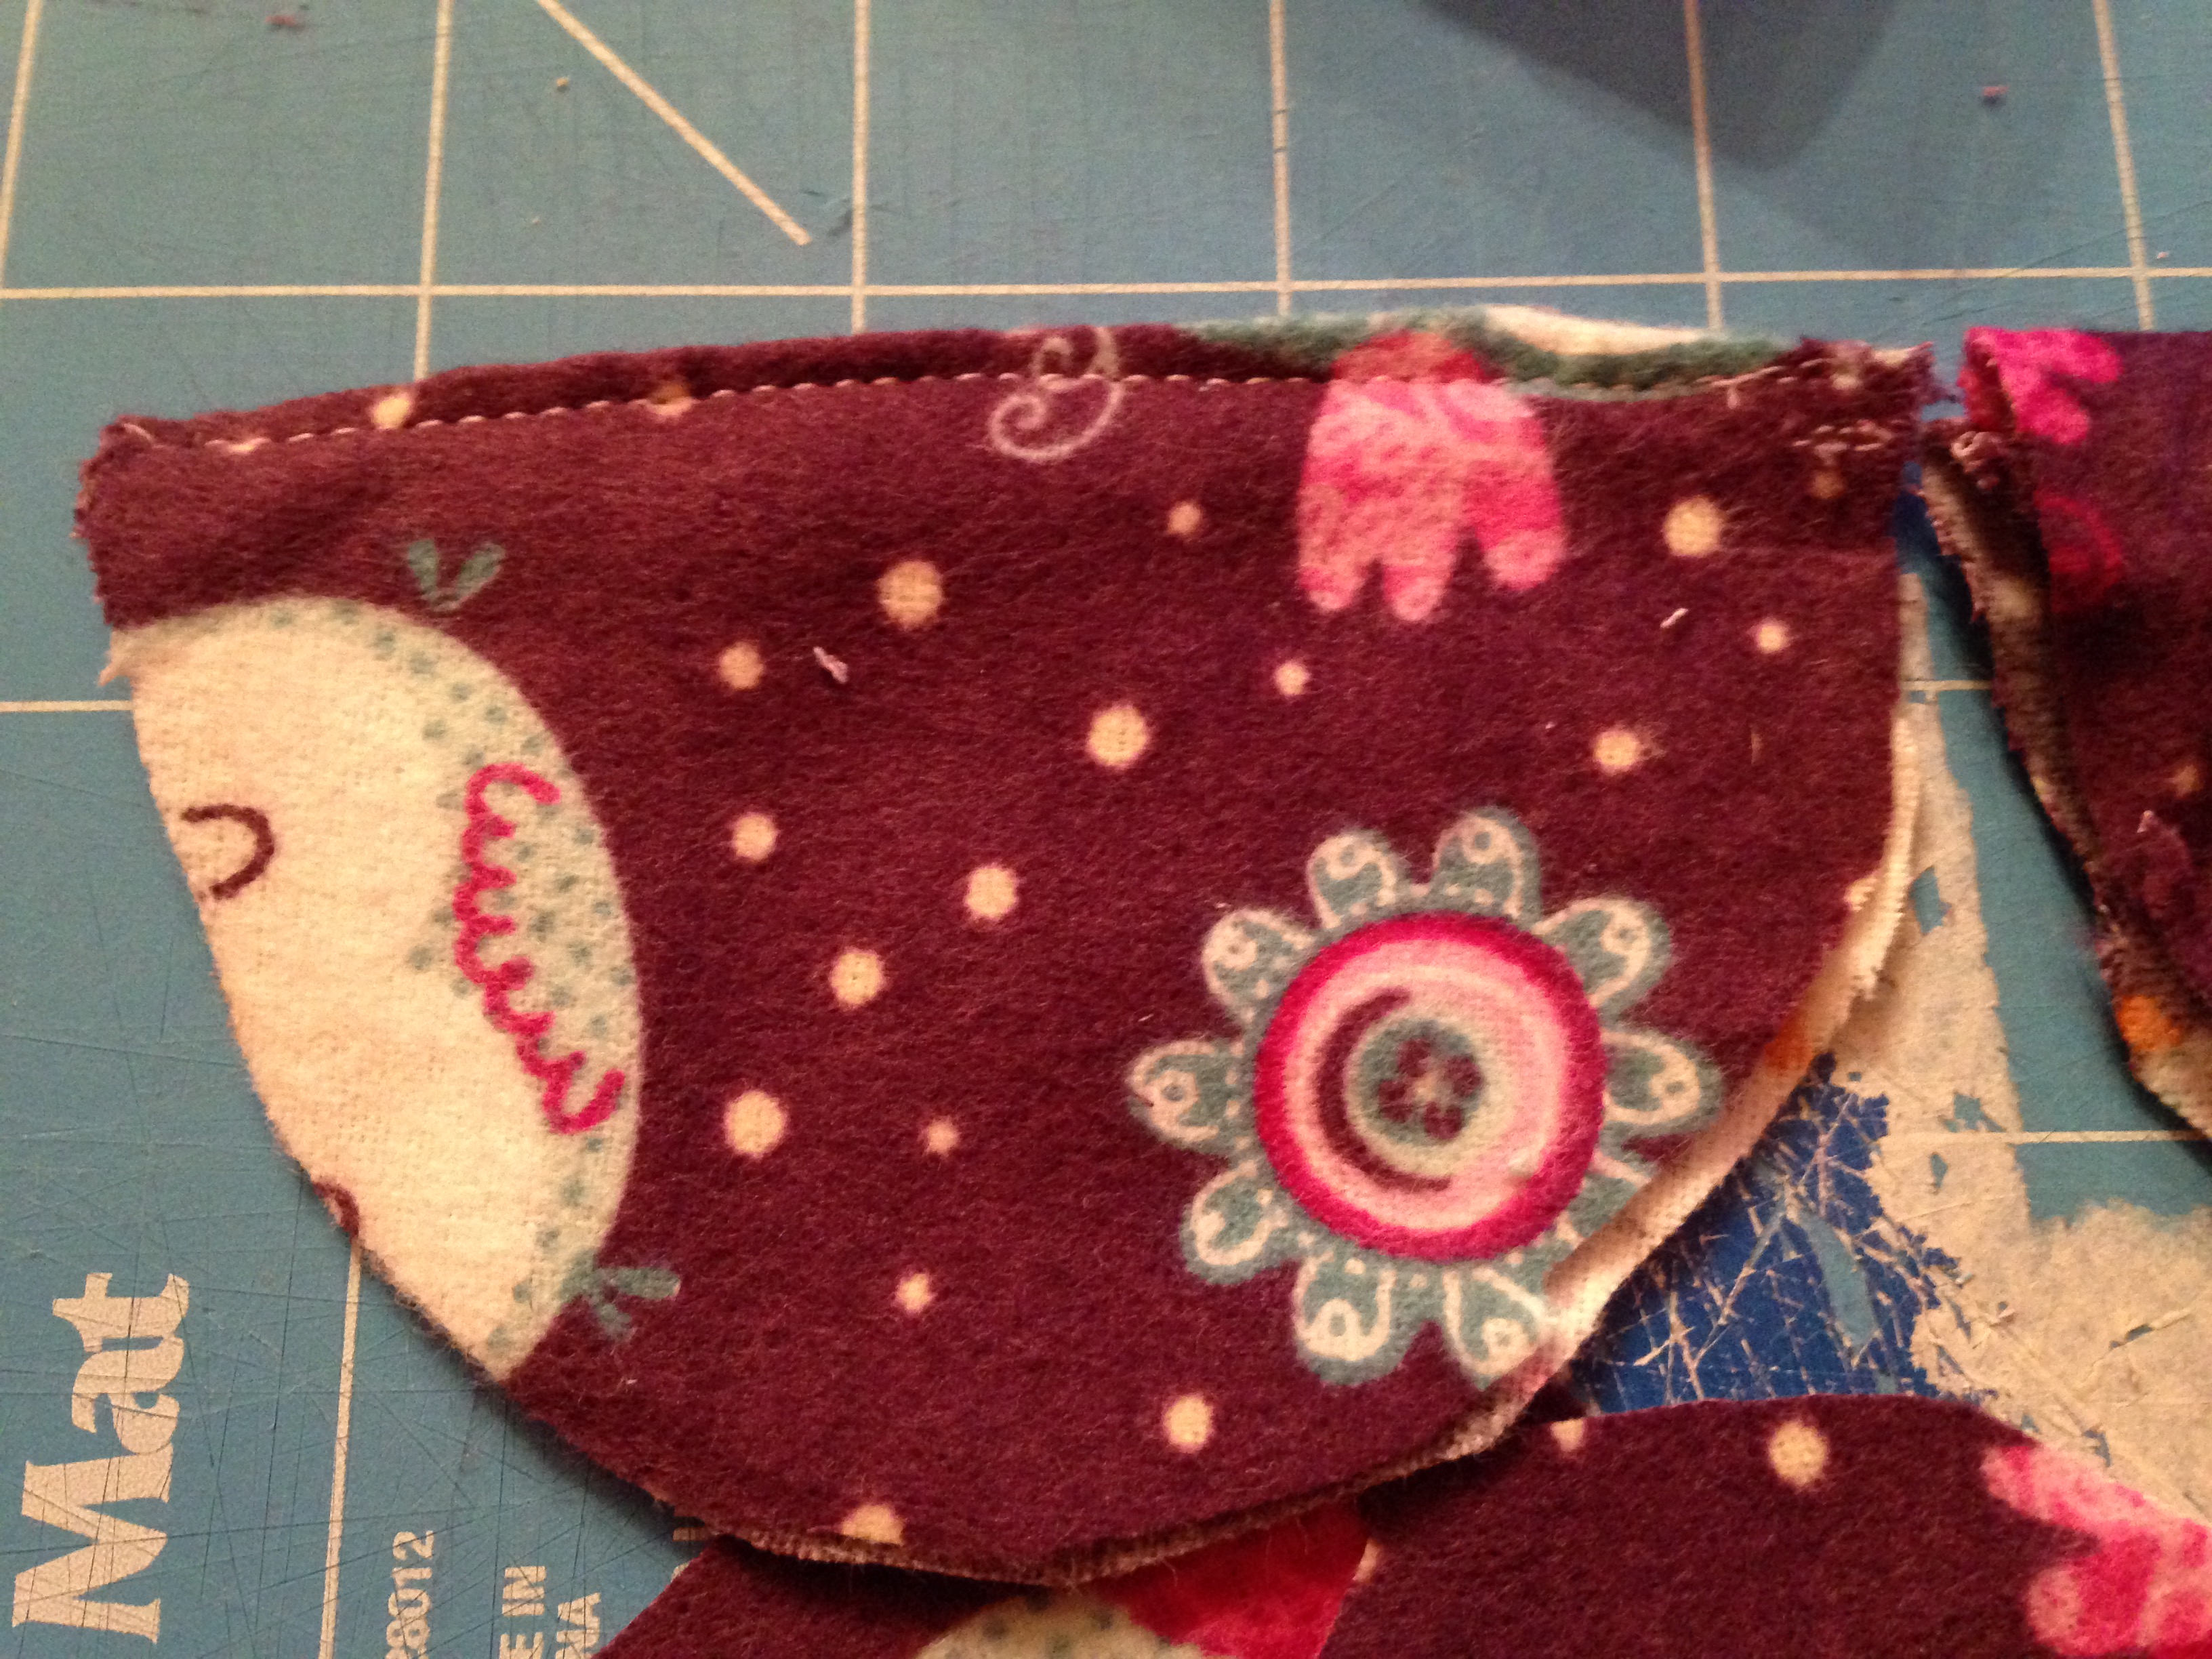
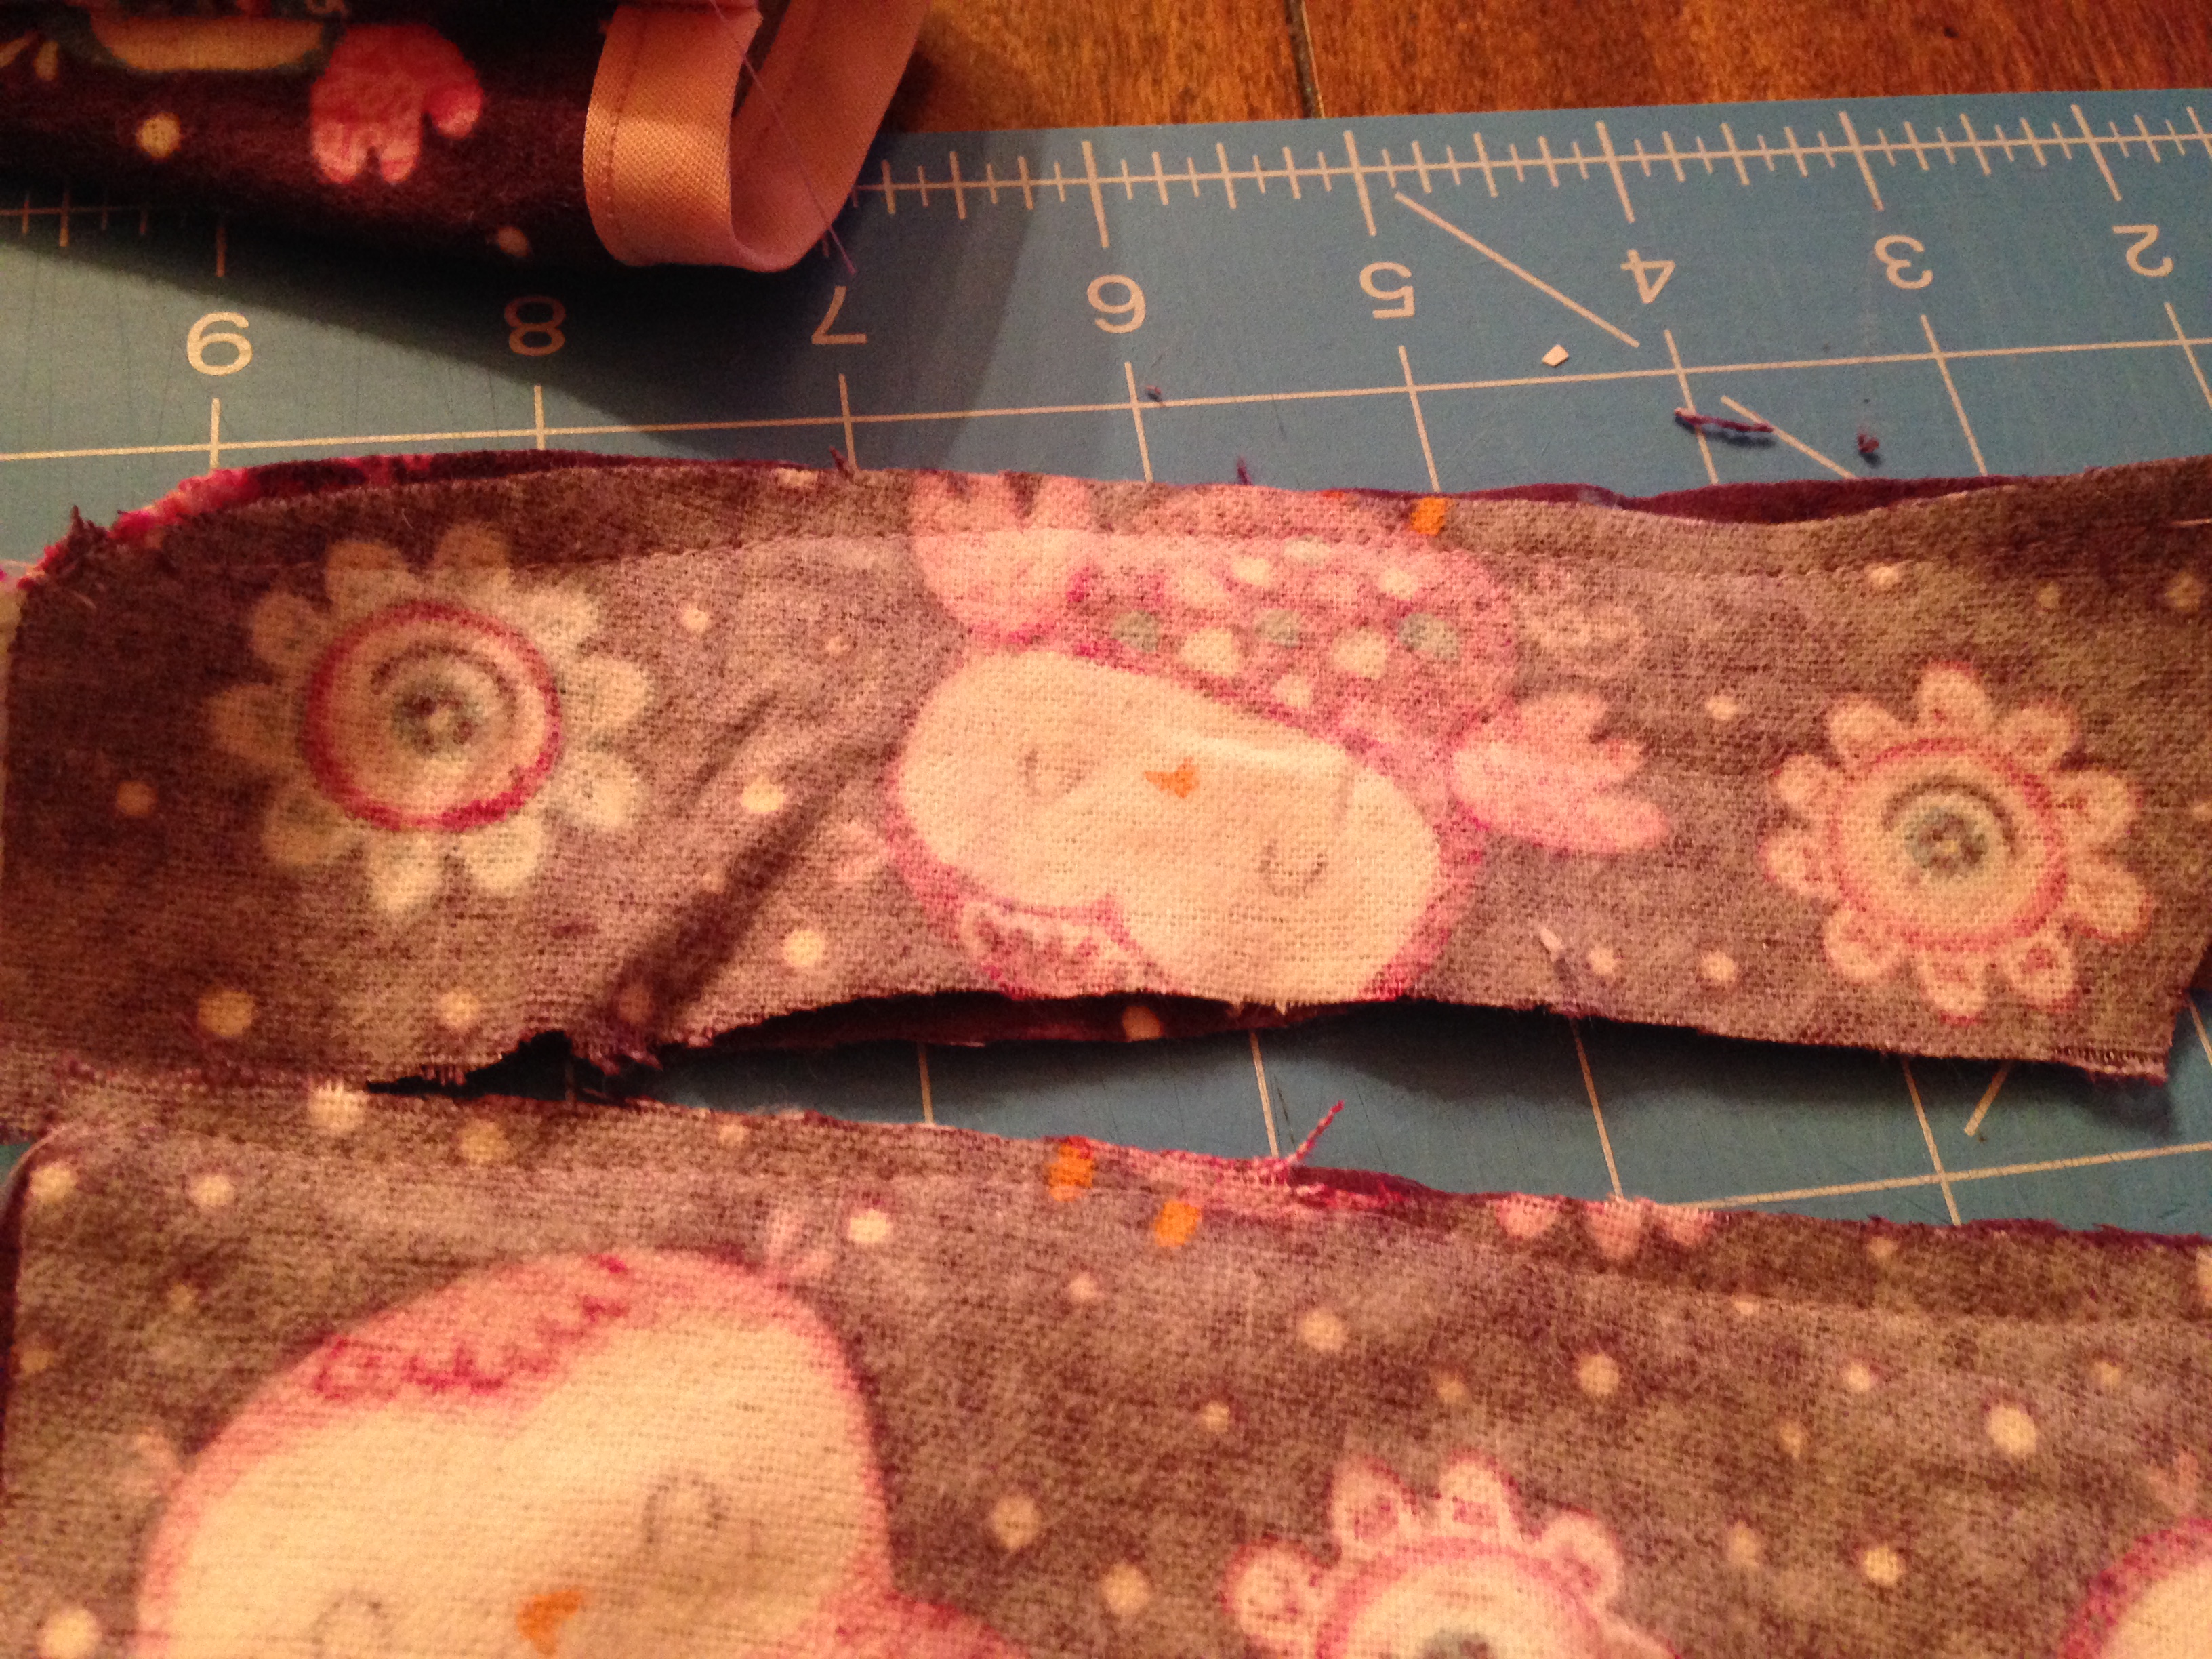
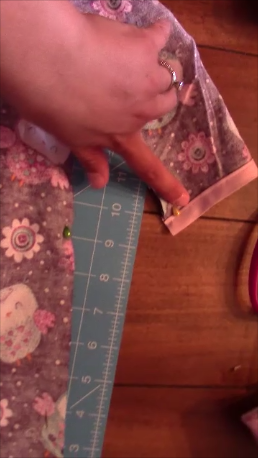
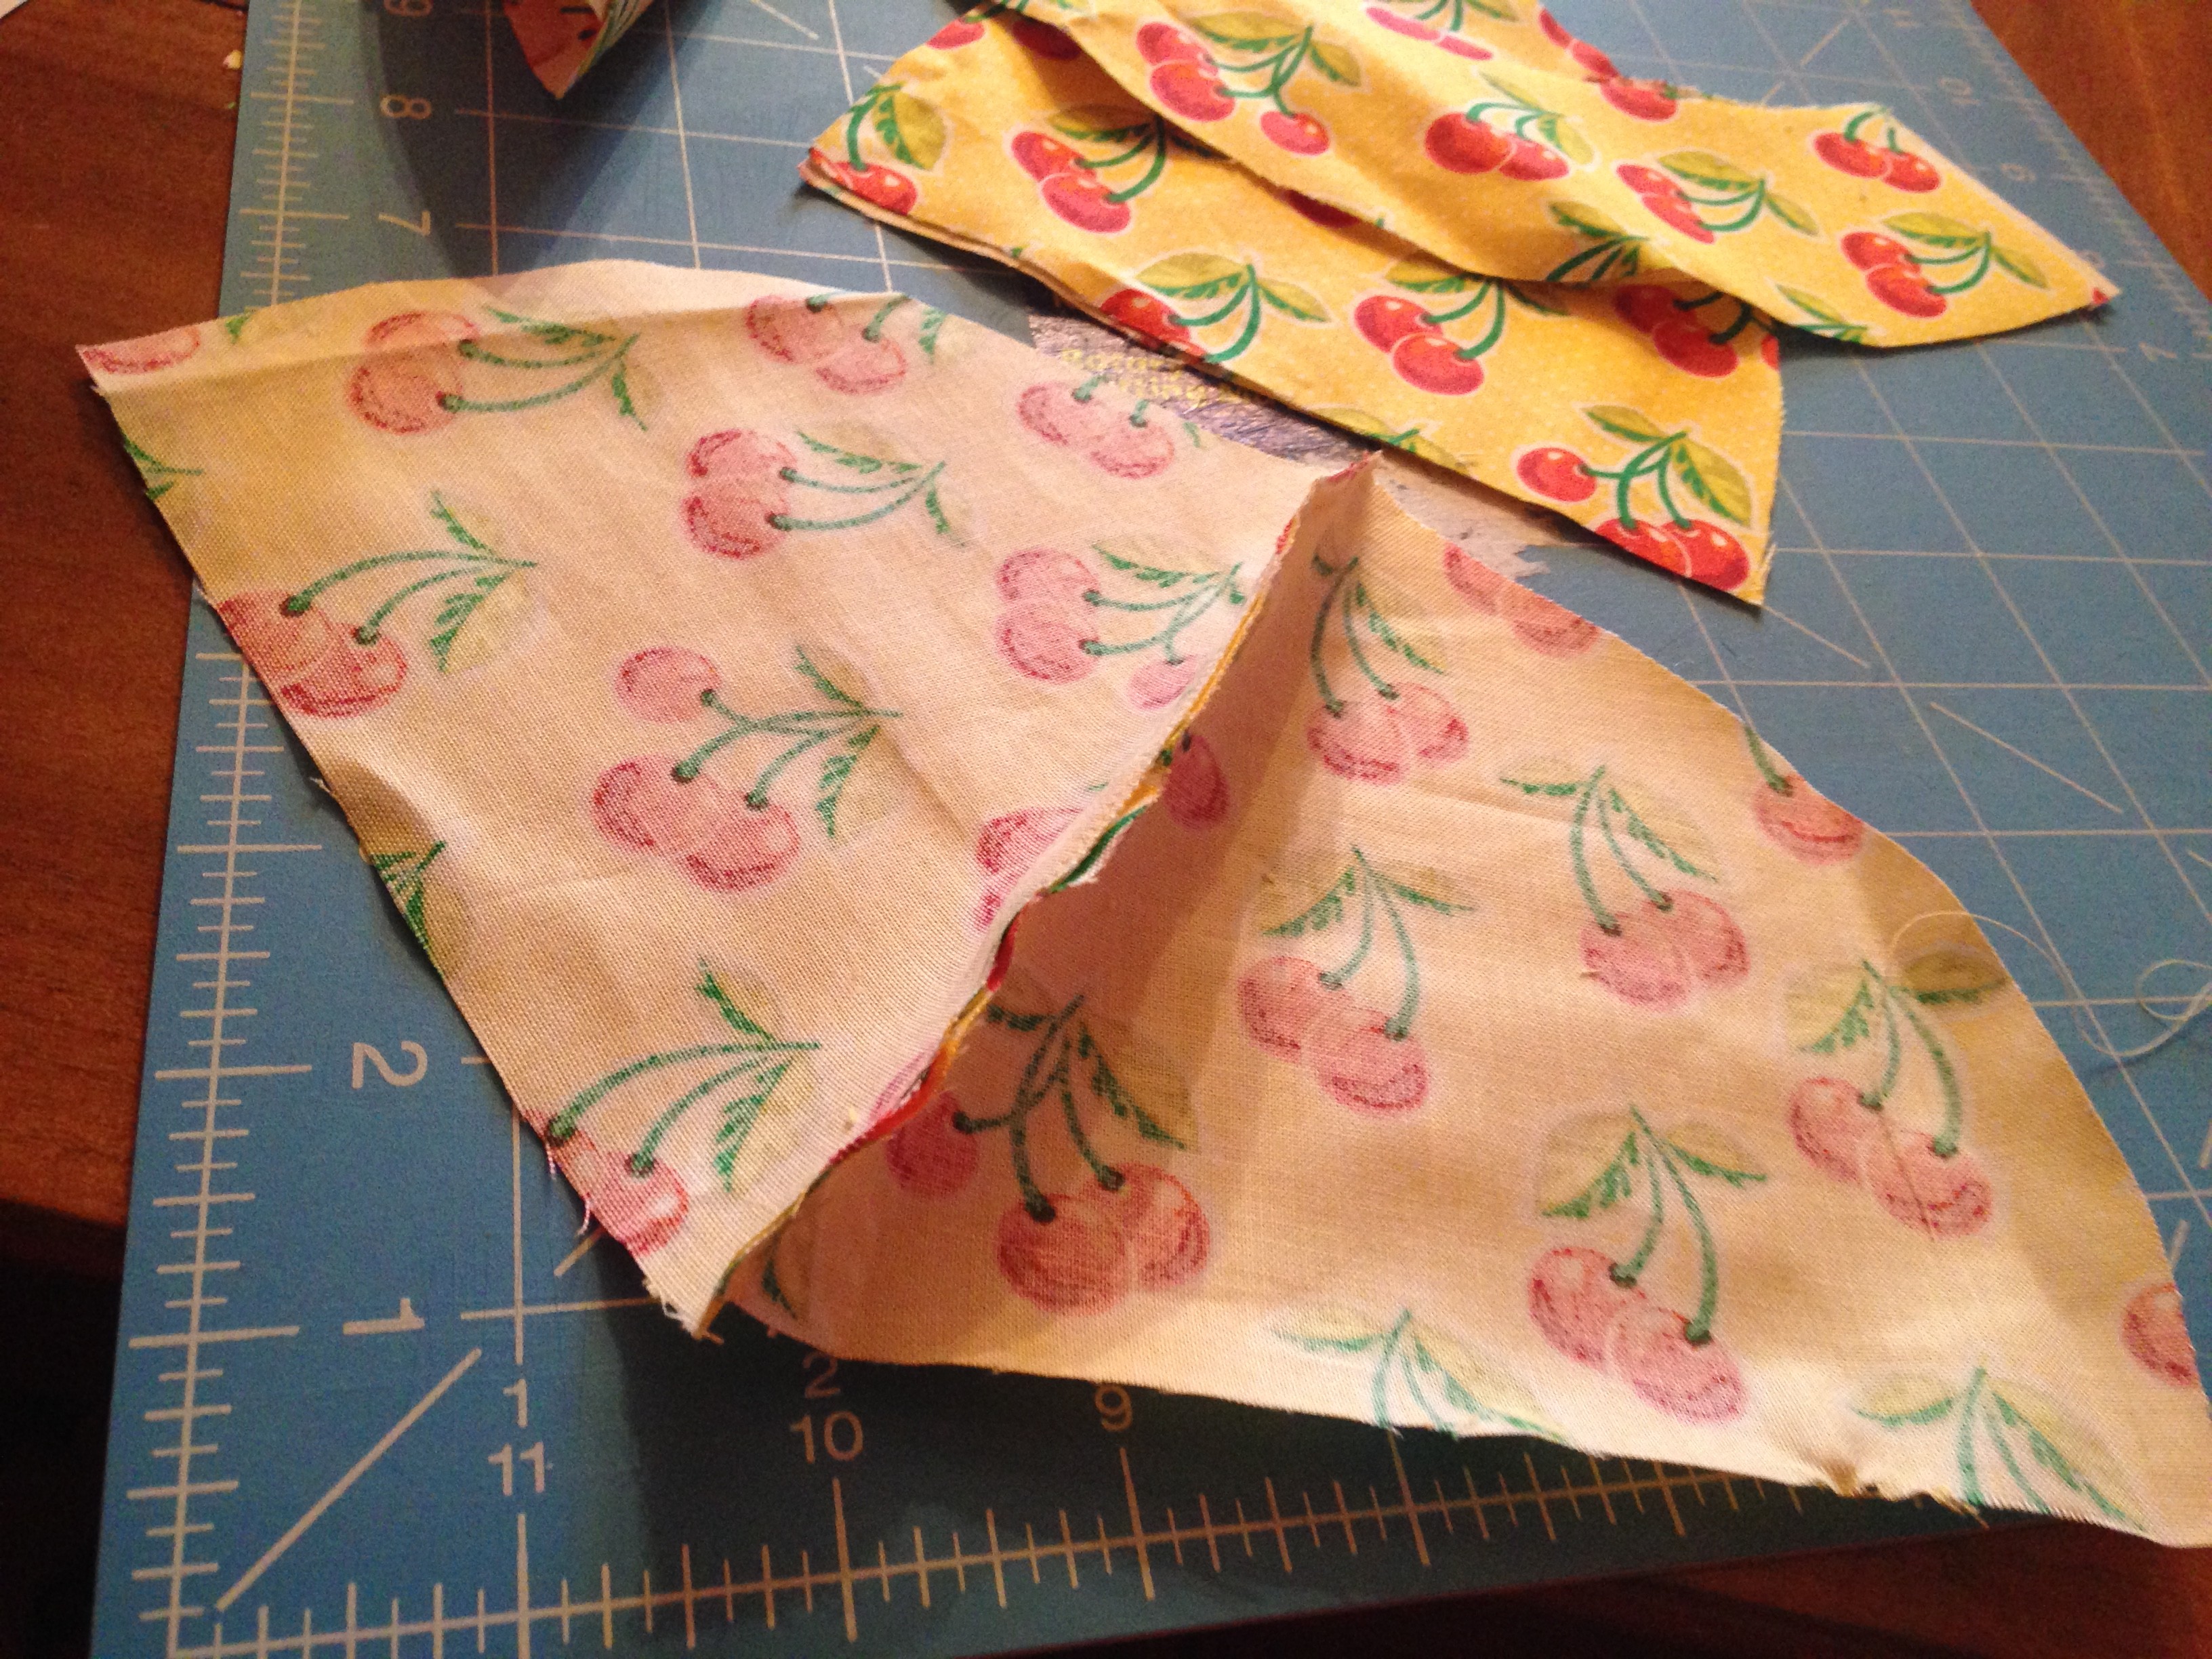
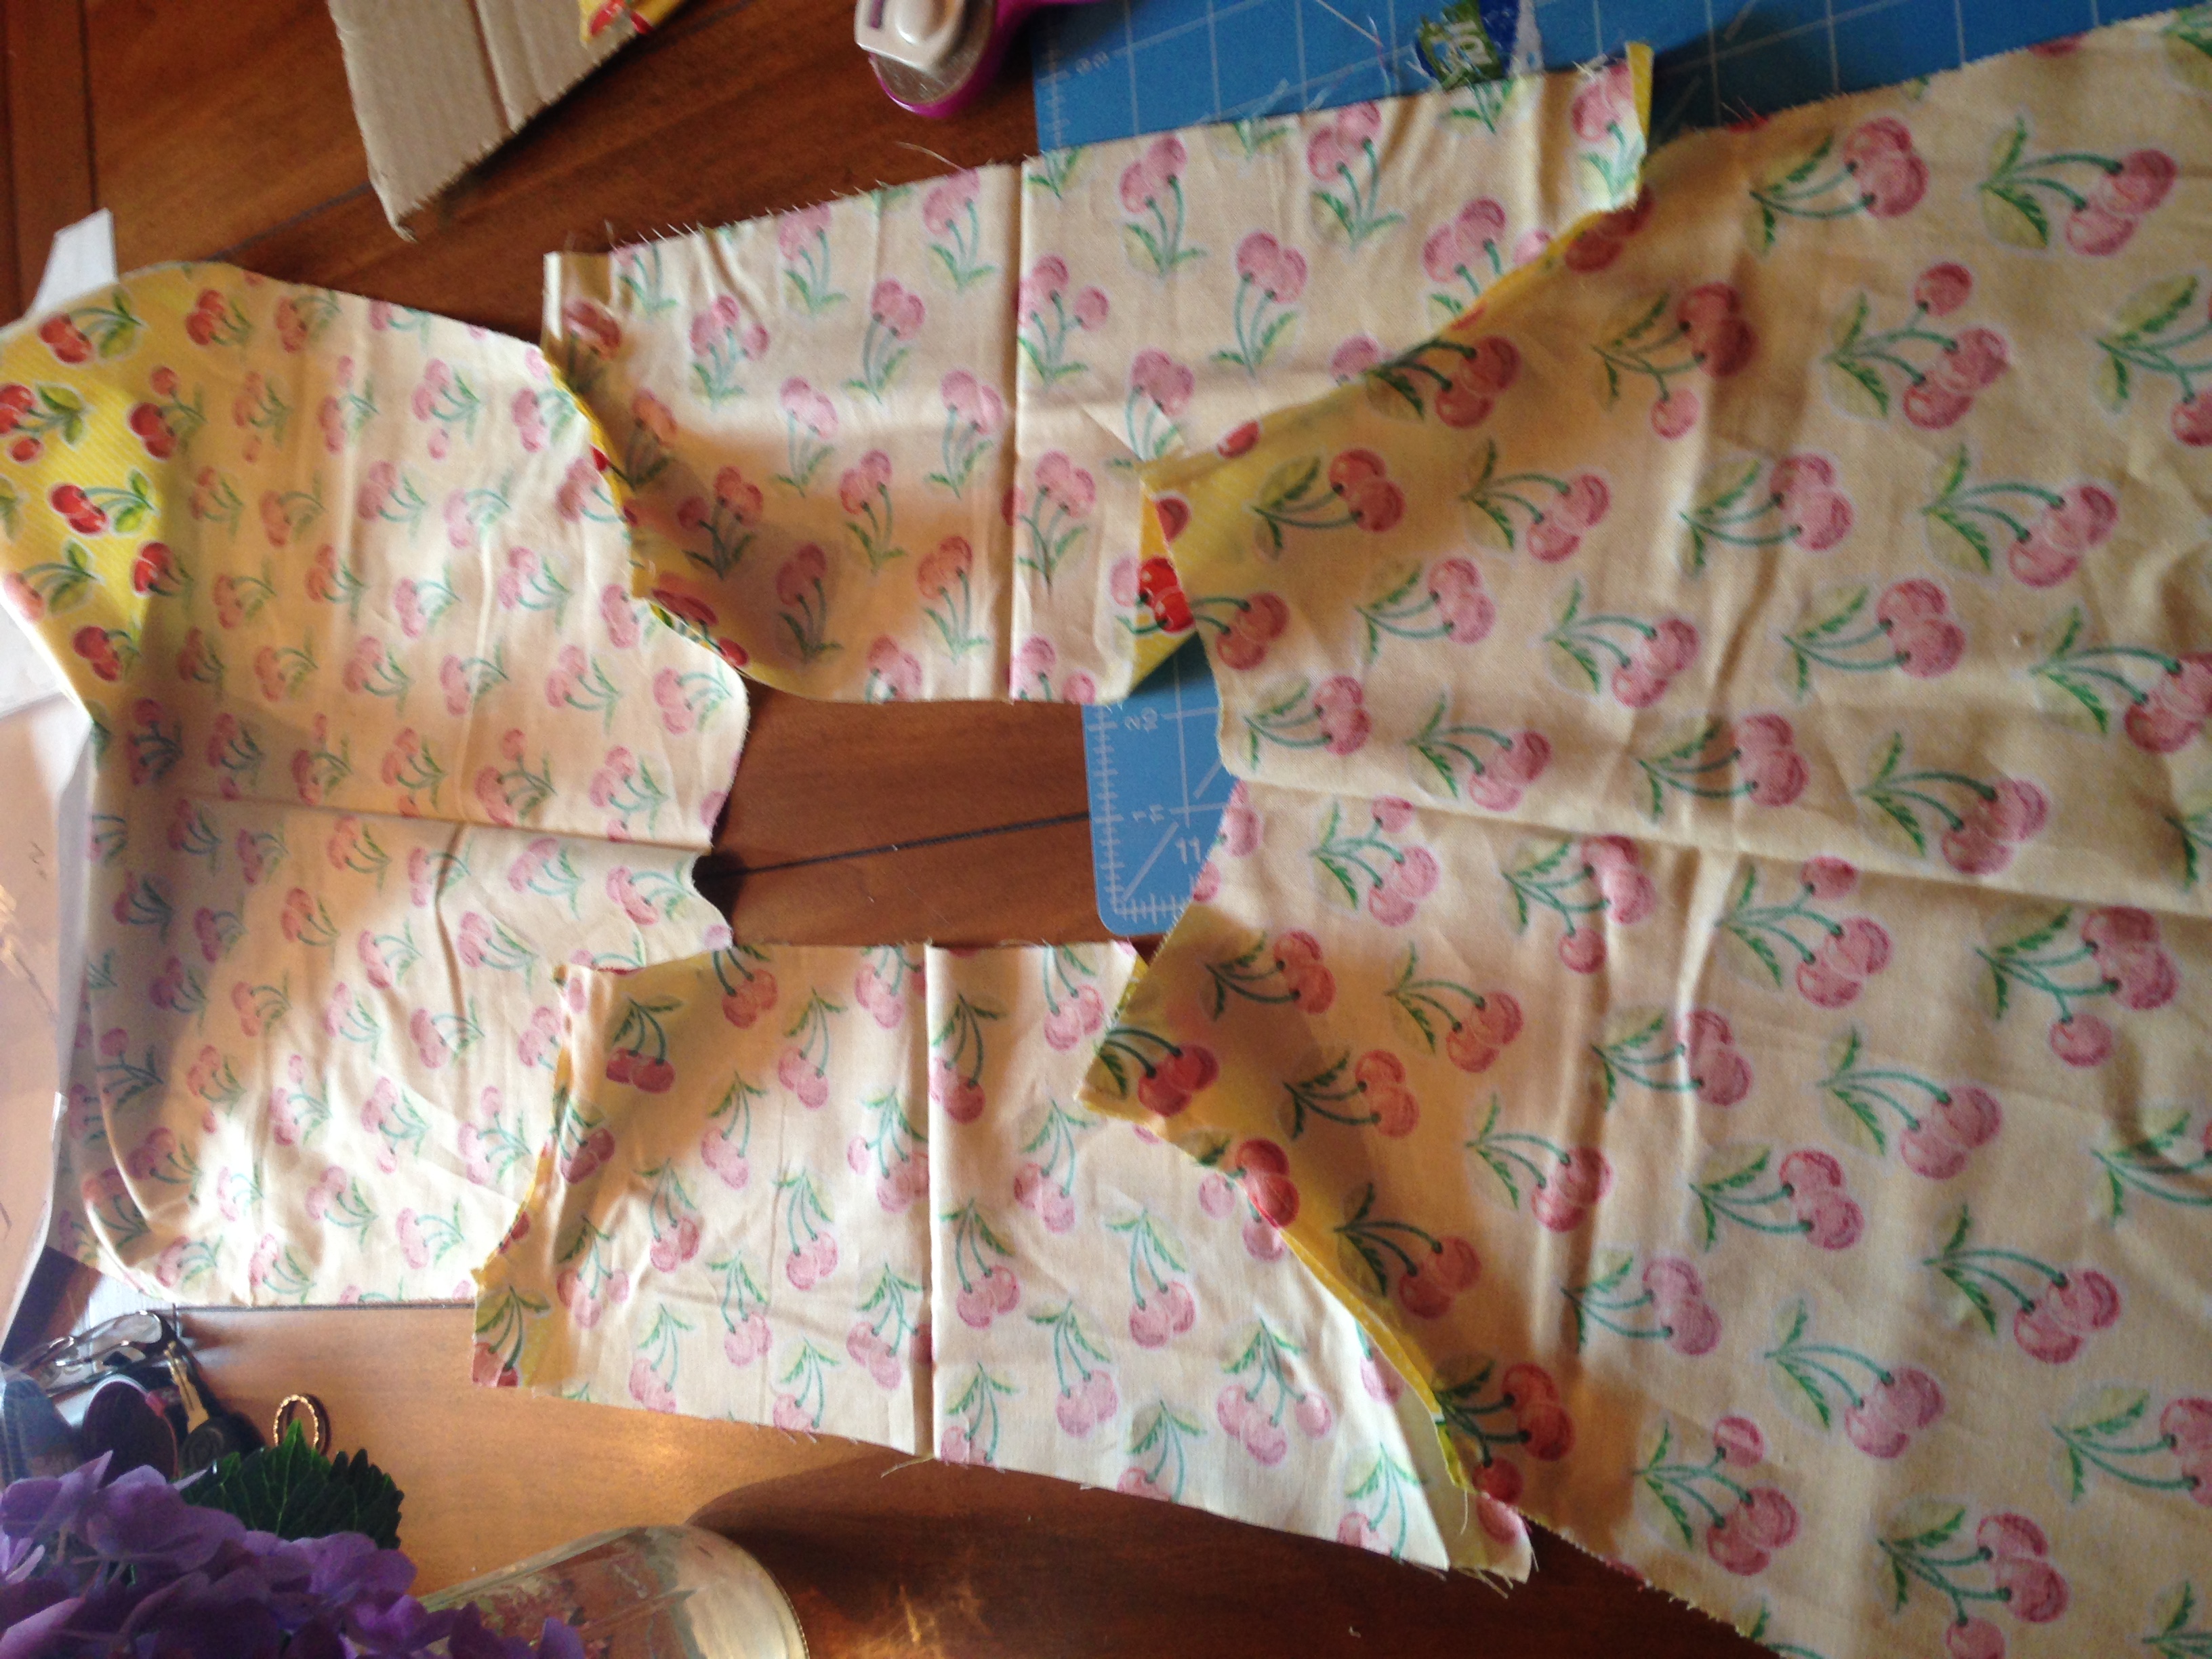
  20. Sew the sleeve sides together by facing pattern side to pattern inside. Do not sew the curved part as pointed to in the picture below. Then turn right side out
  21. Snapshot 4 (11-17-2015 7-51 PM)
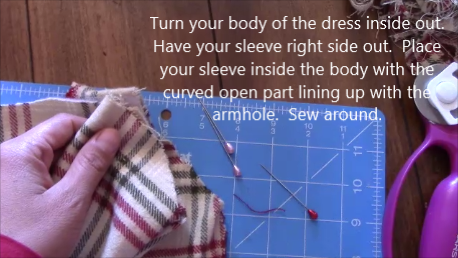
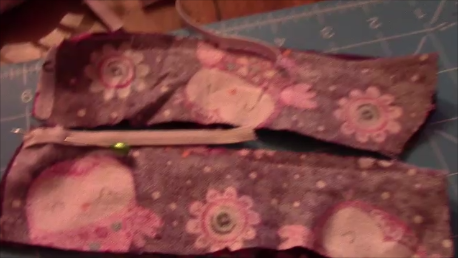
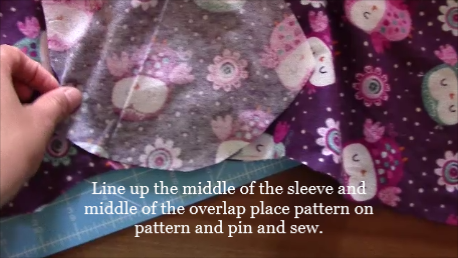
  22. Turn your body of the dress inside out. Have your sleeve right side out.  Place your sleeve inside the body with the curved open part lining up with the
    armhole.  Sew around.
  23. Snapshot 5 (11-17-2015 7-57 PM)
  24. This picture shows that you want the sleeve facing downward inside the body of the dress.  the larger end to the hole and the smaller end (where the hand comes out) facing downwards.
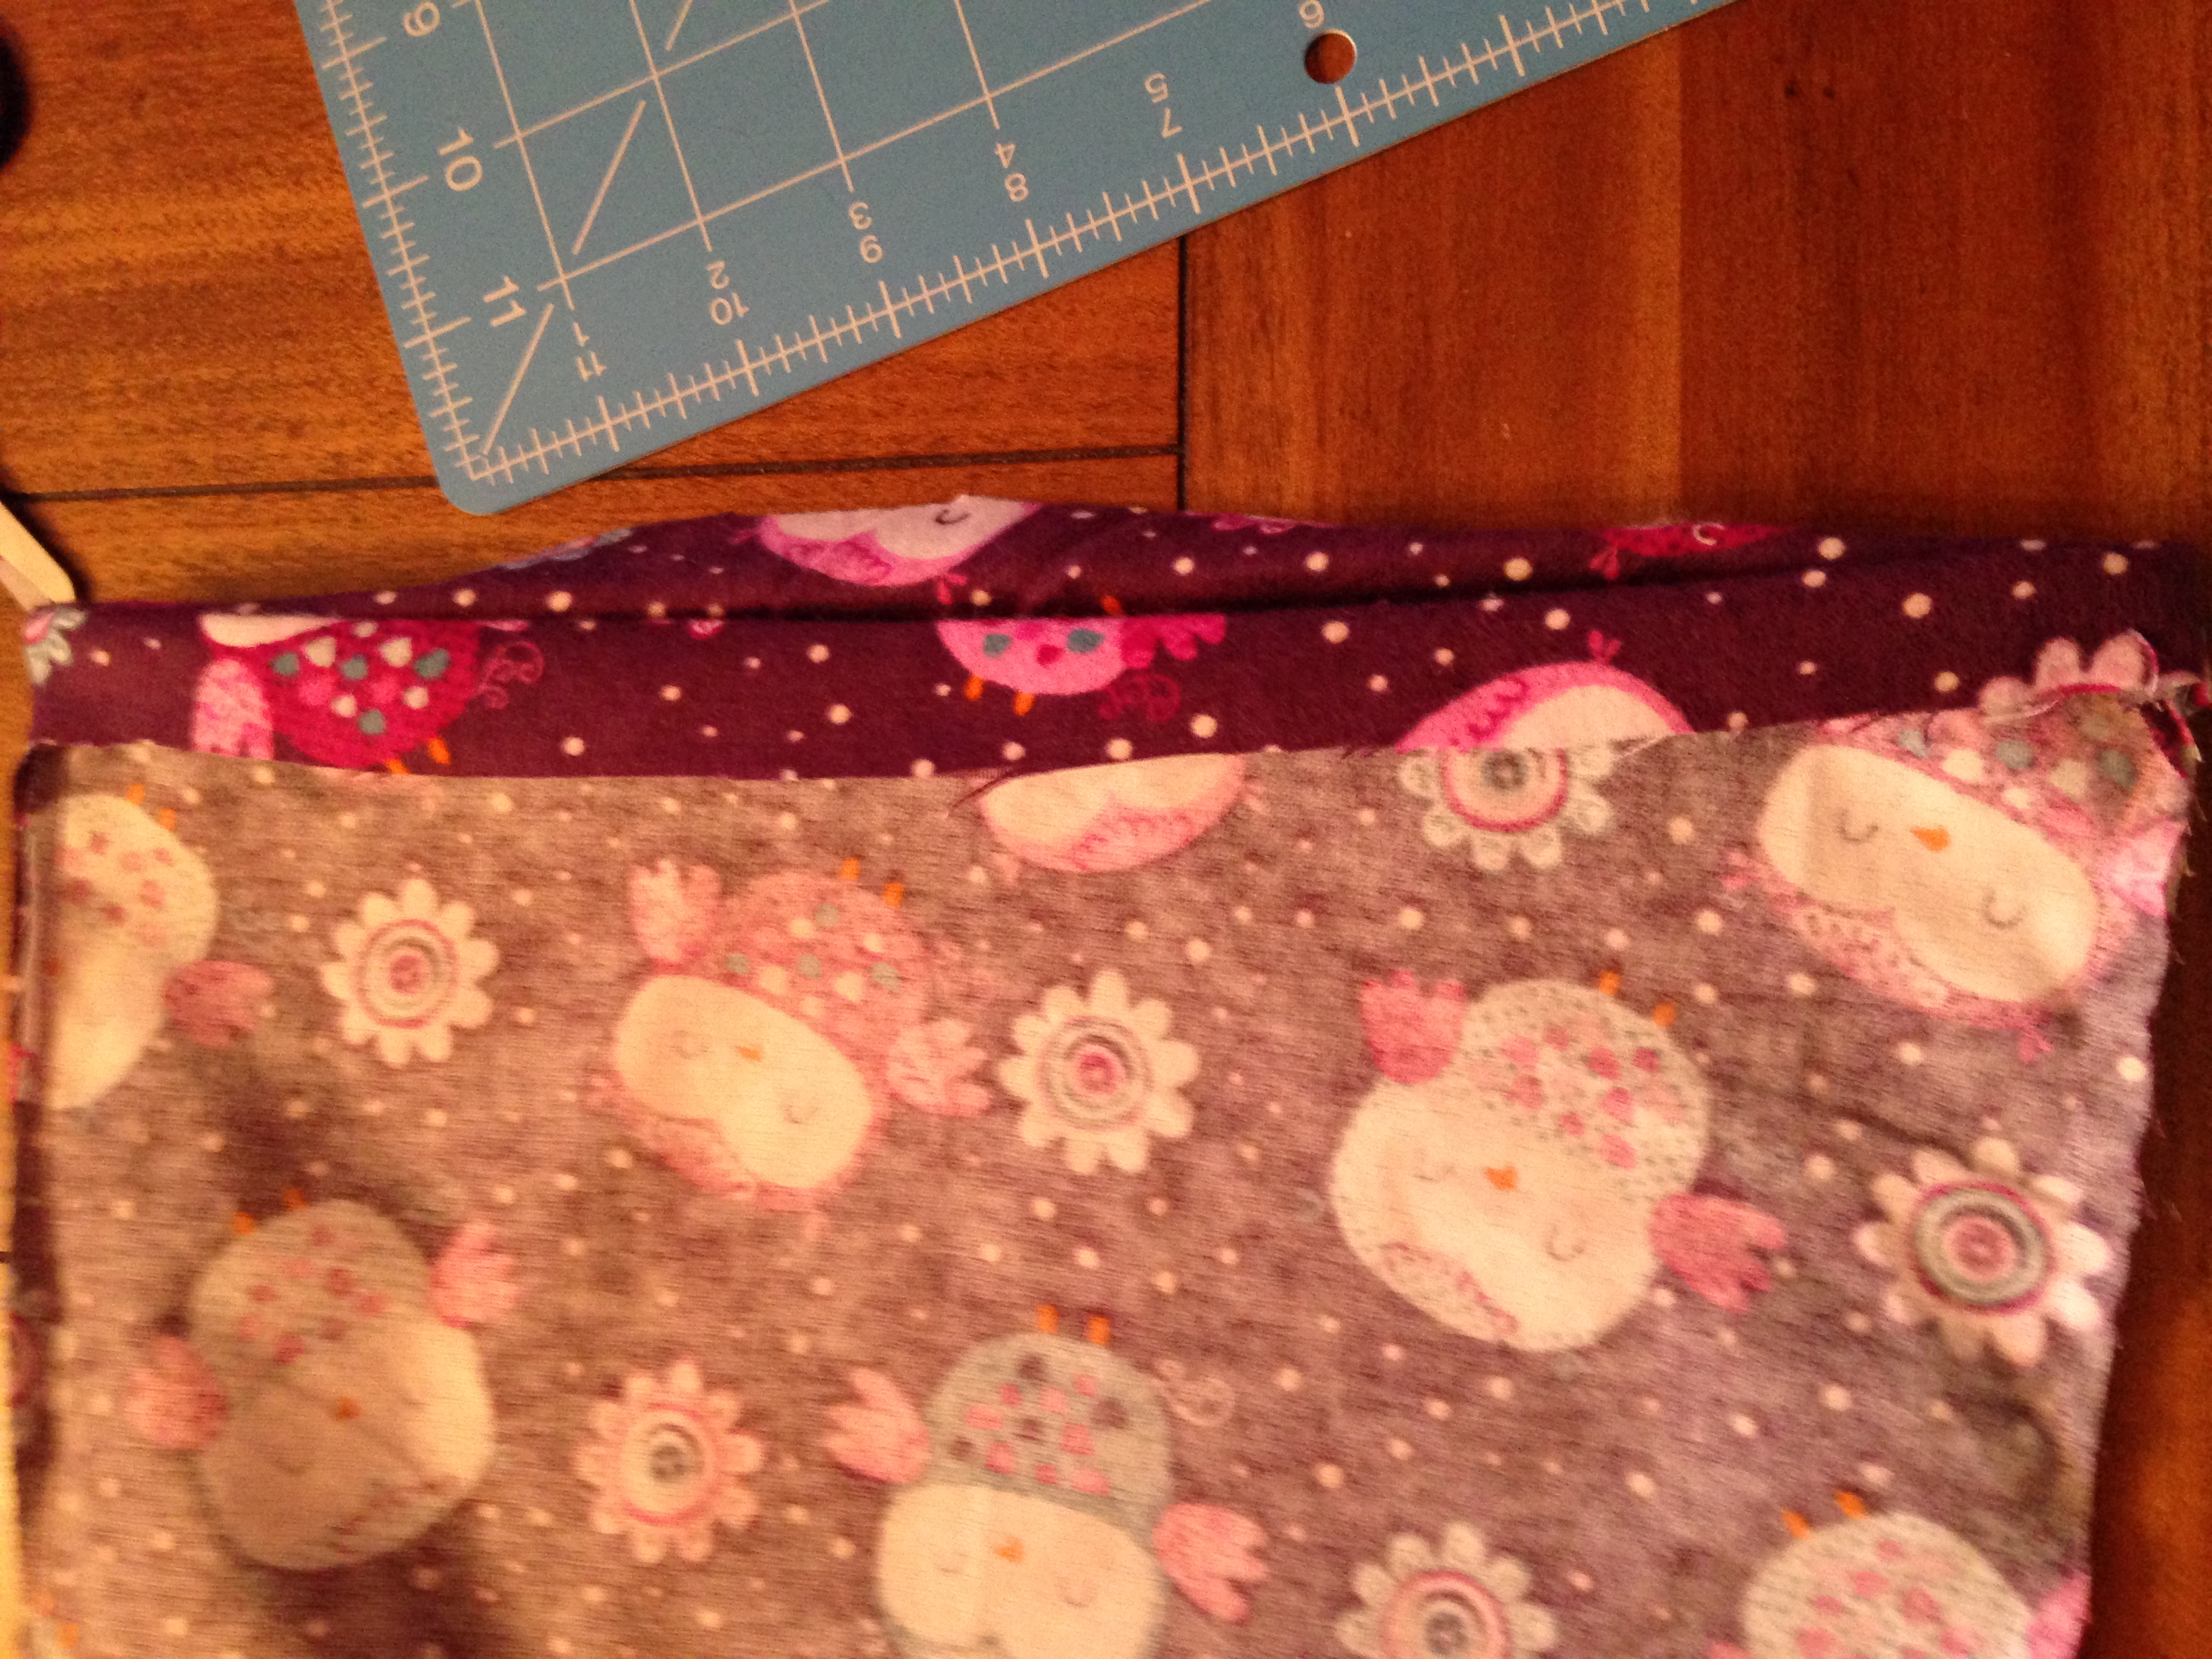
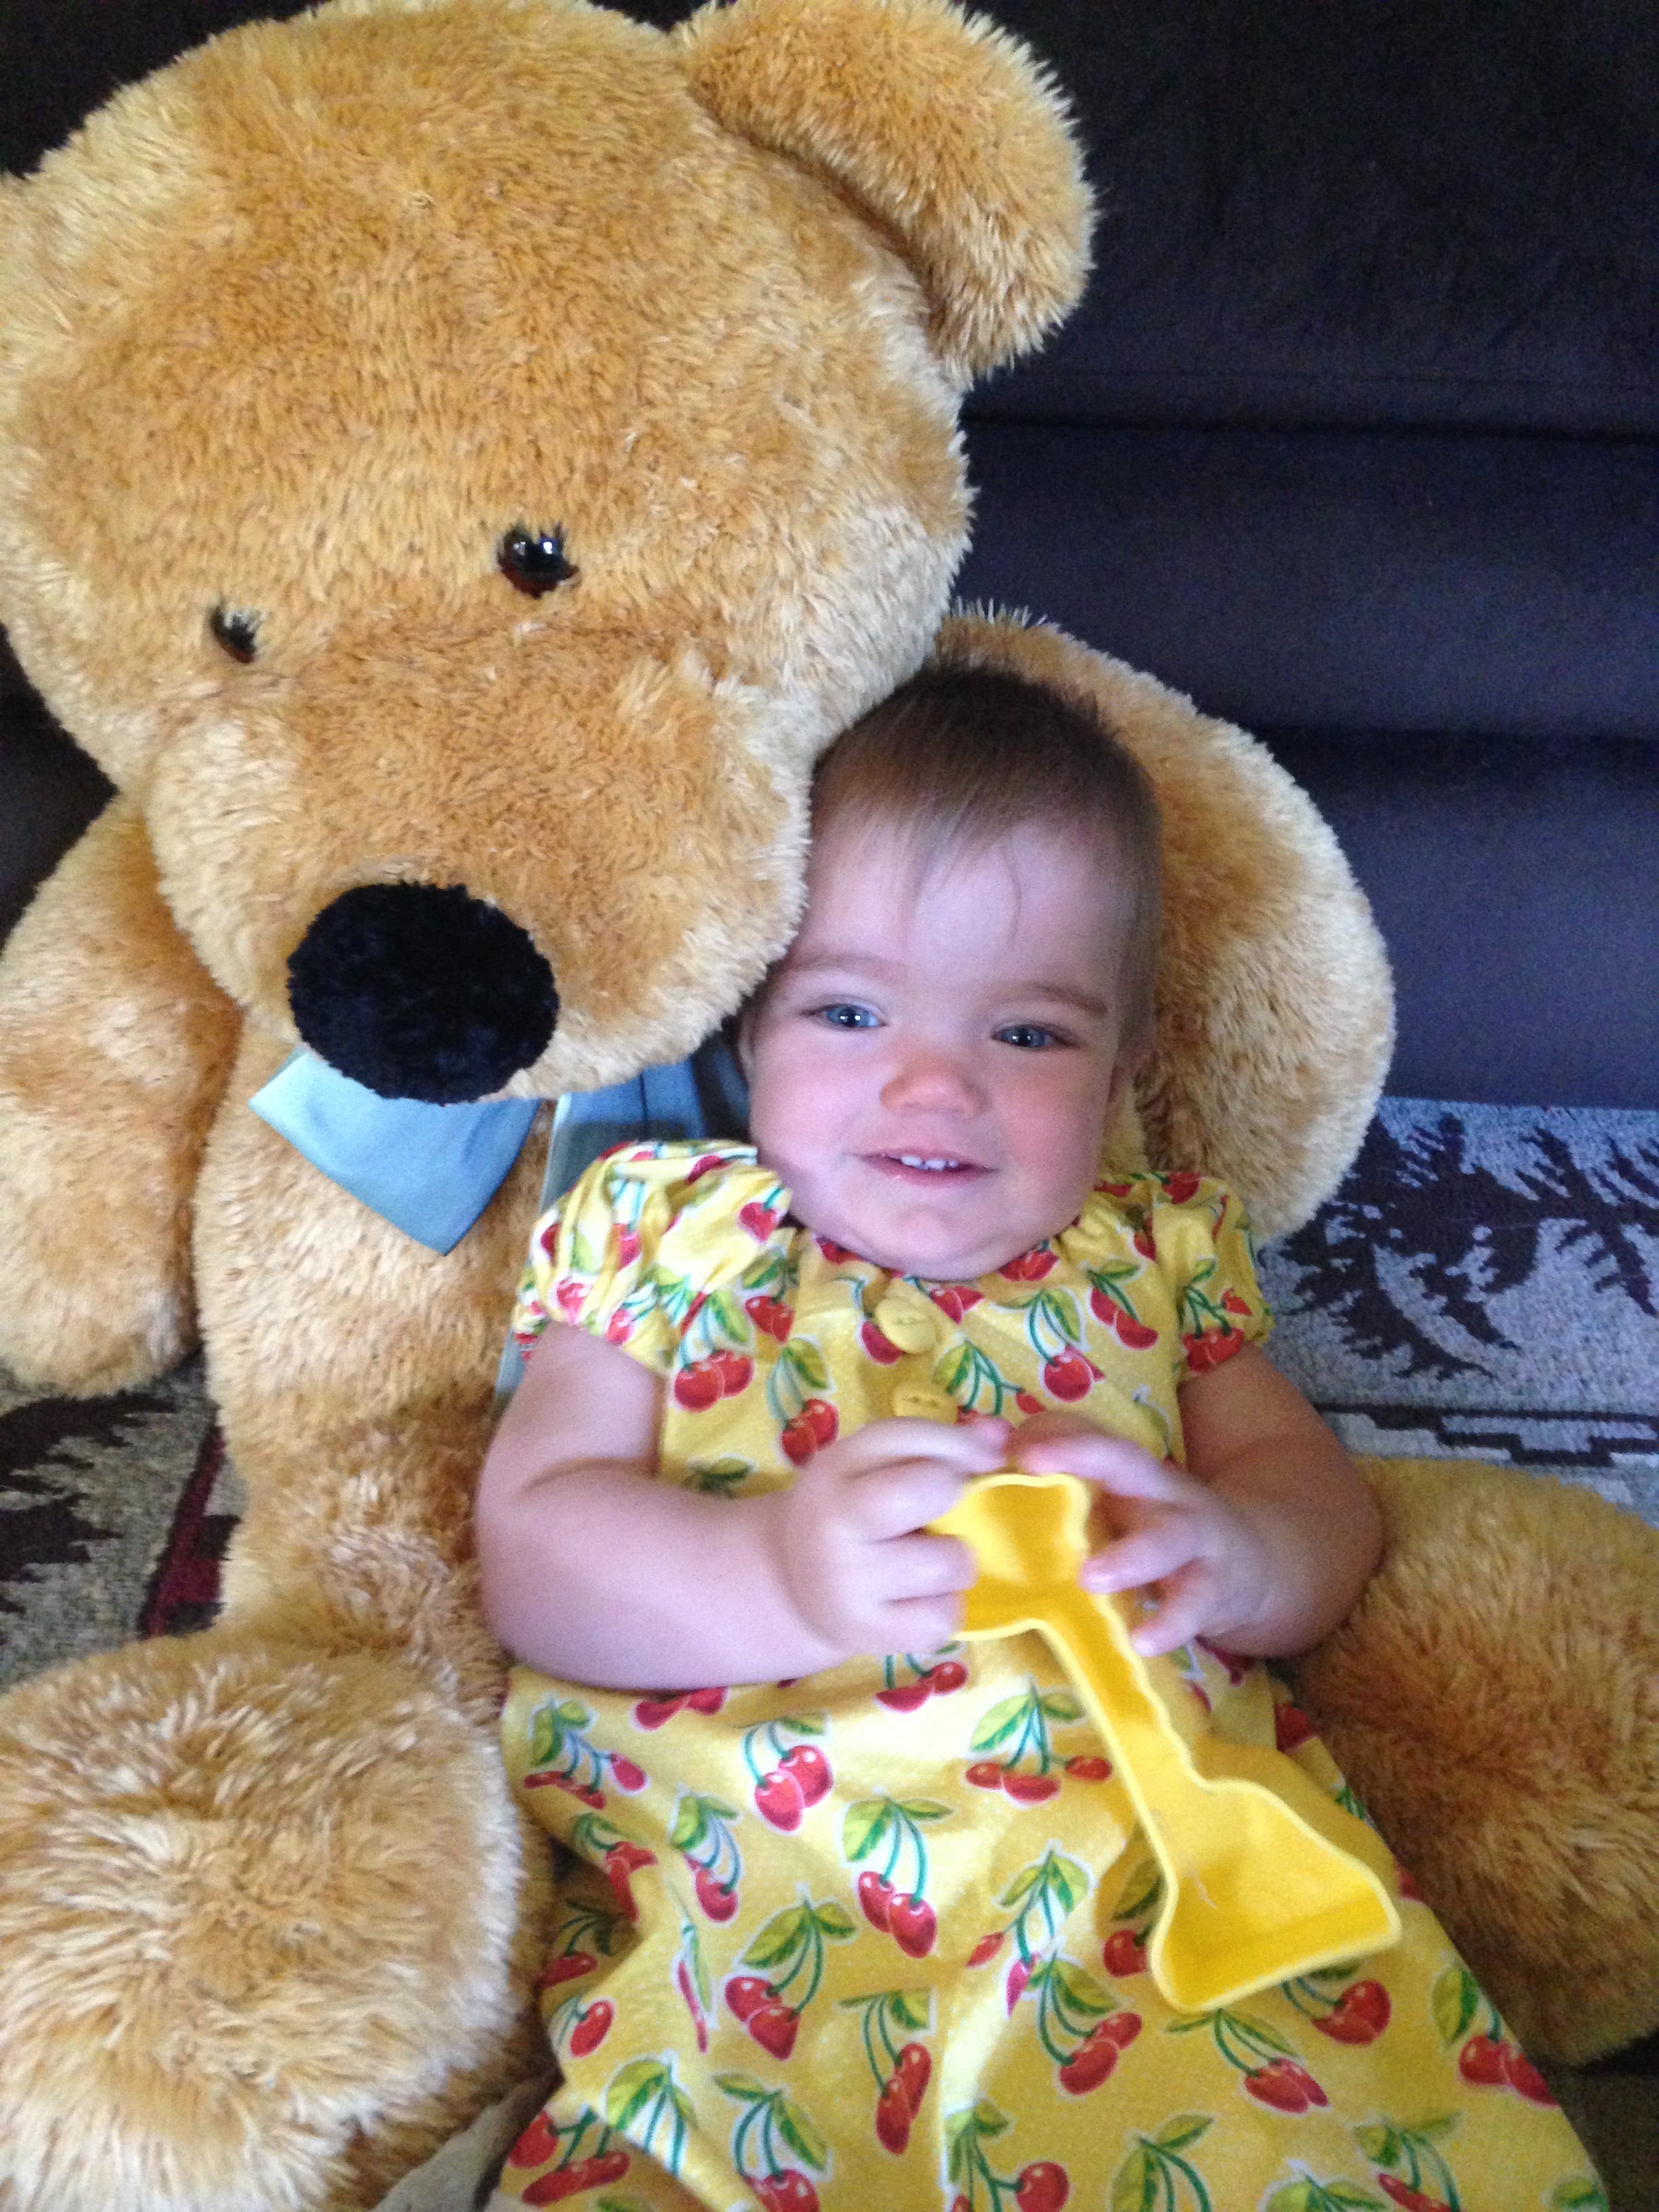
  25. You can hem or use bias tape on cuffs of sleeves and bottom of dress.  Then add any embellishments you want and wah-la you are done!IMG_3446
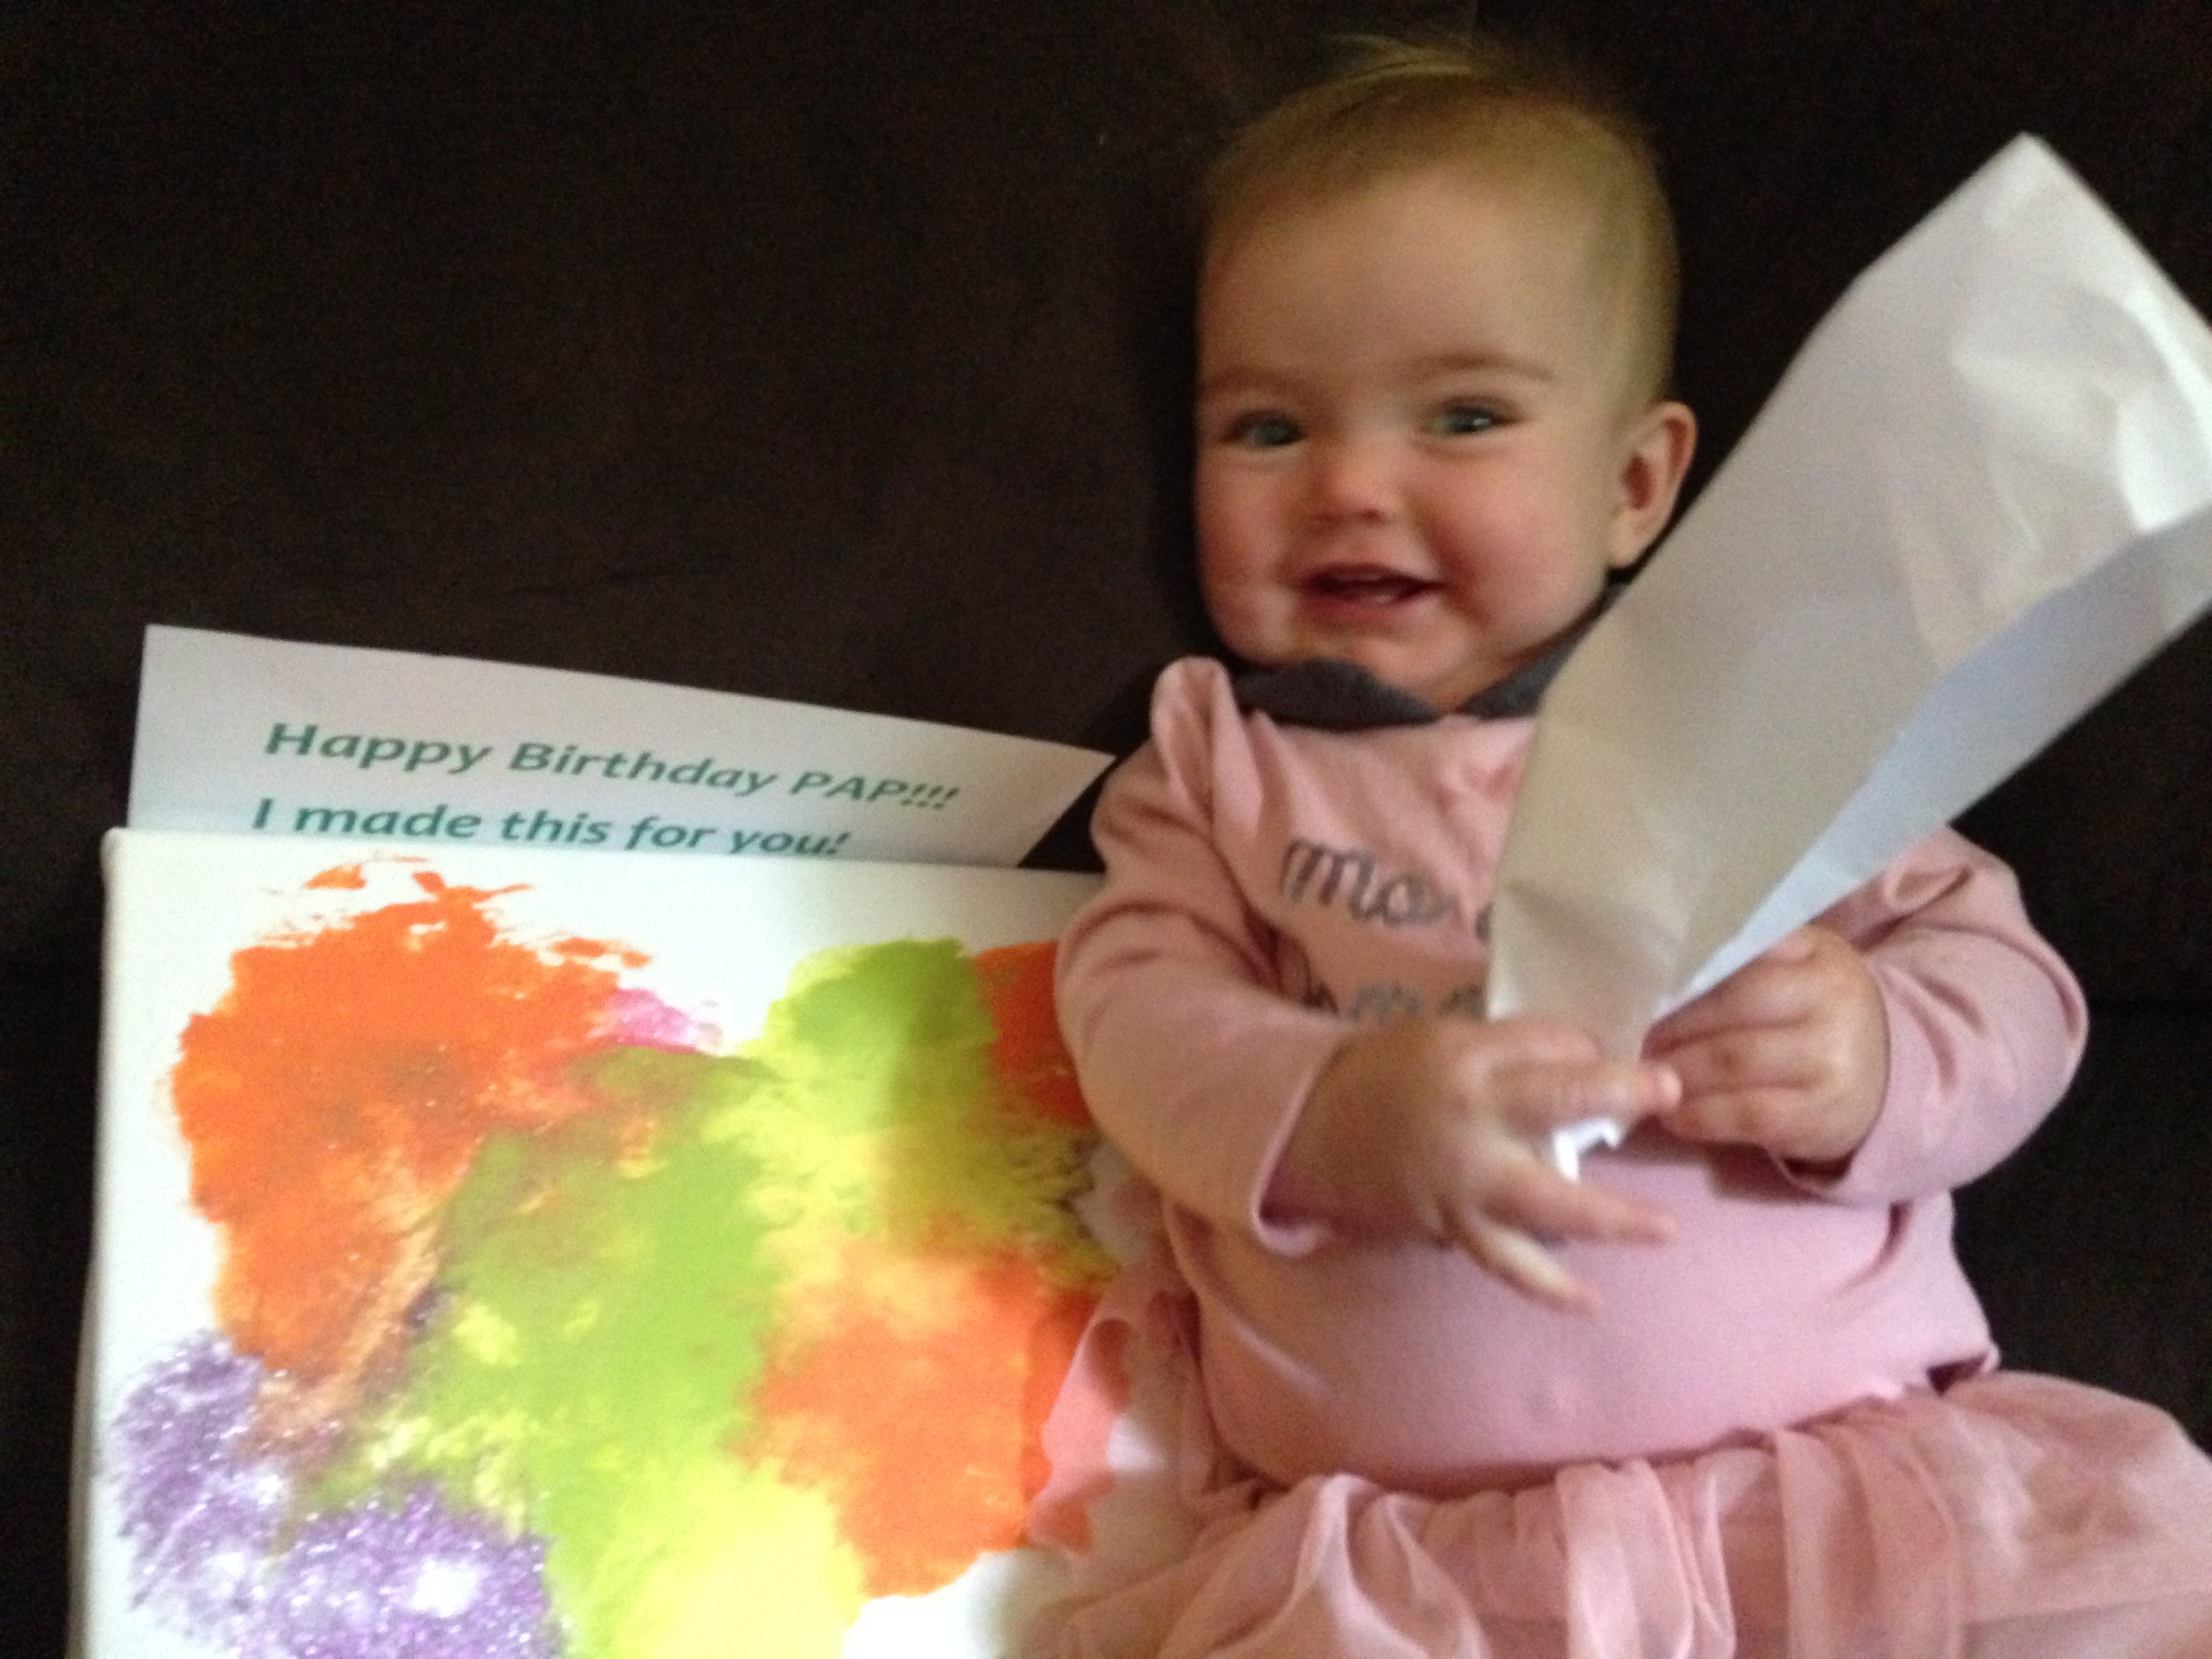
  26. Congrats! Feel free to post your pics below!
FollowFacebookpinterestrssyoutube
ShareFacebookpinterest

Crib Rail Protector! GRR

One day I put my little munchkin down to nap and a couple minutes later I go to check on her and she is gnawing the crib side rail!  And you know how expensive cribs are, so I was not a happy camper.  I was also concerned about the stain getting in her mouth.  So, I got right to work making a crib rail cover and protector!  So far, she has only gnawed on the one rail, and that is because this rail faces the hallway that she enjoys looking out and crying to see if anyone will come to her rescue!

8867faf8-b143-4eca-b6be-d3c9f7f728b5          This is a simple project that should take no more than 15 to 20 minutes.  As always, I have a Youtube video and a written and picture explanation.


  • What you need:
  • Fabric with your chosen pattern
  • Batting (fleece or any type of padding)
  • Ribbon
  • Measuring tape
  1. First you want to measure your crib rail that you will be making this for.  Measure the inside from side to side for the length and then the width and add 2 inches (or measure downwards for how long you want it to go down).
  2. Snapshot 2 (10-29-2015 7-41 PM)
  3. Also measure where your ties will tie onto your railing.  Mark this all down so you remember.
  4. Then cut the length and width of the fabrics and also cut your ribbon.  Now you may want to make your ribbon longer for bigger bows but keep in mind your little one may pull at them if they are too long.  I recommend about 6-8 inches long. I used 6 pieces of ribbon (so 3 ties) total for the side rail.
  5. Pin your ribbon onto your batting facing inwards.  Have the two ribbons across from each other and make sure to measure out the spots. Pin them down with the shiny side or pattern side up.
  6. Snapshot 3 (10-29-2015 7-41 PM)
  7. Line up your other fabric piece with right side down (right sides facing eachother).
  8. Now you want to sew all the way around the edges leaving a 2 to 3 inch opening.  Make sure you backstitch!
  9. Snapshot 4 (10-29-2015 6-55 PM)
  10. Pull the inside out and make sure the corners are popped out.  Then sew this area shut.
  11. You are done congrats! Go put it on and save your crib!
  12. 3025a26b-14f2-4259-bf75-fb3c6d496bf6
FollowFacebookpinterestrssyoutube
ShareFacebookpinterest

1st birthday dress!

I wanted that special 1st birthday dress, but not that especially high price that comes with most of them!  So once again, I searched pinterest, etsy, and other sites to find ideas.  I ended up combining ideas, as well as making up my own, to design with the dress I created. The theme was rubber duckies for her party.  Therefore, I wanted to incorporate duckies as well as other birthday fabrics.  I went to the store and examined numerous fabrics, buying  a yard of my favorites!  The extra fabric I ended up using to create the crowns!

IMG_2549

I purchased the iron on birthday 1 and ducky from etsy.  The number is even personalized with her name!  I also bought the duck buttons from the store.  I used white hair bands that I cut to make the loop holes for the buttons on the top of the shoulders.

IMG_0057 (2)

So how did I make this dress?  Well that’s a secret! But I can give you some hints.  If you are truly interested in a dress like this you can private message me or come back and look for my future etsy link!

IMG_2455 IMG_2453

The skirt of course took the longest because of the detail.  I added yellow ribbon in between the rows as well.

IMG_2459

Then I added the cute duck to the back of the dress.  Personally, this dress could be used as a 2 in 1 dress because the back is also so cute!  However, the 1 in the front personalized this as a 1st birthday dress.


IMG_2457Well check out the other tutorials, as well as the 1st birthday party theme page for more ideas! Feel free to share pictures of your little one’s first birthday dress!

FollowFacebookpinterestrssyoutube
ShareFacebookpinterest

Easy Birthday Crowns!

Want to sew quick and easy crowns for a party or get together?  Then you’ve come to the right place!  I made a last minute decision days before my daughters’ first birthday party that we needed crowns!  The theme was rubber ducky, so I decided to make birthday crowns instead of hats!  Young kids and babies don’t enjoy hard hats on their head and also shouldn’t have a rubber band or elastic around their neck.

IMG_0058 (2)As you can see they are very cute for photo shoots as well!  She didn’t particularly like keeping it on, but I got a couple good shots!

As usual, there is a YouTube video and also a written explanation below.  I didn’t have a lot of time to embellish the other crowns but you can always spice things up with some ribbons, bows, glitter, rhinestones, or buttons!

To get started you need:
1) Choice of fabric and design
2) Scisscors
3)Thread
4) Closure for crown (velcro, button, ribbon) or you can sew all the way around if you know the exact size


  1. Cut your fabric for the main part of the crown 4 1/2 x 18 inches
  2. Snapshot 1 (10-7-2015 8-50 AM)
  3. Make your own crown pattern by drawing the top on a piece of paper and cutting it out!
  4. Cut your design onto your fabric to make the shape of your crown! If you want a felt backing with another color cut that out as well.
  5. Next, pick out your ribbon if you are using one, if you want any other embellishments get them ready!  I made a felt duck that I sewed onto
    the crown.
  6. Snapshot 2 (10-7-2015 9-02 AM)
  7. Line up your crown pieces and sew all the way around!  Then you are done! If you want to add button loops and buttons you can sew them on as well.
  8. IMG_2478Congrats and enjoy the party!  Check back often for new crafts or subscribe below!


FollowFacebookpinterestrssyoutube
ShareFacebookpinterest

Baby Slippers Tutorial!

In one of my last tutorials, I showed you how to make a super cute sleeper.  Now, here are the matching slipper shoes!

IMG_2318           IMG_2303

What you will need:

  • Fabric of choice
  • 1/4 or 1/8 inch elastic
  • Thread color of choice
  • Optional: buttons or bows

I used a free pattern from marked crafts- > shoepattern

So lets get started!  here is the video tutorial and below that is the written and picture format.


  1. Cut your pattern out and decide on your color/colors you want to use (you can use two colors!
  2. IMG_2289
  3. Cut out your pieces- there should be 4 of each piece
  4. Take your upper pieces (the two sided rounded pieces) and place them pattern facing pattern as usual.
  5. Then sew the non-rounded part only (the bottom of it)
  6. Turn right side out, then iron you piece down with the right sides out and sew a nice little line across the outside where it is sewn together.


IMG_2291

7. Take your heel pieces (the long rectangles), and place the pieces facing eachother (as usual) and sew just down one long side IMG_2292IMG_2293

8. Cut your elastic to 4 inches long (2 pieces).  Pin it to one end of the sewn heel piece.

elastic

9. While sewing stretch the elastic and sew using your zigzag stitch across the length of the fabric

elasticcurl

10. It will be curled up as shown above.  Turn right side out.  Pin and sew below the elastic and all the way around the whole piece to make it look nice and then trim as needed.

11. Place sole pieces together with patterns facing eachother, use a basting stitch (set your stitch to longest number and do not backstitch).

IMG_2299

12. Pin together the heel and the front piece, adjust it to be the appropriate size for the baby/infant you are making it for.

bootie

13. Sew straight across where you already have the previous sewn line from the front piece.  Then trim the rest off.  This makes a nice neat line when you are finished.

14. Find the middle of the sole and the middle of the top part.  You can do this easily by folding in half.  Line them up together and pin.  (the back of the sole is the smaller part). Have the top part the wrong side still out to pin. IMG_2301

15. Now sew all the way around! Almost done!  Doesn’t it look so cute?

16. Trim the excess fabric being careful not to cut too close to your thread line.

17. Now turn right side out!  And WA-LA you are done!  You can add a button, ribbon, or any other accessory you want!  Great JOB!  Lets see those pictures

IMG_2303

FollowFacebookpinterestrssyoutube
ShareFacebookpinterest

Mess Free Painting for Baby!

Every want your baby to create a work of art?  Well, lets get realistic here, a work of art only a parent could love!

IMG_1332

Here is an easy fun project for you and your little one!  I started this at 6 months of age and continue to have her enjoy smashing paint colors together frequently.

What you need:

  • Pack of small canvas or poster boards (I bought a pack of 10 small canvases at Acmore for $12- what a steal!)
  • Paint
  • Zip lock bags that the canvas or board will fit in
  • Scissors

IMG_2380

  1. Place blobs of paint on the canvas- go wild!  Place the canvas carefully into the ziplock bag. Zip it up!
  2. IMG_2384
  3. Place it in front of your little one and watch them enjoy
  4. Now, it’s more complicated to get it out without smearing it.  So I use the scissor to cut the sides off and then carefully lift up.  *Note, I first tried this with saranwrap, and I can tell you my little one just ripped it right away*
  5. Wa-La you are done and have a painting!  You can do this as often as you want or monthly to see a new creation!

IMG_1332

Now if you want a messy way, but edible check out this great blog post about making edible paint.


You can also purchase edible finger paint on amazon and some other stores!  ENJOY!


FollowFacebookpinterestrssyoutube
ShareFacebookpinterest

Sew An Easy Baby Sleeper!

Ever love that oh so cute baby sleepers with the elastic on the bottom?  I sure do, in fact I miss them now that my little one is getting older!  However, I have many showers to go to and it is a great gift!  The slip on sleeper with the elastic on the bottom is great for babies because you can easily change the babies diaper without fussing with all the buttons, snaps, or zippers.  It also keeps the baby warm and comfortable; not to mention how cute he or she will look!

IMG_2318First off, you need the pattern.  For this one, I used a neighboring sewing blog’s pattern since there are so many out there:

Stitched Together Pattern

So print your pattern making sure you unclick the fit to page (you want it letter size).

What you need:
*Fabric of chose
*Thread
*Elastic 1/4inch or
1/8inch
*Optional: bias tape (can
also make or just hem)

Below is the link to the Youtube video tutorial.  Below that is written instructions with pictures…enjoy!

  1. Print your pattern.  Cut your fabric as instructed on pattern

IMG_2259 IMG_2260

You should now have one front and one
back piece, and two sleeves.

2. Next, you use your bias tape. If you don’t have bias tape you can hem the ends instead or you can make your own bias tape. Here is directions to make your own bias tape

IMG_22643. Fold your bias tape on the ends of the sleeves, pin on
and sew straight on both sleeves.  Do this also to the neckline of the front and back piece.

4.  Next, You want to overlap your front and back gown pieces by either looking at the mark you made from the pattern or you can measure 4 inches of overlap from the top down.  So you want to pin and sew the overlapping sides (the 4 inches)

IMG_2266

IMG_2267

5. Find the middle of the overlap and the middle of the sleeves. This can be done by measuring 2 inches in for the overlap or folding.  The sleeve can be folded as well if you didn’t mark it. Line up the middle of the sleeve and middle of the overlap place pattern on pattern and pin and sew.

IMG_2265Snapshot 2 (9-8-2015 1-51 PM)Snapshot 1 (9-8-2015 1-51 PM)

You have to bunch it and pin it for it to stay.

IMG_2274

6. Turn your sleeper inside out and pin from the bias tape bottom all the way down to the bottom of the sleep.  Then sew!

Snapshot 3 (9-8-2015 1-57 PM)

 IMG_2276 IMG_2278

Almost there!

7.  Turn inside out and make elastic casing by folding up the bottom 1/4 inch for 1/8elastic or 1/2inch for 1/4elastic. Iron or pin the area to make it easier to
sew.  Don’t forget to leave a 1-2 inch opening to put the elastic through!
Remember to back stitch!

IMG_2280

8. To get your elastic through use a safety pin on the end and put in the opening
and pull through by bunching the fabric and then pulling the safety pin.

IMG_2281

9. Choose the tightness you need for your little one on the bottom and then sew your two pieces of elastic together.  Then sew the opening closed!

IMG_2318

That’s it!  Congrats you have finished!  Great job.  Any suggestions questions please let me know.  Look for the next post to be the matching slippers!

FollowFacebookpinterestrssyoutube
ShareFacebookpinterest

Fun and Stimulating Toy Name Blocks!

I’ve been looking for a toy that offers a variety of sensory activities through textures, sounds, and touch.

IMG_1968

After making these squares, which by the way are FABULOUS for pictures, my little one couldn’t stop playing with all the ribbons, buttons, and laughing at the fabric and textures while sitting in her car seat.  What a great toy not only for entertainment, but for learning and increasing intelligence!  Not to mention it makes an amazing gift!

IMG_1999

Here is the Youtube tutorial:


If you would also like to follow the written then here goes:

What you will need: FABRIC, buttons, ribbons, polyfil, optional bells or rattle

  1. fabric: There are six sides to each square.  You can chose your colors and textures. You will need six squares for each letter you are making.  In this case, I used four letters for four blocks and six different pattern pieces with all different textures and patterns.  This is the fun part!  You can of course color coordinate for a boy or girl; however, I chose to do fun patterns that I knew my little one would love to look at, catch her attention, and also advance her imagination.
  2. IMG_1933
  3. So there are six sides to the blocks so I picked those fabrics and chose my size for the blocks to be 6×6 and cut out four of each fabric I wanted to use.   This is also great if you have extra scrap pieces you want to use up.
  4. Next, you want to cut out your letters.  I did this free hand.  I used extra felt I had sitting around!  Once completed, sew them on the fabric you would like for each block.
  5. IMG_1936IMG_1937
  6. Now you want to setup your pieces to
    make your block. Put the letter in the
    center and surround it as shown with your
    other fabrics. You may want to have the same pattern
    for each block or different spots for each
    fabric square
  7. IMG_1939
  8. Start sewing pattern pieces facing
    each other.  Take top piece and put pattern facing inside on the letter and sew the top edge, then continue until they are all sew together as shown below. Do this for all your blocks.
  9. IMG_1940IMG_1941IMG_1942
  10. If you want to add ribbons, buttons, or
    any other accessories this is the time to get
    those together! So now you want to decide where to sew them.  You can choose different spots on each block or the same!
  11. Sew the ribbons on facing towards the inside of the block.  If you do the opposite they will be on the inside instead of the out!
  12. IMG_1943 IMG_1944
  13. Start by sewing right sides together of two
    blocks. Take the top square and fold down and to the left. You will line up the left side of the top block to the top side of the left block.  Then sew.  Continue this around using the letter piece as the bottom part of the block.  The pattern of the fabric should end up in the inside of the block.
  14. IMG_1953 IMG_1955
  15. Continue around until you have all sides except one sewn together.
  16. For the last square, Sew each side around but for one side leave a 2-3 inch opening so you can pull the right side out.  Don’t forget to back stitch well!
  17. IMG_1956
  18. Okay!  Almost there!  So now you want to turn your block right side out.  So reach in there and pull the fabric through.  Then use a pencil, pen, crochet needle or what not to poke out the corners and make them shapely.
  19. Next, grab your stuffing, in this case polyfil, and start filling.
  20. You can put a bell or rattle in the inside of the block!
    To do this I put it in a small ziplock bag that is sealed with some air so that it has room to rattle around instead of being stuck in the polyfil. I actually have been saving the twist off tops of the food pouches and used them in a bag to make some noise!  So if you are going to do this try and put this in the center of the block then stuff around it.
  21. IMG_1966
  22. Lastly, close up that hole!  You can do a whip stitch or invisible stitch or even use your machine.
  23. IMG_1976
  24. Ta-Da you are done!  Great job….take some pictures and share!


FollowFacebookpinterestrssyoutube
ShareFacebookpinterest

Reversible Lace Baby Sunhat!

IMG_1868

Are you looking for a cute sunhat to shade your little one from the sun?
Well, this matching reversible hat is the perfect one!  It works great for pictures and photo shoots as well.  The hat is also an easy pattern that can be completed in under an hour.  The hat really completes the outfit as you can see above!!!

You can look back at my last tutorial on how to make a peasant dress to make a matching dress.

IMG_1885

What you will need:

  • The free pattern here:    sunhat 001
  • fabric (can do one color or two)
  • lace and or buttons (optional)
  • scissor
  • matching thread

For the people who enjoy a visual demonstration, below is the YouTube video.  Following that, is the written and picture directions.


Okay, first you need to cut out your pattern pieces.  You need 8 crown pieces and 4 brim pieces.  If you want two different colors for each side then its half in one color half in the other!

IMG_1829

Next, you take two of your crown pieces and place them together with fabric patterns facing each other.  Pin and sew down one side.  This is what it will look like unfolded.

IMG_1830

Then take another piece and place on one of the two pieces sewn together.  You again want fabric pattern to fabric pattern facing each other.  Then sew the one side.  Do this until you have four pieces.  Once you have all four pieces sew the four side together as well.

IMG_1832

And WA-La!  You have your first crown hat completed. Now start the process again with either the same color, or if you are using a different color scheme on the other side of the hat use that.  Complete another crown.

crown

One you have the two crowns, you want to line up two of your brim pieces with the patterns facing each other.  Sew the small short ends together as indicated on the pattern pieces.  Then do this for the other two pieces as well so you have two full circle brim pieces.

Next, you want to connect the brim pieces to the crown pieces.  You do this by magic.  Hah, no just kidding, you face fabric to fabric again and sew around the edges.

hatpinned

Then you will end up with two formed hats!  Trim around the seems.

hats

Next you want to make 2 into 1!!!  So to do this, you need to place fabric to fabric again. So put one hat inside out and line up the outside brim pieces again.  Remember to match up the seems of the crown and brim to each other.  Pin, then sew around the outside leaving a 3 inch opening.  This opening will allow you to turn the hat right side out.

hatss

Once completed turn right side out by pulling the fabric through the opening.

hathat

Now, you want to sew that hole closed.  To do this, fold in the edges and either press or pin to stay.  Then sew it closed baby!  Press the seems

So this is your hat.  If you want to add a button or lace continue on.

I decided to add lace to match the peasant dress tutorial completed last week.

Line the lace up with the brim and pin.  Then just sew on!  AND WA=la!  Beautiful matching hat complete!

IMG_1886 (2)IMG_1863IMG_1885

FollowFacebookpinterestrssyoutube
ShareFacebookpinterest

Peasant dress tutorial!

Peasant dresses are perfect for any age!  The elastic on the top and through the sleeves allows the dress to fit for much longer than most clothes.  There are also many ways to customize the peasant dress.

IMG_1868 IMG_1863

I love the dress because it’s easy to put on my little one. It stretches right over her head and I dont have to deal with the fuss and fight that sometimes comes with putting on onesies.  Also, at home I use cloth diapers and it’s easy to just throw the dress on and she just needs the diaper underneath!  Of course I do this with regular diapers as well, but it looks so cute with the colored cloth diapers!  She seems to really enjoy the fabric too!  She enjoys playing with the design and discovering her feet and how the two things she is learning are her feet can kick the lace :op

So, lets get started…

IMG_1066 IMG_1078

Here is the free pattern for sizes 4-10months (it stretches).  If you want a bigger or smaller size you can scale it down or hold the pieces up to one of your child’s dresses and adjust the sizing

.IMG_1759

Below are the four components- don’t forget set printer option to print to actual size.

Here is the youtube tutorial for you to follow:


Or you can follow below:

  1. Print out the pattern and trace and cut as directed.  If using a pattern on the fabric make sure it is all going in the correct directions.
  2. fabric
  3. Line up one body piece with pattern facing up to one sleeve with pattern facing down.  Pin and sew.  Do the same for the other sleeve.
  4. fabric2
  5. Next you want to take the other side of the sleeve and line it up with the other body piece.  Put pattern side to pattern side so it fits. Sew both sleeves.  Now you should have looking like this:
  6. IMG_1744
  7. If you want to zigzag stitch on all edges to prevent fraying when washing, now is the time.  If you have a serger, by all means use that now. This is not required but is helpful to prevent fraying.  See the video for more information on zigzag stitches.
  8. IMG_1743
  9. Next you want to form the pockets for the elastic for the sleeve and necklines.  I am using 1/2 inch elastic and folding the fabric edges about an inch in.  If using 1/4 elastic then you can fold in 1/2 inch.  I also press to make it much easier to sew.  See picture below.
  10. IMG_1746
  11. Now you want to sew the bottom part of the sleeves down the long side but leave the small edge sides open for the elastic.  Then sew the neckline leaving 1 inch or so open.  Usually I do this towards one of the seems so its not as noticeable when you close it. This will be to put the elastic in.  So sew all the way around leaving a one inch opening.  Remember to backstitch.
  12. Next, use a safety pin and pin the end of the elastic.  Put the pin through the opening at the end of the sleeve and pull through.  Bunch the fabric over the safety pin and pull the elastic through.  When to the end you want to adjust the bunching to the appropriate size for your little one’s arm.  Then sew the ends of the elastic to the fabric then cut the extra elastic.  Do not cut before sewing or you may lose your elastic.
  13. fabric3
  14. Now do the neckline.  Find your hole and pull elastic through.  Then adjust to appropriate size (which you can measure your muchkins neckline).  Then I cut the elastic holding it carefully and put a quick stitch in the two elastic pieces by stretching it outside the fabric area.  Then I let that go back into the fabric and stitch the hole shut.  You can also sew the elastic on the two sides of the opening on the holes (which may be easier).
  15. Now you should have your elastic all completed!  We are almost there.
  16. Next, you want to sew both sides of the dress closed.  to do this, put your dress inside out and pin sides together starting at bottom of the sleeves.  I usually do a zigzag stitch down the outside then a straight stitch on the inner side of the fabric.  This makes it stronger.  Do this for both sides making sure you sew the bottom of the end of the sleeve.
  17. fabric4
  18. Now you should have both sides completed.  What’s left you say?  The bottom of course!  So decide if you want a plain hemline or lace. You can hem and then lace as well.
  19. So either hem, or continue and take your lace and line it up on the outside.  I have zigzag stitched the bottom already in a previous step to prevent fraying  If you have not done so, I suggest you do this or hem the bottom before adding the lace.
  20. Line up the lace on the bottom and pin.  Sew it and WaaaLa!  You are done!  Congrats!
  21. Optional is adding buttons or a bow!
  22. IMG_1760IMG_1769
  23. Stay tuned for the hat tutorial!
  24. IMG_1885


FollowFacebookpinterestrssyoutube
ShareFacebookpinterest