Fun and Stimulating Toy Name Blocks!

I’ve been looking for a toy that offers a variety of sensory activities through textures, sounds, and touch.

IMG_1968

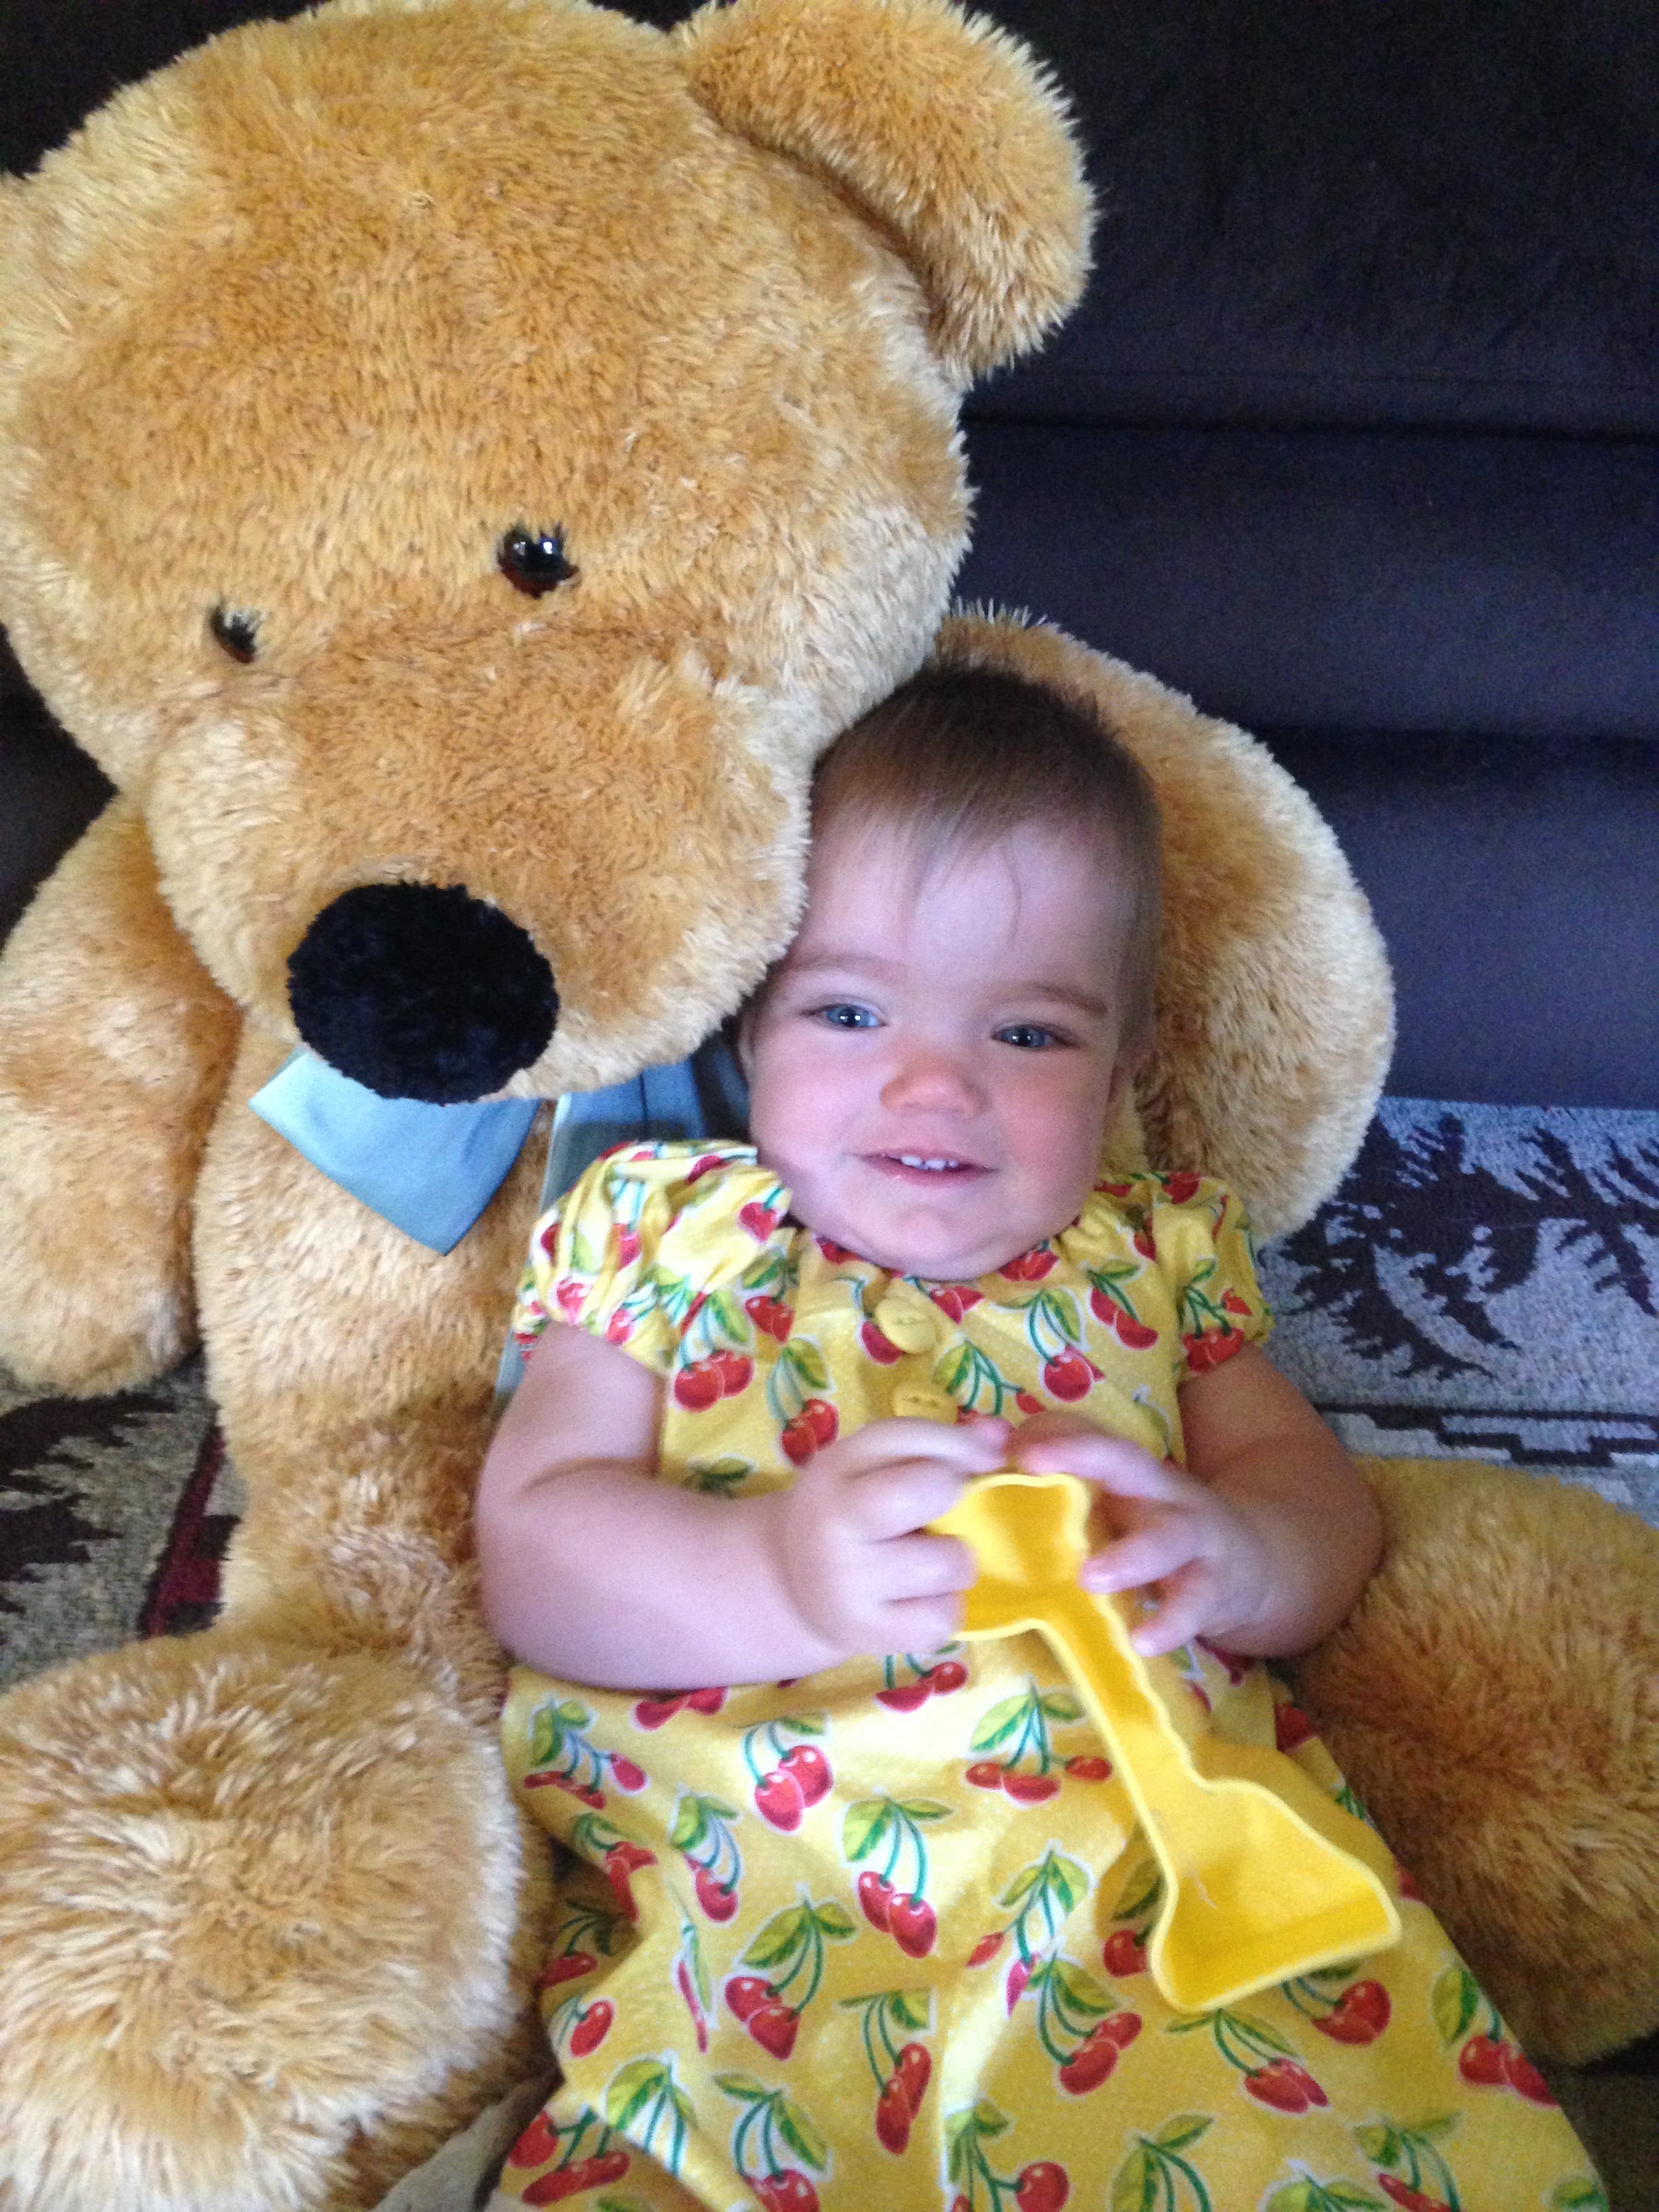
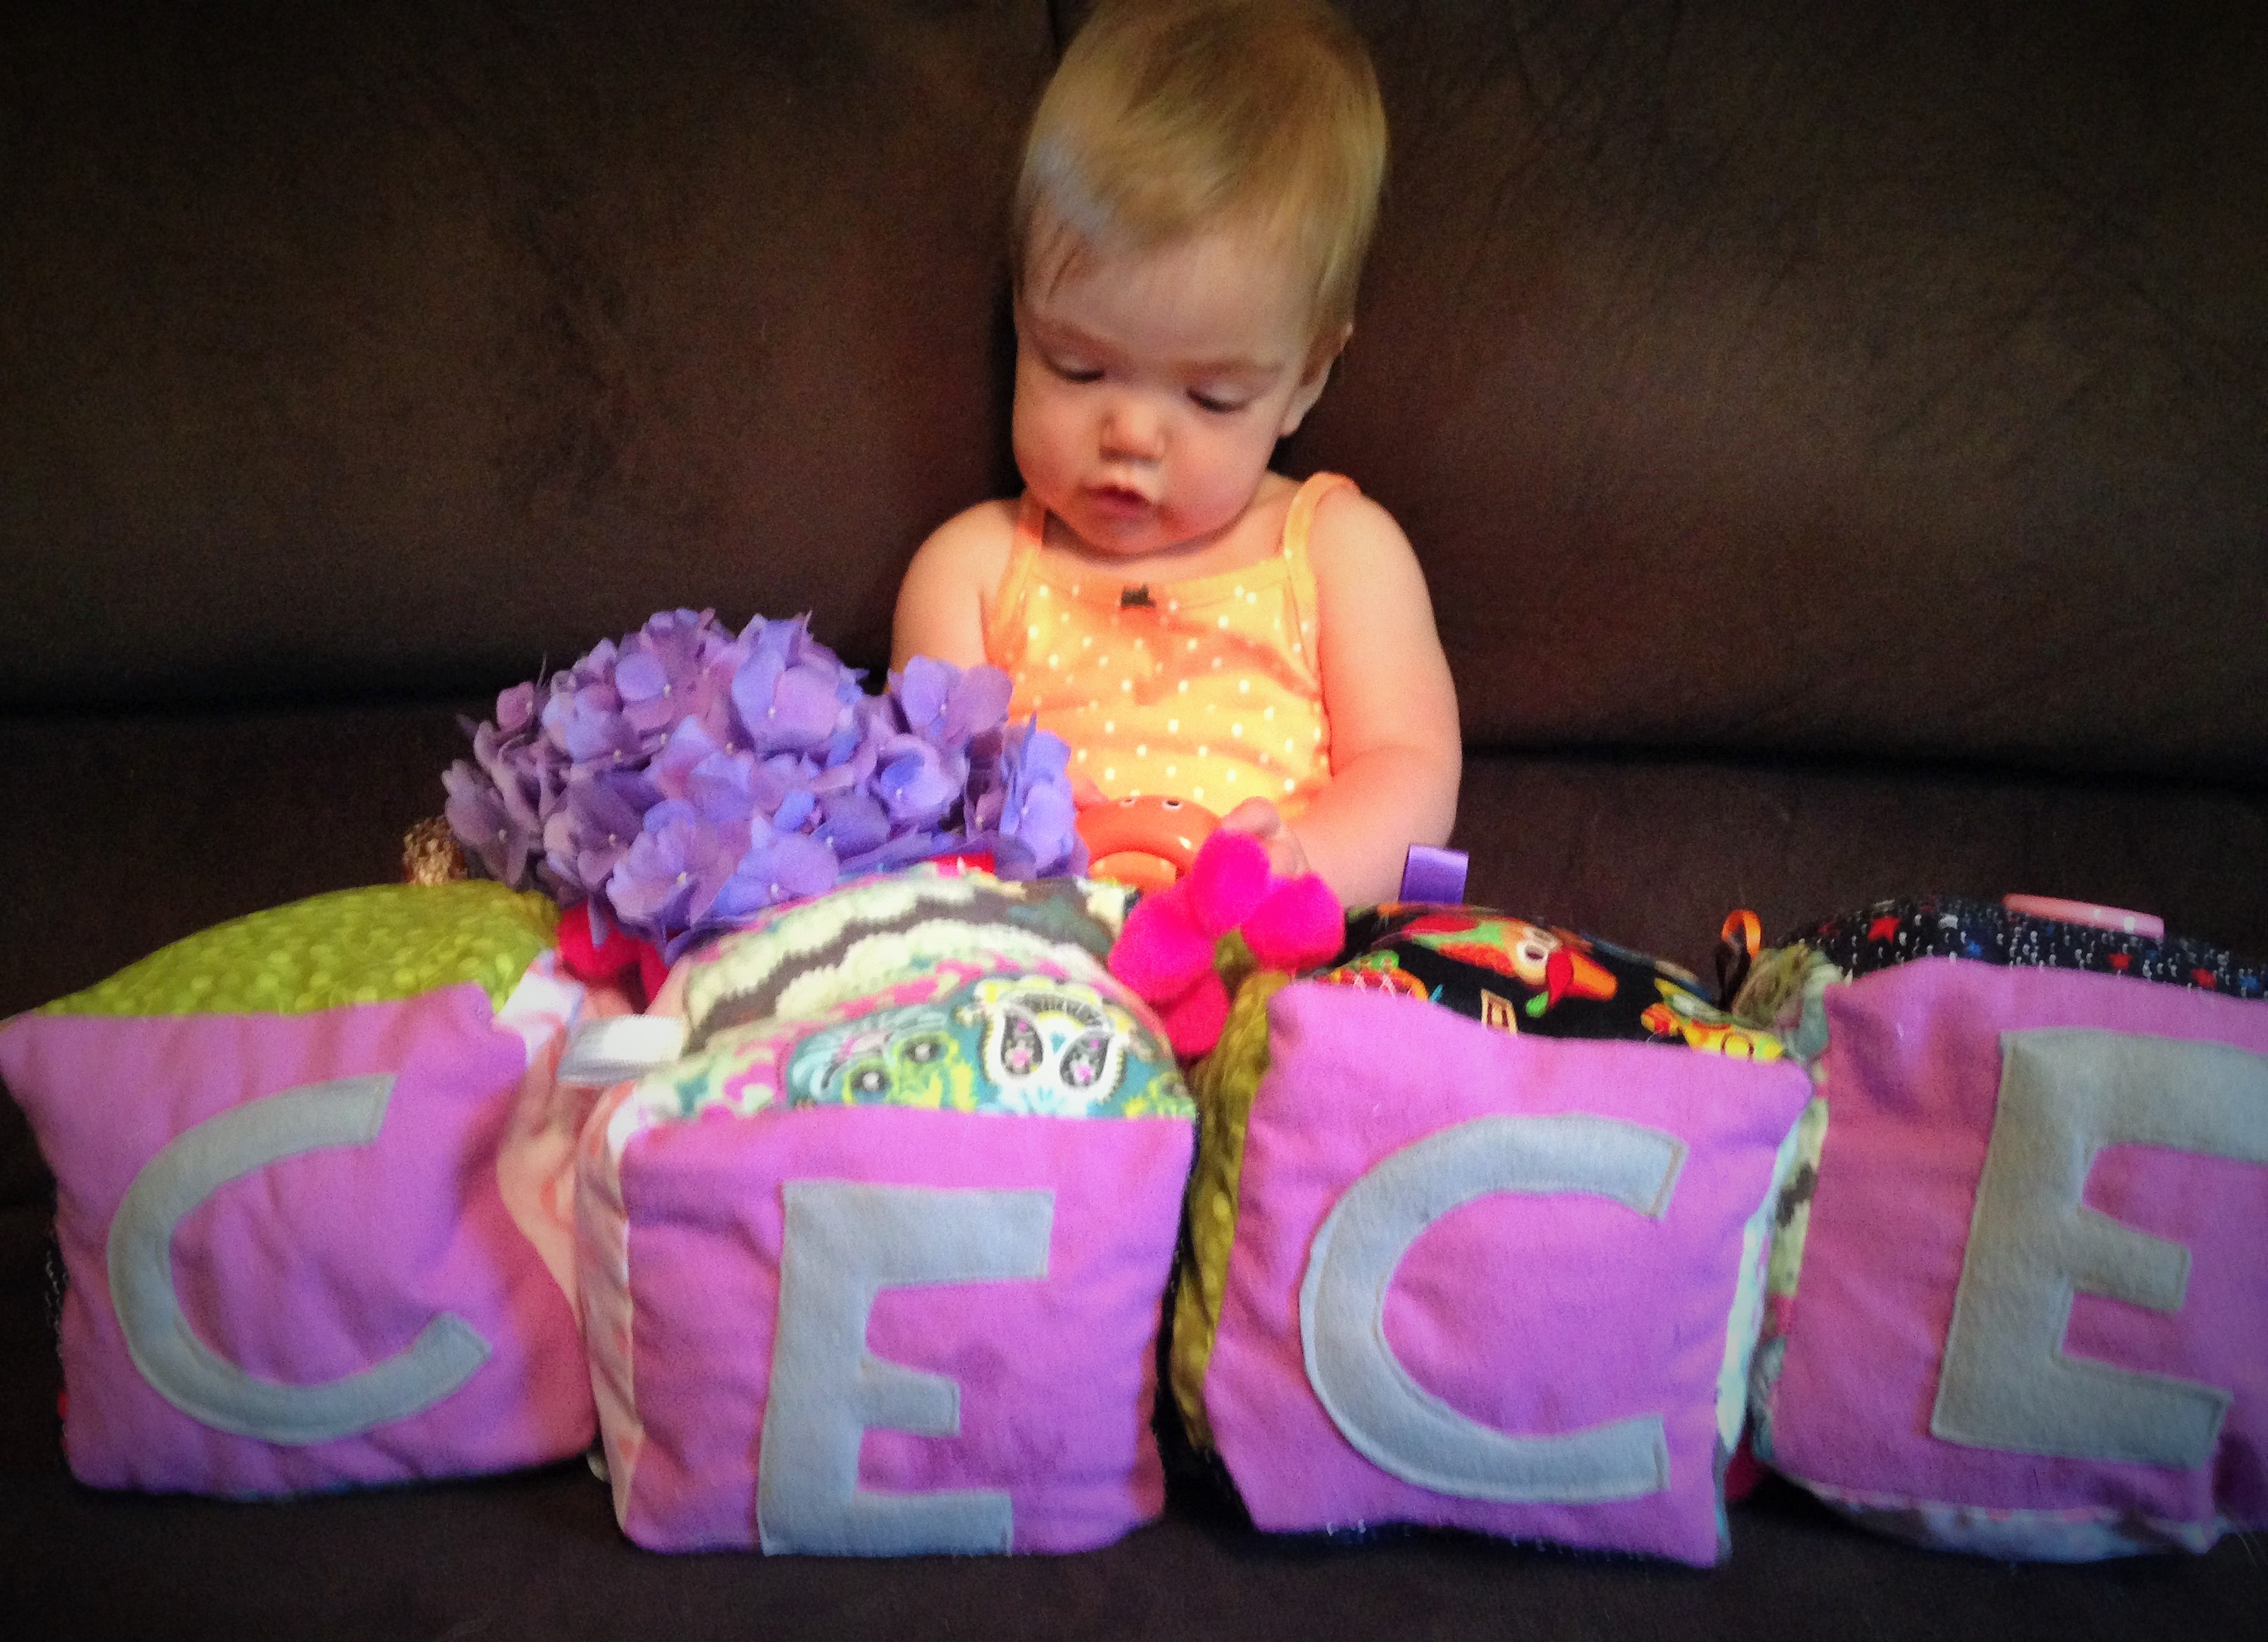
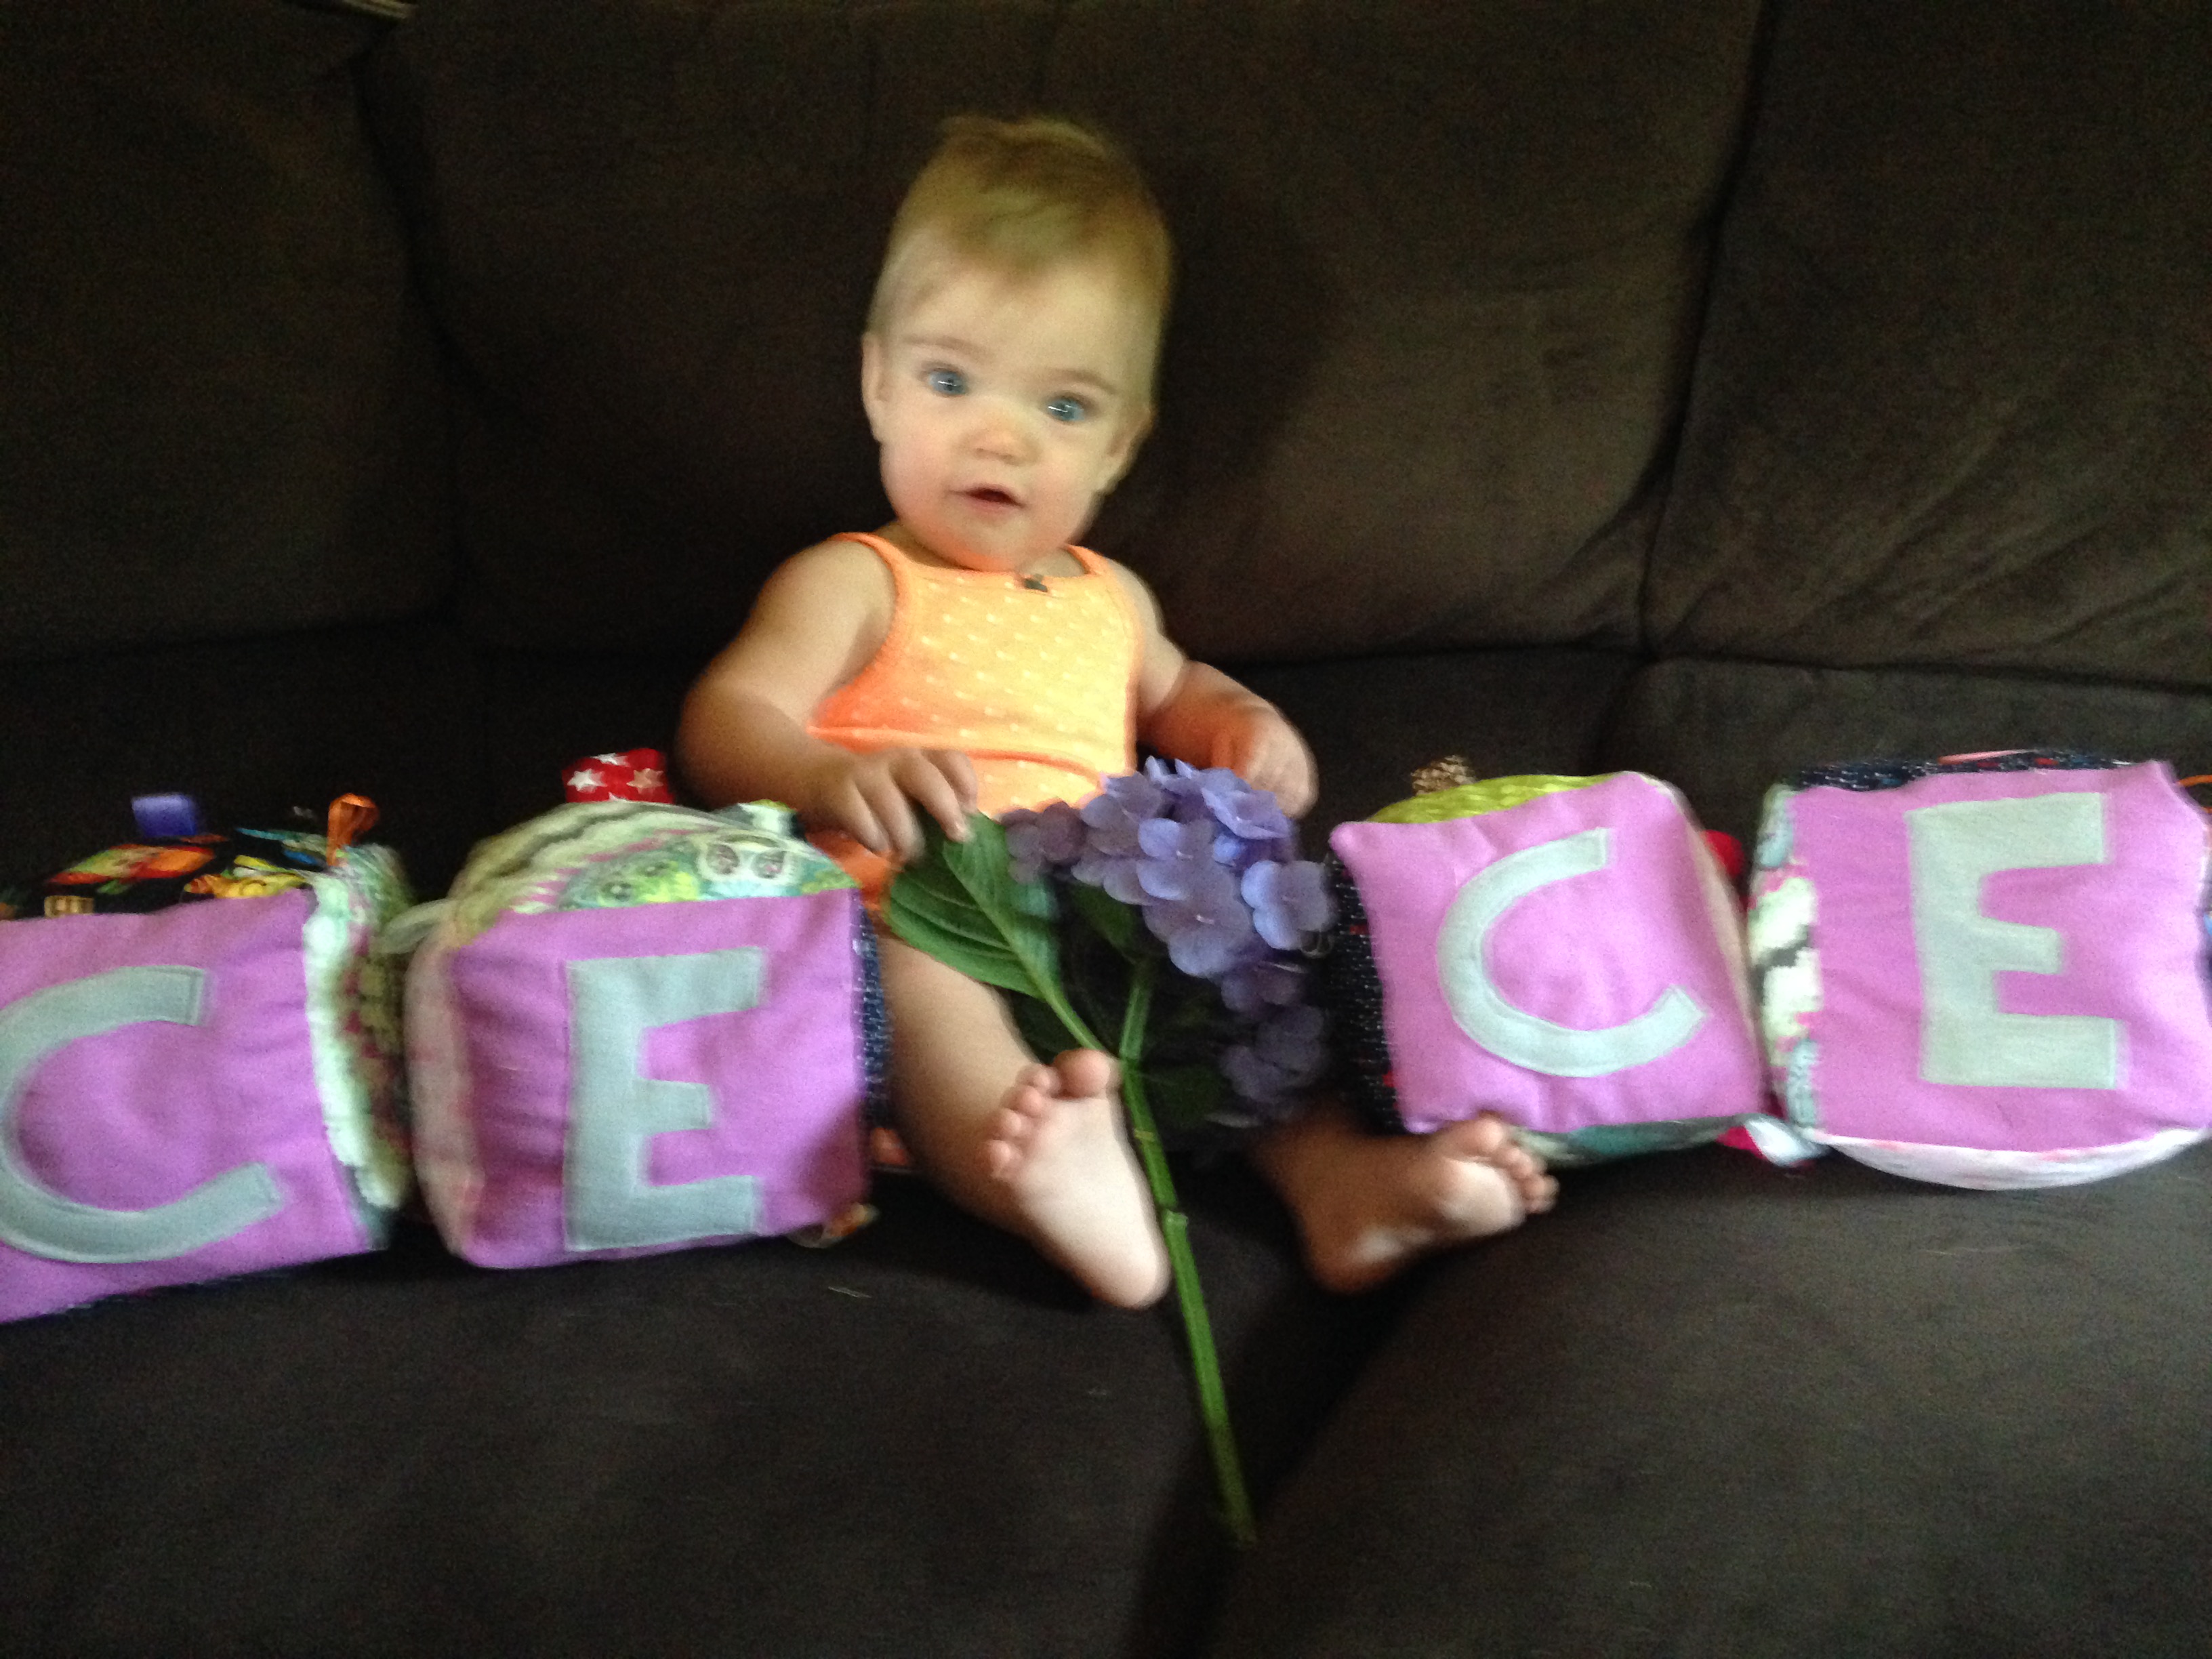
After making these squares, which by the way are FABULOUS for pictures, my little one couldn’t stop playing with all the ribbons, buttons, and laughing at the fabric and textures while sitting in her car seat.  What a great toy not only for entertainment, but for learning and increasing intelligence!  Not to mention it makes an amazing gift!

IMG_1999

Here is the Youtube tutorial:


If you would also like to follow the written then here goes:

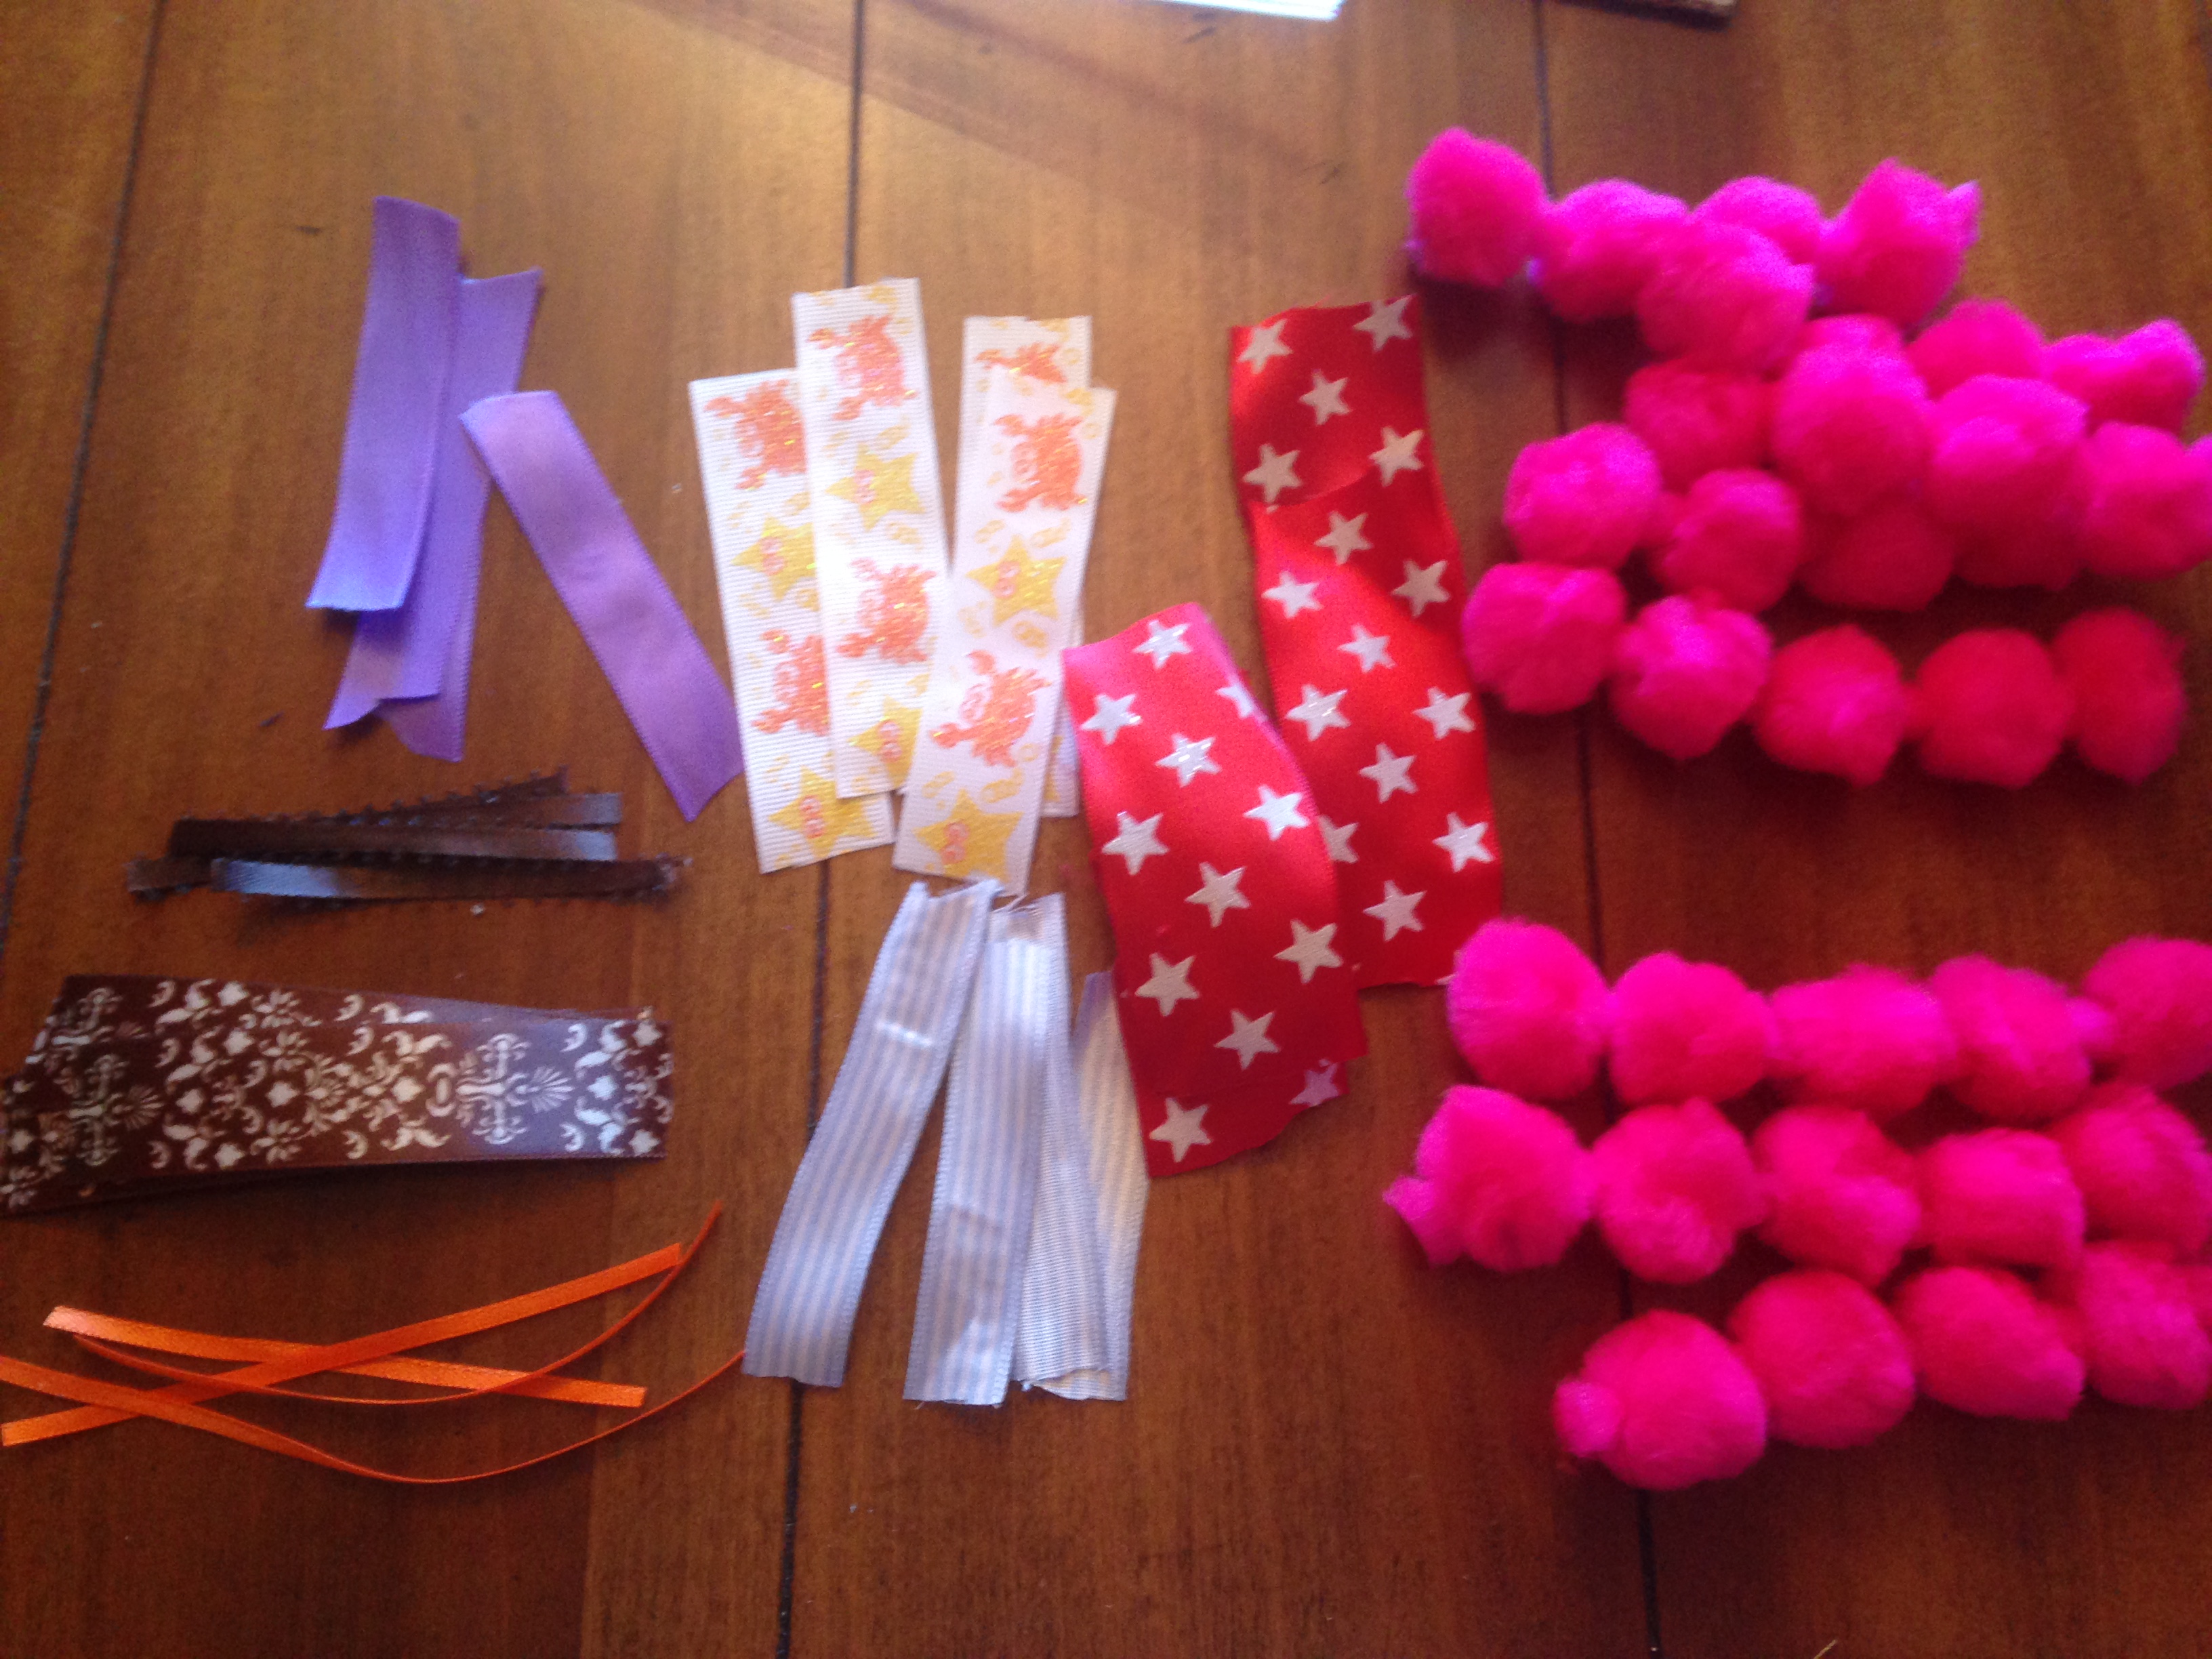
What you will need: FABRIC, buttons, ribbons, polyfil, optional bells or rattle

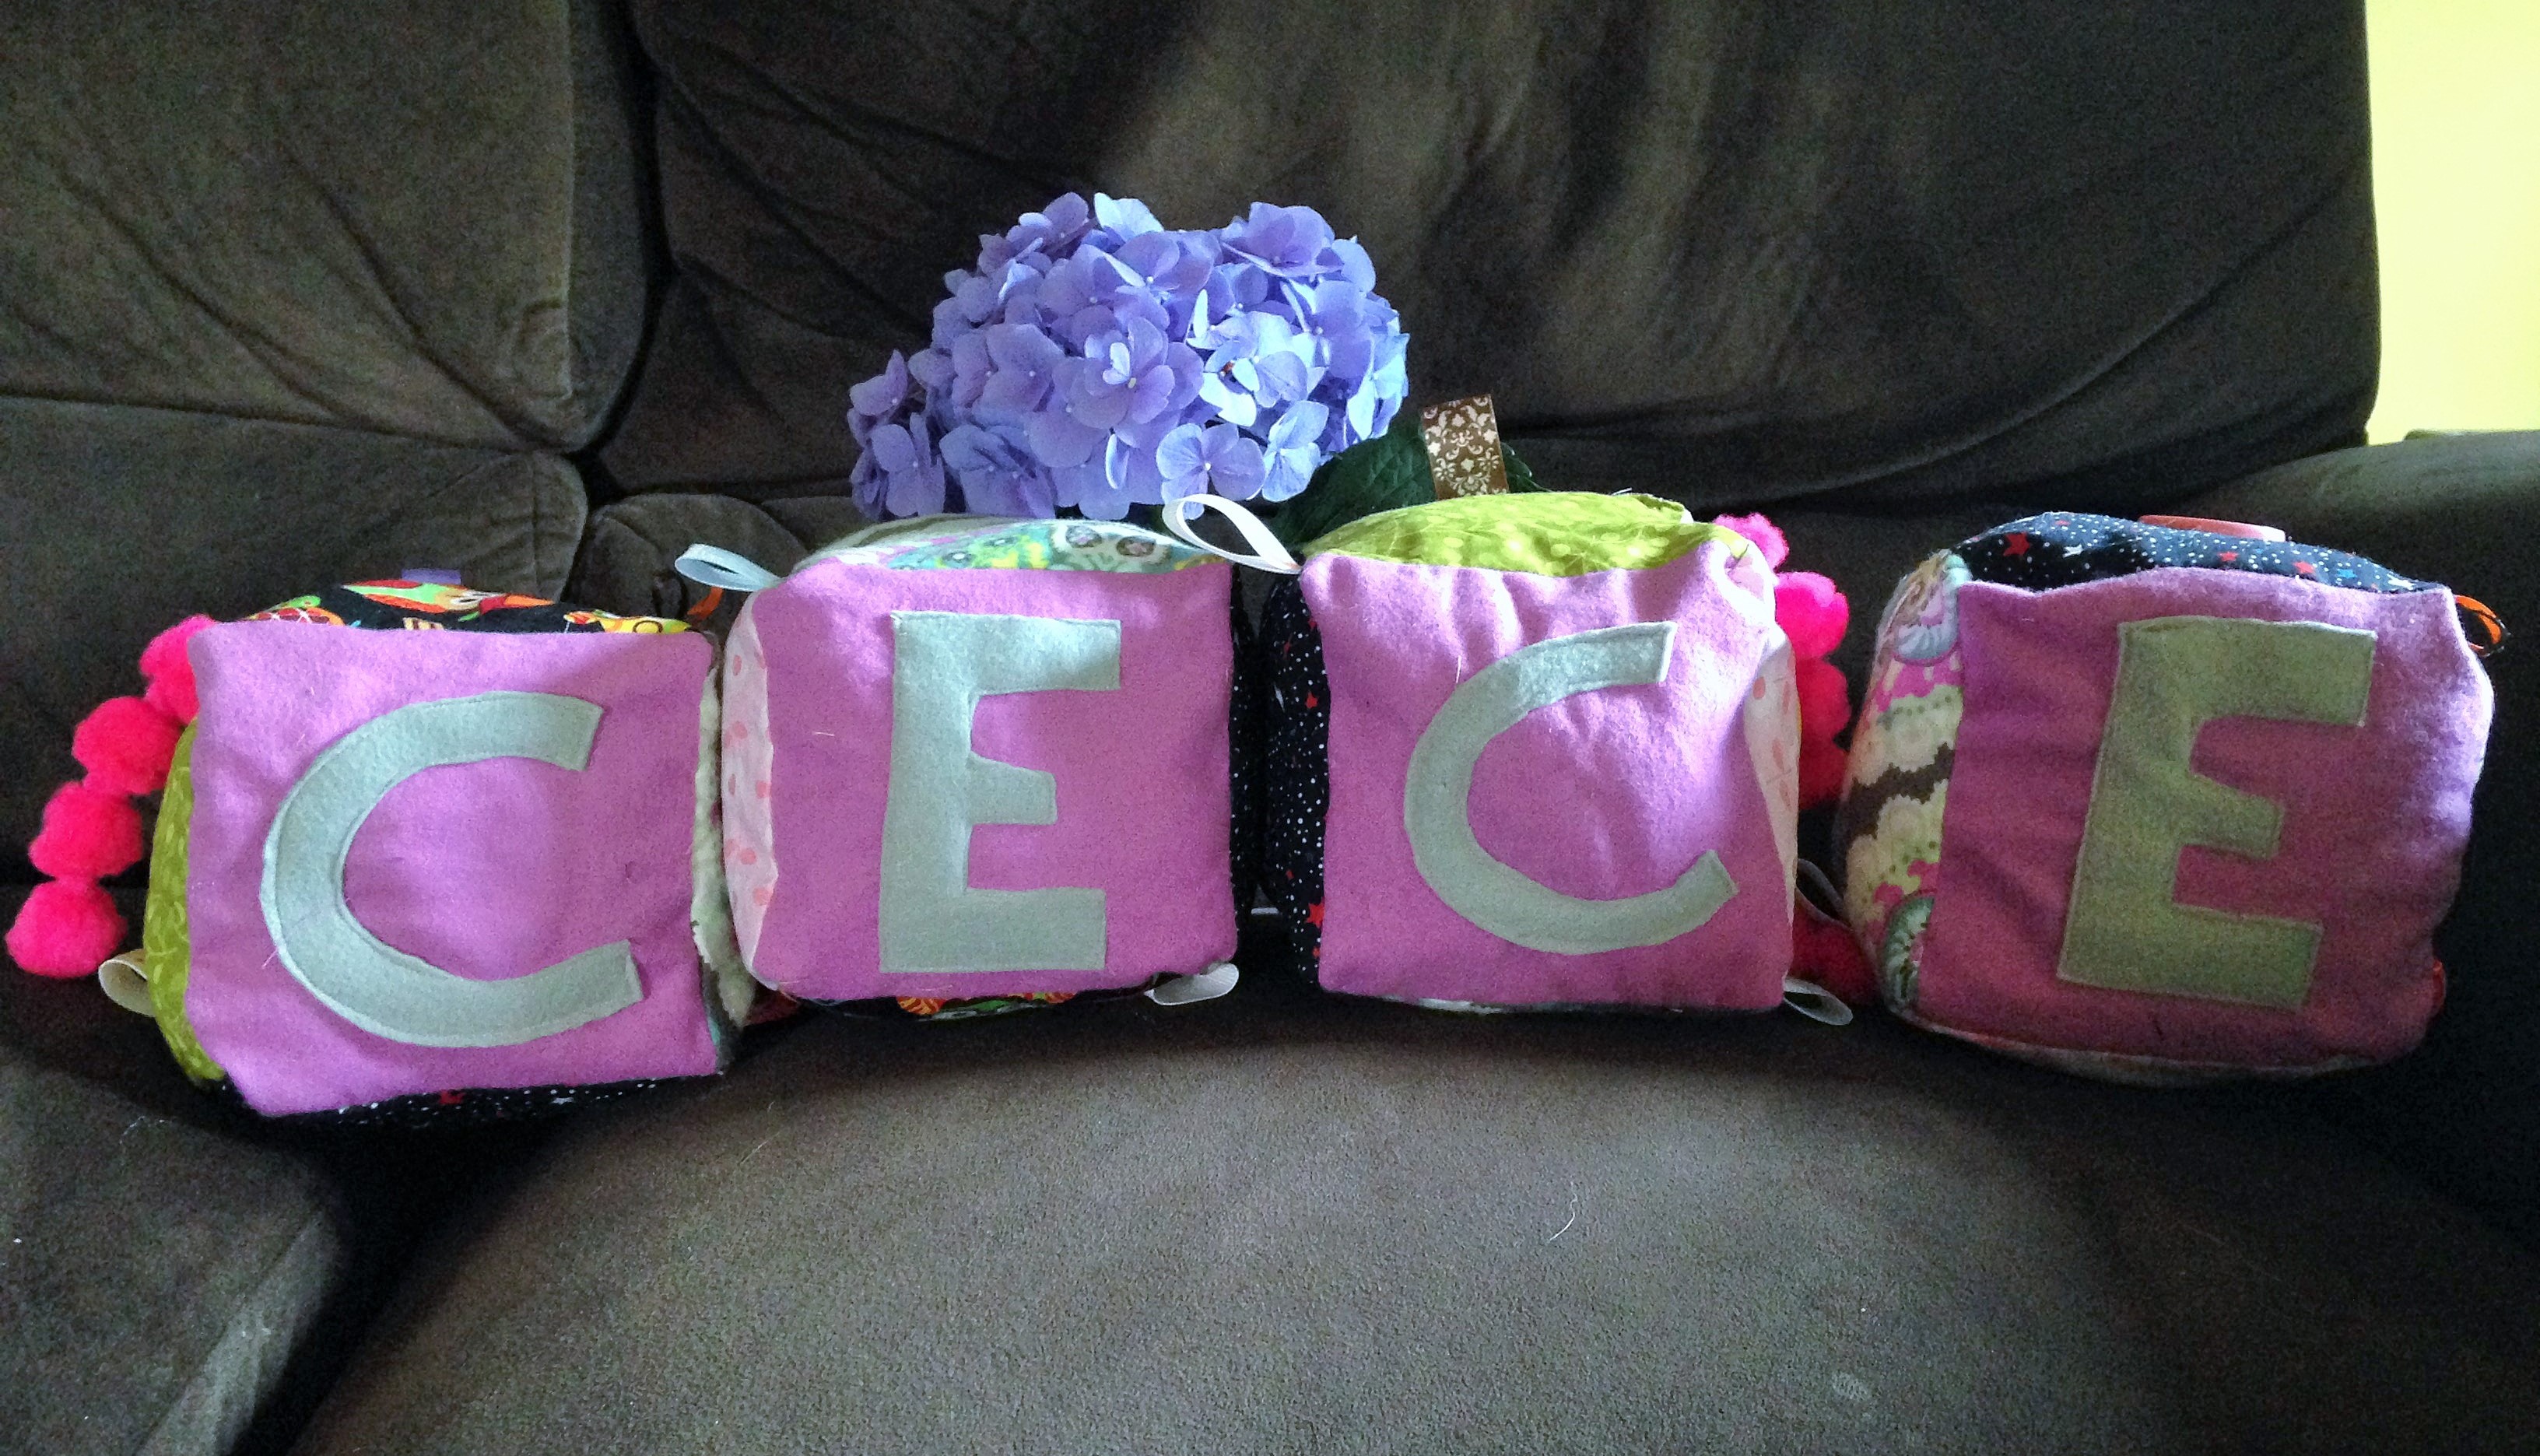
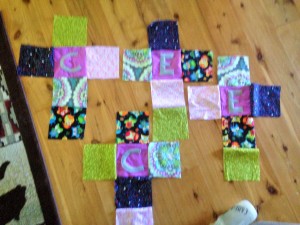
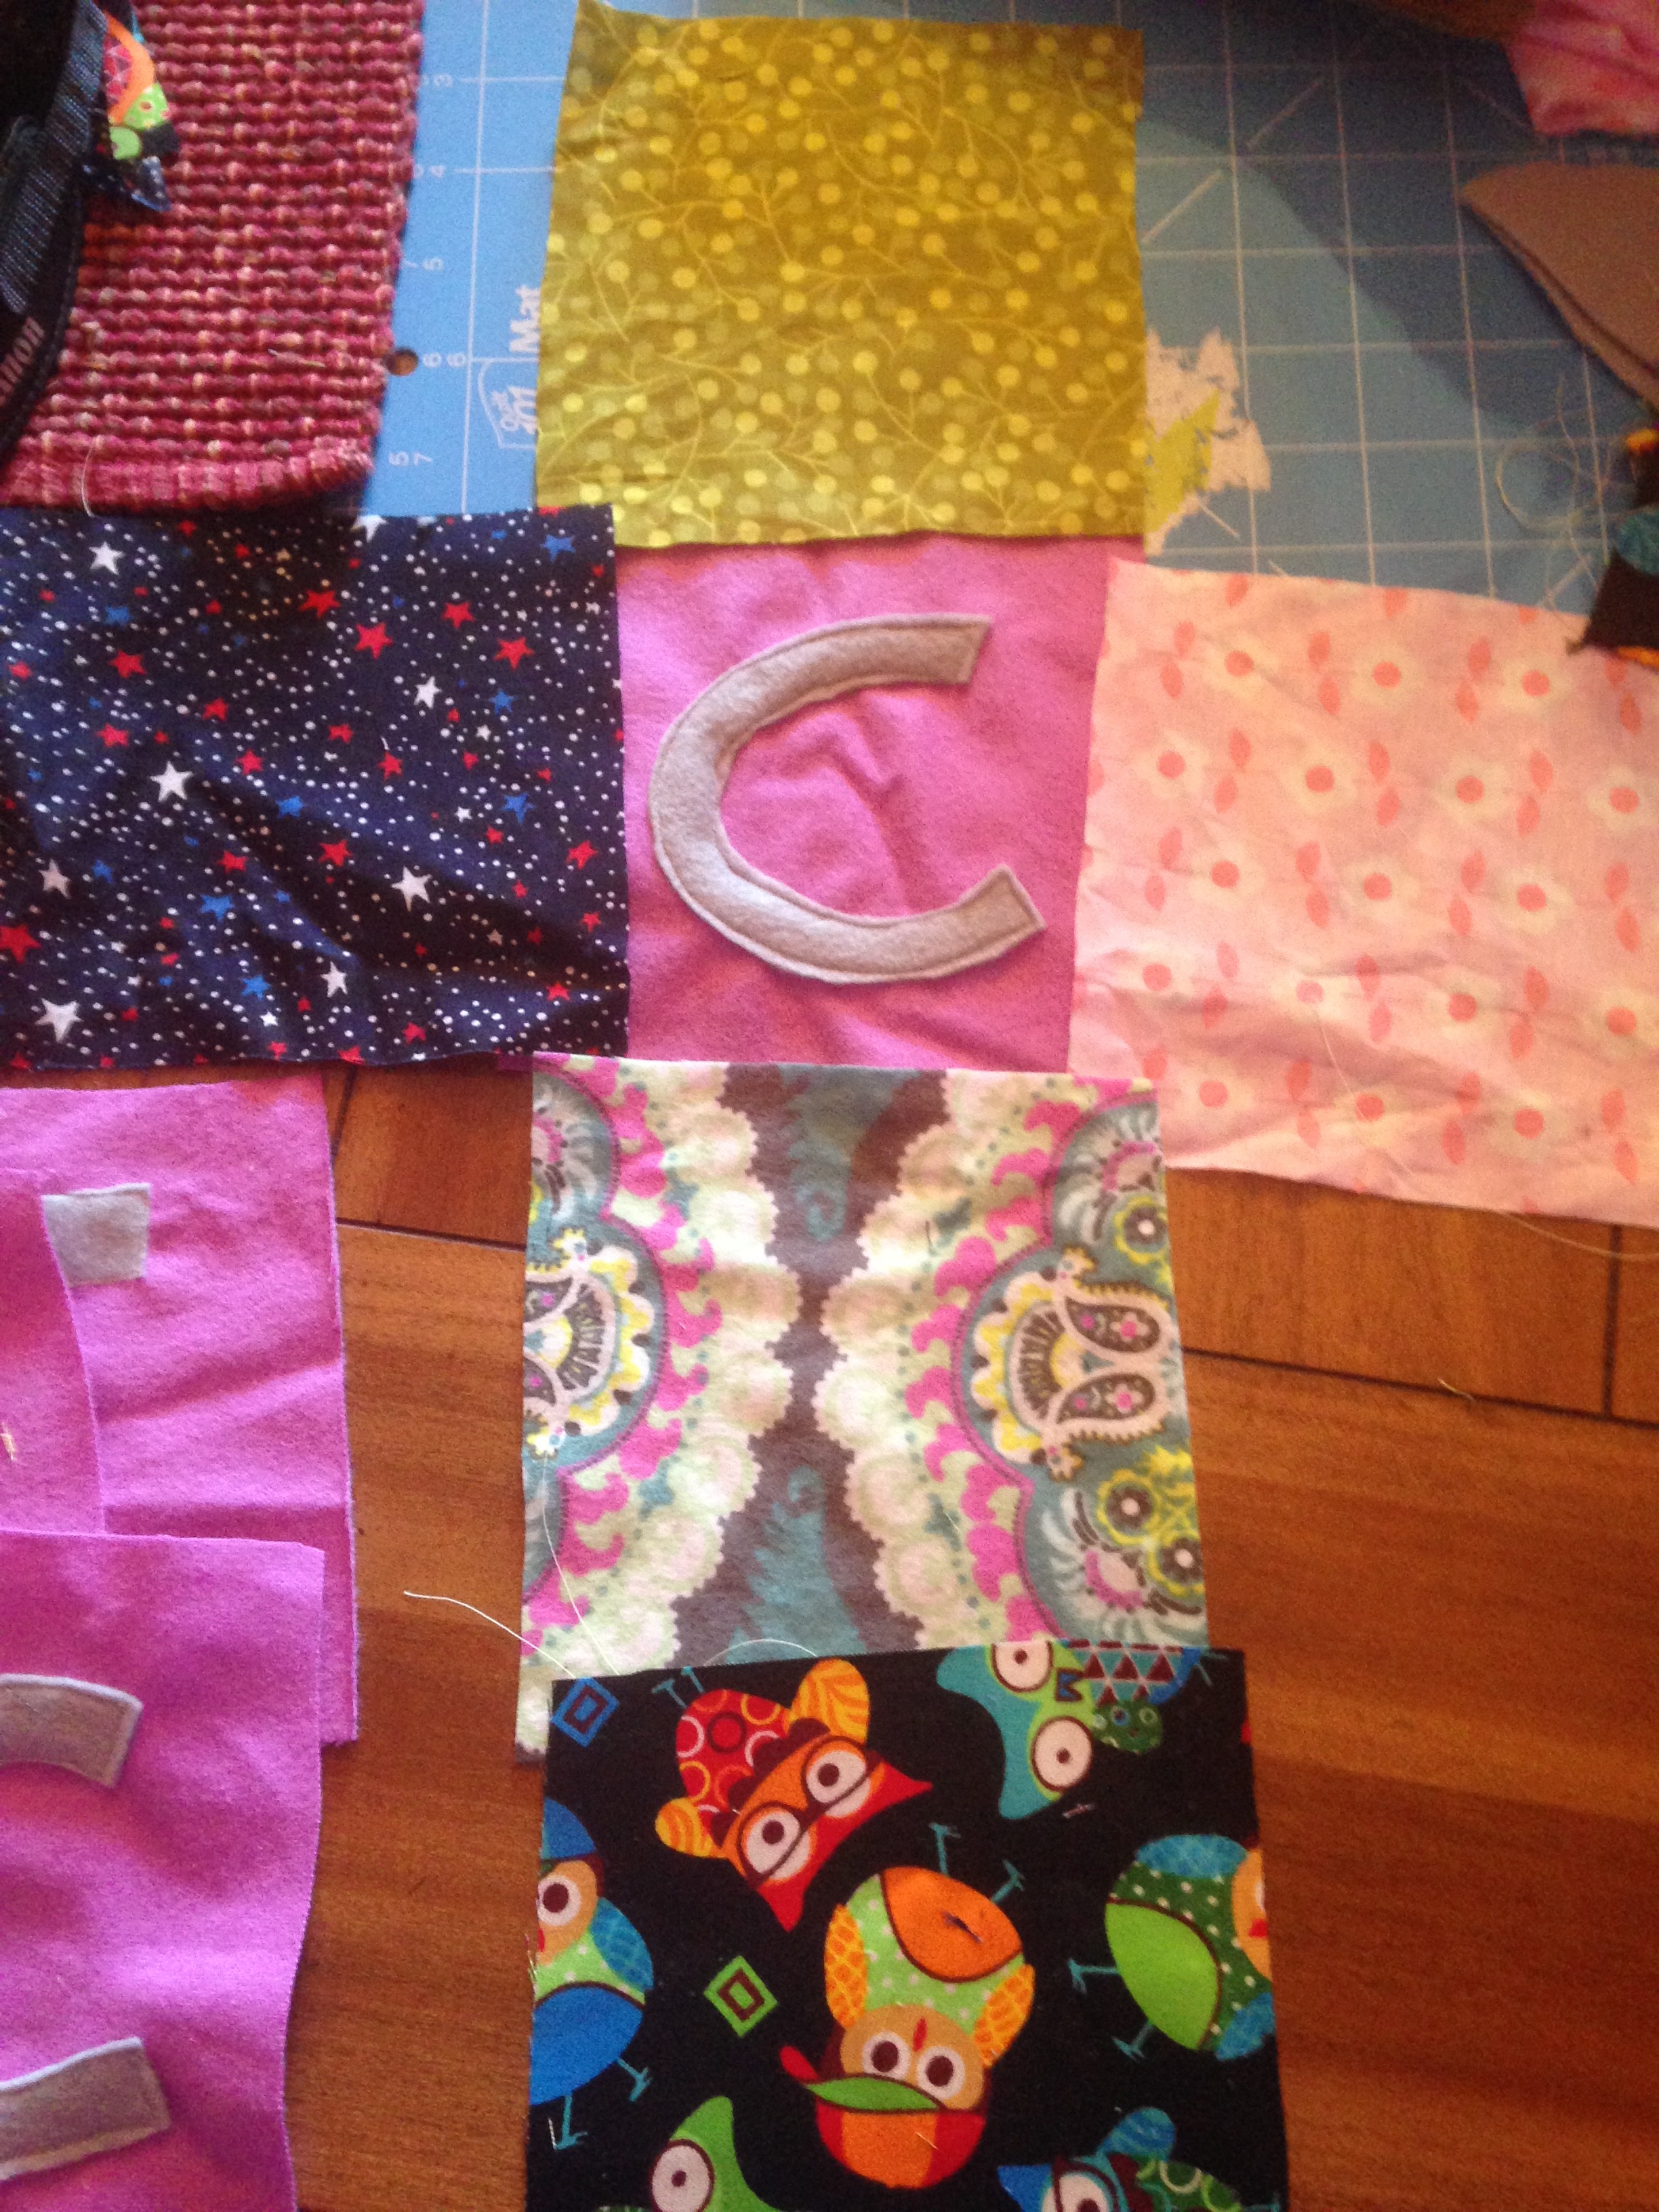
  1. fabric: There are six sides to each square.  You can chose your colors and textures. You will need six squares for each letter you are making.  In this case, I used four letters for four blocks and six different pattern pieces with all different textures and patterns.  This is the fun part!  You can of course color coordinate for a boy or girl; however, I chose to do fun patterns that I knew my little one would love to look at, catch her attention, and also advance her imagination.
  2. IMG_1933
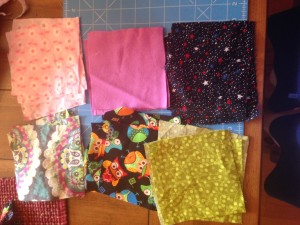
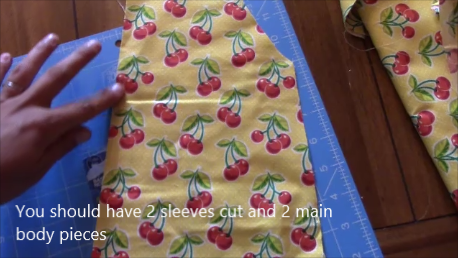
  3. So there are six sides to the blocks so I picked those fabrics and chose my size for the blocks to be 6×6 and cut out four of each fabric I wanted to use.   This is also great if you have extra scrap pieces you want to use up.
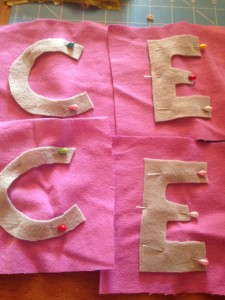
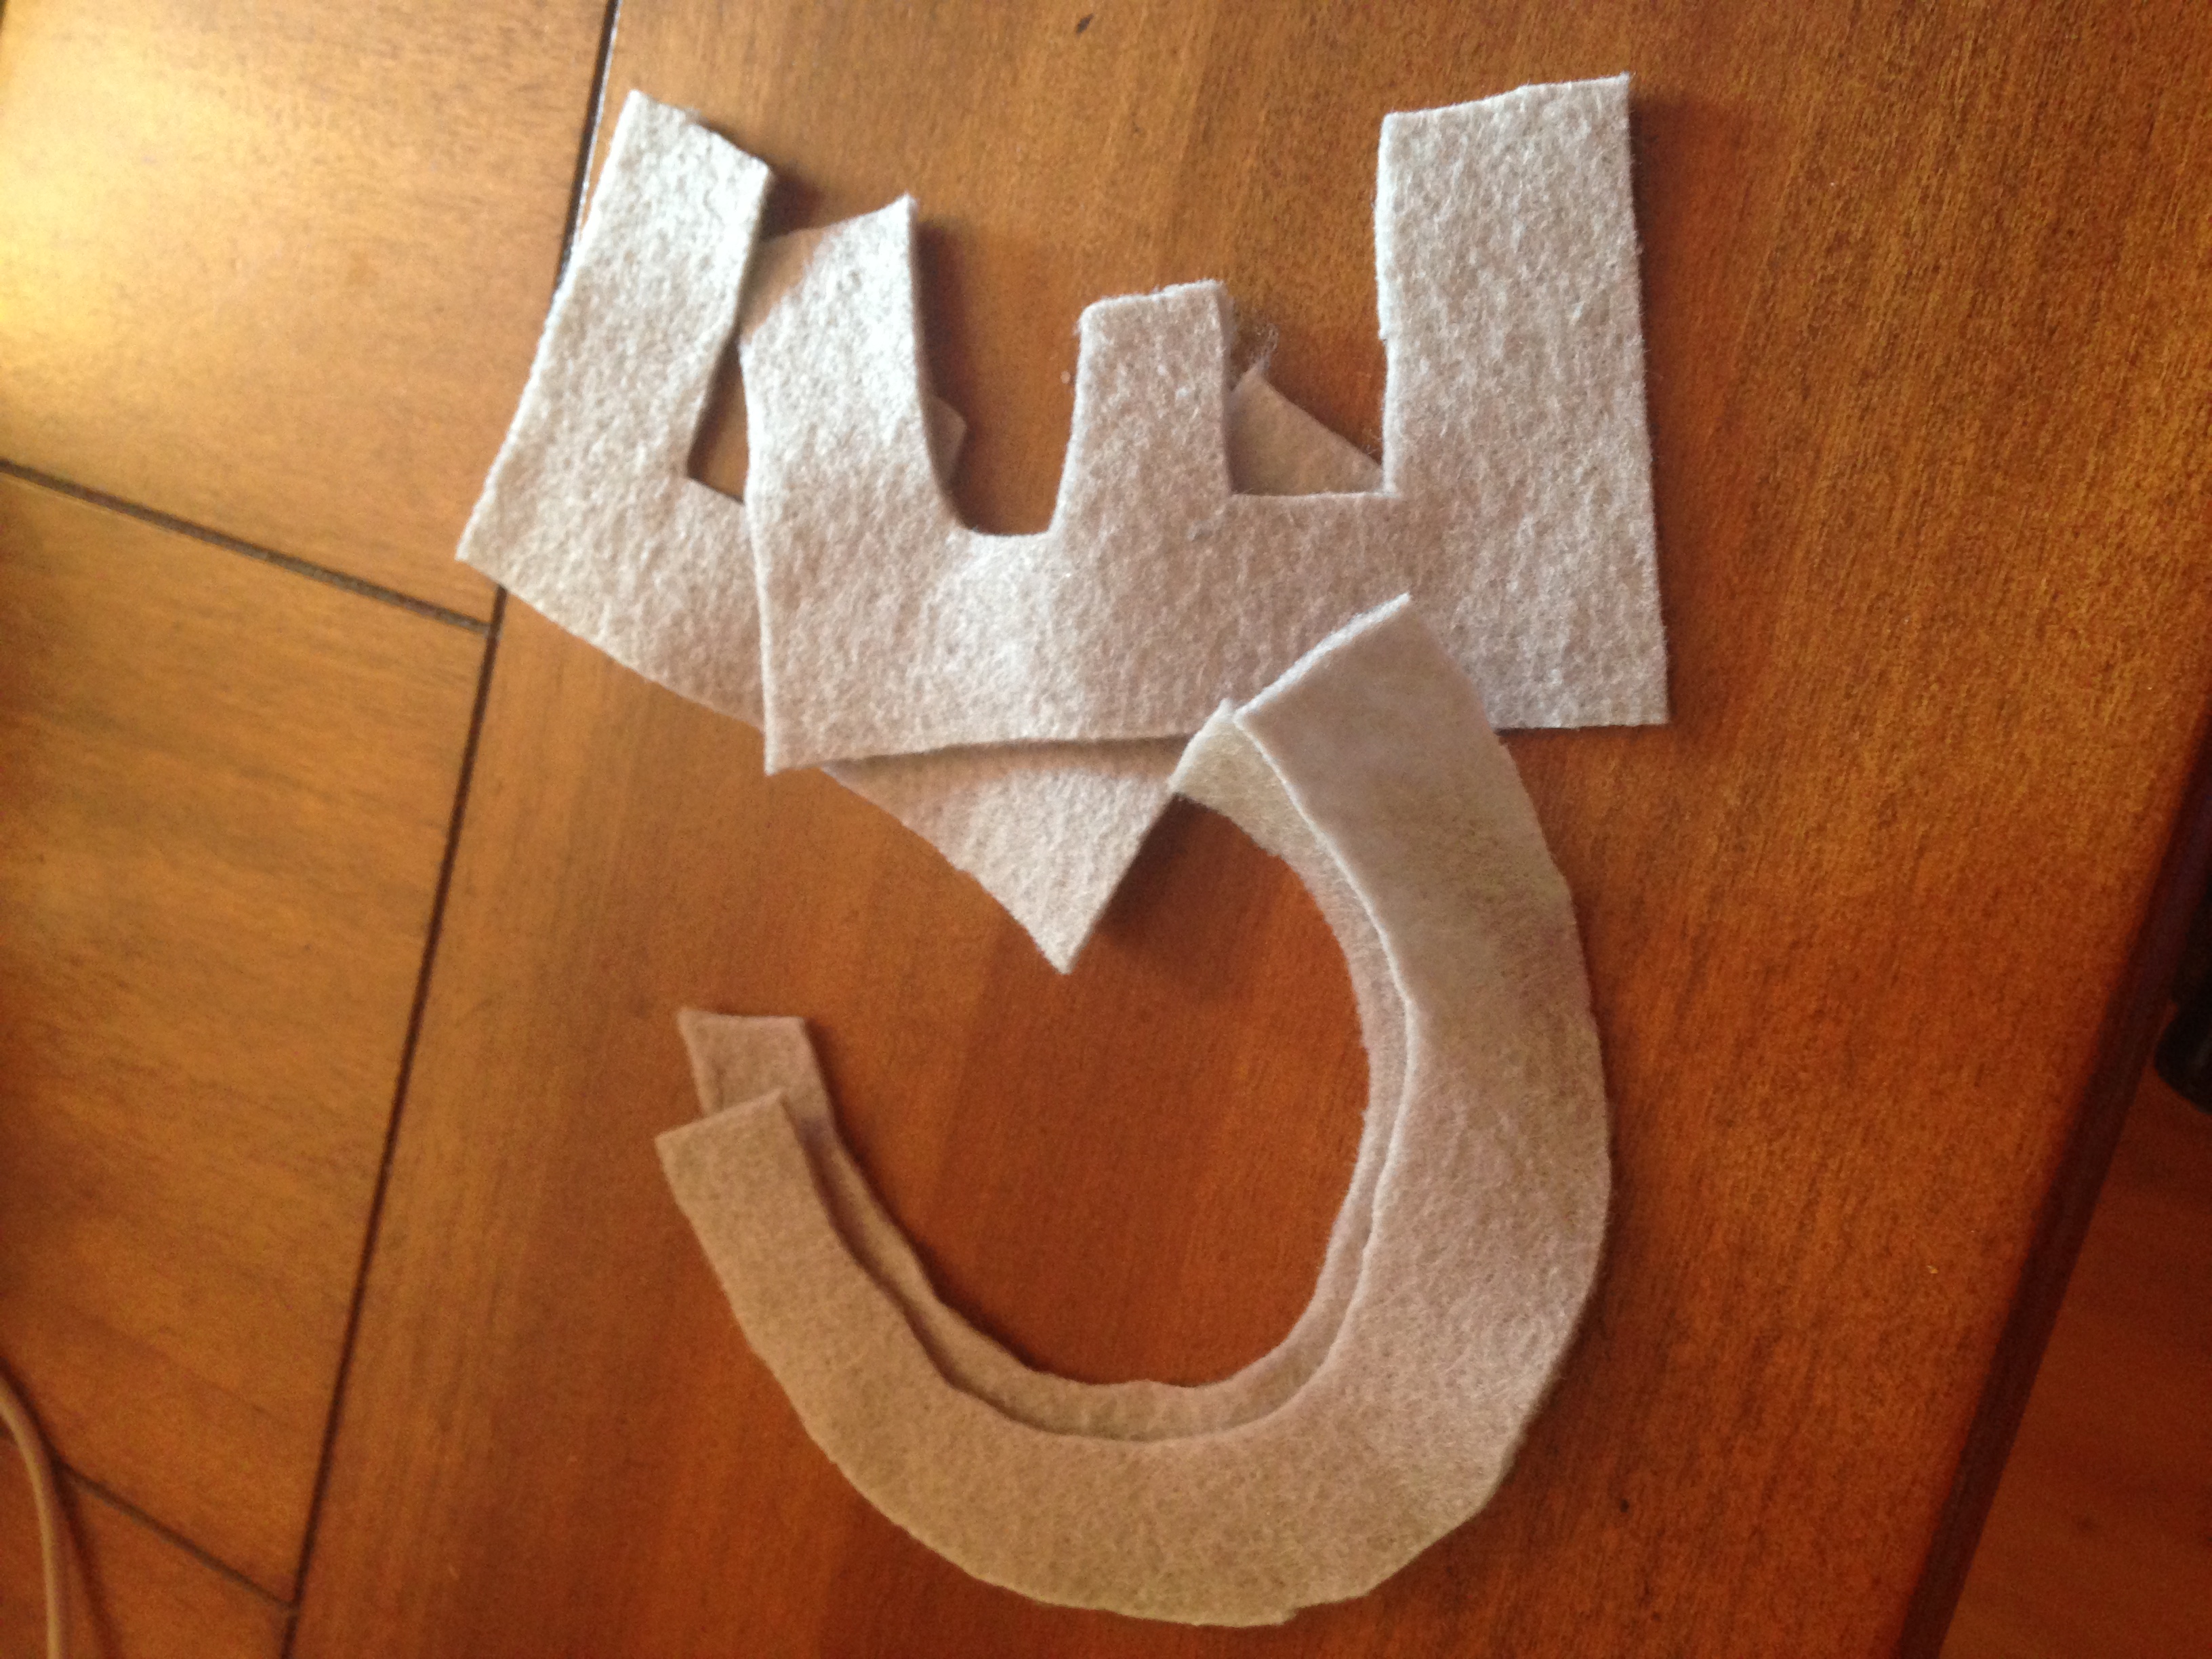
  4. Next, you want to cut out your letters.  I did this free hand.  I used extra felt I had sitting around!  Once completed, sew them on the fabric you would like for each block.
  5. IMG_1936IMG_1937
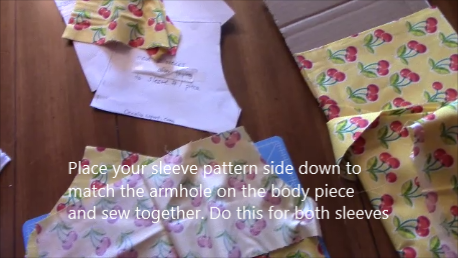
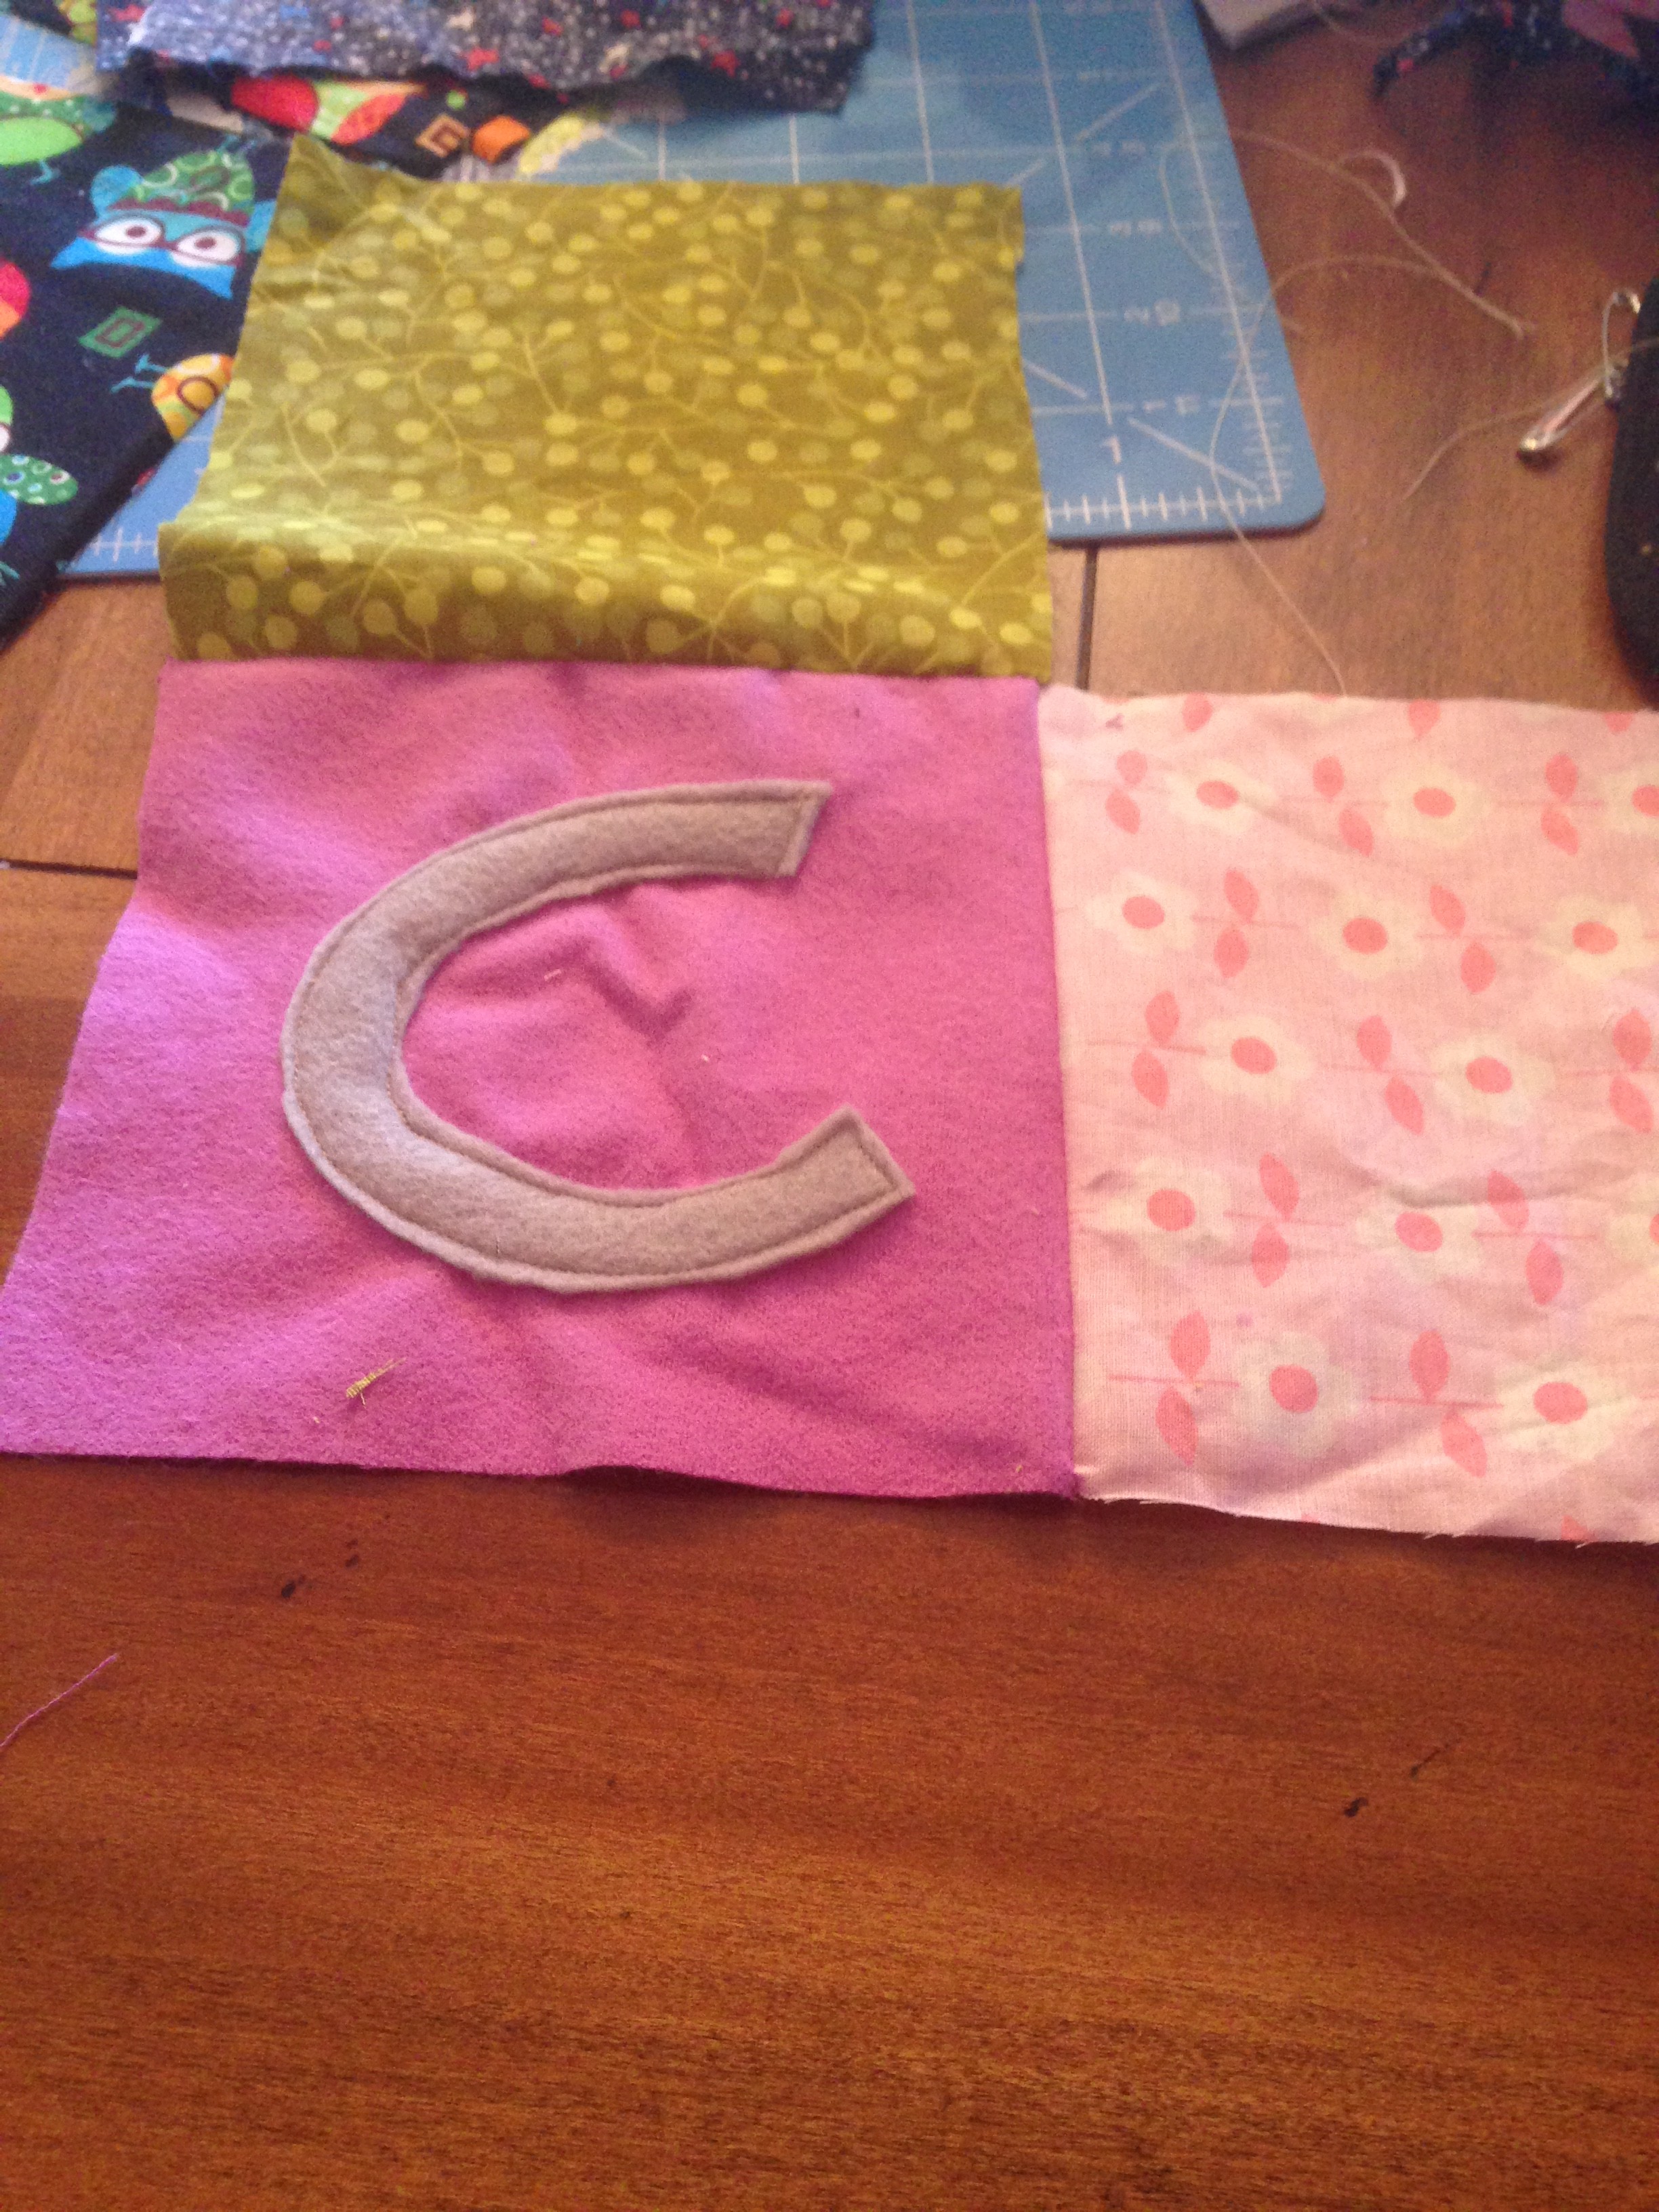
  6. Now you want to setup your pieces to
    make your block. Put the letter in the
    center and surround it as shown with your
    other fabrics. You may want to have the same pattern
    for each block or different spots for each
    fabric square
  7. IMG_1939
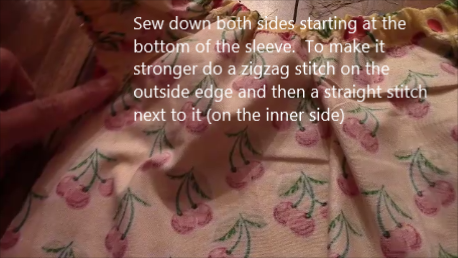
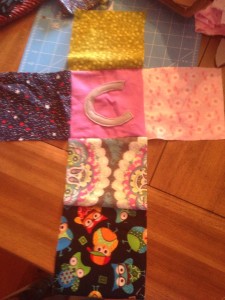
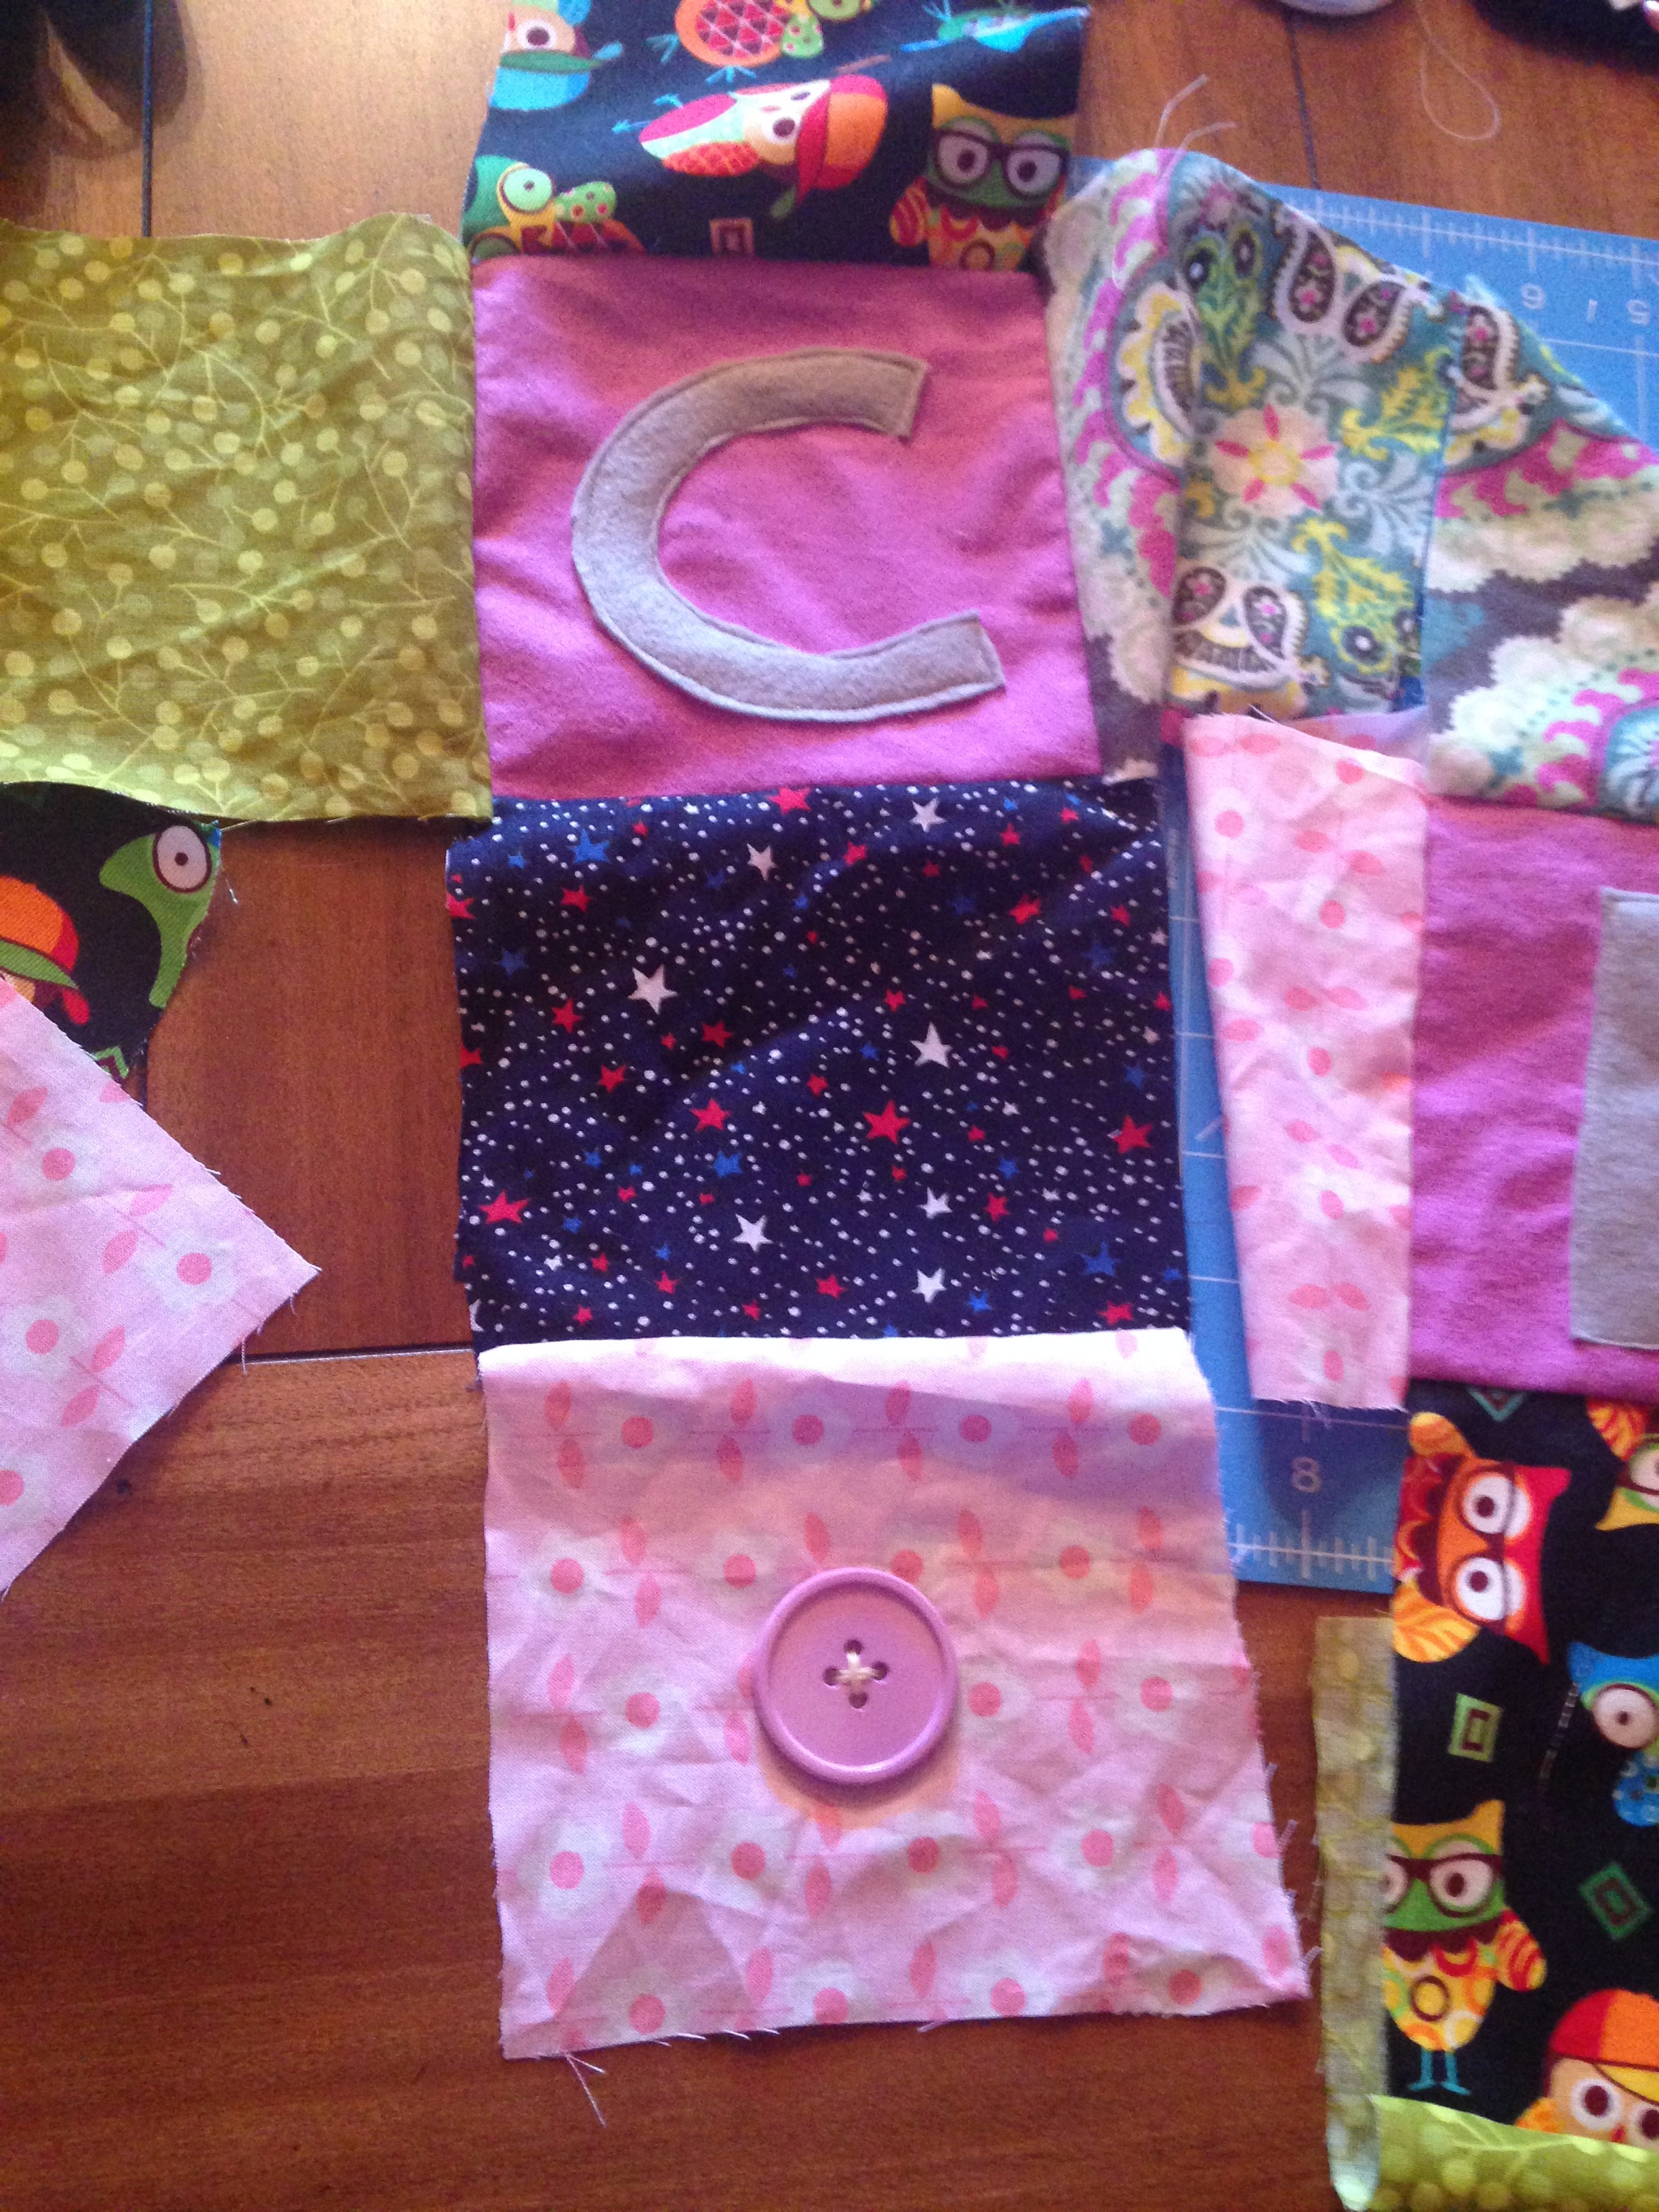
  8. Start sewing pattern pieces facing
    each other.  Take top piece and put pattern facing inside on the letter and sew the top edge, then continue until they are all sew together as shown below. Do this for all your blocks.
  9. IMG_1940IMG_1941IMG_1942
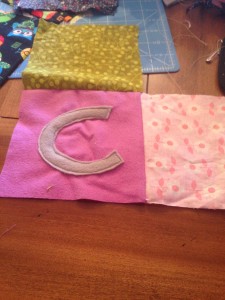
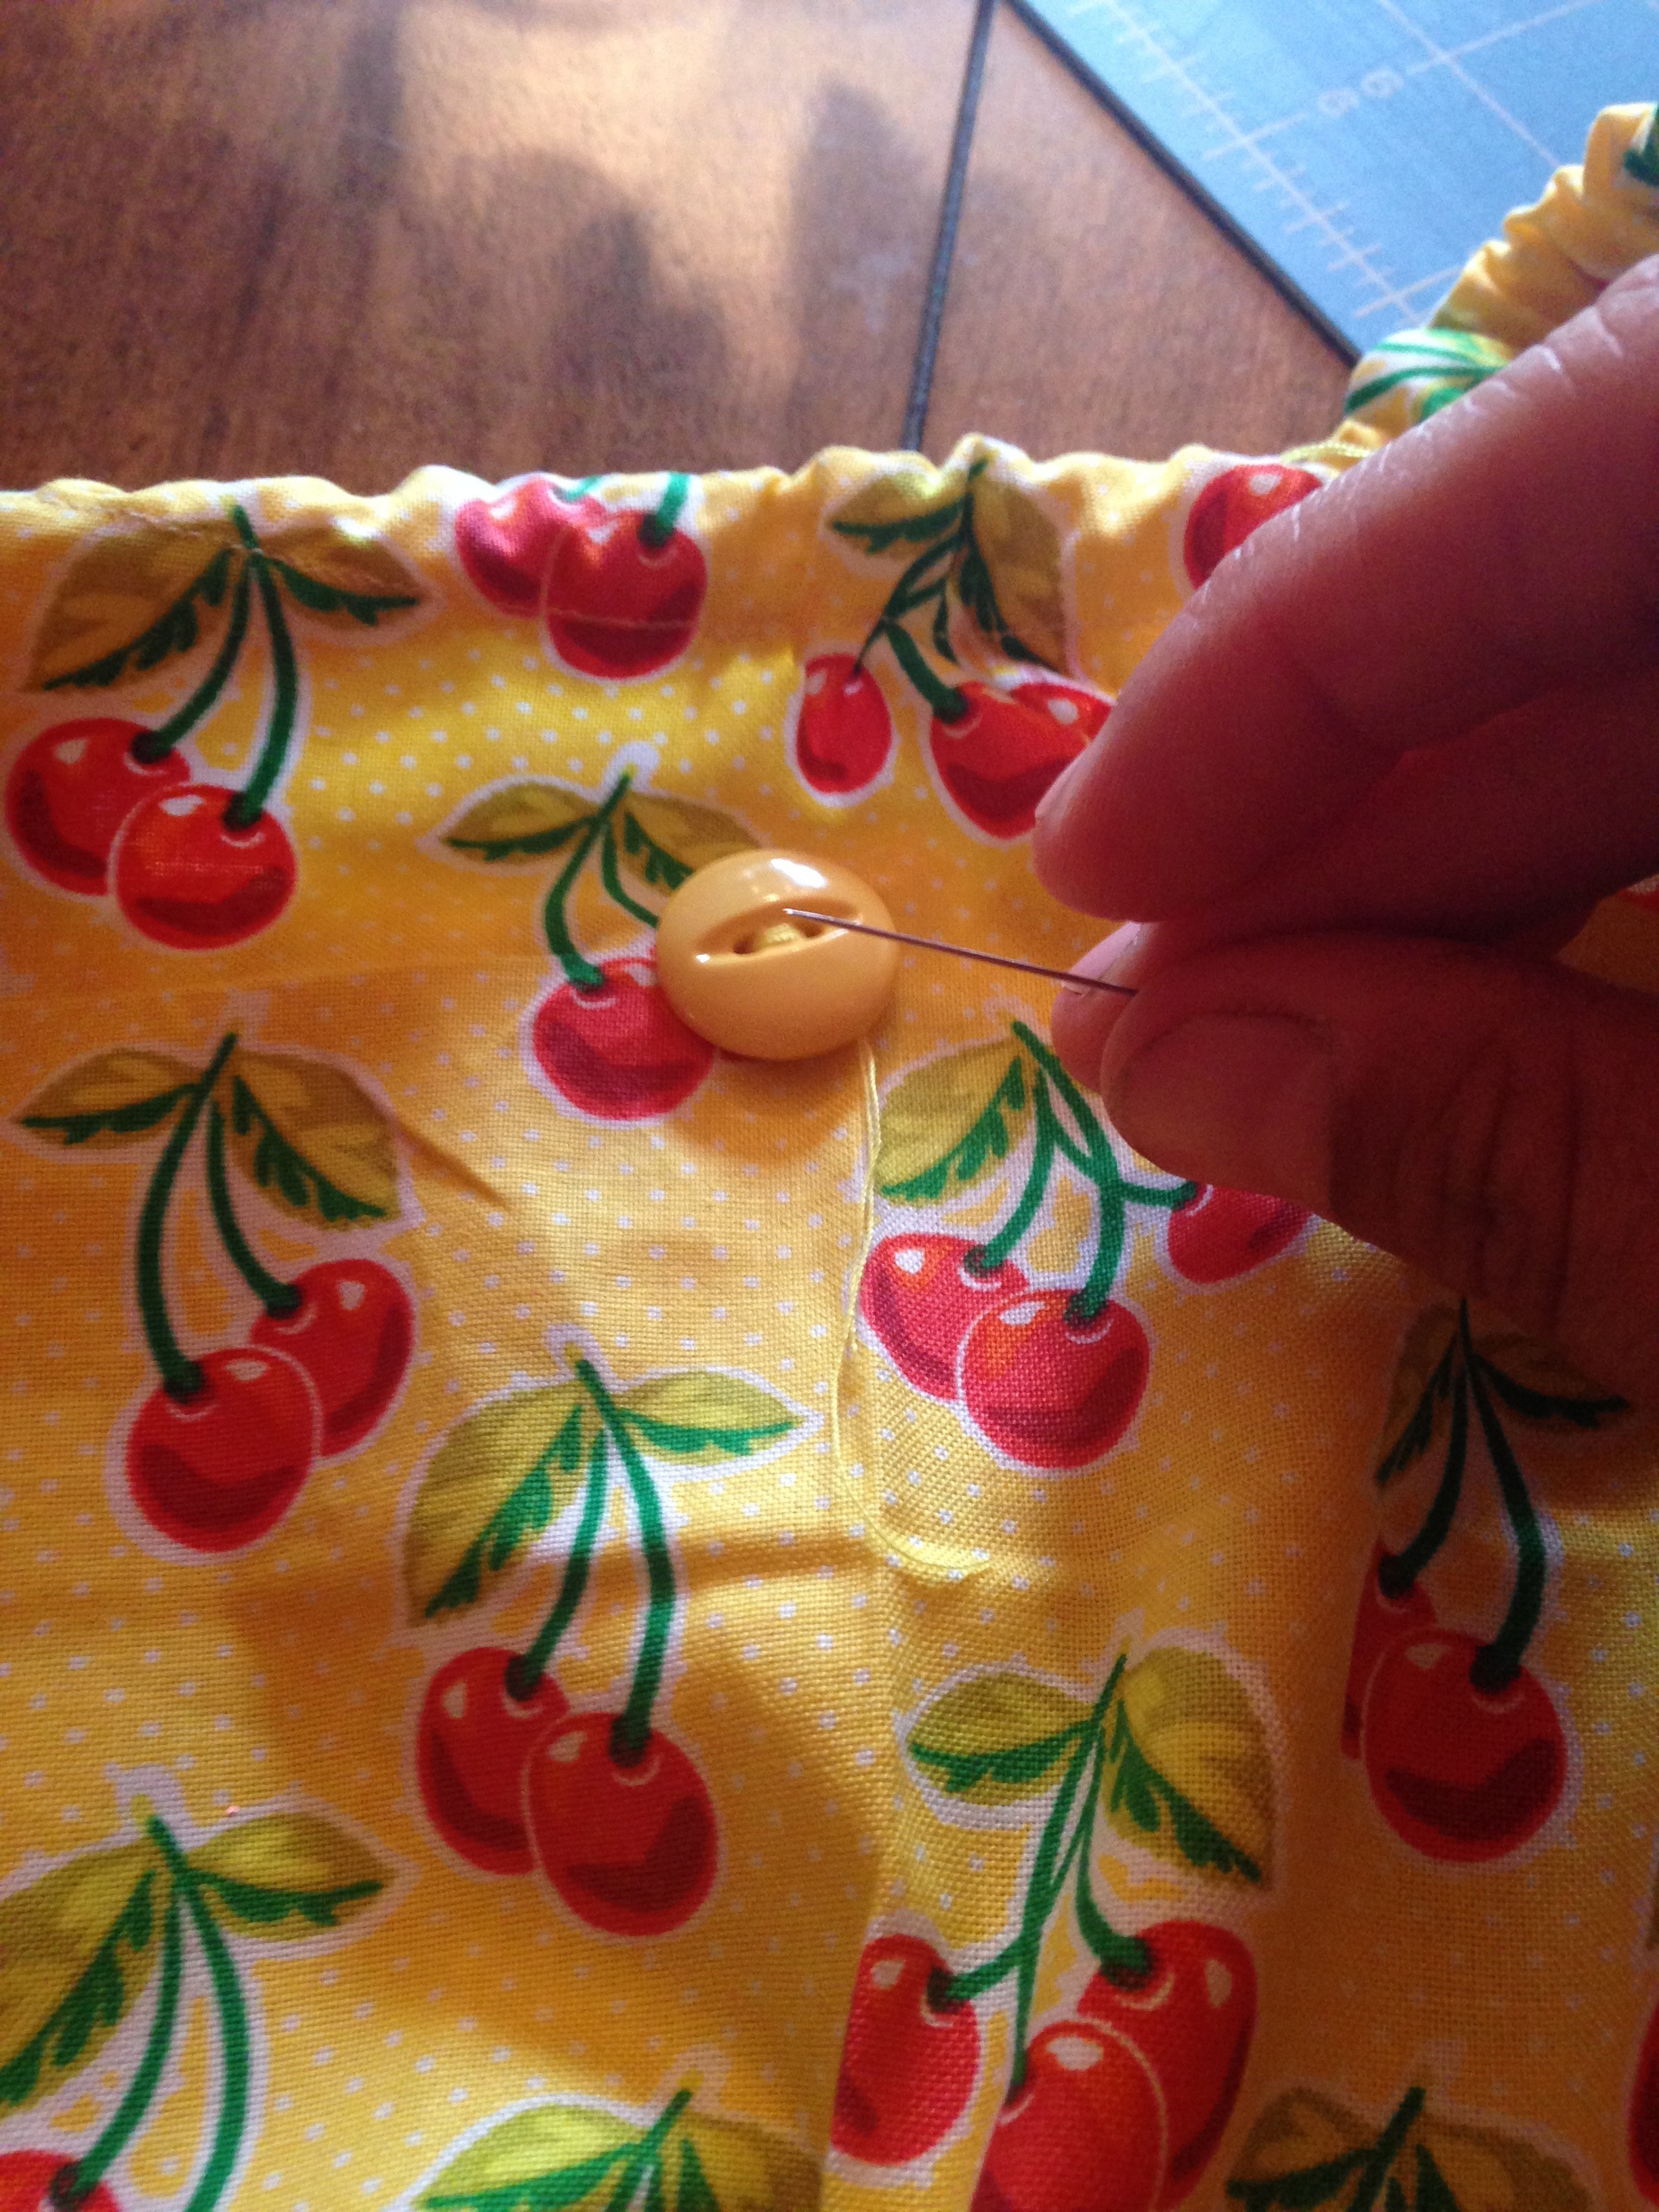
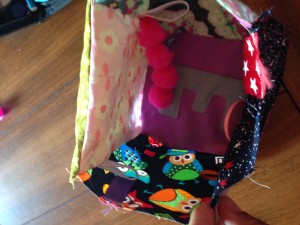
  10. If you want to add ribbons, buttons, or
    any other accessories this is the time to get
    those together! So now you want to decide where to sew them.  You can choose different spots on each block or the same!
  11. Sew the ribbons on facing towards the inside of the block.  If you do the opposite they will be on the inside instead of the out!
  12. IMG_1943 IMG_1944
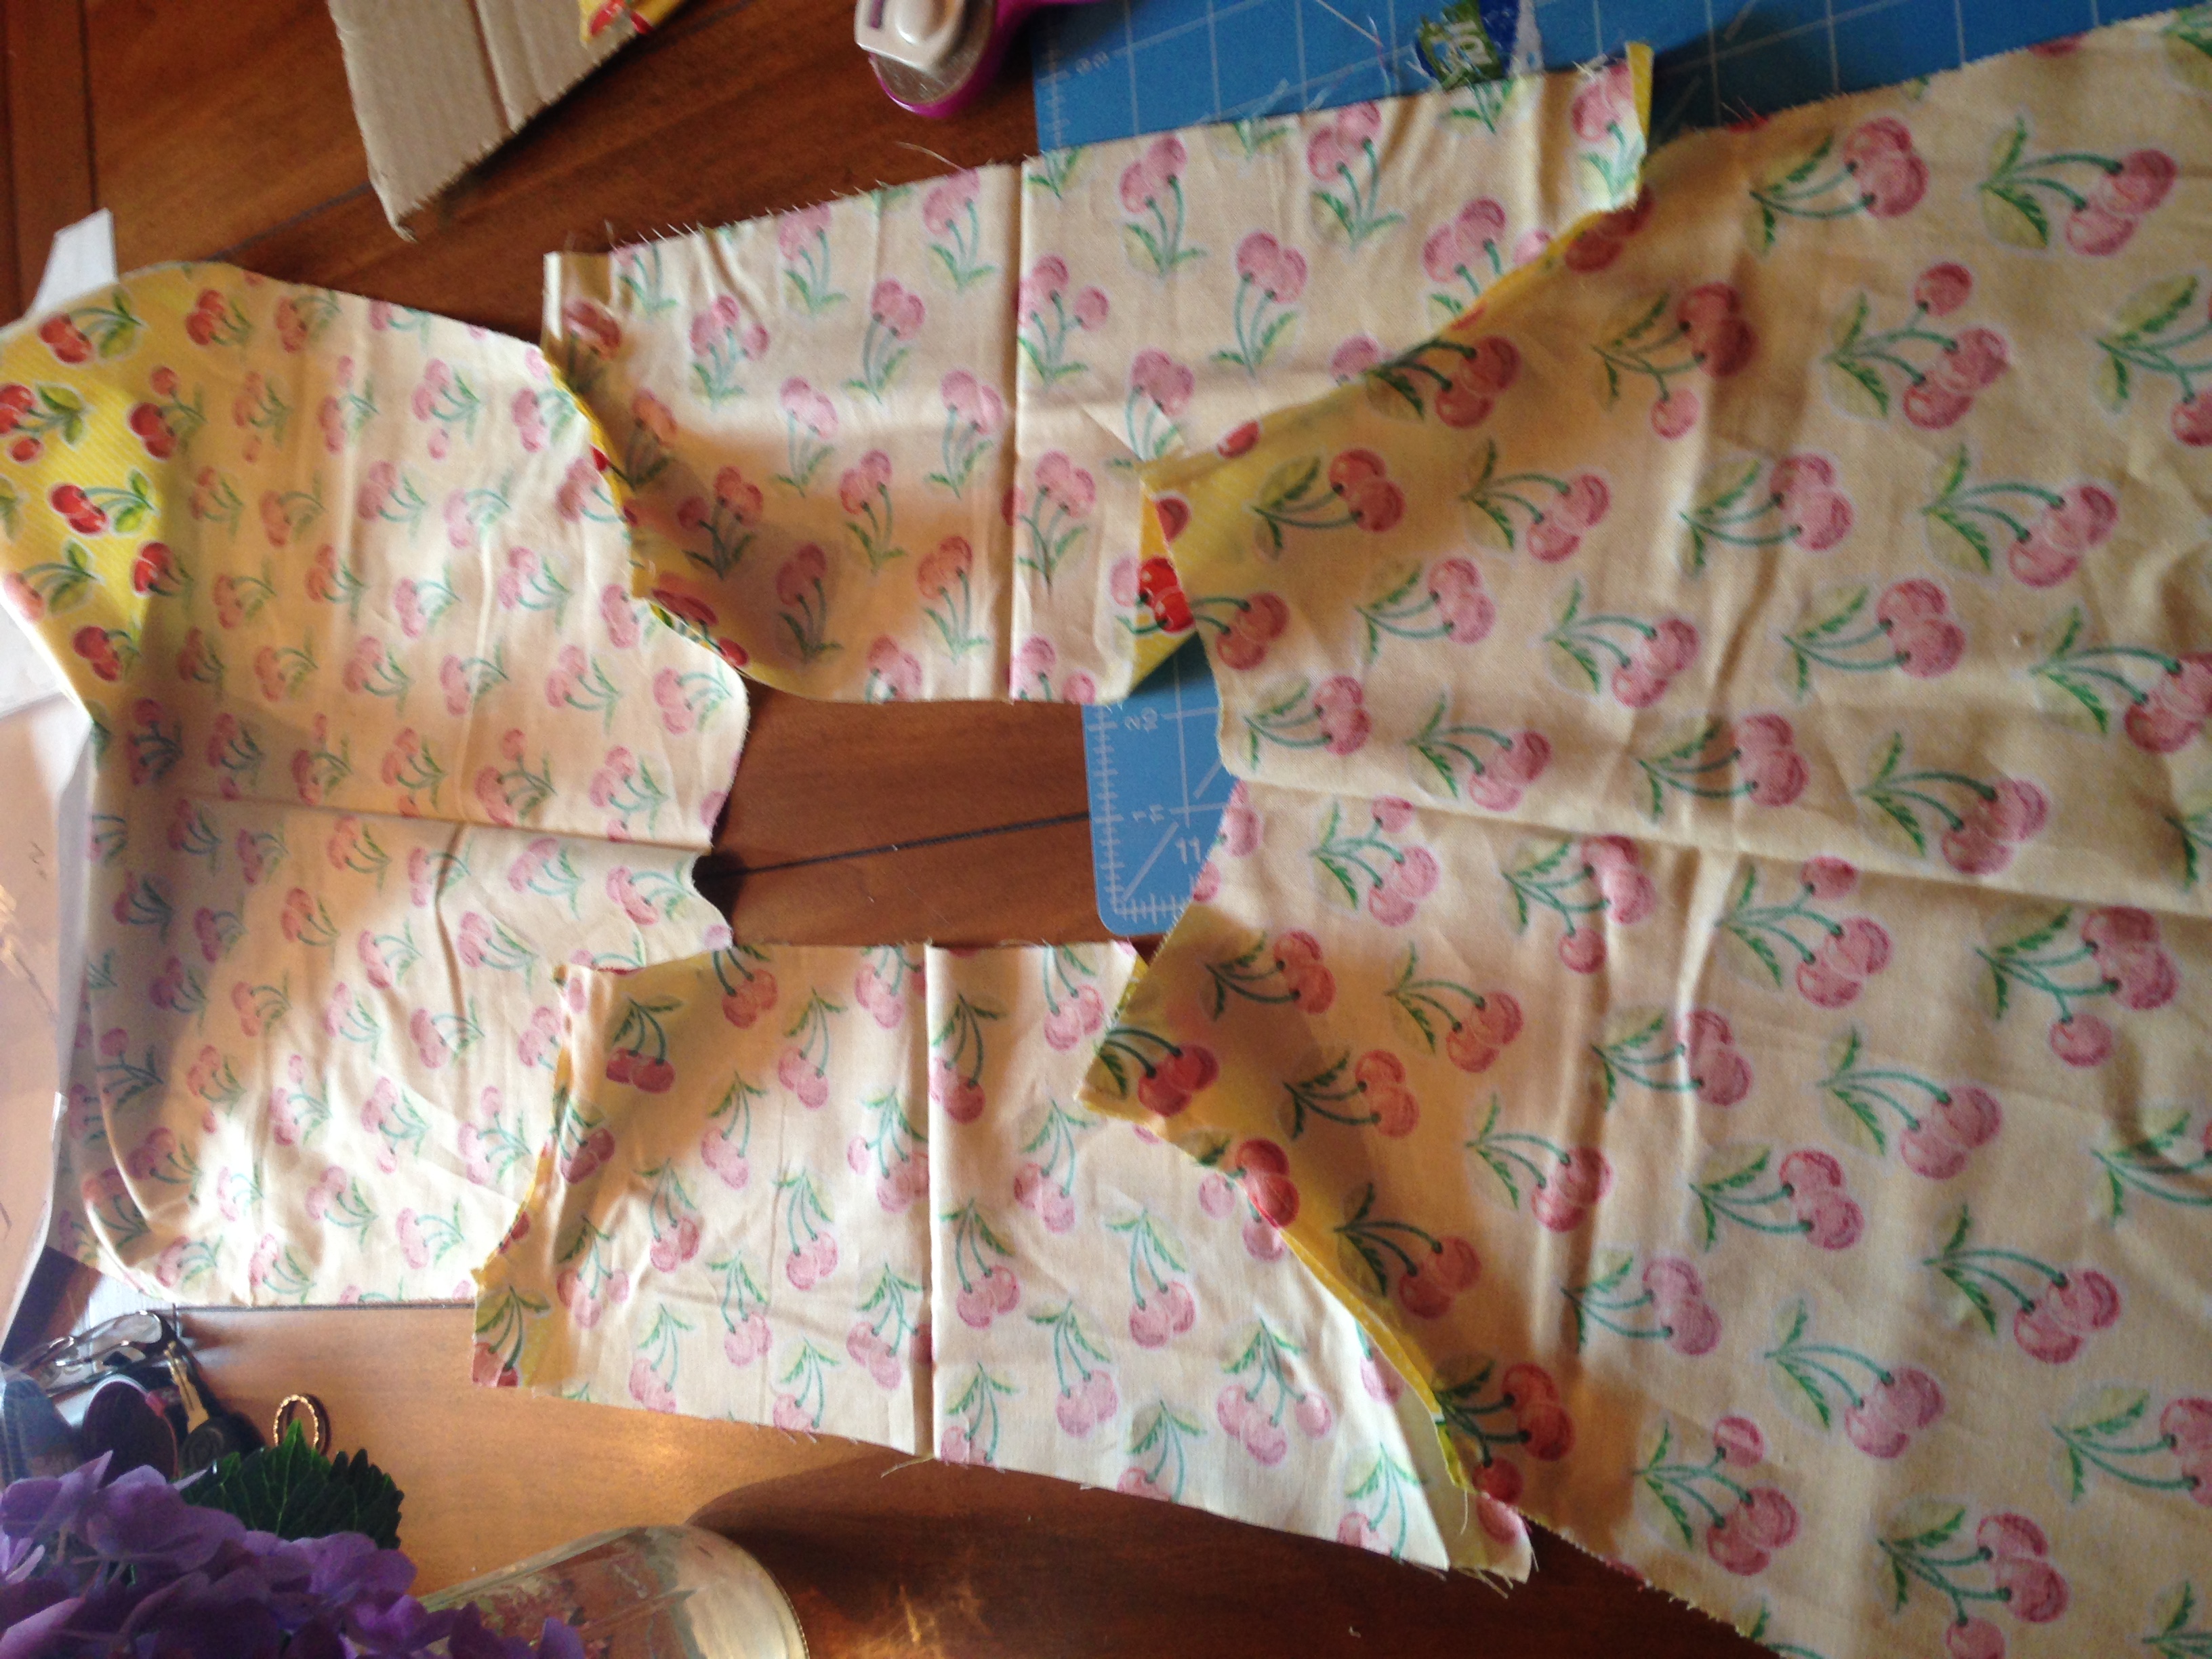
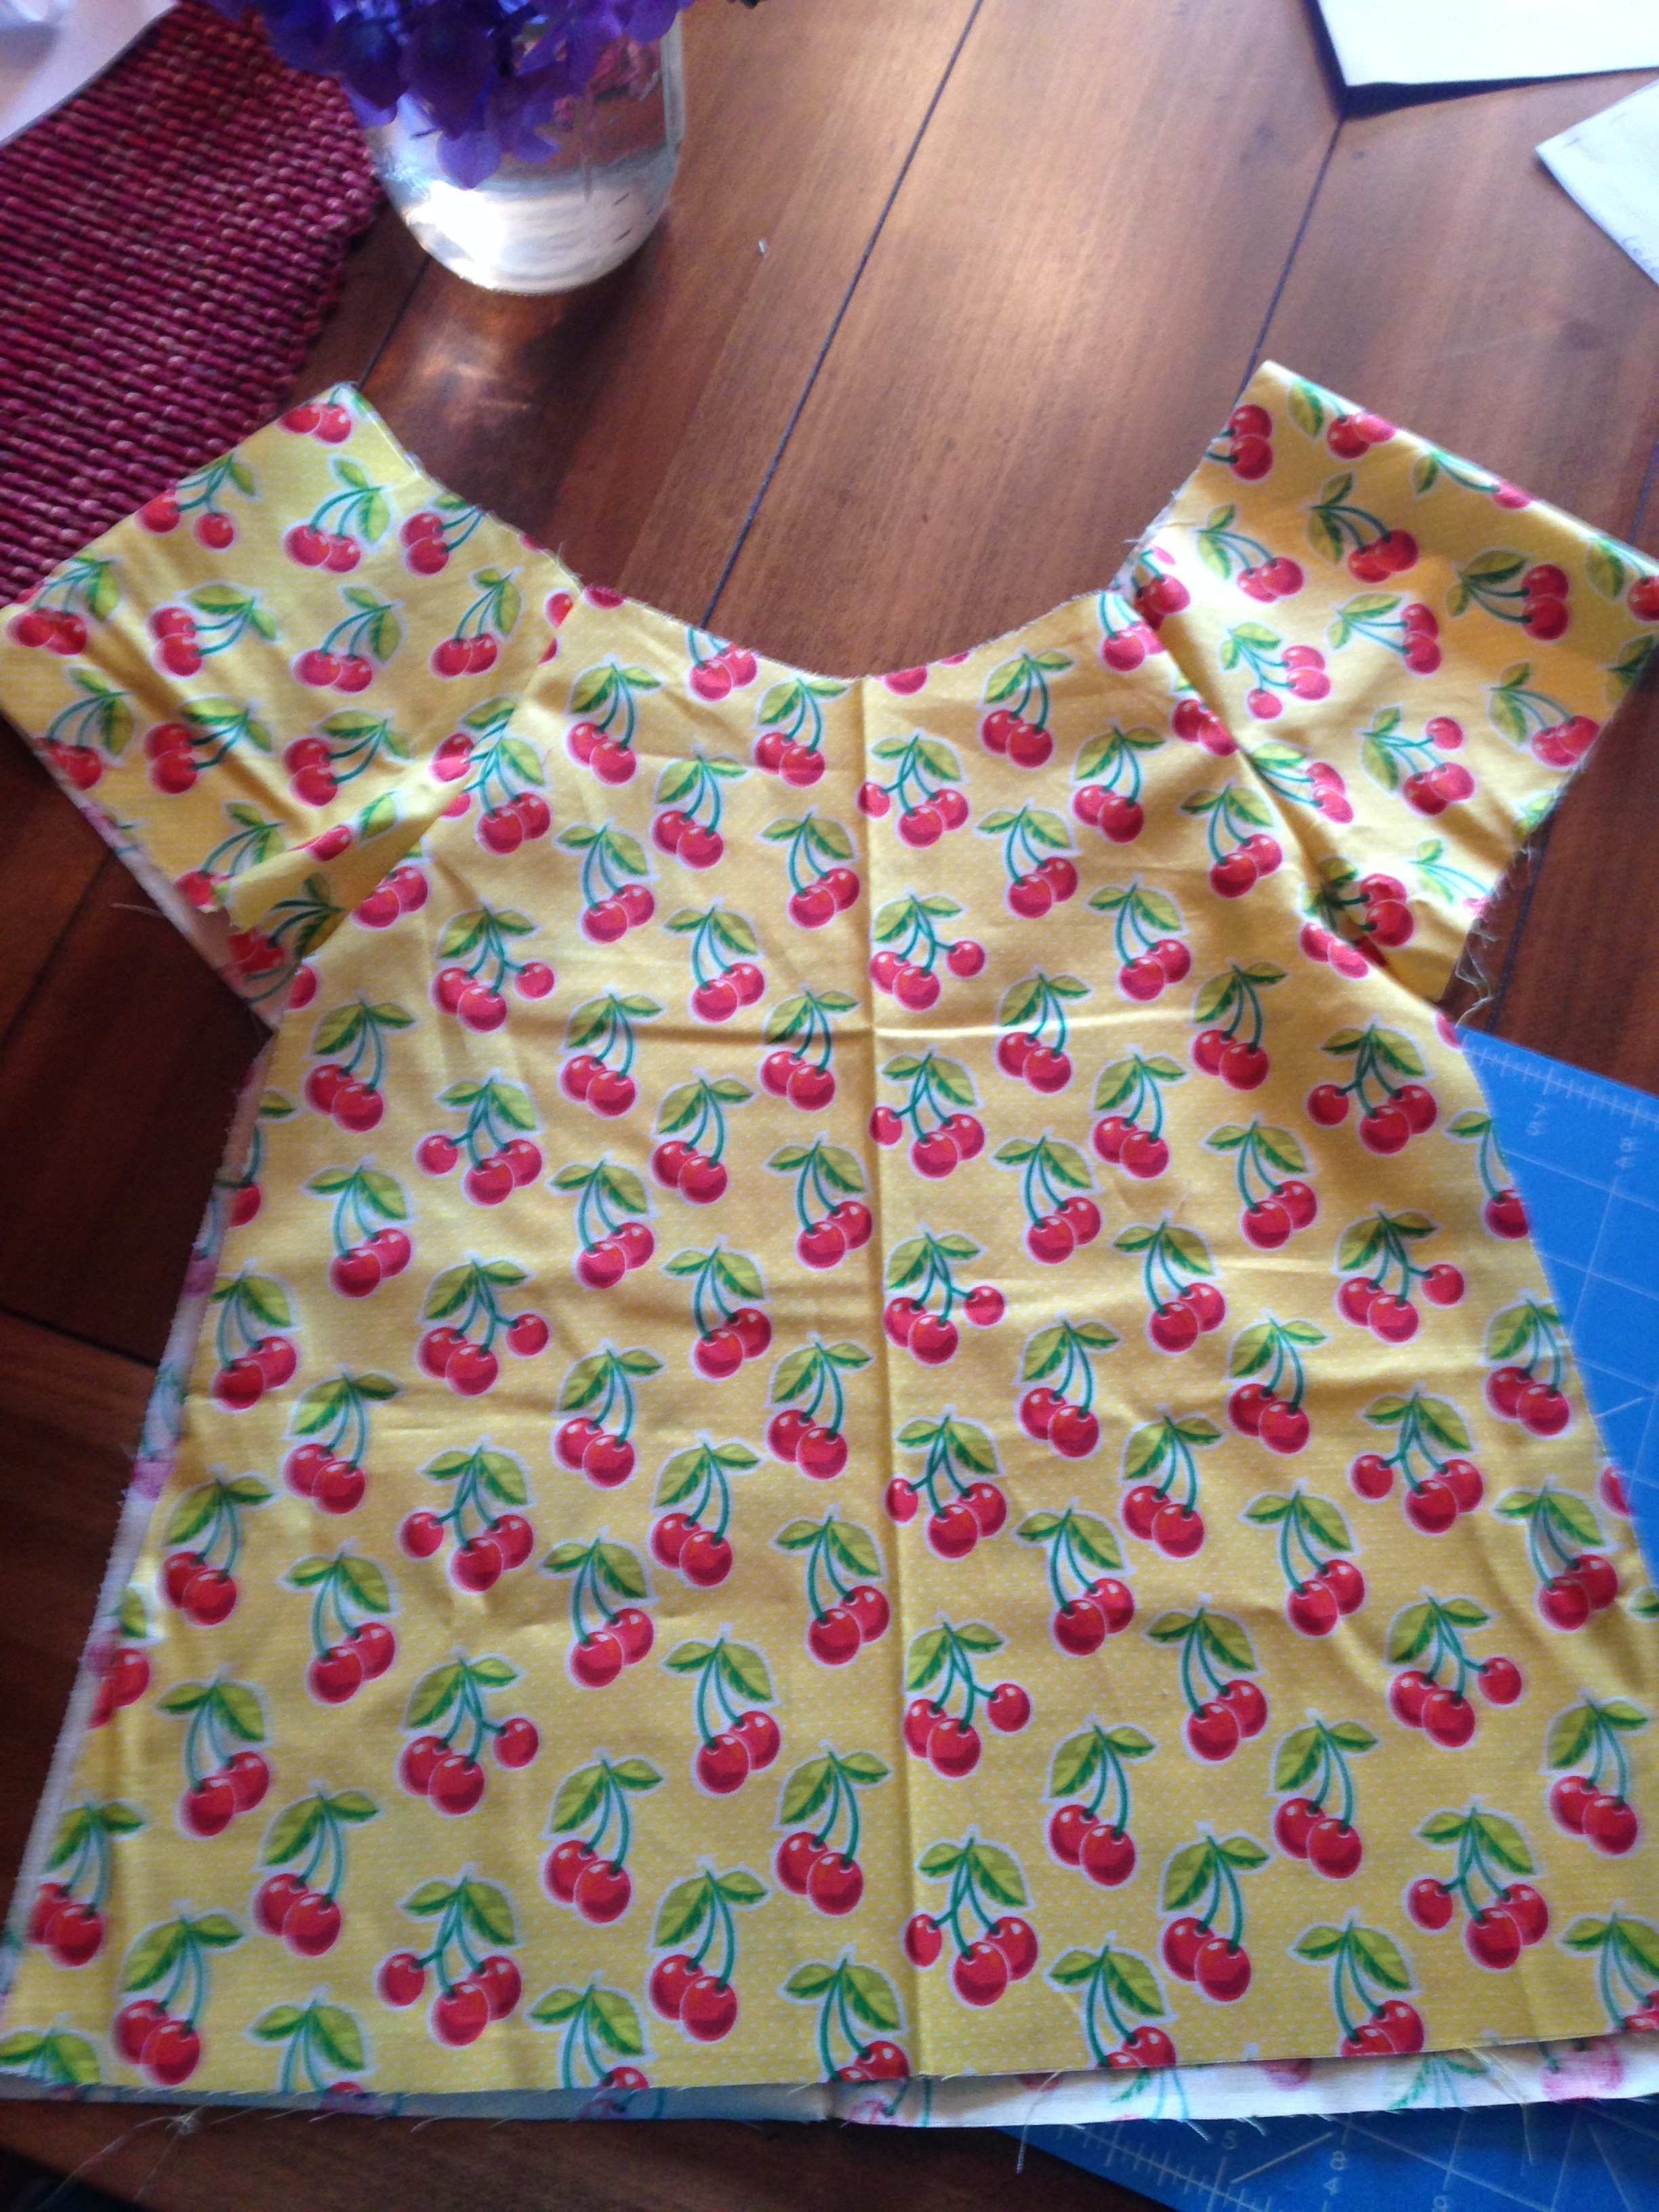
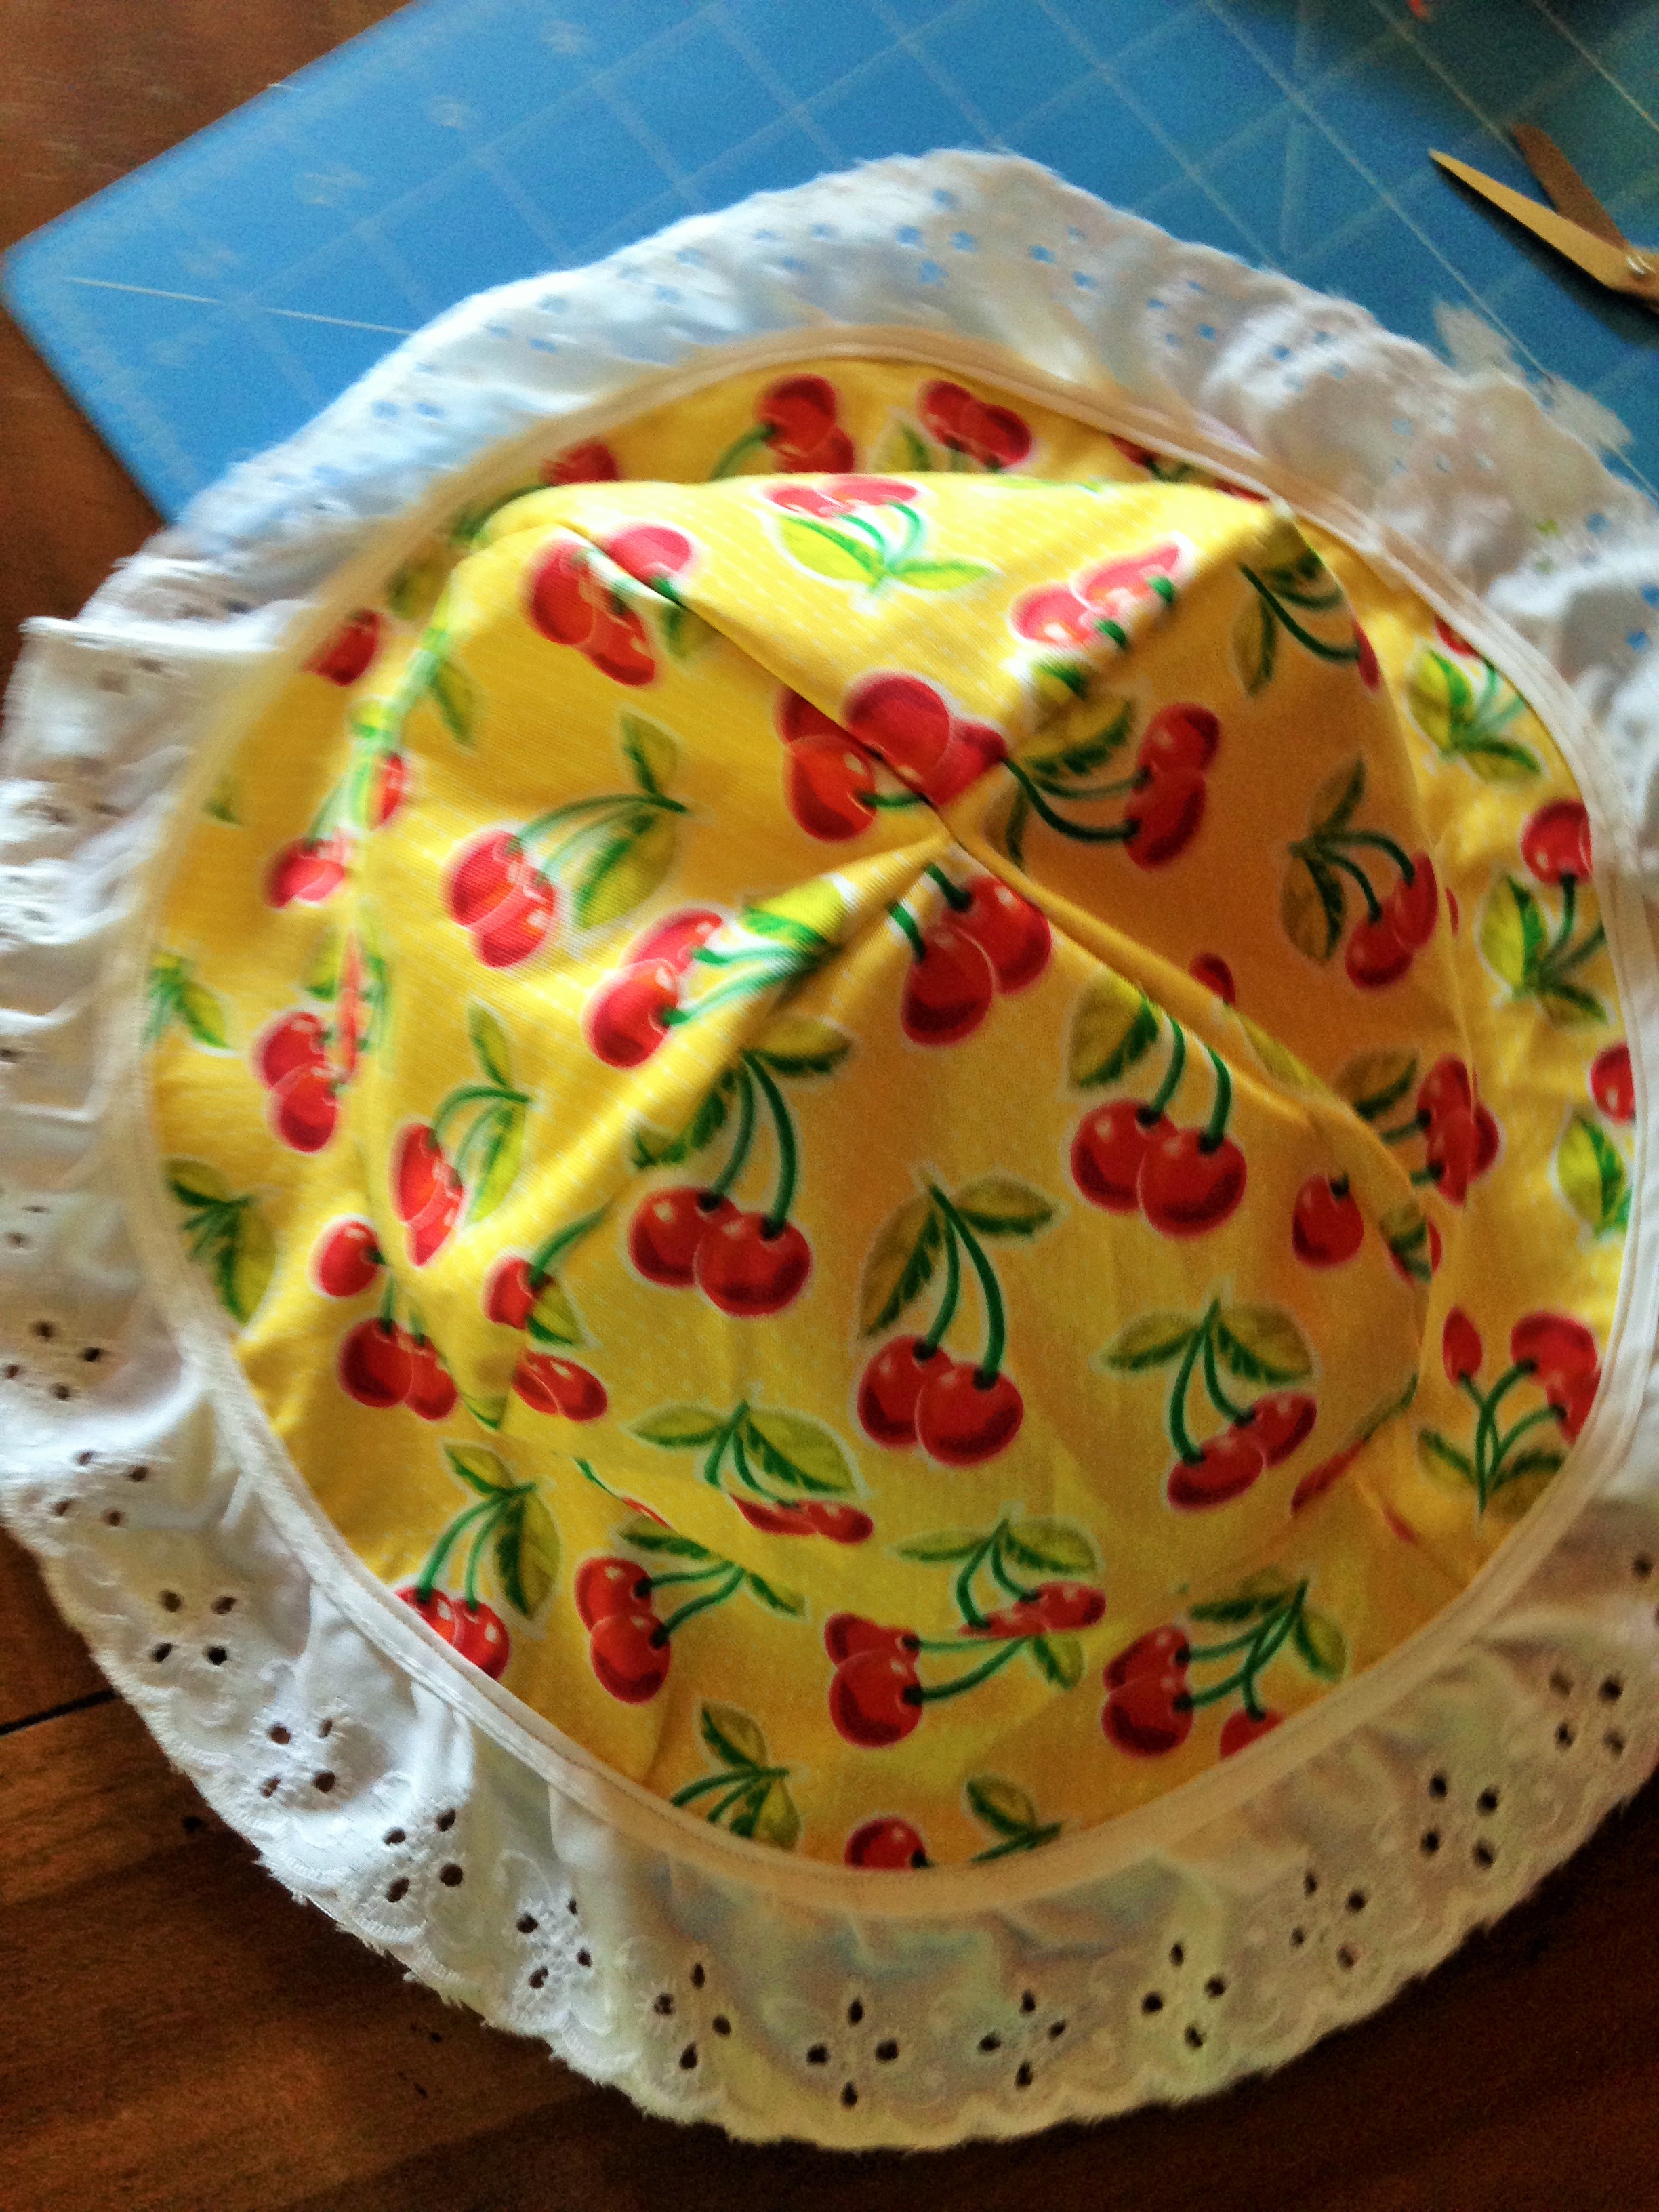
  13. Start by sewing right sides together of two
    blocks. Take the top square and fold down and to the left. You will line up the left side of the top block to the top side of the left block.  Then sew.  Continue this around using the letter piece as the bottom part of the block.  The pattern of the fabric should end up in the inside of the block.
  14. IMG_1953 IMG_1955
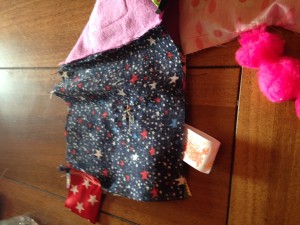
  15. Continue around until you have all sides except one sewn together.
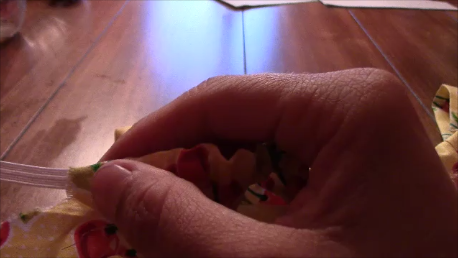
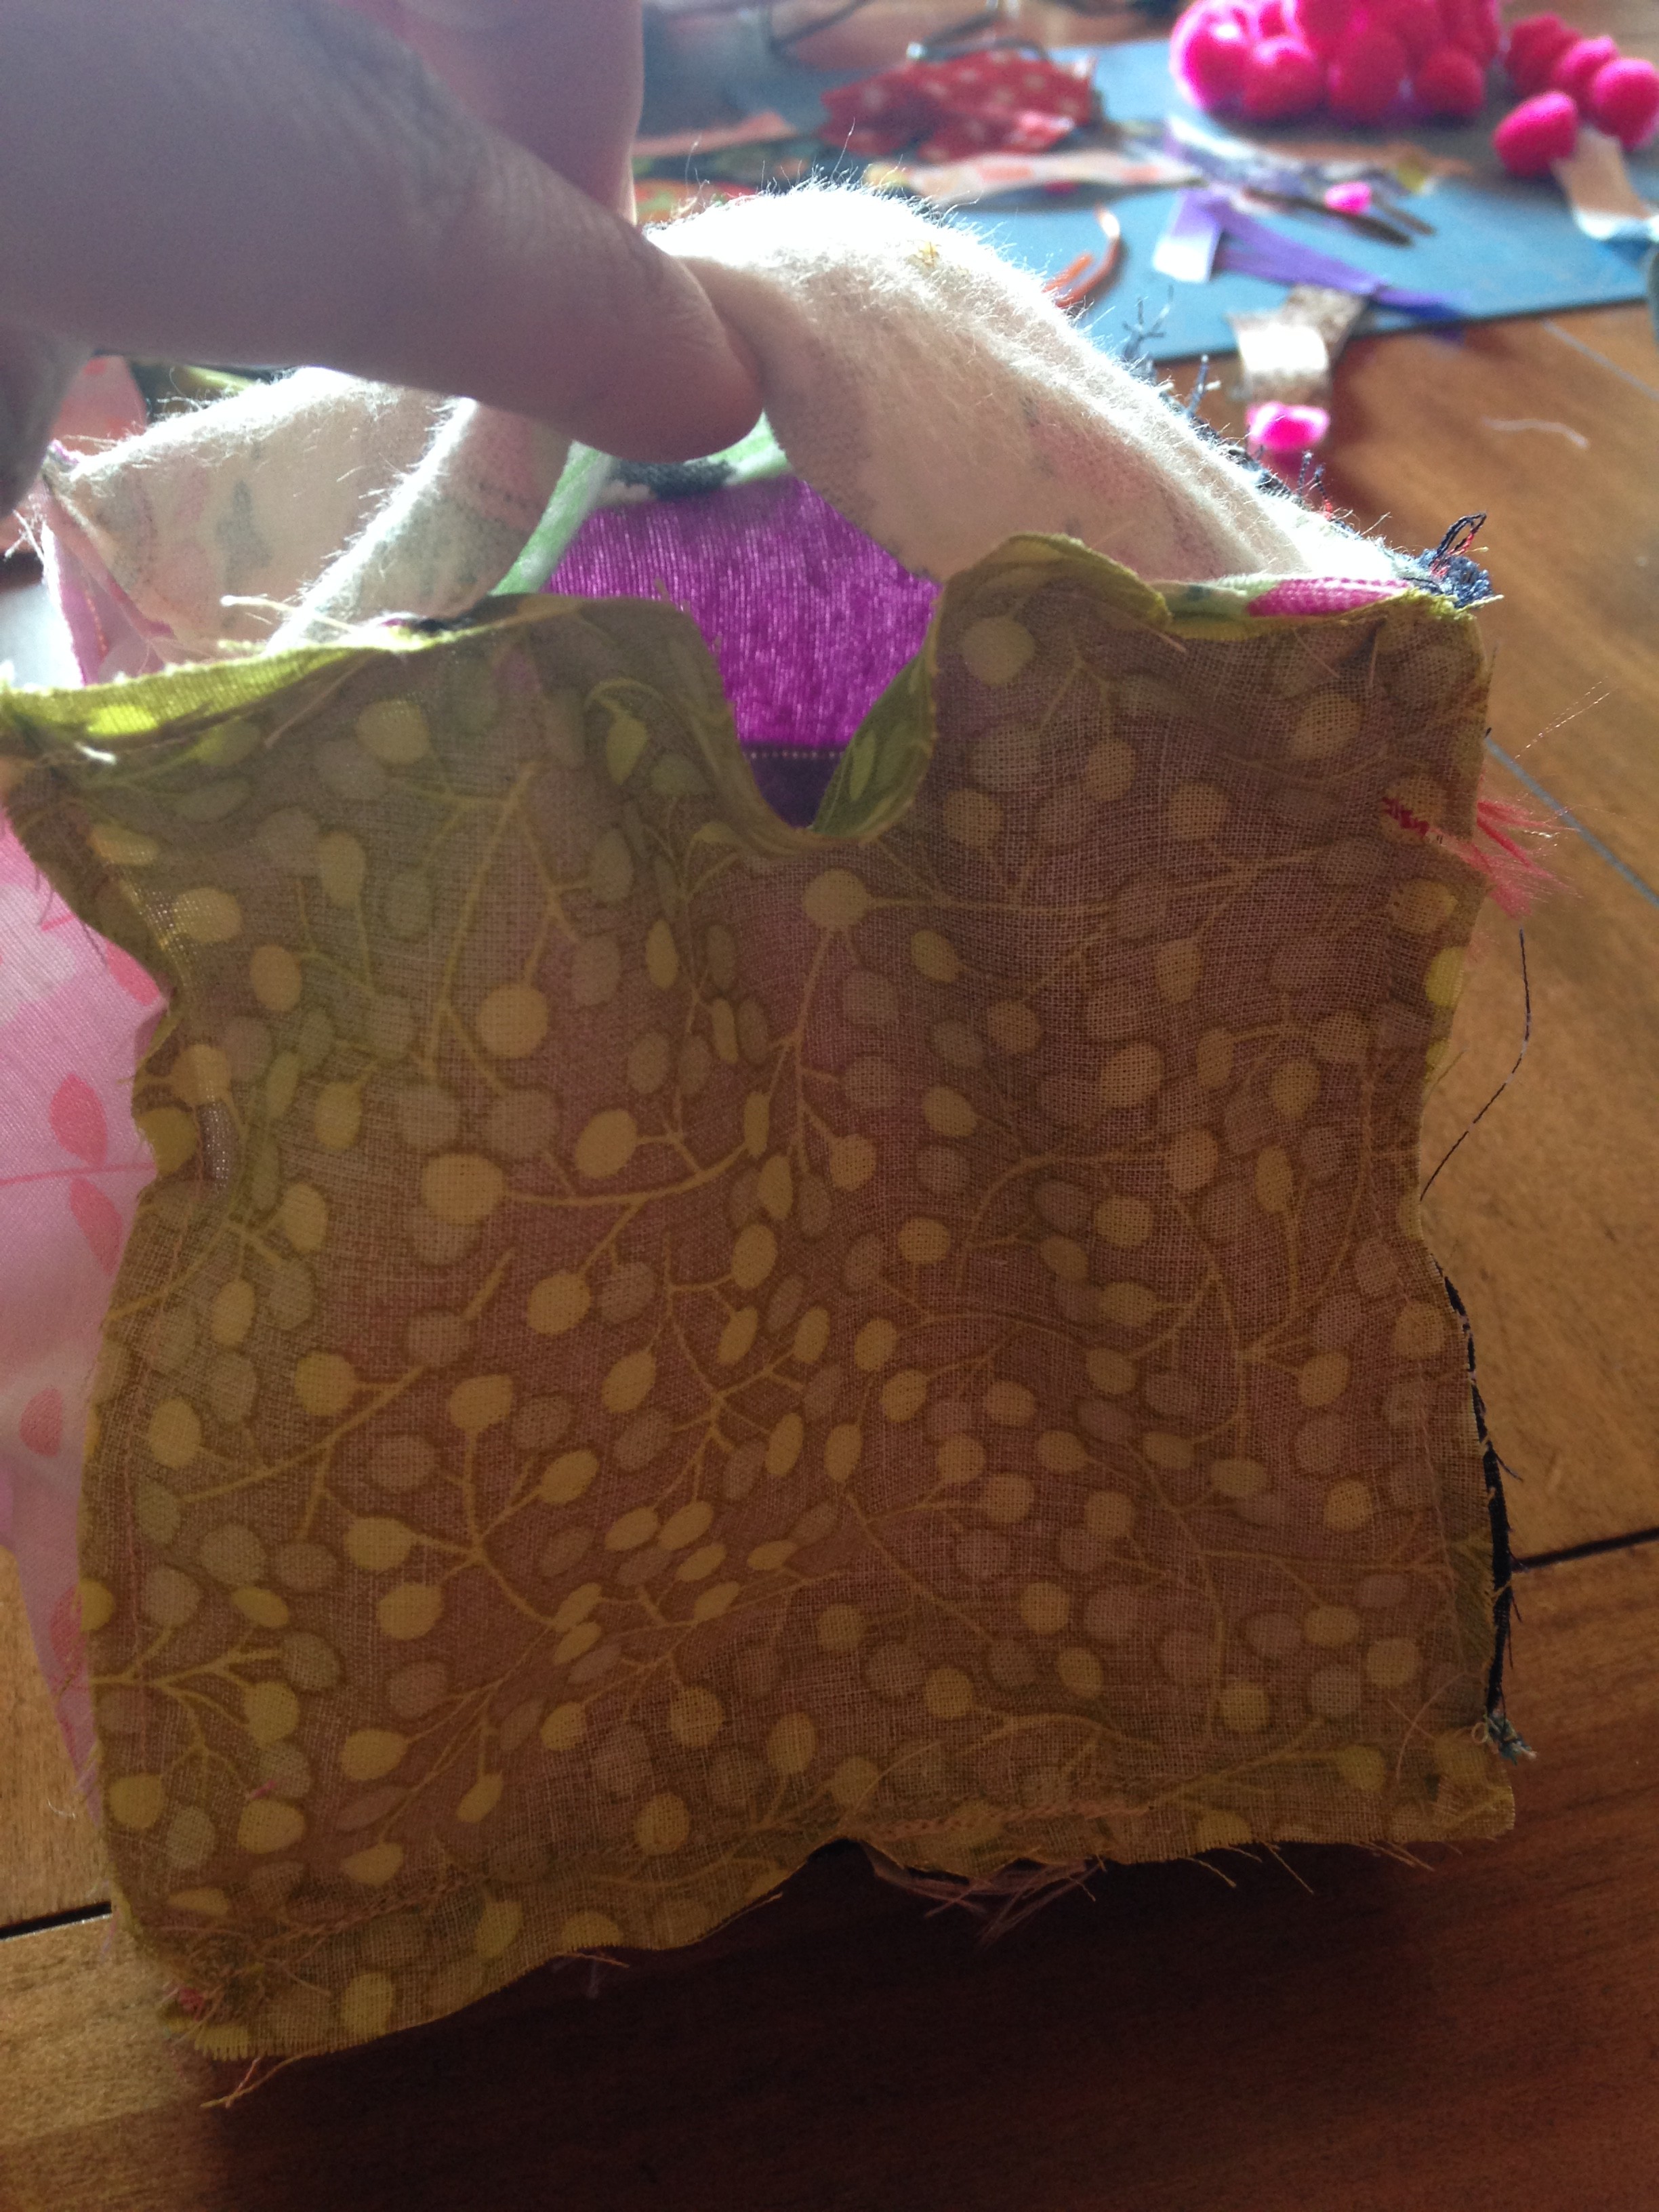
  16. For the last square, Sew each side around but for one side leave a 2-3 inch opening so you can pull the right side out.  Don’t forget to back stitch well!
  17. IMG_1956
  18. Okay!  Almost there!  So now you want to turn your block right side out.  So reach in there and pull the fabric through.  Then use a pencil, pen, crochet needle or what not to poke out the corners and make them shapely.
  19. Next, grab your stuffing, in this case polyfil, and start filling.
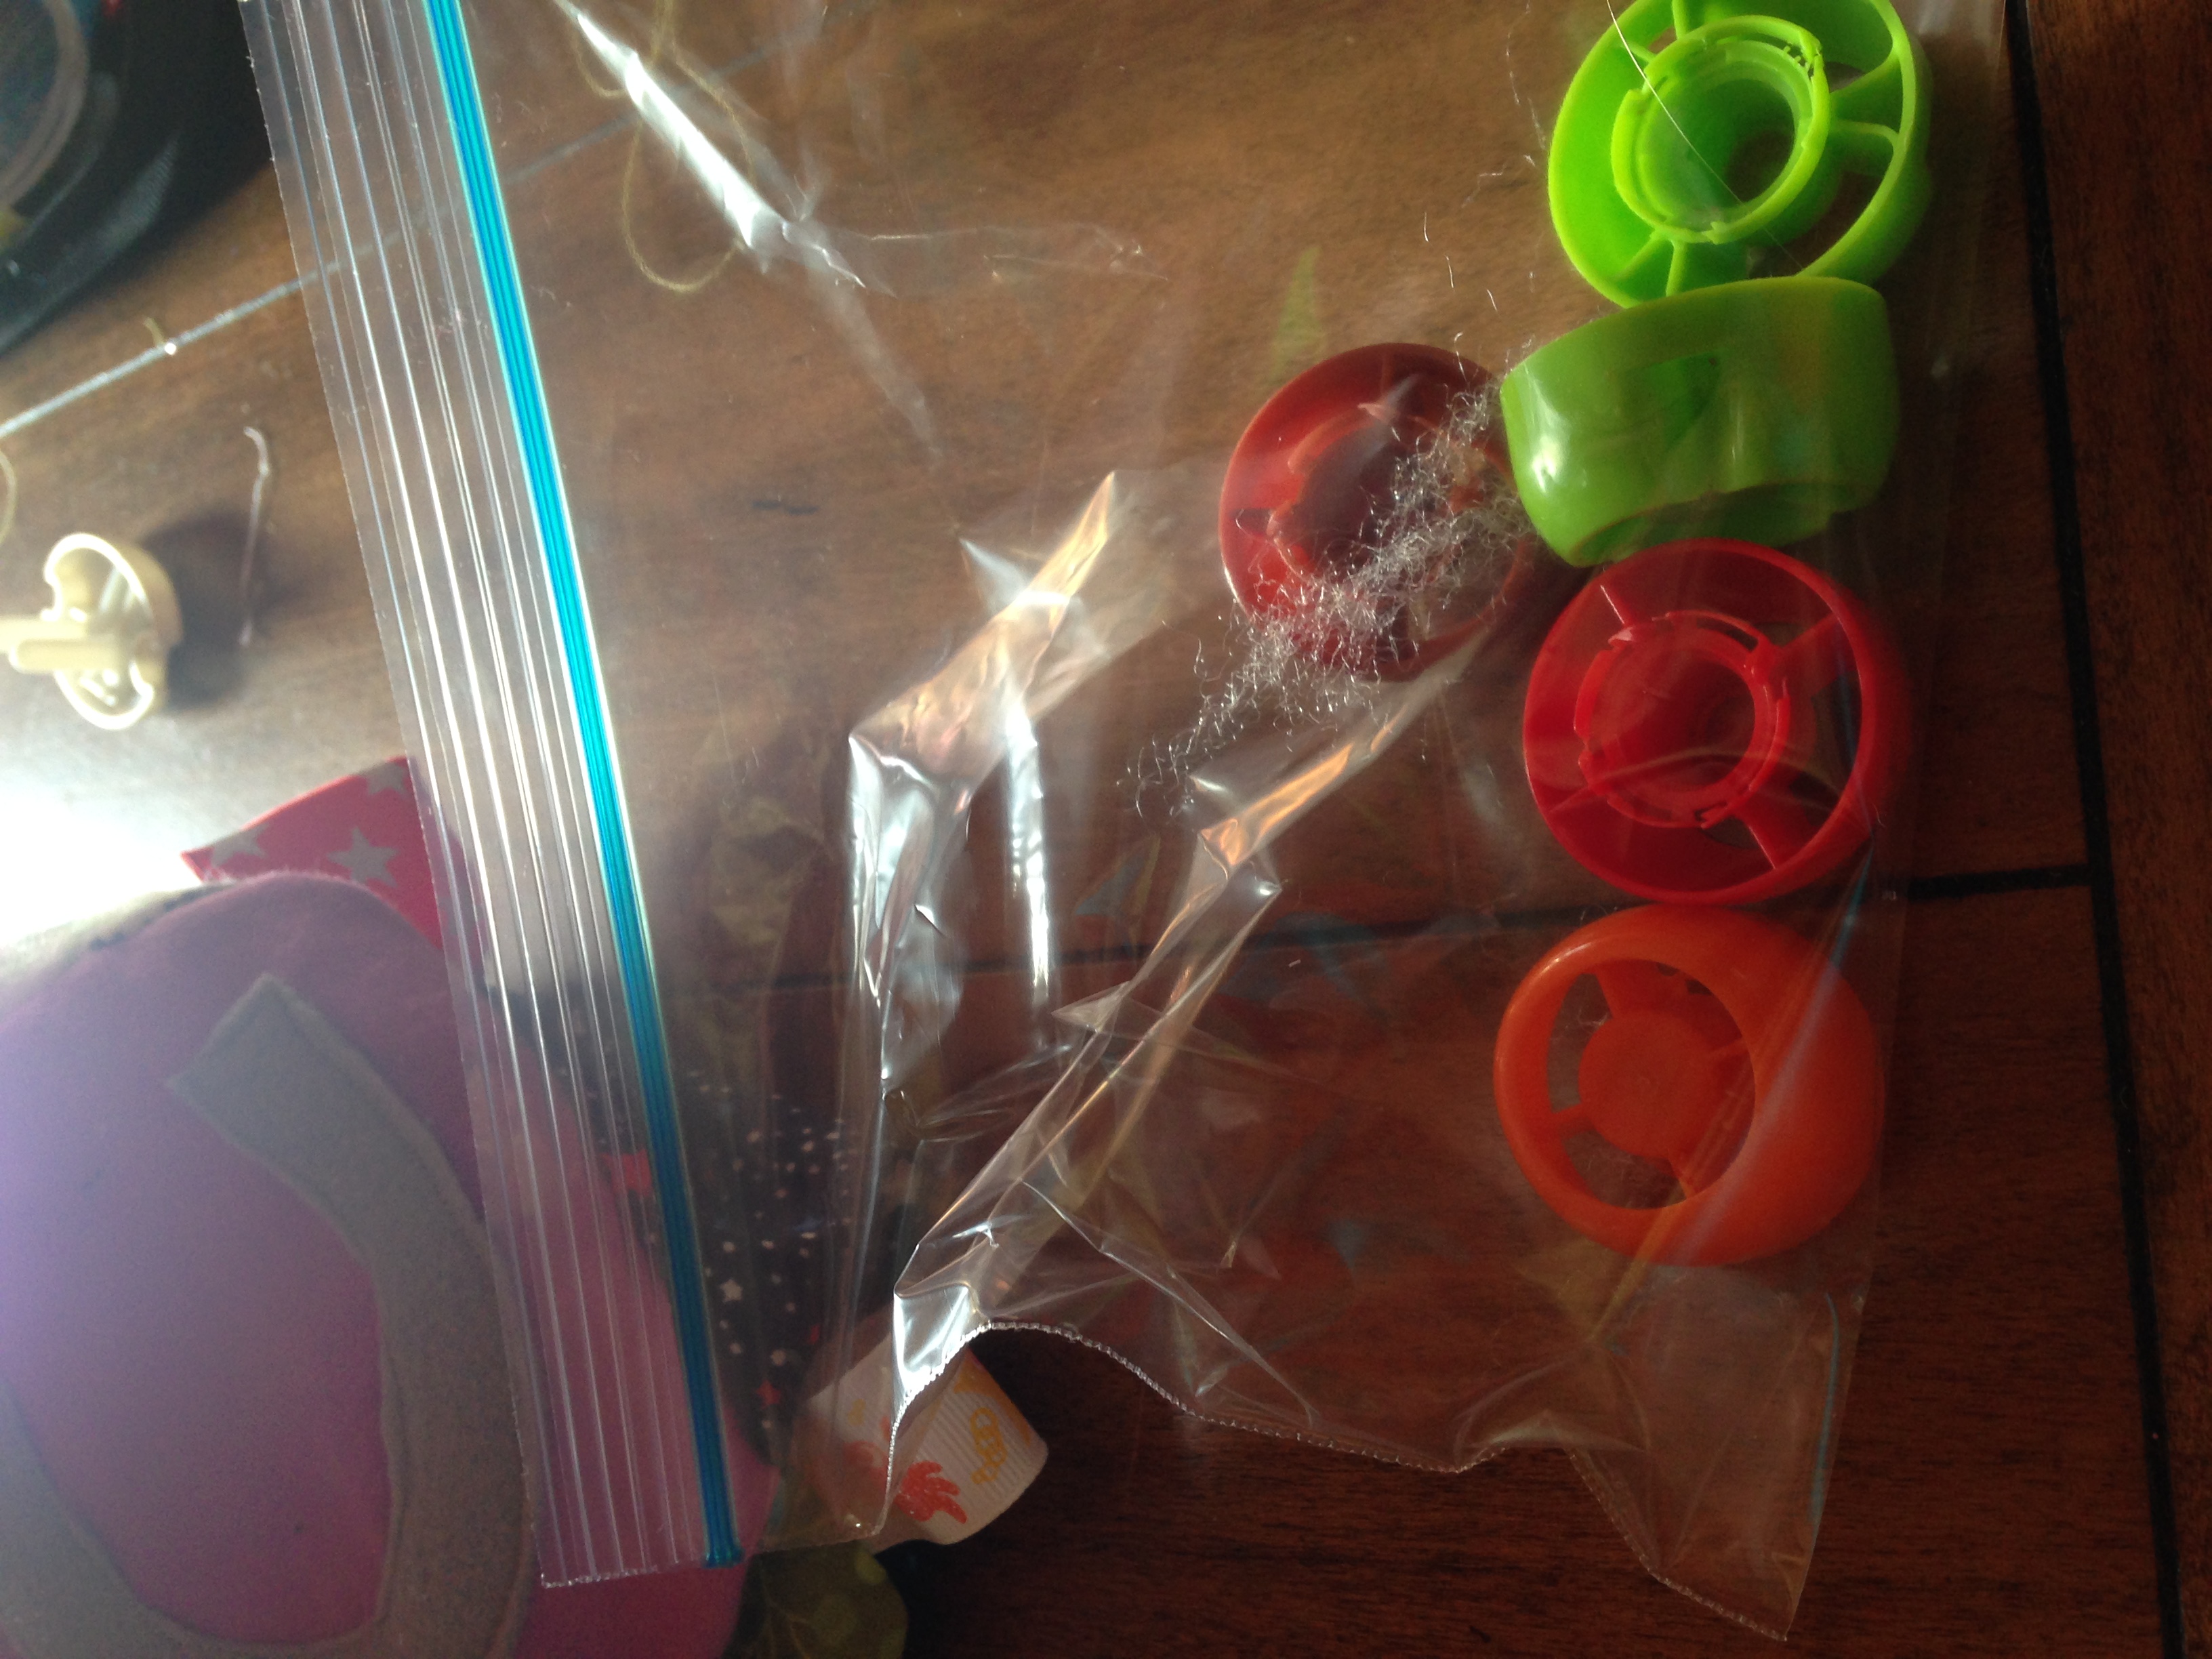
  20. You can put a bell or rattle in the inside of the block!
    To do this I put it in a small ziplock bag that is sealed with some air so that it has room to rattle around instead of being stuck in the polyfil. I actually have been saving the twist off tops of the food pouches and used them in a bag to make some noise!  So if you are going to do this try and put this in the center of the block then stuff around it.
  21. IMG_1966
  22. Lastly, close up that hole!  You can do a whip stitch or invisible stitch or even use your machine.
  23. IMG_1976
  24. Ta-Da you are done!  Great job….take some pictures and share!


FollowFacebookpinterestrssyoutube
ShareFacebookpinterest

Peasant dress tutorial!

Peasant dresses are perfect for any age!  The elastic on the top and through the sleeves allows the dress to fit for much longer than most clothes.  There are also many ways to customize the peasant dress.

IMG_1868 IMG_1863

I love the dress because it’s easy to put on my little one. It stretches right over her head and I dont have to deal with the fuss and fight that sometimes comes with putting on onesies.  Also, at home I use cloth diapers and it’s easy to just throw the dress on and she just needs the diaper underneath!  Of course I do this with regular diapers as well, but it looks so cute with the colored cloth diapers!  She seems to really enjoy the fabric too!  She enjoys playing with the design and discovering her feet and how the two things she is learning are her feet can kick the lace :op

So, lets get started…

IMG_1066 IMG_1078

Here is the free pattern for sizes 4-10months (it stretches).  If you want a bigger or smaller size you can scale it down or hold the pieces up to one of your child’s dresses and adjust the sizing

.IMG_1759

Below are the four components- don’t forget set printer option to print to actual size.

Here is the youtube tutorial for you to follow:


Or you can follow below:

  1. Print out the pattern and trace and cut as directed.  If using a pattern on the fabric make sure it is all going in the correct directions.
  2. fabric
  3. Line up one body piece with pattern facing up to one sleeve with pattern facing down.  Pin and sew.  Do the same for the other sleeve.
  4. fabric2
  5. Next you want to take the other side of the sleeve and line it up with the other body piece.  Put pattern side to pattern side so it fits. Sew both sleeves.  Now you should have looking like this:
  6. IMG_1744
  7. If you want to zigzag stitch on all edges to prevent fraying when washing, now is the time.  If you have a serger, by all means use that now. This is not required but is helpful to prevent fraying.  See the video for more information on zigzag stitches.
  8. IMG_1743
  9. Next you want to form the pockets for the elastic for the sleeve and necklines.  I am using 1/2 inch elastic and folding the fabric edges about an inch in.  If using 1/4 elastic then you can fold in 1/2 inch.  I also press to make it much easier to sew.  See picture below.
  10. IMG_1746
  11. Now you want to sew the bottom part of the sleeves down the long side but leave the small edge sides open for the elastic.  Then sew the neckline leaving 1 inch or so open.  Usually I do this towards one of the seems so its not as noticeable when you close it. This will be to put the elastic in.  So sew all the way around leaving a one inch opening.  Remember to backstitch.
  12. Next, use a safety pin and pin the end of the elastic.  Put the pin through the opening at the end of the sleeve and pull through.  Bunch the fabric over the safety pin and pull the elastic through.  When to the end you want to adjust the bunching to the appropriate size for your little one’s arm.  Then sew the ends of the elastic to the fabric then cut the extra elastic.  Do not cut before sewing or you may lose your elastic.
  13. fabric3
  14. Now do the neckline.  Find your hole and pull elastic through.  Then adjust to appropriate size (which you can measure your muchkins neckline).  Then I cut the elastic holding it carefully and put a quick stitch in the two elastic pieces by stretching it outside the fabric area.  Then I let that go back into the fabric and stitch the hole shut.  You can also sew the elastic on the two sides of the opening on the holes (which may be easier).
  15. Now you should have your elastic all completed!  We are almost there.
  16. Next, you want to sew both sides of the dress closed.  to do this, put your dress inside out and pin sides together starting at bottom of the sleeves.  I usually do a zigzag stitch down the outside then a straight stitch on the inner side of the fabric.  This makes it stronger.  Do this for both sides making sure you sew the bottom of the end of the sleeve.
  17. fabric4
  18. Now you should have both sides completed.  What’s left you say?  The bottom of course!  So decide if you want a plain hemline or lace. You can hem and then lace as well.
  19. So either hem, or continue and take your lace and line it up on the outside.  I have zigzag stitched the bottom already in a previous step to prevent fraying  If you have not done so, I suggest you do this or hem the bottom before adding the lace.
  20. Line up the lace on the bottom and pin.  Sew it and WaaaLa!  You are done!  Congrats!
  21. Optional is adding buttons or a bow!
  22. IMG_1760IMG_1769
  23. Stay tuned for the hat tutorial!
  24. IMG_1885


FollowFacebookpinterestrssyoutube
ShareFacebookpinterest

Sewing machine tutorials!

New to sewing?  Want to learn how to thread your machine?  Then, you have come to the right place.  Yes this may be a little boring for some, but I found similar help at different sites and decided to put it all together in my own way for anyone new to nursing.

So if you don’t fall asleep along the way, you may learn something!  :op

Below are three tutorials on using your sewing machine.  This particular tutorial features the brother xl model, which I highly recommend as an affordable and easy to use first machine that has more advanced properties as well.  However, if you have another machine, it may be quite similar so you can follow along!

machineSo here is a basic diagram of the machine I made that outlines the important components.


This is a video on the basic parts of the machine and what buttons are used most.


Next, is a video on how to thread your bobbin!  Don’t worry it gets much easier each time!


Lastly, how to put everything together!  This tutorial demonstrates how to thread the machine and start up!


Good Luck and Enjoy!  More tutorials to come…

FollowFacebookpinterestrssyoutube
ShareFacebookpinterest

Time to get started!

Welcome to Cecelia’s Spot, where creativity and fun collide! I decided to create this blog to inspire others to sew, craft, and enjoy life with their little munchkins!  I hope the blog inspires you to make your own heirlooms and fun activities for your family and little ones!

IMG_1387

FollowFacebookpinterestrssyoutube
ShareFacebookpinterest