Baby Slippers Tutorial!

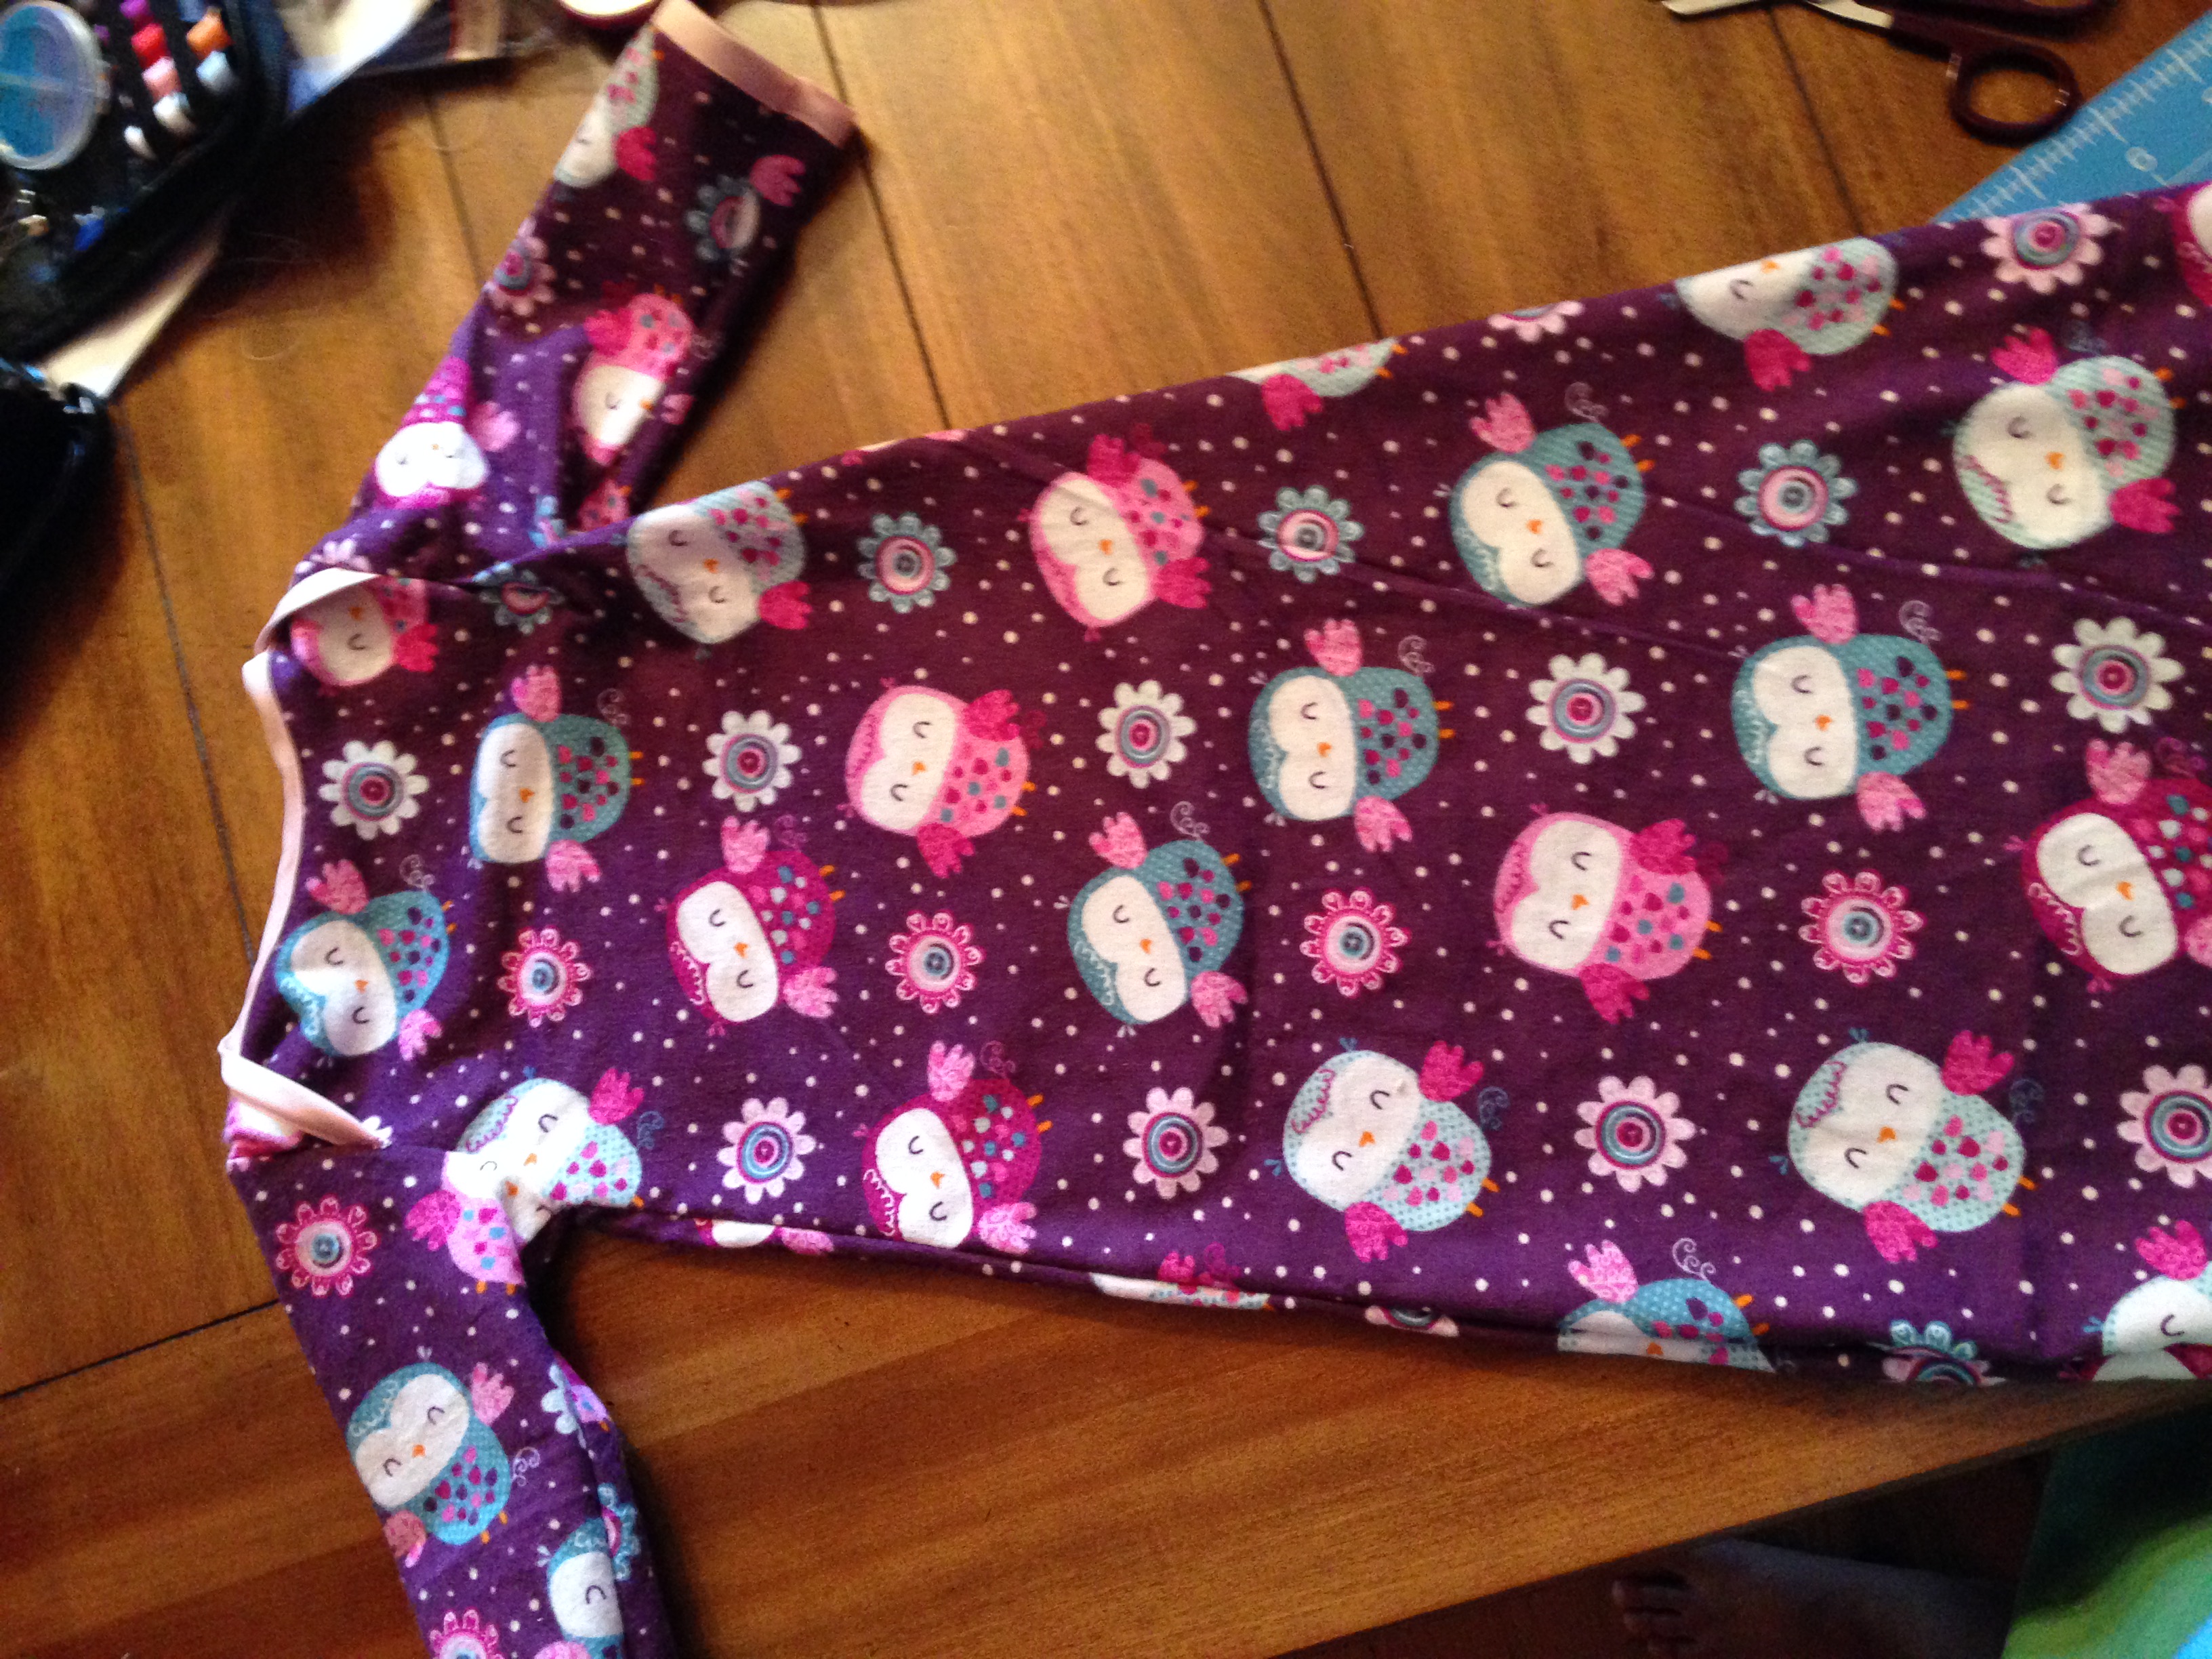
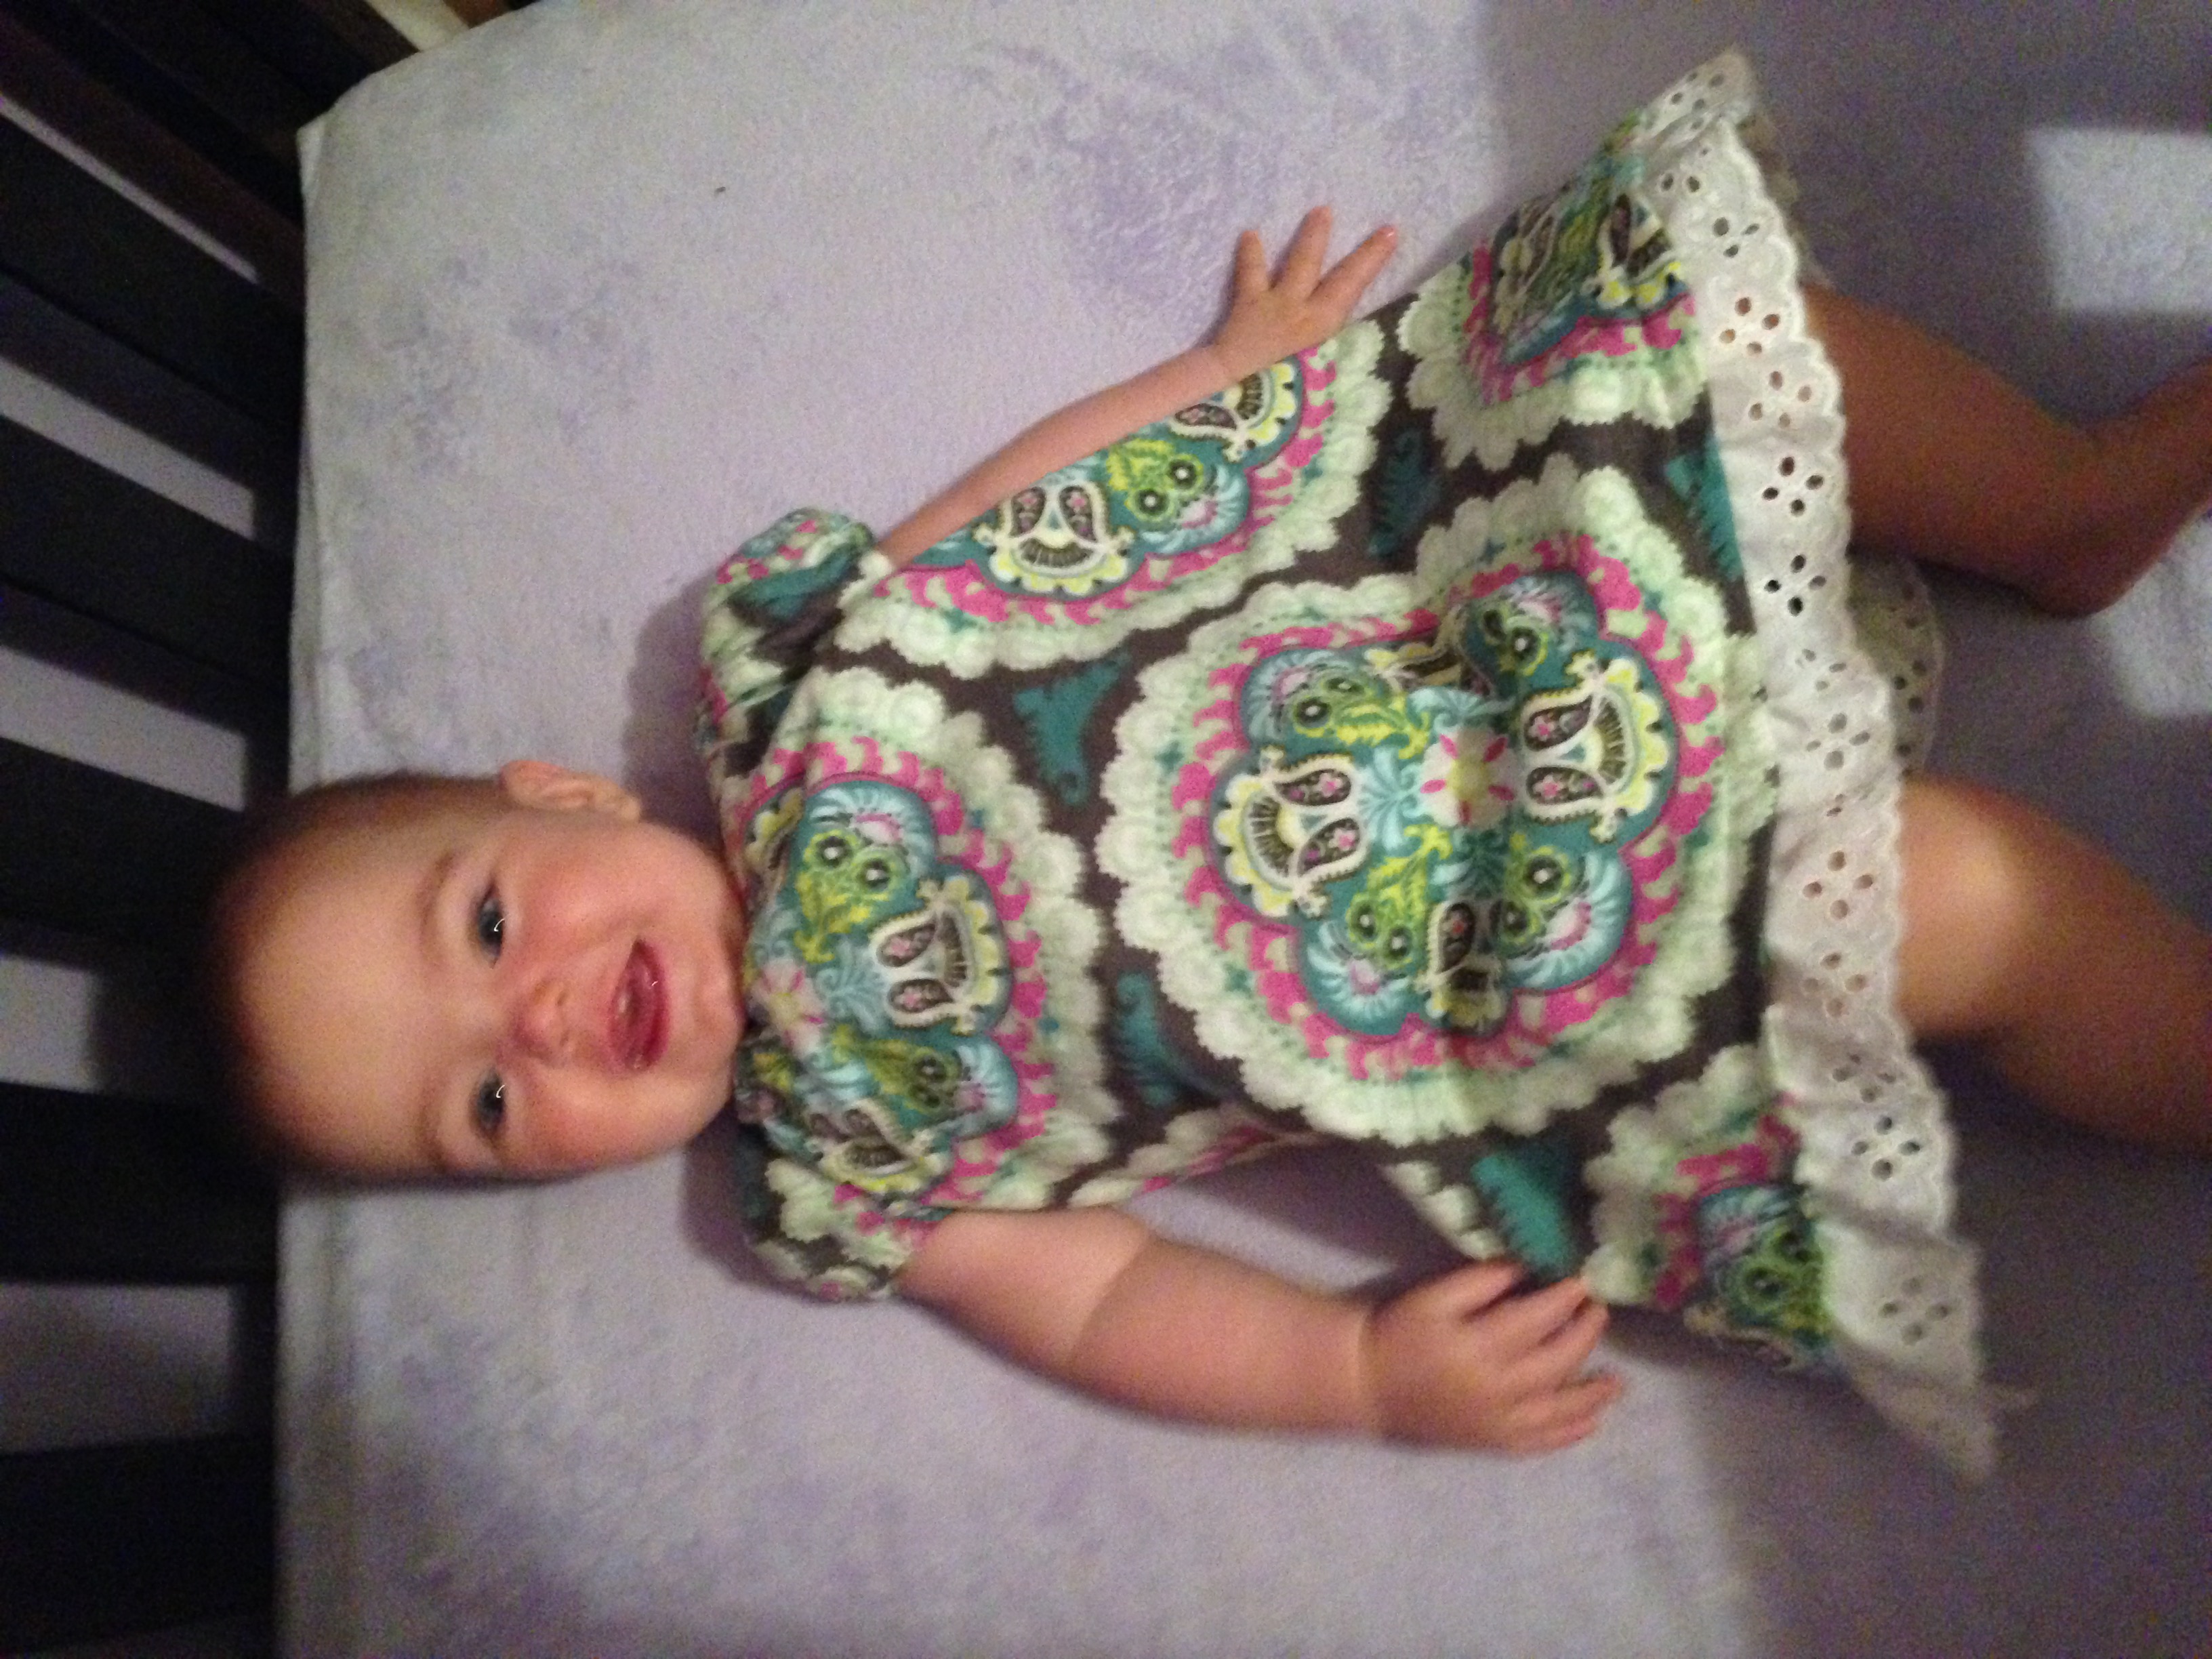
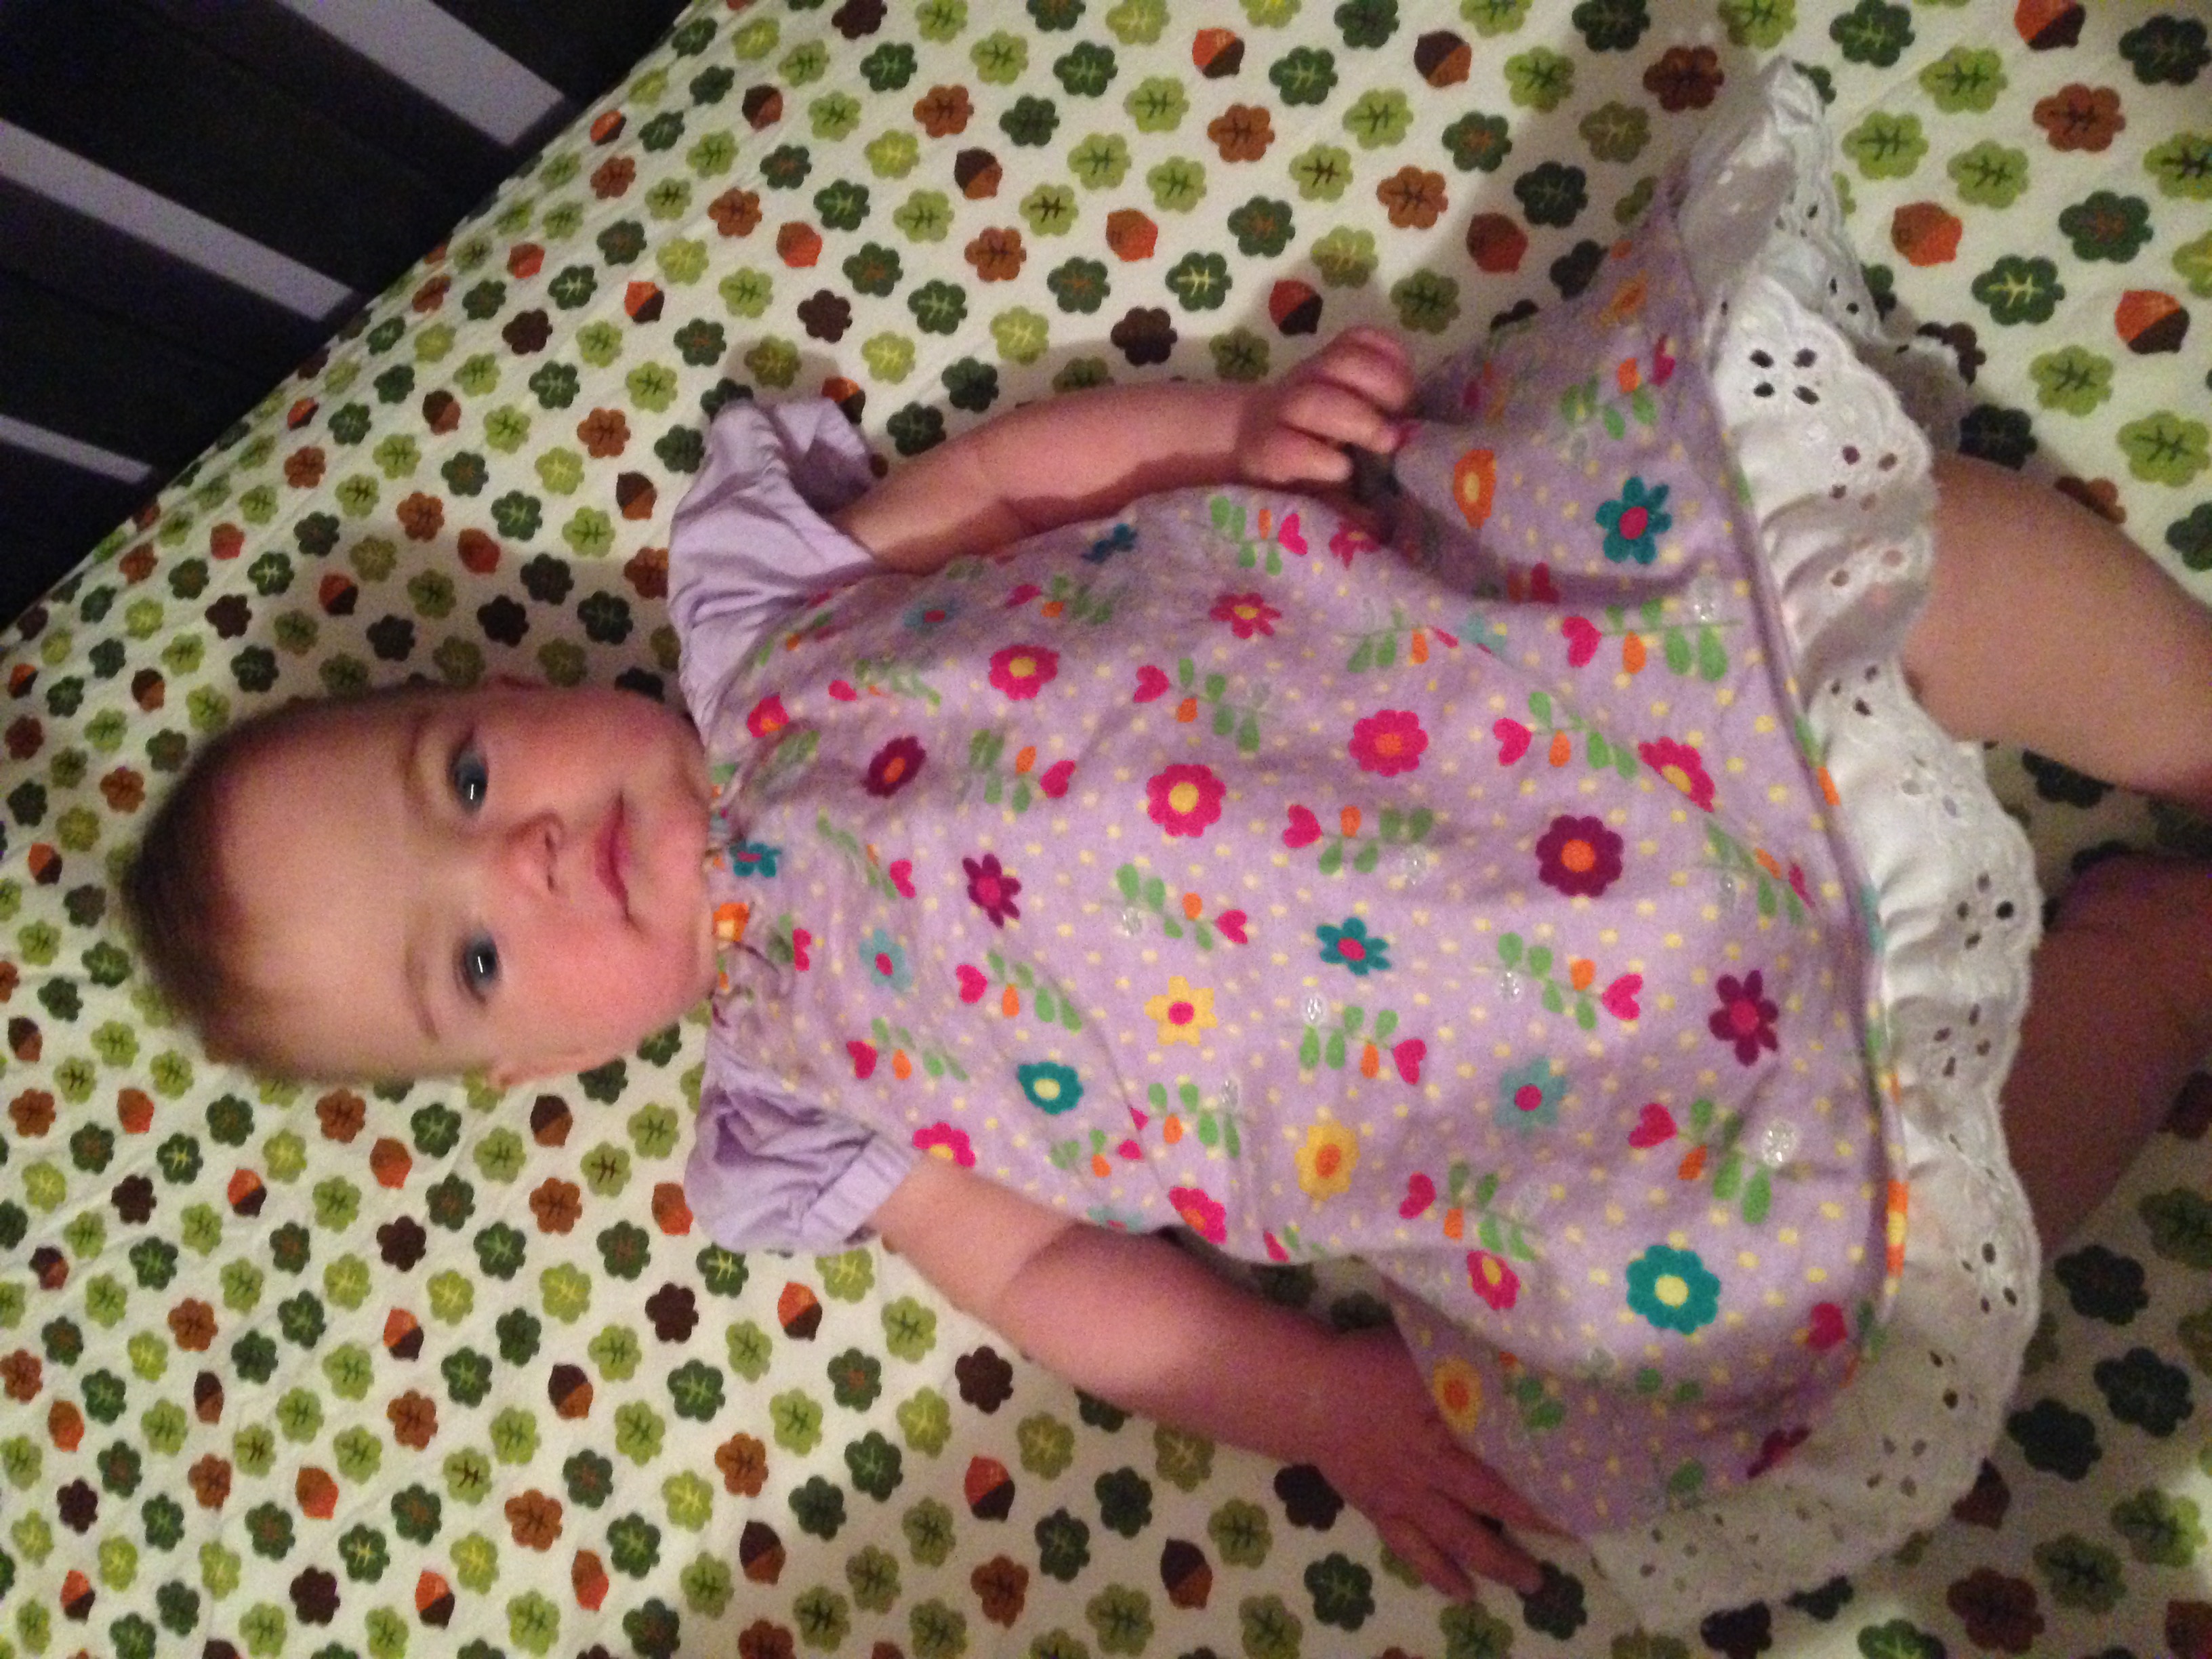
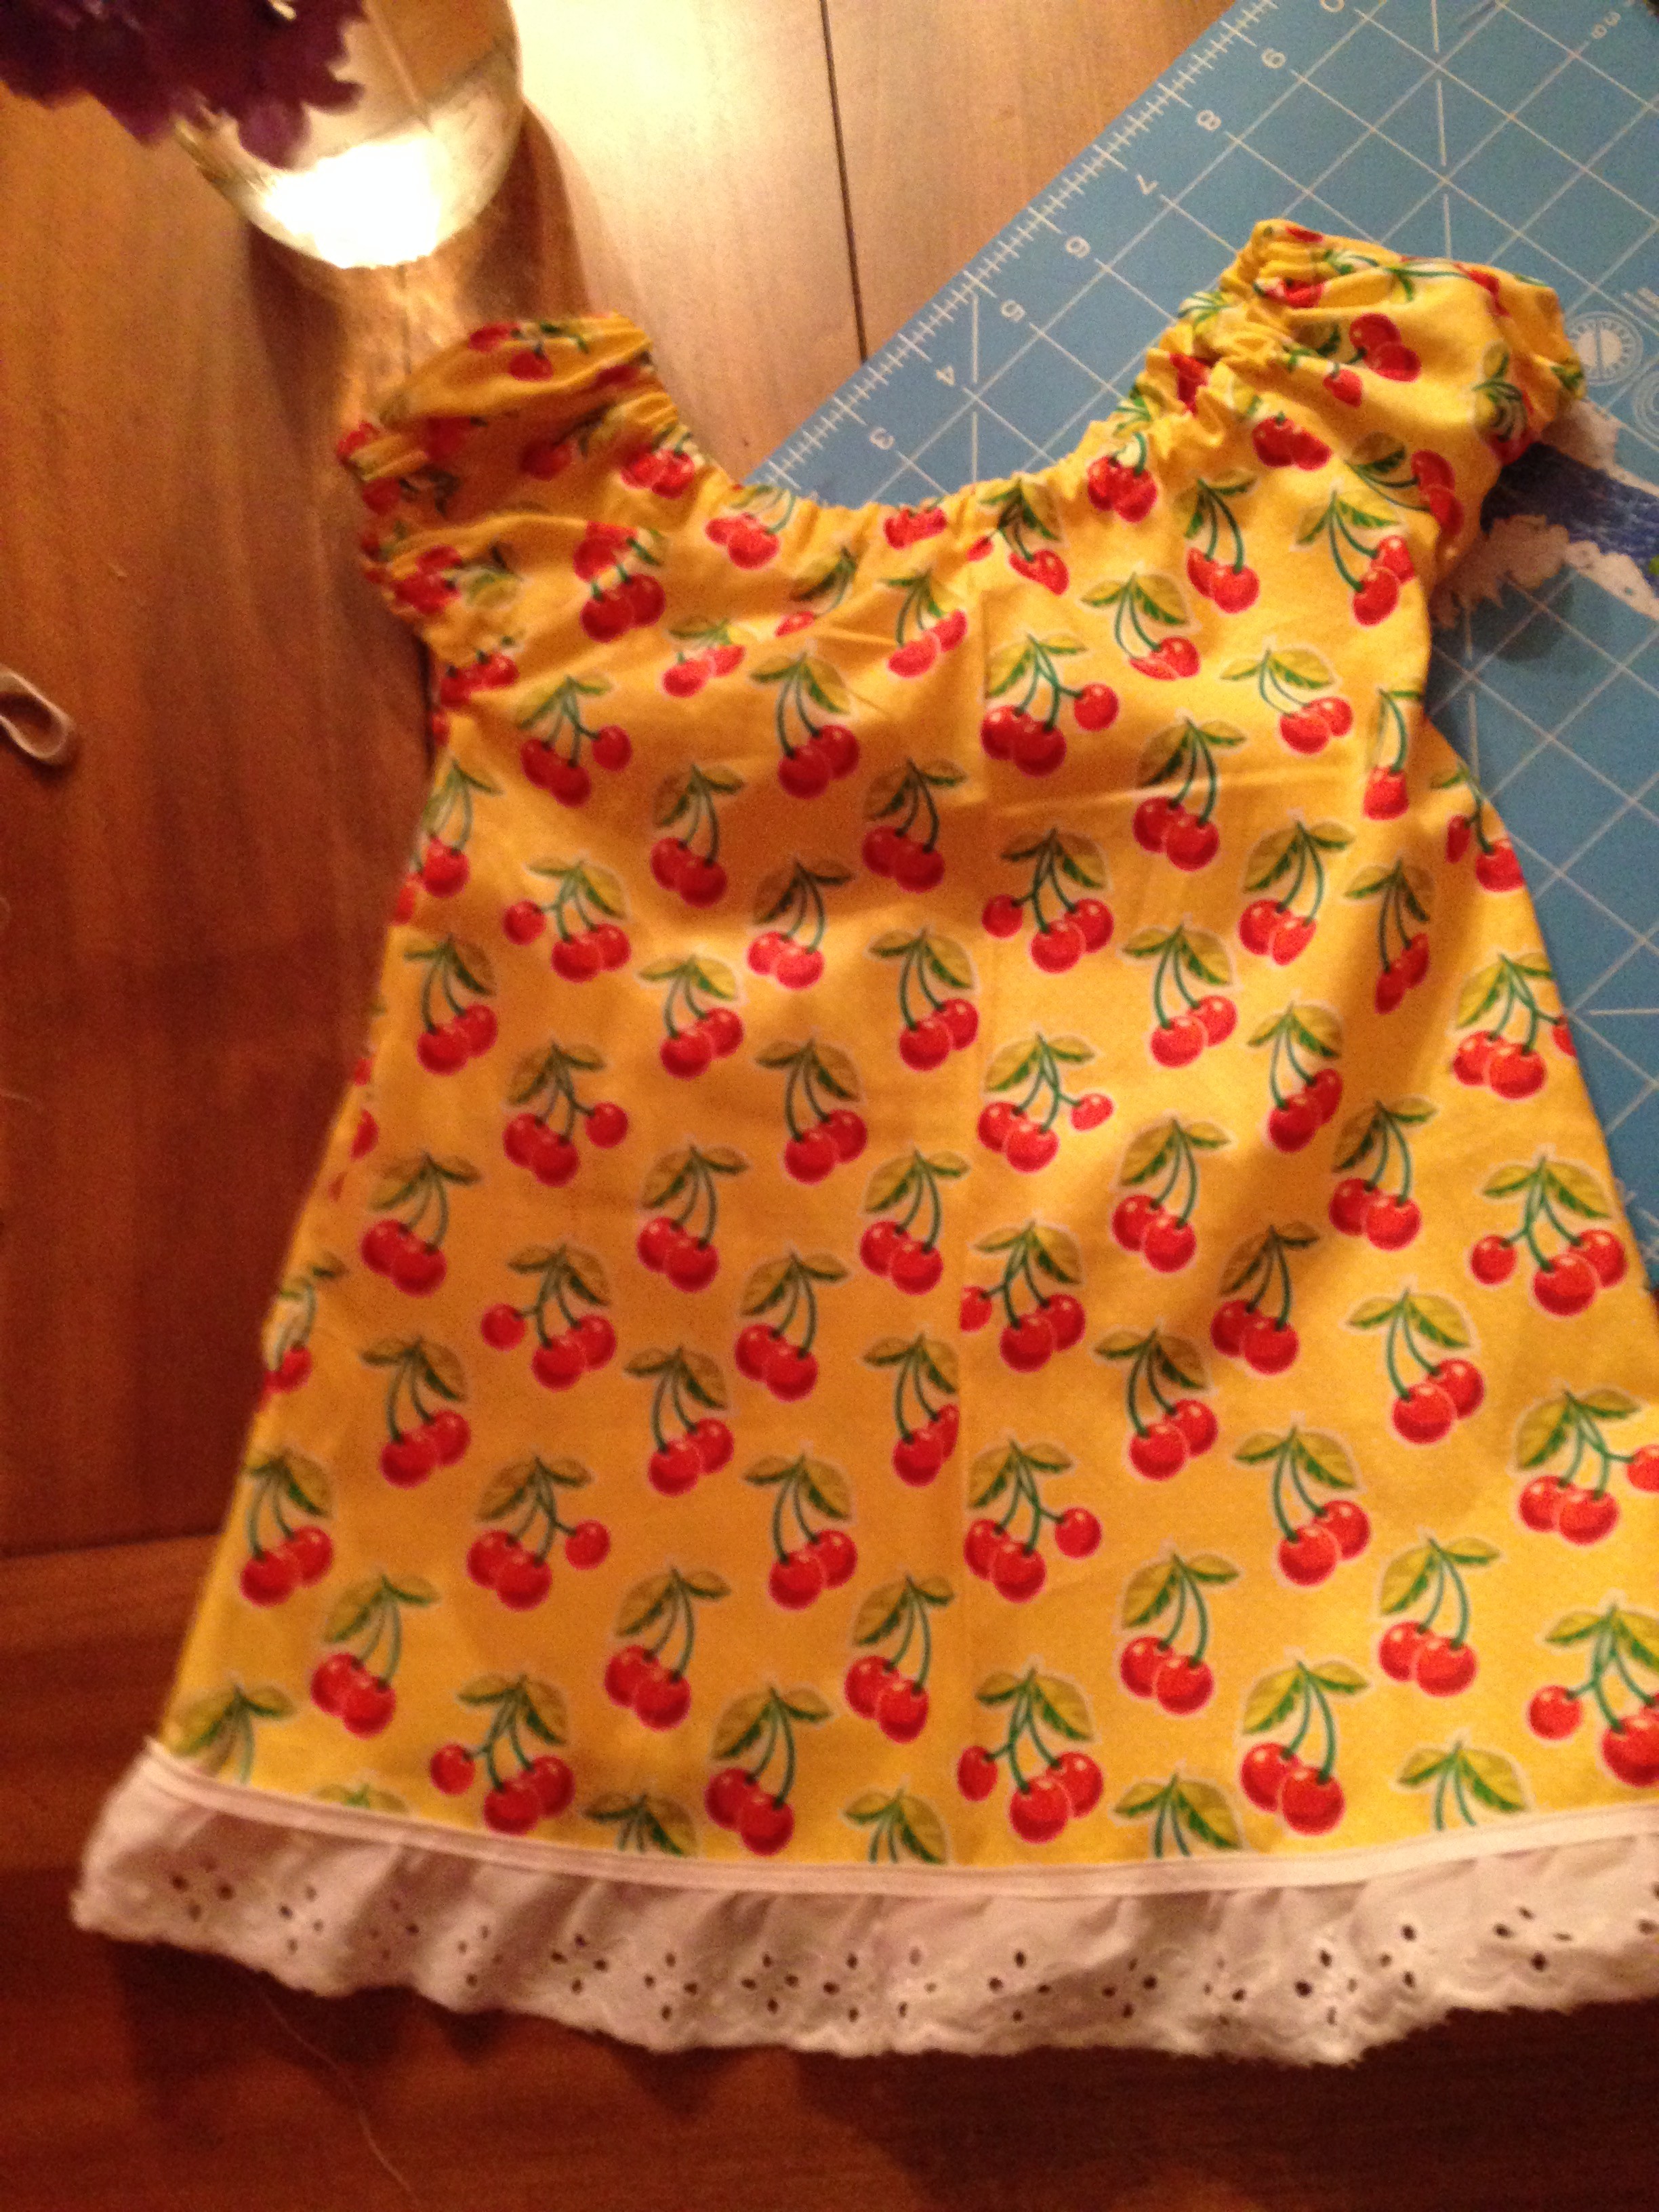
In one of my last tutorials, I showed you how to make a super cute sleeper.  Now, here are the matching slipper shoes!

IMG_2318           IMG_2303

What you will need:

  • Fabric of choice
  • 1/4 or 1/8 inch elastic
  • Thread color of choice
  • Optional: buttons or bows

I used a free pattern from marked crafts- > shoepattern

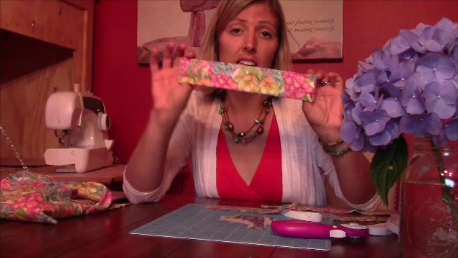
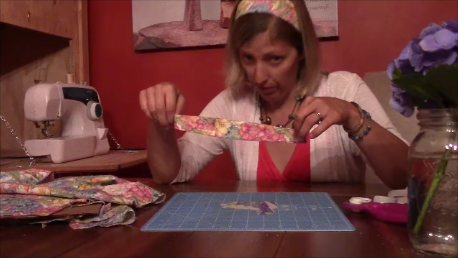
So lets get started!  here is the video tutorial and below that is the written and picture format.


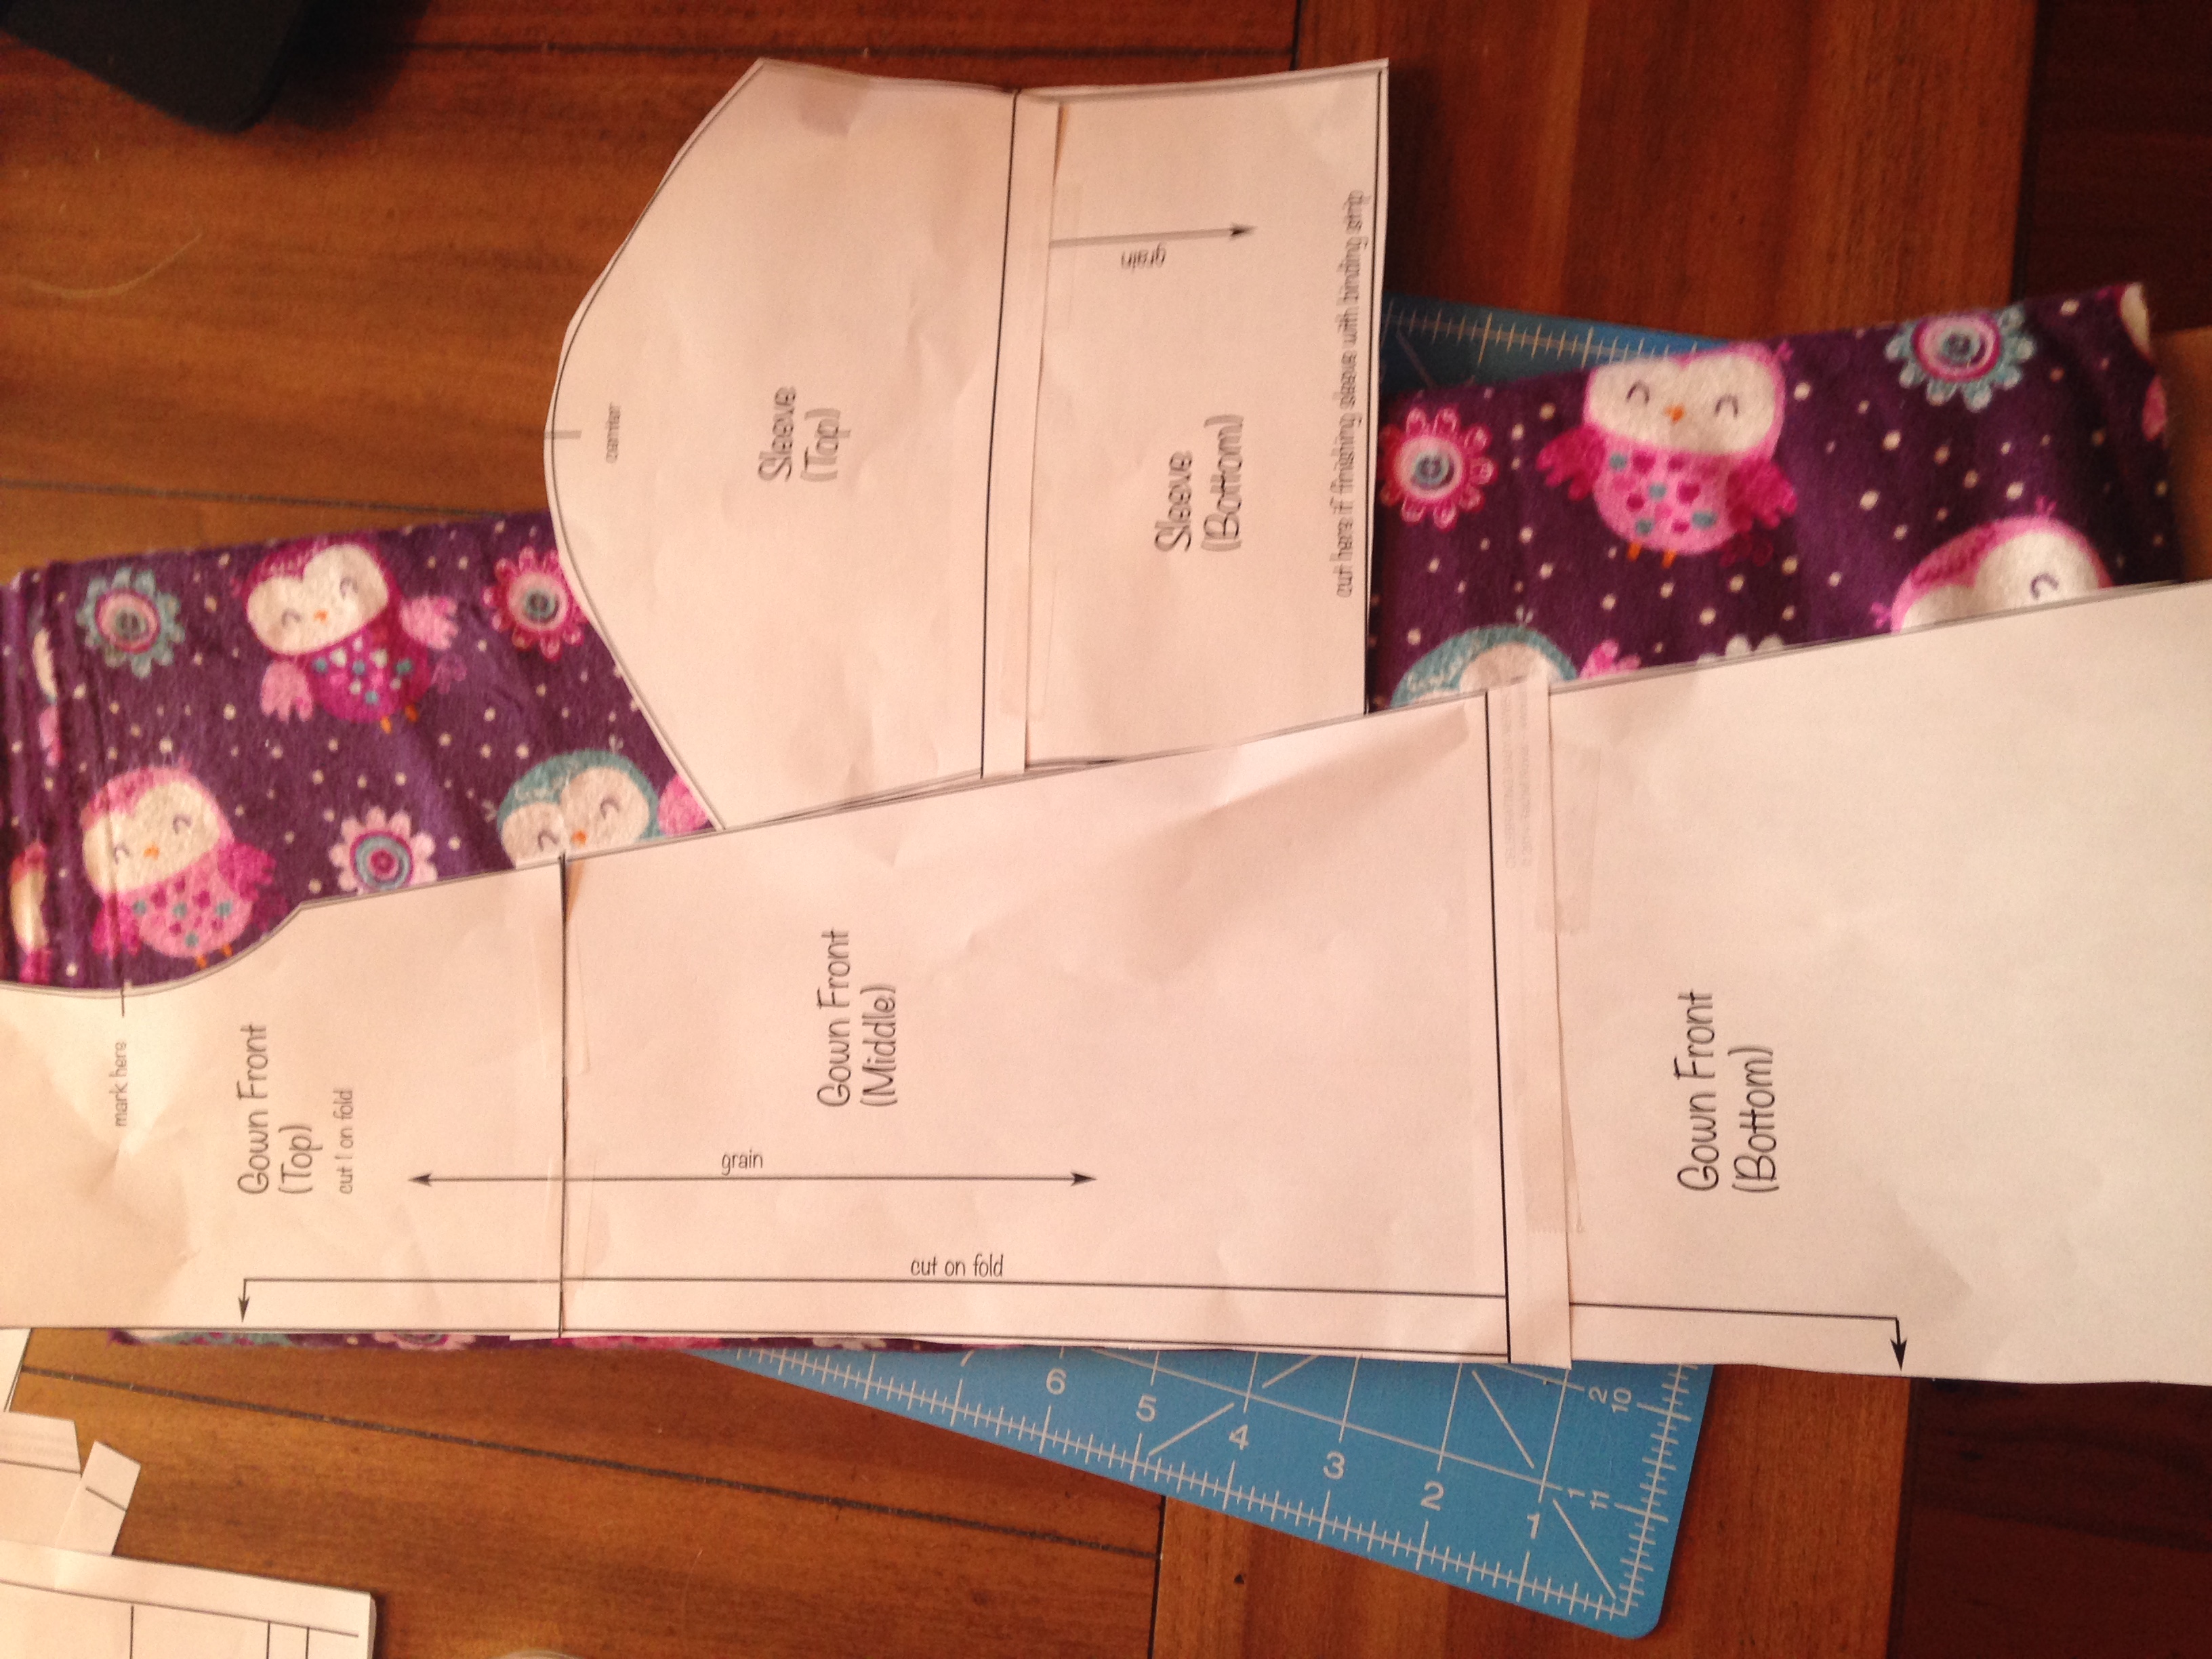
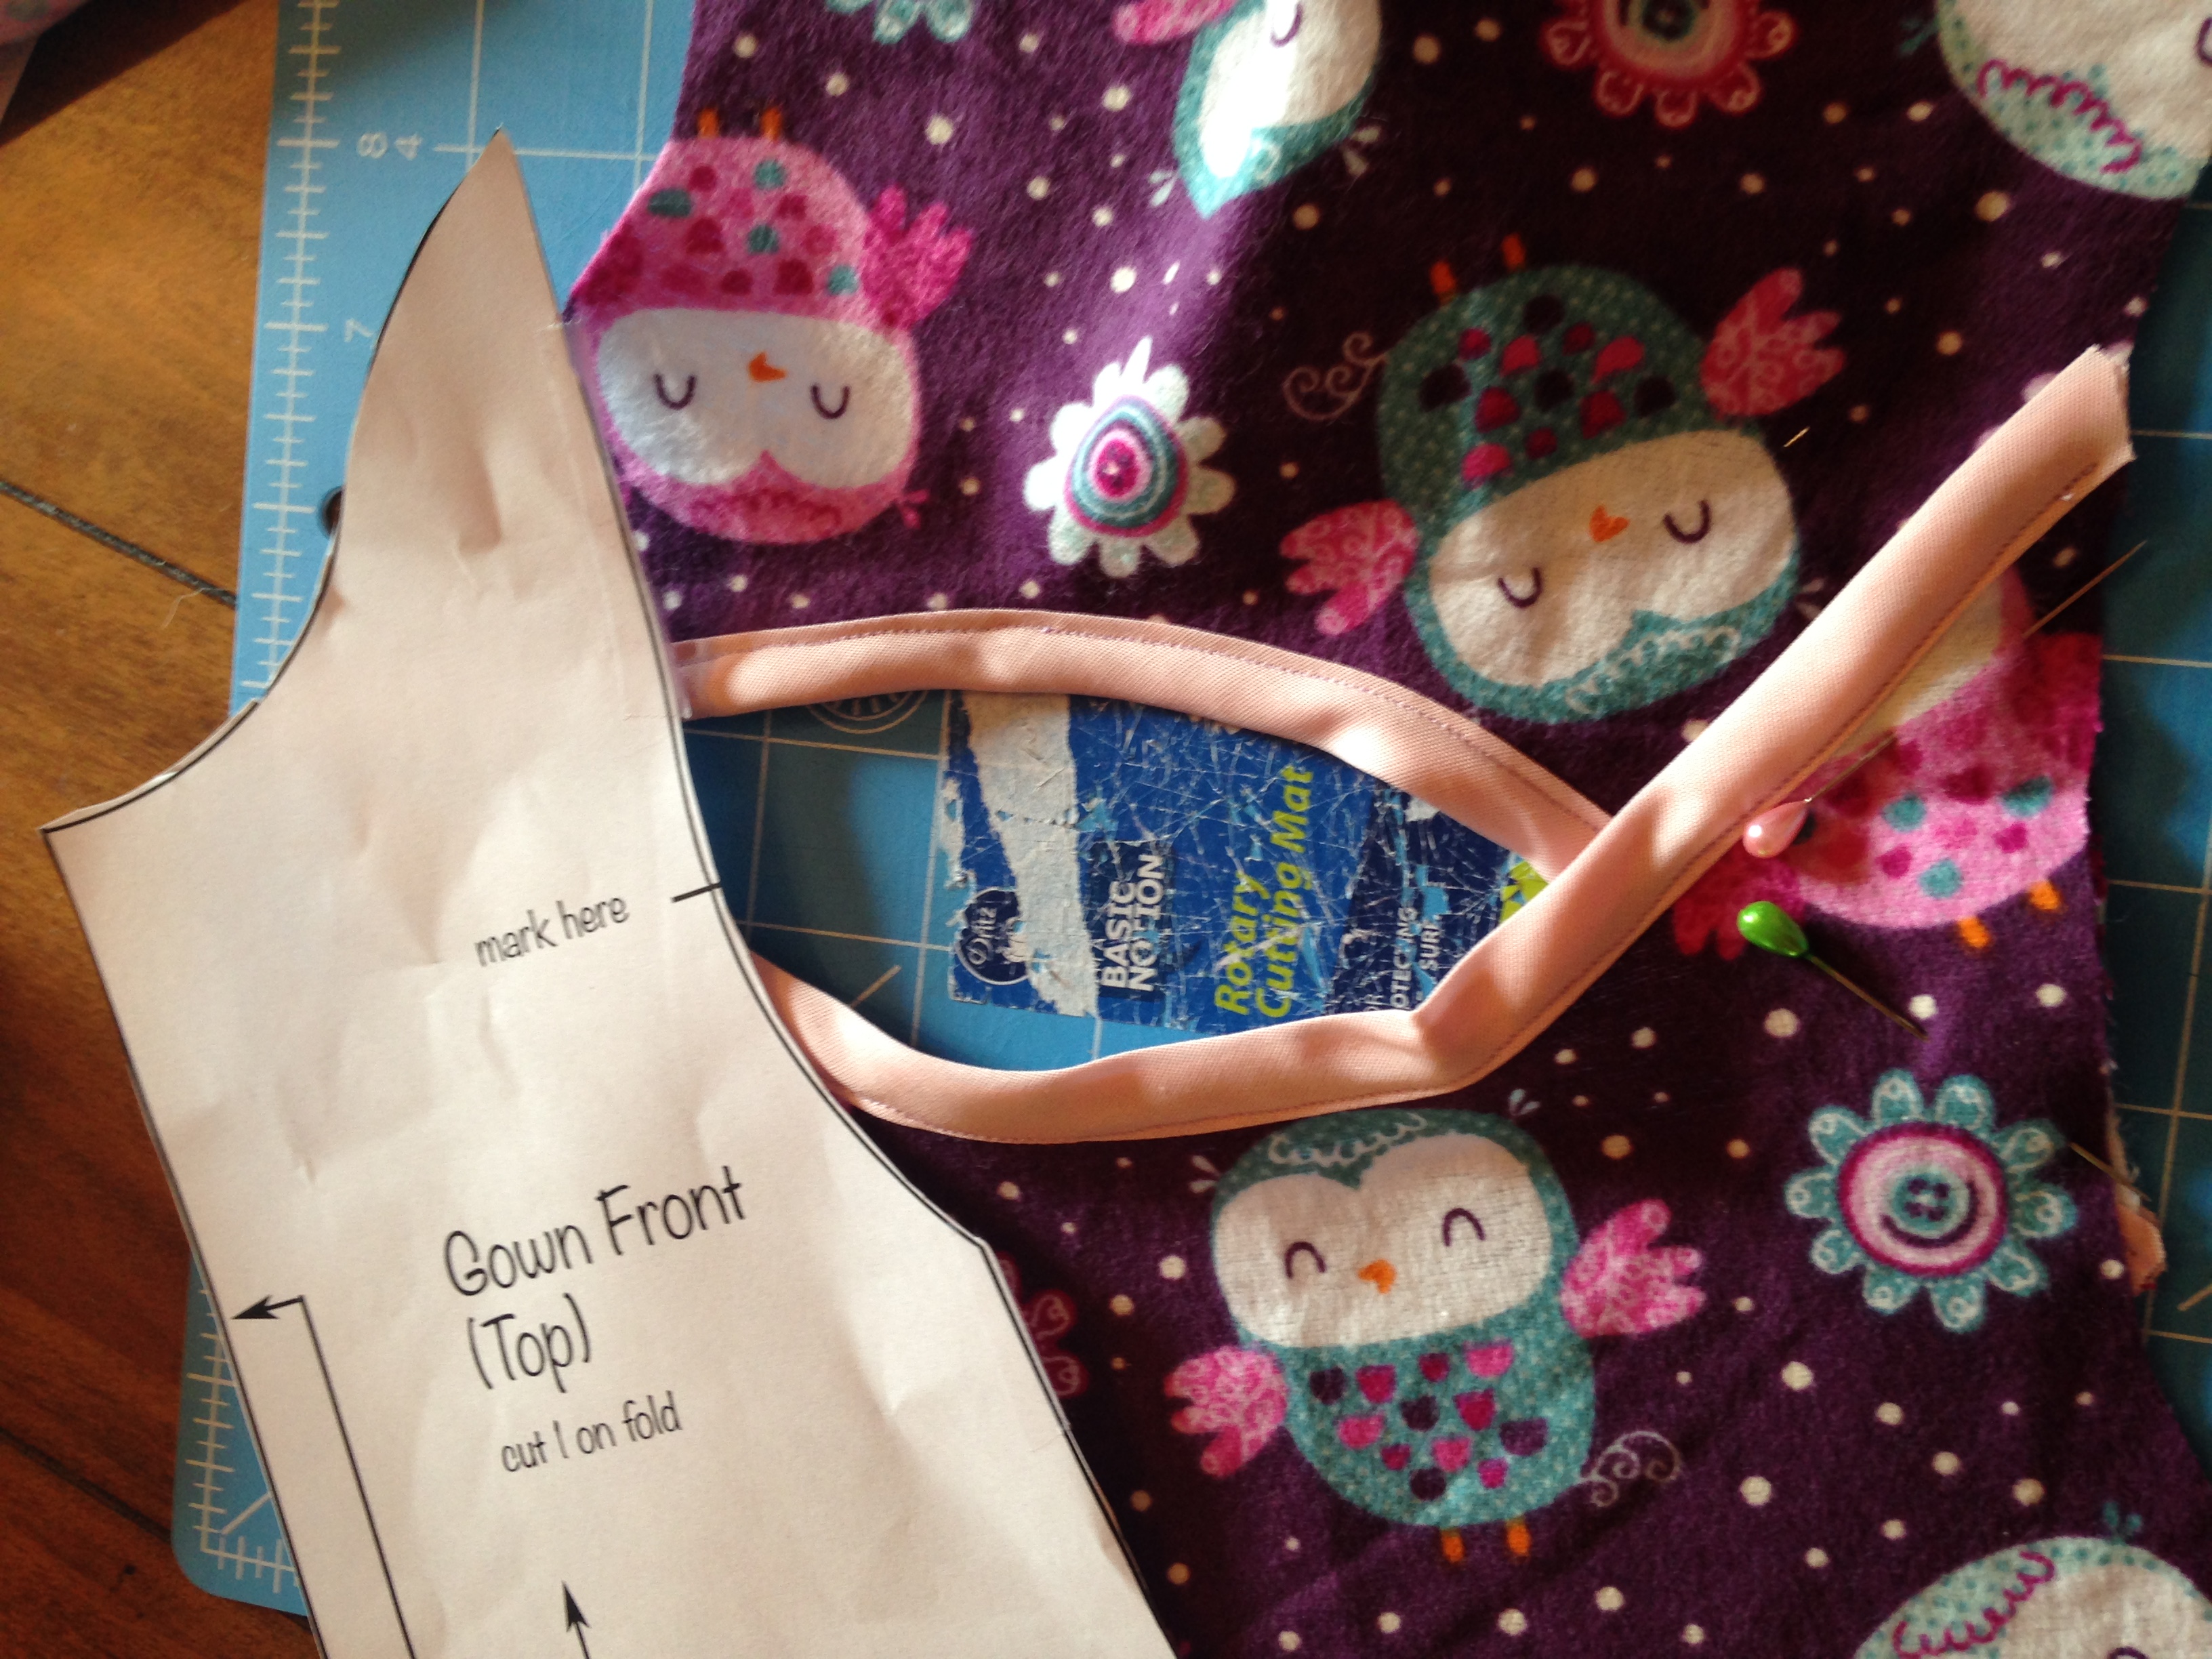
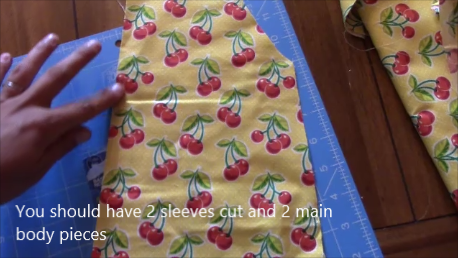
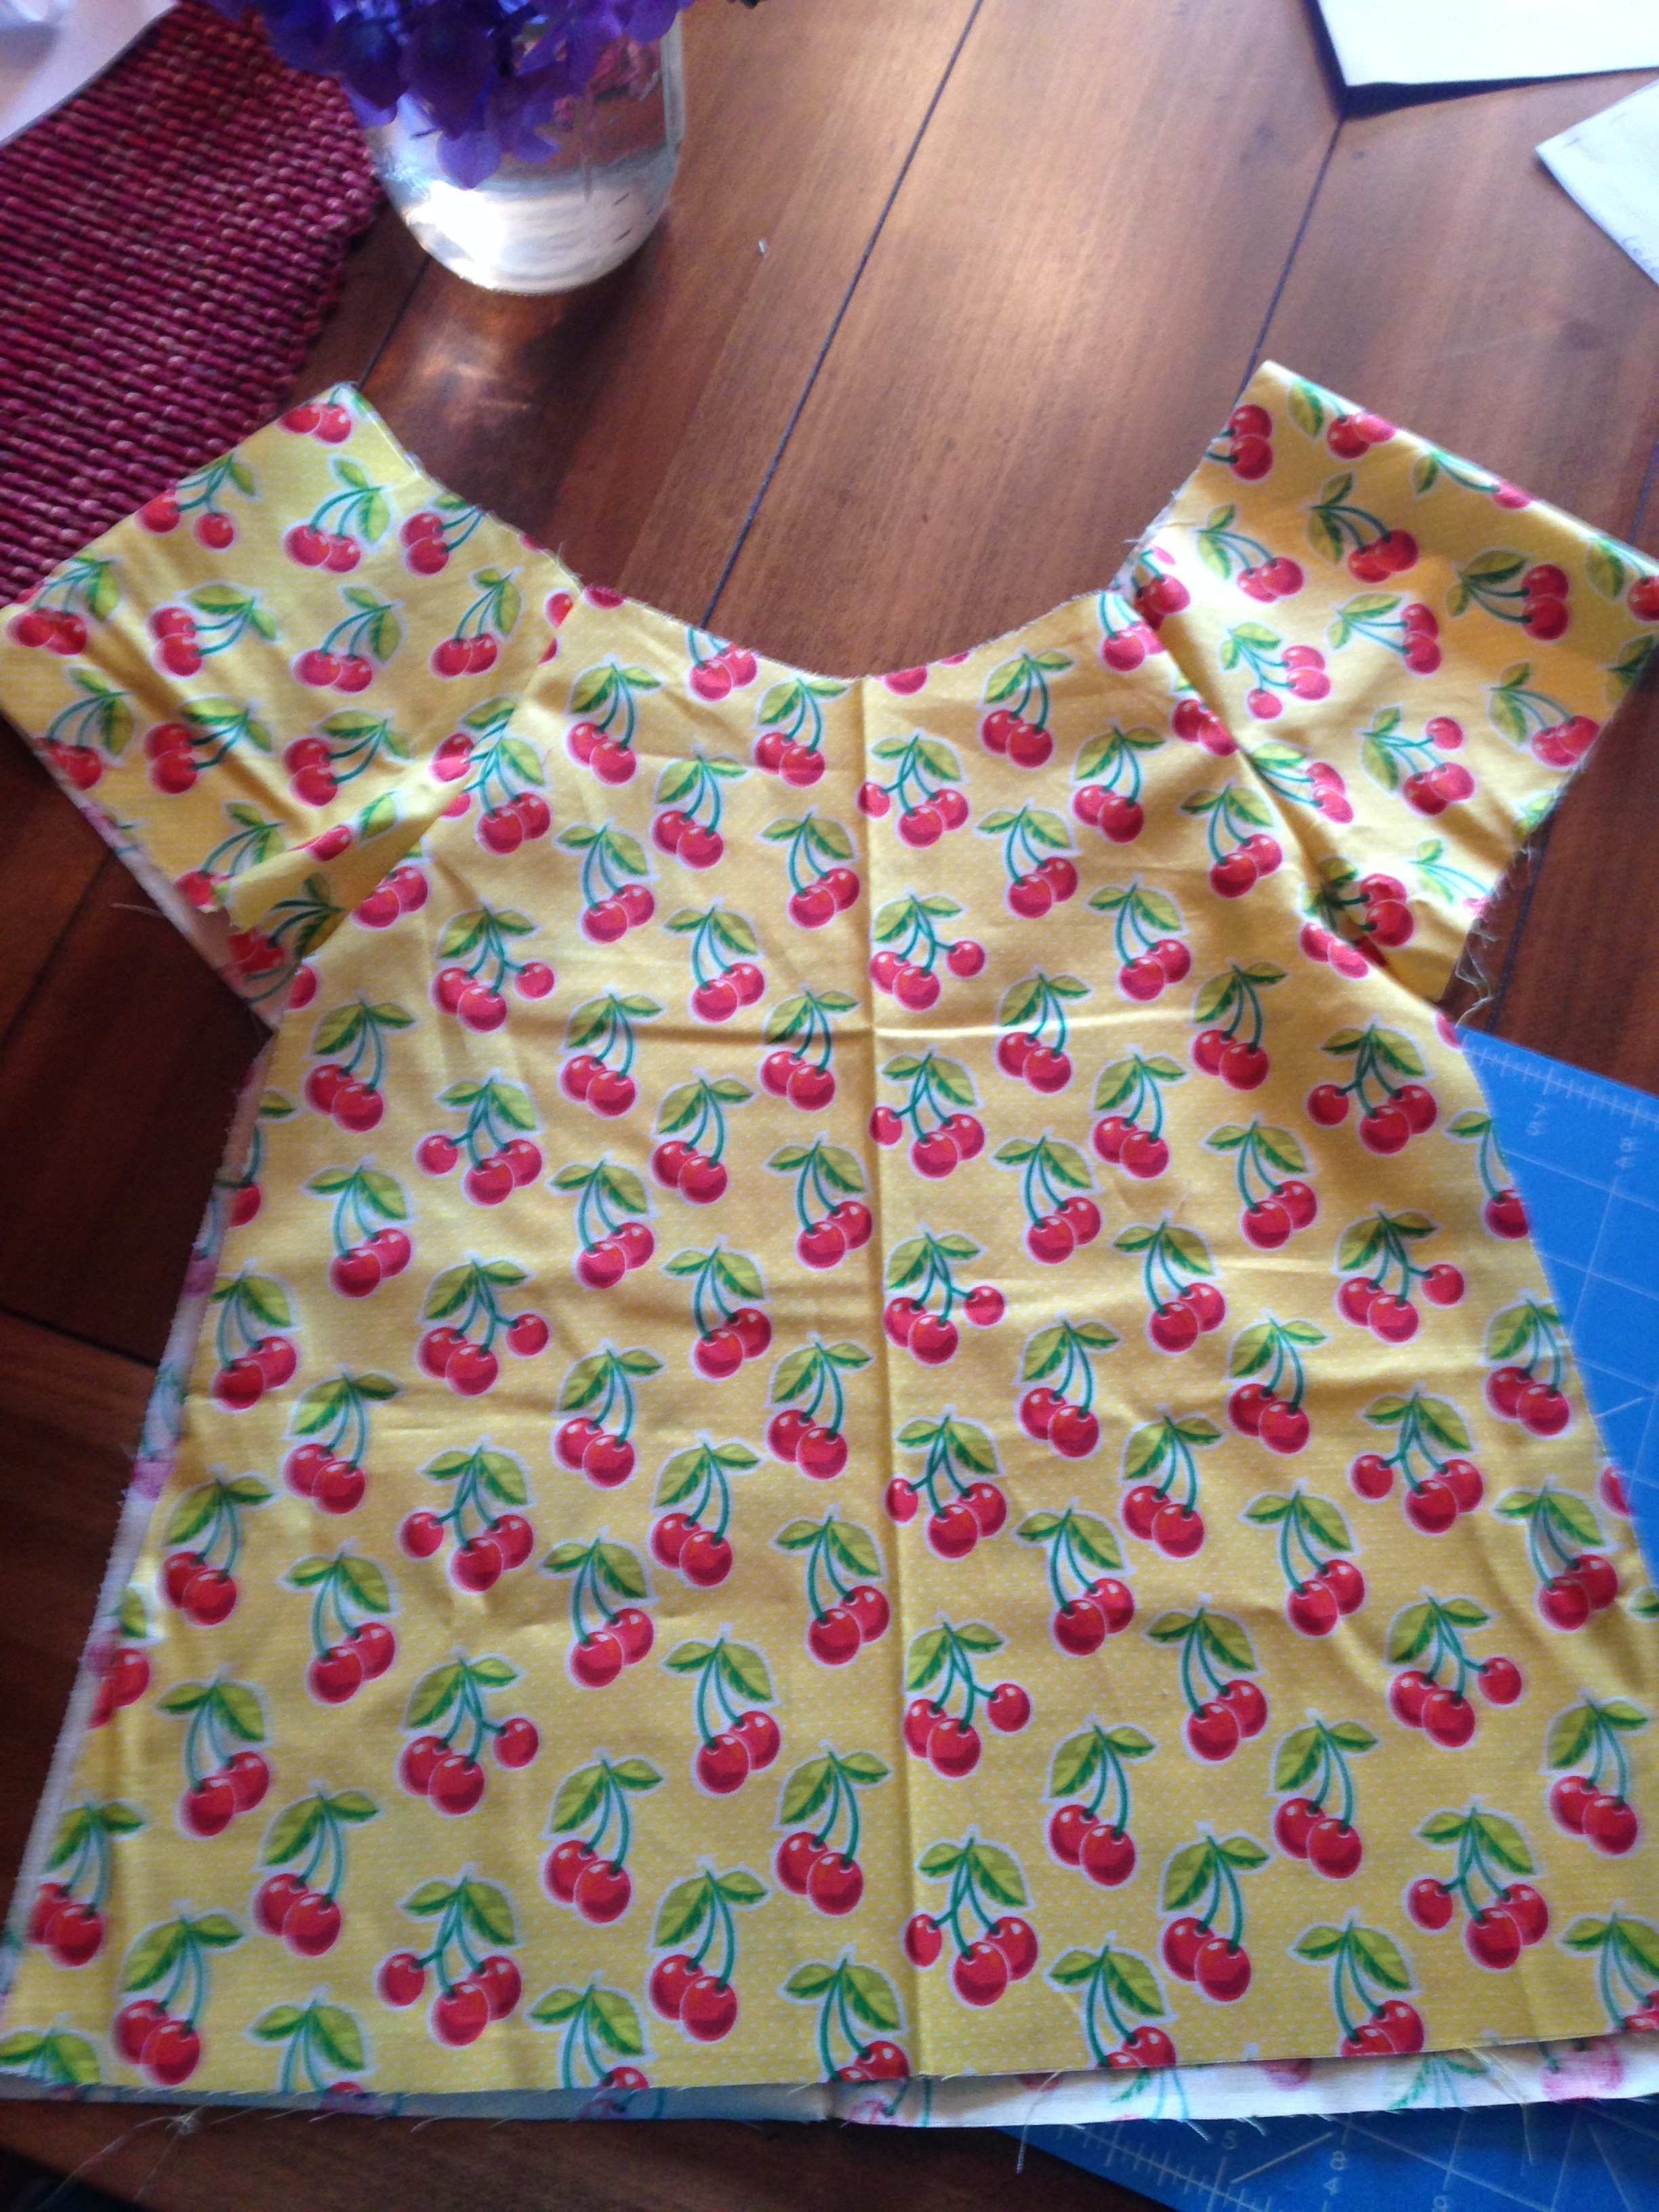
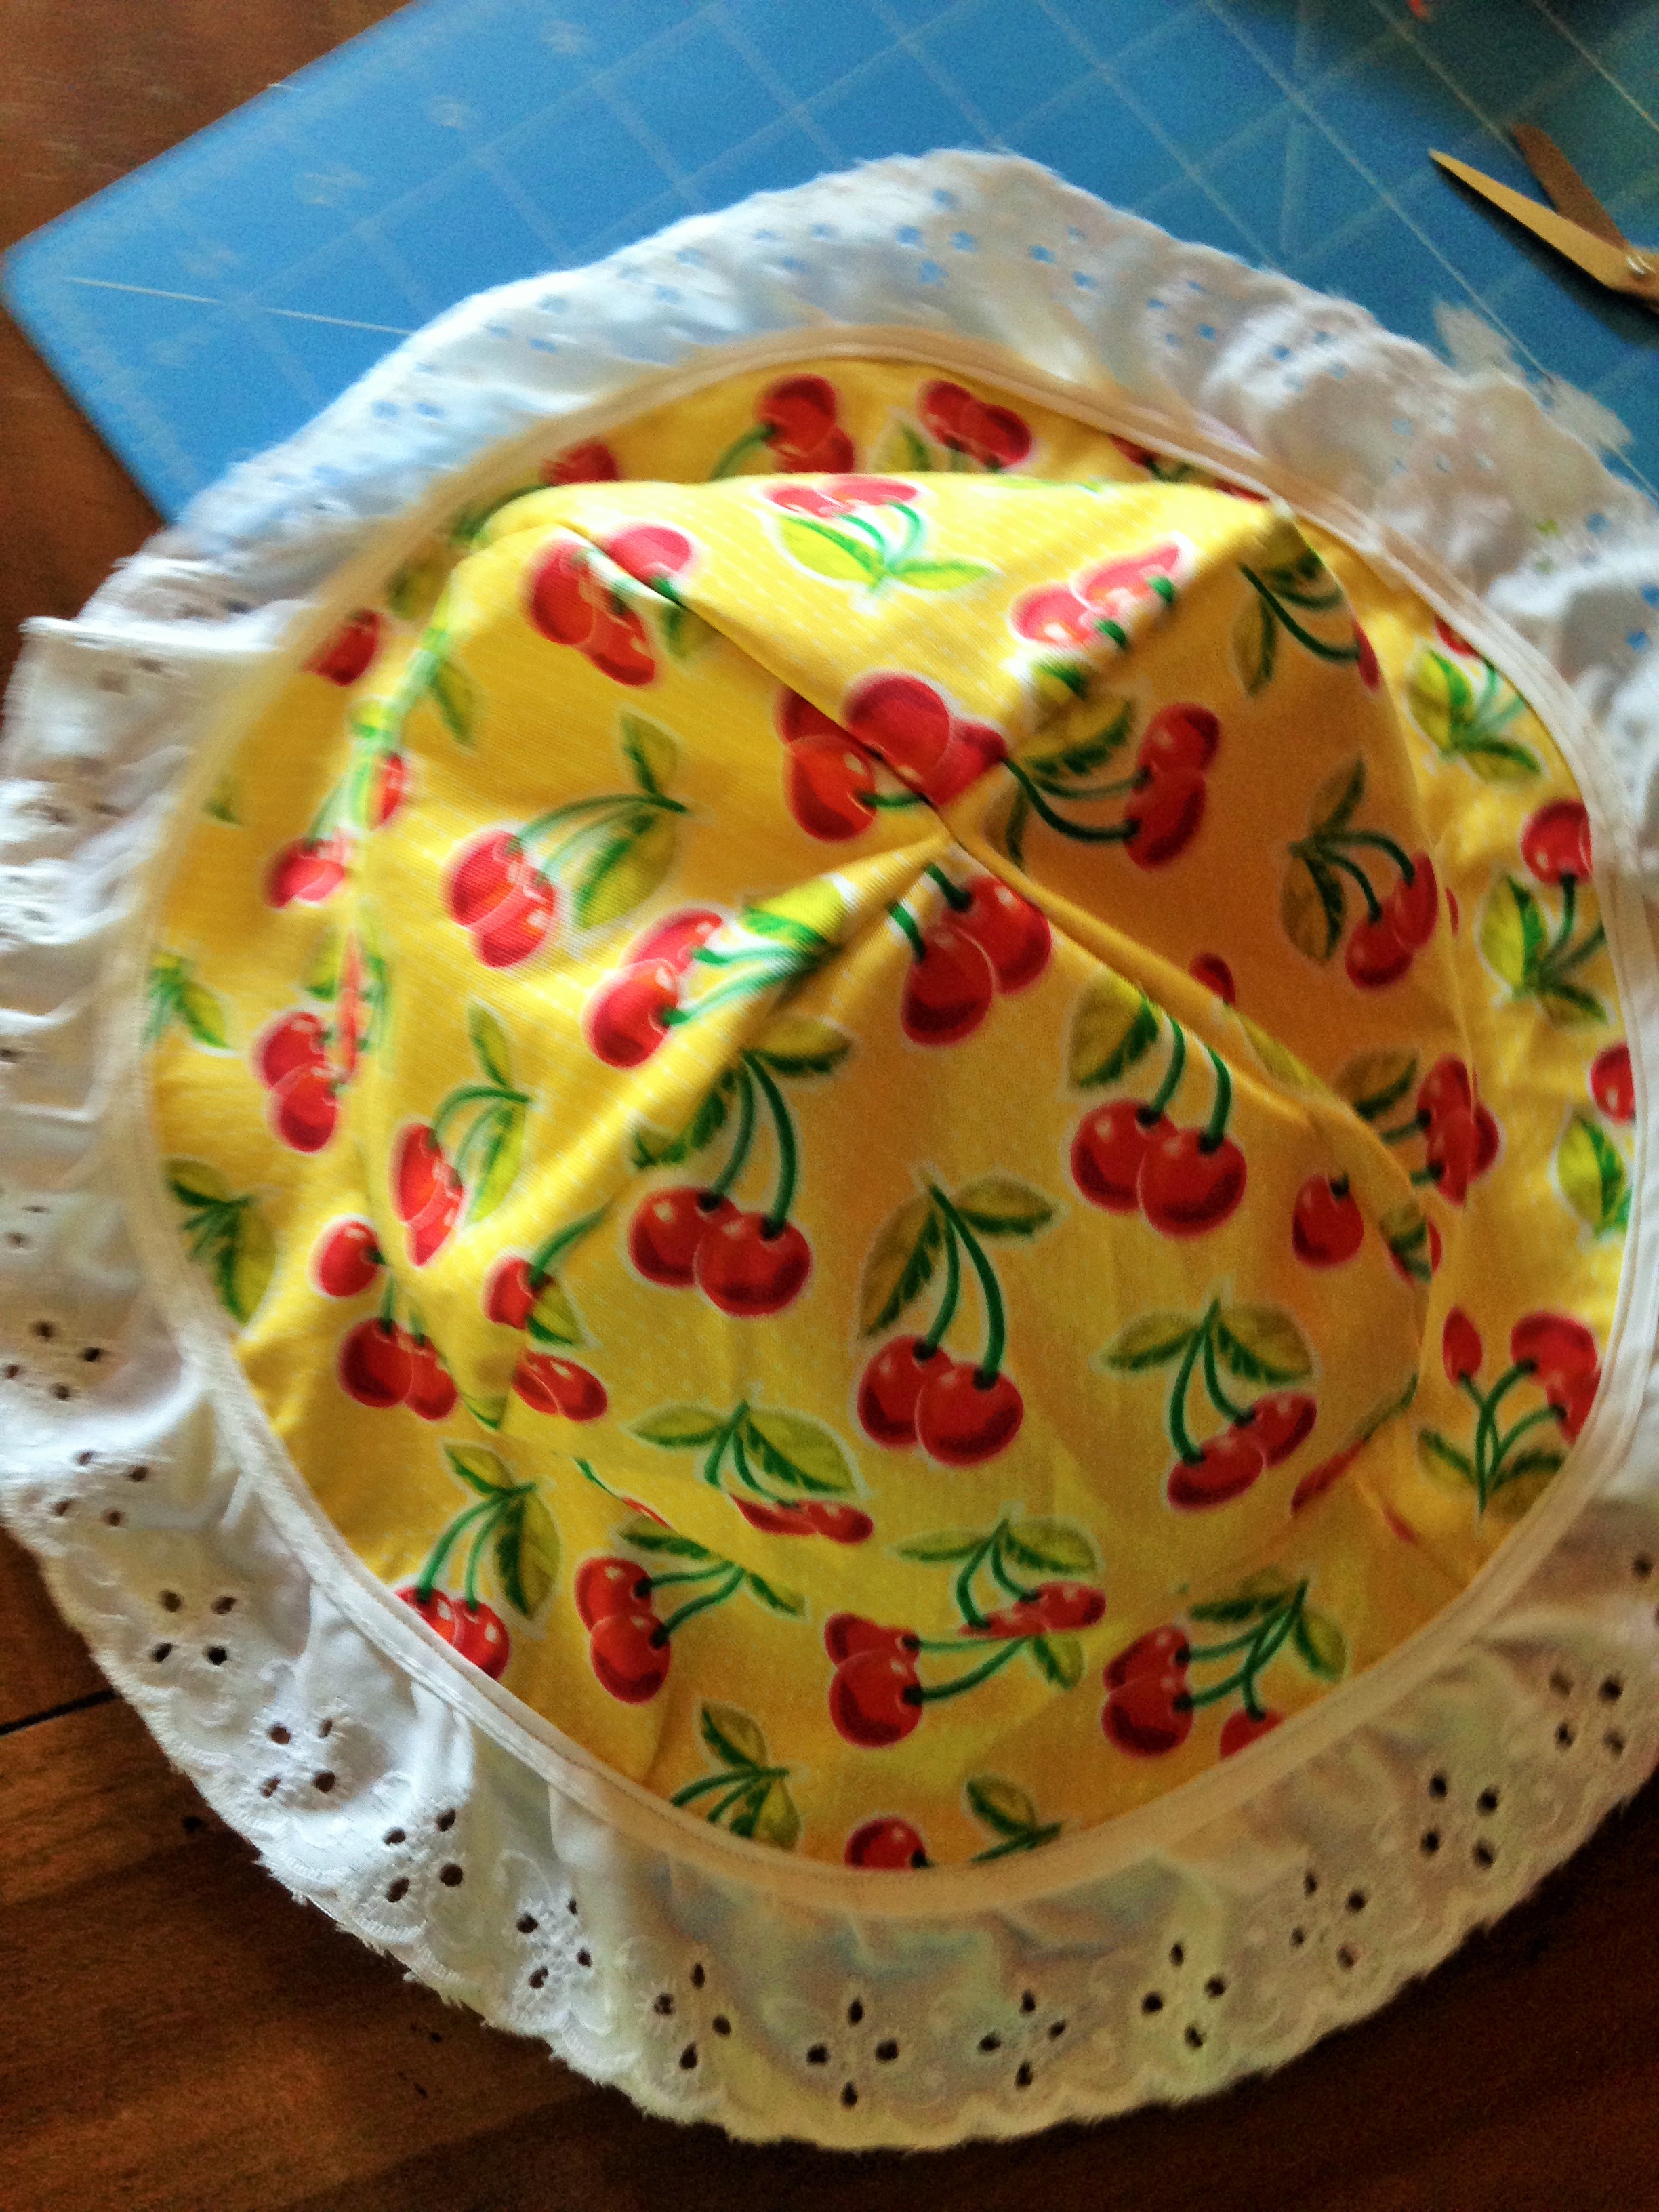
  1. Cut your pattern out and decide on your color/colors you want to use (you can use two colors!
  2. IMG_2289
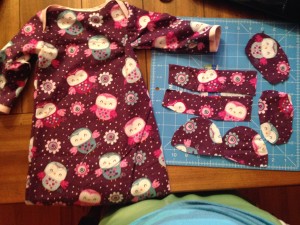
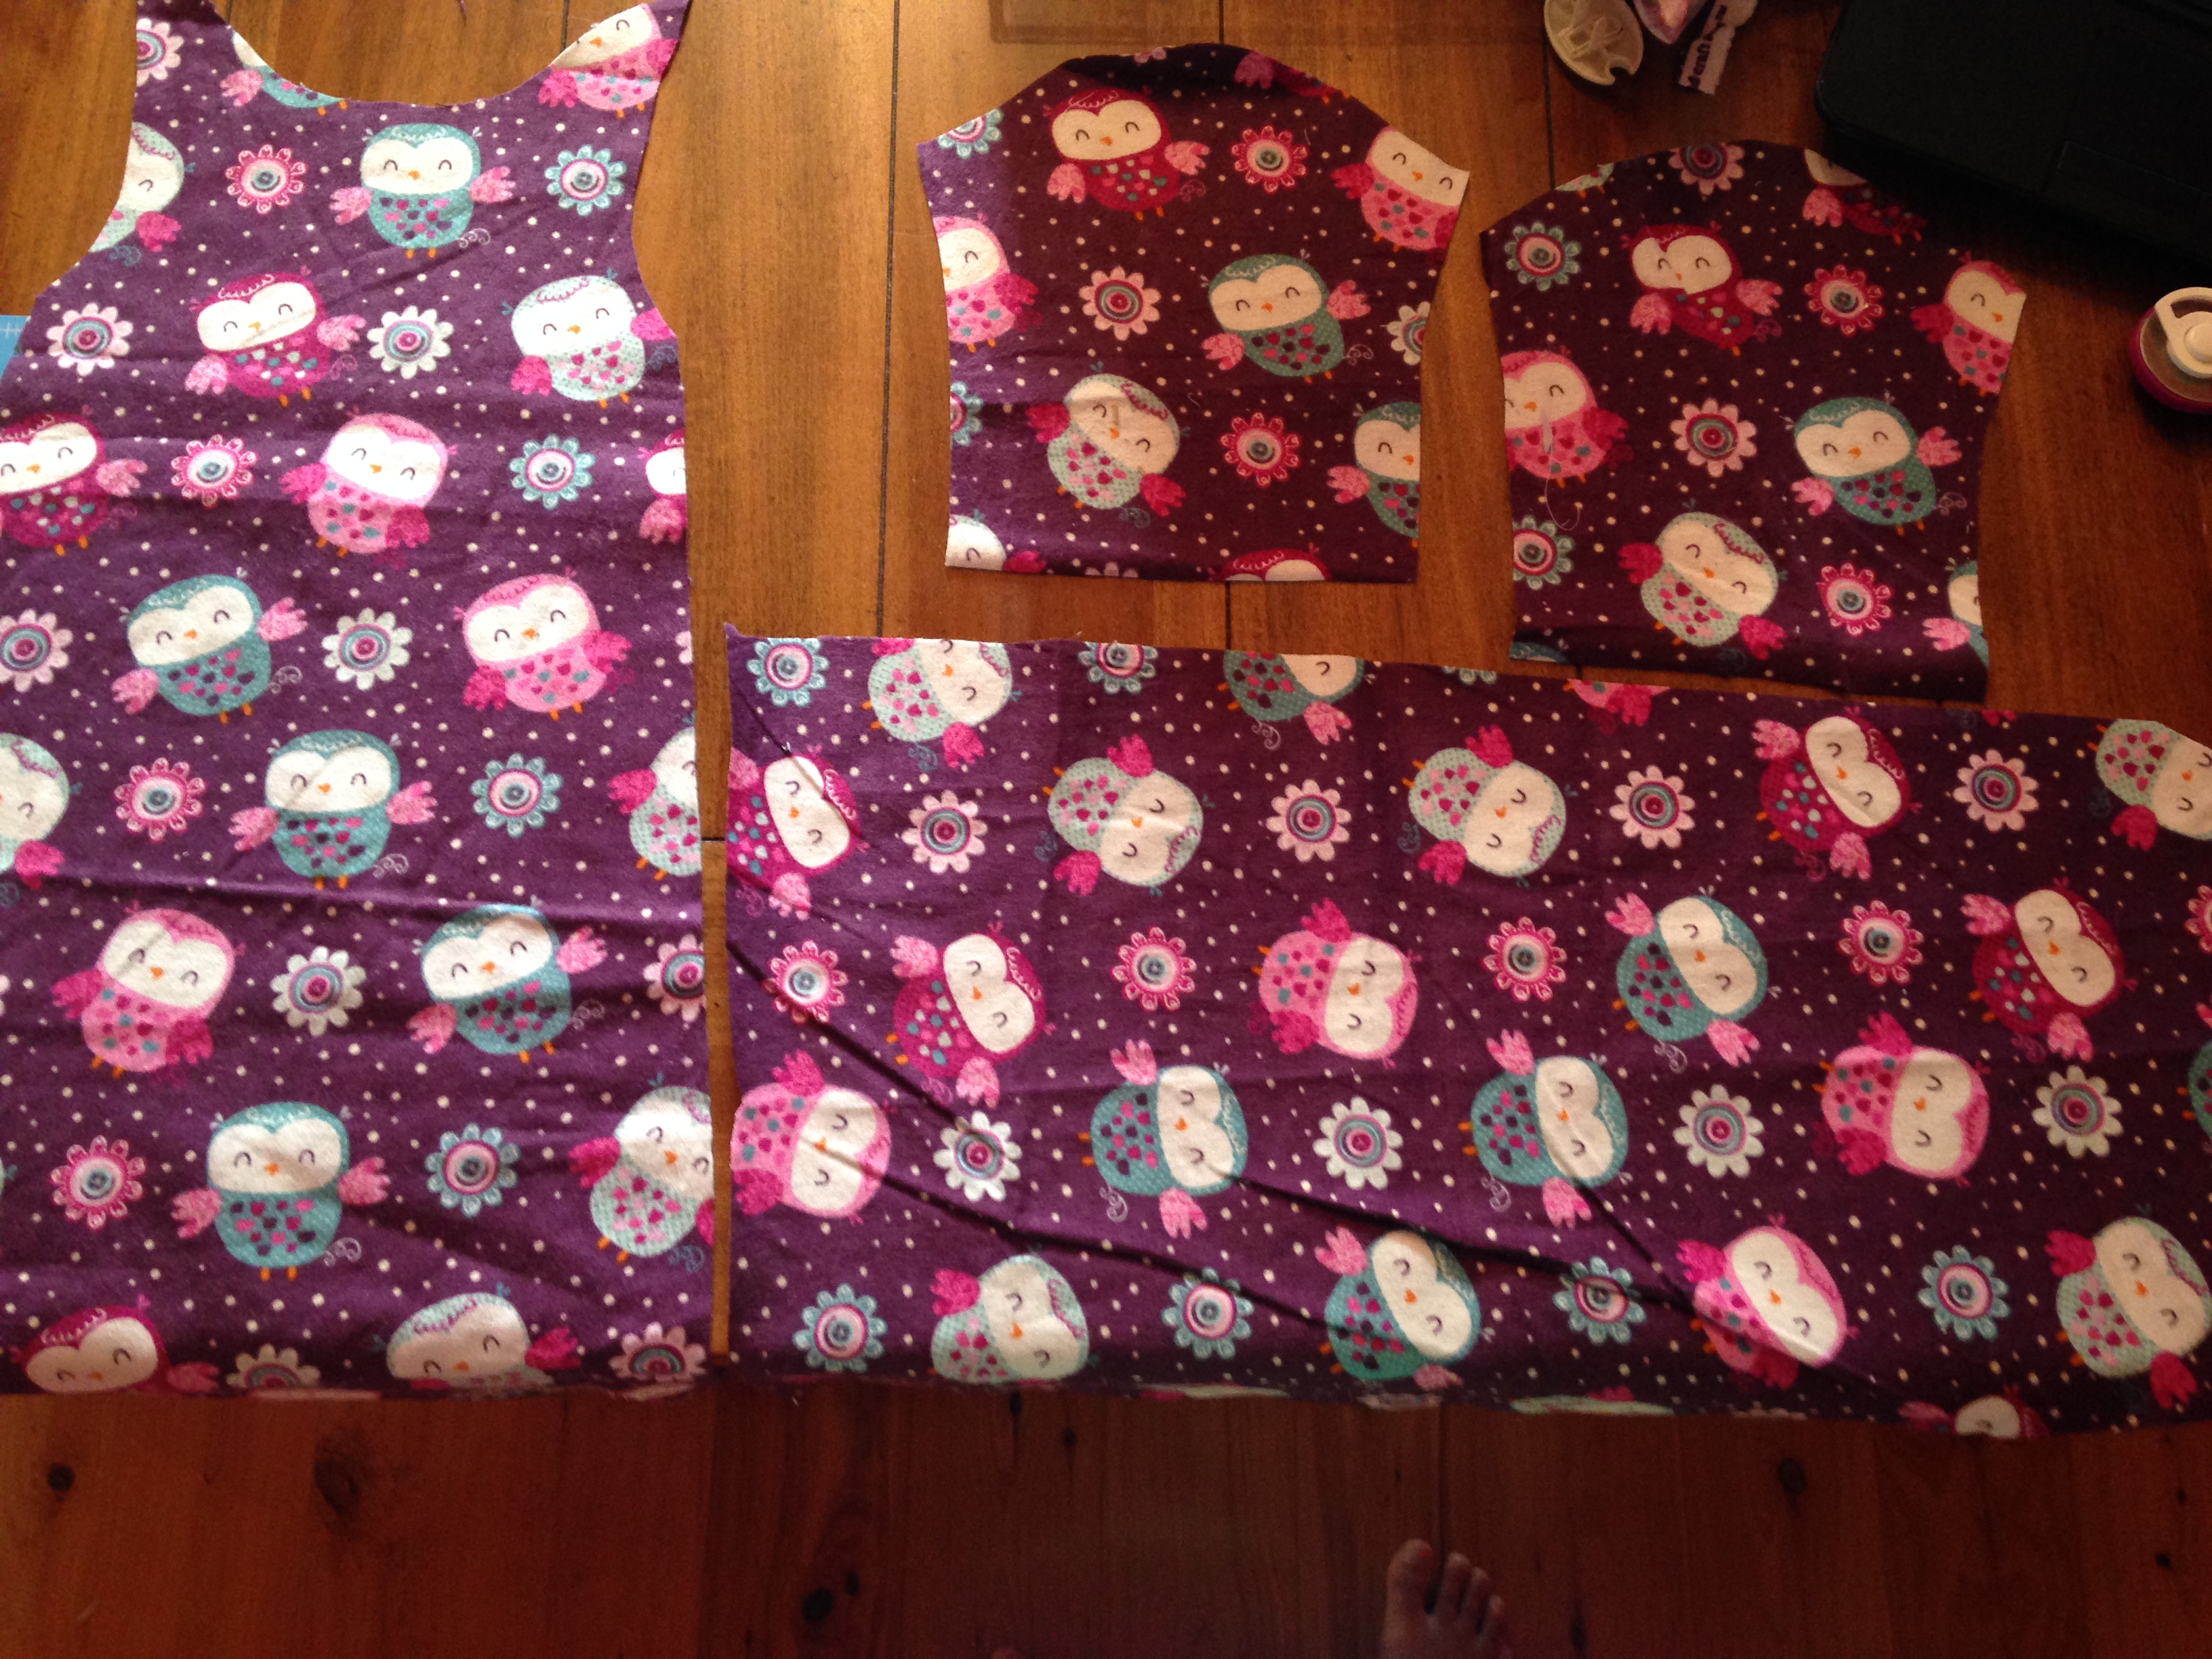
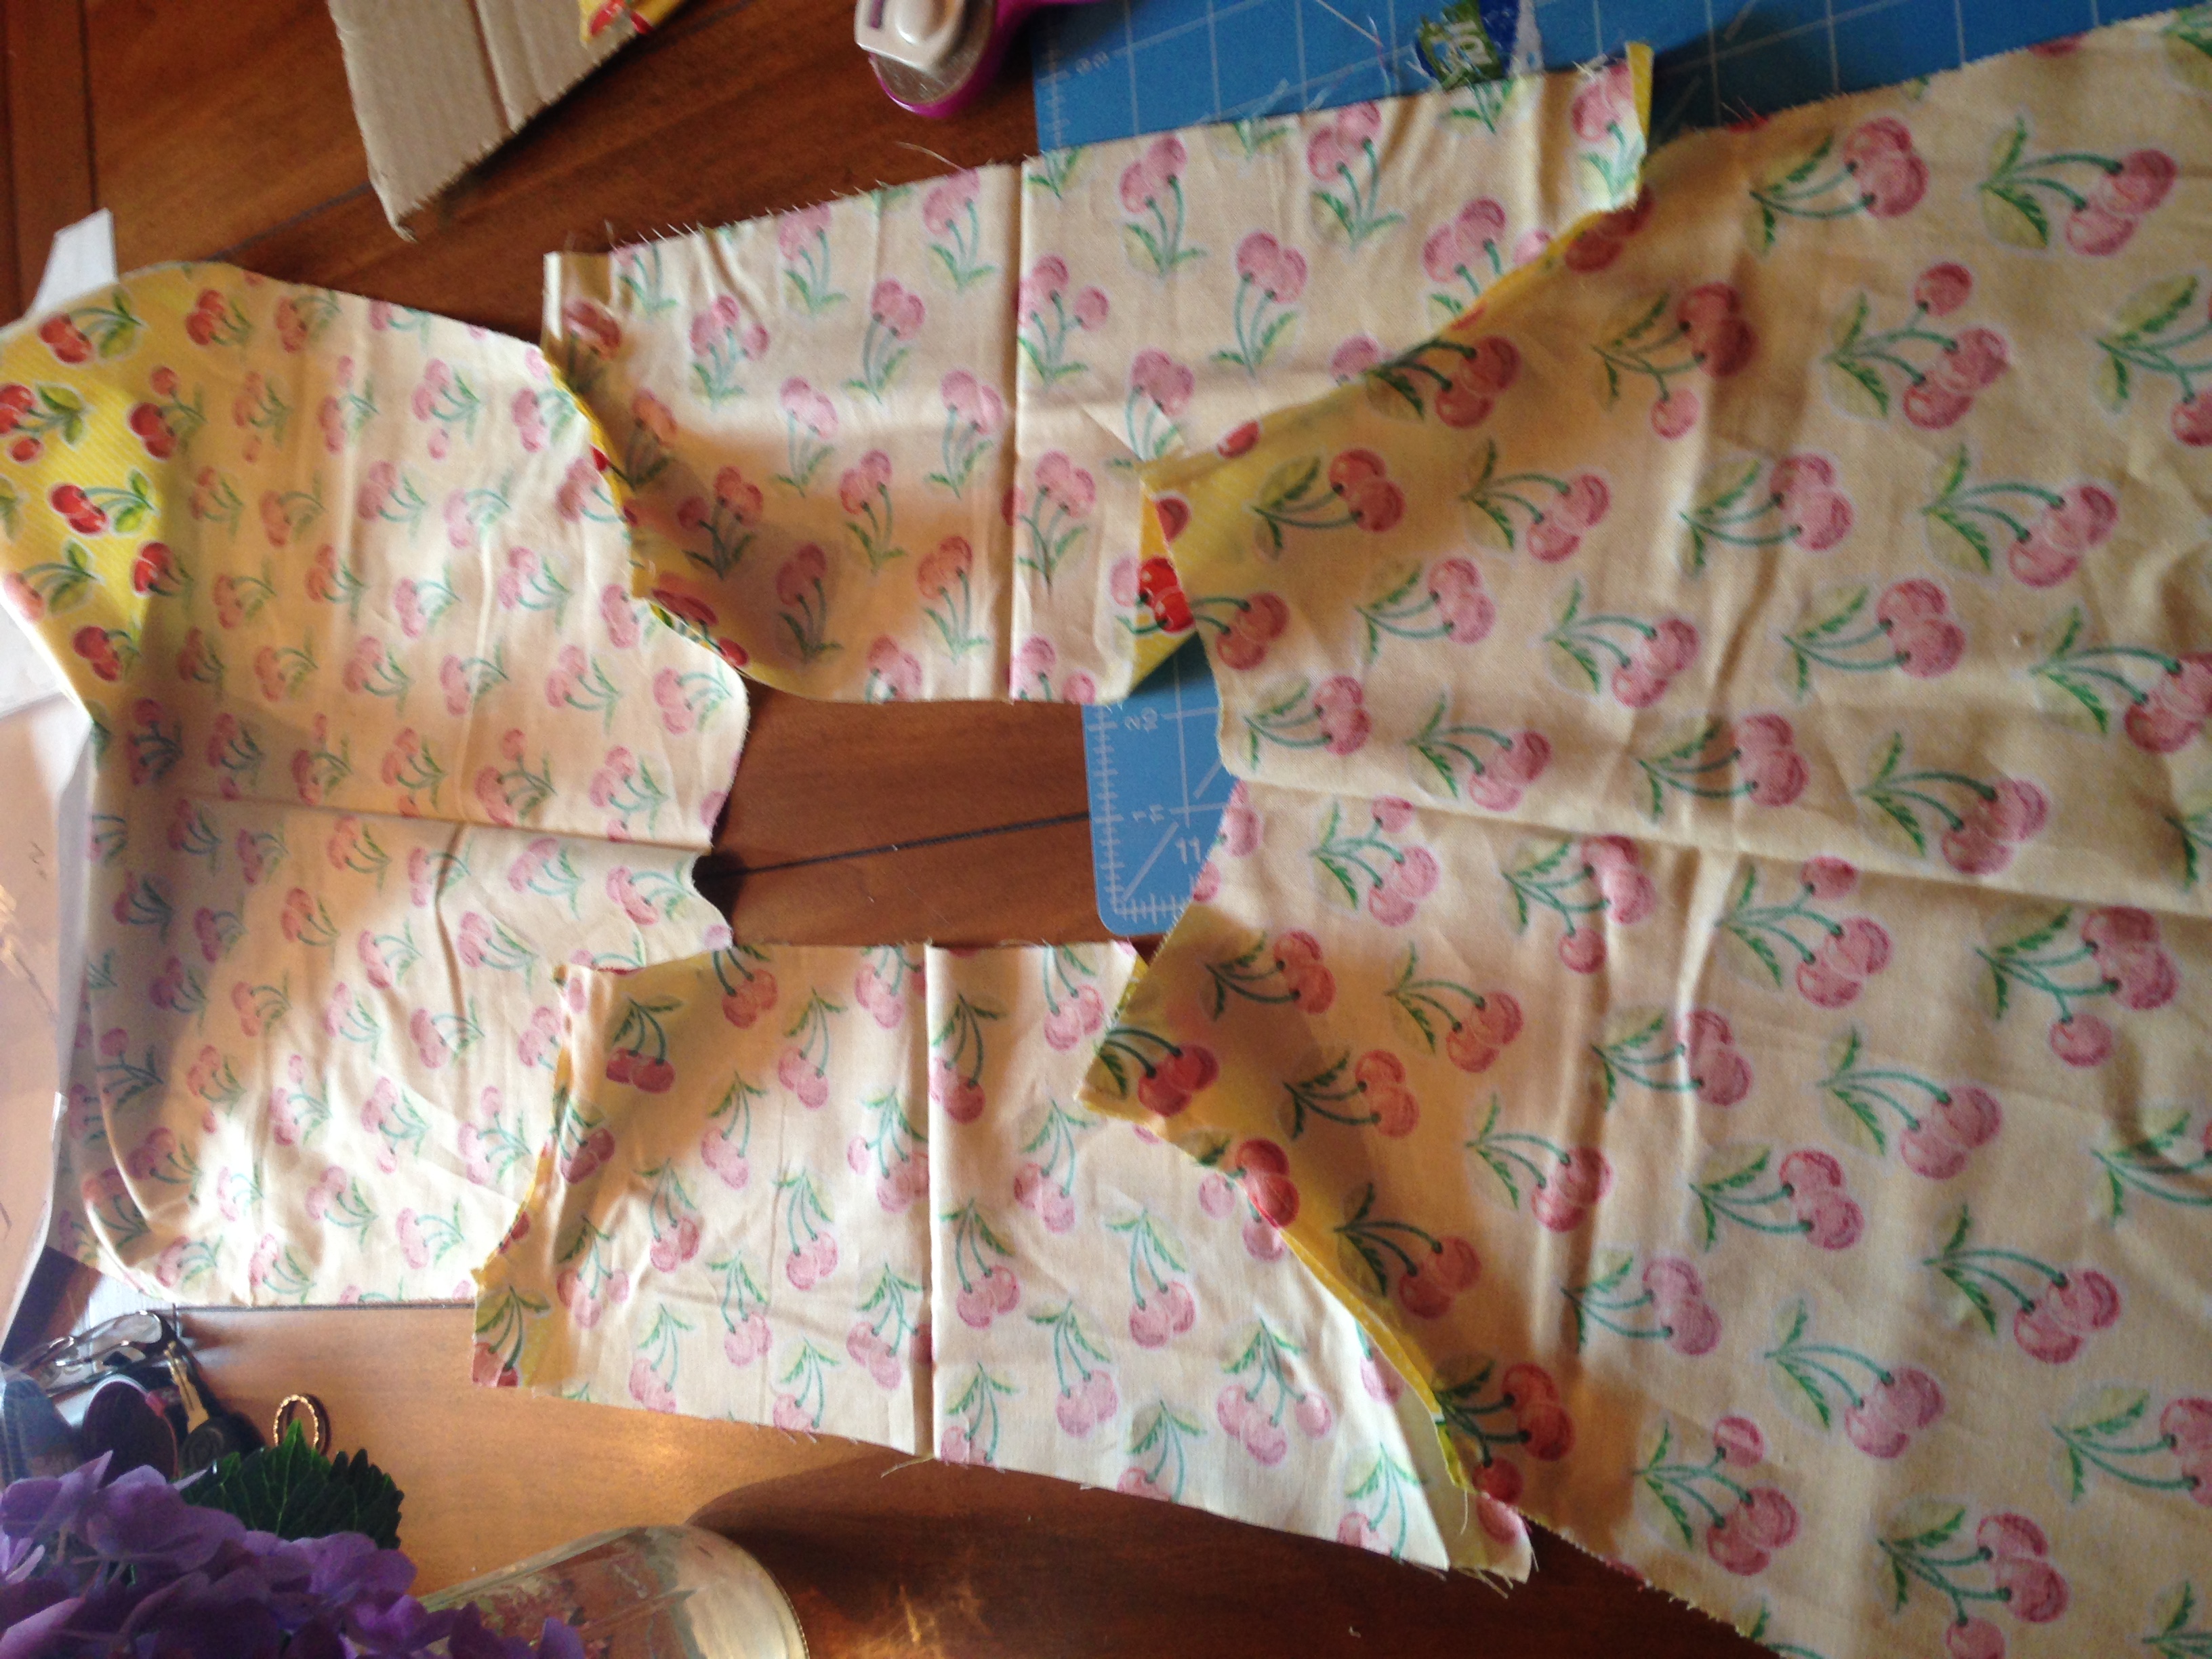
  3. Cut out your pieces- there should be 4 of each piece
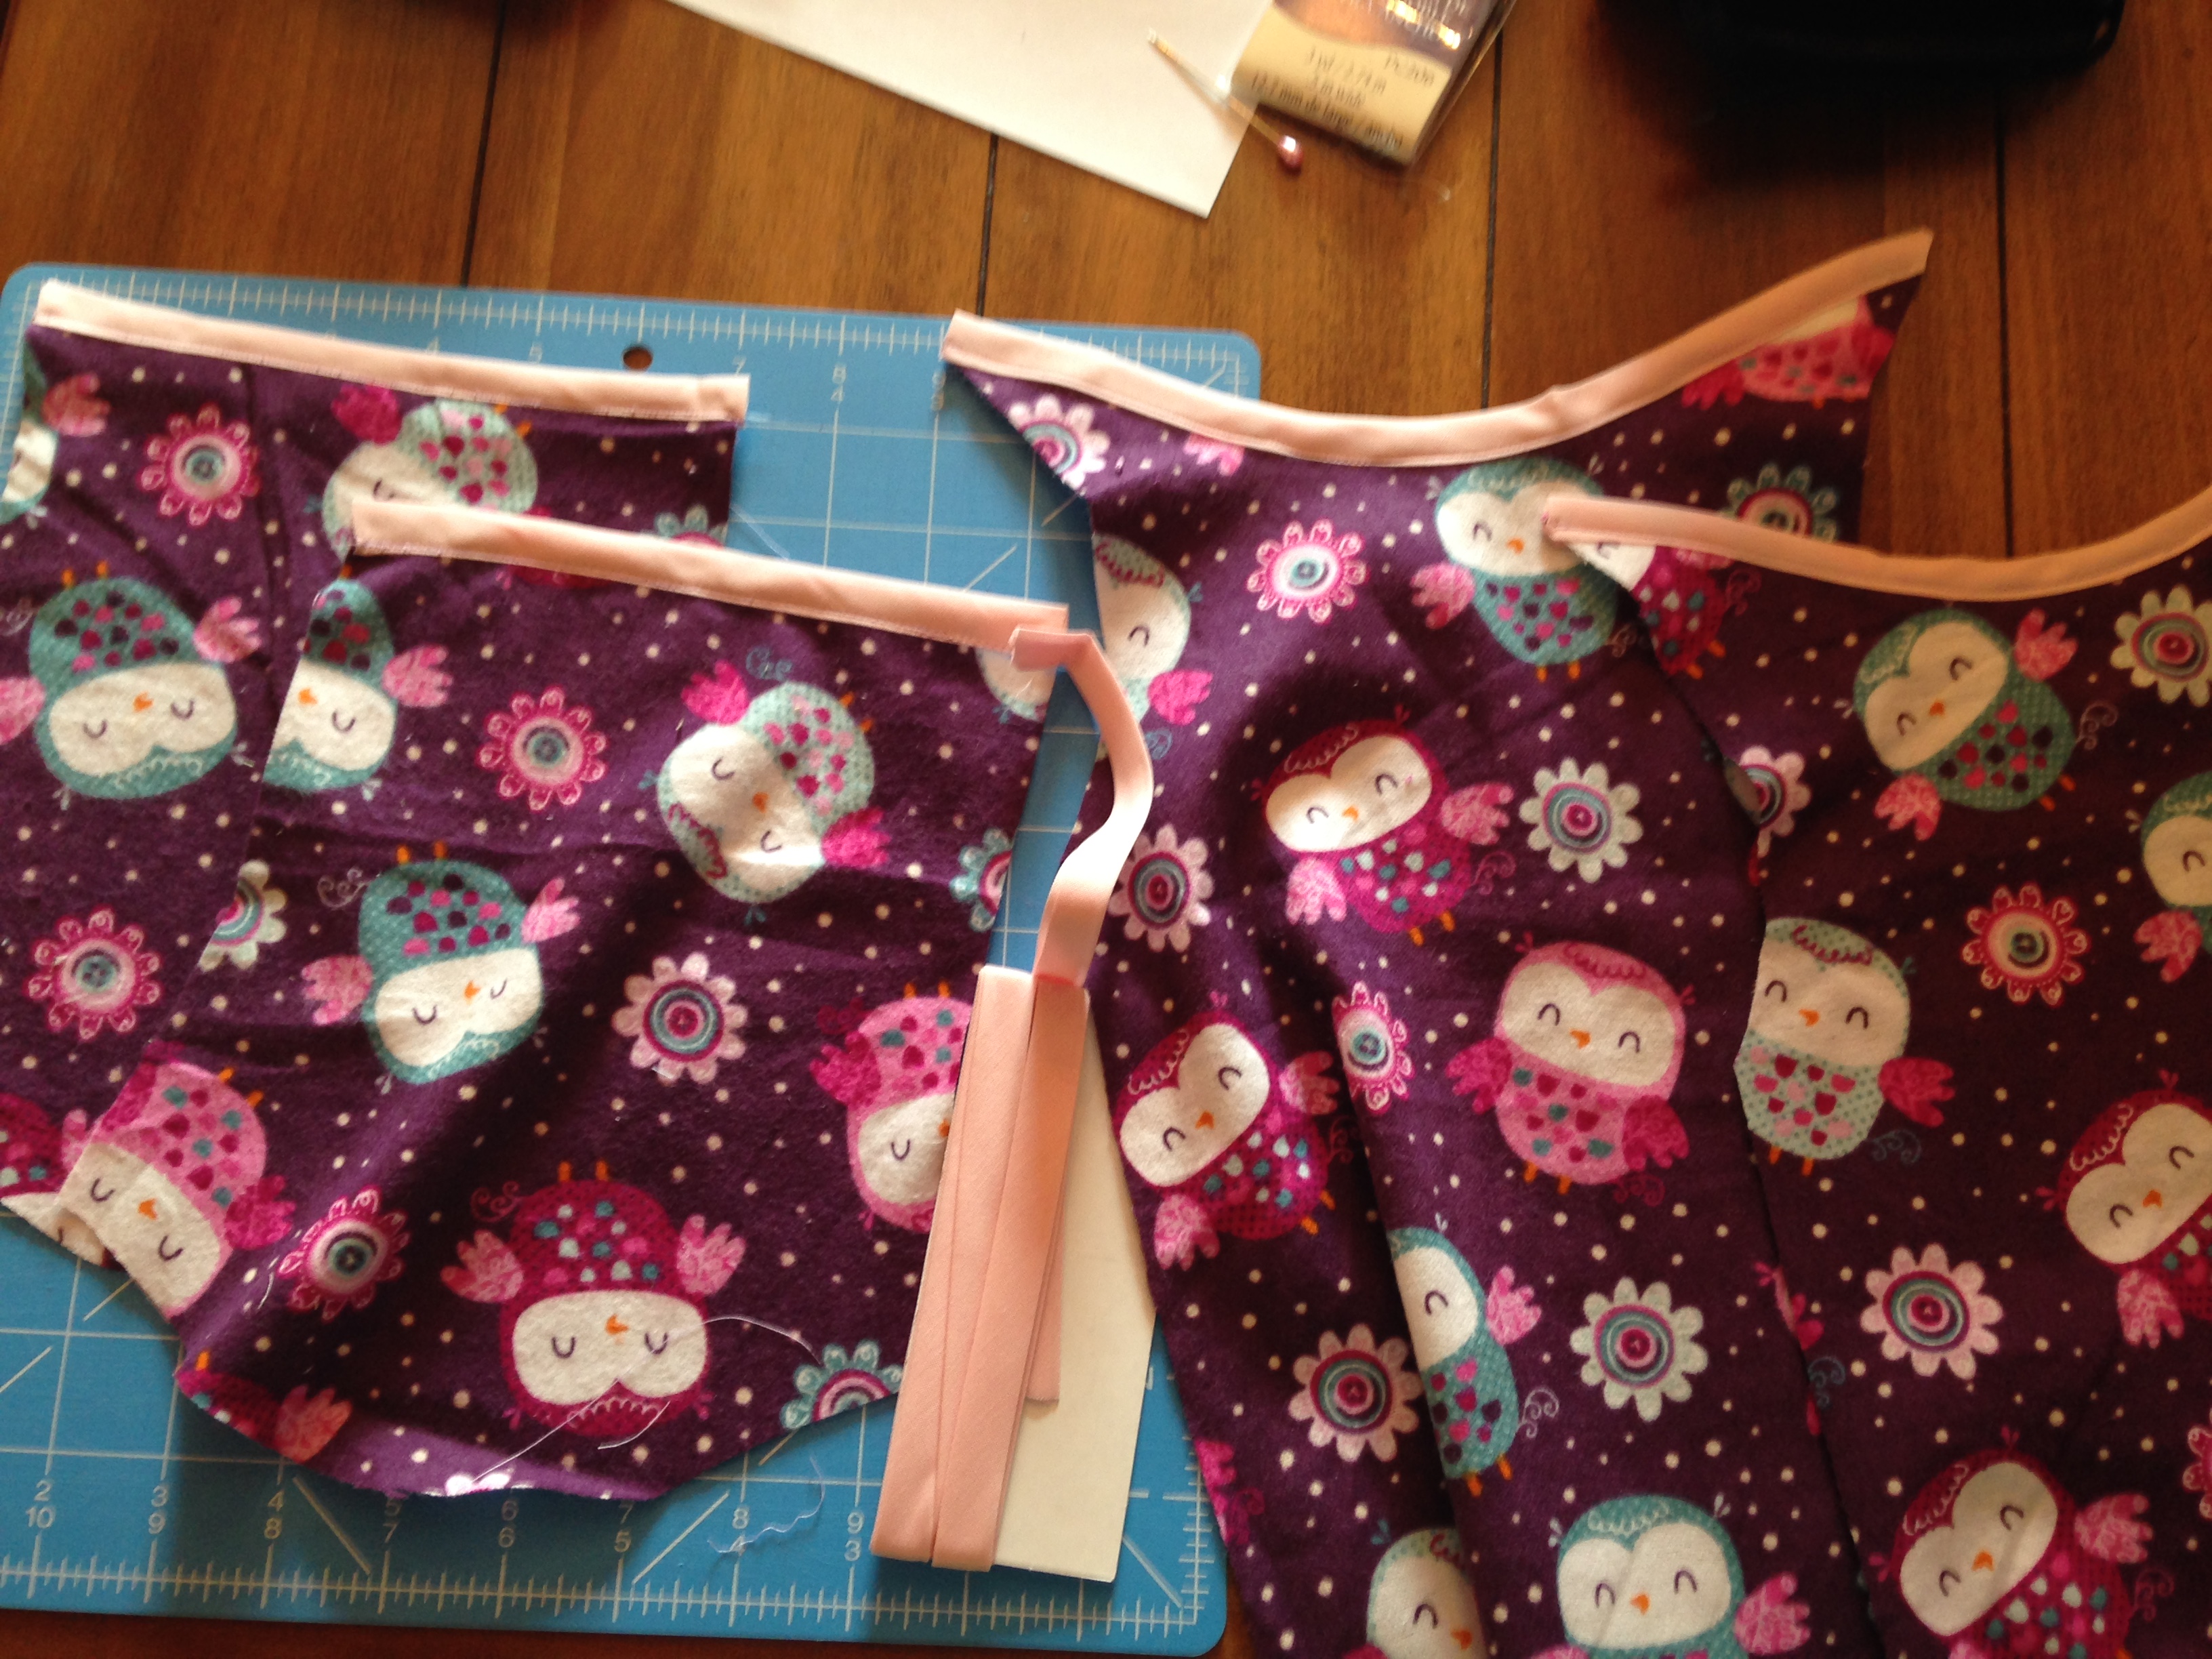
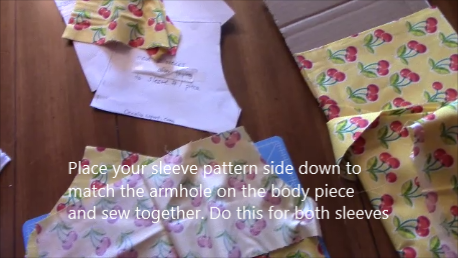
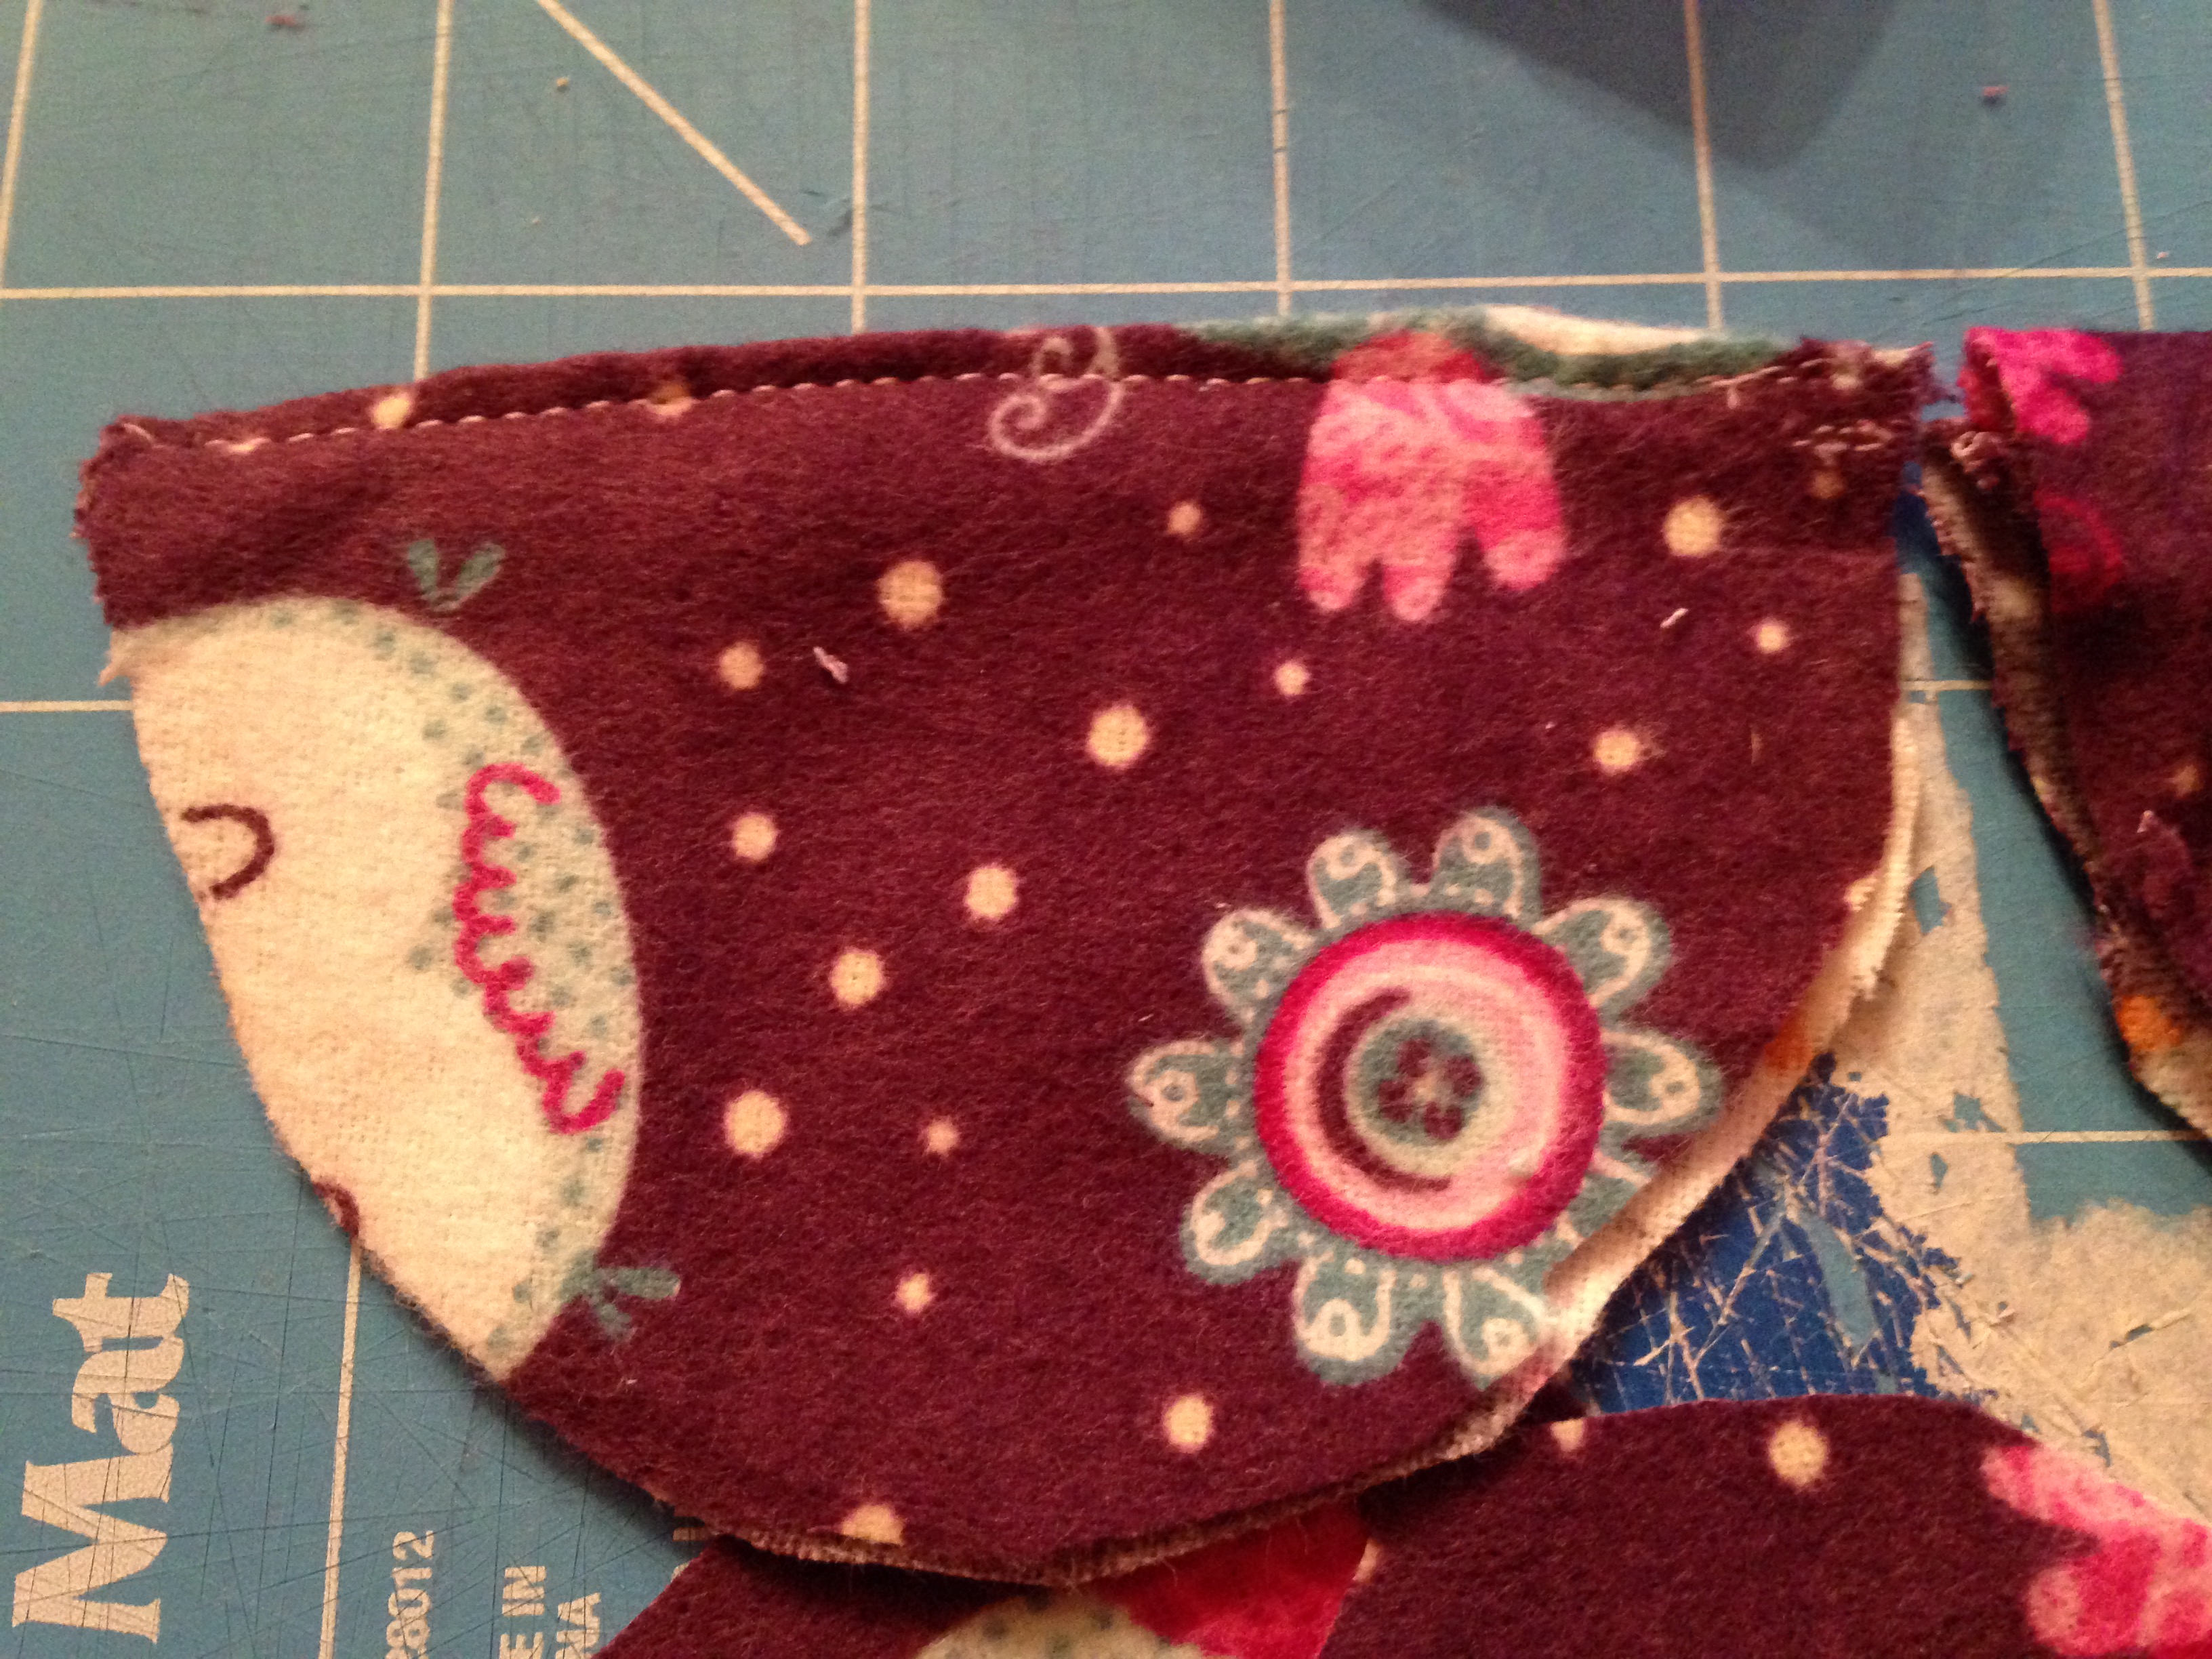
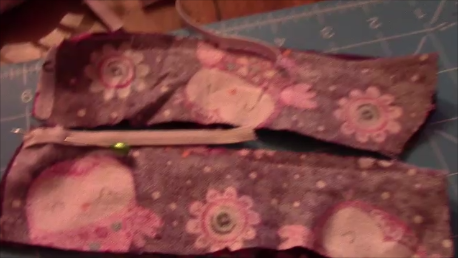
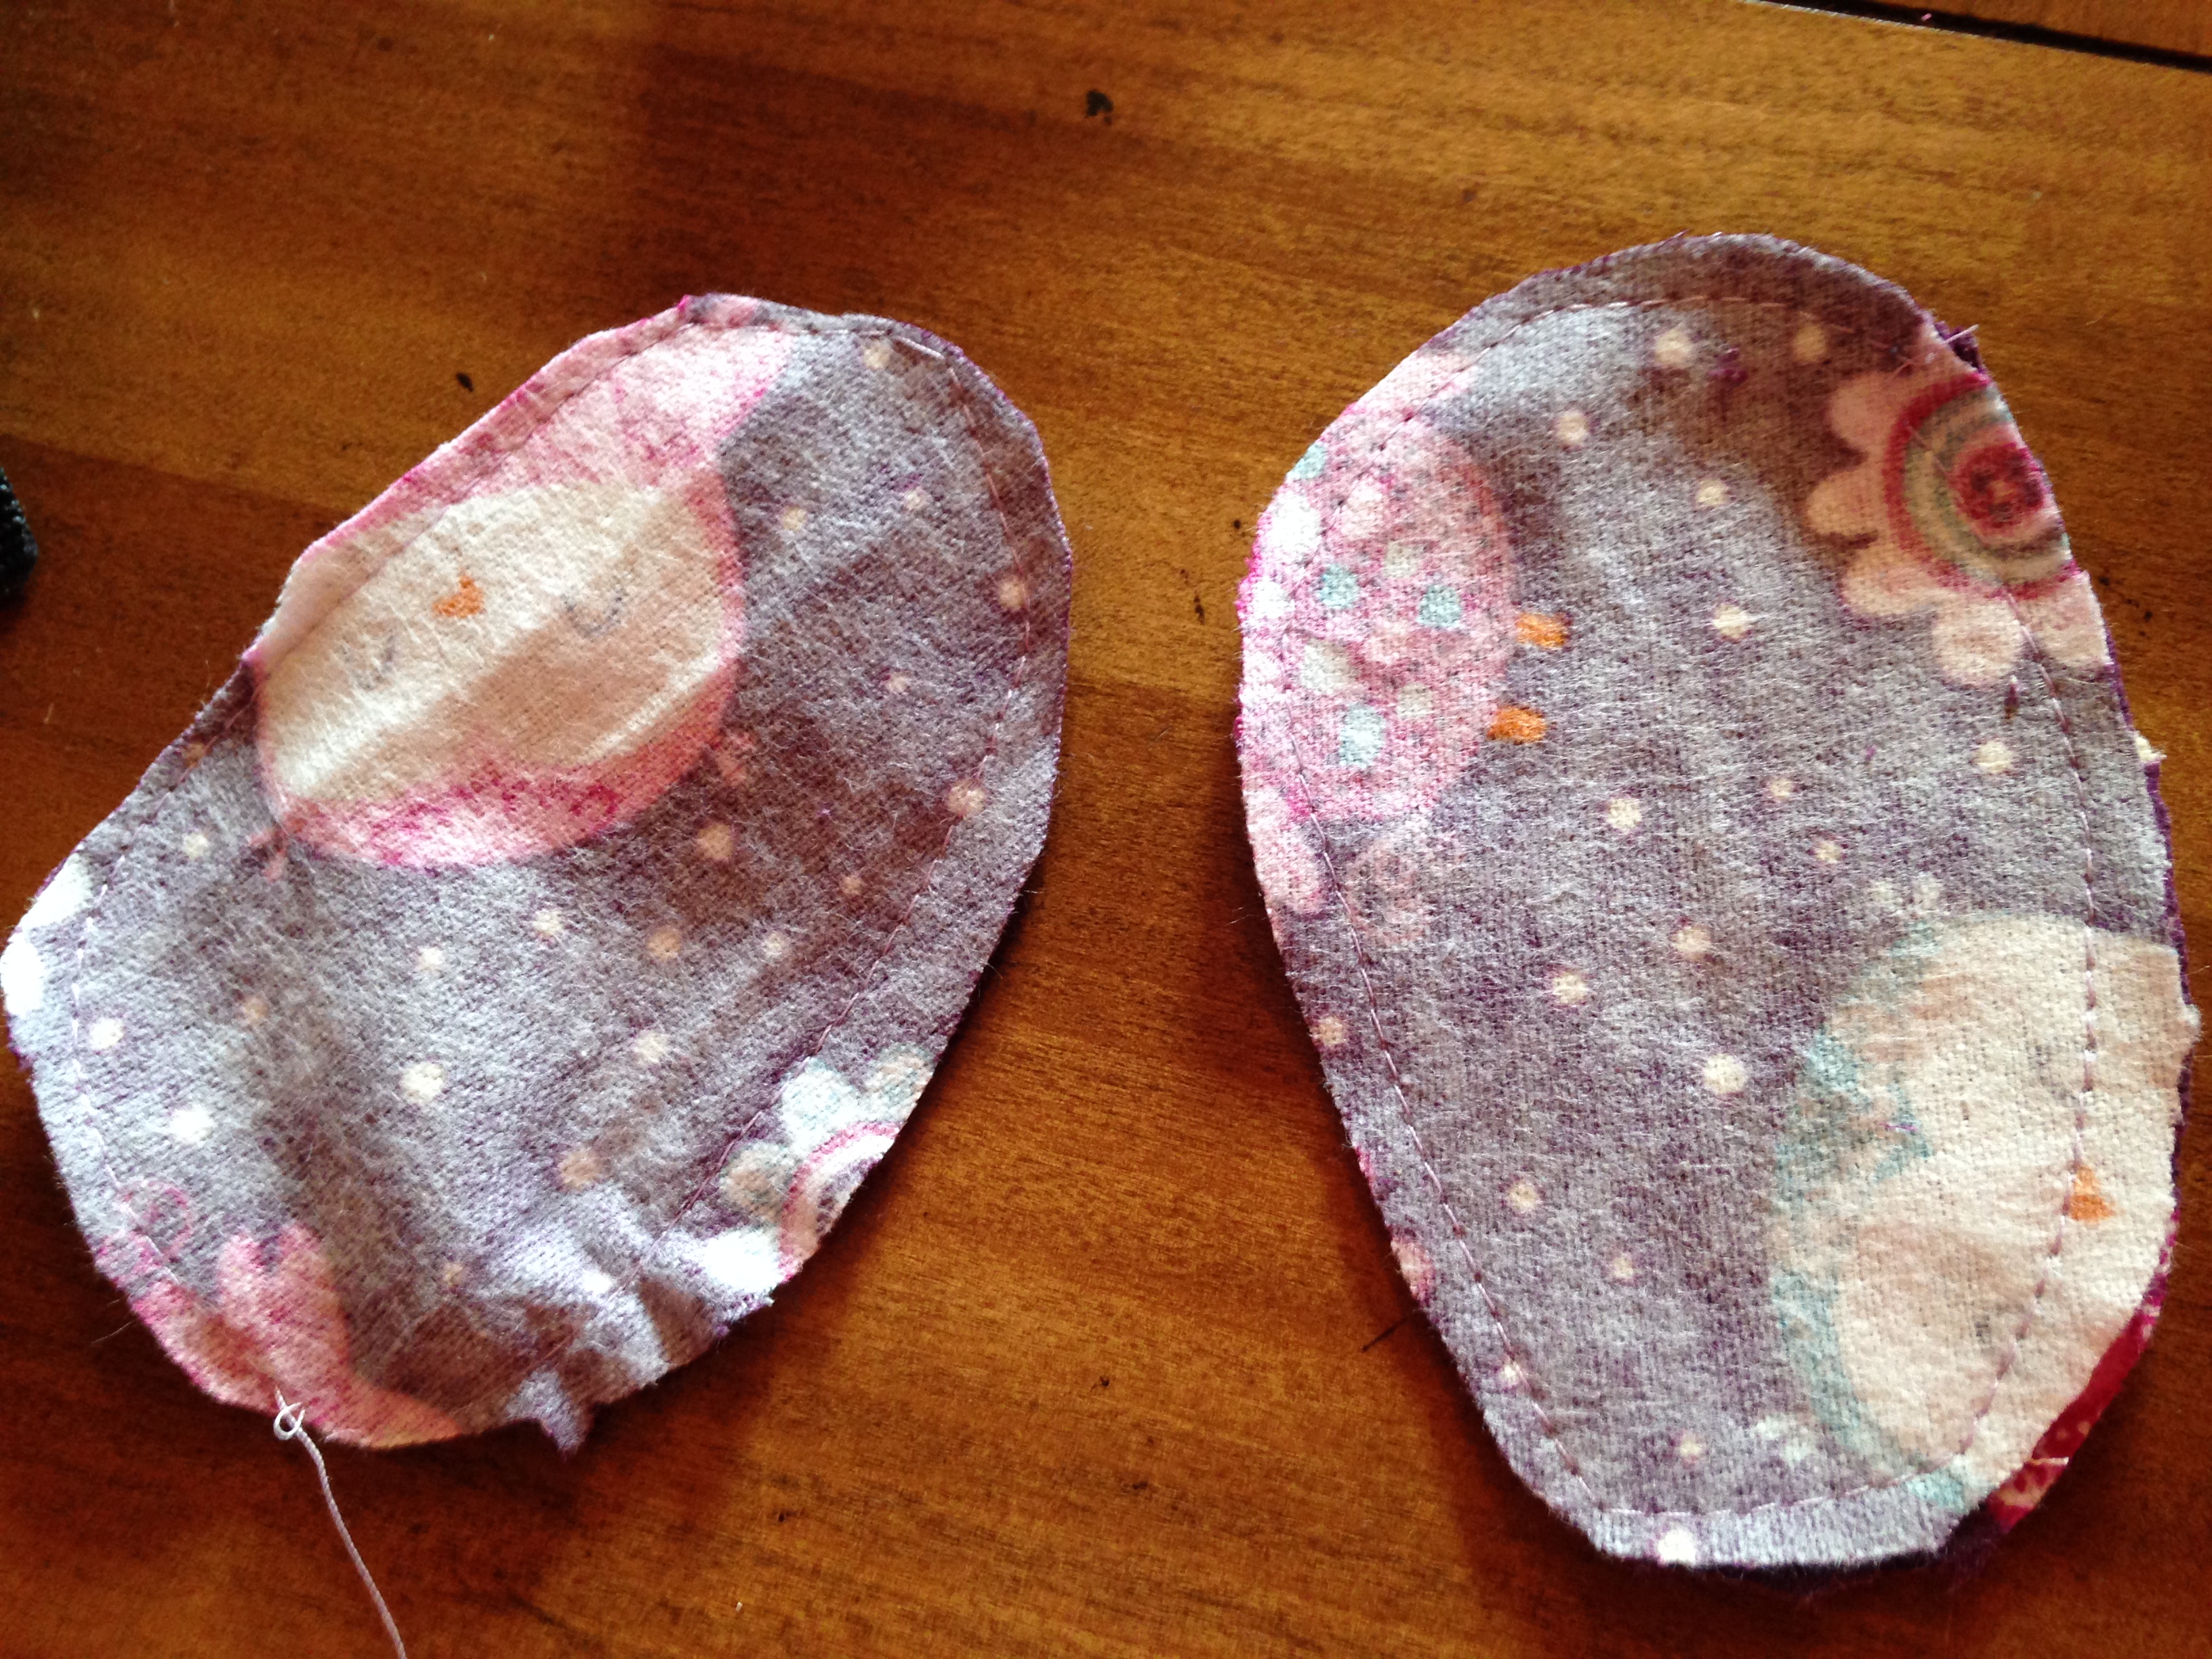
  4. Take your upper pieces (the two sided rounded pieces) and place them pattern facing pattern as usual.
  5. Then sew the non-rounded part only (the bottom of it)
  6. Turn right side out, then iron you piece down with the right sides out and sew a nice little line across the outside where it is sewn together.


IMG_2291

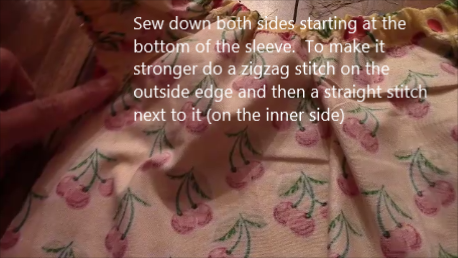
7. Take your heel pieces (the long rectangles), and place the pieces facing eachother (as usual) and sew just down one long side IMG_2292IMG_2293

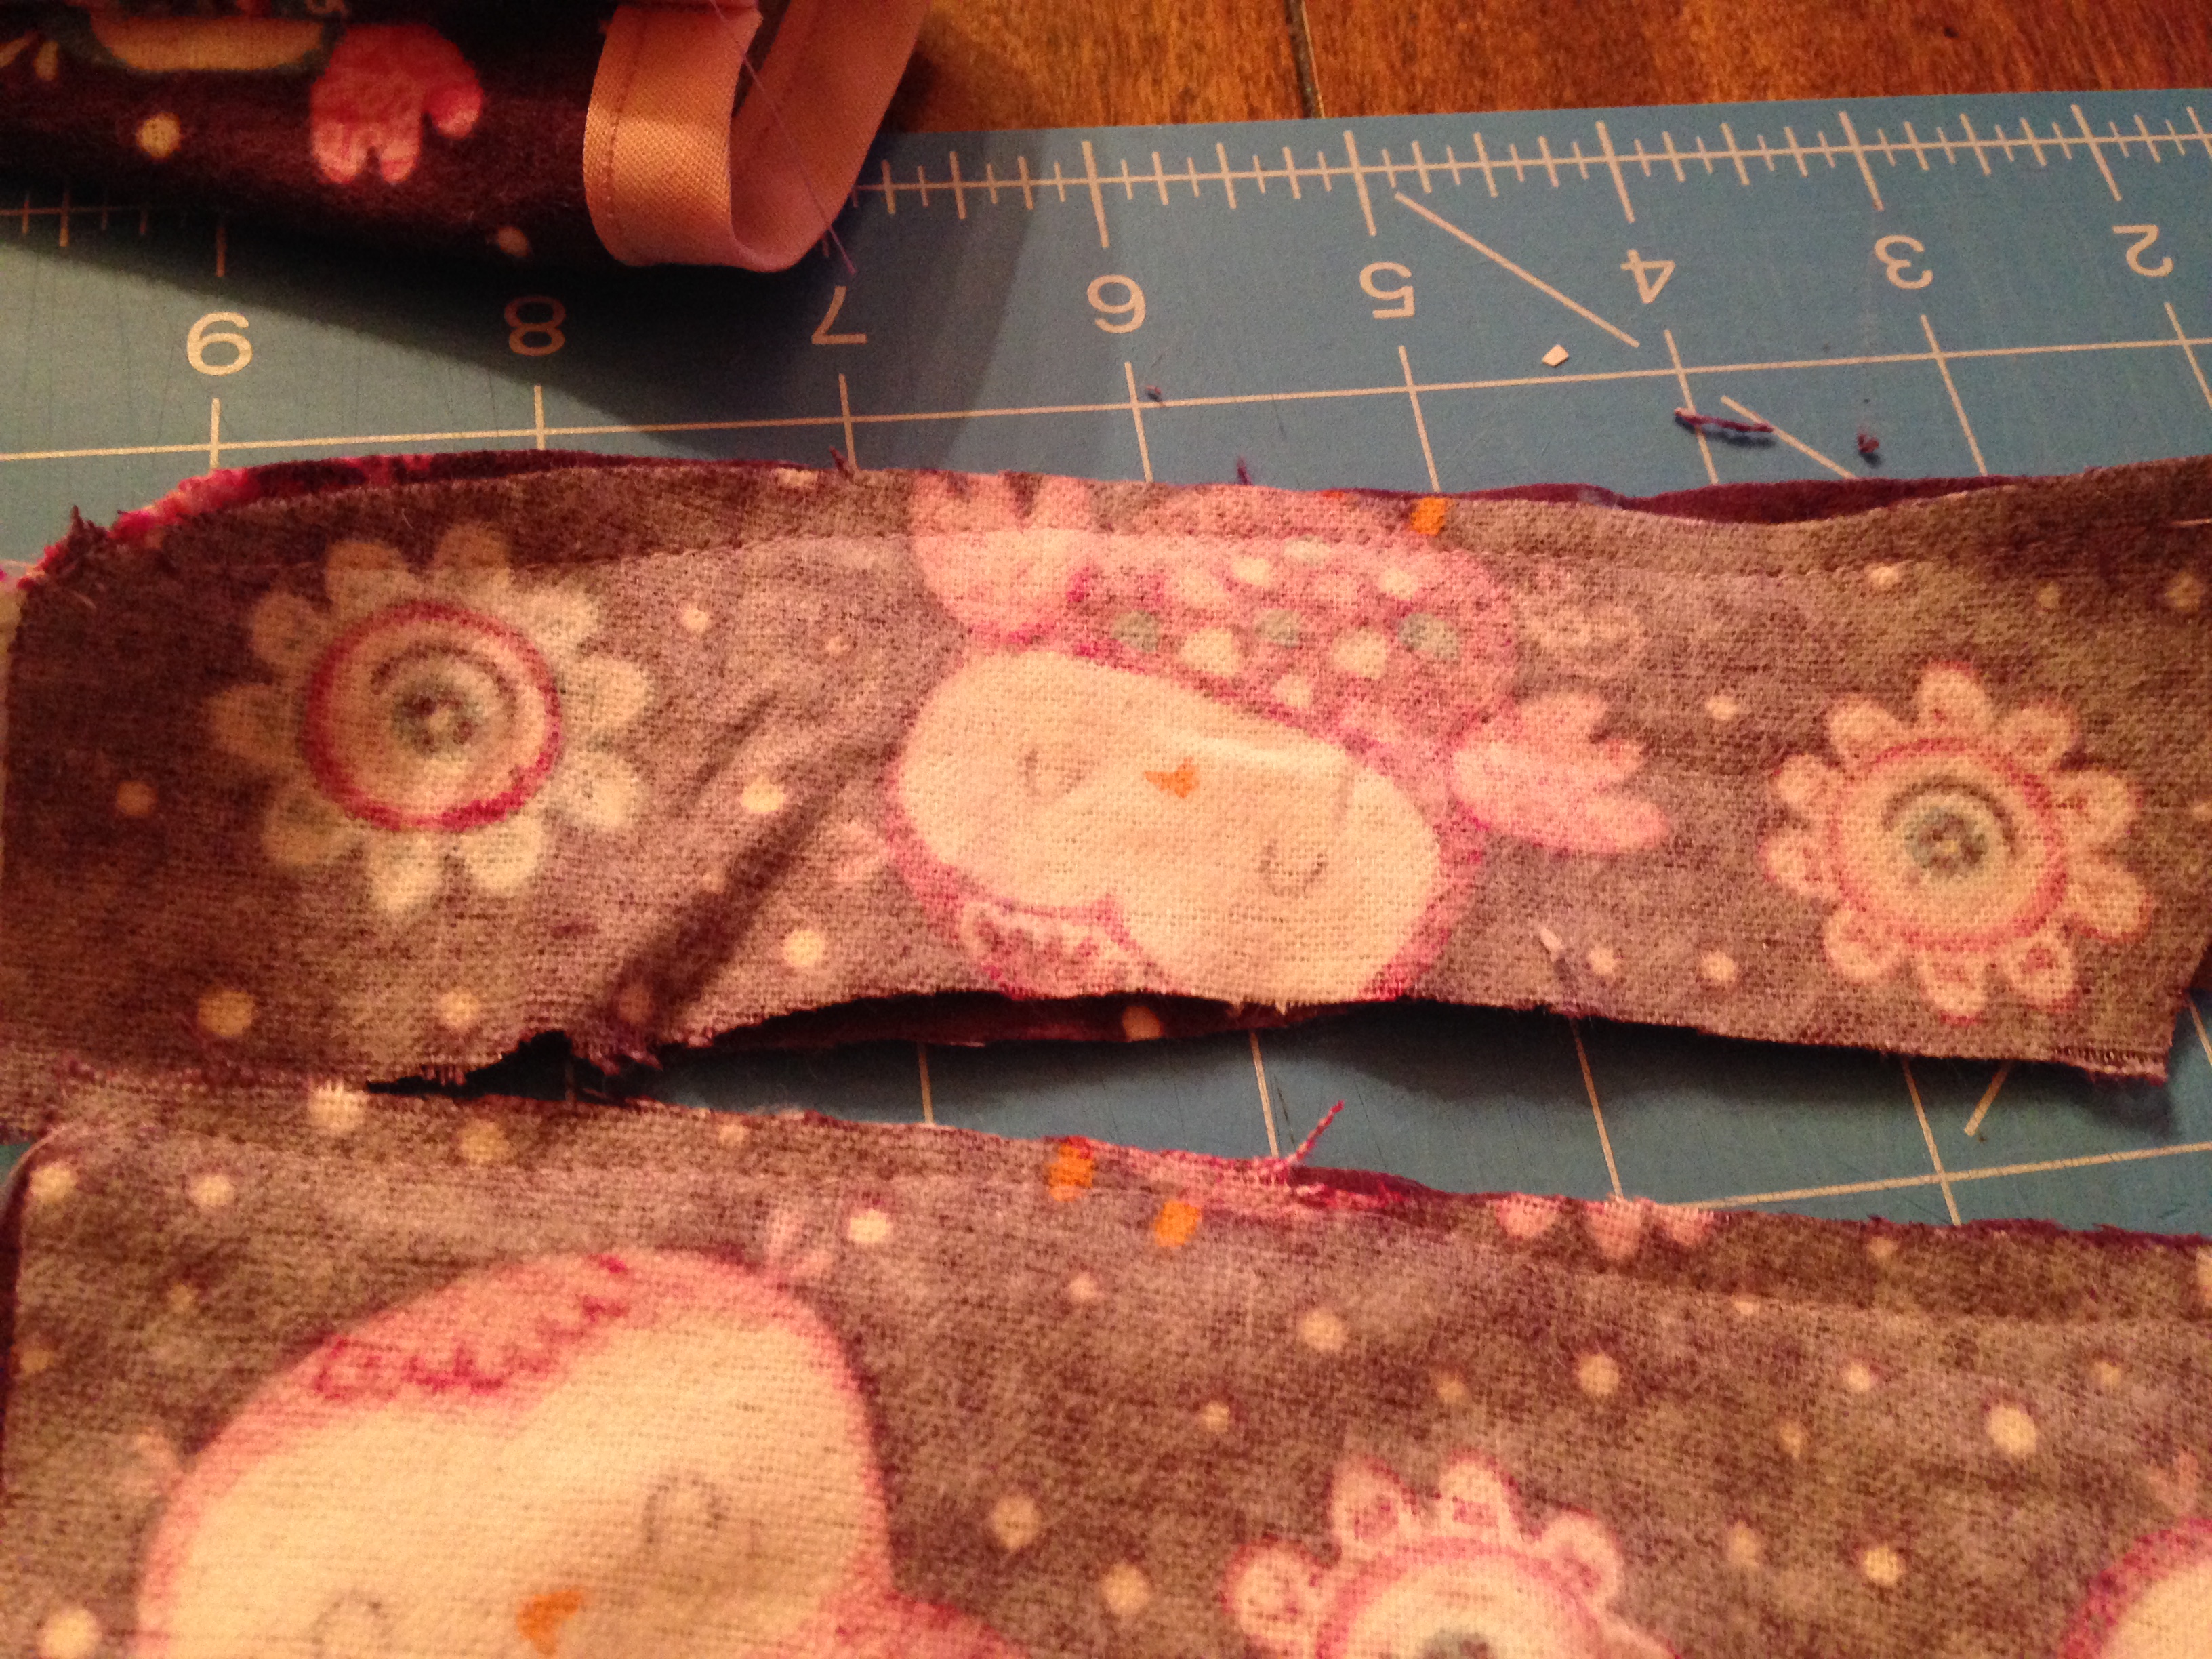
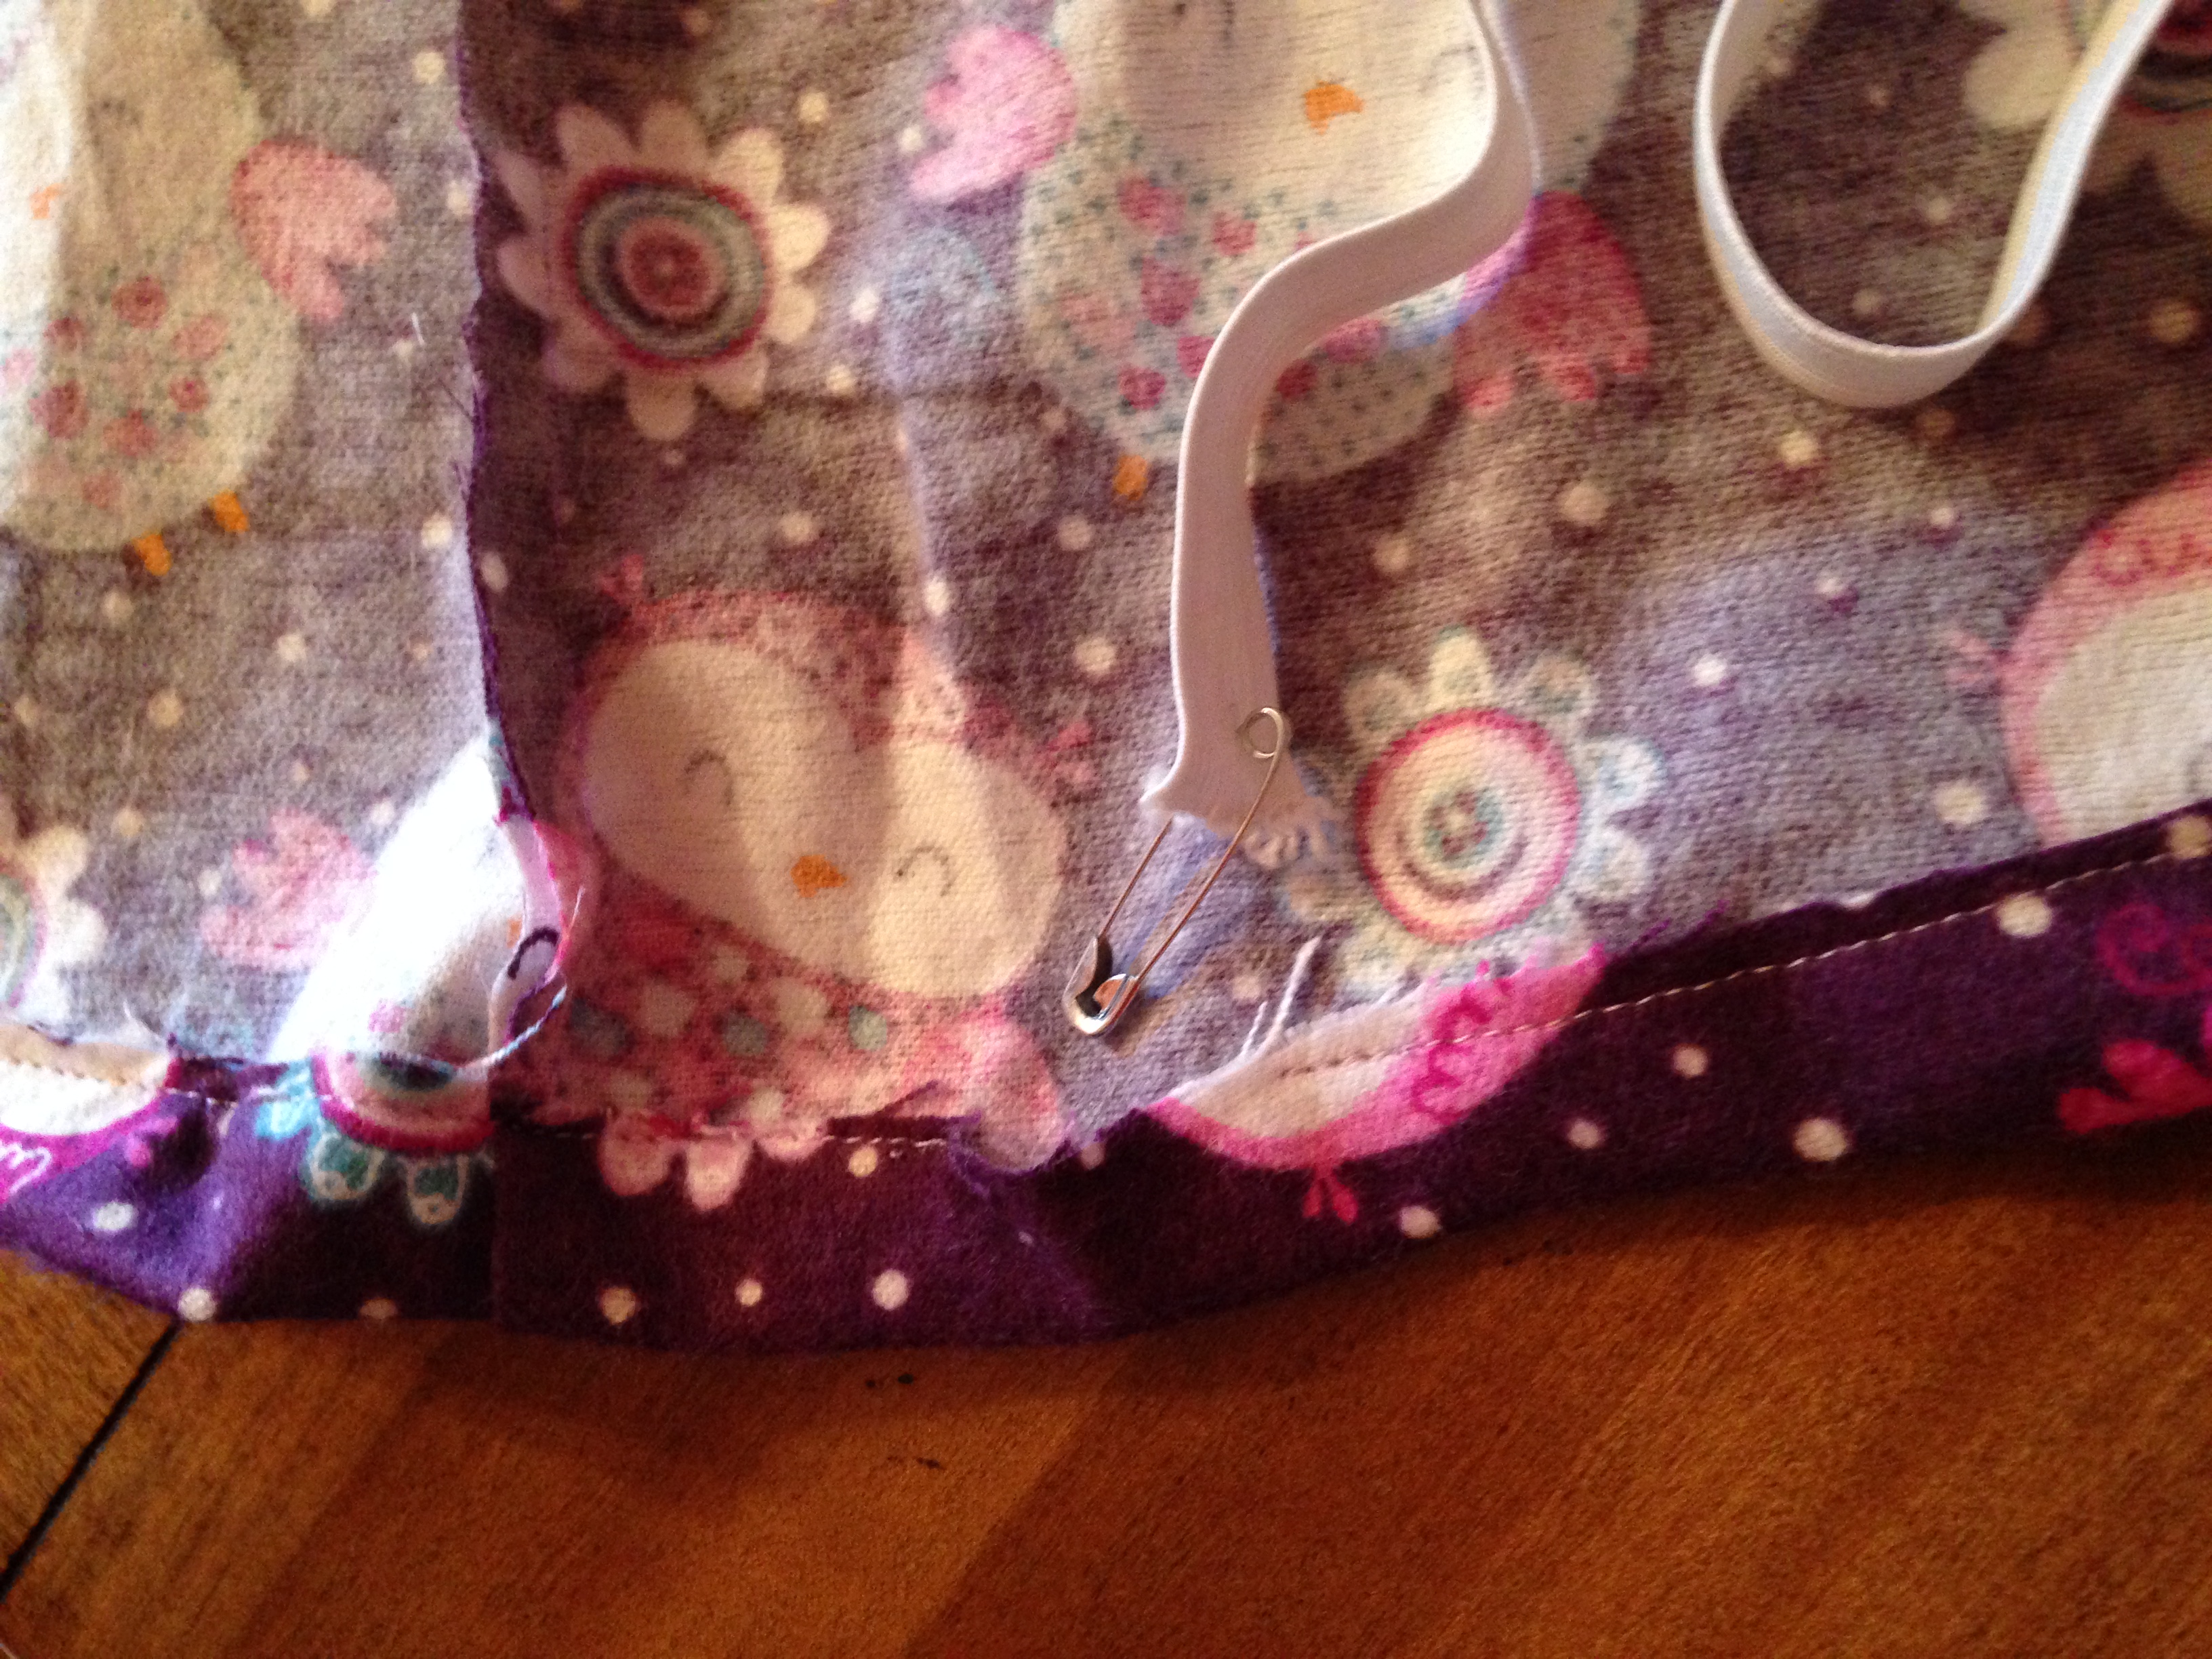
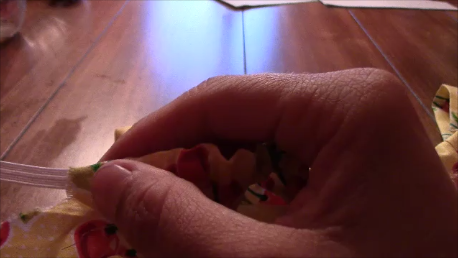
8. Cut your elastic to 4 inches long (2 pieces).  Pin it to one end of the sewn heel piece.

elastic

9. While sewing stretch the elastic and sew using your zigzag stitch across the length of the fabric

elasticcurl

10. It will be curled up as shown above.  Turn right side out.  Pin and sew below the elastic and all the way around the whole piece to make it look nice and then trim as needed.

11. Place sole pieces together with patterns facing eachother, use a basting stitch (set your stitch to longest number and do not backstitch).

IMG_2299

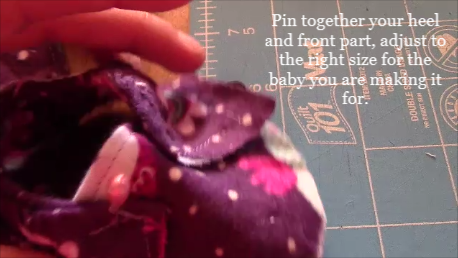
12. Pin together the heel and the front piece, adjust it to be the appropriate size for the baby/infant you are making it for.

bootie

13. Sew straight across where you already have the previous sewn line from the front piece.  Then trim the rest off.  This makes a nice neat line when you are finished.

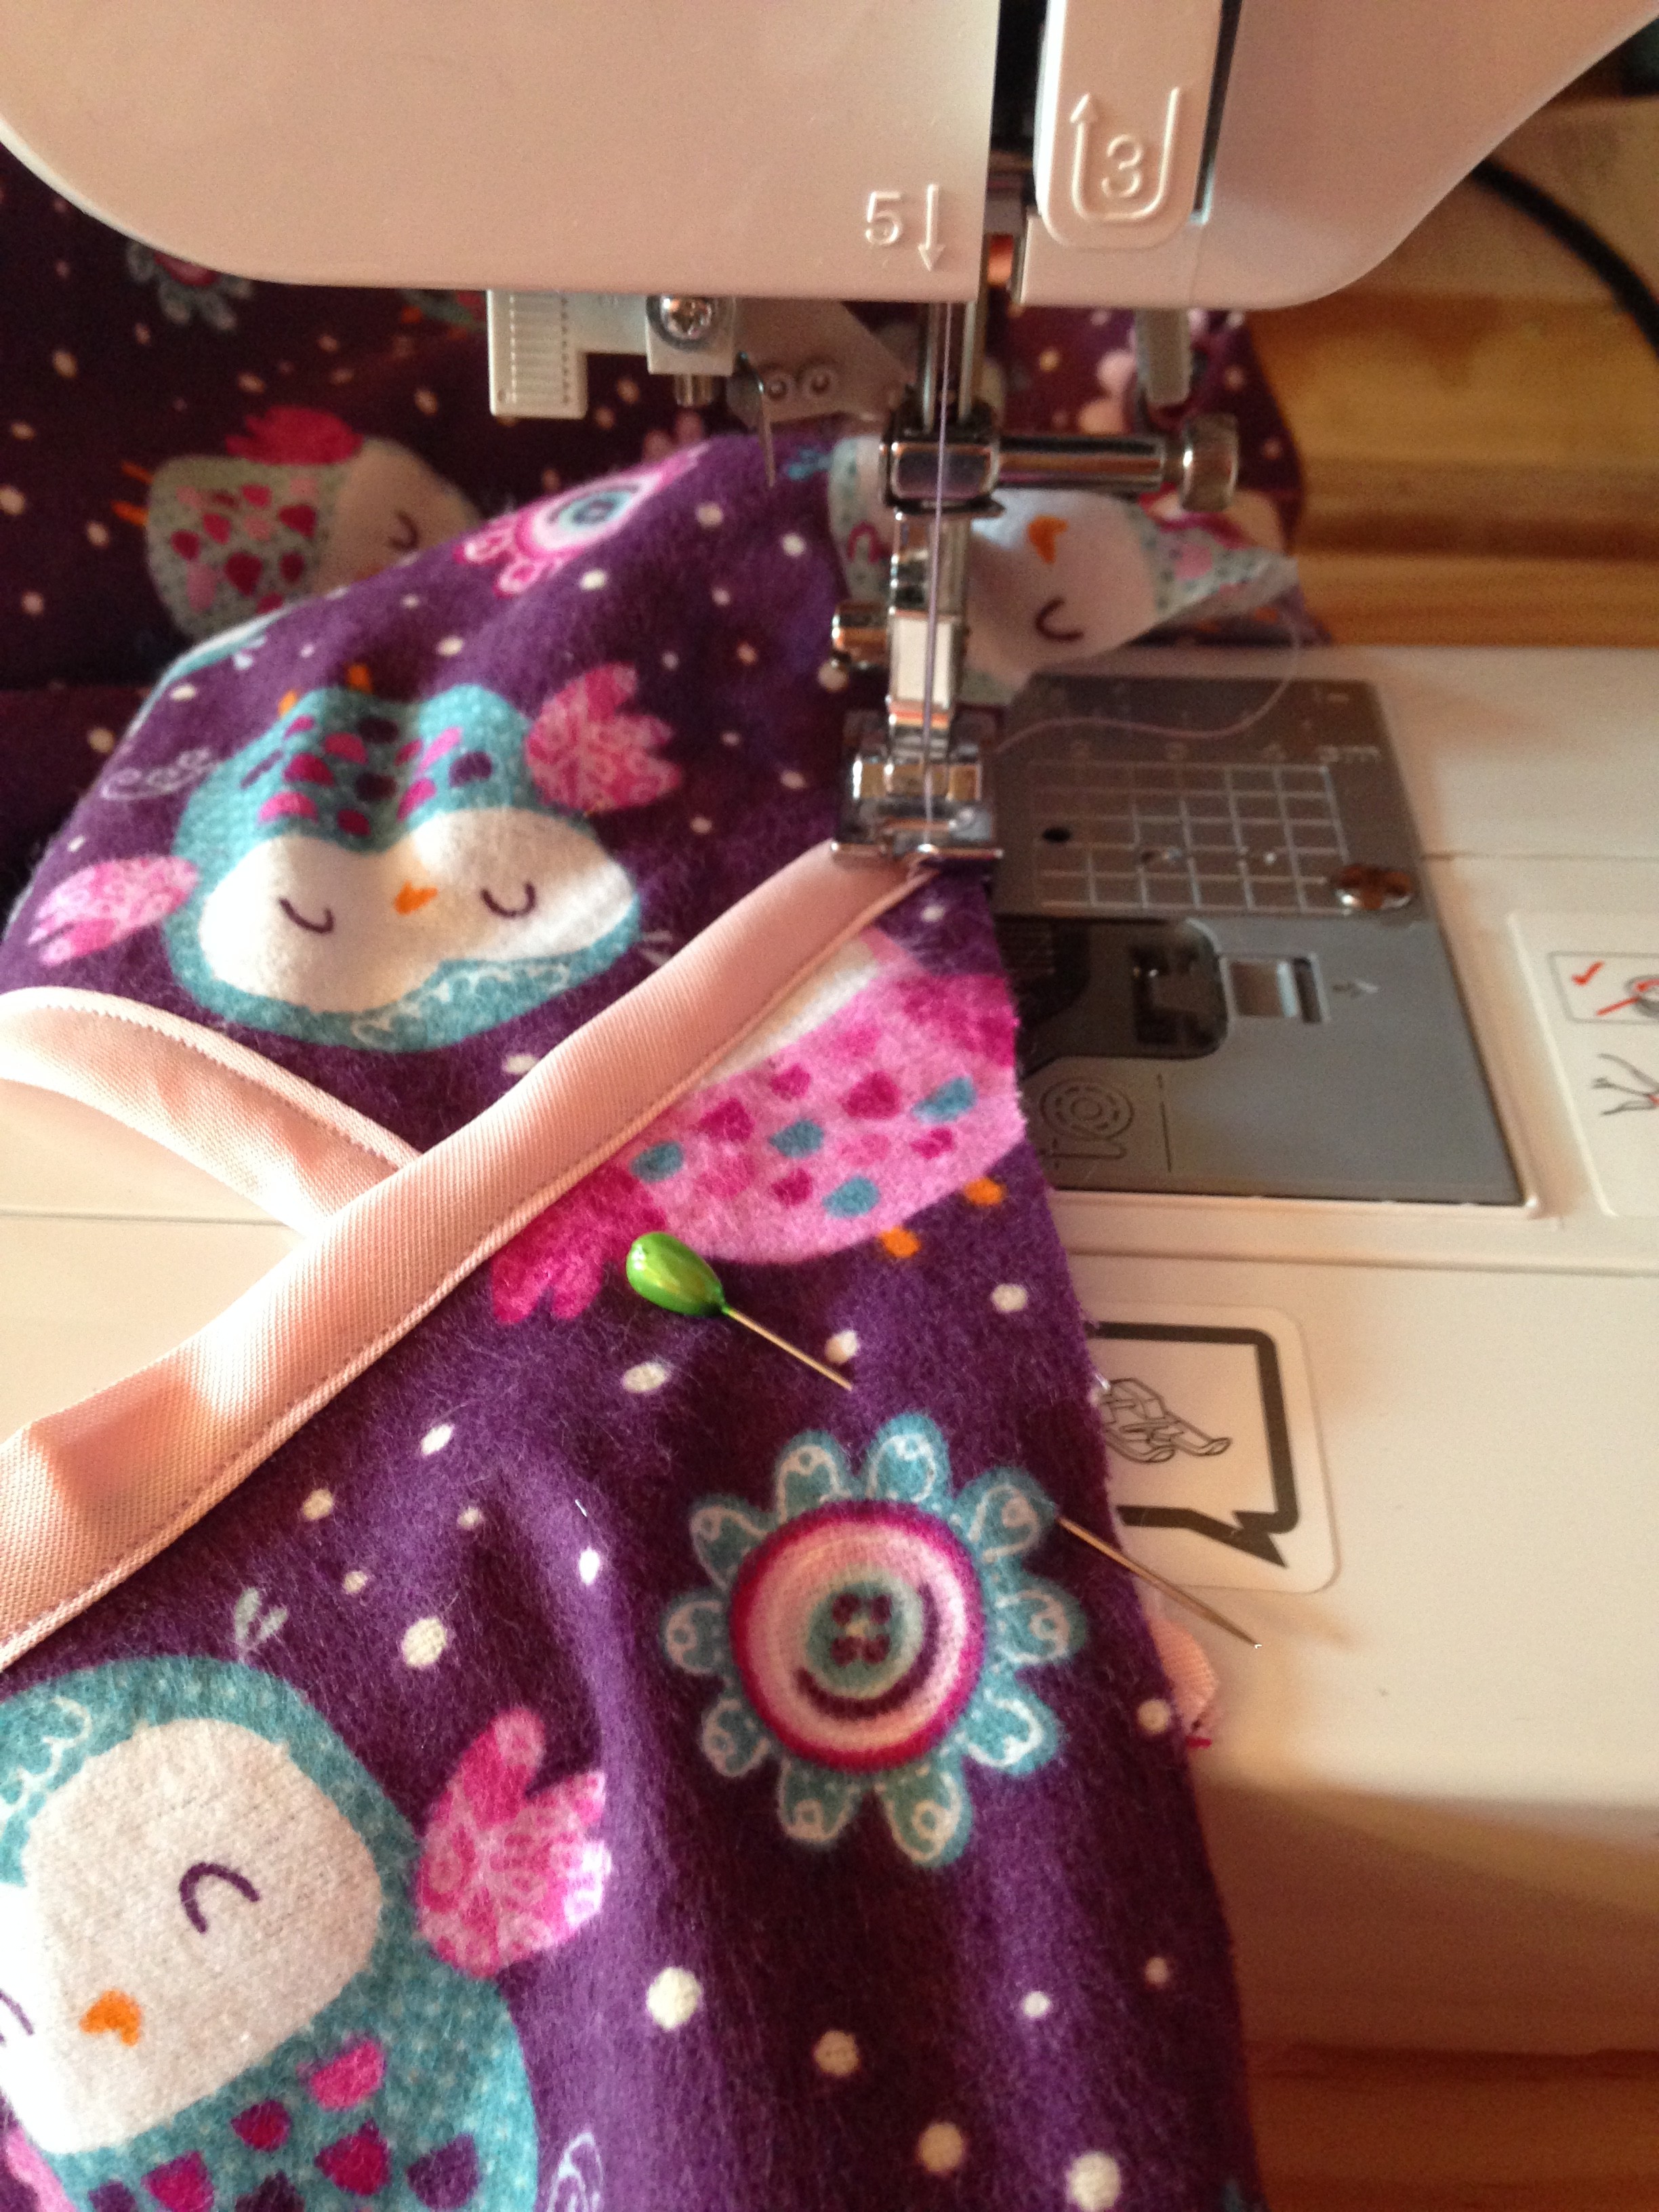
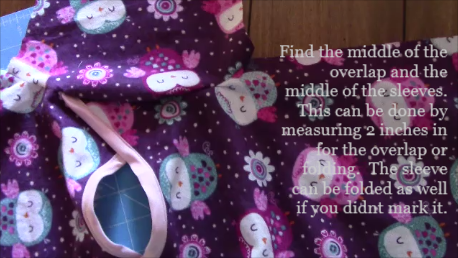
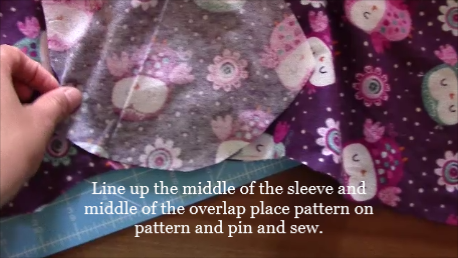
14. Find the middle of the sole and the middle of the top part.  You can do this easily by folding in half.  Line them up together and pin.  (the back of the sole is the smaller part). Have the top part the wrong side still out to pin. IMG_2301

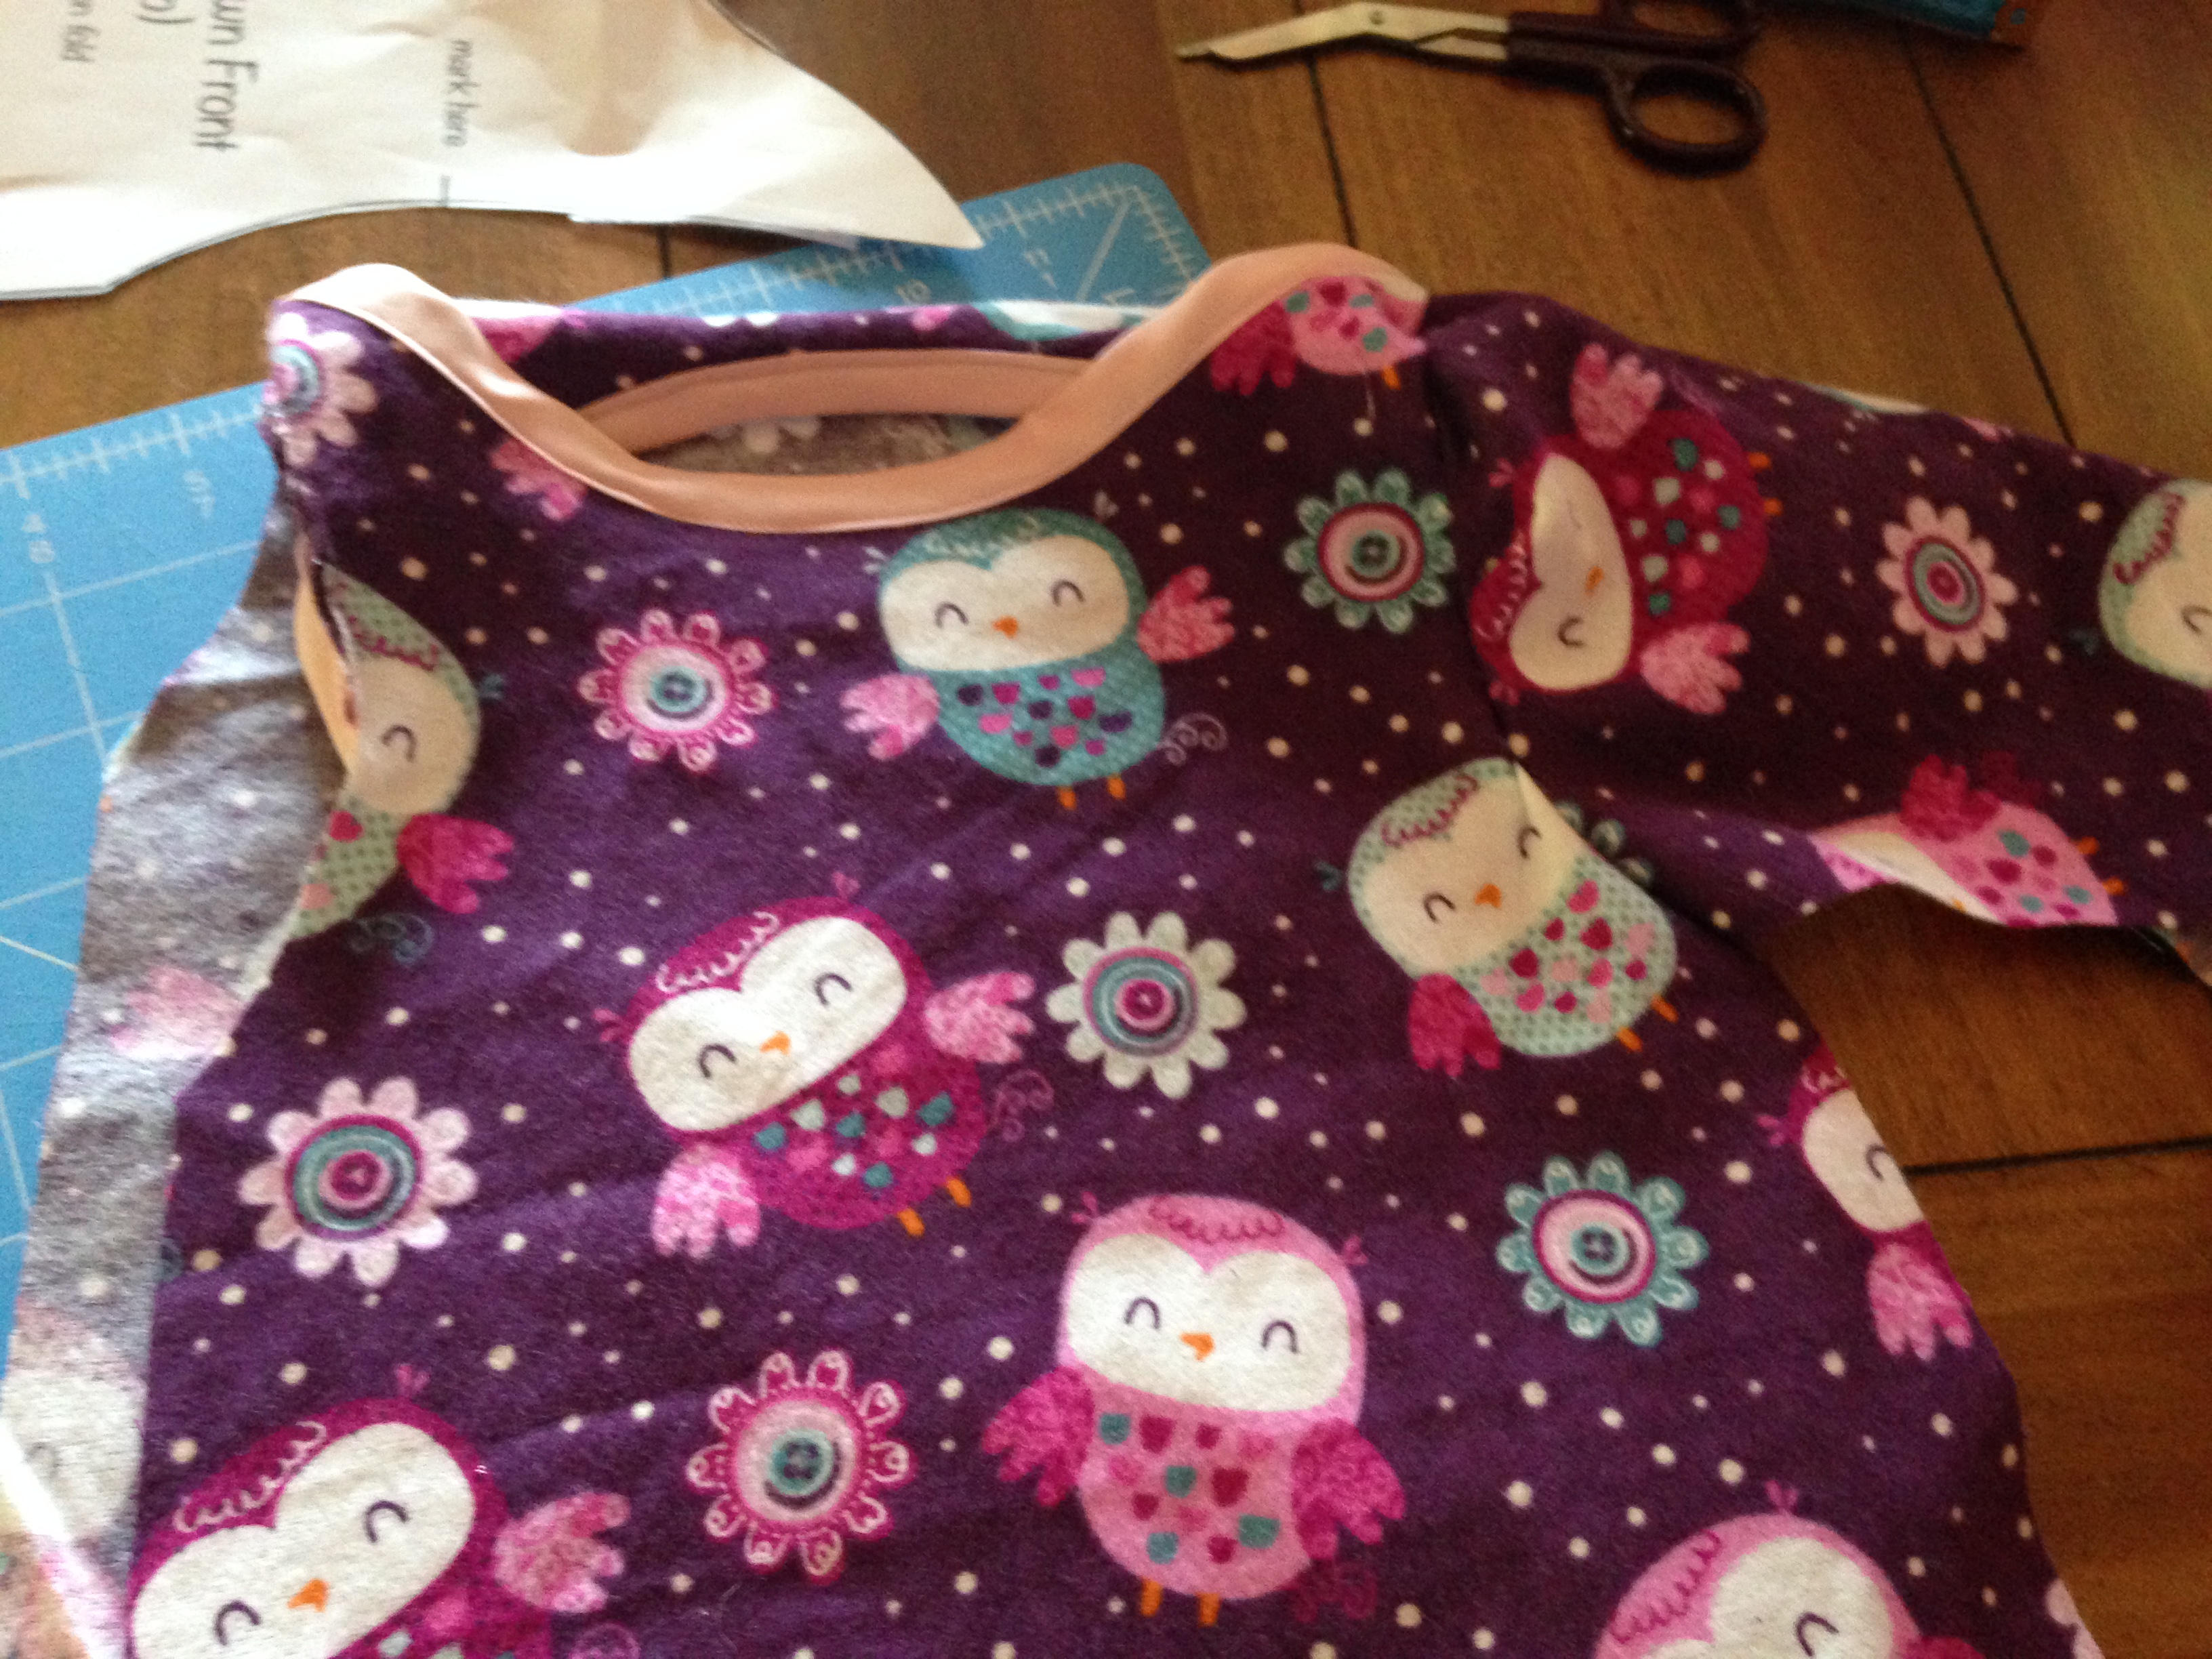
15. Now sew all the way around! Almost done!  Doesn’t it look so cute?

16. Trim the excess fabric being careful not to cut too close to your thread line.

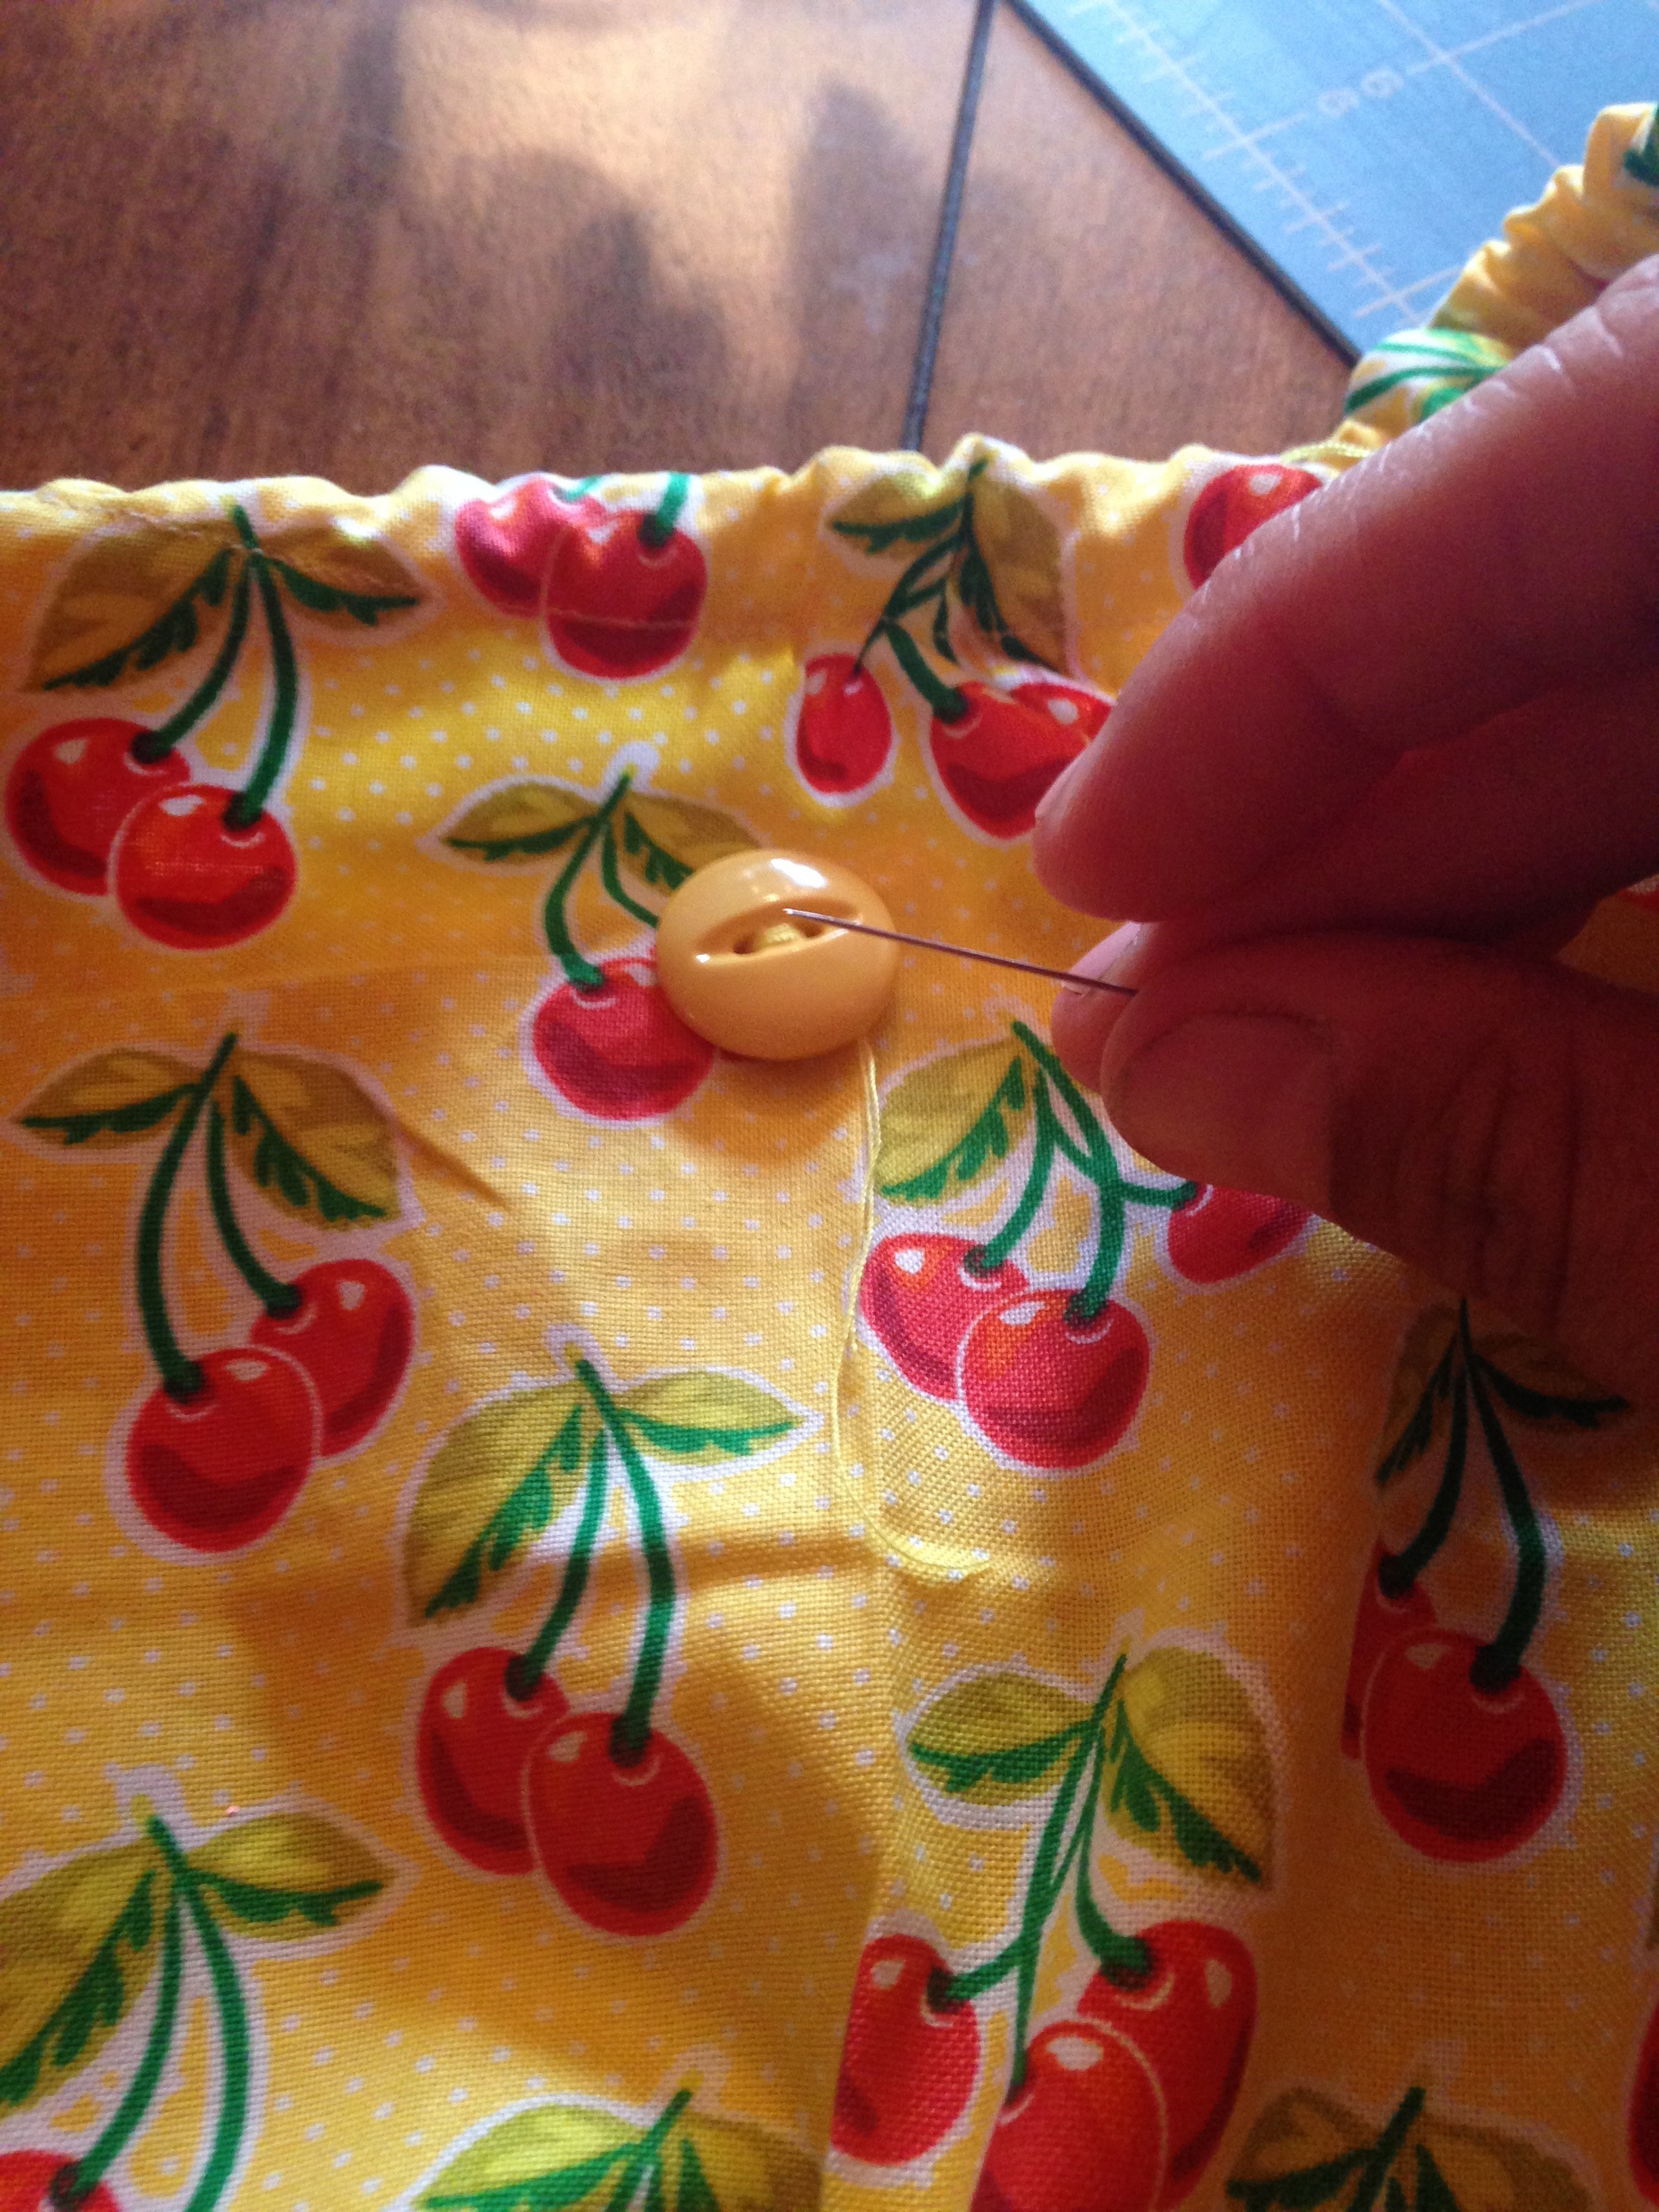
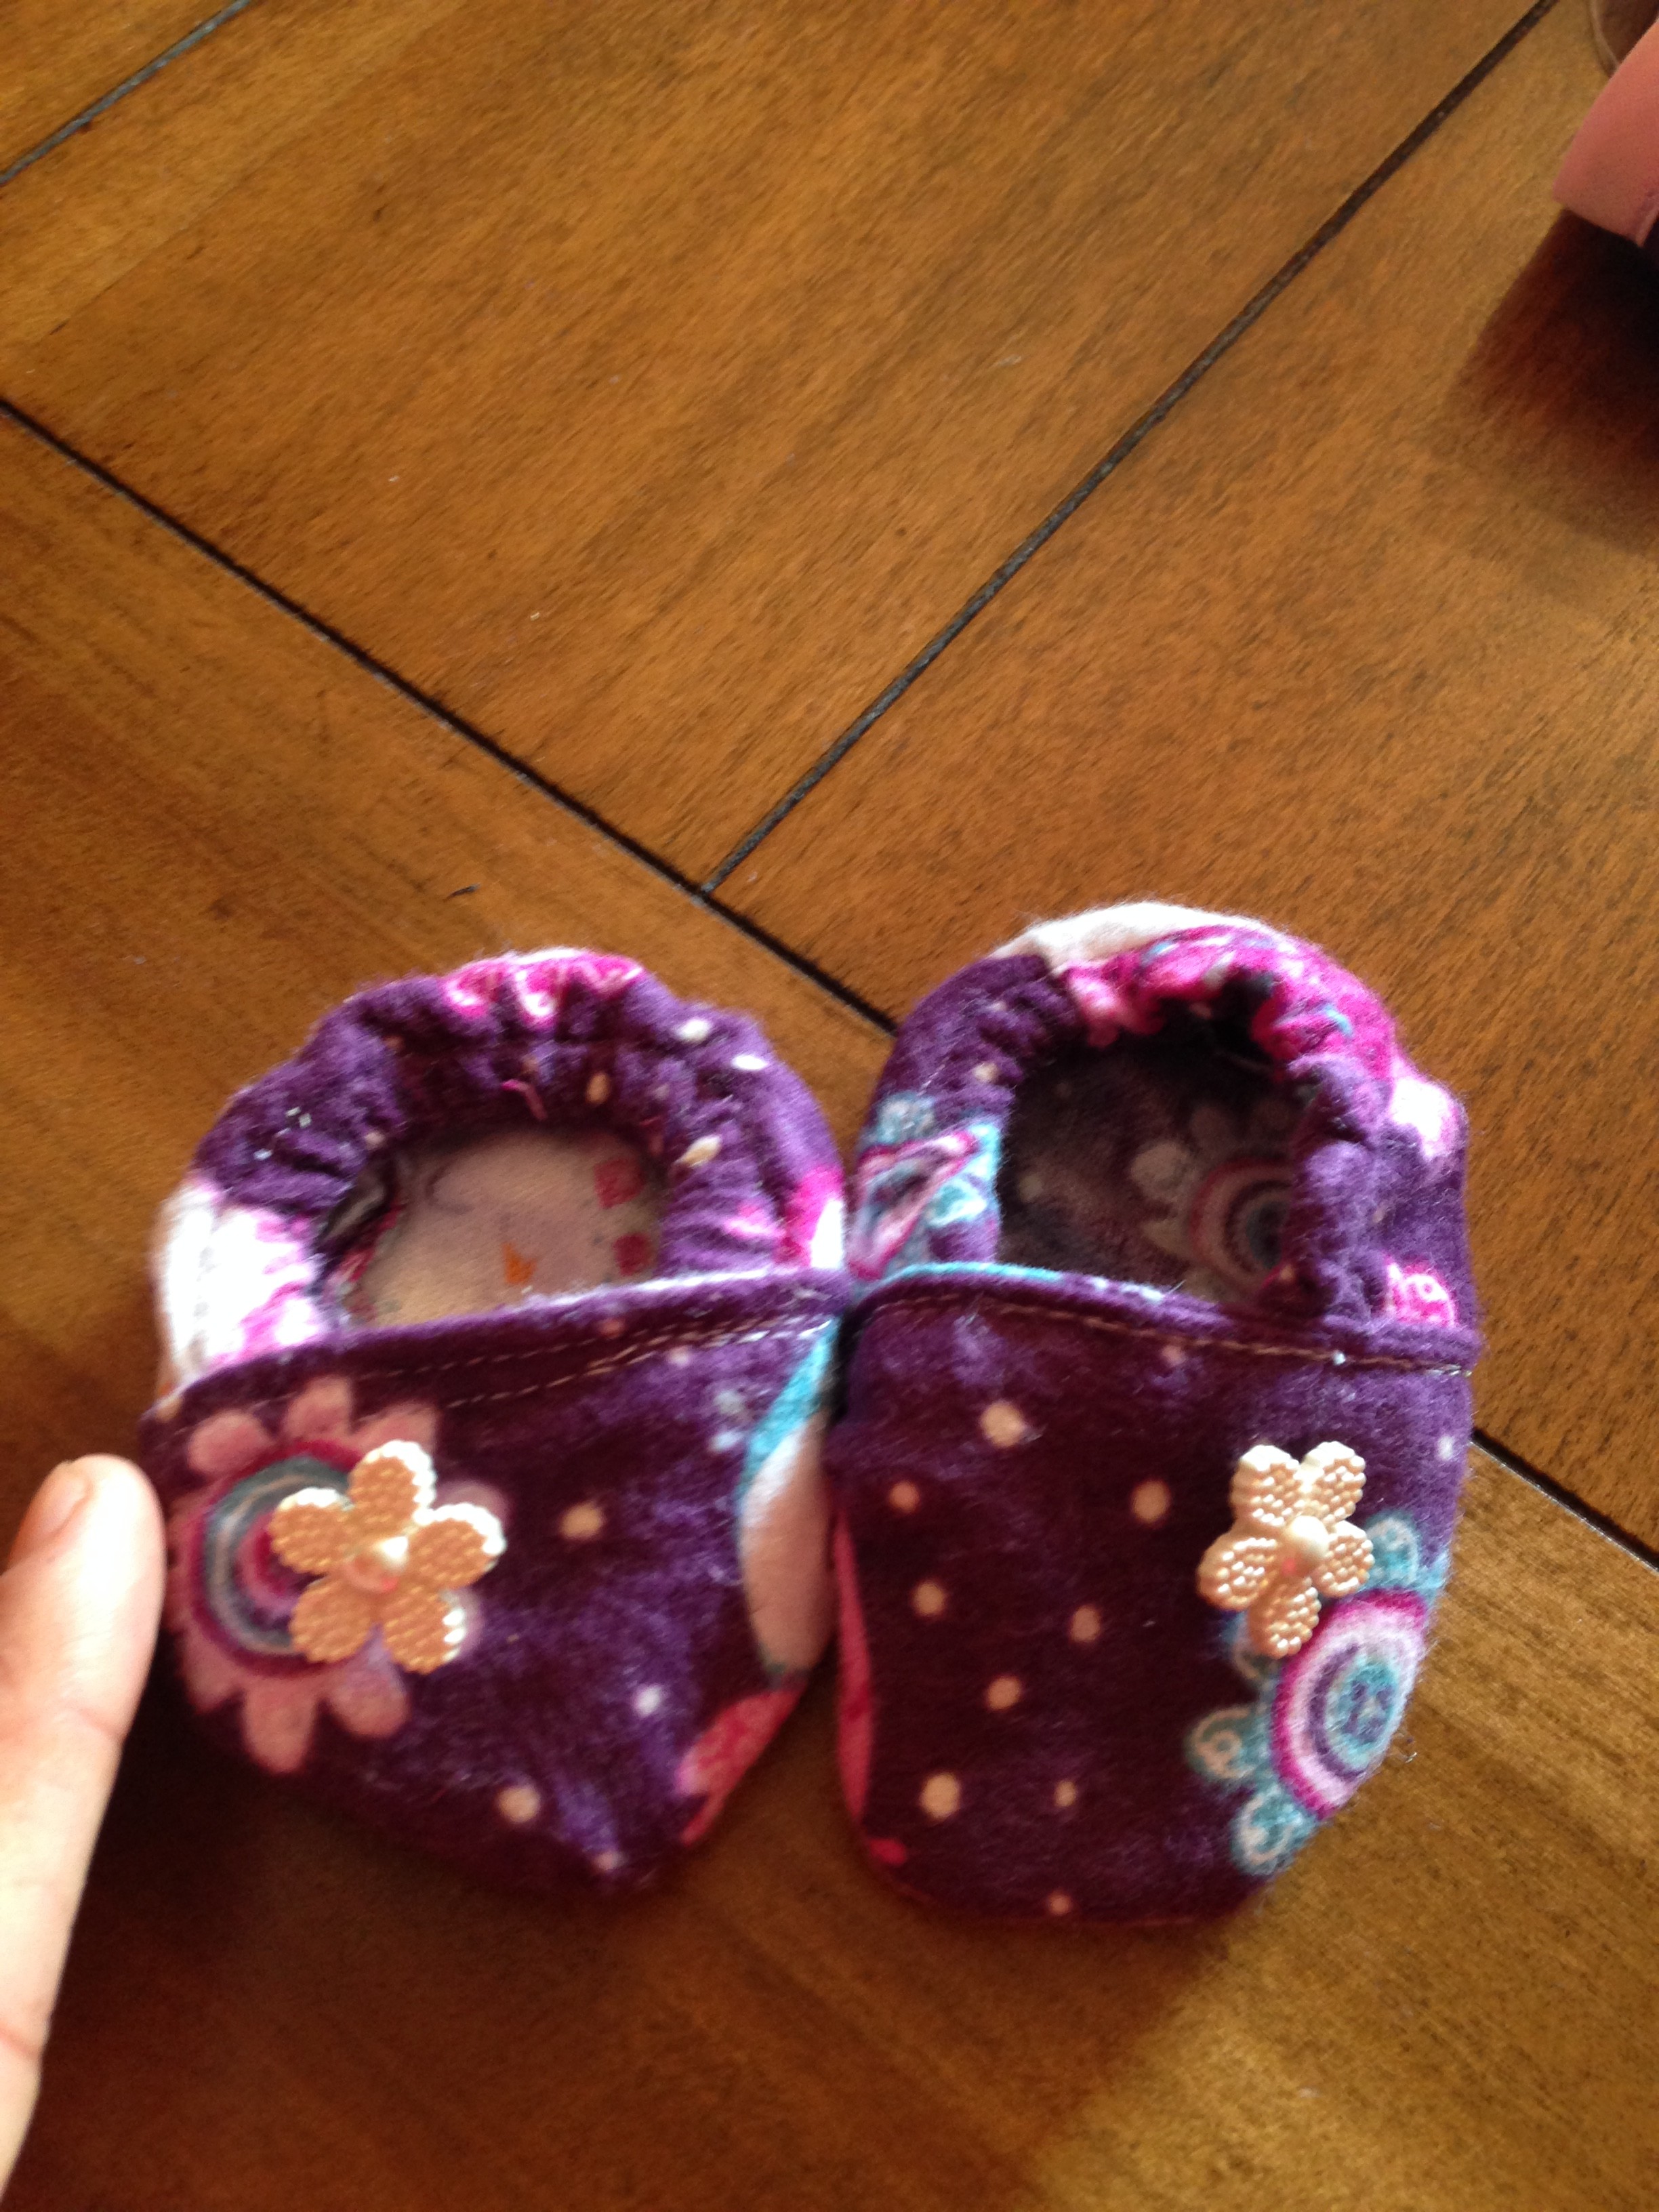
17. Now turn right side out!  And WA-LA you are done!  You can add a button, ribbon, or any other accessory you want!  Great JOB!  Lets see those pictures

IMG_2303

FollowFacebookpinterestrssyoutube
ShareFacebookpinterest

Sew An Easy Baby Sleeper!

Ever love that oh so cute baby sleepers with the elastic on the bottom?  I sure do, in fact I miss them now that my little one is getting older!  However, I have many showers to go to and it is a great gift!  The slip on sleeper with the elastic on the bottom is great for babies because you can easily change the babies diaper without fussing with all the buttons, snaps, or zippers.  It also keeps the baby warm and comfortable; not to mention how cute he or she will look!

IMG_2318First off, you need the pattern.  For this one, I used a neighboring sewing blog’s pattern since there are so many out there:

Stitched Together Pattern

So print your pattern making sure you unclick the fit to page (you want it letter size).

What you need:
*Fabric of chose
*Thread
*Elastic 1/4inch or
1/8inch
*Optional: bias tape (can
also make or just hem)

Below is the link to the Youtube video tutorial.  Below that is written instructions with pictures…enjoy!

  1. Print your pattern.  Cut your fabric as instructed on pattern

IMG_2259 IMG_2260

You should now have one front and one
back piece, and two sleeves.

2. Next, you use your bias tape. If you don’t have bias tape you can hem the ends instead or you can make your own bias tape. Here is directions to make your own bias tape

IMG_22643. Fold your bias tape on the ends of the sleeves, pin on
and sew straight on both sleeves.  Do this also to the neckline of the front and back piece.

4.  Next, You want to overlap your front and back gown pieces by either looking at the mark you made from the pattern or you can measure 4 inches of overlap from the top down.  So you want to pin and sew the overlapping sides (the 4 inches)

IMG_2266

IMG_2267

5. Find the middle of the overlap and the middle of the sleeves. This can be done by measuring 2 inches in for the overlap or folding.  The sleeve can be folded as well if you didn’t mark it. Line up the middle of the sleeve and middle of the overlap place pattern on pattern and pin and sew.

IMG_2265Snapshot 2 (9-8-2015 1-51 PM)Snapshot 1 (9-8-2015 1-51 PM)

You have to bunch it and pin it for it to stay.

IMG_2274

6. Turn your sleeper inside out and pin from the bias tape bottom all the way down to the bottom of the sleep.  Then sew!

Snapshot 3 (9-8-2015 1-57 PM)

 IMG_2276 IMG_2278

Almost there!

7.  Turn inside out and make elastic casing by folding up the bottom 1/4 inch for 1/8elastic or 1/2inch for 1/4elastic. Iron or pin the area to make it easier to
sew.  Don’t forget to leave a 1-2 inch opening to put the elastic through!
Remember to back stitch!

IMG_2280

8. To get your elastic through use a safety pin on the end and put in the opening
and pull through by bunching the fabric and then pulling the safety pin.

IMG_2281

9. Choose the tightness you need for your little one on the bottom and then sew your two pieces of elastic together.  Then sew the opening closed!

IMG_2318

That’s it!  Congrats you have finished!  Great job.  Any suggestions questions please let me know.  Look for the next post to be the matching slippers!

FollowFacebookpinterestrssyoutube
ShareFacebookpinterest

Cloth baby book!

Cloth baby books are an easy sewing project that your little one will enjoy!  You can also embellish and make it more interactive.  Cloth books are great toys as well!

IMG_2101

There are several places to purchase panel fabric for cloth books; however, it is very hard to find in actual stores.  They are mostly sold online. You can also make your own cloth book!  The following tutorial is how to make a panel cloth book. If you would like to make your own cloth book that is not from printed panels, I would suggest the following sites for ideas: Color book , animal book ideas


Today, I put together the classic The Poky Little Puppy cloth book. It is quick, easy, and you can customize it as well!

Here’s a quick Youtube tutorial for all those audio visual learners (and below is the written method):

Okay, so let’s get started!  You have your panel, you have your scissors, thread, machine, and batting for in between.  Now as far as batting goes, you can use almost anything!  It depends if you like your cloth books thicker or thin, crinkly or quiet.

IMG_2067

I actually used leftover fleece I had from another project which made my book nice and thick.

IMG_2093

You panel will most likely come with instructions that are easy to follow.  Just make sure you remember to mark your page numbers so when it’s all cut you know which page is which.

IMG_2068

So cut the panels out as instructed.  Usually you want to cut two of the panels (pictures for the book) out in one large rectangle.  Do this for all the two pages as instructed.

IMG_2093

Next, you want to cut your batting or interface to the same size as one of the two page sets.  You usually cut one batting per two sets of panels cut (follow your instructions).  You want to take your batting or interface then and sew it on the back of the panel piece (Sew all the way around it will be the backside of the panel pages).  So you should have half of your panel sets that are cut out with batting sewed to the back.

You may also want to add some interactive pieces to the cloth book such as large buttons, ribbons, or other pieces of fabric.  This is the time to do this.  Just make sure it is sewn very tight and secure.  Also use very large buttons or pieces.  For this project I just cut out some of the fleece and attached it to the dogs ears so my little one can pull at the ears in the book.

IMG_2098

Then, you want to sew the page that corresponds as instructed face down to the other page cut out with batting sewed on.  You want to sew all the way around but leave a 2 inch opening so you can pull it right side out.

IMG_2094

Then pull right side out and close the hole with a simple loop stitch or your stitch of choice.  And WALLAH you have four pages complete!  Good job!  Follow the rest of the instructions as to what pages line up with sewing and complete them.

IMG_2099

Lastly, you want to line up your pages as instructed by your instructions.  Lay them all flat as shown above and you will sew right down the middle.  Don’t forget to backstitch!  Your cover tends to be larger than the inside pages.

IMG_2101

That’s it, very simple, quick, easy, you just have to follow instructions! Good Job!  Now go enjoy it!


FollowFacebookpinterestrssyoutube
ShareFacebookpinterest

Peasant dress tutorial!

Peasant dresses are perfect for any age!  The elastic on the top and through the sleeves allows the dress to fit for much longer than most clothes.  There are also many ways to customize the peasant dress.

IMG_1868 IMG_1863

I love the dress because it’s easy to put on my little one. It stretches right over her head and I dont have to deal with the fuss and fight that sometimes comes with putting on onesies.  Also, at home I use cloth diapers and it’s easy to just throw the dress on and she just needs the diaper underneath!  Of course I do this with regular diapers as well, but it looks so cute with the colored cloth diapers!  She seems to really enjoy the fabric too!  She enjoys playing with the design and discovering her feet and how the two things she is learning are her feet can kick the lace :op

So, lets get started…

IMG_1066 IMG_1078

Here is the free pattern for sizes 4-10months (it stretches).  If you want a bigger or smaller size you can scale it down or hold the pieces up to one of your child’s dresses and adjust the sizing

.IMG_1759

Below are the four components- don’t forget set printer option to print to actual size.

Here is the youtube tutorial for you to follow:


Or you can follow below:

  1. Print out the pattern and trace and cut as directed.  If using a pattern on the fabric make sure it is all going in the correct directions.
  2. fabric
  3. Line up one body piece with pattern facing up to one sleeve with pattern facing down.  Pin and sew.  Do the same for the other sleeve.
  4. fabric2
  5. Next you want to take the other side of the sleeve and line it up with the other body piece.  Put pattern side to pattern side so it fits. Sew both sleeves.  Now you should have looking like this:
  6. IMG_1744
  7. If you want to zigzag stitch on all edges to prevent fraying when washing, now is the time.  If you have a serger, by all means use that now. This is not required but is helpful to prevent fraying.  See the video for more information on zigzag stitches.
  8. IMG_1743
  9. Next you want to form the pockets for the elastic for the sleeve and necklines.  I am using 1/2 inch elastic and folding the fabric edges about an inch in.  If using 1/4 elastic then you can fold in 1/2 inch.  I also press to make it much easier to sew.  See picture below.
  10. IMG_1746
  11. Now you want to sew the bottom part of the sleeves down the long side but leave the small edge sides open for the elastic.  Then sew the neckline leaving 1 inch or so open.  Usually I do this towards one of the seems so its not as noticeable when you close it. This will be to put the elastic in.  So sew all the way around leaving a one inch opening.  Remember to backstitch.
  12. Next, use a safety pin and pin the end of the elastic.  Put the pin through the opening at the end of the sleeve and pull through.  Bunch the fabric over the safety pin and pull the elastic through.  When to the end you want to adjust the bunching to the appropriate size for your little one’s arm.  Then sew the ends of the elastic to the fabric then cut the extra elastic.  Do not cut before sewing or you may lose your elastic.
  13. fabric3
  14. Now do the neckline.  Find your hole and pull elastic through.  Then adjust to appropriate size (which you can measure your muchkins neckline).  Then I cut the elastic holding it carefully and put a quick stitch in the two elastic pieces by stretching it outside the fabric area.  Then I let that go back into the fabric and stitch the hole shut.  You can also sew the elastic on the two sides of the opening on the holes (which may be easier).
  15. Now you should have your elastic all completed!  We are almost there.
  16. Next, you want to sew both sides of the dress closed.  to do this, put your dress inside out and pin sides together starting at bottom of the sleeves.  I usually do a zigzag stitch down the outside then a straight stitch on the inner side of the fabric.  This makes it stronger.  Do this for both sides making sure you sew the bottom of the end of the sleeve.
  17. fabric4
  18. Now you should have both sides completed.  What’s left you say?  The bottom of course!  So decide if you want a plain hemline or lace. You can hem and then lace as well.
  19. So either hem, or continue and take your lace and line it up on the outside.  I have zigzag stitched the bottom already in a previous step to prevent fraying  If you have not done so, I suggest you do this or hem the bottom before adding the lace.
  20. Line up the lace on the bottom and pin.  Sew it and WaaaLa!  You are done!  Congrats!
  21. Optional is adding buttons or a bow!
  22. IMG_1760IMG_1769
  23. Stay tuned for the hat tutorial!
  24. IMG_1885


FollowFacebookpinterestrssyoutube
ShareFacebookpinterest

2 Ways to Make an Easy Headband!

Need a stylish way to keep the hair out of your face?  Want it cheap?  Well, believe it or not, you can sew a quick headband in almost under 5 minutes!  This is great to match your little one’s dress or outfit.  Also, you can match your own outfit or dress for a stylish design.  I made a neat flower dress for my munchkin and made myself a matching headband!  It looks great for pictures but it’s not the overboard matching outfits :op

Here’s how:

What you need:

  • Fabric (15×3 two pieces or 15 x6 or one piece folded)
  • Matching Thread
  • Elastic (1/4-1/2 inch)

headbandpicheadbands

1) First you want to cut out your fabric.  You can either make the headband with two pieces of fabric at 15×3 and cut on a slant.  Or you can do one piece with the fold on the long side (the 15 inch long side).

2) Following that you want to turn it with fabric sides facing each other and sew the sides (or side if you are folding) and leave ends open.  Turn inside out.

3) Fold the ends inwards.

4) Cut your elastic to 7 inches long (or if for younger you can measure ear to ear in the back and cut elastic)

5) Put elastic in end and sew up and down several times ! If you are doing the folded headband then take the corners of the fabric and fold in and sew.

6) And wala! You are done! Don’t be afraid to add buttons, glitter, bows, and other neat accessories!

Awesome!  Quick and easy, Enjoy and check back for more activities each week!


Lastly, do you think having matching outfits to your little one is too much?  I’d like to see the debate begin!

FollowFacebookpinterestrssyoutube
ShareFacebookpinterest