Reversible Lace Baby Sunhat!

IMG_1868

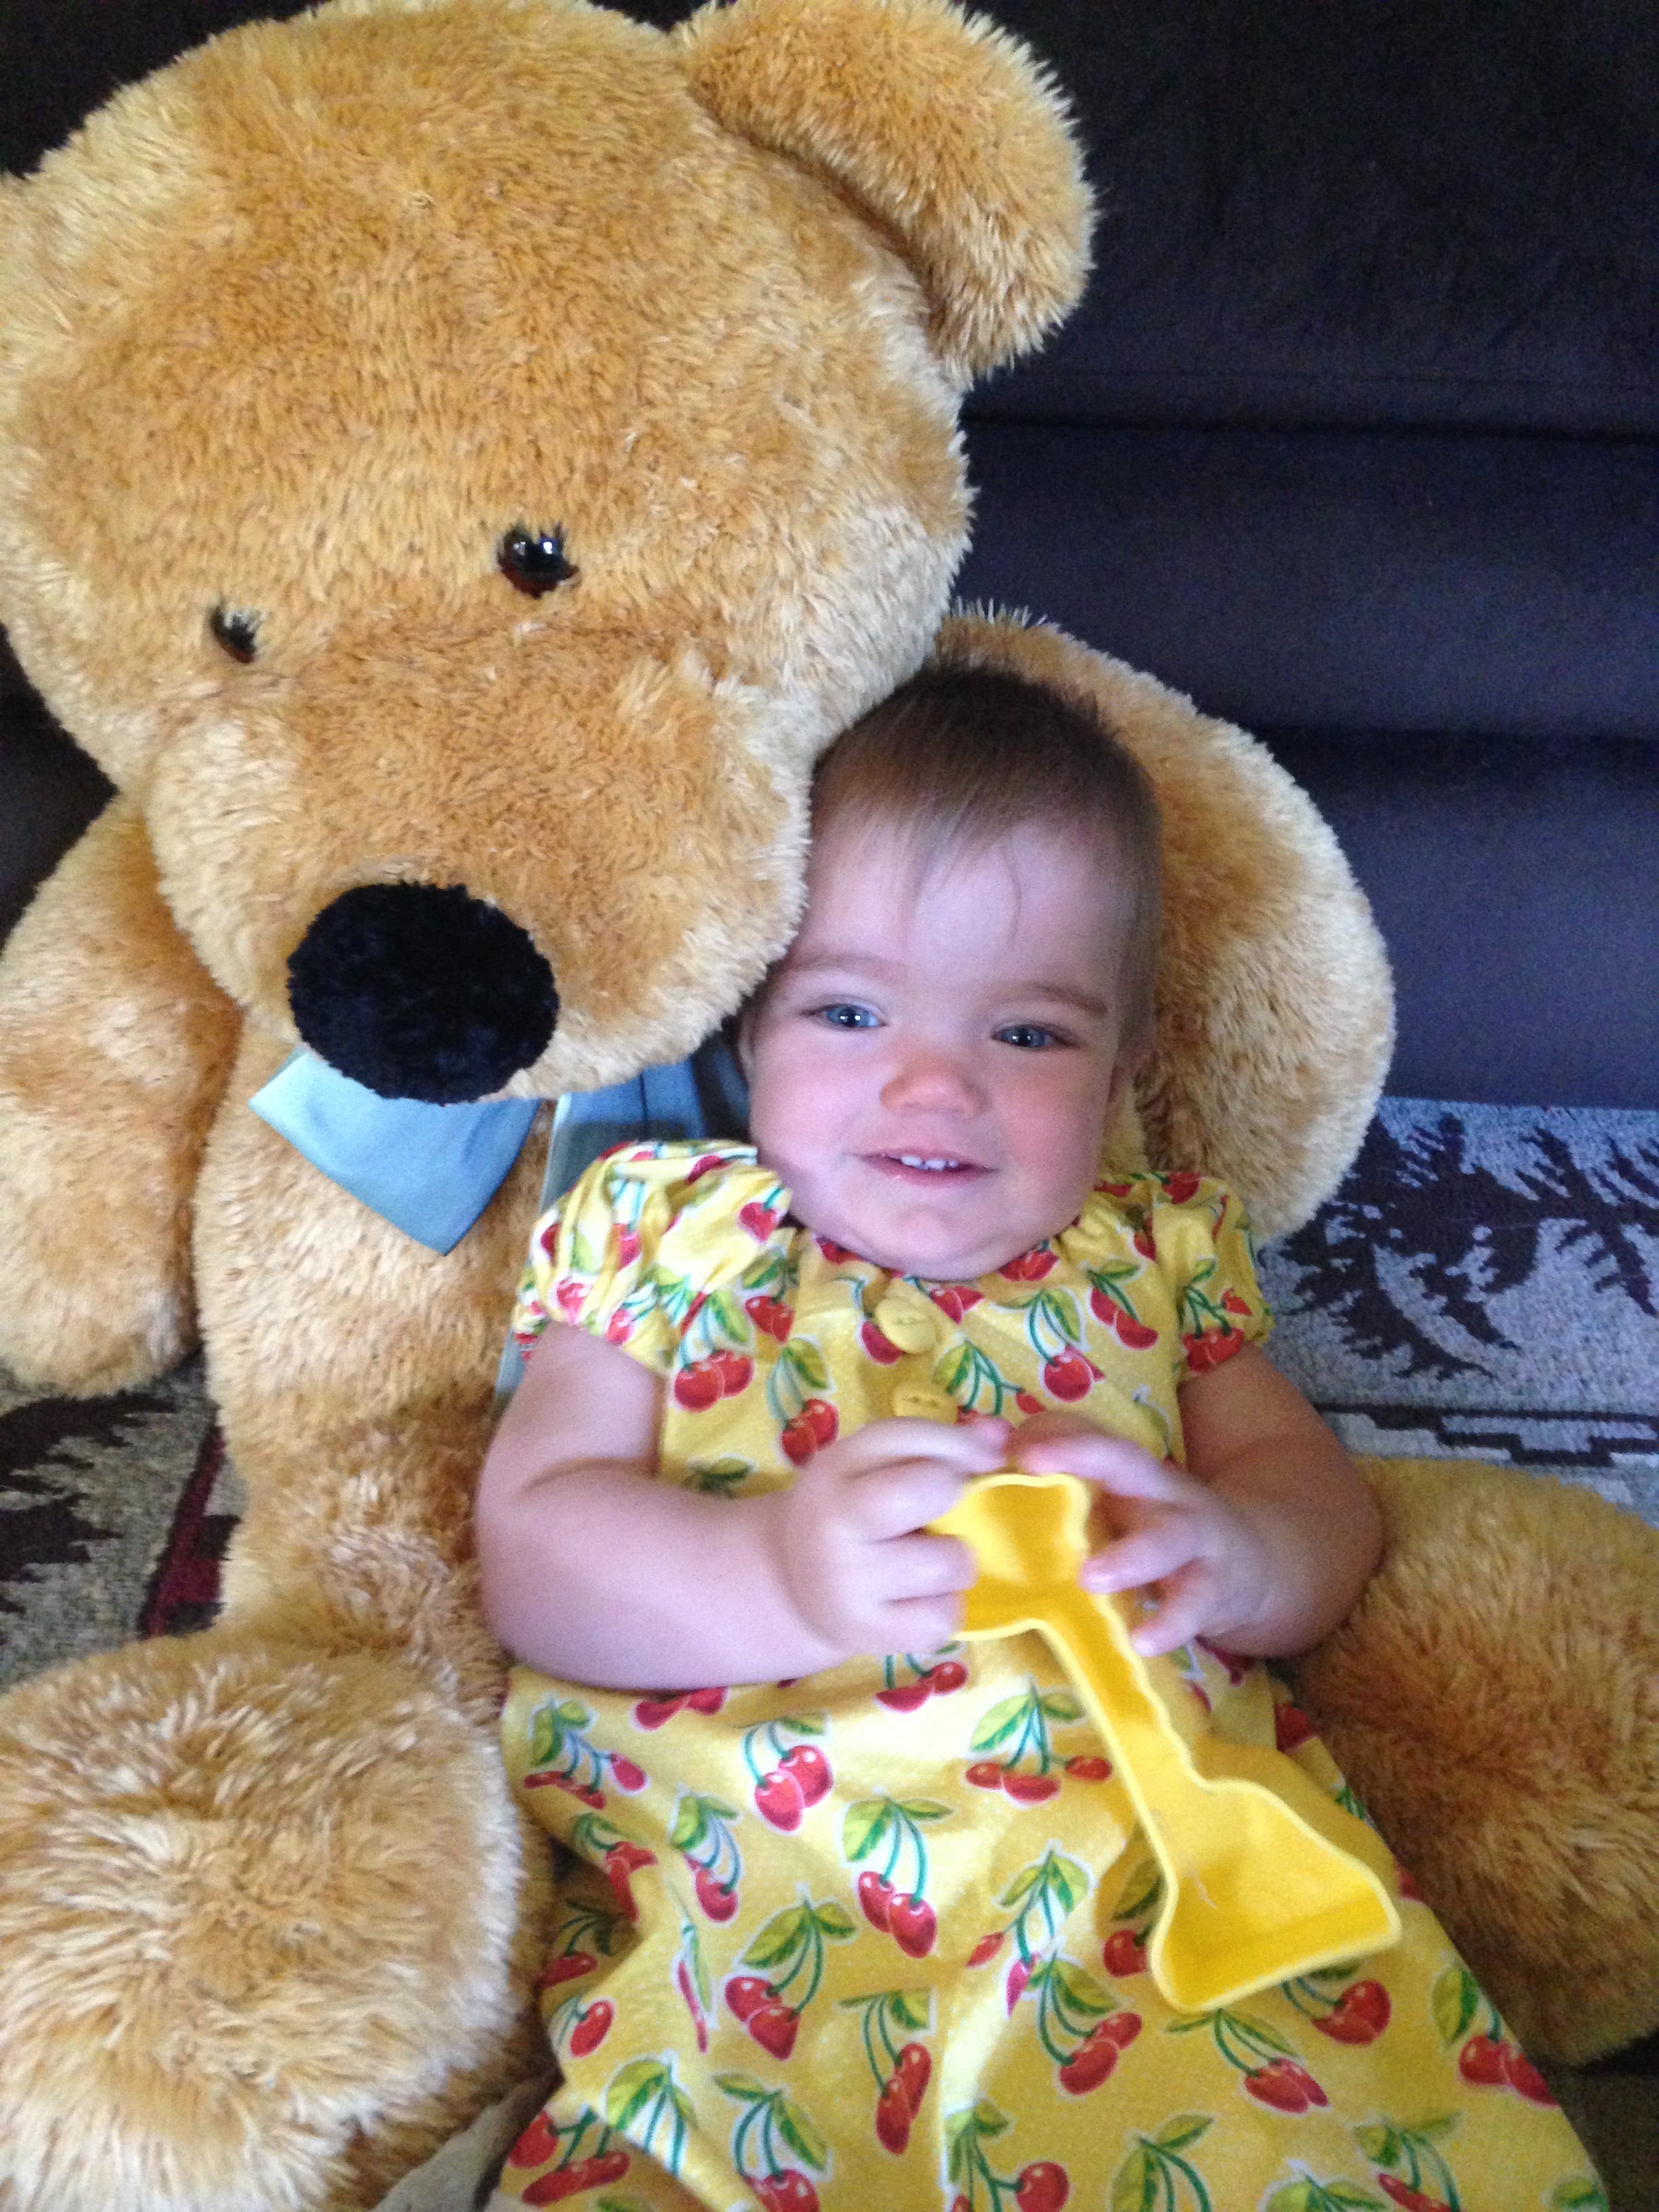
Are you looking for a cute sunhat to shade your little one from the sun?
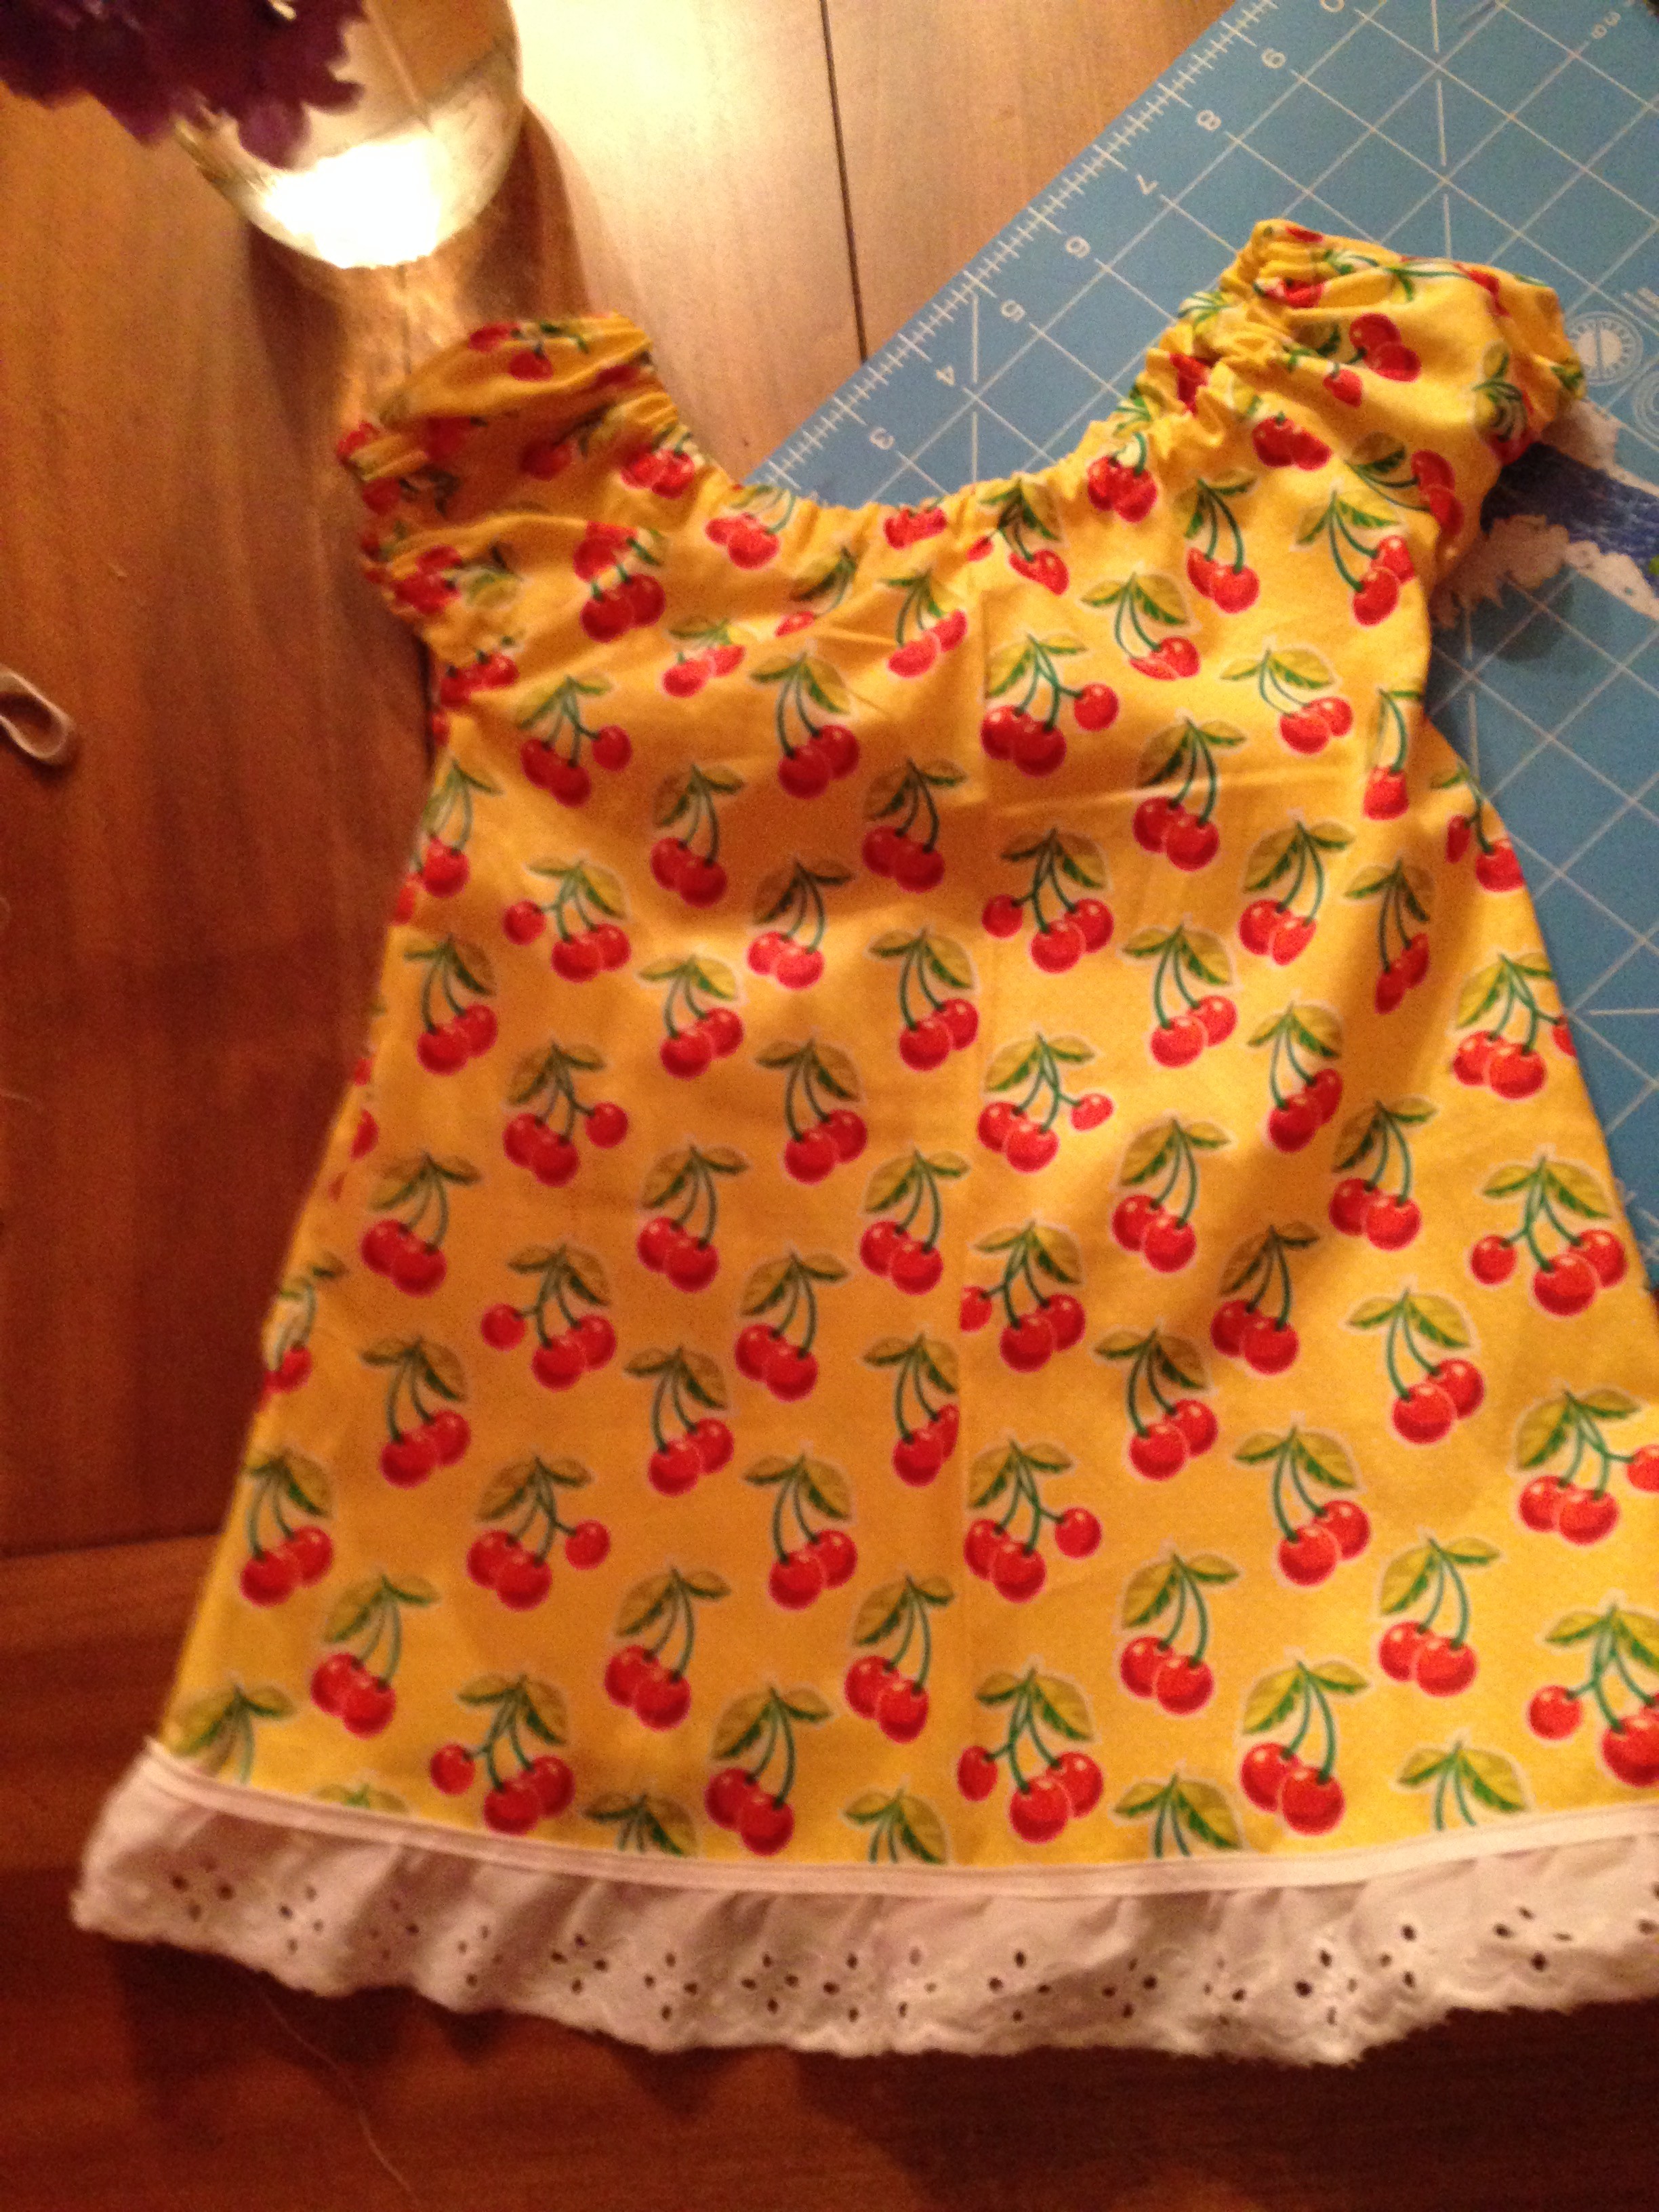
Well, this matching reversible hat is the perfect one!  It works great for pictures and photo shoots as well.  The hat is also an easy pattern that can be completed in under an hour.  The hat really completes the outfit as you can see above!!!

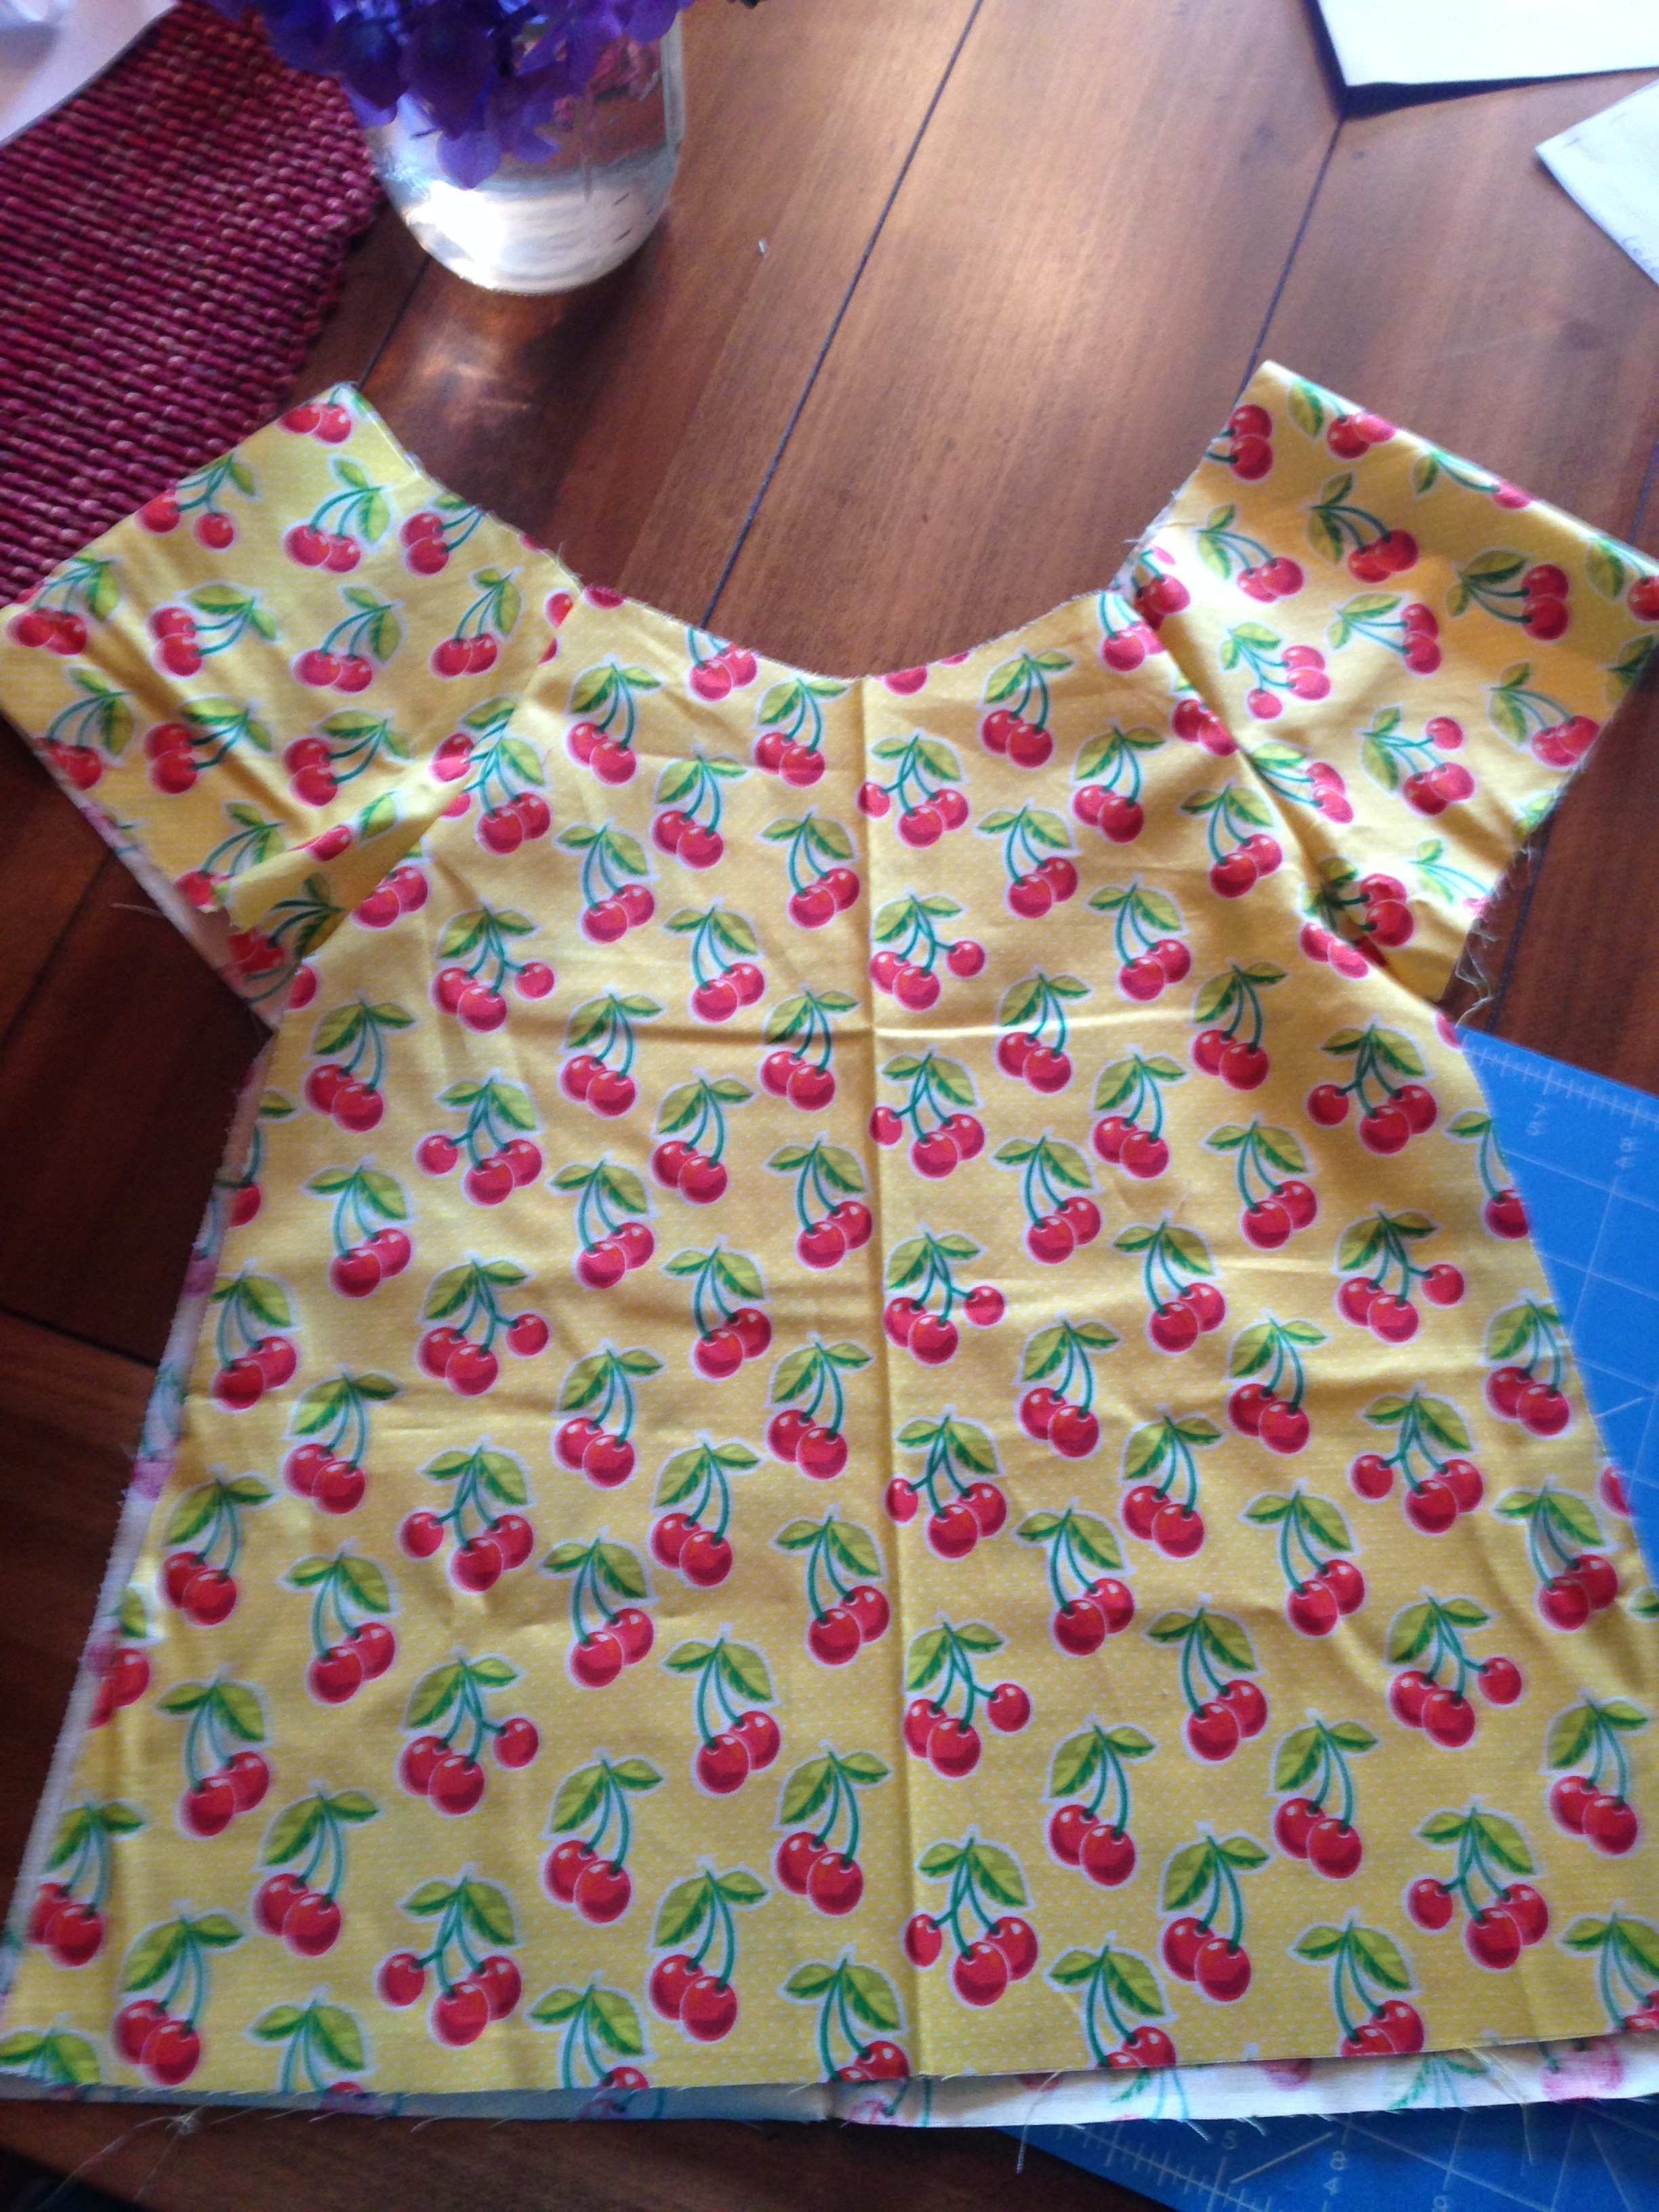
You can look back at my last tutorial on how to make a peasant dress to make a matching dress.

IMG_1885

What you will need:

  • The free pattern here:    sunhat 001
  • fabric (can do one color or two)
  • lace and or buttons (optional)
  • scissor
  • matching thread

For the people who enjoy a visual demonstration, below is the YouTube video.  Following that, is the written and picture directions.


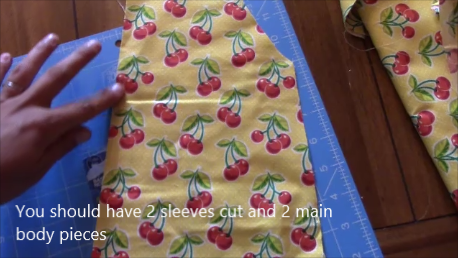
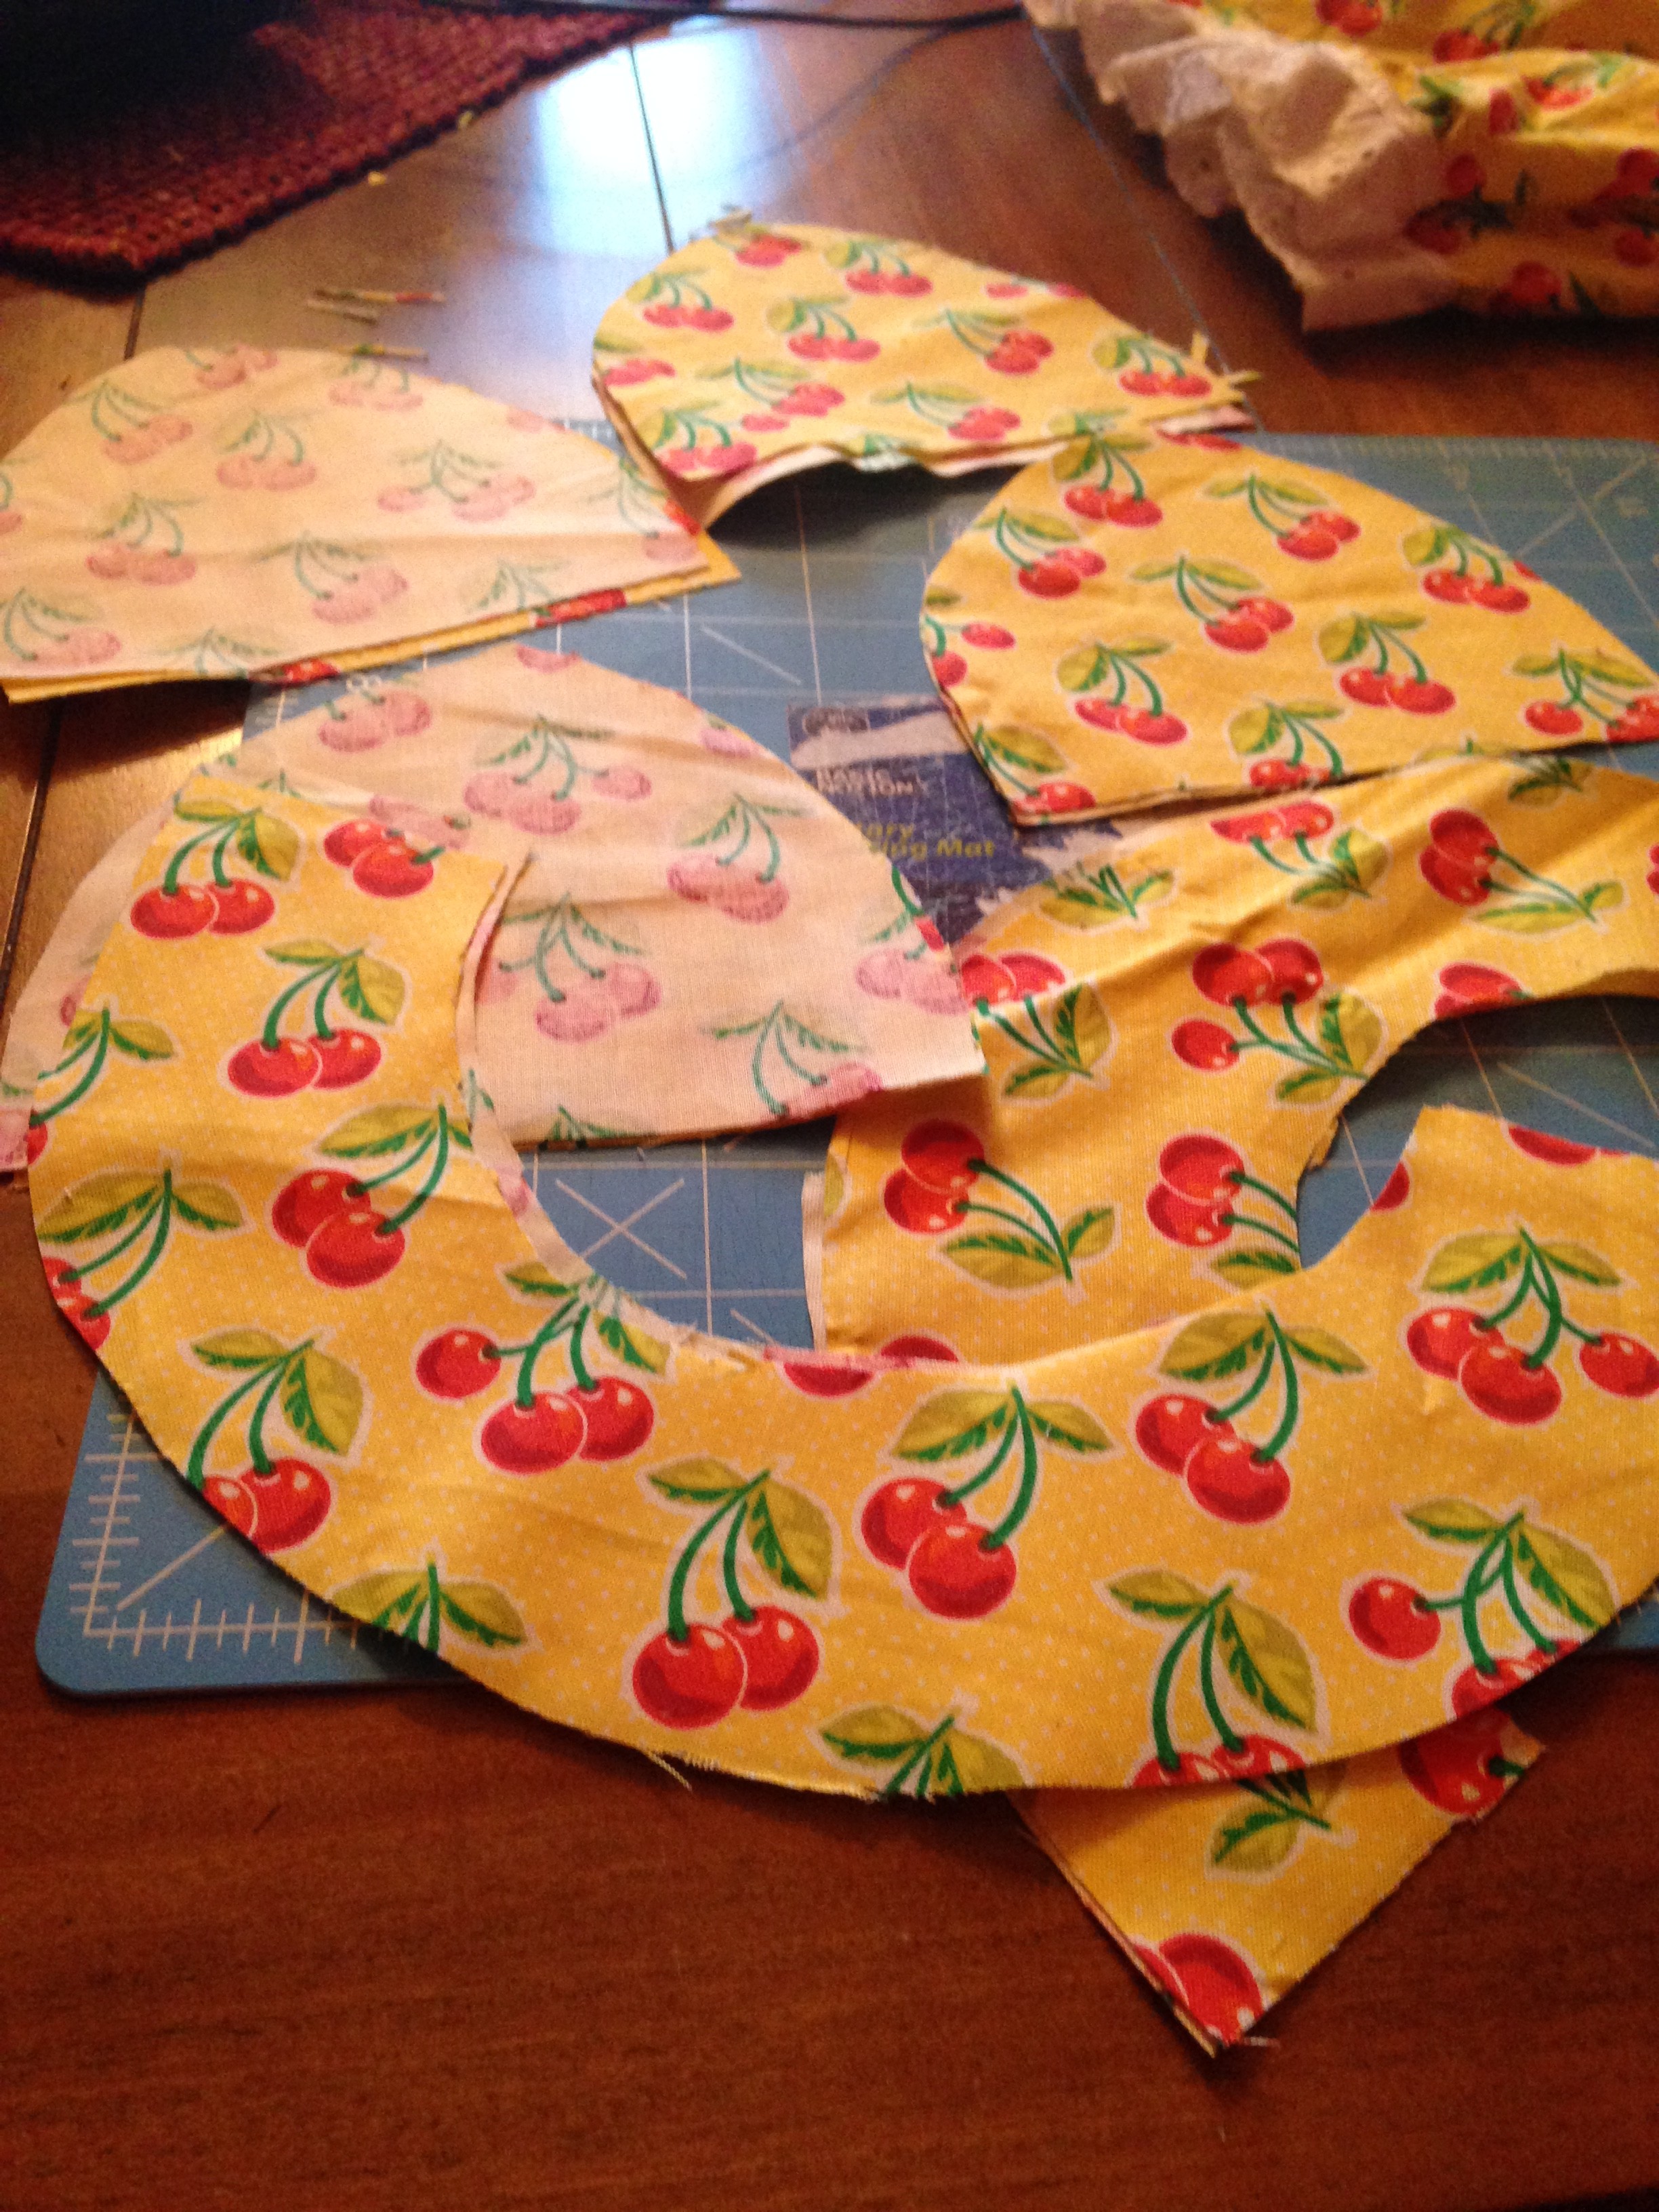
Okay, first you need to cut out your pattern pieces.  You need 8 crown pieces and 4 brim pieces.  If you want two different colors for each side then its half in one color half in the other!

IMG_1829

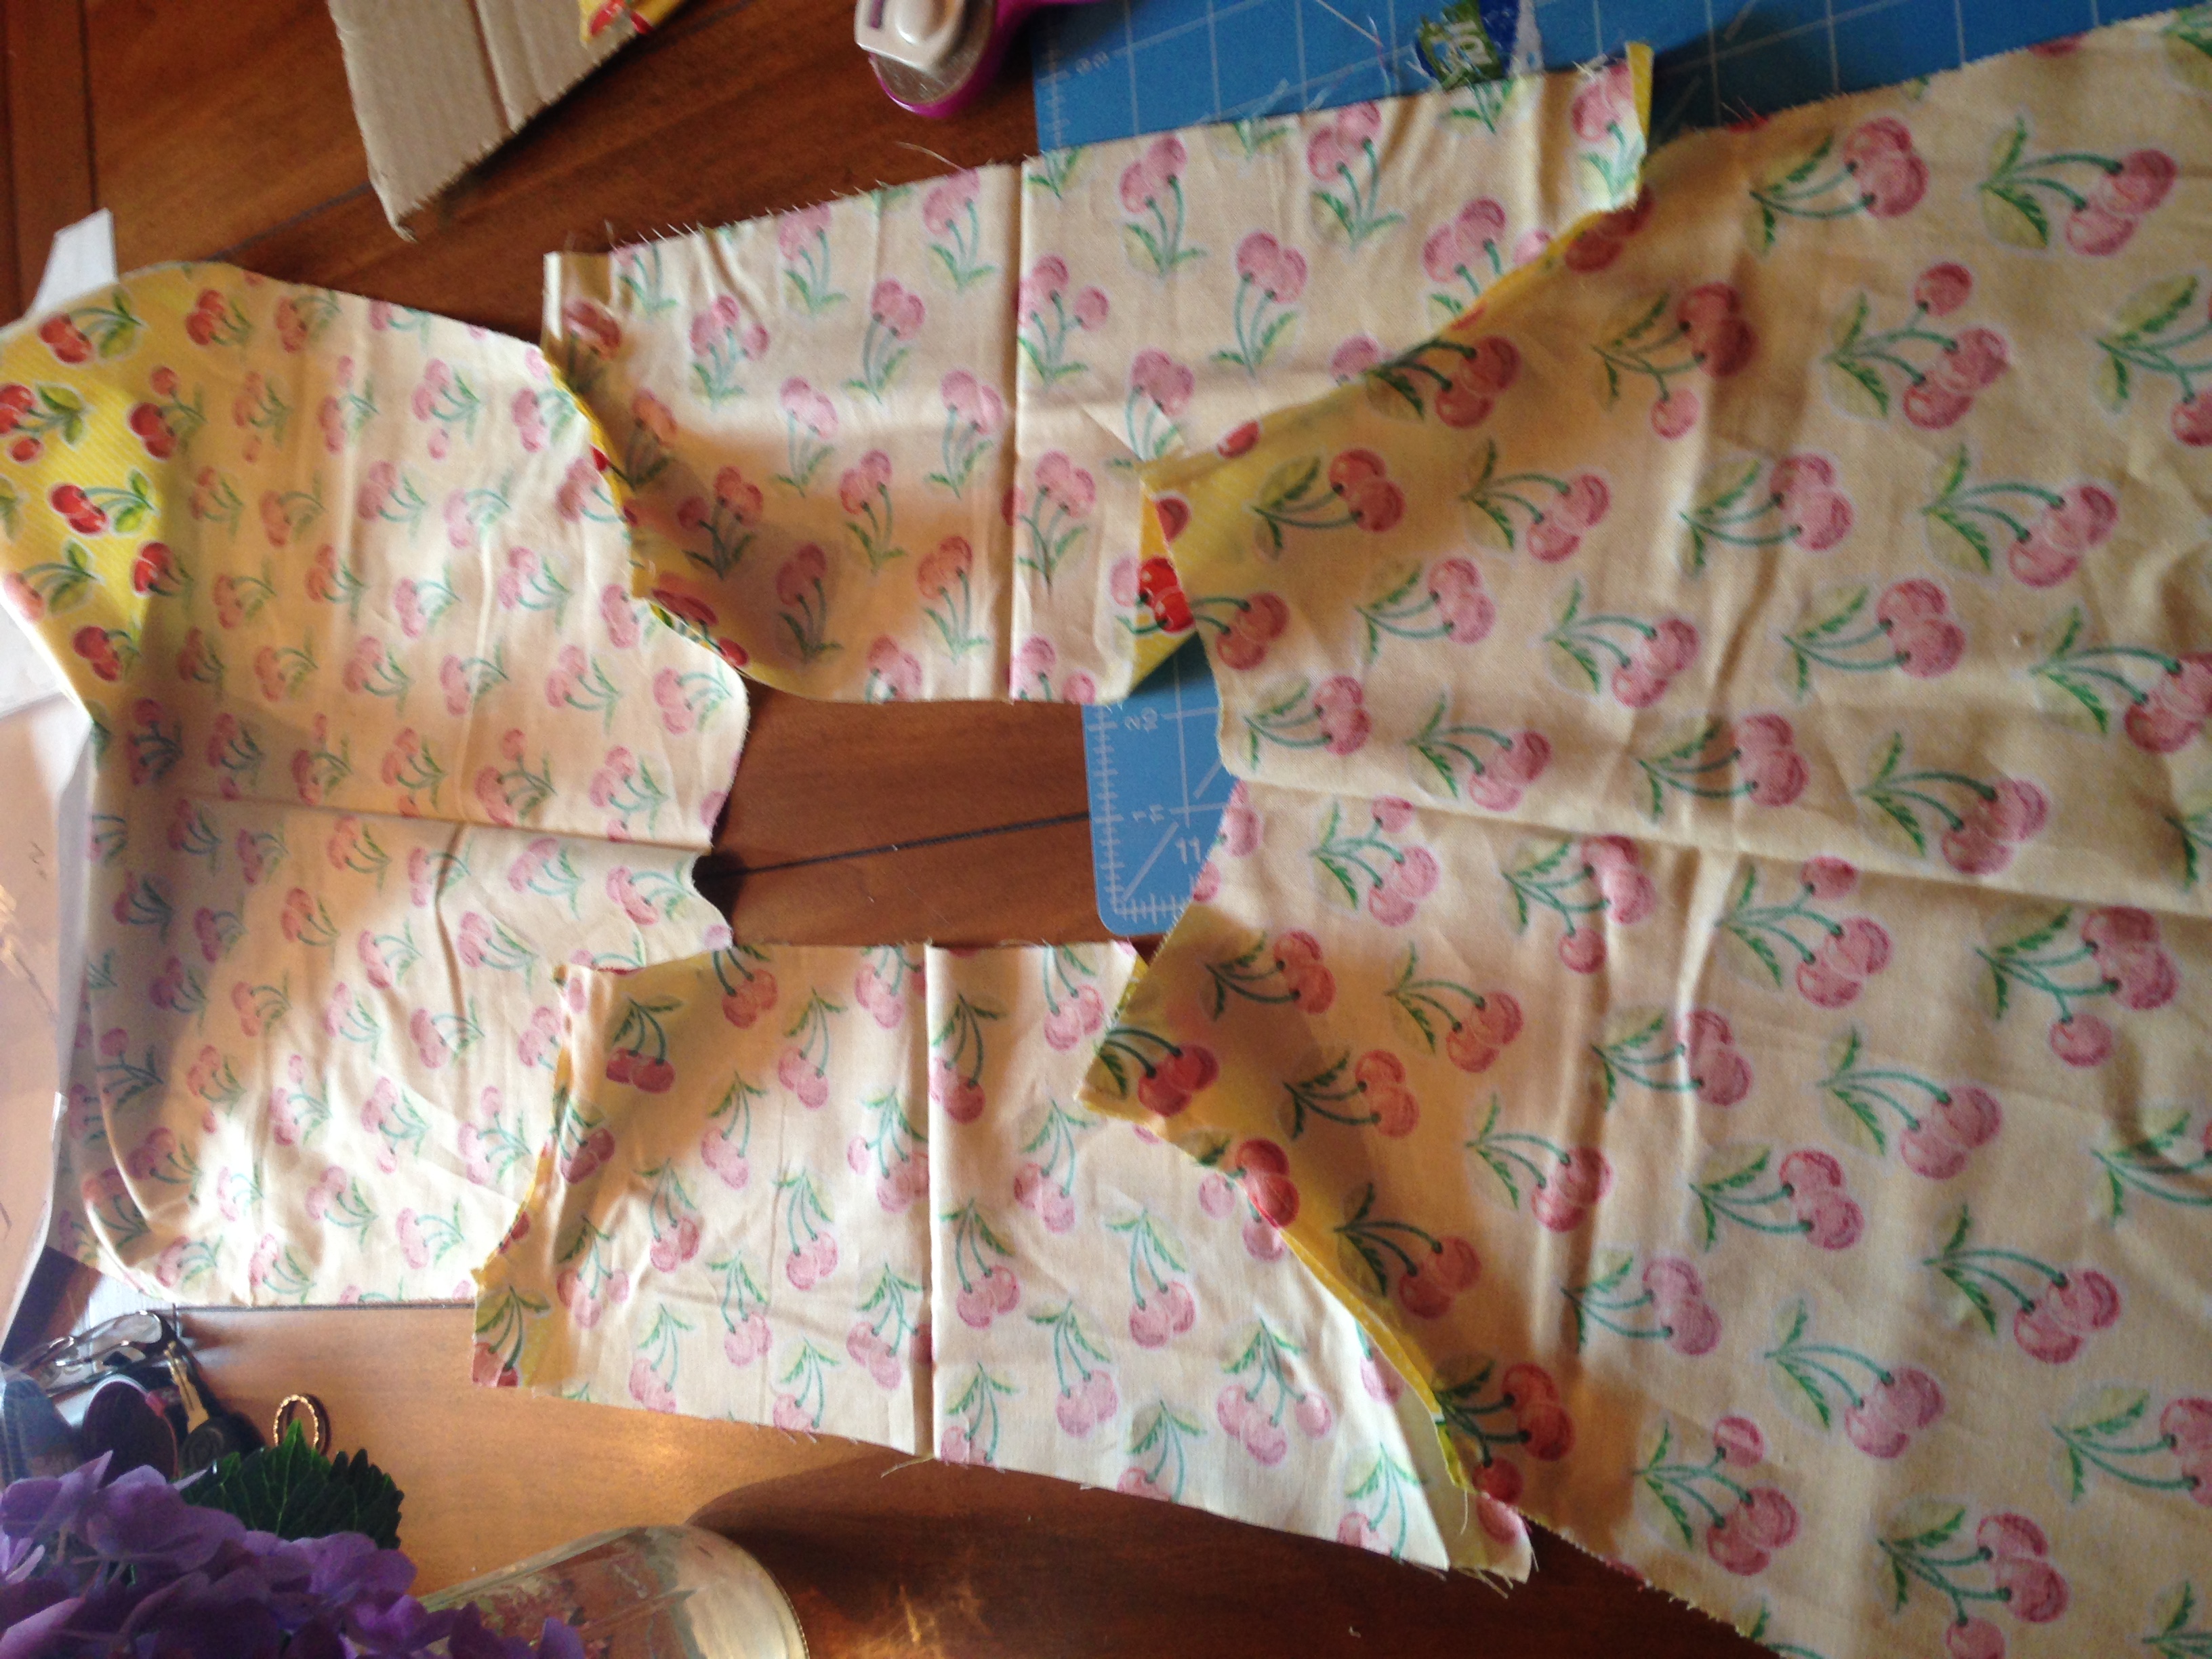
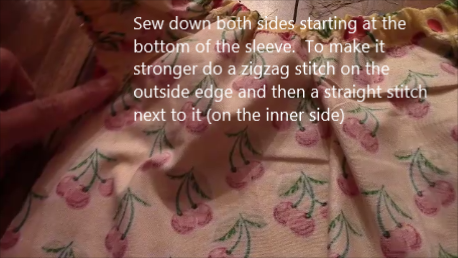
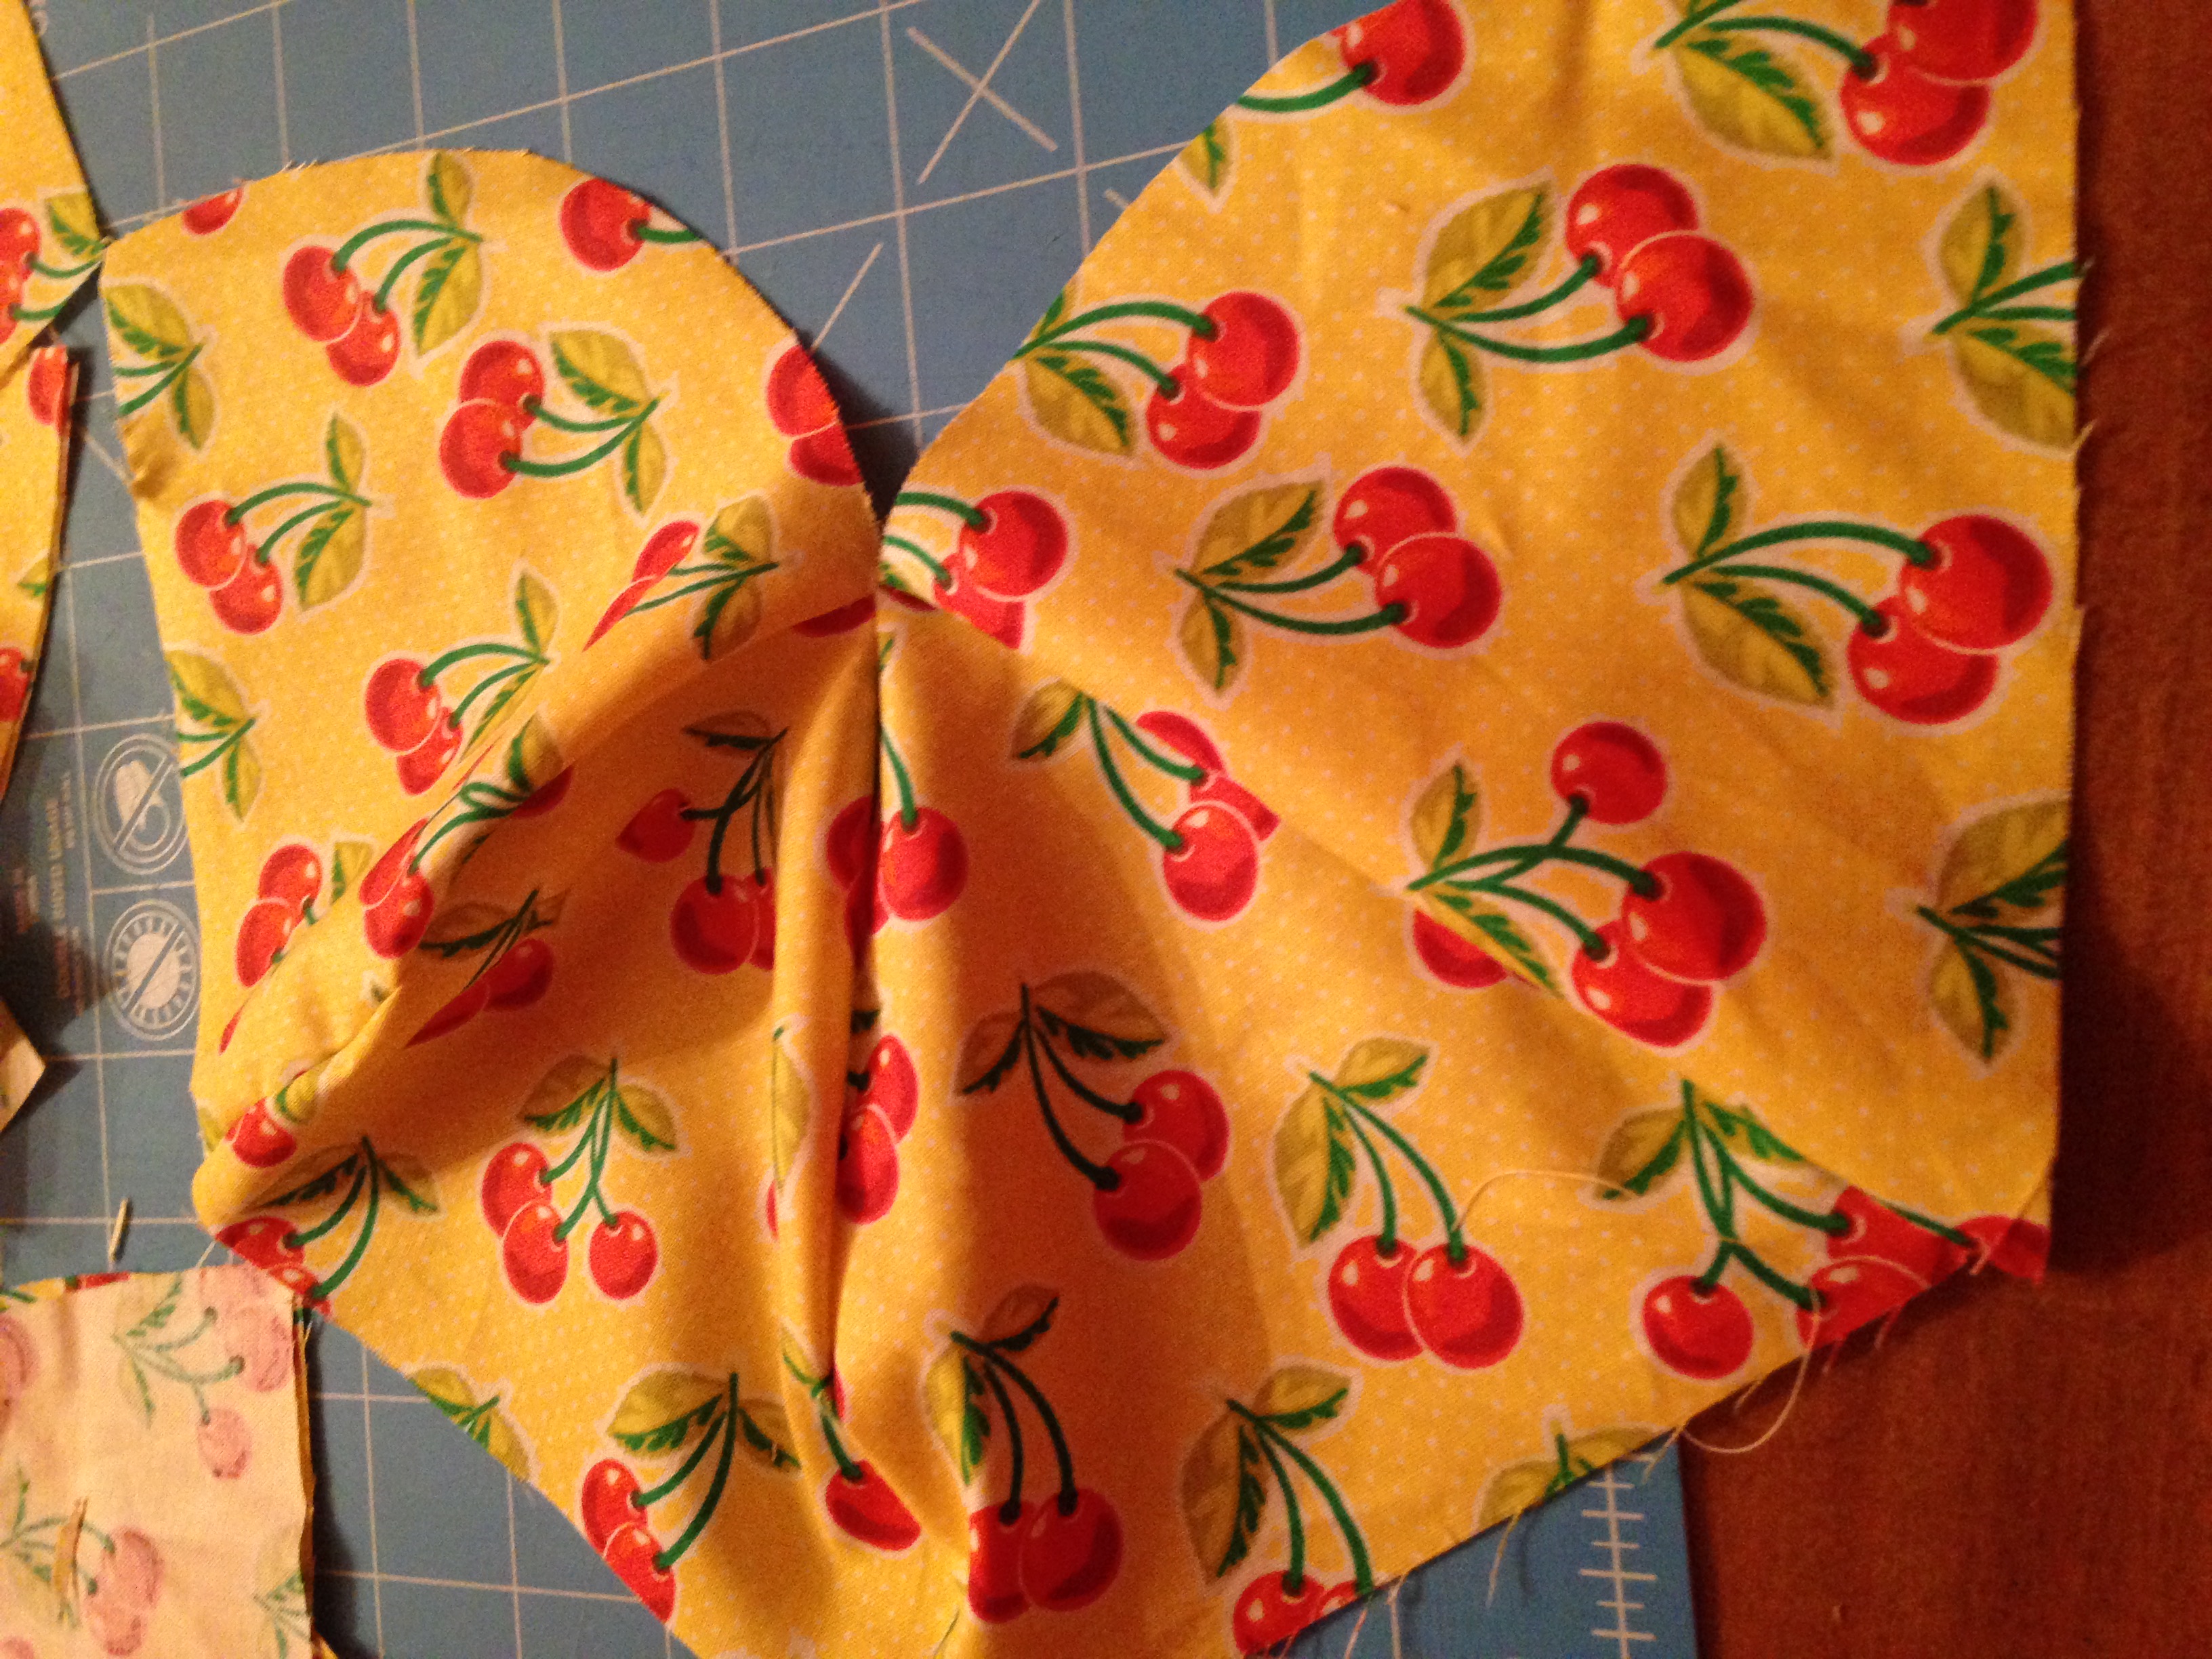
Next, you take two of your crown pieces and place them together with fabric patterns facing each other.  Pin and sew down one side.  This is what it will look like unfolded.

IMG_1830

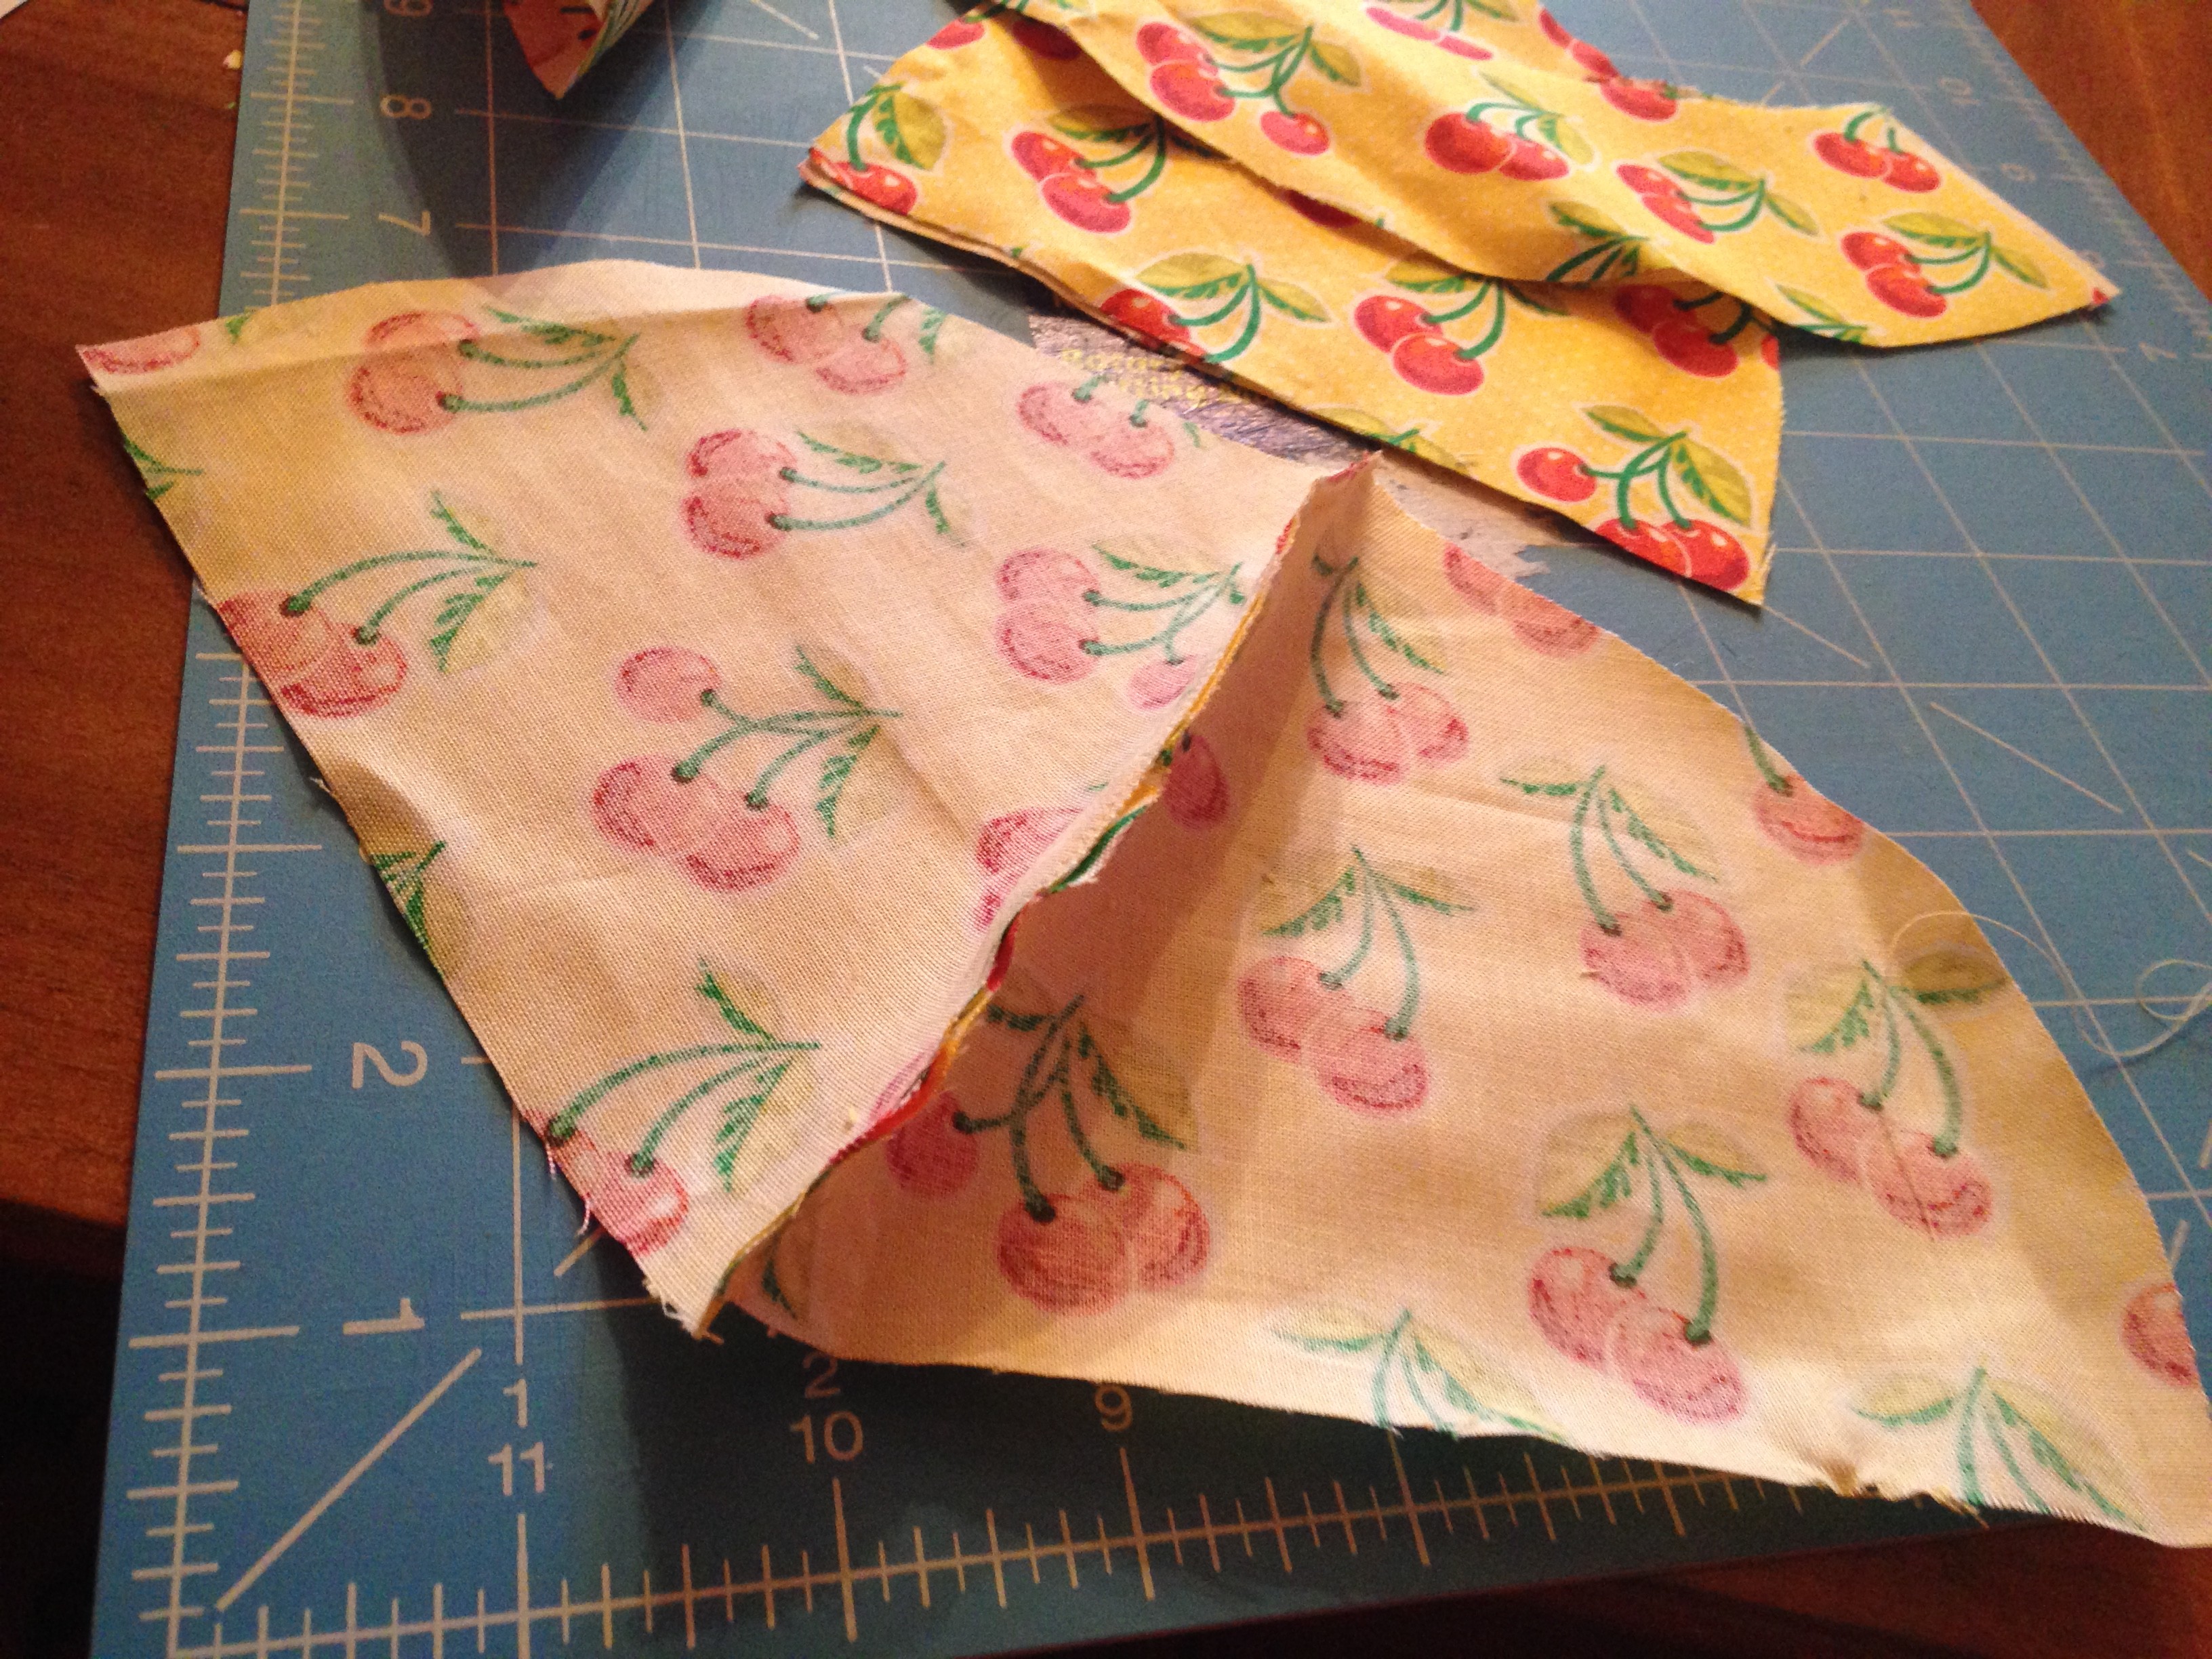
Then take another piece and place on one of the two pieces sewn together.  You again want fabric pattern to fabric pattern facing each other.  Then sew the one side.  Do this until you have four pieces.  Once you have all four pieces sew the four side together as well.

IMG_1832

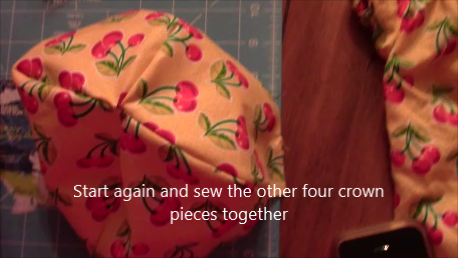
And WA-La!  You have your first crown hat completed. Now start the process again with either the same color, or if you are using a different color scheme on the other side of the hat use that.  Complete another crown.

crown

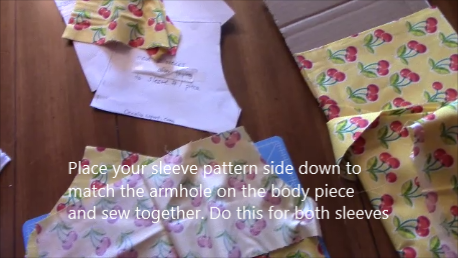
One you have the two crowns, you want to line up two of your brim pieces with the patterns facing each other.  Sew the small short ends together as indicated on the pattern pieces.  Then do this for the other two pieces as well so you have two full circle brim pieces.

Next, you want to connect the brim pieces to the crown pieces.  You do this by magic.  Hah, no just kidding, you face fabric to fabric again and sew around the edges.

hatpinned

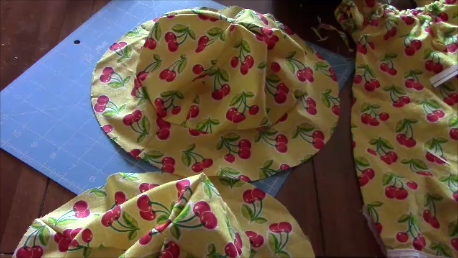
Then you will end up with two formed hats!  Trim around the seems.

hats

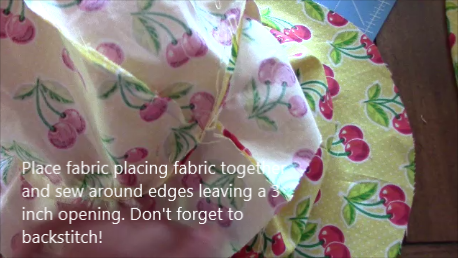
Next you want to make 2 into 1!!!  So to do this, you need to place fabric to fabric again. So put one hat inside out and line up the outside brim pieces again.  Remember to match up the seems of the crown and brim to each other.  Pin, then sew around the outside leaving a 3 inch opening.  This opening will allow you to turn the hat right side out.

hatss

Once completed turn right side out by pulling the fabric through the opening.

hathat

Now, you want to sew that hole closed.  To do this, fold in the edges and either press or pin to stay.  Then sew it closed baby!  Press the seems

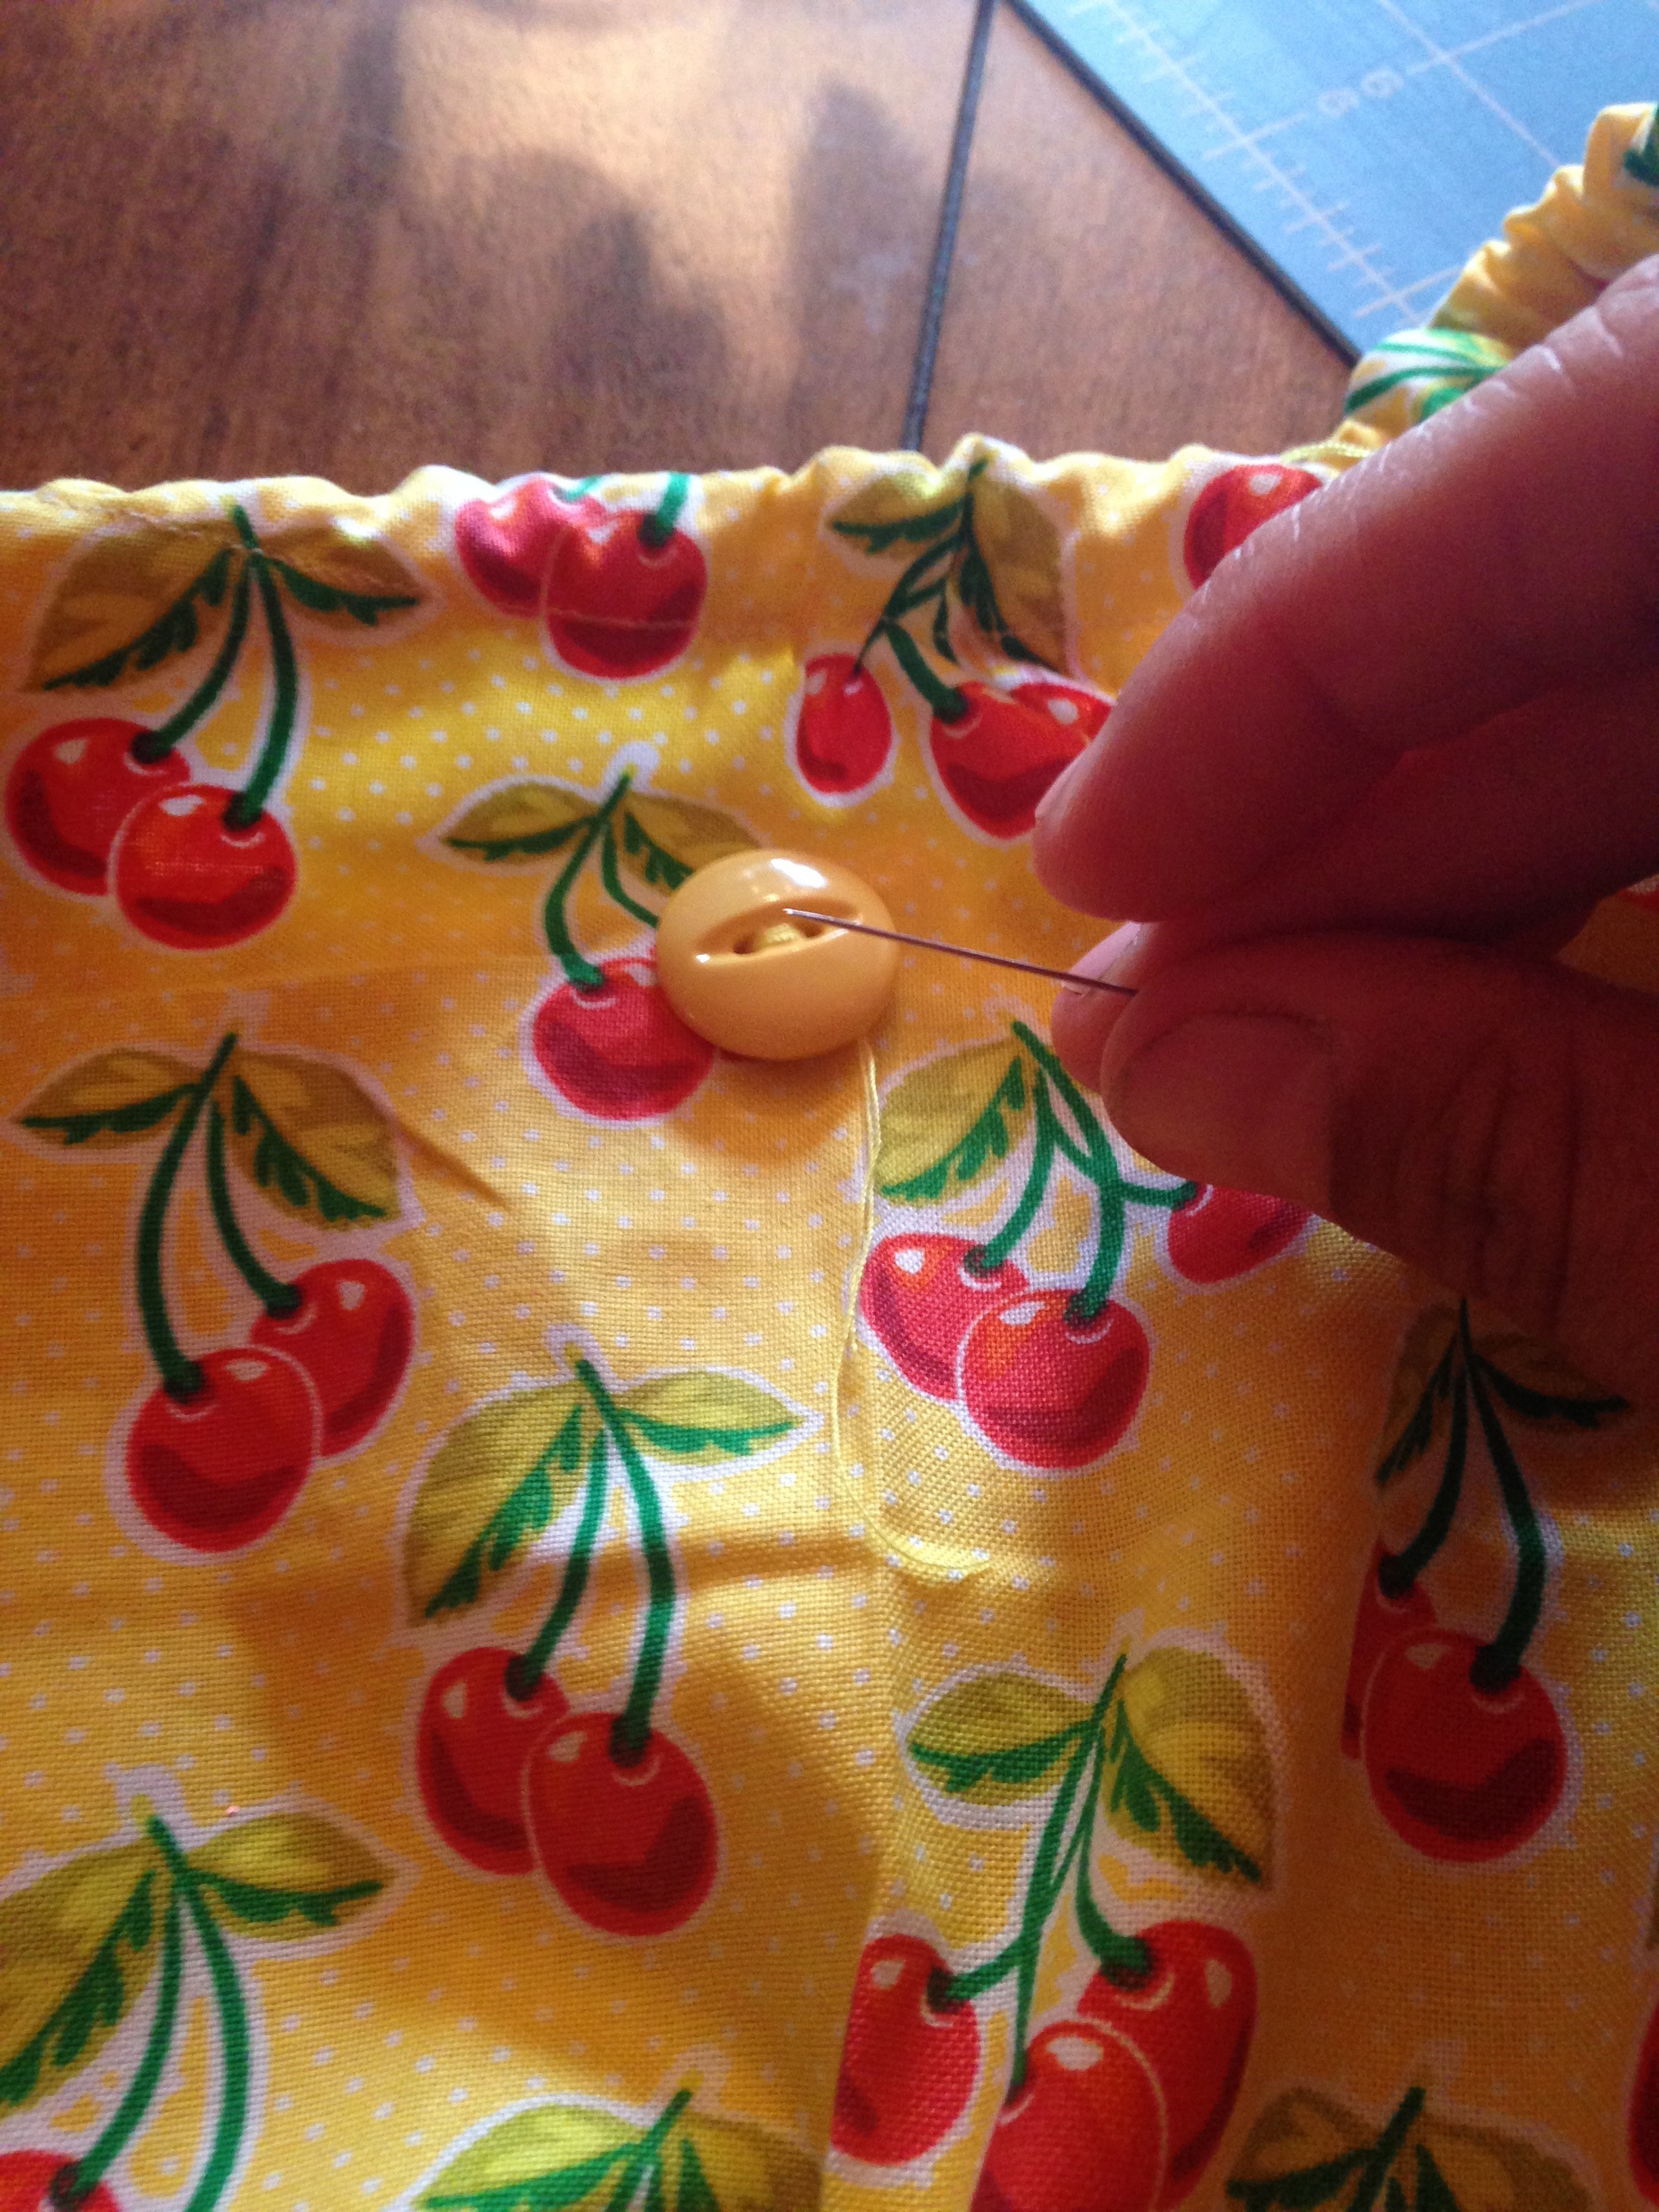
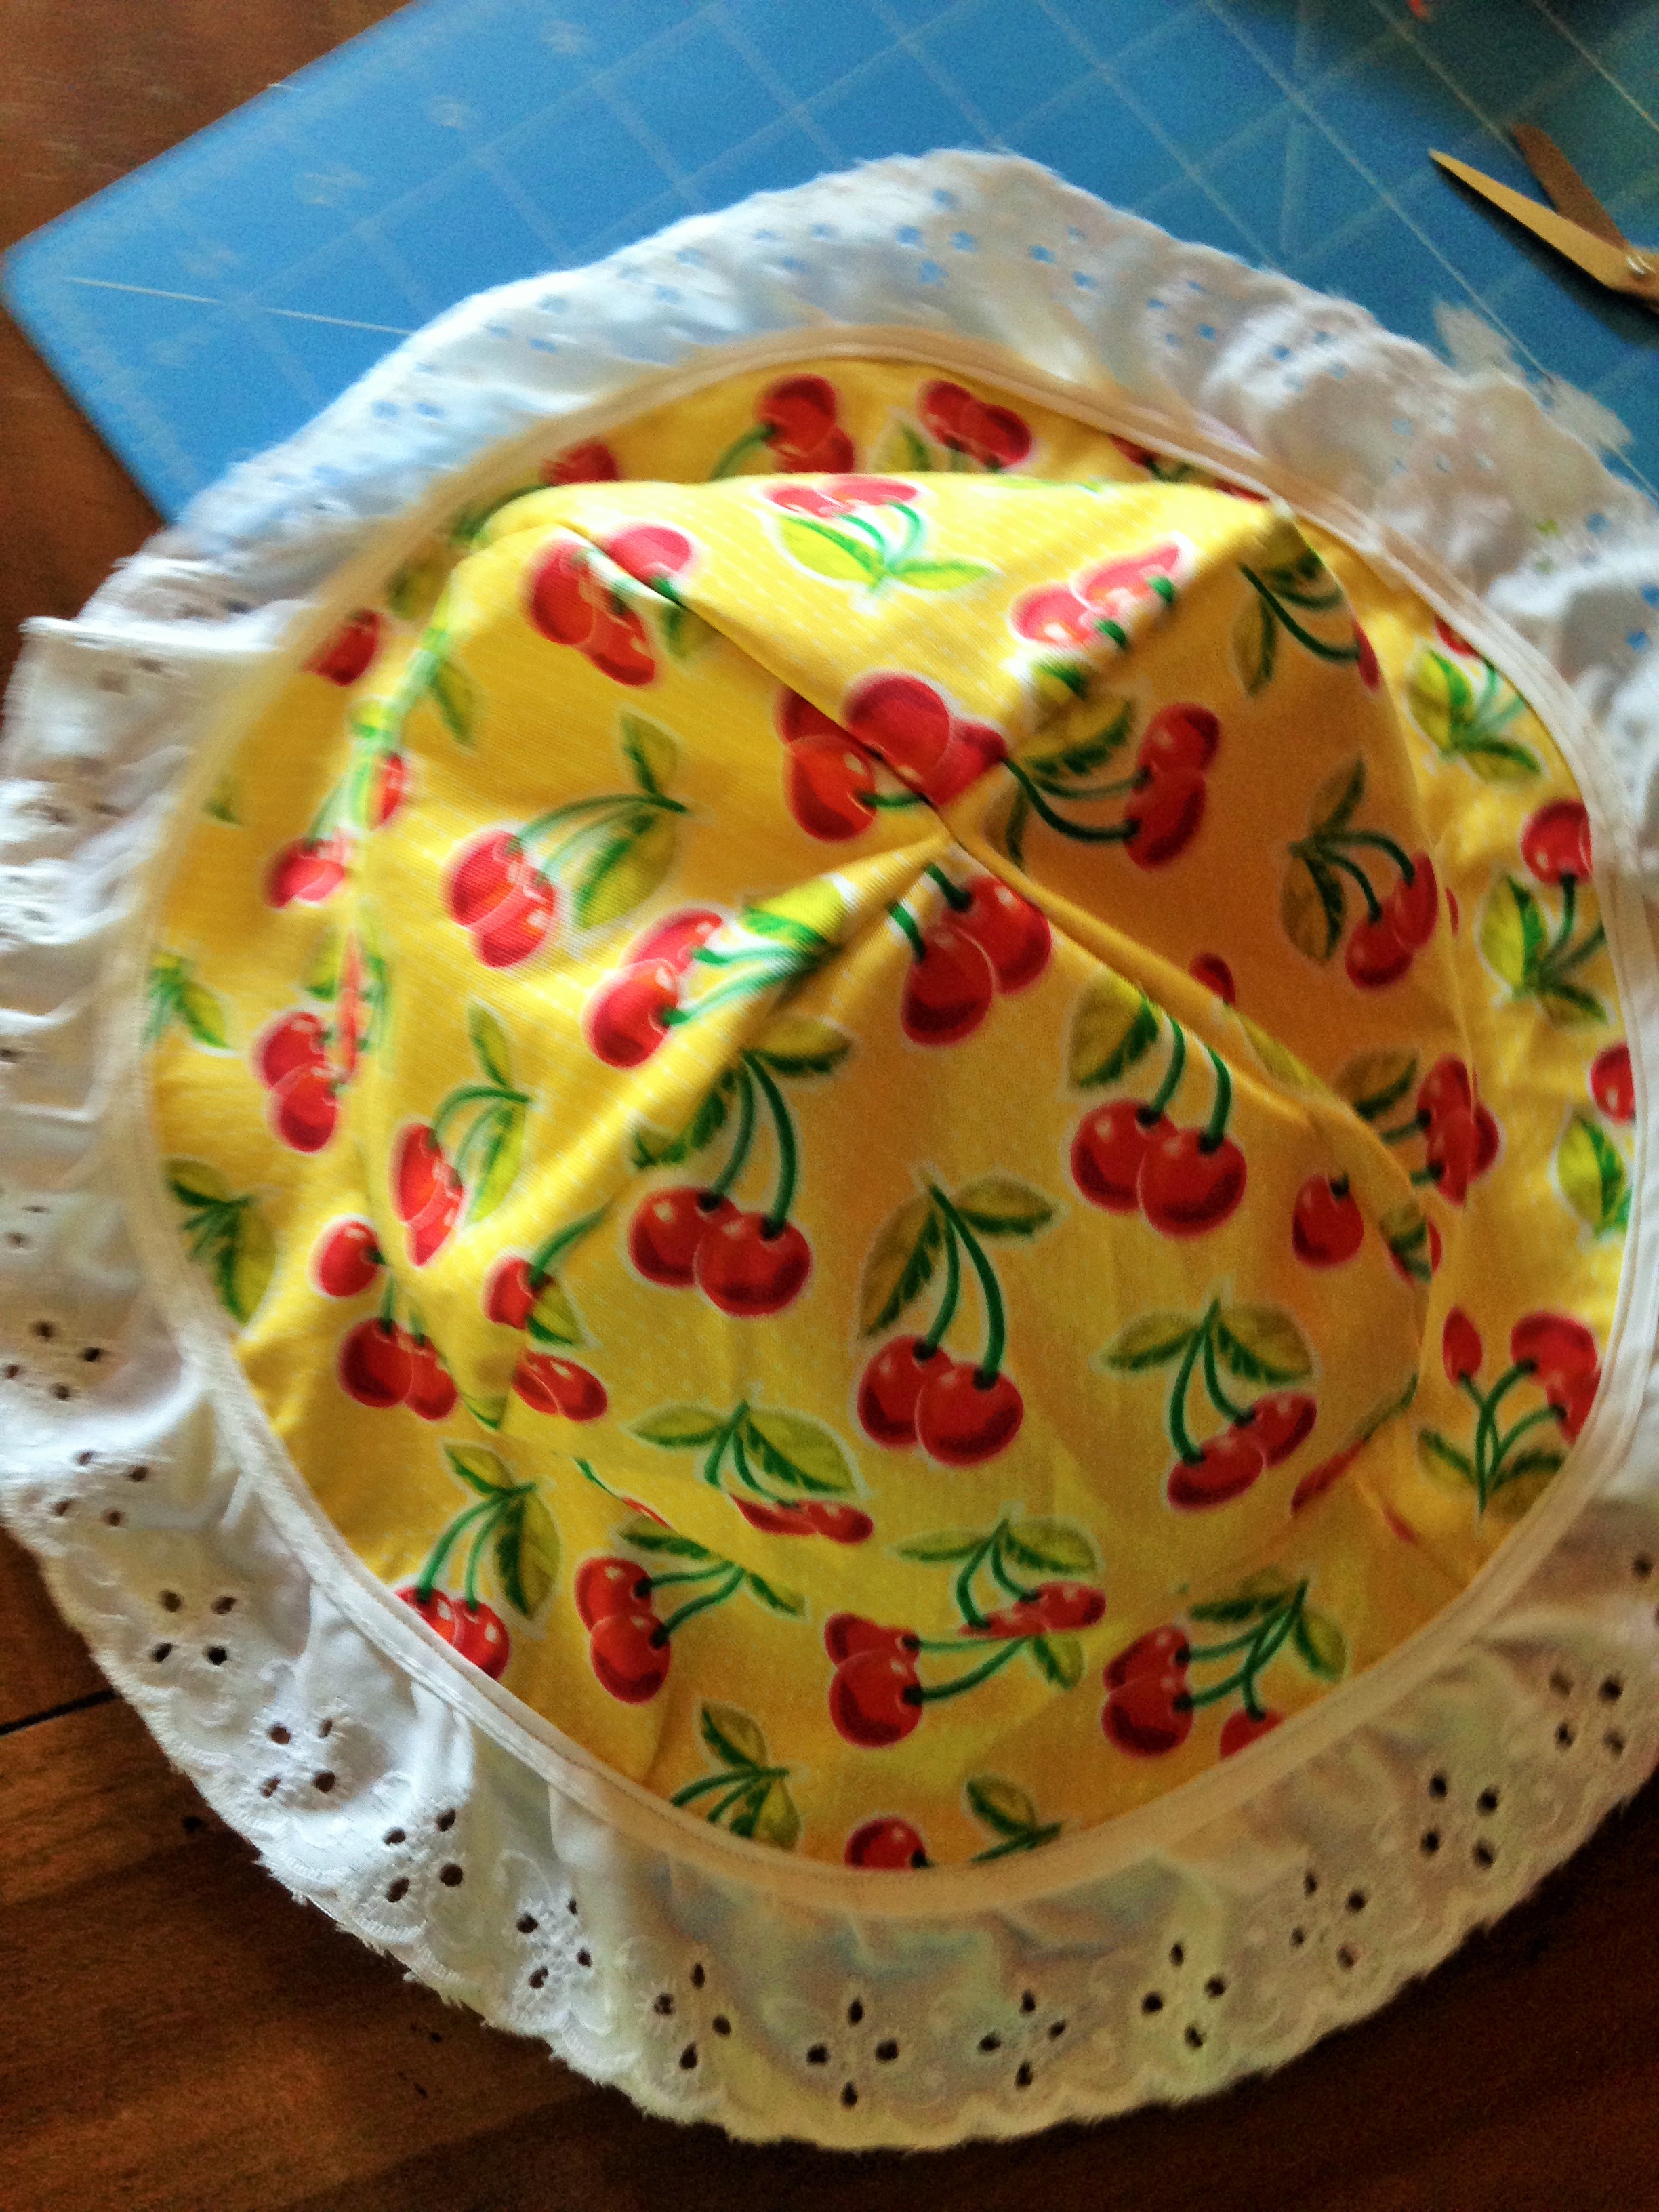
So this is your hat.  If you want to add a button or lace continue on.

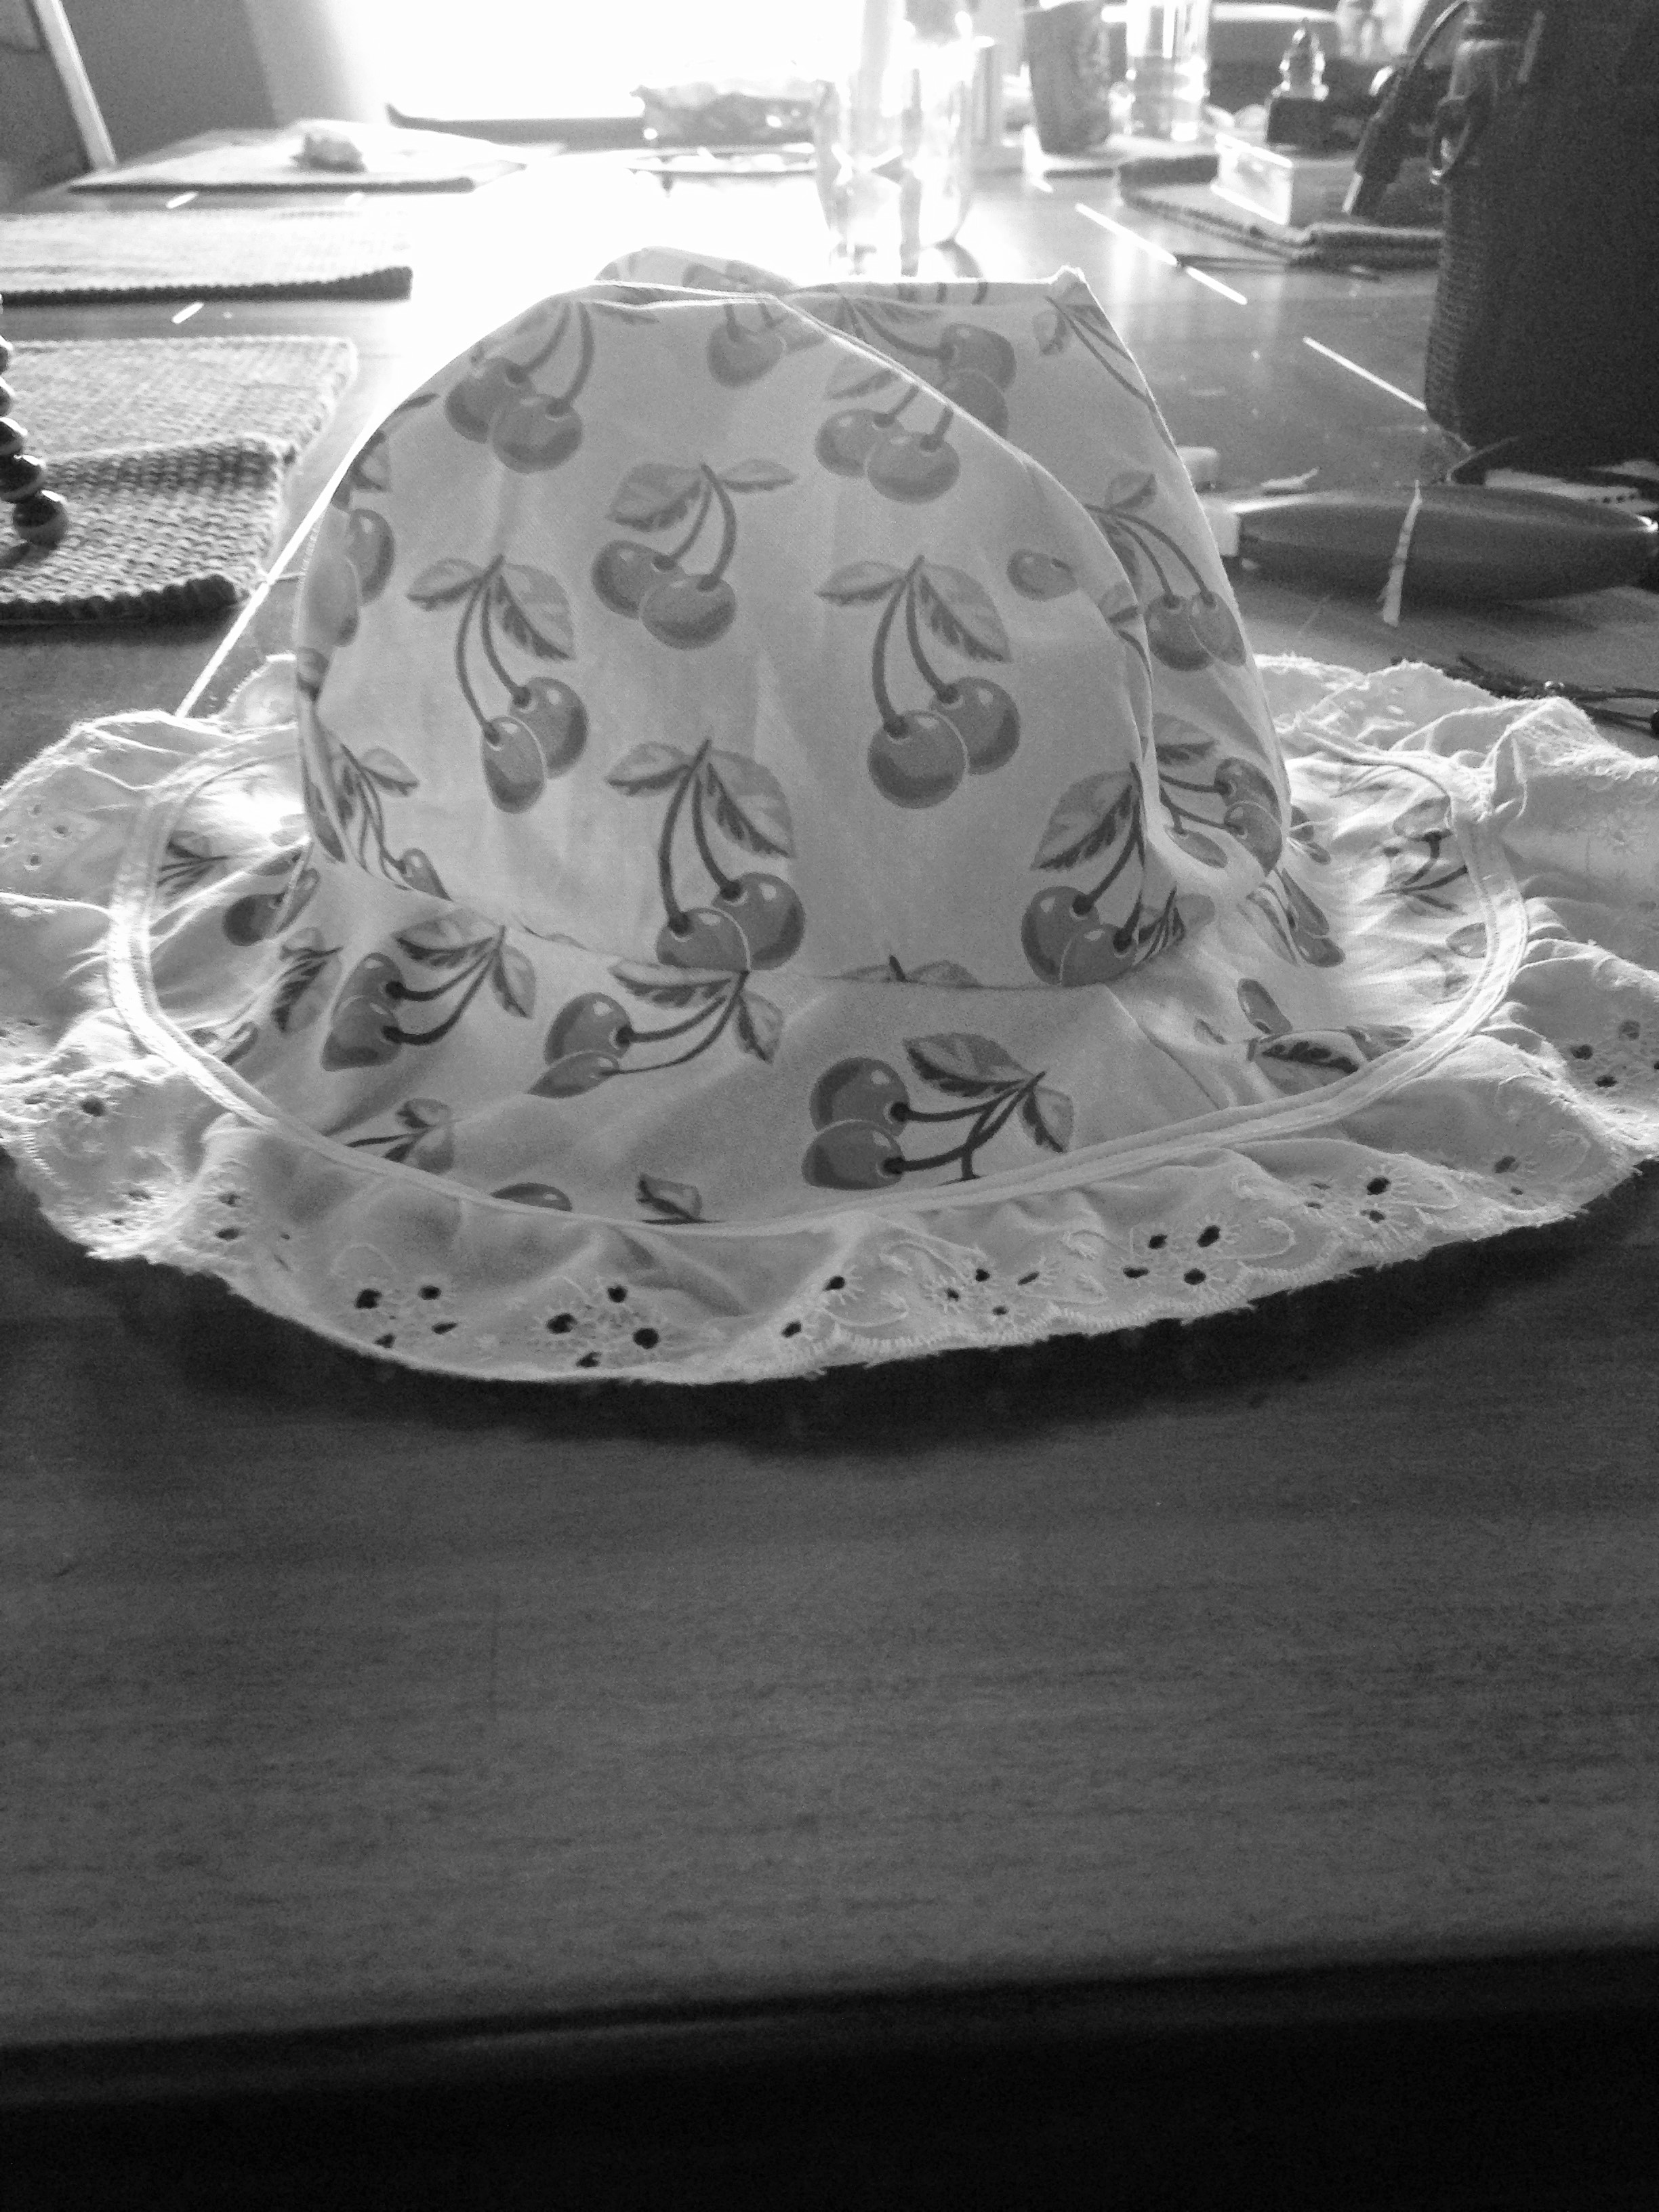
I decided to add lace to match the peasant dress tutorial completed last week.

Line the lace up with the brim and pin.  Then just sew on!  AND WA=la!  Beautiful matching hat complete!

IMG_1886 (2)IMG_1863IMG_1885

FollowFacebookpinterestrssyoutube
ShareFacebookpinterest

Peasant dress tutorial!

Peasant dresses are perfect for any age!  The elastic on the top and through the sleeves allows the dress to fit for much longer than most clothes.  There are also many ways to customize the peasant dress.

IMG_1868 IMG_1863

I love the dress because it’s easy to put on my little one. It stretches right over her head and I dont have to deal with the fuss and fight that sometimes comes with putting on onesies.  Also, at home I use cloth diapers and it’s easy to just throw the dress on and she just needs the diaper underneath!  Of course I do this with regular diapers as well, but it looks so cute with the colored cloth diapers!  She seems to really enjoy the fabric too!  She enjoys playing with the design and discovering her feet and how the two things she is learning are her feet can kick the lace :op

So, lets get started…

IMG_1066 IMG_1078

Here is the free pattern for sizes 4-10months (it stretches).  If you want a bigger or smaller size you can scale it down or hold the pieces up to one of your child’s dresses and adjust the sizing

.IMG_1759

Below are the four components- don’t forget set printer option to print to actual size.

Here is the youtube tutorial for you to follow:


Or you can follow below:

  1. Print out the pattern and trace and cut as directed.  If using a pattern on the fabric make sure it is all going in the correct directions.
  2. fabric
  3. Line up one body piece with pattern facing up to one sleeve with pattern facing down.  Pin and sew.  Do the same for the other sleeve.
  4. fabric2
  5. Next you want to take the other side of the sleeve and line it up with the other body piece.  Put pattern side to pattern side so it fits. Sew both sleeves.  Now you should have looking like this:
  6. IMG_1744
  7. If you want to zigzag stitch on all edges to prevent fraying when washing, now is the time.  If you have a serger, by all means use that now. This is not required but is helpful to prevent fraying.  See the video for more information on zigzag stitches.
  8. IMG_1743
  9. Next you want to form the pockets for the elastic for the sleeve and necklines.  I am using 1/2 inch elastic and folding the fabric edges about an inch in.  If using 1/4 elastic then you can fold in 1/2 inch.  I also press to make it much easier to sew.  See picture below.
  10. IMG_1746
  11. Now you want to sew the bottom part of the sleeves down the long side but leave the small edge sides open for the elastic.  Then sew the neckline leaving 1 inch or so open.  Usually I do this towards one of the seems so its not as noticeable when you close it. This will be to put the elastic in.  So sew all the way around leaving a one inch opening.  Remember to backstitch.
  12. Next, use a safety pin and pin the end of the elastic.  Put the pin through the opening at the end of the sleeve and pull through.  Bunch the fabric over the safety pin and pull the elastic through.  When to the end you want to adjust the bunching to the appropriate size for your little one’s arm.  Then sew the ends of the elastic to the fabric then cut the extra elastic.  Do not cut before sewing or you may lose your elastic.
  13. fabric3
  14. Now do the neckline.  Find your hole and pull elastic through.  Then adjust to appropriate size (which you can measure your muchkins neckline).  Then I cut the elastic holding it carefully and put a quick stitch in the two elastic pieces by stretching it outside the fabric area.  Then I let that go back into the fabric and stitch the hole shut.  You can also sew the elastic on the two sides of the opening on the holes (which may be easier).
  15. Now you should have your elastic all completed!  We are almost there.
  16. Next, you want to sew both sides of the dress closed.  to do this, put your dress inside out and pin sides together starting at bottom of the sleeves.  I usually do a zigzag stitch down the outside then a straight stitch on the inner side of the fabric.  This makes it stronger.  Do this for both sides making sure you sew the bottom of the end of the sleeve.
  17. fabric4
  18. Now you should have both sides completed.  What’s left you say?  The bottom of course!  So decide if you want a plain hemline or lace. You can hem and then lace as well.
  19. So either hem, or continue and take your lace and line it up on the outside.  I have zigzag stitched the bottom already in a previous step to prevent fraying  If you have not done so, I suggest you do this or hem the bottom before adding the lace.
  20. Line up the lace on the bottom and pin.  Sew it and WaaaLa!  You are done!  Congrats!
  21. Optional is adding buttons or a bow!
  22. IMG_1760IMG_1769
  23. Stay tuned for the hat tutorial!
  24. IMG_1885


FollowFacebookpinterestrssyoutube
ShareFacebookpinterest