Learn Names by Cars

Hi everyone!

The schools in Pennsylvania will be closed for at least 2 weeks due to the coronavirus, so I am home with my family.  I hope to do a lot of crafts and activities with my toddler to keep her busy & happy! You can look at previous posts and check back for more frequent posts during this time on things to do with your child! Today’s craft/activity will help your child learn letters and the spelling of their name (it will also be fun for them to play with)!

IMG_4688

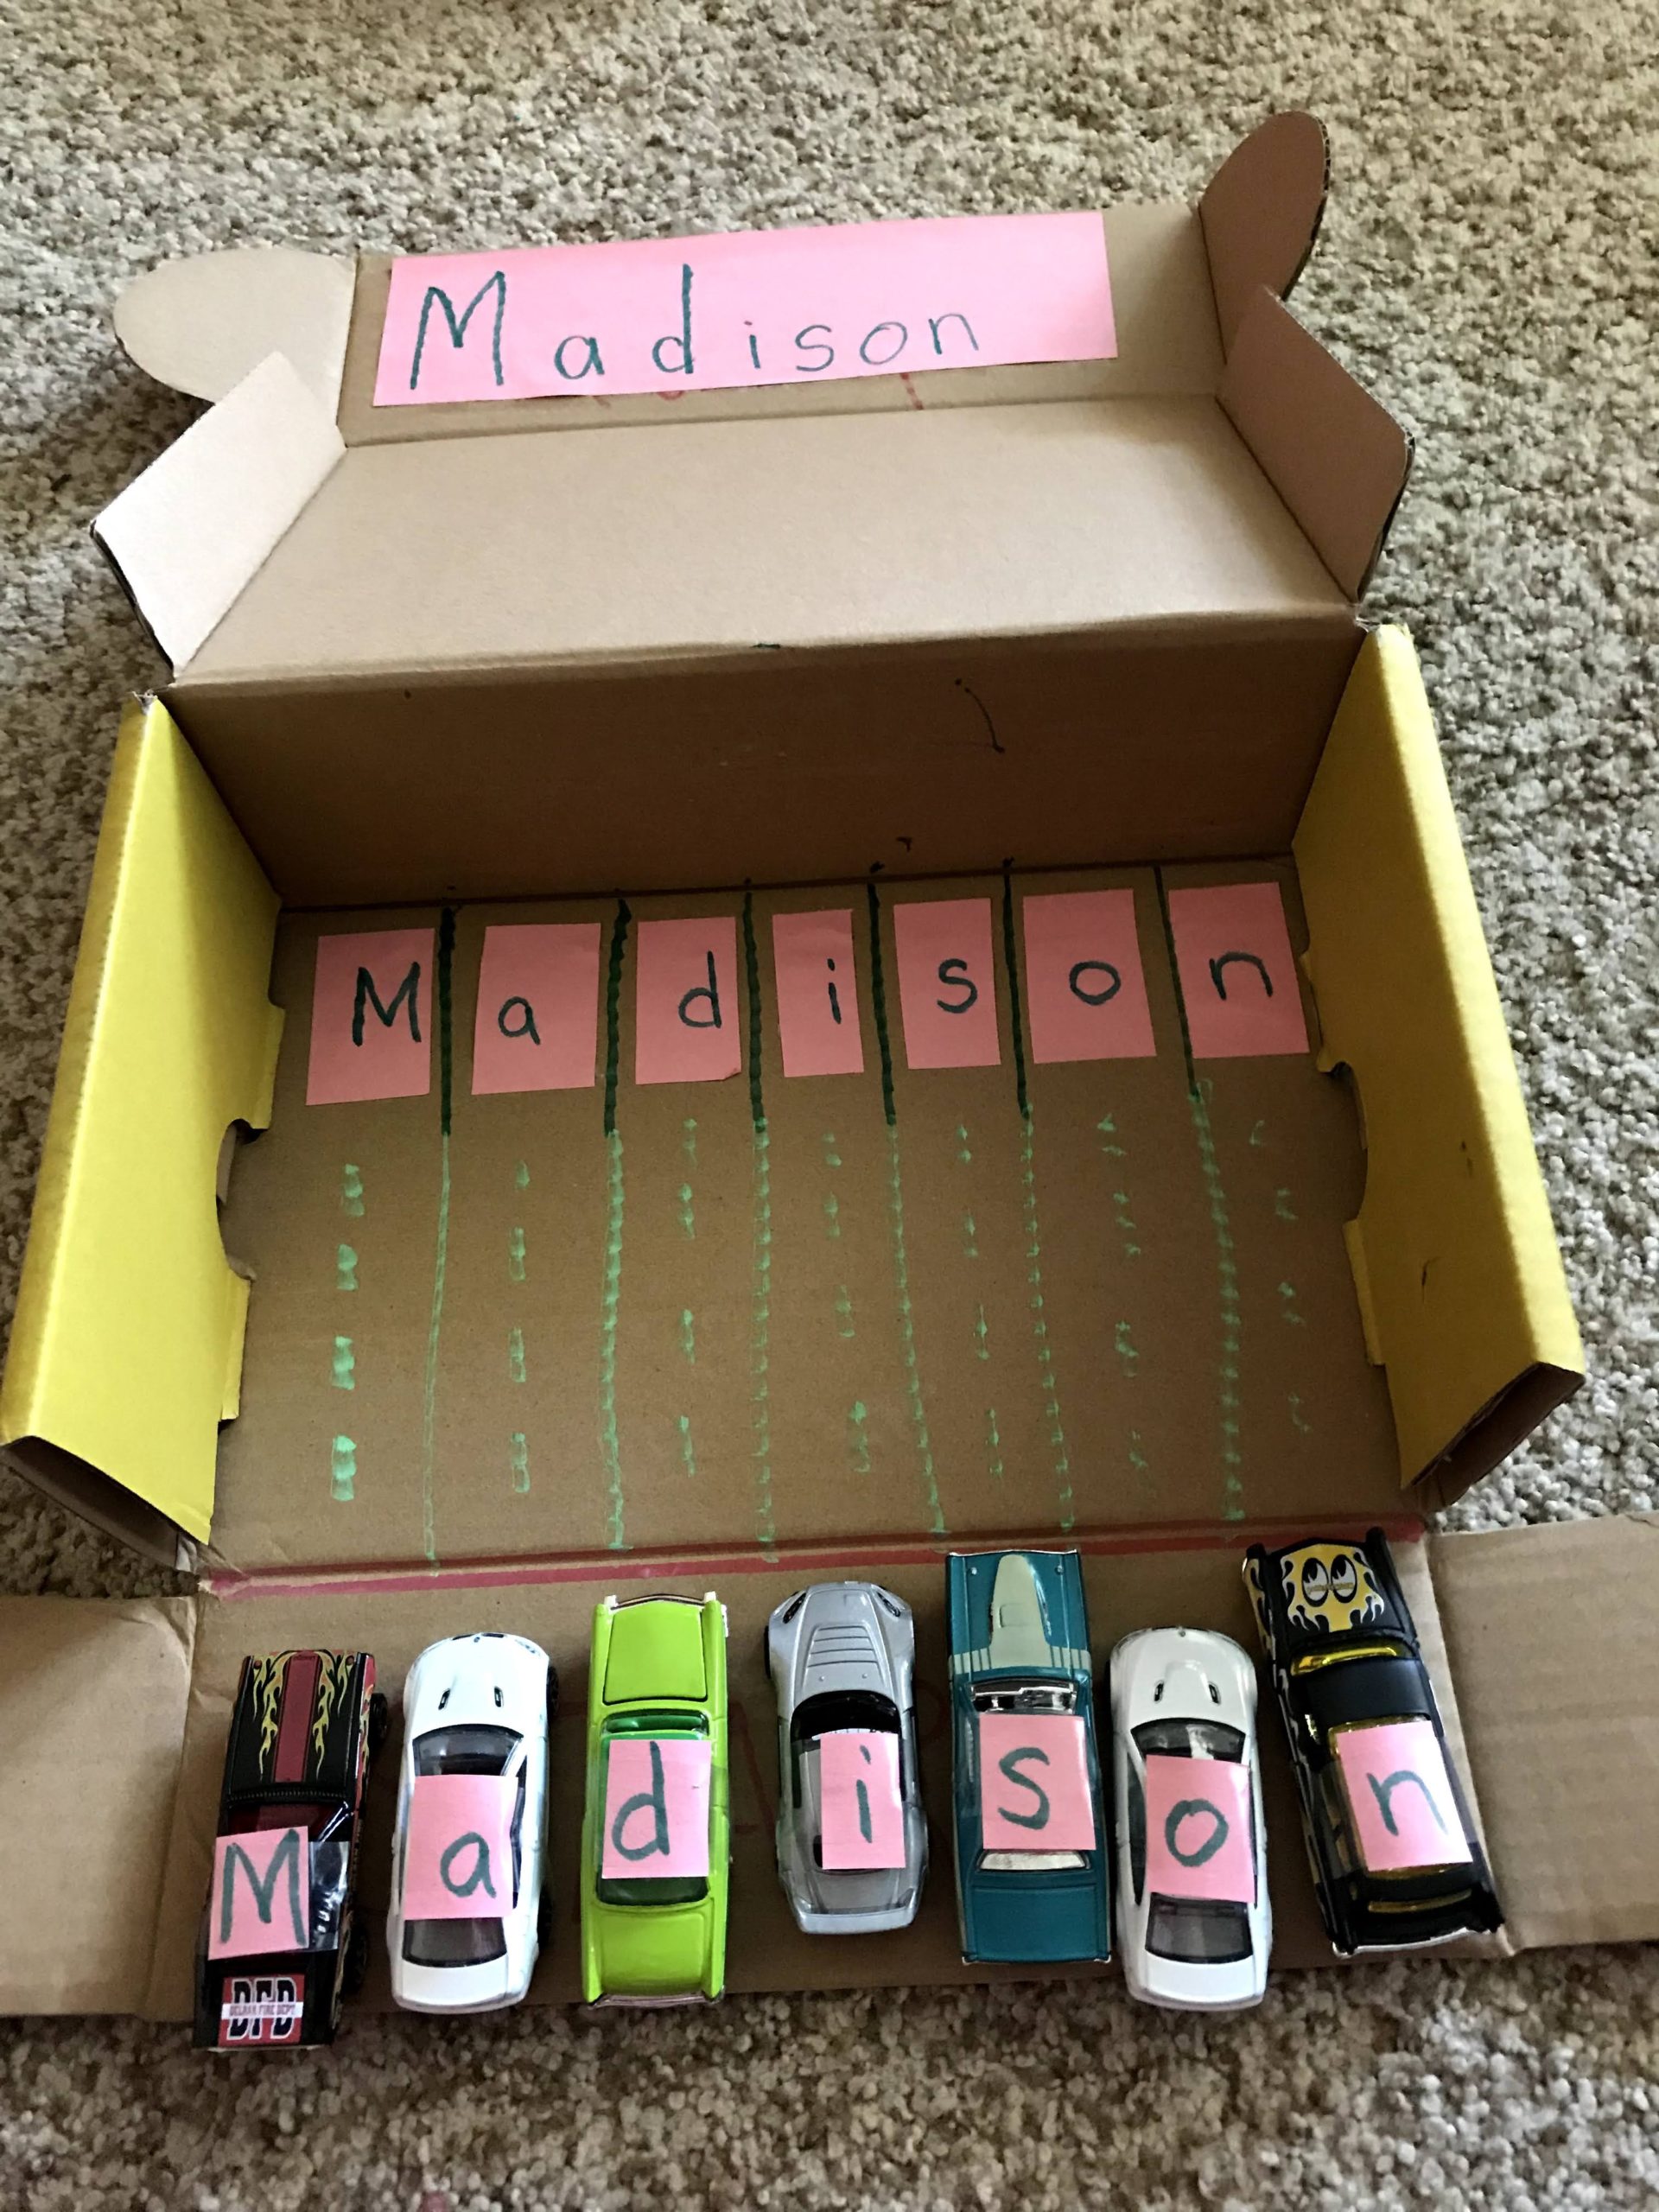
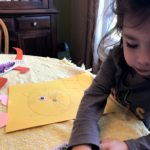
All you need is a box, marker, cars, and some paper and glue or tape.

IMG_4681


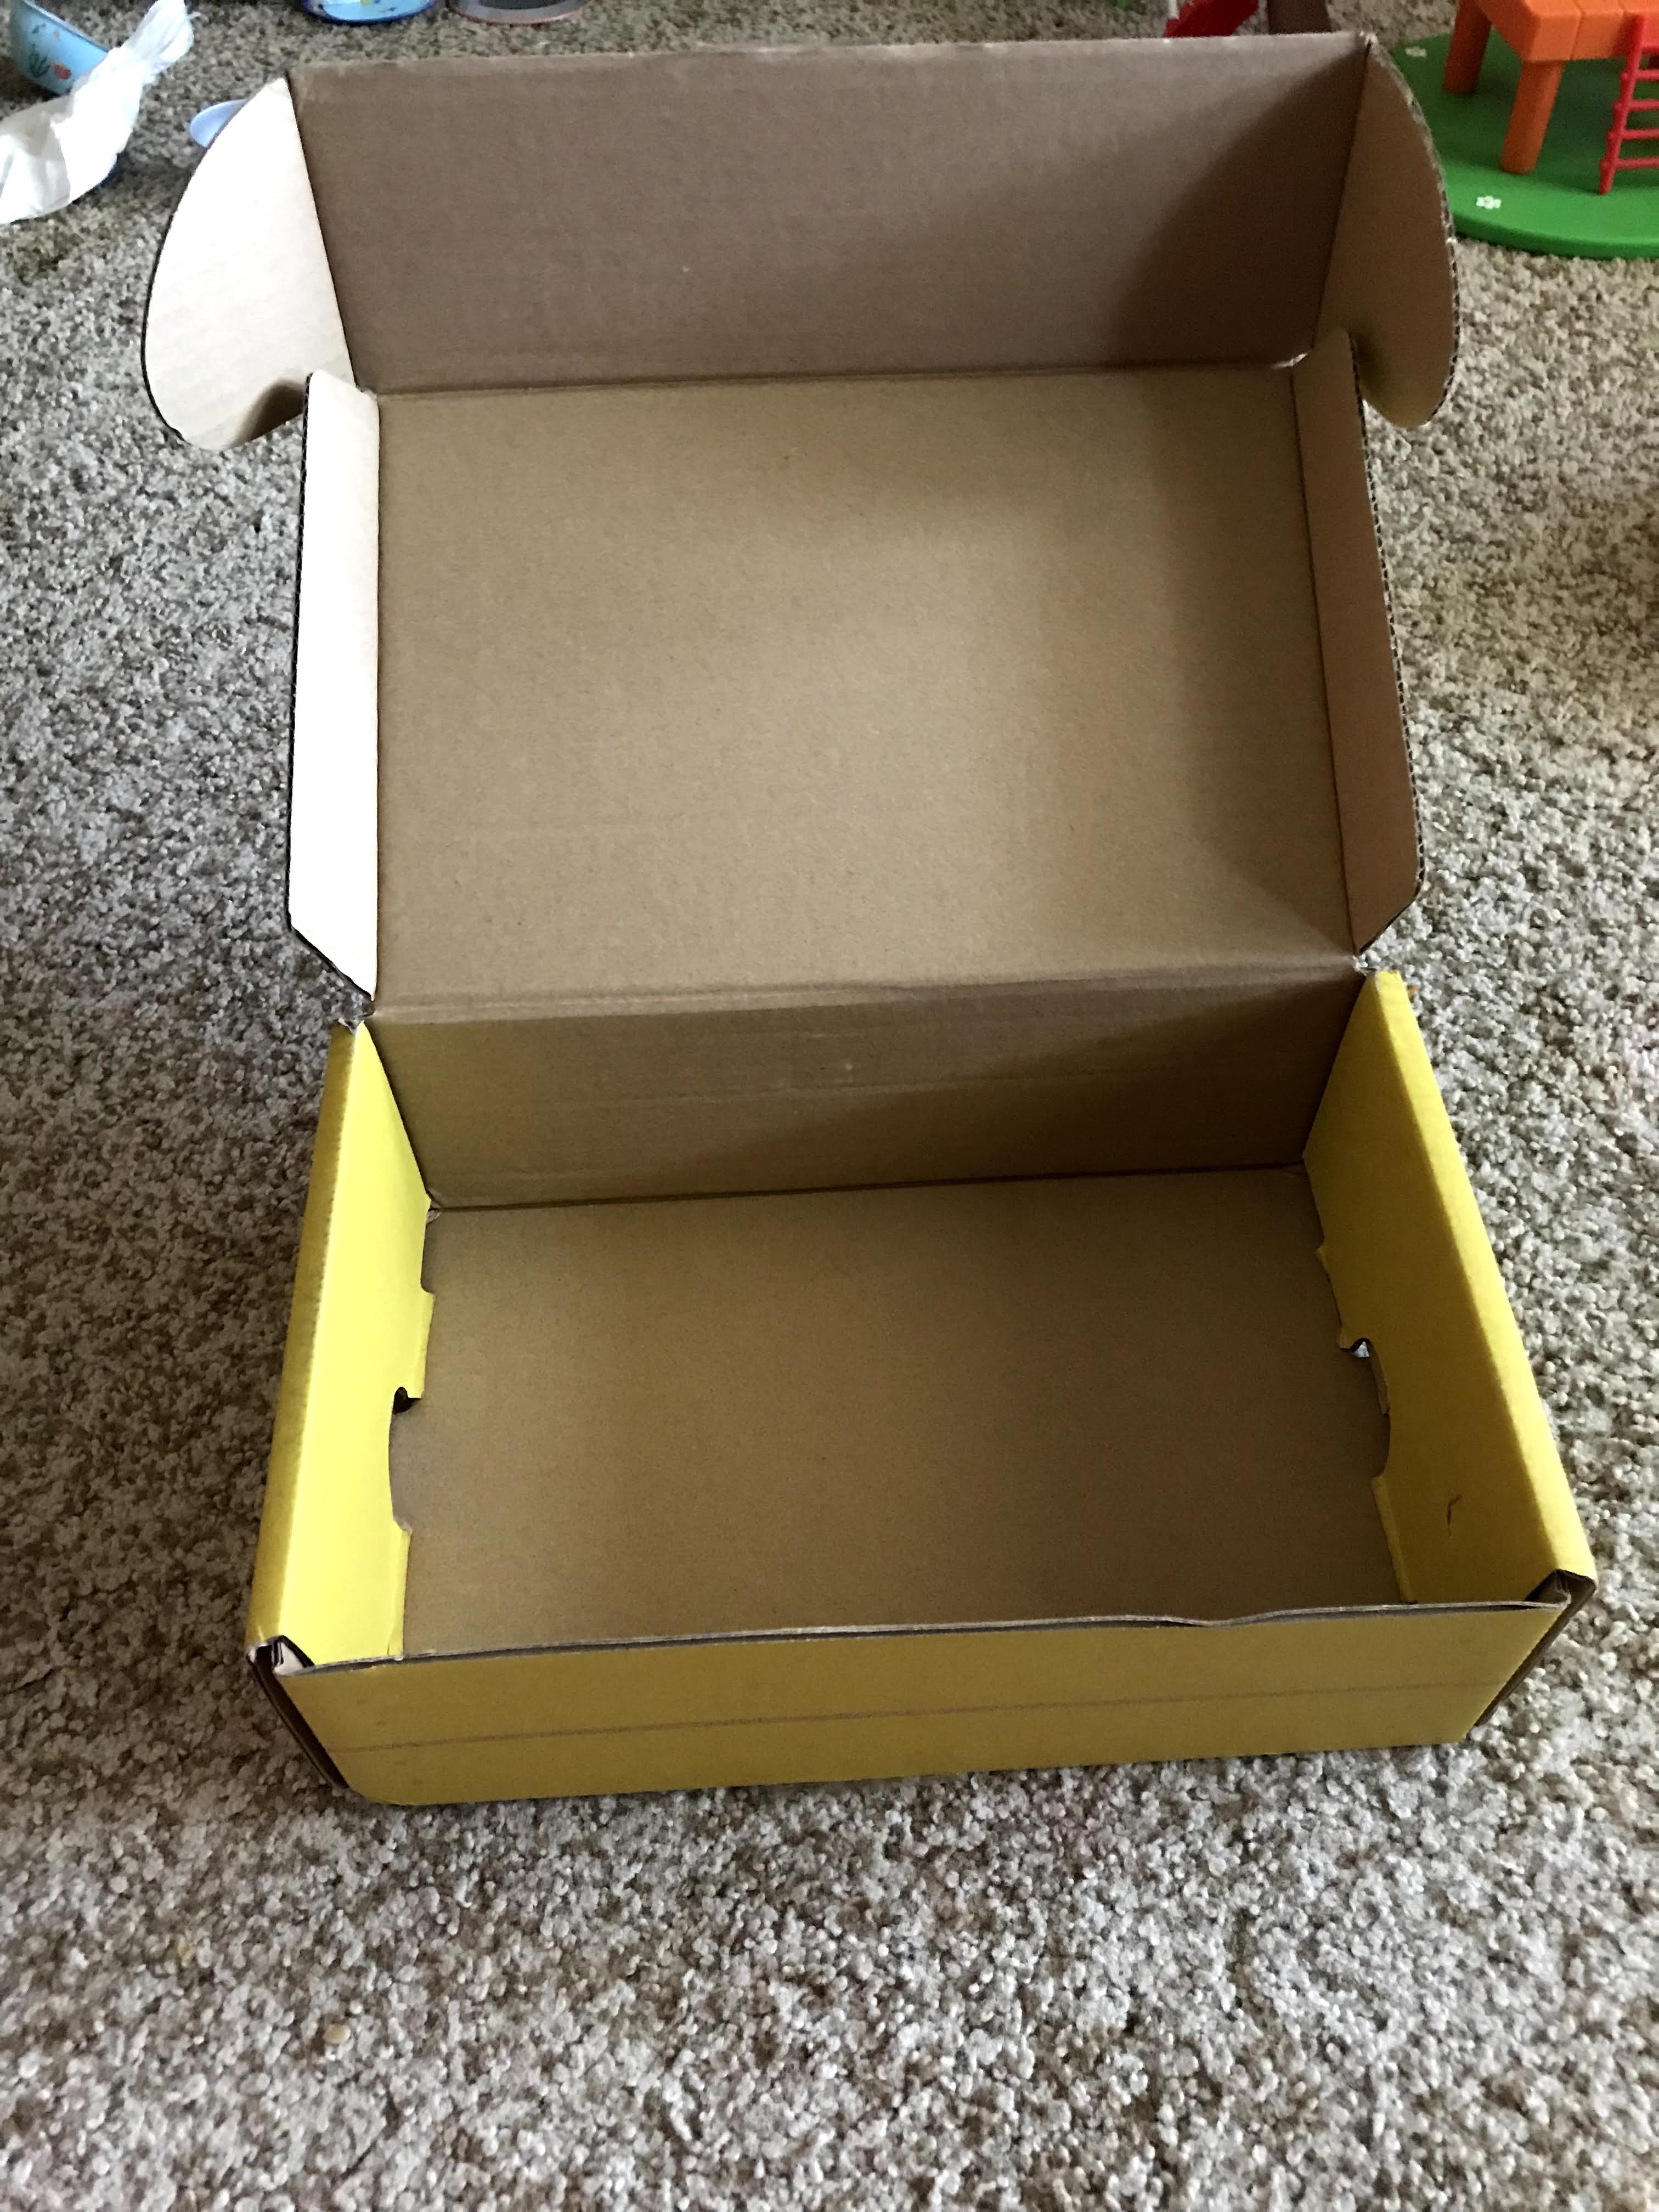
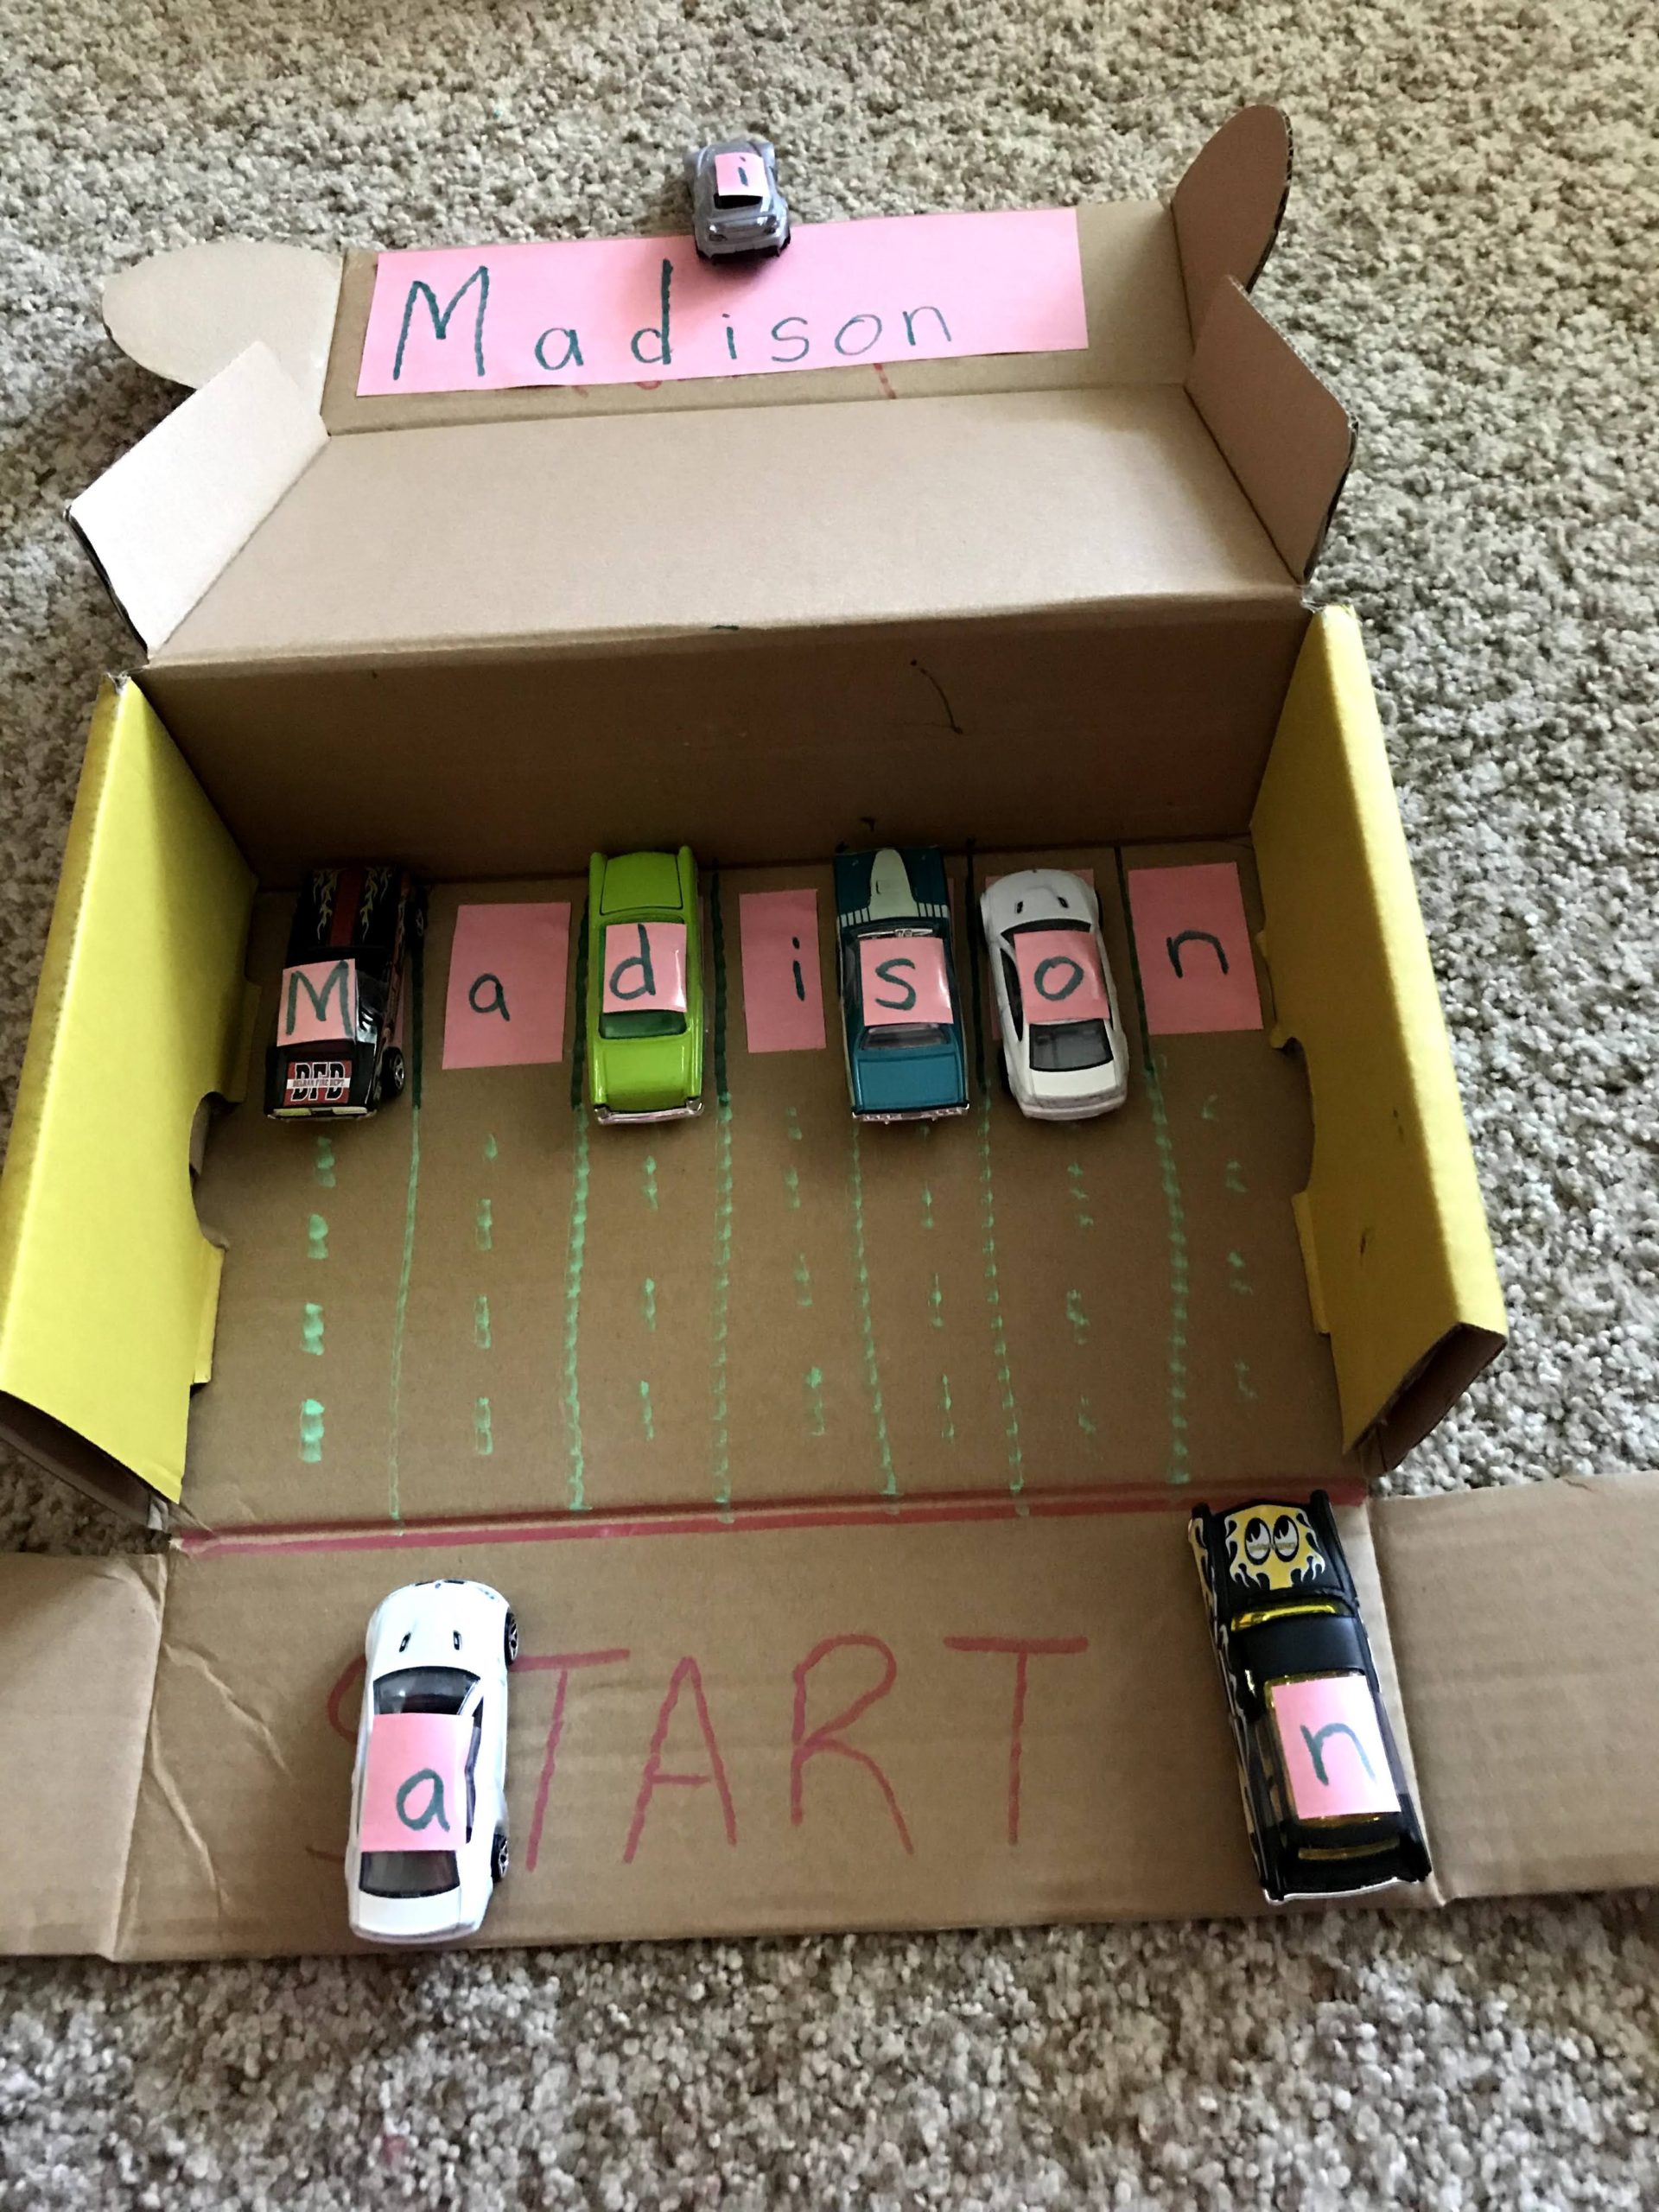
You can use any box you have, I just happened to have one with a folding cover so added a ramp to it.


IMG_4683


Next, I wrote the letters of her name on construction paper and cut them out. Remember to space each letter out so you can cut them into rectangles or squares.


Next, I wrote start and made a line. I also made lanes for the cars to go to their parking spots. I figured Madison can then have them go on the ramp and race down to the letters at the bottom. Just a fun, quick, and easy activity if your kiddo likes cars!

IMG_4687

FollowFacebookpinterestrssyoutube
ShareFacebookpinterest

Going GAGA for Googly Eyes!

IMG_4525IMG_4511

Have paper plates? Googly eyes? Some paint and paper? Your kids will LOVE making these dinosaur plate crafts!

IMG_4497

Simply cut paper plates in half for the dinosaur/monster/turtle whatever you want to make bodies. For the next step you can use paint, stickers, or gems!

I cut out sponge shapes to dip in the paint, but my daughter enjoyed using the sides to paint with them more!

Have your child decorate the body of the animal you are creating, then let it dry!

IMG_4506

Your child will LOVE doing these. Next time I’m going to have my daughter use a brush. Another time I will try stickers, gems, and construction paper shapes!

After the plates dry, cut out the head/feet/tails you would like from construction paper or card stock to glue onto your painted plate bodies.

Your child can glue them on and decide how many of each item they would like!

Their favorite part is yet to come…googly eyes!!!

You can NEVER have enough.

IMG_4498 IMG_4523


She had SO much fun she wanted to keep doing googly eyes. I drew whatever animal she wanted and she added the googly eyes!!

WARNING: Your child will LOVE using ALL of the googly eyes!!

FollowFacebookpinterestrssyoutube
ShareFacebookpinterest

DIY Felt Unicorn Ornament

My daughter saw the cutest ornament at Boscov’s the other day…a unicorn. It was made from felt and I thought, “I can make that!” If you know anyone who loves unicorns then this simple felt ornament can be made for Christmas, or enlarged as a stuffed animal!

Materials needed:

-Felt in various colors: I used leftover felt I had from other projects. Any colors will work. I used white, yellow, blue, and pink.

-scissors, needle, thread

-hot glue gun, felt marker, cotton for stuffing

11 - Copy

First I laid out a white piece of felt and drew the body. I didn’t use a printout or pattern, I just eyeballed it by looking at pictures. I cut it out, then laid it on top of another piece of white felt to trace and again cut out. This way I had both sides of the unicorn’s body.

11 - Copy

The second cut out of the unicorn body ended up a little larger, but I just cut and adjusted the size as I was sewing it. Next, I moved onto cutting out the hair for the mane and tail. I also cut out an ear and horn. I looked at pictures and drew it freehand on the colors of felt I desired. They ended up looking like little worms.

1 - Copy1 4

I placed my tail pieces on the back to make sure they looked okay and hot glued them to the back piece of the body. I did not glue them to BOTH body pieces, just the front of the back piece of the body (see picture).

3 2

Next,  I placed the hair and ear on the unicorn to make sure it looked correct. I didn’t glue it, but just placed it there to make sure it was to my liking. I drew on eyes, a mouth and nose with a felt marker.

51 - Copy

I hot glued the horn onto the front of the back piece of the body. I hot glued the mane and ear onto the front body piece. Next I sewed the unicorn together. As I was sewing, I stuffed it. Don’t wait until the end or your won’t be able to fill the smaller spaces like the legs.

1 - Copy.jpg

After sewing and stuffing the unicorn, I cut a piece of ribbon and hot glued it to the back of the unicorn.

21

Next, I hung it on the tree. Wallah! DONE!

4

3

Happy Ornament Making!!!!


FollowFacebookpinterestrssyoutube
ShareFacebookpinterest

My Toddler’s Favorite Christmas Books

My toddler’s favorite holiday is approaching fast…Christmas! She’s the kid you see in line screaming, “SANTA!!!!” like Buddy the Elf. She LOVES Santa and LOVES books, so I thought I’d write about her favorite books in case anyone is looking for toddler books!

IMG_2947

“The Sweet Smell of Christmas”warms our hearts.

This is a scented book, or in my day they called them “scratch and sniff” books. Little Bear gets ready for Christmas with his family and the book centers around the smells of Christmas. He wakes up to smell something and asks his mom what the smell is. She responds by saying that the smell is Christmas. The family gets a tree, trims it, adds candy canes, hangs stockings, and enjoy Christmas day together.

IMG_2958 IMG_2959

Yes, it looks like Madison is kissing the pie…maybe she’s actually trying to eat it since it smells so good! I love asking her, “Can you smell Christmas?” She looks at me with a smile and says, “YES! I smell Christmas!”

IMG_2948

A tried and true favorite is Little People’s “Christmastime Is Here.” 

I’ve had this since she was a baby and she’s loved it every single year. There are over 65 flaps for your child to lift. The adventure starts in the classroom and the characters travel to Santa’s workshop with the elves and then home for the holidays. The characters are the same throughout the little people books so your child will squeal in delight at seeing them again.

IMG_2954IMG_2957IMG_2956

An interactive book called“We Wish You a Merry Christmas” is based on the song.

It has push, pulls, and slides that have your child discovering snowmen, sending sleds down a hill, and uncovering Santa and his sleigh! It’s a wonderful family book and a great way to learn the lyrics. It even has a QR code to scan that plays the song along with the book.

IMG_2949IMG_2953

The last book is “Sesame Street, A Christmas Story.” I searched for this online, but it looks like it’s not made anymore. However, I did see it on ebay and at local libraries. My daughter loves this book because all of the characters from sesame street are there and there are many sounds!

There are many sesame street stories, including scratch and sniff ones (which I’m sure my daughter would love).

As you can tell she LOVES interactive books and I’m sure your child would love these too!

Look for more blog entries coming up with favorite preschool books and books to buy your child this Christmas. Happy Holidays!

FollowFacebookpinterestrssyoutube
ShareFacebookpinterest

Handprint Turkey Craft

I don’t know about you, but my daughter LOVES to paint! She also loves to paint with her fingers! A turkey handprint is the perfect craft for Thanksgiving!

Materials:

  • paper
  • glue
  • finger paint
  • googly eyes
  • paint in assorted colors
  • paintbrush

1 - Copy.jpg

First, get a blank piece of paper and tape it to the table so that it doesn’t move. Choose the paint colors (Madison did this). I squirted them out onto disposable coffee tops since I had a lot left from a party.

Next, paint your child’s palm and thumb and press them down on the paper. I made 2 on one paper so I could give one as a gift!

We chose a different color for each finger and painted each one and then pressed it down. These made colorful turkey feathers!

After letting it dry we added a beak, turkey gobbler and feet by drawing them on. However, you could also paint them.

Finally, we added the googly eye and our turkey was complete. A family keepsake to hang up each Thanksgiving!

1.jpg

FollowFacebookpinterestrssyoutube
ShareFacebookpinterest

Sparkle Pumpkins!

IMG_2254

It’s finally fall and pumpkin time! Toddlers LOVE holidays and what a great way to get ready for trick-or-treating by decorating pumpkins! Obviously, toddlers shouldn’t be holding knives to make jack-o-lanterns so there are many fun alternatives!

You can have your toddler paint a pumpkin, add stickers, pom-poms, and many other accessories instead of the normal jack-o-lantern.

Or….you can have them make sparkle pumpkins! My daughter LOVES glitter, I mean who doesn’t? Okay, maybe we don’t, especially when you have to clean it. However, this is a perfect activity for outside in the cool, crisp fall weather.

IMG_2244

What do you need for this activity?

A pumpkin of course! Other materials you need are paint, glitter, glue, and brushes. You may want a paper plate or something you are using to put the paint on to mix it with glue. Glitter is a very important part of this activity! We used various colors.

First ask your child what color they want to start with! Add HALF glue and HALF paint concoction together. Mix them with the brush. The glue helps the paint stay on the pumpkin and not flake off. It also helps the glitter stay on. Your child can have fun painting their pumpkin!

IMG_2247


Let them paint to their heart’s content, then have them pick a glitter color or two.


IMG_2257


Madison spread the paint pretty thin, so I went ahead and put some liquid glue on the plate and had her brush the glue over the paint. This allowed the glitter to stick better. She just shook the glitter over the pumpkin (and all over the sidewalk).


I recommend you keep the pumpkin out of the rain!

IMG_2261

ENJOY!

FollowFacebookpinterestrssyoutube
ShareFacebookpinterest

Fall Wreath Fun

IMG_1968

We always hang a wreath on our door for each season or holiday. Madison wanted in on the fun, so we decided to make our own fall wreath! It’s very simple and easy!

Materials:

  • paper plate
  • glue
  • assorted fall construction paper colors
  • string
  • pom poms (optional)
  • You could also add glitter or any other extras!

IMG_1958  IMG_1954

First, cut out the middle of the paper plate so you have a circle left. Next, I cut the construction paper in strips, then cut it into small squares she could glue onto the “wreath”. We pretended the squares of construction paper were leaves. You can use your scissors for this or if you want more of a messy look you can rip the paper or have your child do it.

IMG_1961-COLLAGE

Madison had a lot of fun gluing on all of the pieces. She loved using the glue stick. We covered the paper plate then we added fall colored pom poms on top of the “leaves” (construction paper). She LOVED this project and after it dried we hung it up on the window. She points it out proudly every time we go by!

IMG_2013

FollowFacebookpinterestrssyoutube
ShareFacebookpinterest

DIY chalkboard wall

I’ve always seen those neat diy paint chalkboards in playroom pictures posted to Pinterest and thought, “they make it look so easy.”

Well I’m here to tell you it is easy! Beware though, it does take time (like days) until it can be used.

Since we just moved into a new house, we decided to make a playroom that we didn’t mind getting dirty! We have all our paint supplies and crafts in this room.

So what do you need?

1) chalkboard wall paint (this comes in many colors, we went with the original as not to confused our children and having them chalk up other walls). We used rustoleum black chalkboard paint.

2) blue painting tape to outline your area and protect the other walls and areas you may accidentally get paint on.

3) a level and measuring tape (to make sure everything is straight.

4) paint rollers or paint brush (3 inch)

Steps:

1) first make sure your area you are painting is ready. If there is already paint or primer on the area then you are almost ready. Just clean off the wall with a wet paper towel and let dry. If it’s not painted already you may need to sand the area as needed and prime.

2) use the blue painting tape around windows outlets and outlining the area. Place an old sheet or painting cloth on the ground.

3) get the paint ready according to instructions listed on the can.

4) paint around the edges of windows outlets and edge of inside of tape using a paint brush.

5) use your paint roller to paint the rest.

6) it will dry to touch within a half an hour but it’s not ready yet!!

7) wait overnight and if needed do a second coat (we did a second one!)

8) now you need to wait 3-4 days (I know, I know this is hard with kids!).

9) after you let it cure for a couple days, it’s time to season the wall. Use white chalk and fill up the board with it, using the side of the chalk. Then wipe it off with a wet paper towel.

10) ready to use! Decorate as you like

FollowFacebookpinterestrssyoutube
ShareFacebookpinterest

Egg explosion!

My daughter loves bath bombs, and my son loves destruction. So, what’s better than making homemade baking soda eggs during Easter time and dropping them in vinegar! Just like when you performed the volcano eruption, this reaction will cause a mess (to the delight of your kids)!

It’s quite simple! You need a lot of baking soda, a little water, and a bunch of vinegar! You can also use food coloring, glitter, or colored dish soap!

Since it’s getting closer to Easter, we decided to make eggs! We also hid alphabet letters in them so when they dissolved there was a surprise inside!!!

1) Combine baking soda and water. I had my toddlers add their own amount of water which I ended up needing to add more baking soda (you want a moldable Plato like texture). You can also add food coloring and glitter.

2) mold it into the shape you want. You can hide plastic animals or letter or whatever u want in the middle of the eggs to show up when they are dissolved!

3) so clearly, a taller container is preferred and doing this outside is best! Drop in the egg into a container of vinegar and watch the bubbles take off!

•if you have older kids this is the time to explain the chemical reaction occurring (my kids just love the reaction)!

*if you have used multiple eggs in the same container you will need more vinegar or a new container as there will be too much baking soda for the reaction to occur!

Try it with hidden objects inside, glitter, and colors! We did try natural colorings however it ended up just turning the vinegar a gray color instead of the yellow and red we predicted.

Have fun and enjoy the mess (I know we did)!

FollowFacebookpinterestrssyoutube
ShareFacebookpinterest

A Daniel Tiger 2nd Birthday Party!

1
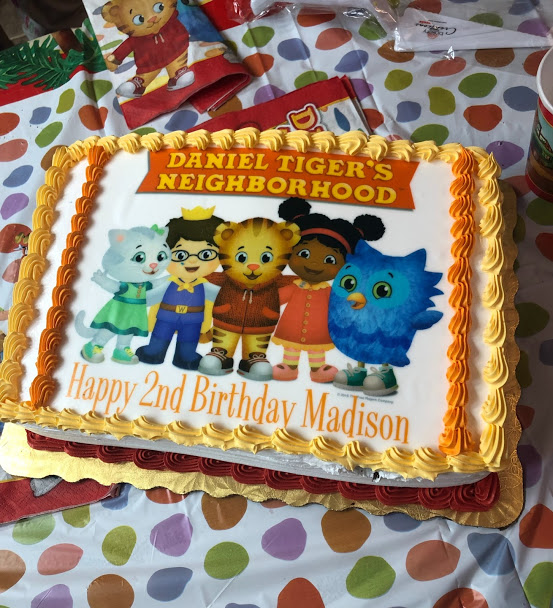
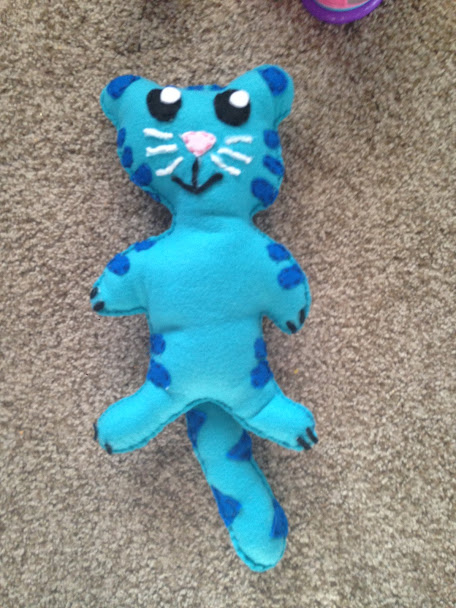
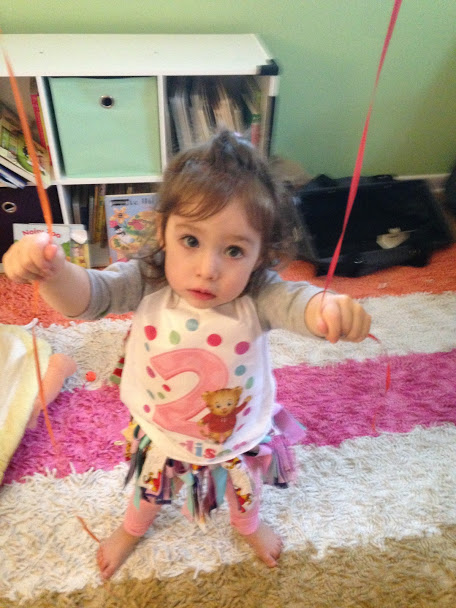
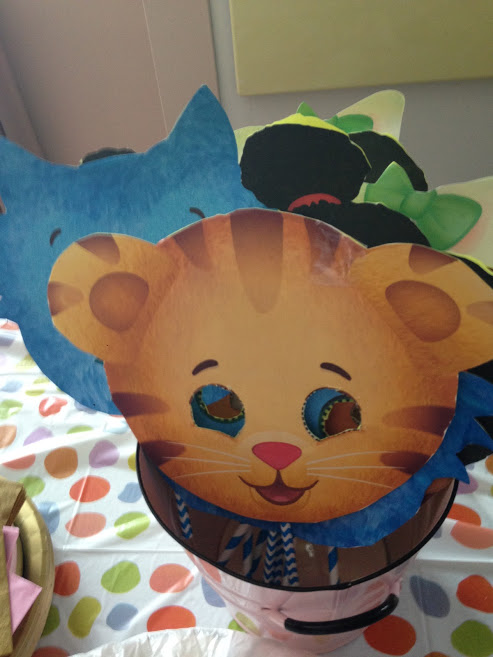
Ugga Mugga! It was Madison’s 2nd birthday and she LOVES Daniel Tiger. First thing you need to know if your little one loves Daniel is to visit the PBS site! Follow this PBS link and you will find TONS of FREE printables and crafts to make for the perfect party! These Daniel Tiger masks were made from the site. All you have to do is print them on card stock and attach a tongue depressor. However, I decided to add my own twist since I didn’t have the capability of printing on card stock. I printed on regular paper, cut it out and glued it onto card stock. Next, I taped recycled straws onto the bottom. It worked perfectly and was a hit with adults and children alike!

2.jpg
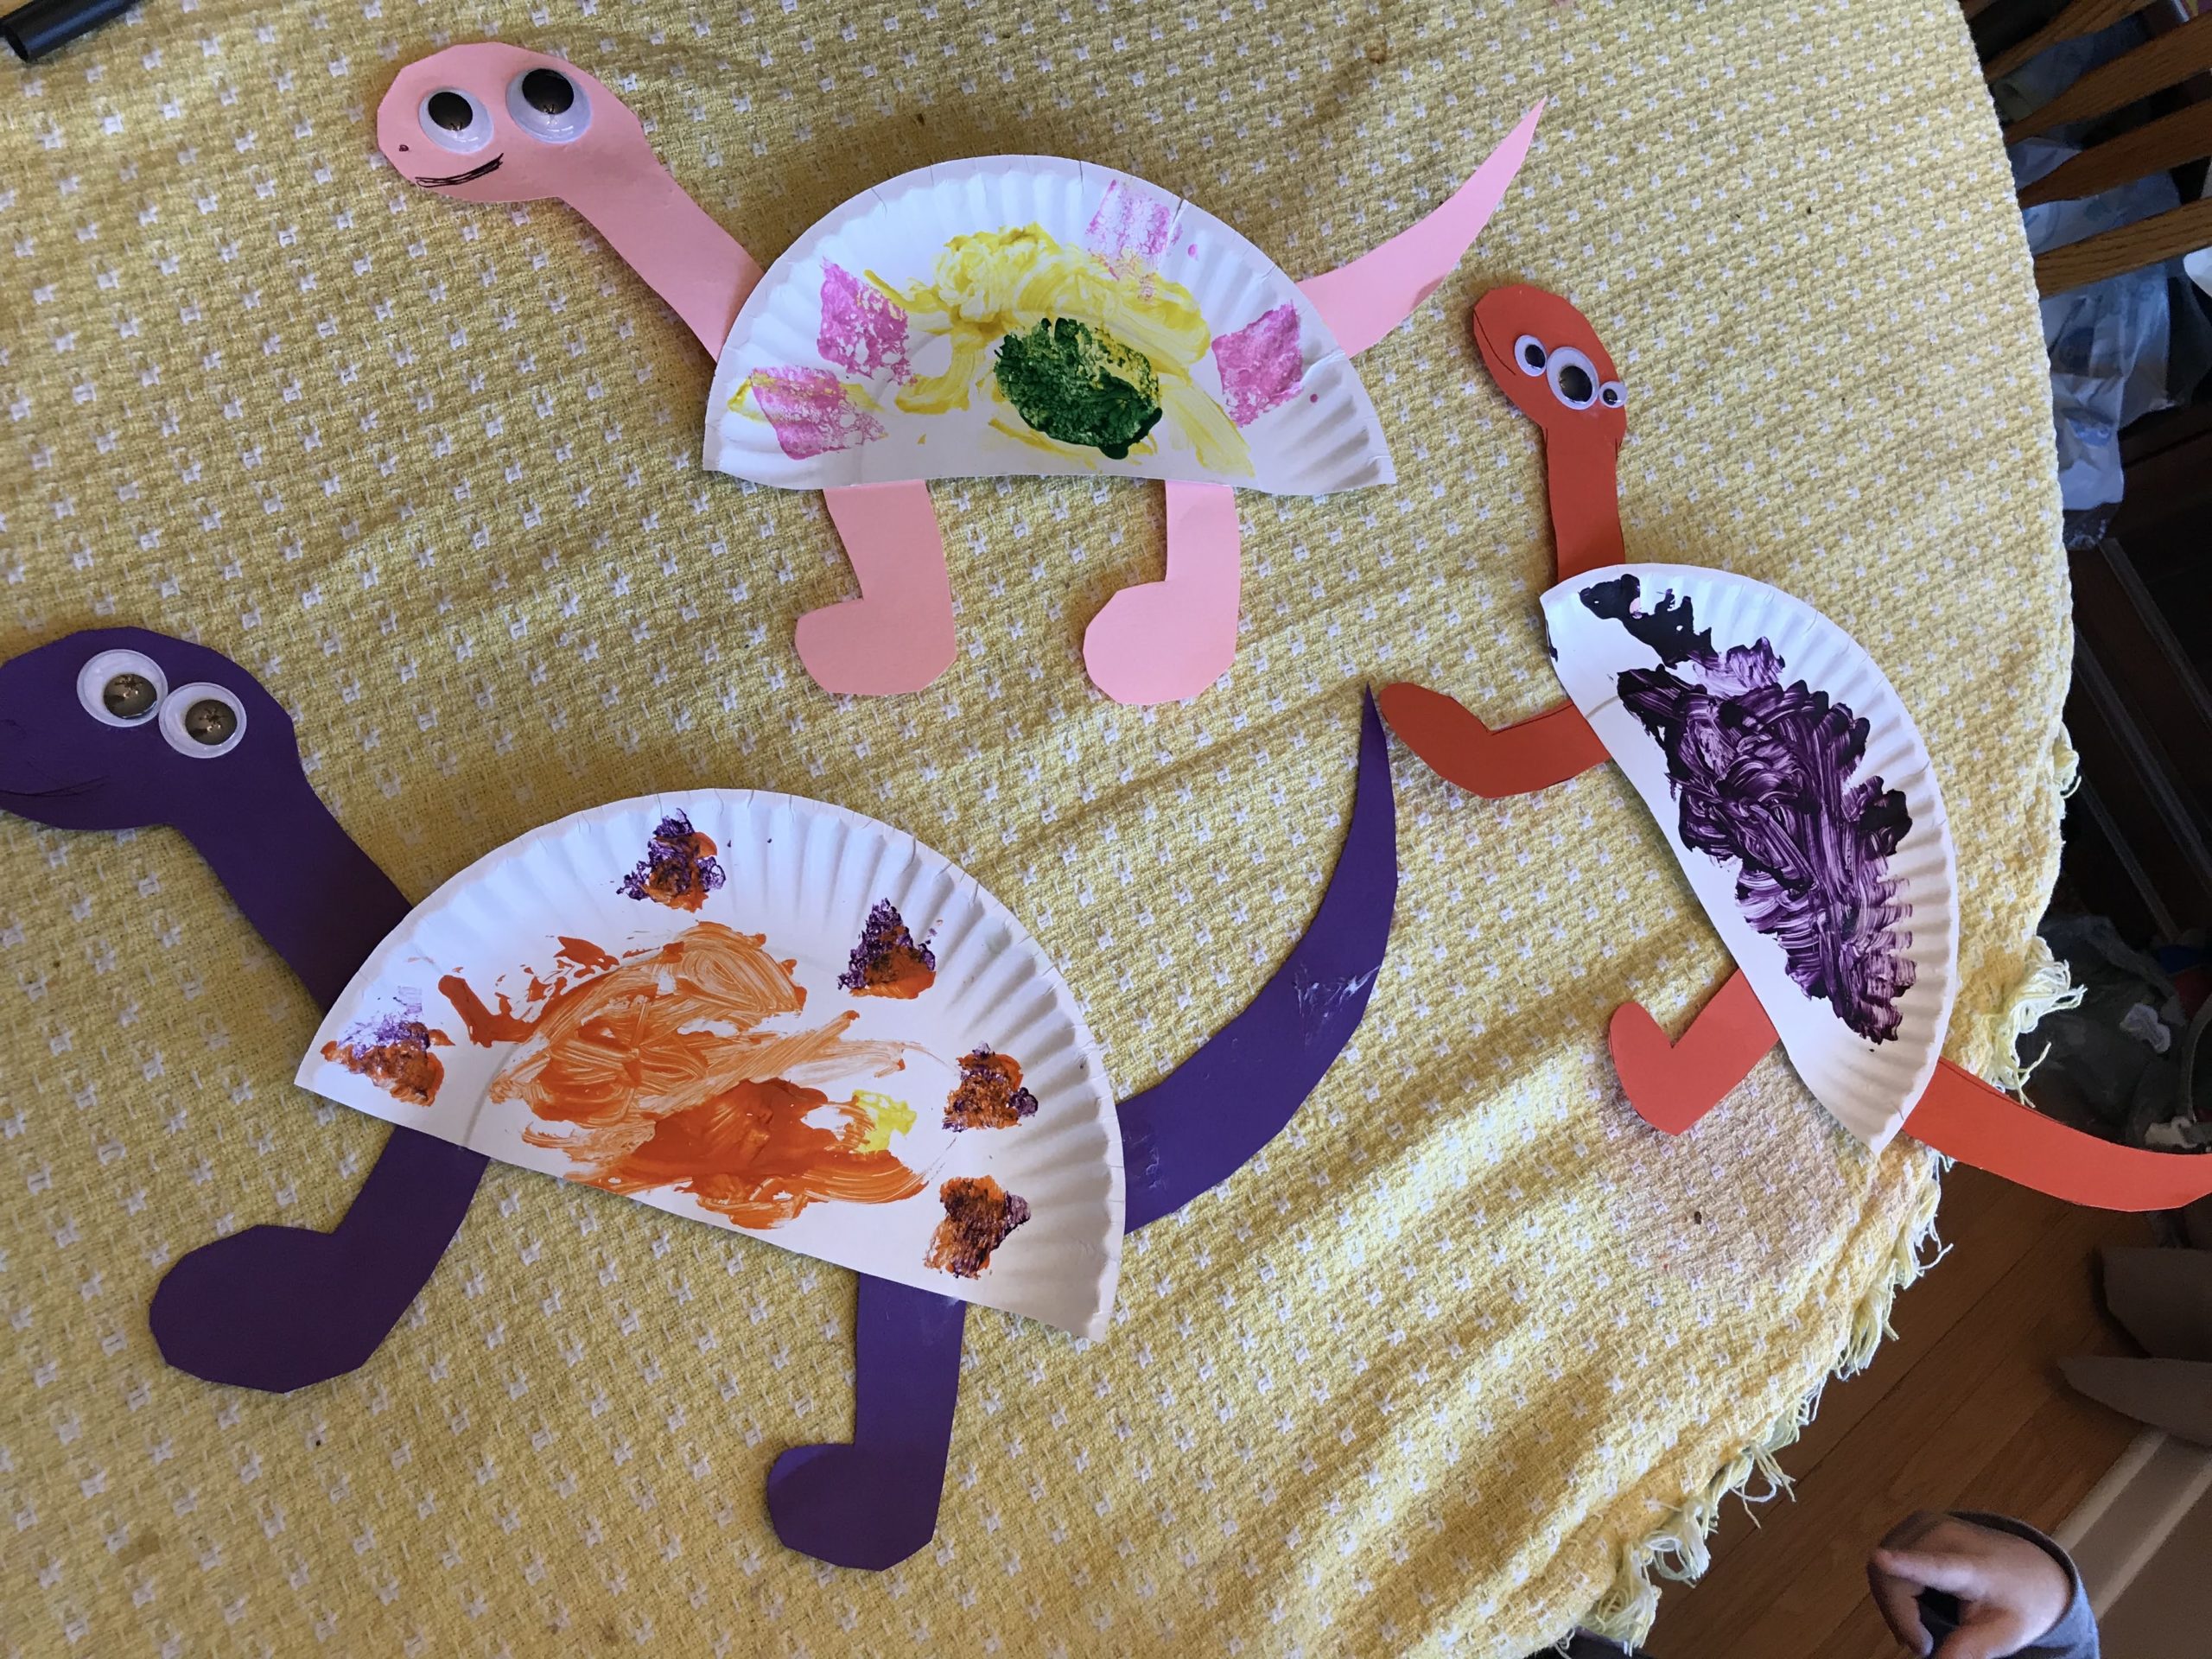
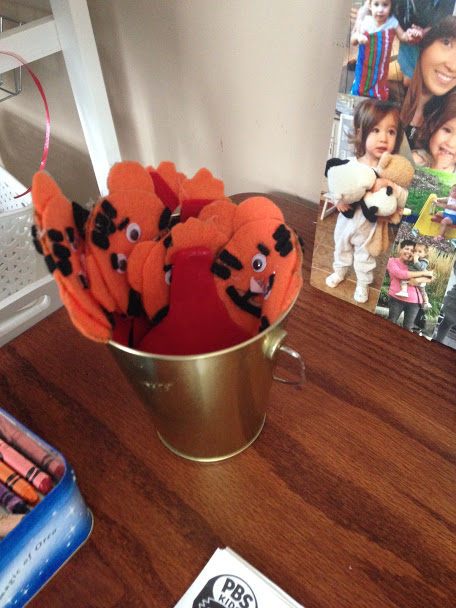
I also made these super cute and easy finger puppets from the PBS site that will give you step-by-step directions. We used them as favors! As for food we kept it simple. We went to costco and got her favorite-marconi and cheese! The party only had 10 people there so we decided to go with pot pie and shepard’s pie from Costco already made, with salad as a side. It kept us warm on a cold day!

11.JPG


As for cake, we went to Weis and they had 4 different Daniel Tiger cake designs. We decided on the cake with all four characters! They had lots of different flavors to pick from and the cake was delicious!


5


I made her birthday banner with Microsoft Publisher. I simply used the preset example of a birthday banner and added a few more pages. I saved some Daniel photos and put them on the banner and printed it. Next, I laminated the banner and cut it out. I used a hole punch to make holes and strung it up with yarn I had around the house.

4.jpg


Last year I spent quite a bit of money making her a chalkboard first birthday poster. This year I made her a poster myself. The poster itself only cost $1 from the dollar store! I couldn’t find a Daniel Tiger Chalkboard poster with the number 2 with pictures so I created one myself.


I also got a tablecloth, plates, cups, napkins and balloons. The balloons were perfect! I found them here at Amazon.  The cups were great for apple cider and the plates were very sturdy. I found them on Amazon too!Weis filled the balloons, which was awesome! Coloring pages are from the PBS site.

6.jpg  7.JPG

I made Madison a Tigey stuffed animal using felt.

1.jpg

Lastly, I made Daniel Tiger shirts for my husband, the birthday girl, and myself. I saw many ideas on pinterest and etsy, so I used Powerpoint to make the images and then bought Iron on paper. I also made Madison’s tutu with fabric.

8.JPG 9.JPG

Your little boy or girl will love their Daniel party with little touches! We even played Daniel Tiger songs while the kids danced with the balloons. We wrapped up the party by watching the Daniel Tiger Birthday episode (first episode ever)! It was GRRRR-RIFIC!

FollowFacebookpinterestrssyoutube
ShareFacebookpinterest